Patishapta pitha was the rare pitha I would eat growing up. Maybe it’s a regional thing, but I just did not enjoy most pithas I had. [Pitha: Bengali dumplings. Usually made out of rice flour. Sometimes a combo of rice flour and wheat flour. And in my experience, dry af most of the time. Sometimes sweet with a coconut or jaggery filling. And, as I found out after marriage, sometimes plain, eaten with curry.]
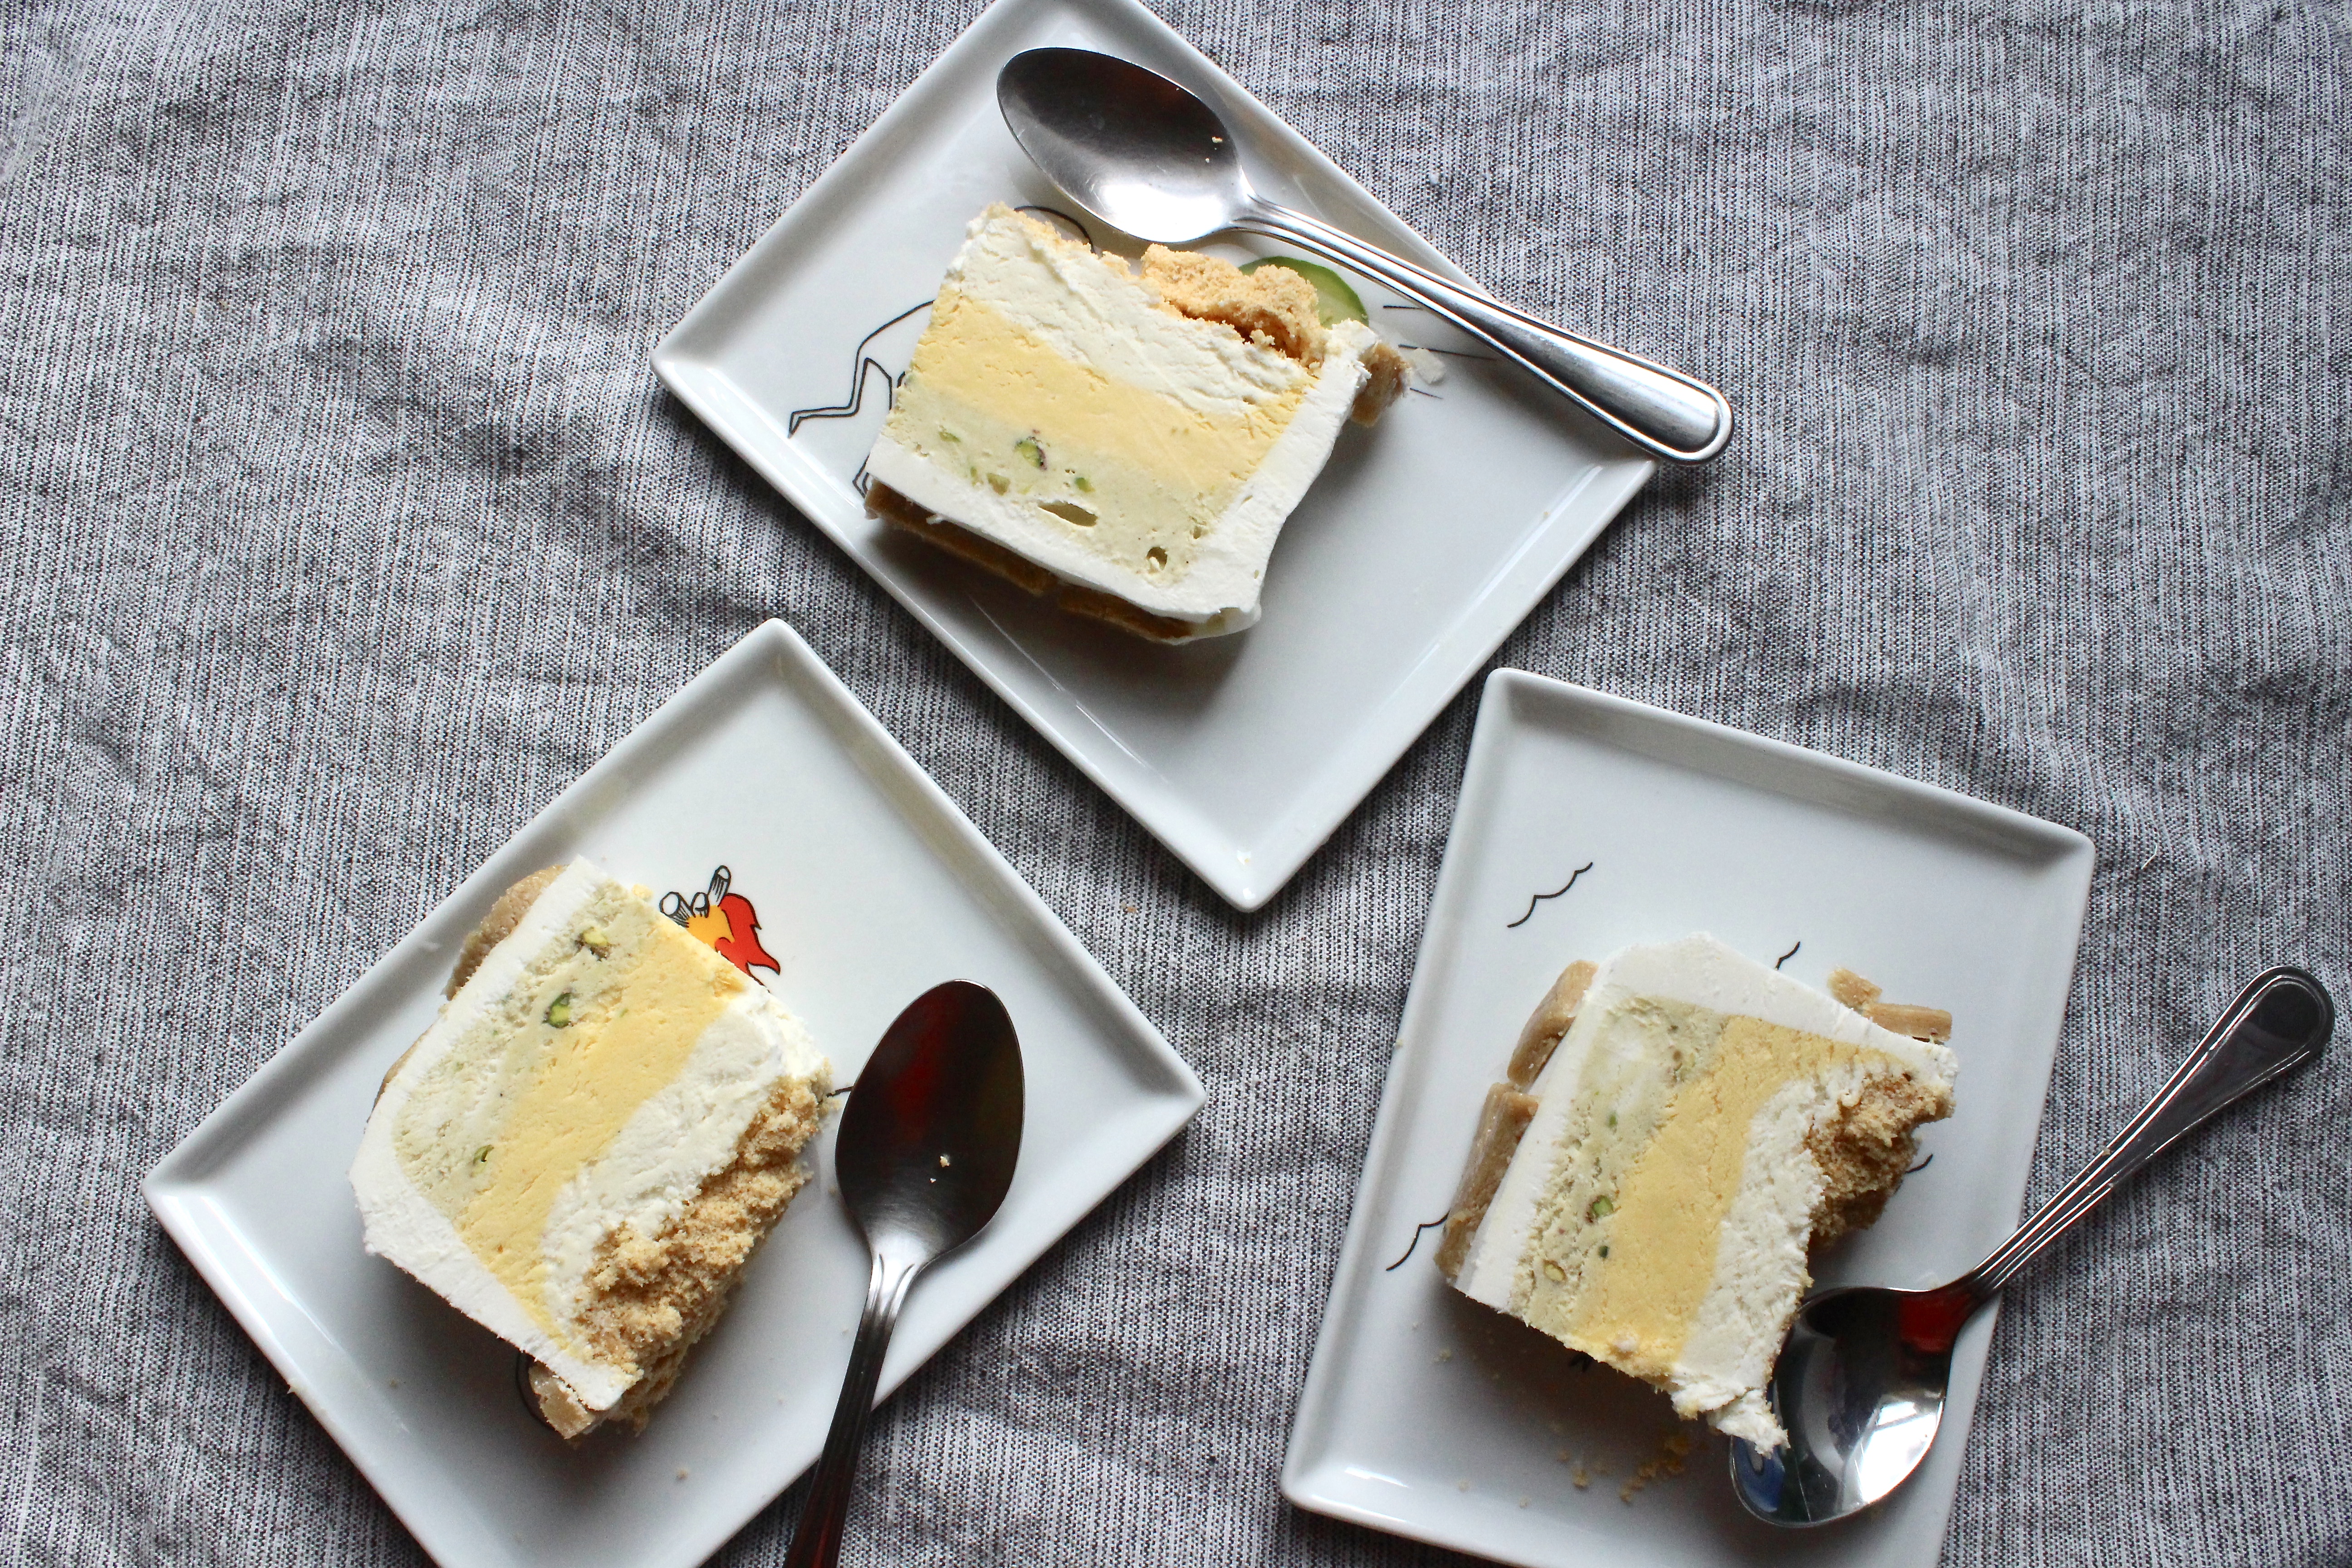
3 Layer Kulfi Cake
My husband and I were so different when we met. He like TV, I liked the arts. He liked iHOP, I liked (and still like) bougie NYC brunch places. He enjoyed test driving cars and playing video games. I liked boutique window shopping and baking.
Coconut Jaggery Hand Pies (Narkeler Pitha)

Pitha – a Bengali style sweet dumpling. Narkeler pitha – dumpling filled with coconut and date sap. Usually the dough is made with rice flour and water(?), filled with the coconut mixture, then deep fried. I never learned how to make pitha, but I did teach myself how to make hand pies.
Gajer Halwa Mousse (Carrot Mousse)

In my journey of blending the flavors of my ancestral home in the Indian Subcontinent with the desserts I know and love here in America, I pull a lot from you and those around me. In brainstorming dessert ideas, a dear family friend (and ad hoc babysitter – love you Tasfia and Tanifa!) suggested gajer halwa. It’s carrots that’s been cooked down with milk and sugar so that it’s almost a pudding.
Cha Leches Cake

Most of you are familiar with chai – a spiced tea drink, made with some kind of milk. Most Bengalis I know and grew up with, didn’t spice their tea, but steeped some strong black tea and cooked it down with milk, or evaporated milk, and sweetened to taste. This is called dood cha (translation: milk tea). My favorite childhood treat was dunking a piece of Wonder bread in my mother’s milk tea. This dessert, an adaptation of tres leches, rekindles that memory. A sponge cake that is soaked in a steeped black tea milk mixture, and topped with whipped cream, recreates that childhood favorite in dessert form. I made it on a whim at my in law’s place over the weekend so I don’t have many pictures. I tried recreating it with PG Tips pyramid tea bags – and although tasty, did not have a strong enough flavor. Will share more pictures when I recreate it – in the meantime I need to buy up some loose tea of my own, since the tea bags just won’t do in this recipe.
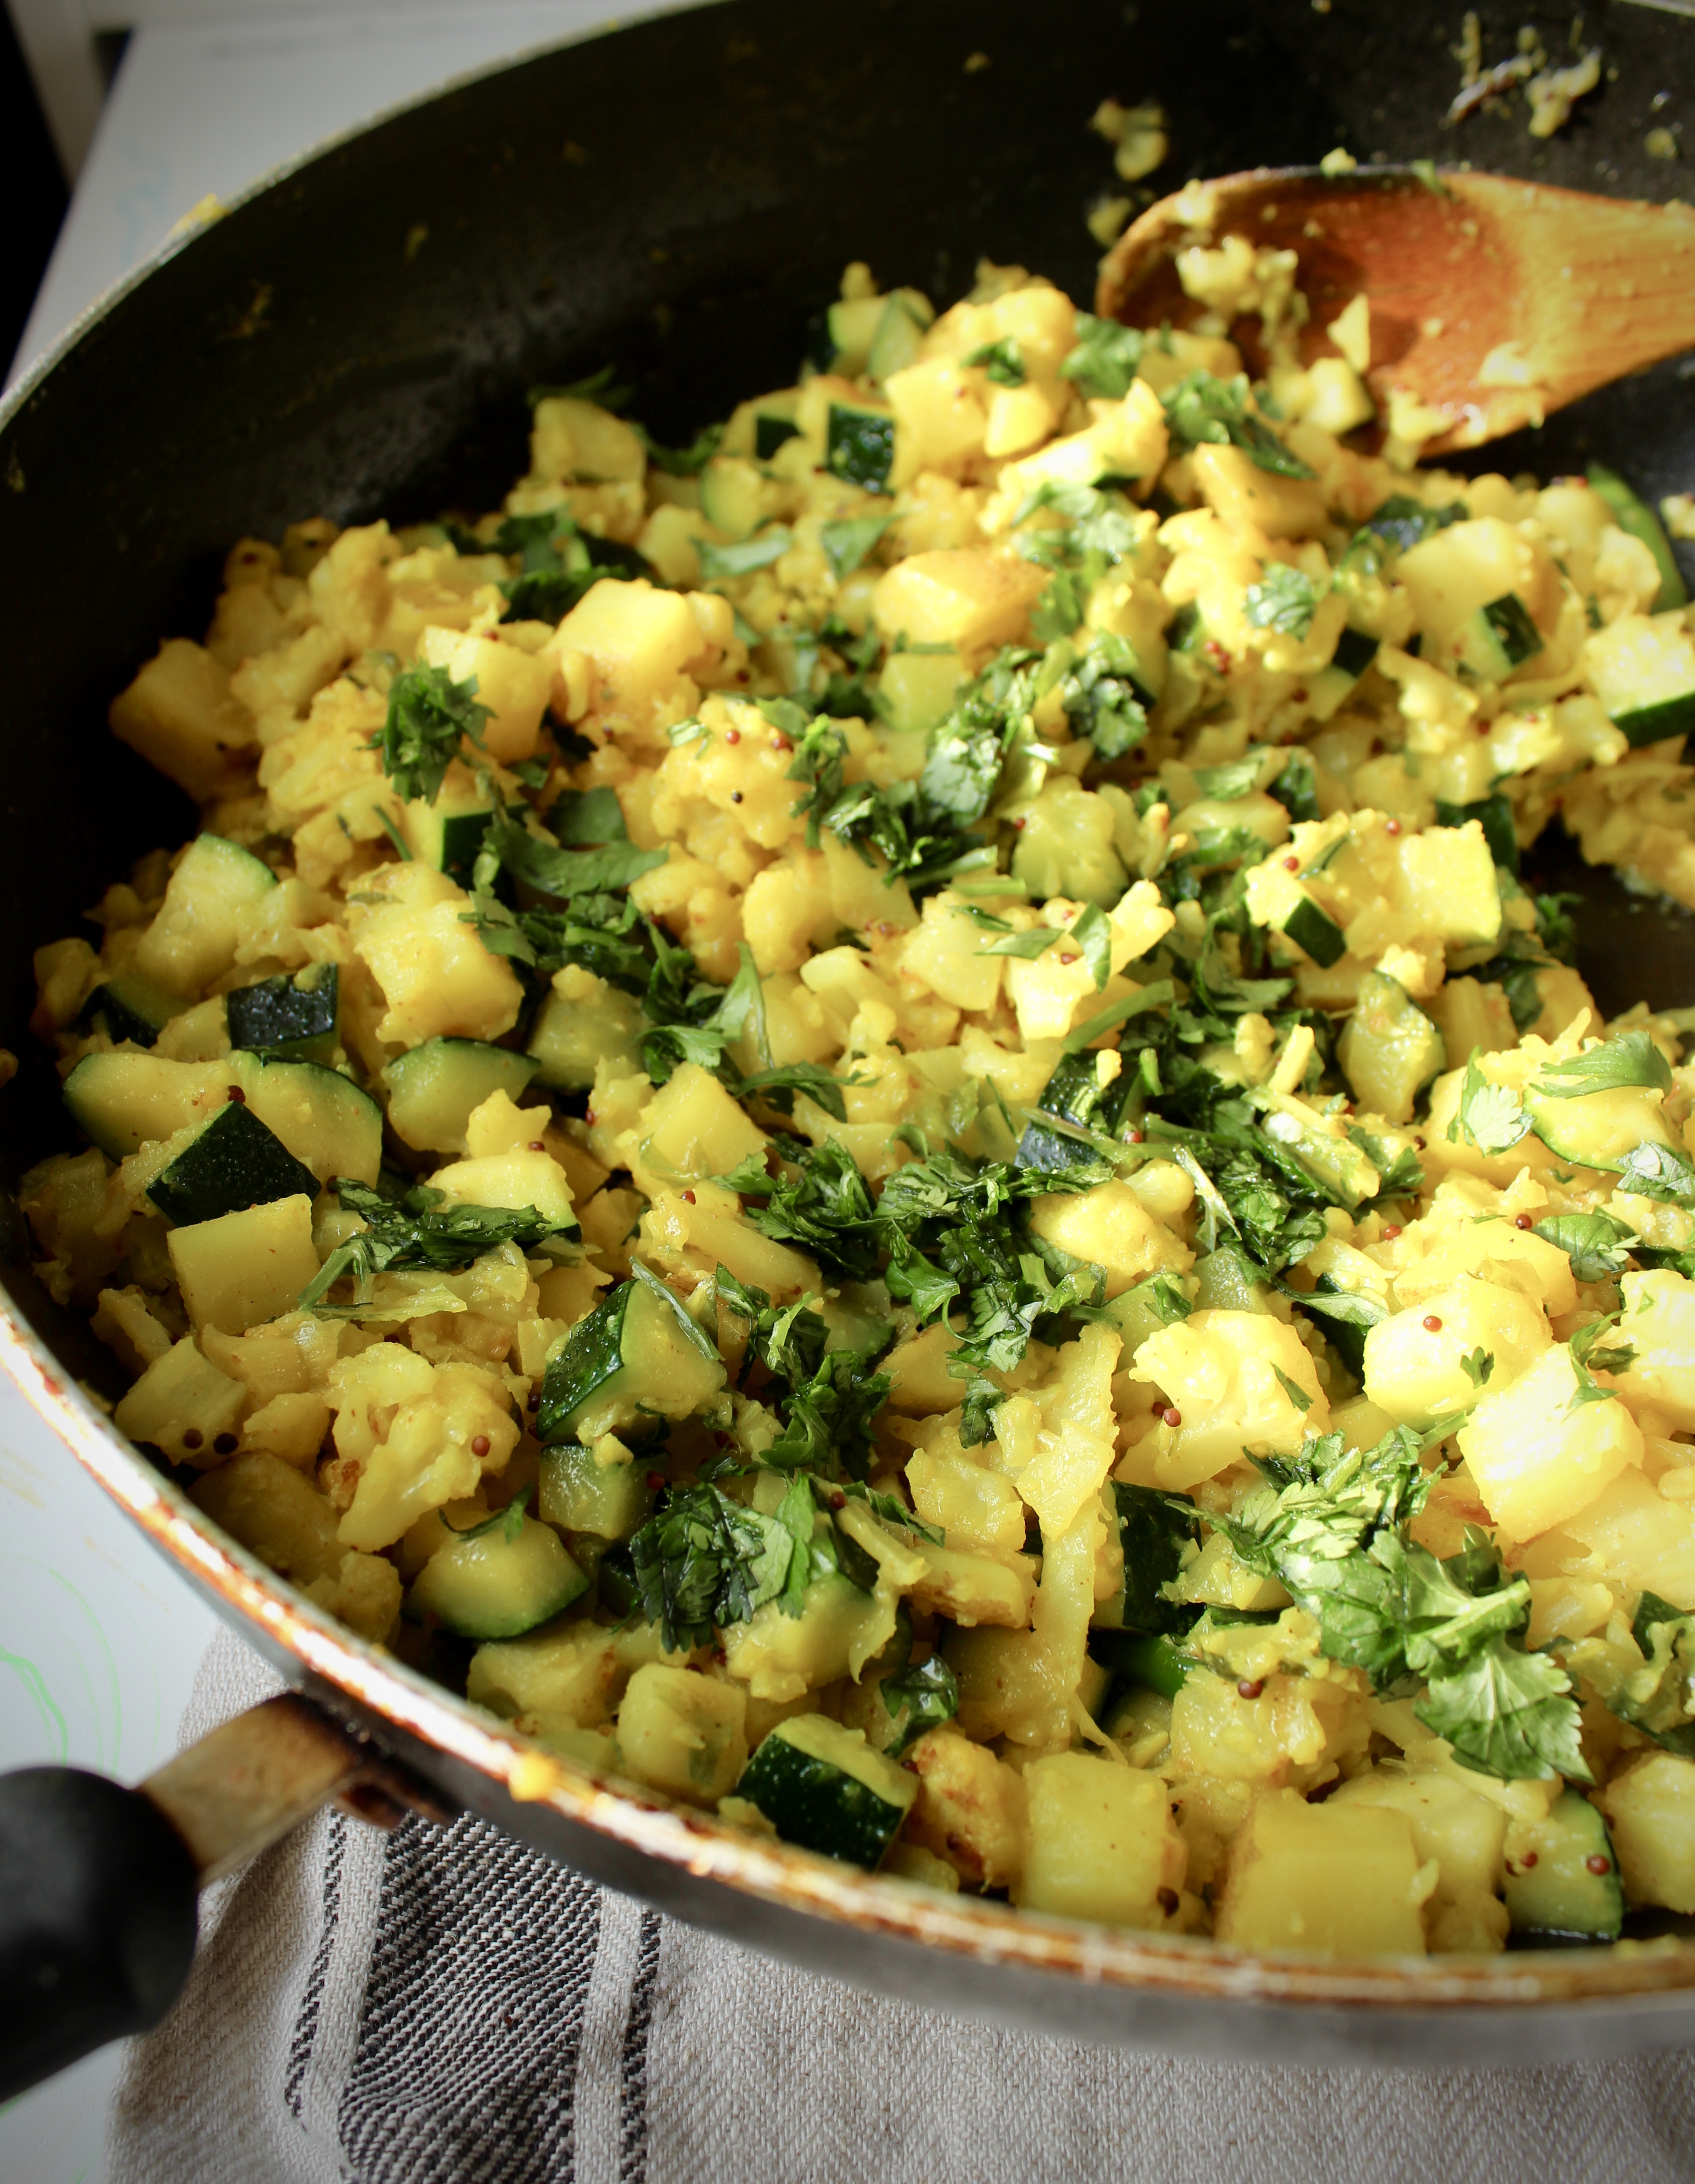
Cauliflower Stir Fry
I had to make something vegetarian after my husband made me watch HBO’s Vice the other day. This particular episode was on the industrialization of the meat industry and man was it terrifying. The ghastly amounts of meat we eat day in day out. How the farm-to-table movement is essentially our savior if we want to reap the rewards of our earth in any sort of sustainable fashion. Scary stuff! But we can do our part by 1) supporting businesses like Honest Chops and local farmers market vendors that only source from sustainable farms and 2) eating less meat. There’s a world of protein out there (eggs! chickpeas! tofu!) explore!
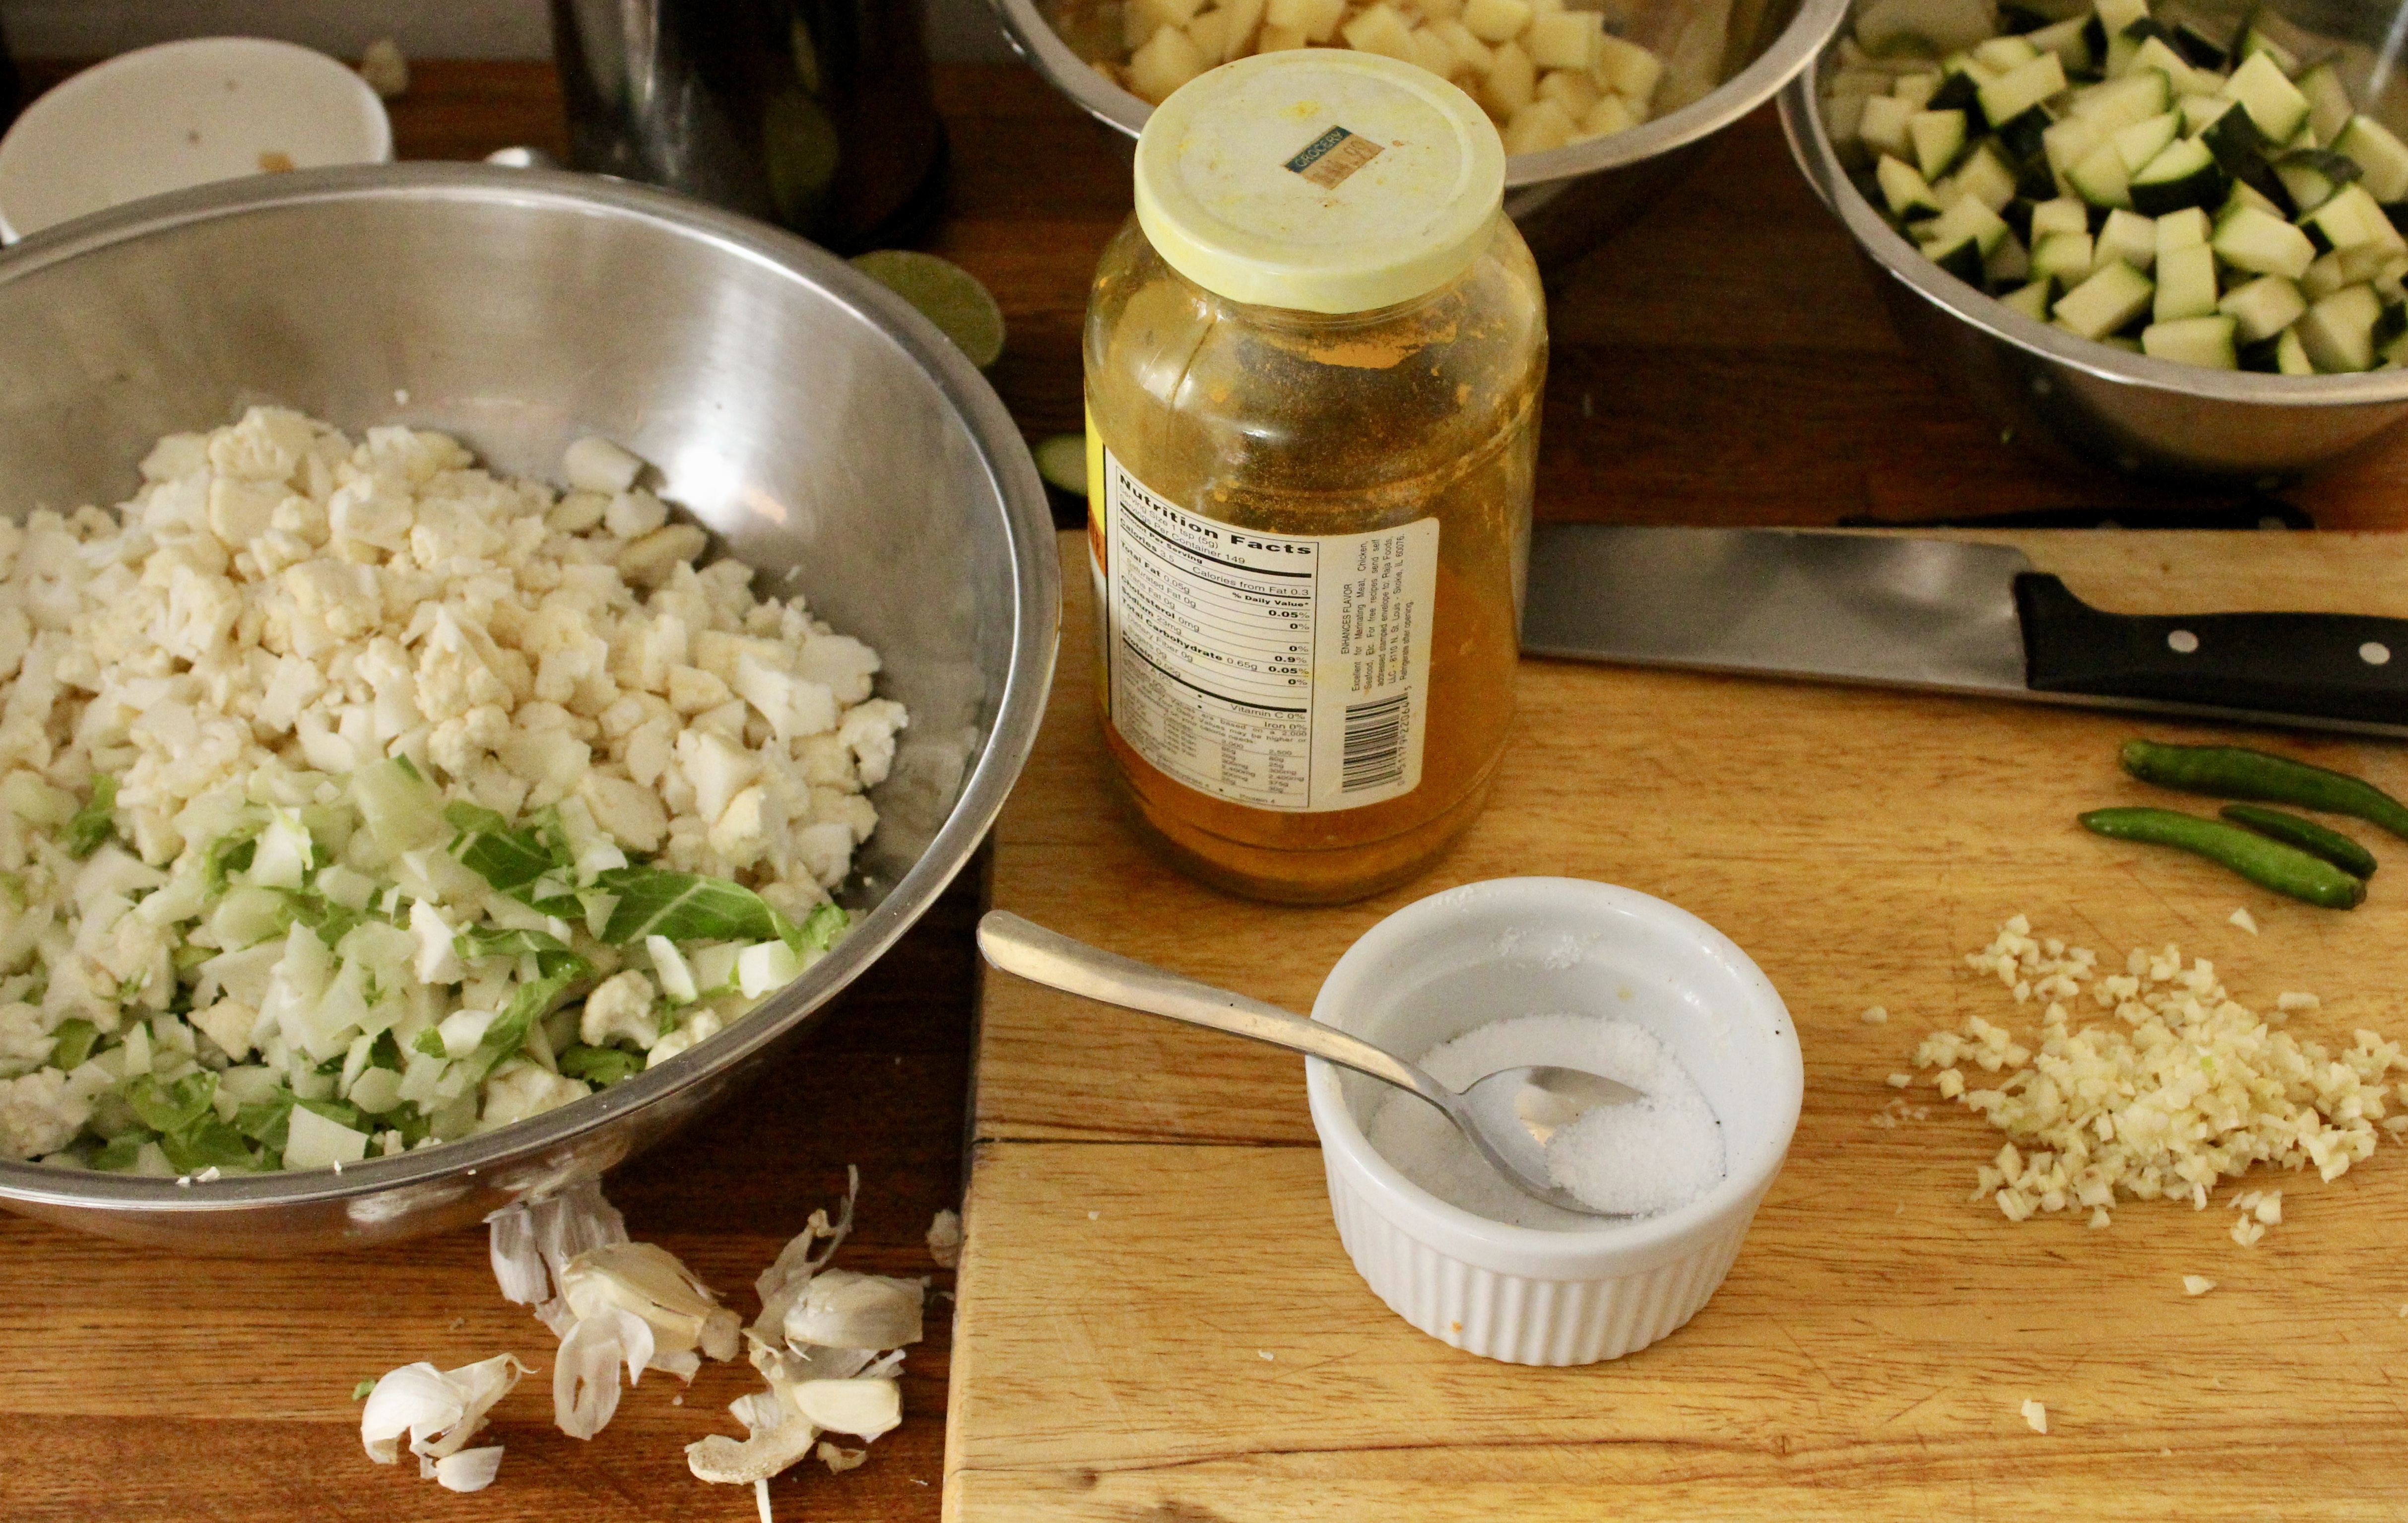
If you’ve been trying to to eat less meat, or just eat/cook more vegetables at home, I’ve summarized some pointers for cooking veggies below. Luckily for you I’ve made so many mistakes when cooking veggies throughout the years I have some words of wisdom to impart, especially when dealing with cauliflower:
- Don’t waste. I use the outer leaves as well as the florets. It’s often discarded in American cooking shows, but why the heck wouldn’t you eat it?I just toss the tough inner core, and finely chop the rest. Time consuming, but a worthwhile endeavor.
- Dicing it into tiny tiny pieces is major key. Cauliflower can be bland, so the best way to ensure it absorbs as much flavor as possible, is by dicing it super small, increasing its surface area.
- Sequence is also key. Once you start cooking vegetables regularly, you get a sense for which ones take longer to cook than others. Root vegetables like carrots, potatoes and turnips always take longest. Then onions, peppers and cruciferous veggies (broccoli, cabbage, cauliflower, collard greens, kale, etc.). Finally, your tender greens (zucchini, spinach, peas).
- Garlic is your best friend. With some veggie dishes like spinach or broccoli/mushroom stir fry, I’ll fry the garlic in the oil so it the flavor of the garlic diffuses through the dish. I only do this for quick cooking vegetables. If you try to do this in a dish like this, or potato hash, the garlic will simply burn. Thus I add it after the vegetables have had an initial cooking period.
- anchovy paste is also a fun way to flavor your vegetables. It’s salty and nutty when dissolved in oil. A fun trick I learned in Italy.
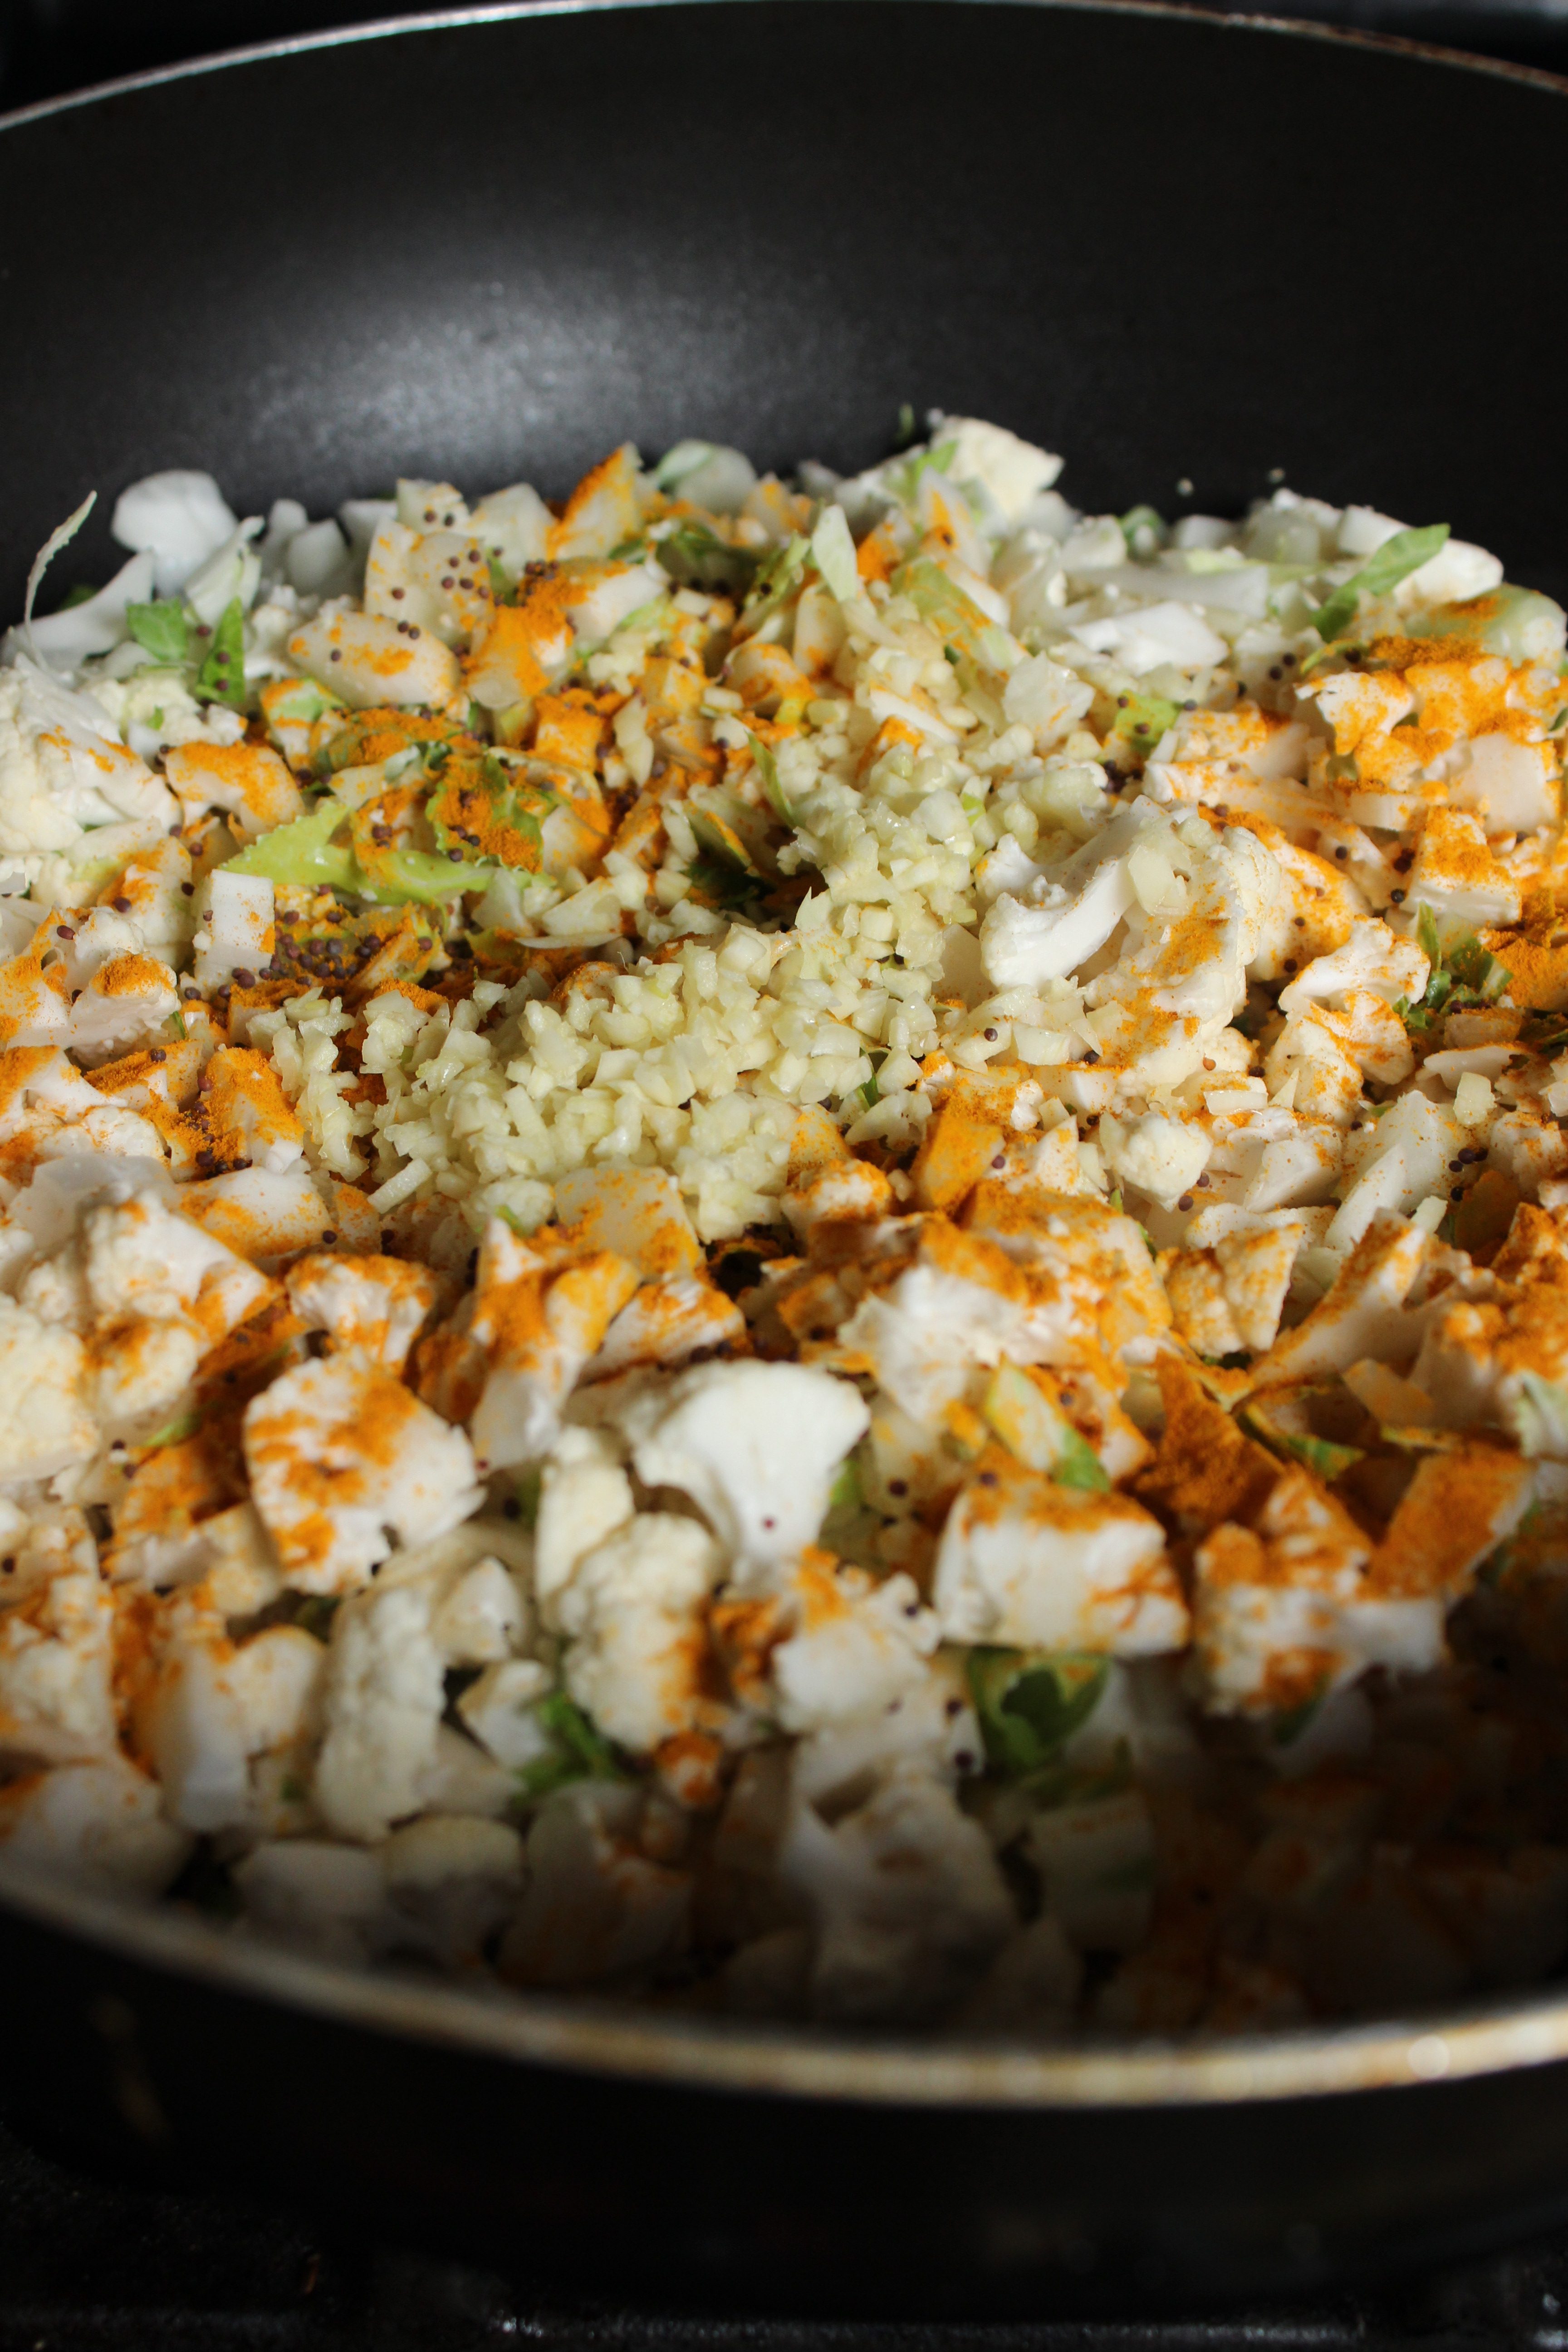
The same guidance I gave for the garlic goes for the mustard seeds. Many recipes will say to first heat mustard seeds or pach phoron (Bengali 5 spice) in oil until they start to pop. Once again, because the total cook time for a stir fry with veggies in this quantity can go over 20 minutes, I wanted to avoid burning any of the elements.
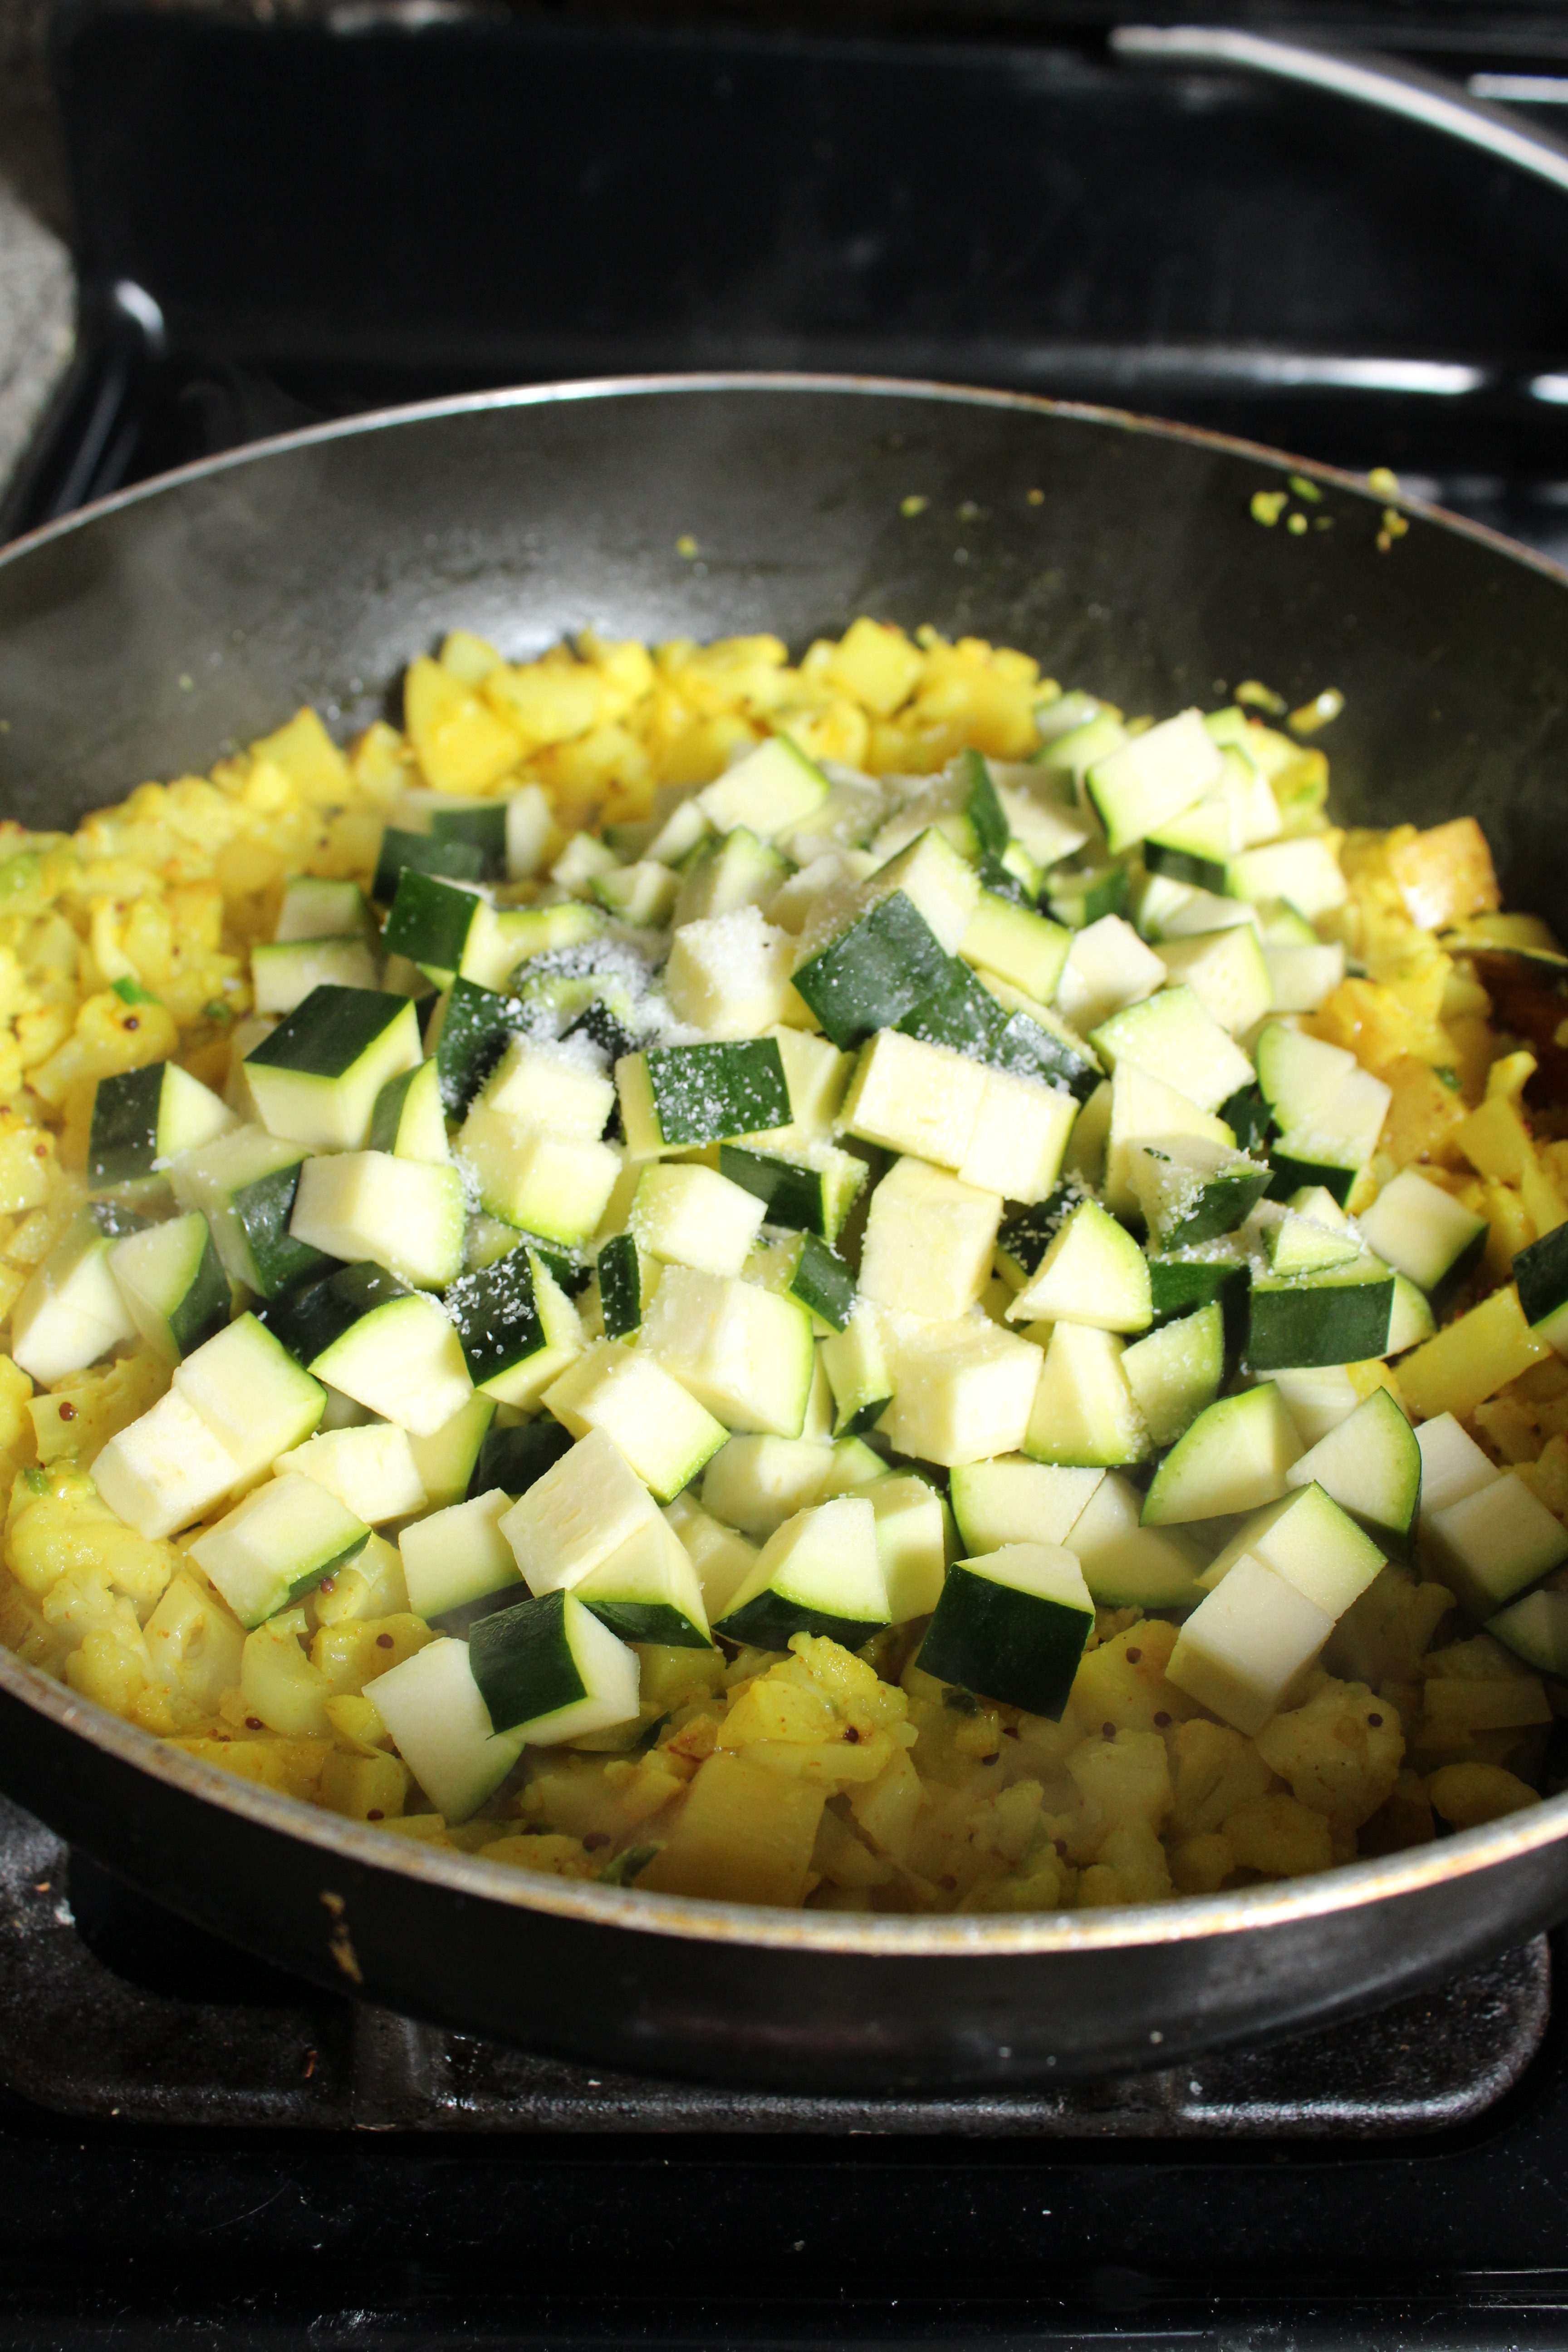 Hope you enjoy this Bengali staple and add it to your Meatless Monday menu. The zucchini at the end can be swapped out for many other vegetables. Growing up my mom would always keep a bag of frozen mixed vegetables, to add to a stir fry like this and really stretch a buck.
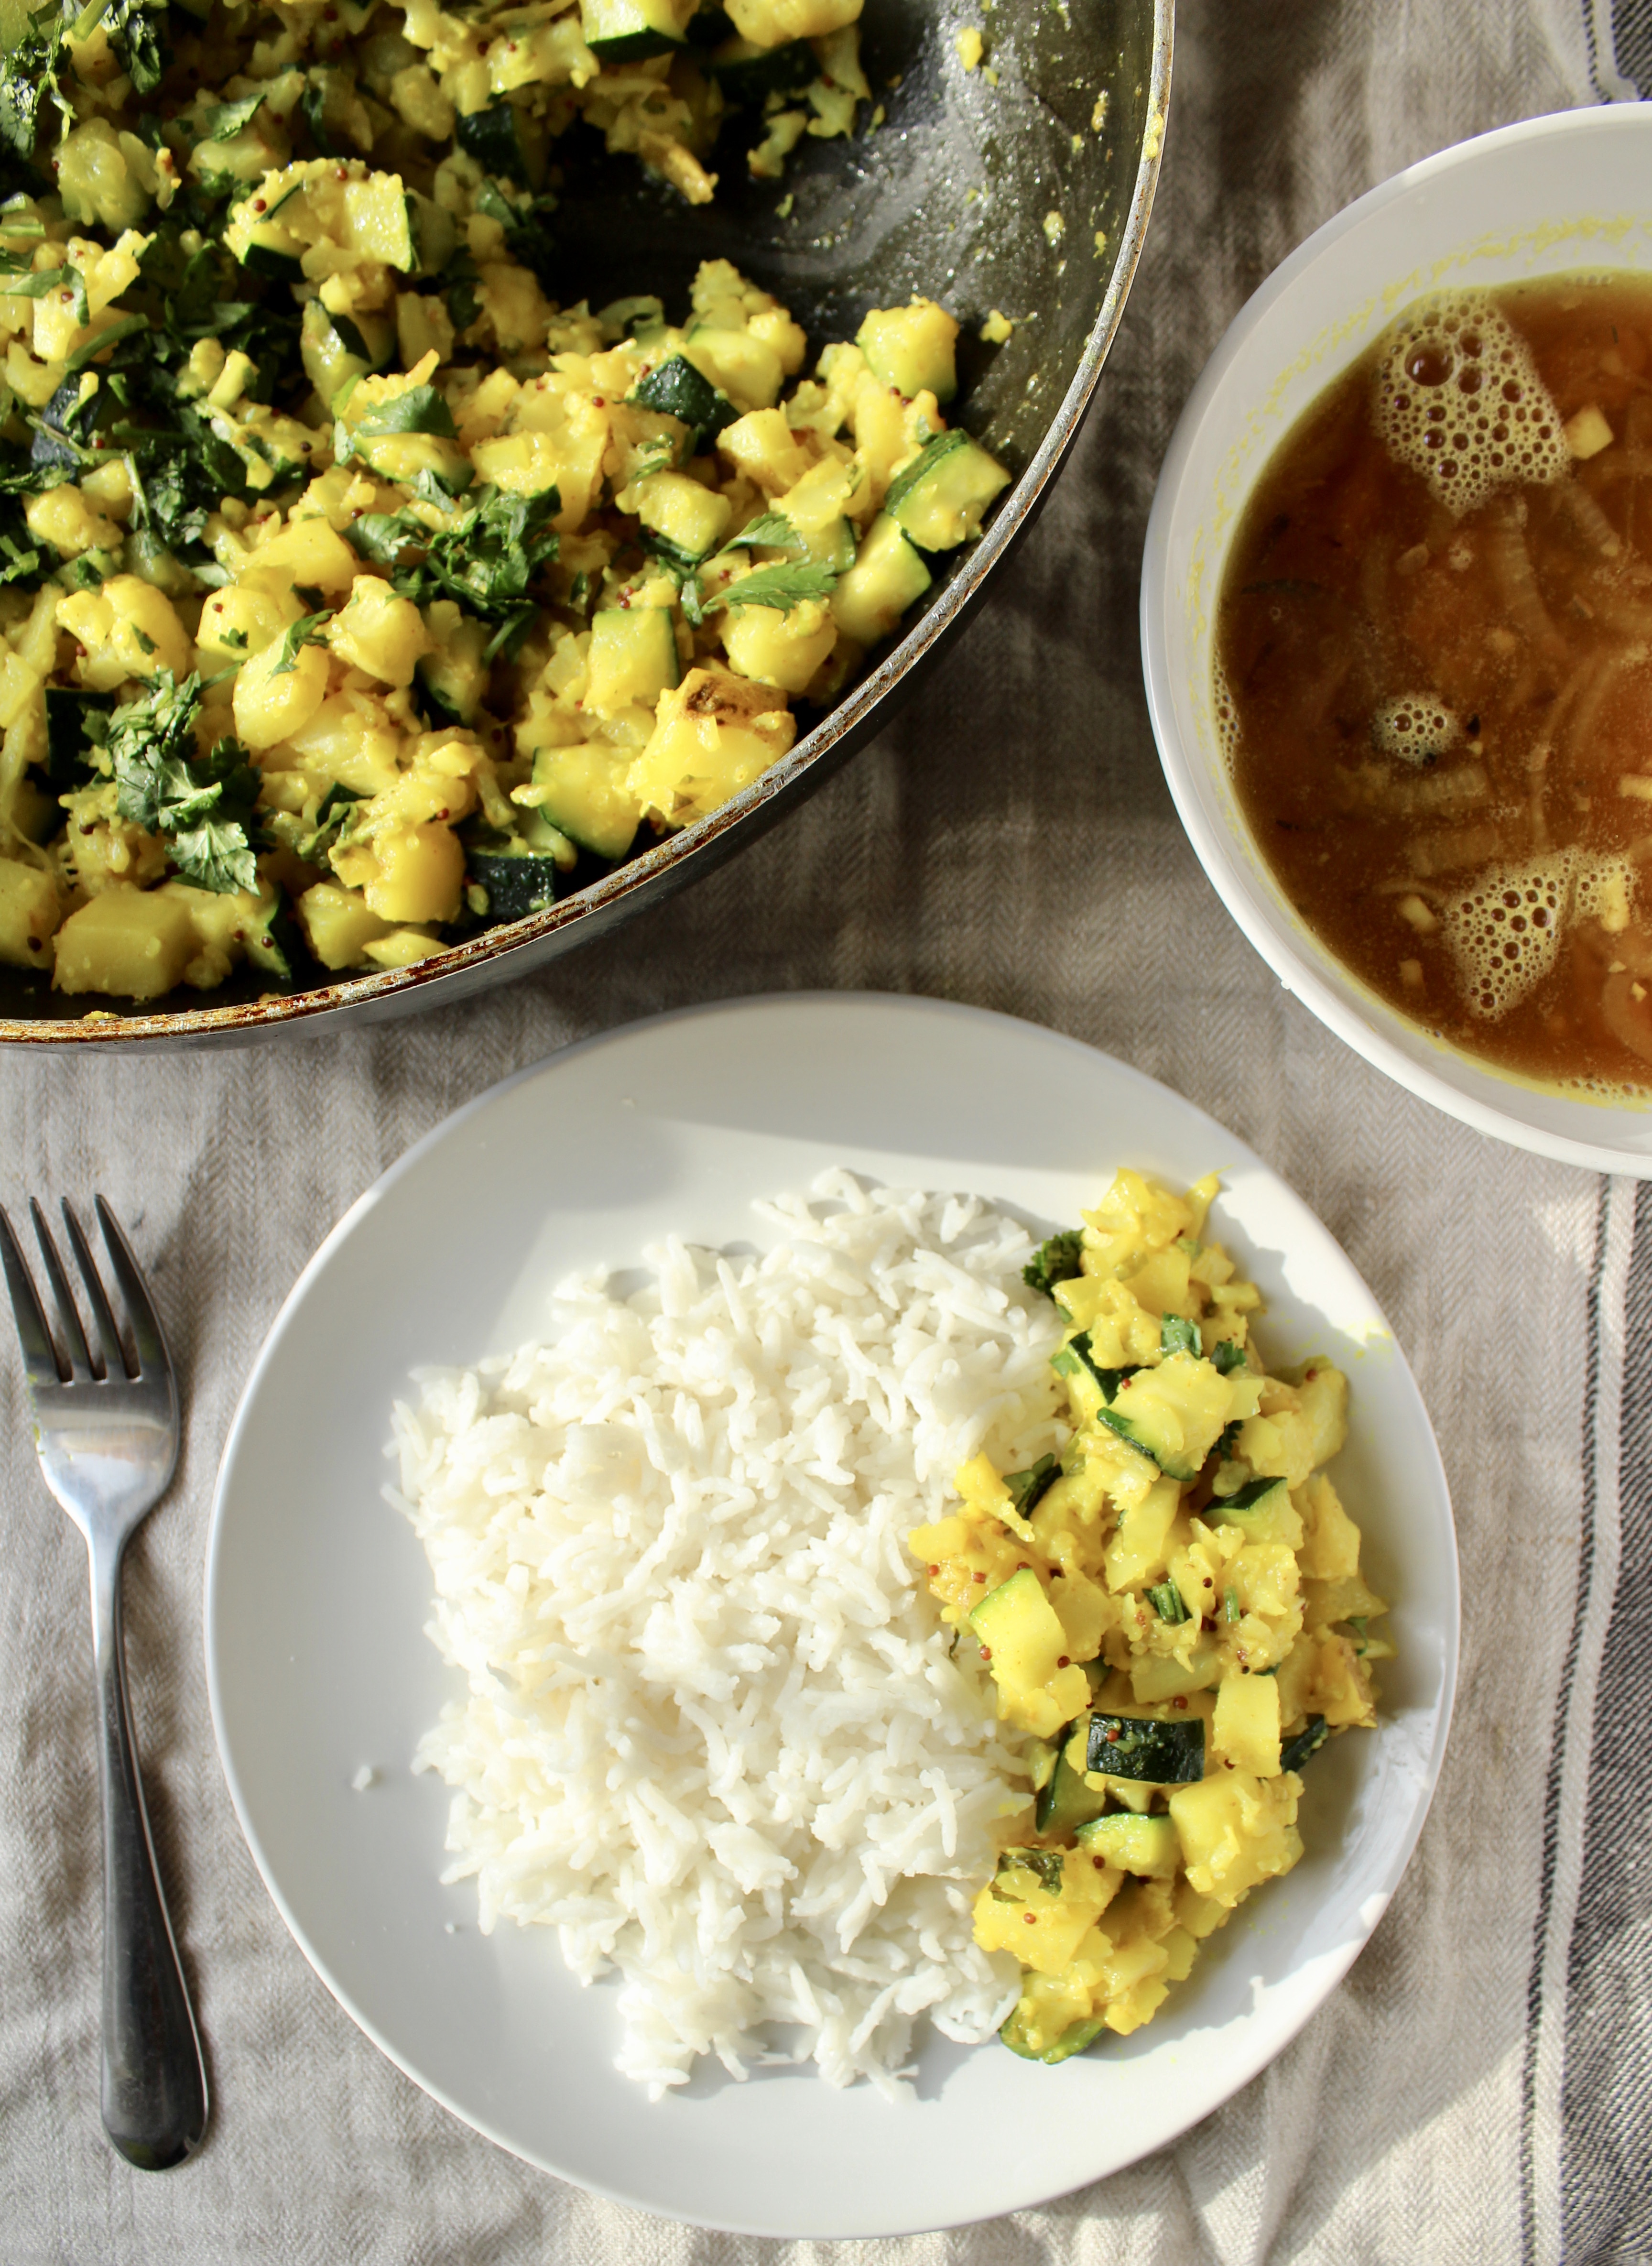
Serve with rice, daal, and any other protein of choice.
Ingredients
- 1/4 cup olive oil
- 1 large potato, diced small
- 1 head cauliflower, diced small
- 1 tsp mustard seeds
- 4 cloves garlic, minced
- 2 tsp salt
- 1 tsp turmeric
- 2 zucchini, diced small
- 2-4 green chilis, split down the middle
- 1/2 cup chopped cilantro, finely chopped
Directions
- In a large wok, heat oil over medium high heat. Add the potatoes in a single layer, then the cauliflower on top of them. Allow to cook for 2-3 minutes without stirring.
- After the potatoes have started to cook, stir to evenly distribute the cauliflower and potato, and add the mustard seeds, garlic, salt and turmeric. Depending on whether you like it spicy or not, add the chilis at this stage as well. Stir to combine and cook for 10-12 minutes, stirring occasionally.
- Add the zucchini and continue to cook. If you like your feed less spicy, add your chilis now. Cook for an additional 7-8 minutes or until all the vegetables are tender. Take care to moderate the heat, and move the vegetables from the bottom of the wok to the top, so nothing browns excessively and all the veggies cook slowly.
- Add the cilantro in the last minute of cooking. Taste for seasoning. I used a total of 2 3/4 tsp salt when I made this dish. Serve with white or brown rice.
Ramadan Round Up
Ramadan is halfway over, but there’s still time to make some of my favorite recipes for this time of year! Going clockwise from the top left:
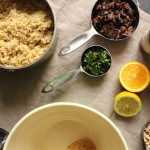
Citrus Quinoa Salad with Dates, Almonds and Mint – we consume a lot of dates during Ramadan. This recipe uses up any extra dates you may have in a salad you can feel good about eating at the end of a long fast!
Meyer Lemon Strawberry Lemonade – I know sugar is the devil. I know. But you have to try this lemonade. It is light years beyond any bottled strawberry lemonade you can find. Recipe adapted from Pioneer Woman.
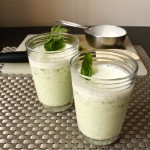
Basil Smoothie – a surprising staple in many homes I’ve introduced this smoothie to. Basil, yogurt, sugar and ice makes for an unexpectedly refreshing drink.
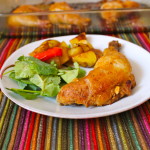
Tandoori Chicken – an easy, make ahead dish. When you’re fasting, you’re low on energy. So the less time you have to spend on your feet in the kitchen, the better. These chicken legs get a quick marinade of yogurt and spices. Then about 45 minutes before eating, pop them in a hot oven. That is all.
Mint Limeade – aka virgin mojitos. The refreshing flavors of lime and mint make this the perfect compliment to your break-fast meal.
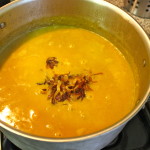
Haleem – a protein packed Ramadan must. It’s one stop, one pot iftar. Stewed meat, grains and lentils combine to make the most filling, comforting dish possible. Can probably make this in your slow cooker as well.
Fruit Chaat – refreshing and easy. Simply combine your favorite fruits – try to ensure varying textures and levels of sweetness. Try apples, grapes, kiwis. Or pineapple, cantelope, raspberries. Or mango, blueberry, nectarine. Leave the yogurt/chaat masala dressing on the side, or mixed in, for a variation of your favorite fruit salad.
Banana Date Nut Bread – another healthy way to use up dates. The potassium from the bananas and dates combined with the fiber from the whole wheat make this bread great to have on hand when you’re short on time for your pre-dawn meal. Can bump up the fiber content with flax seeds, chia seeds, etc.
Aloo Chop (Fried Mashed Potato Balls) – not the healthiest thing on the list, but a comfort food must for many of us South Asians. Mashed potato balls stuffed with bits of hard boiled egg, breaded and fried. Yum!
Aloo Chop (Fried Mashed Potato Balls)

Traditional Bengali iftars are an exercise in how many different ways can we consume fried foods. Ground up lentils and herbs? FRY IT! Fresh sliced eggplant? BATTER AND FRY IT! Whole green chilis? FRY IT! Mashed potatoes? FRY. IT.

There’s been a backlash by my generation against the fried iftars of our parents’ generation:
- “We’re just doing broiled salmon and sauteed green beans for iftar.”
- “I’m doing a green smoothie for iftar.”
- “Every year I gain weight during Ramadan. No fried foods for me this year.”
Yet when we go to the inevitable iftar dawat at our parents’ or aunts’ or grandparents’, we’re still gonna pop a couple of fritters on our plate while no one’s looking. Not the whole deep fried green chilis – dear God no. I don’t know WHO that appeals to. But we can pretty unanimously agree on the Aloo Chop. Any manifestation of a fried potato is right by my books. And when filled with tiny cubes of hard boiled egg, well it becomes a whole darn meal!

I justify it by compounding it with salad. Lots of greens and veggies. And water. I read somewhere on the internets that junk food is ok, as long as you drink lots of water afterward. =)

I went with Yukon gold potatoes, as they are more waxy than Idaho. I didn’t add any butter or milk to the potatoes themselves, as I wanted them to hold their shape as well as they could while sizzling away in the hot oil.

The best part is, they freeze beautifully. Just pop them in the a ziploc before the egg wash/breading stage, and fry them up whenever you want them. These take a little bit of time to prepare, but these are the things childhood memories are made of.
Ingredients
- 2 lbs yukon gold potato, quartered
- 1 tsp kosher salt plus more to taste
- 1 tsp chaat masala*
- 1/2 tsp ground cumin
- 4 scallions, thinly sliced
- 1/2 cup minced cilantro
- 1 green chili, minced (optional)
- 3 hard boiled eggs, chopped small
- a squeeze of lemon juice (optional)
- a dash of salt
- a dash of cayenne pepper
- 3 eggs
- 2 cups seasoned breadcrumbs
- vegetable oil for frying
Directions
- In a large pot, bring 4 quarts of water to boil. Carefully lower potatoes and cook until tender: 10-12 minutes. I don’t bother peeling them. I boil them skin on, then when cool to the touch, peel back the skins like my mom used to do.
- Season the potatoes with salt, chaat masala and cumin. Taste for seasoning and add more salt if necessary. Mash with a potato masher. Add scallions, cilantro (all but 1 tbsp of it) and green chili is using**. Then get in there with your hand and incorporate very well. Set aside.
- Season the diced hard boiled eggs with the remaining 1 tbsp cilantro, lemon juice, salt and cayenne pepper. Toss lightly.
- Make balls with the mashed potato mixture by grabbing a handful, rolling into a ball, pressing in to make an indent (see picture above), and fill with a tiny bit of the egg mixture. Enclose the egg mixture fully with the edges of the potato ball. Set aside on a plate or baking sheet and continue making the rest of the balls. At this point you can freeze the balls and fry them off at a later time as needed.
- Heat up oil (enough to come up 2 inches) in a small wok or saucepan to 325 to 350 degrees F. In a shallow bowl, crack eggs and beat lightly. In another shallow bowl, pour out the breadcrumbs. roll each ball in the egg, then in the bread mixture, then lower carefully into the hot oil. Do not crowd the pan. Fry for 2 to 4 minutes, until lightly browned. Remove from oil and onto a paper towel lined plate. Serve with Sriracha or Ketchup.
*Chaat masala is a tangy/salty/spicy spice mix that can bring any dish to life. Easily available at any Indian grocery.
**I wouldn’t recommend adding the green chili unless you are a LOVER of spicy foods. I just have it listed as it is a traditional ingredient.
Mustard and Chili Mashed Potatoes and a Giveaway!
 There’s a lot going on in today’s post.
  Firstly, we’re talking vegetable peelers and a giveaway! My good friend’s husband has started a company selling premium kitchen products, with their first being this awesome curved Japanese blade vegetable peeler! Using mine was a breeze – the sharp blade made for smooth cuts and the design definitely required less pressure from the hand doing the peeling. The sprout remover on either side helped get those little “eyes” out. I tackled these buds in no time. I will say, though, if you are used to the vertical peelers, it may take some getting used to. But as with any sharp edge, take care to curl the fingers of your supporting hand away while using!
 Because this is such a great product and think you guys would love it, too, we are giving one away! To enter, simply comment on my FB page responding to this question: What’s the first thing you would use ChefBasix Vegetable Peeler for? Good luck!

 Secondly, we’re talking about ghee – clarified butter that South Asians use to cook (some dishes) with. It doesn’t have the milk solids of butter, so it has a higher burning temperature. This picture shows how it happens. After melting the butter over low heat, you keep it on until it attains this golden color, not the amber color you would look for while making browned butter. We are just looking for the milk solids in the butter to toast up to give the ghee a nice nutty flavor. You don’t want to get to that light brown stage, otherwise you will lose too much moisture. Once you’ve gotten the right color, take it off the heat. You can let it cool in the pot, but I poured it into this bowl to show you what was going on. The milk solids sink to the bottom so you only spoon off the fluid on top. Left to cool long enough it will congeal and resemble the store bought ghee. This last step is not totally necessary in today’s dish, as we are not cooking with the ghee. It’s more for aesthetic purposes so you don’t have bits of brown running through the mashed potatoes (don’t toss it, though! spoon it over toast for a snack!).
 Finally, we are talking about aloo bhorta (mashed potatoes)! It seems like potatoes are a universal comfort food. When coming back from a family trip, or on days when we were low on groceries, dinner looked like this: steamed rice, aloo bhorta, an omelette and daal. South Asian immigrant parents have an almost militant attitude toward eating out. Take out was a non-existent concept. As newcomers, our parents had to reign with frugality. Though we were brats about it and whined about wanting pizza or burgers, our parents did the hard work of making every single meal from scratch. The aloo bhorta and omelette were studded with pieces of raw onion and slivers of green chilis. Most of my time during those meals were spent picking out the aforementioned bits to get to the good stuff. I was never a part of the set-my-mouth-ablaze-to-enjoy-my-meal set.
  So now, since I’m in charge of my kitchen, I’ve started to substitute scallion for the raw onion and dried red chili for the fruity spice of the green chili (or Thai chili as it’s known to some). The dried red chili still has some heat – just not as explosive as its green counterpart.
Traditionally, the potatoes are mixed by hand with mustard oil, salt, the onions and chilis. Individuals will later add as much or as little ghee atop the potatoes as they like to their portion. However, my many years of making and eating American style mashed potatoes would not allow me to serve a butter-barren bowl of spuds. It just needs the silkiness that butter imparts!  Definitely mix by hands to achieve the full effect. I wore gloves, though, to protect my eczema prone hands from the heat. Though these are mustard and chili mashed potatoes, the mustard that’s used is in the form of oil, rather than the paste. I’ve never made it with the paste, but if you have trouble locating mustard oil, definitely feel free to use the powder or paste (starting with a 1/2 tsp and working your way up).
Ingredients
- 2 lbs Russet potatoes, peeled and quartered
- 1/2 cup (1 stick) unsalted butter
- 2 1/2 tbsps mustard oil
- 1 tsp salt (plus more to taste)
- 3 scallions, sliced thinly
- 2 dried chilis (3 if you like it HOT)
Directions
- Bring a large pot of water to boil. Carefully lower the potatoes in and let cook for about 20 minutes. Drain in a colander and set aside.
- While the potatoes cook, add the butter to a small saucepan and cook over low heat until melted and the butter becomes golden and fragrant. Turn off the heat and let cool.
- In a dry non stick skillet or cast iron skillet, toast the chilis over medium high heat for 2-3 minutes. You should see the oil on the surface and the aroma emerge. Set aside.
- Add the cooked potatoes to a large bowl. Season with mustard oil and salt. Mash together with a potato masher. Add the scallions, chilis, and 4 tbsps of the clarified butter. Mix by hand, using your fingertips to break apart the chilis, until everything is uniformly distributed. Taste to see if the seasoning is just right. Serve with an extra dollop of the clarified butter.
Mughlai Paratha
 Mughlai paratha is a traditional flatbread they serve in Bangladesh. It’s a rich dough, stuffed with eggs, cilantro, onions, chili peppers and sometimes ground chicken. It’s pretty hard to track down a recipe. This post is a culmination of verbal consultation with my mother, taste testing at Bengali fast food joints, and YouTube research. It’s a little bit ridiculous, I know, because it’s not exactly a 30 minute meal. There are several steps, practice and patience required. But I figured with the upcoming holiday weekend, we all might have some extra time to get in the kitchen (it’s cold outside!), roll up our sleeves, and maybe even involve the kiddies (my little ones LOVE getting their hands on the rolling pin and dough whenever they can). Also, there will no doubt be lots of leftovers that would work perfectly as a filling for these guys.
  This baby has been in the pipeline for a looooooong time. I’ve been meaning to make it for ages. I’ve been experimenting recently, since I’ve been getting to know my rolling pin a bit better (hello, pie season). I’ve tried making it with pizza dough (which was delicious but resembled more of a calzone than a traditional mughlai paratha) and all kinds of ghee to flour ratios and cooking techniques (shallow fry, deep fry). And this is the glorious, delicious result!
  Yes, that is my Fresh Tinted Lip Balm on my kitchen counter. Where else would it be?
  I would love to add more filling. It would make the paratha even more delicious. But I err on the side of less filling just to avoid leakage and it running all over the pan. You, though, are at liberty to experiment with as much filling as you’d like!
 For those of you who aren’t familiar with ghee, it’s delicious. It’s butter that’s been melted, milk solids removed. You do that by melting a stick (or two) of butter in a small saucepan, allowing the solids to drop to the bottom, then utilizing the melted fat on top. It’s slightly nutty and has a higher burning temperature than regular butter, which is what makes it so great for this recipe (among others: pancakes, mashed potatoes, and so on). So I hope you guys give this recipe a try! And don’t be discouraged if it doesn’t come out super thin the first time. Practice makes perfect!
P.S. I utilized the leftovers from my last Roast Chicken.
P.P.S. How great is this manicure? It’s not gel and it still looks great 1 week later! Check out Primp and Polish at their pop up shop on Crosby street, right next to Bloomingdales.
Ingredients
- 3 cups all purpose flour
- 1 cup whole wheat flour
- 2 tbsps ghee (that’s clarified butter – preferable) or oil plus more for the pan
- 2 tsps salt
- 1 1/2 cups water
- 3 large eggs
- 1/2 small red onion, diced
- 1 green chili or jalapeno, minced (or more if you can handle the heat)
- a handful of cilantro or parsley, minced (cilantro is preferable)
- 3/4 cup chicken or 1 chicken breast, diced
- a pinch of salt
Directions
- In a large bowl or stand mixer, combine both flours, ghee or oil, salt and water. Combine with hands or with paddle attachment at low speed until combined. If it looks wet, don’t worry. You’ll be adding more flour when rolling it out. Cover with plastic wrap and let rest while you prepare the other ingredients (20 minutes to 2 hours).
- Whisk eggs, onion, green chili or jalapeno, cilantro and chicken together in a separate bowl.
- Sprinkle a handful of flour onto a clean surface for rolling out the dough. Grab a handful (baseball size) and roll it around in the flour. Pat with your hand to flatten to a disk. Grab your rolling pin and aggressively roll back and forth a couple of times. Rotate 90 degrees and repeat. Do this about two more times. Then, get it really, really thin by rolling outwards on all sides. You’re supposed to get it to look like a rectangle but I am hopeless. Thin and oblong is good enough for me!
- Warm a tsp of ghee or oil in a frying pan over medium heat. Add two tablespoons of the chicken/egg mixture on top of the paratha. Pull the far side towards you, covering the filling halfway. Pull the bottom side up to meet and slightly overlap the first side, like an envelope. Fold over the right and left sides. Ensure the paratha is sealed. Place in hot skillet. Cook for about 3 minutes on each side, adjusting the heat as necessary. Increase cooking time if your paratha is not as thin as it should be.
- Serve with a salad, pico de gallo or Sriracha.
