
Patishapta pitha was the rare pitha I would eat growing up. Maybe it’s a regional thing, but I just did not enjoy most pithas I had. [Pitha: Bengali dumplings. Usually made out of rice flour. Sometimes a combo of rice flour and wheat flour. And in my experience, dry af most of the time. Sometimes sweet with a coconut or jaggery filling. And, as I found out after marriage, sometimes plain, eaten with curry.]
Coconut Jaggery Hand Pies (Narkeler Pitha)

Pitha – a Bengali style sweet dumpling. Narkeler pitha – dumpling filled with coconut and date sap. Usually the dough is made with rice flour and water(?), filled with the coconut mixture, then deep fried. I never learned how to make pitha, but I did teach myself how to make hand pies.
Rasmalai Ricotta Cheesecake
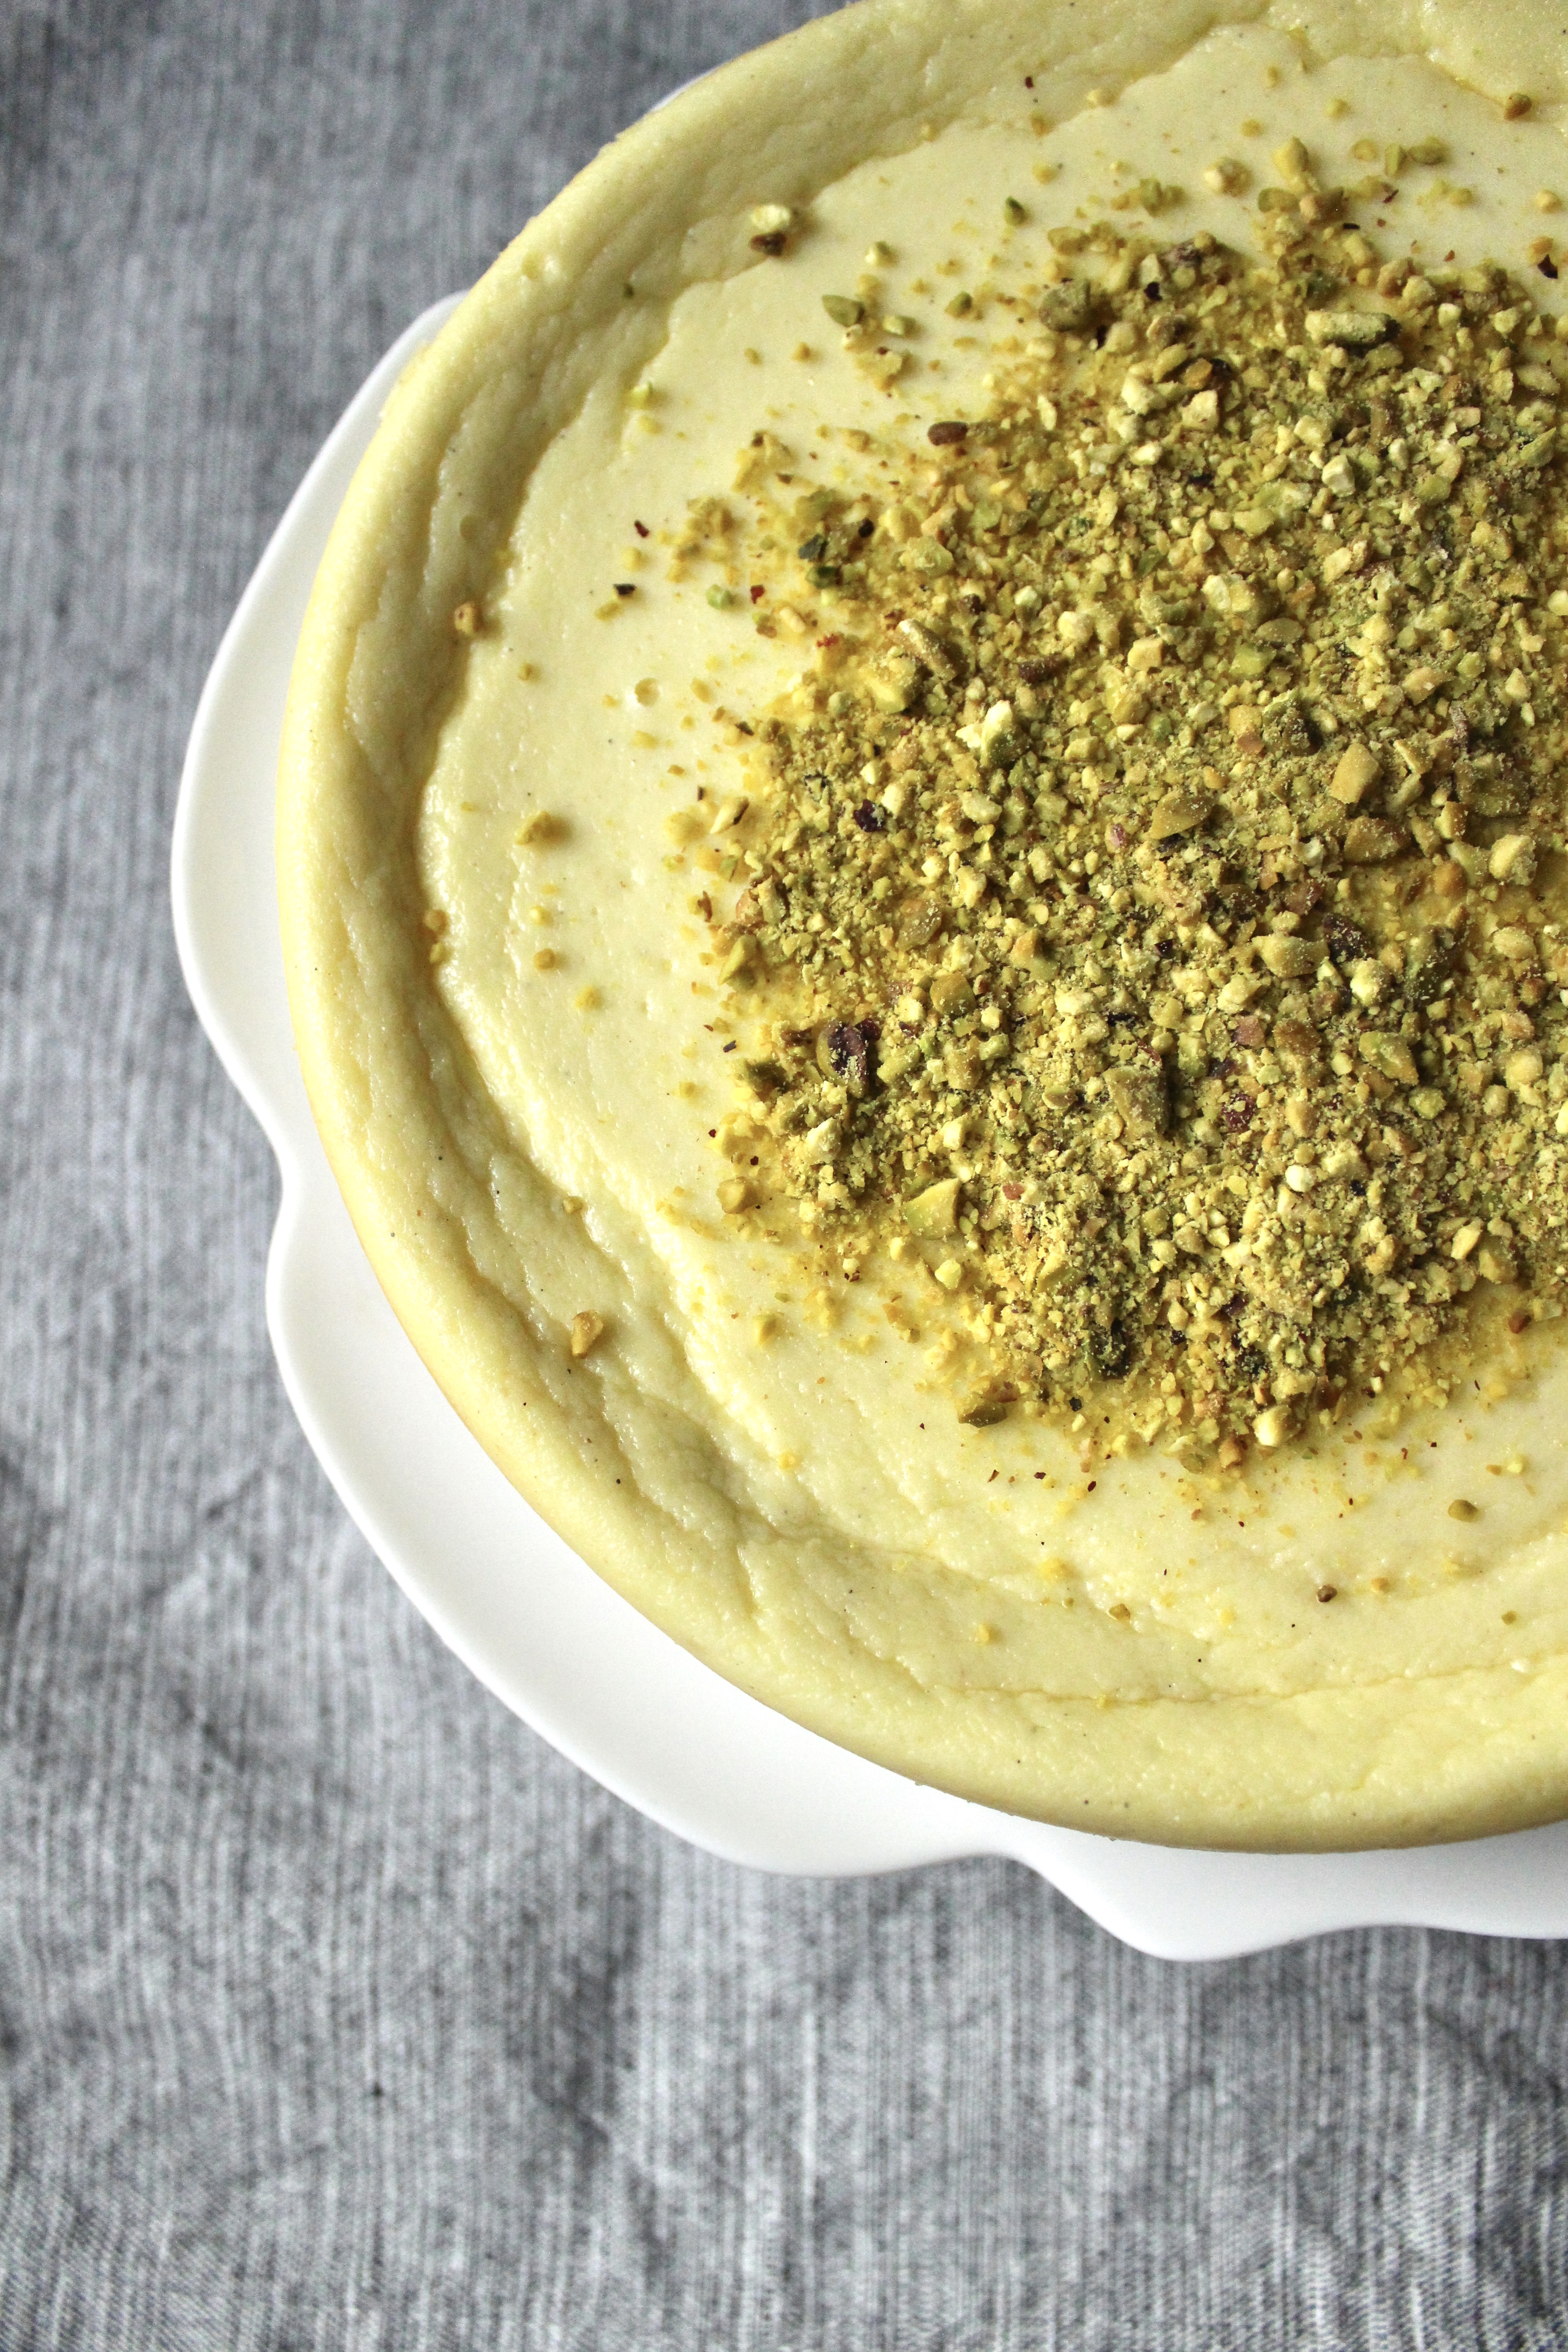
I had a lemon ricotta cheese in Sorrento that was a game changer. Compared to dense, tangy, NY style cheesecake (which is delicious in its own rite), this was so light, so brightly flavored with regional citrus, it was the most heavenly thing I had tasted during my 4 months in Italy (in addition to cinnamon gelato, rosemary potato pizza, and fresh ricotta calzone).
Strawberry Meringue Hearts
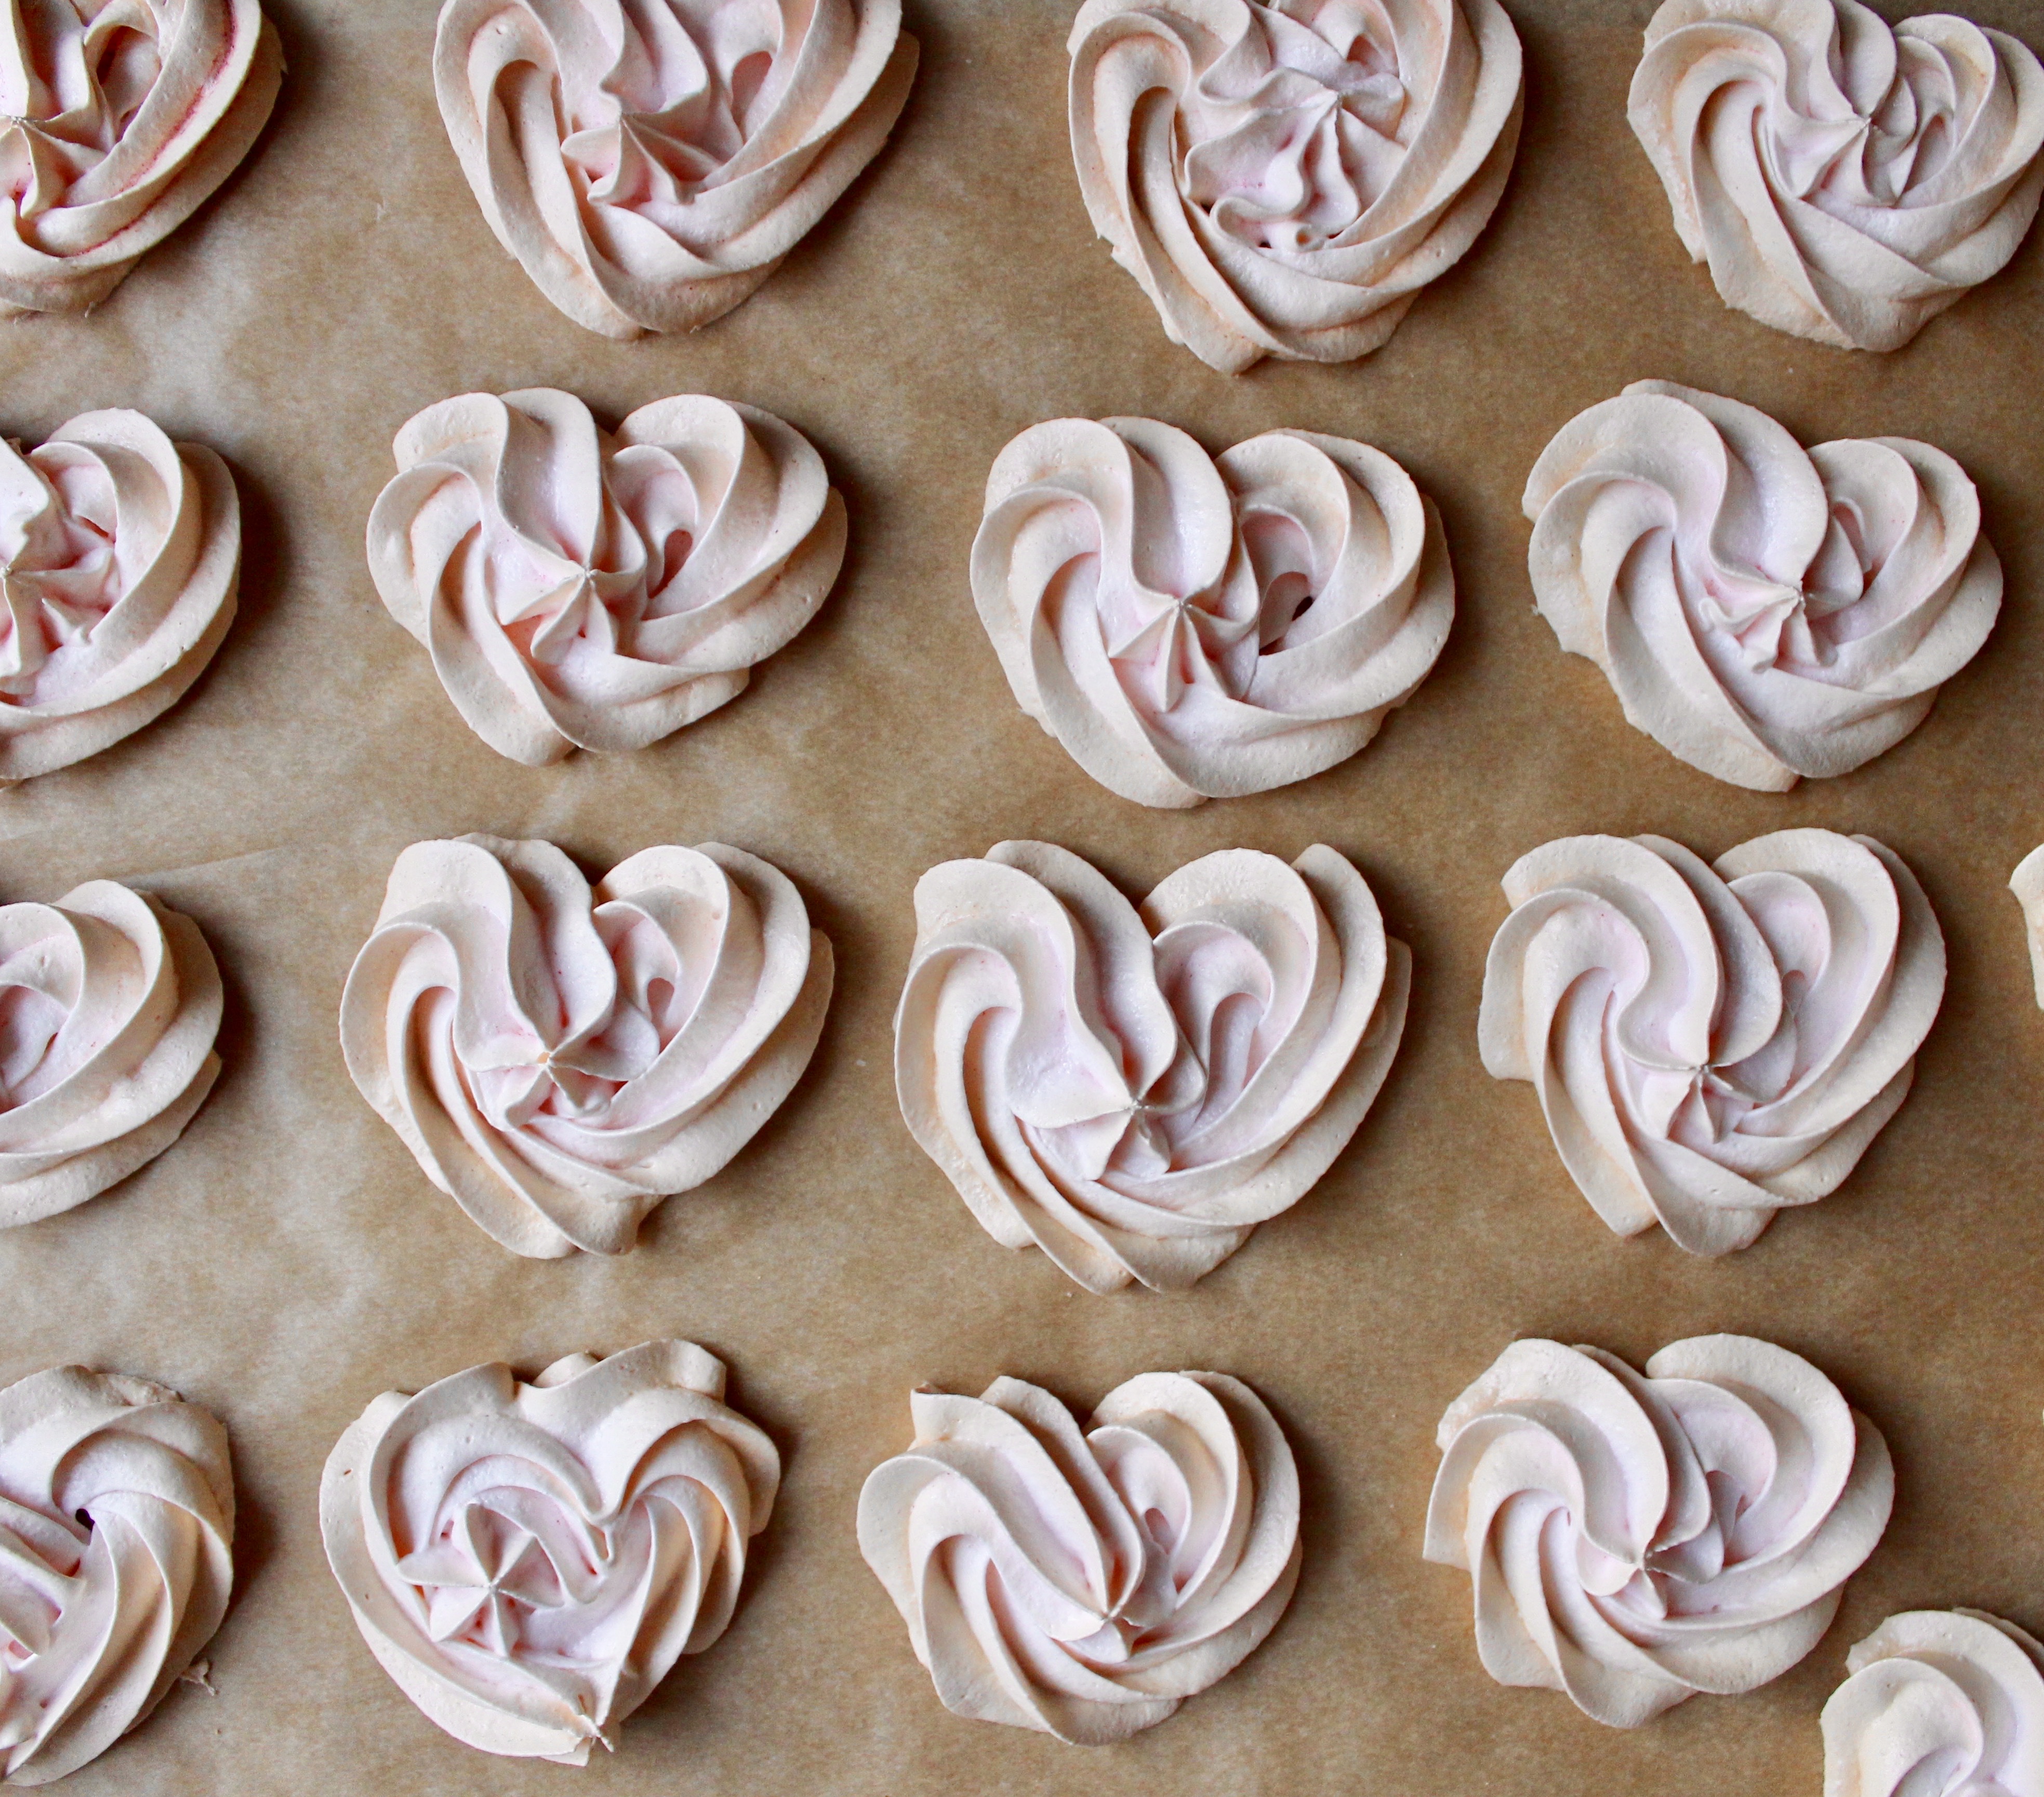
Just when you thought she couldn’t produce another great recipe, she pulls one out just to prove you wrong. I’m referring to the OG Deb Perelman and a recipe from her new book, Smitten Kitchen Every Day. She calls them strawberry cloud cookies – they are essentially meringues flavored with a unique ingredient – strawberry powder, rather than the traditional vanilla extract. She dollops the meringue onto cookie sheets before baking for 30-35 min. I piped mine with an open star tip into heart shapes (it is February after all) and baked them for a shorter time, since they are flatter meringues.
Chocolate Pudding or Pastry Cream

I had a revelation this week: pastry cream is basically pudding, with perhaps an egg yolk or two more. Both start off with a milk/sugar base, thickened over the stove top using some combination of cornstarch/flour/egg yolks then flavored with vanilla, chocolate or any other flavor of choice. This recipe, in my opinion, can pass for both.
Green Tea Wafer Cake

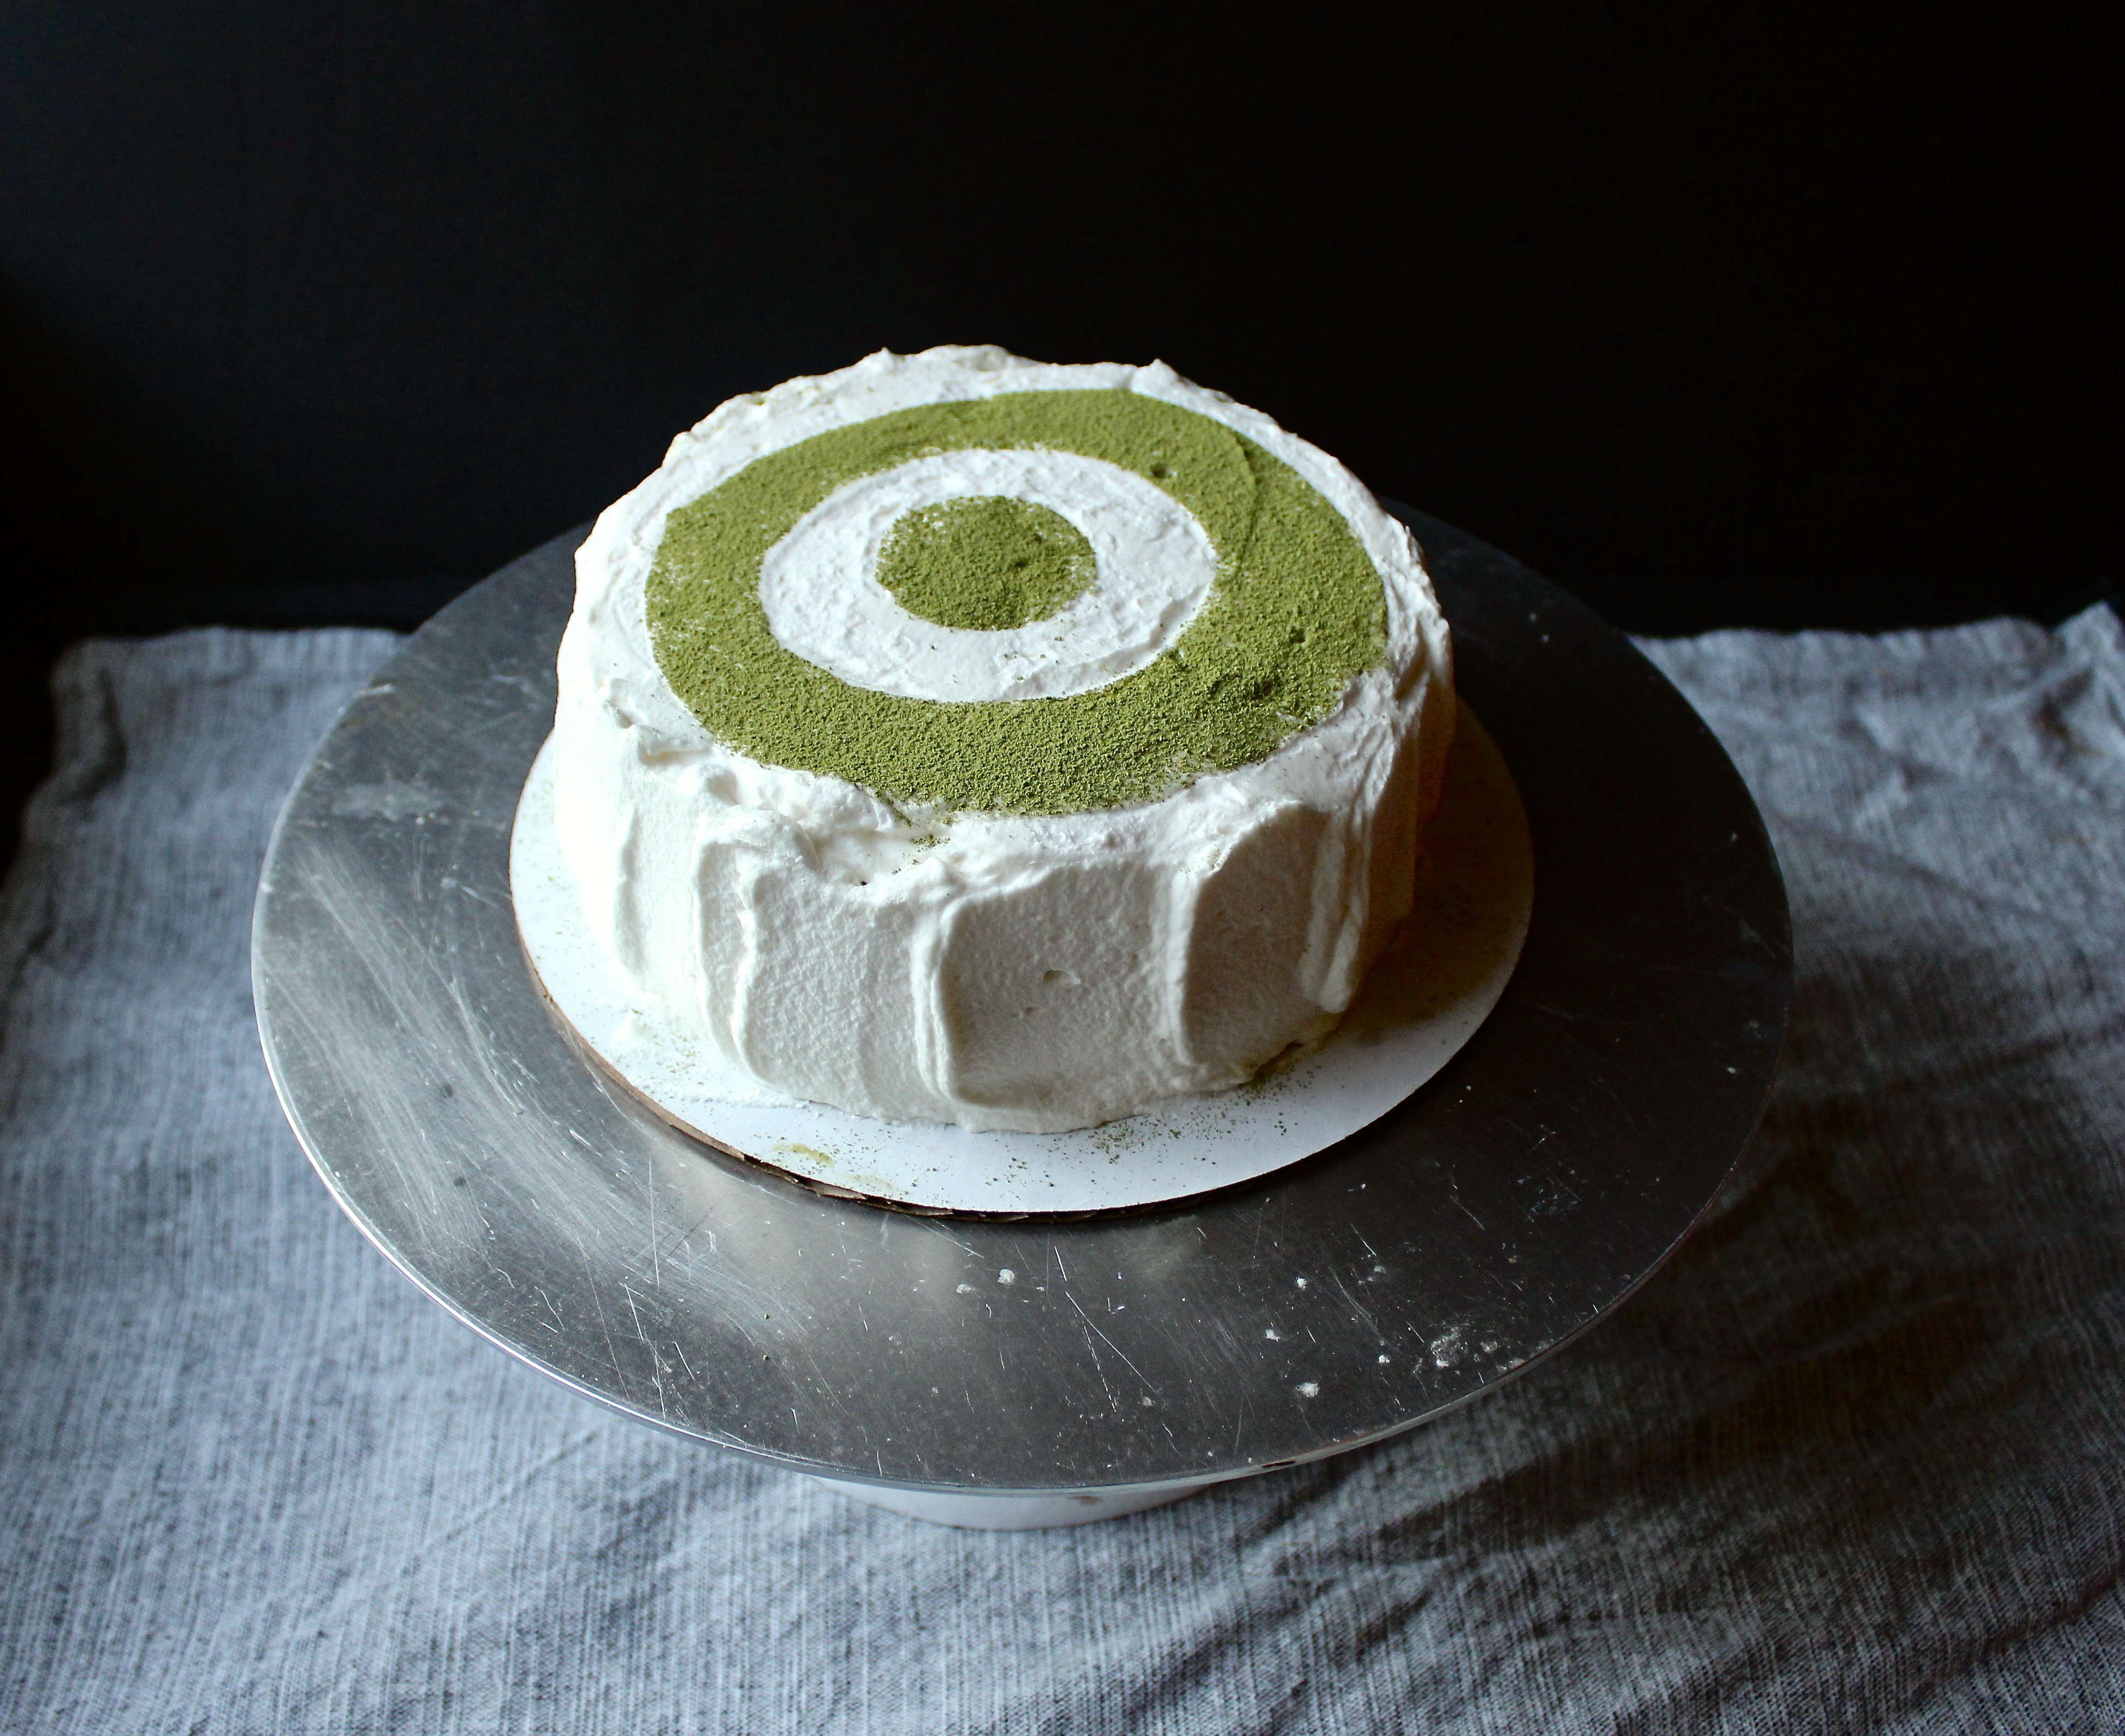
If it looks like a green tea crepe cake, it smells like a green tea crepe cake, and tastes like a green tea cake, it still may not be a green tea crepe cake.
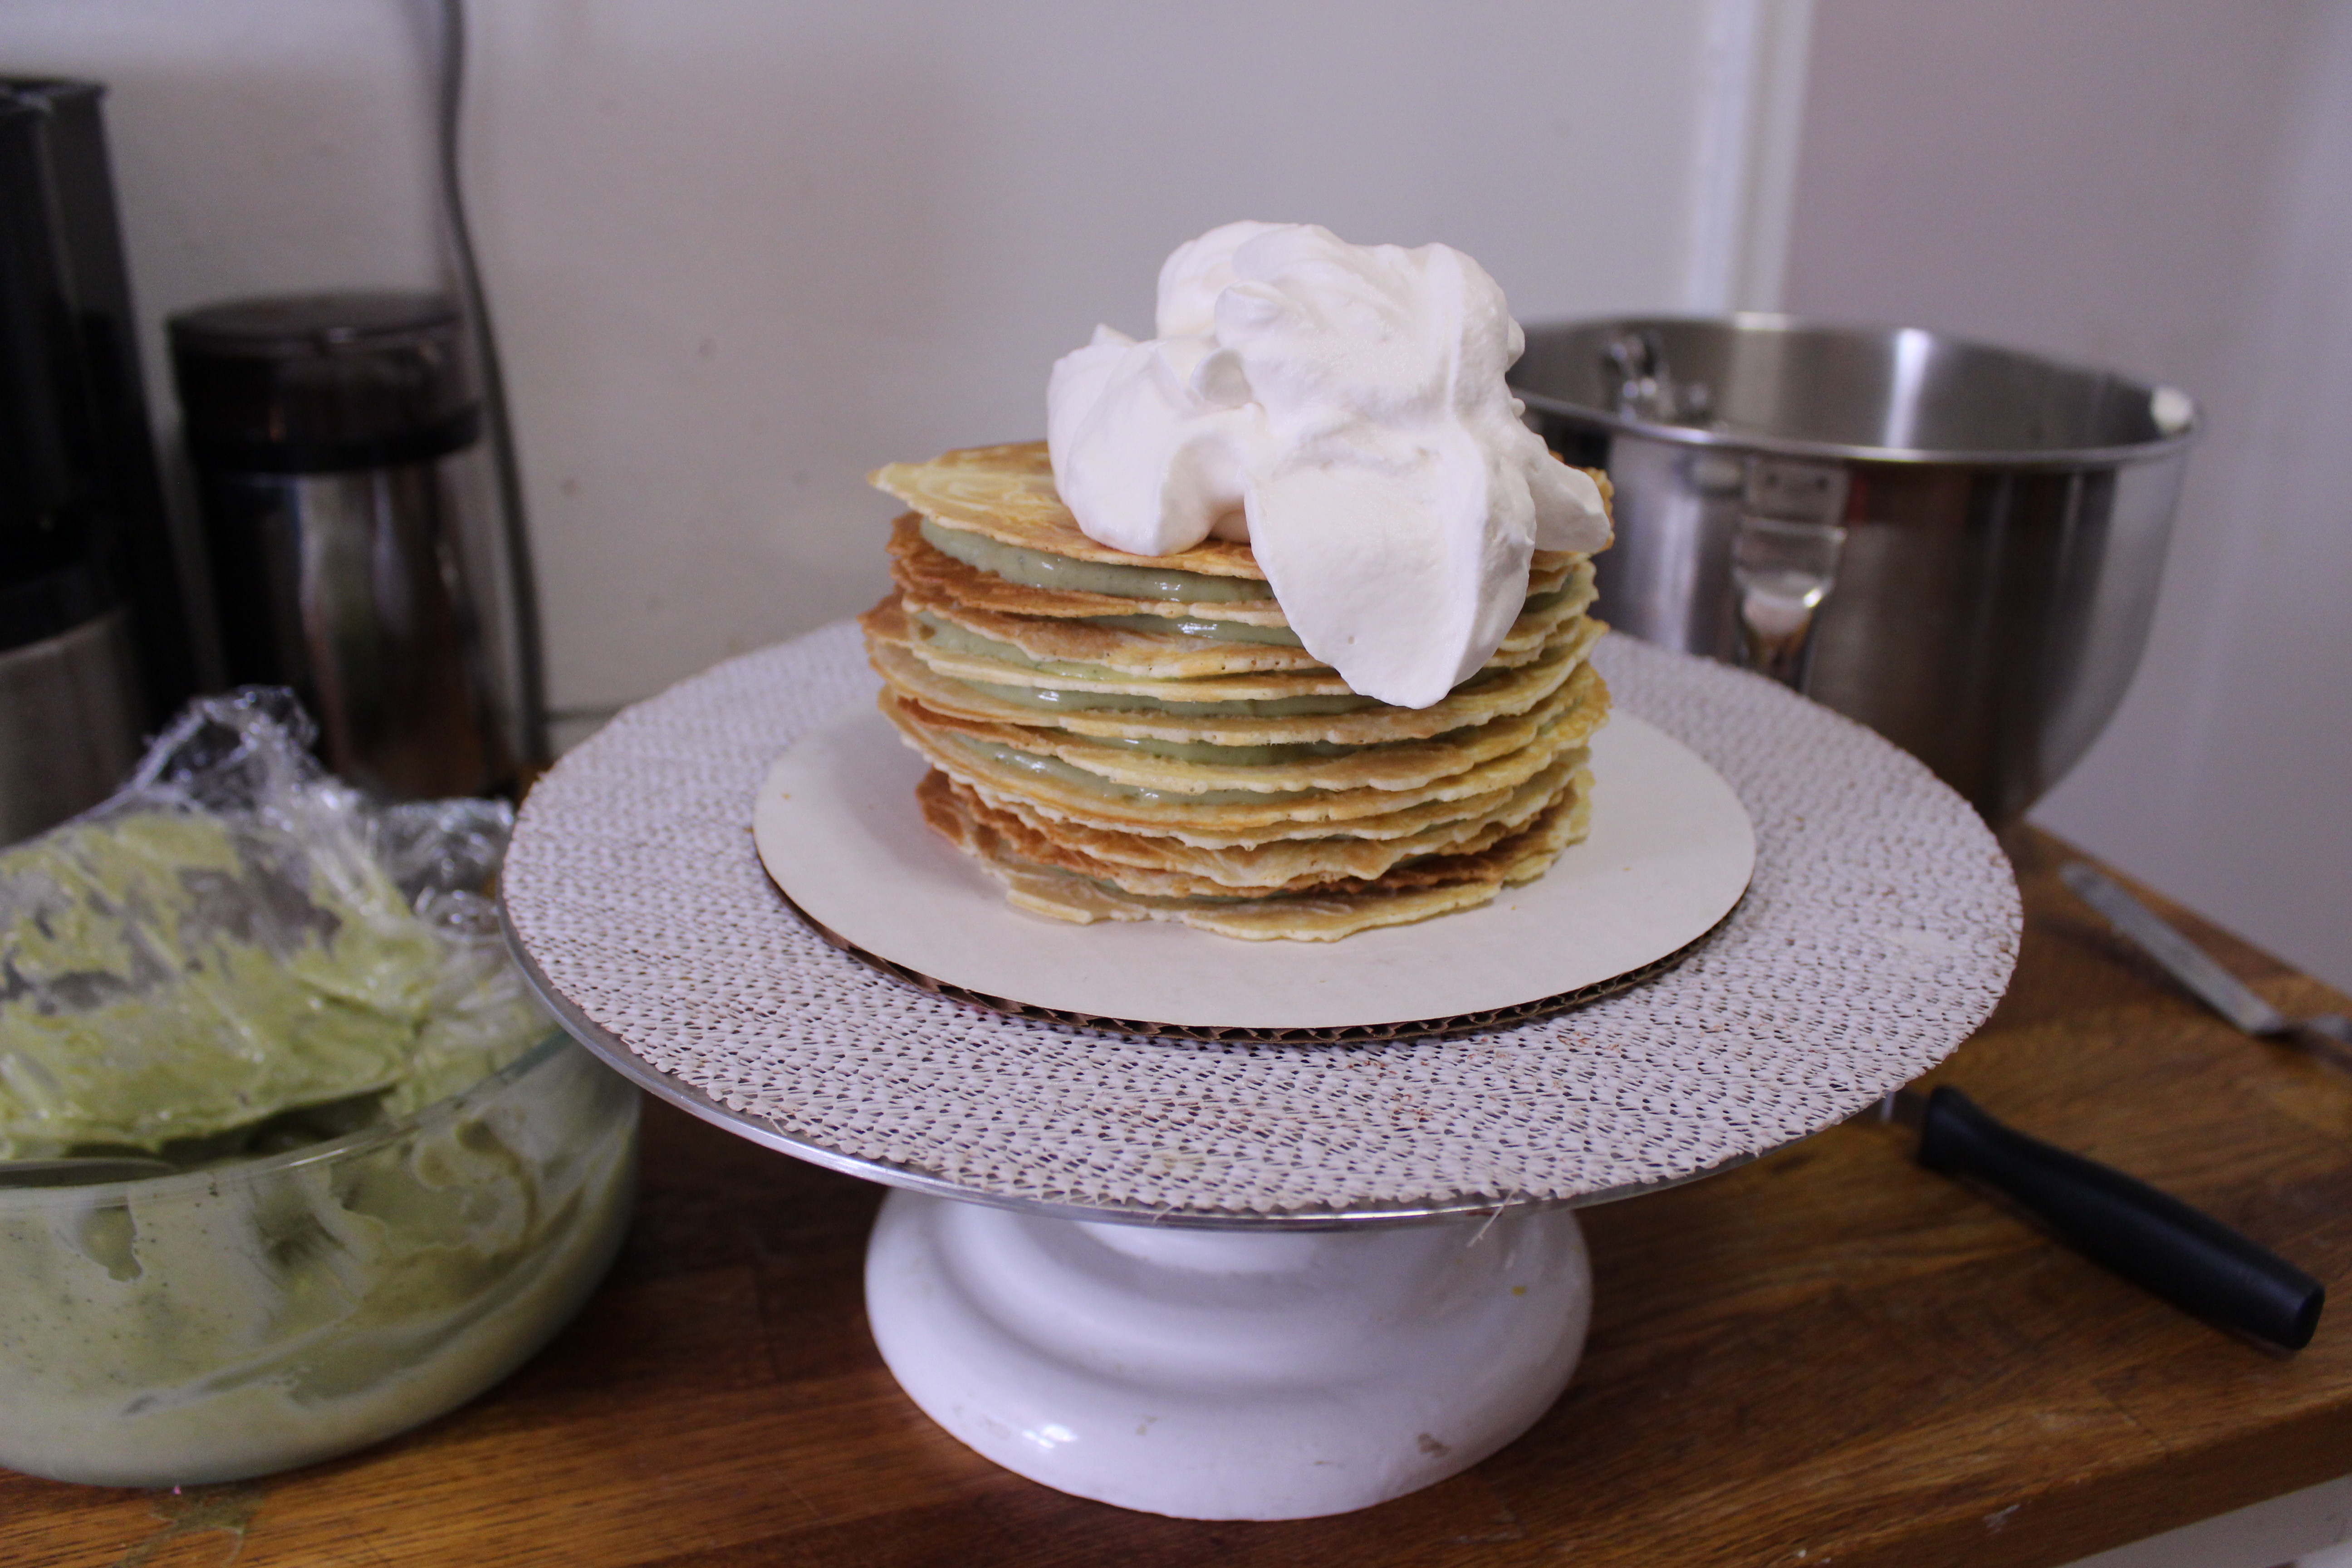
Truth is, I’ve never had a green tea crepe cake. And even though this looks like the famous Lady M green tea crepe cake, there are no crepes here. Just crisp wafers made with my trusty krumkake maker, matcha pastry cream and whipped cream.
I didn’t use any one recipe for this – I kind of threw things together that I thought might work. And while this worked out beautifully (though I did have a near disaster when the whole thing almost slid off as I was transferring it to the fridge! Pastry cream is slick, yo), I’m already dreaming up alternate versions of this: nutella swiss meringue buttercream filling? Salted caramel mousse?
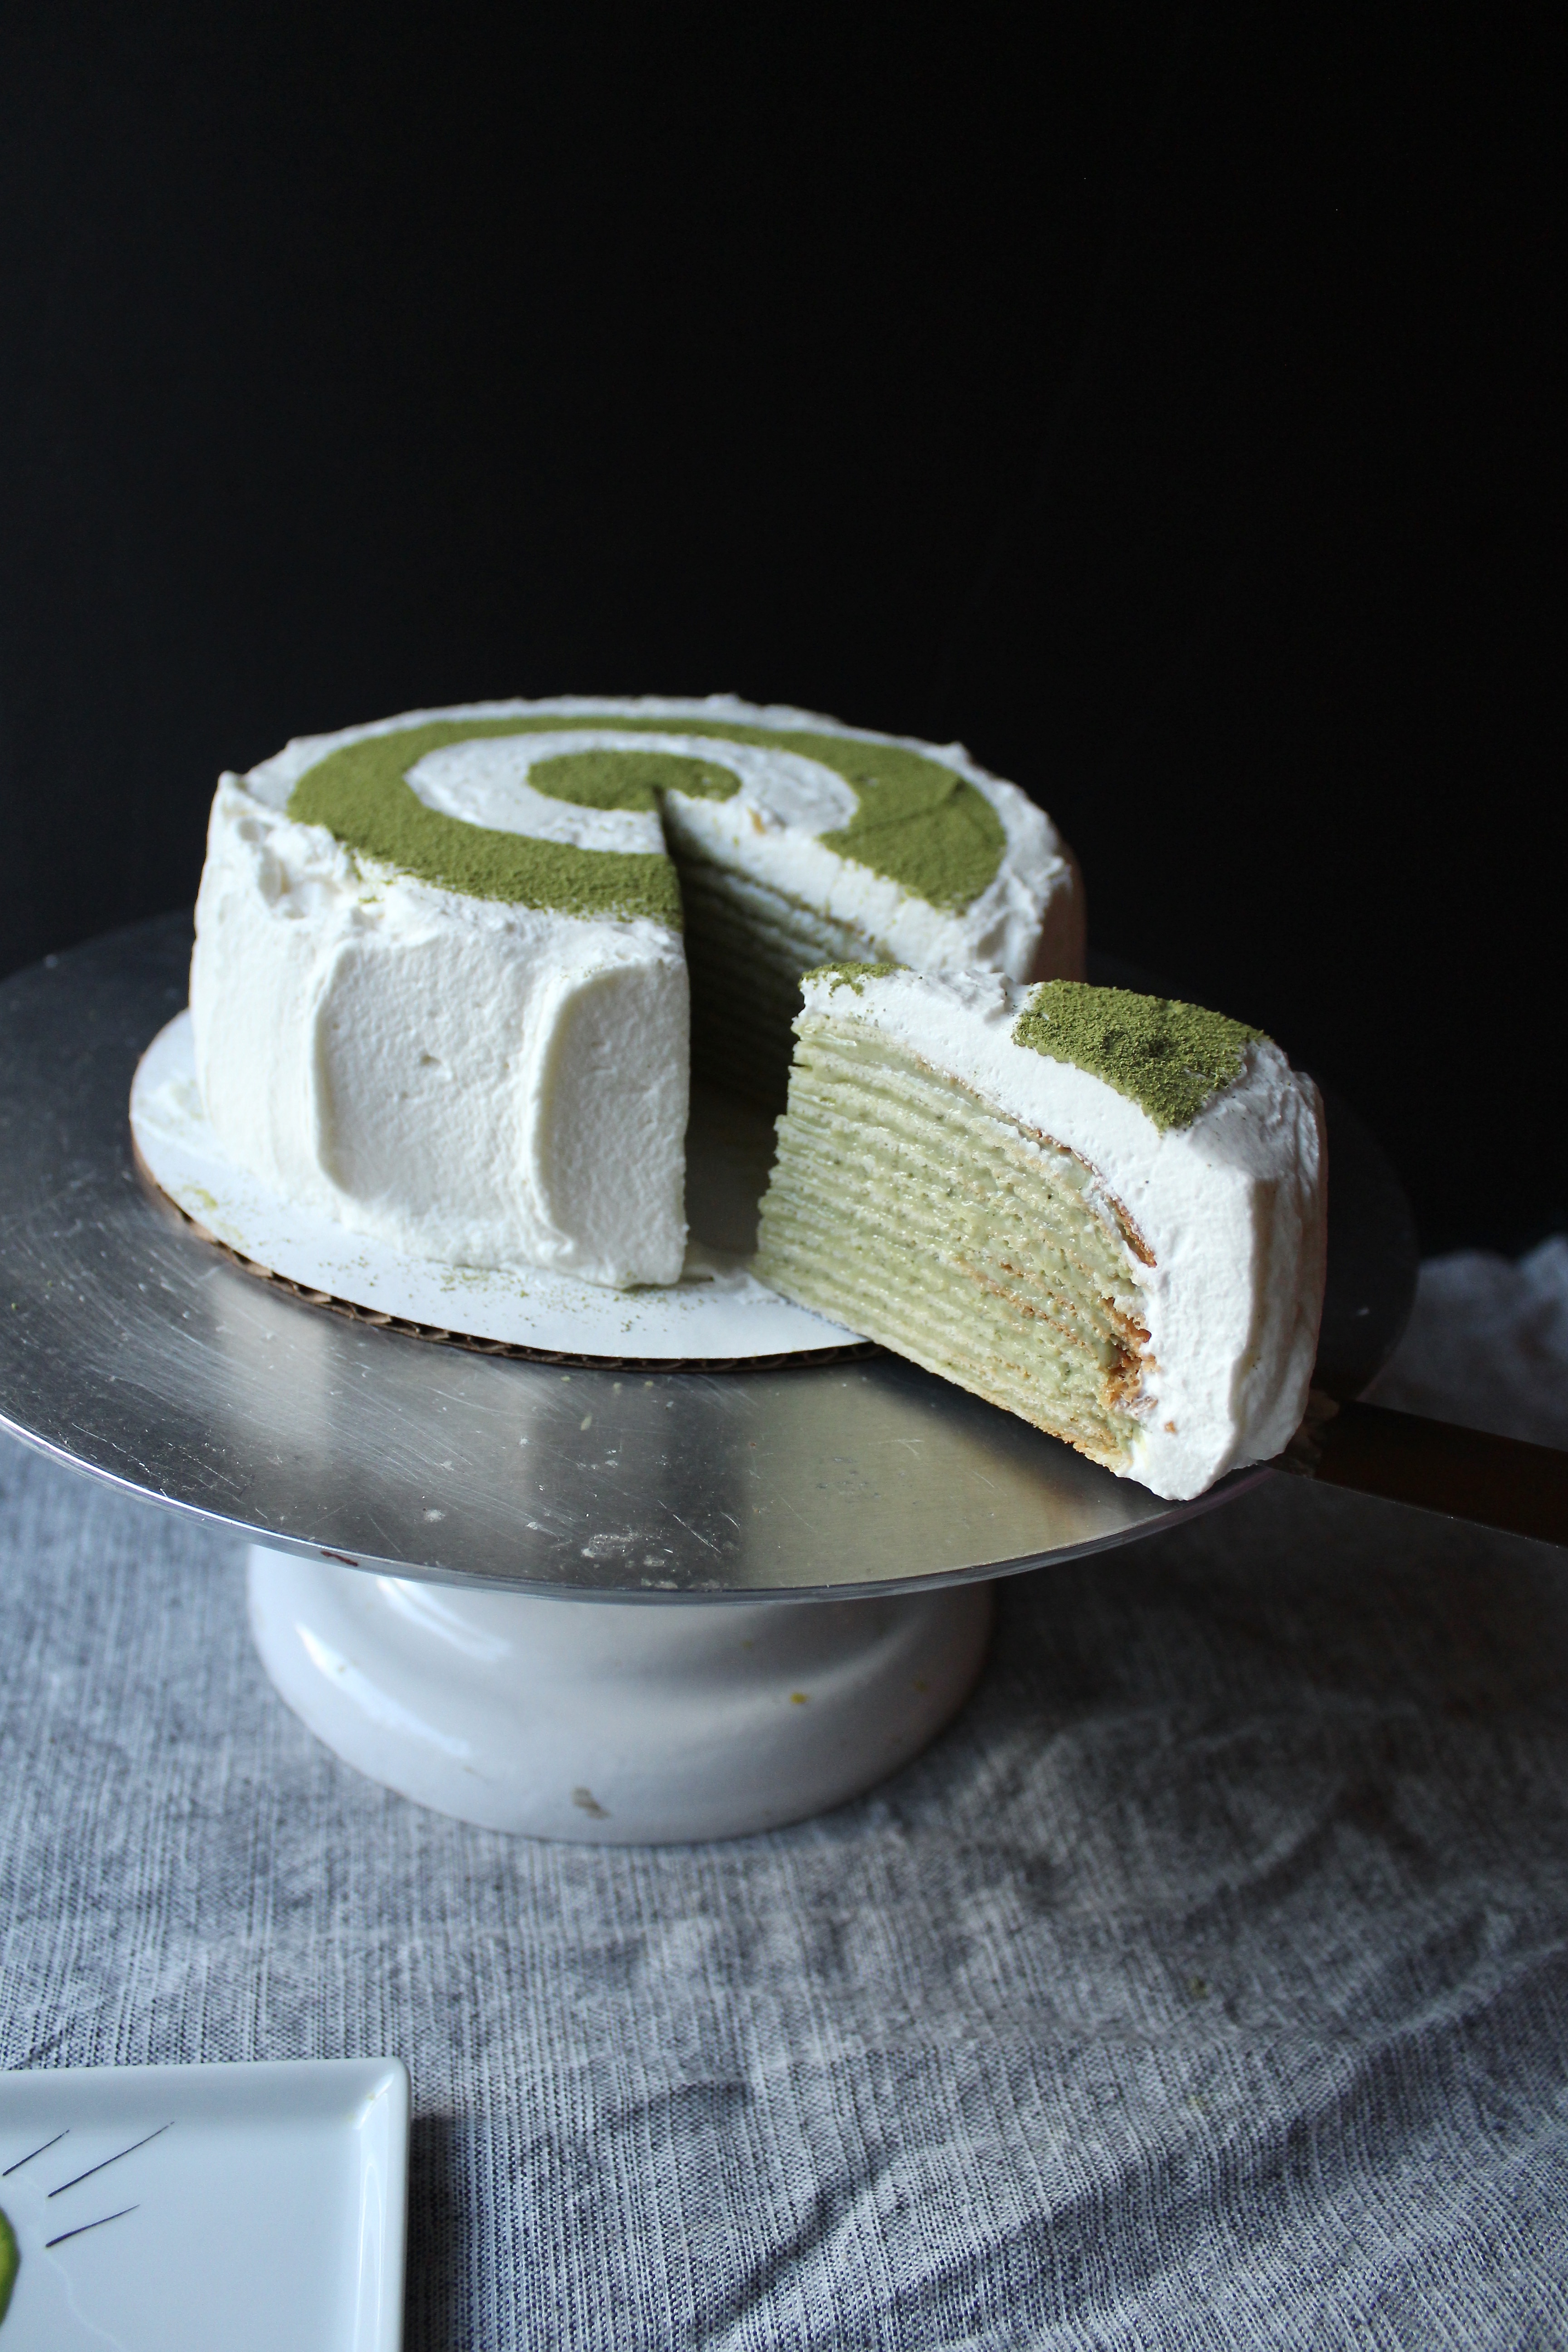
Matcha used to be difficult to find – now you can find it at costco! I don’t use it that frequently so I’m still working off of the batch I bought a while ago.
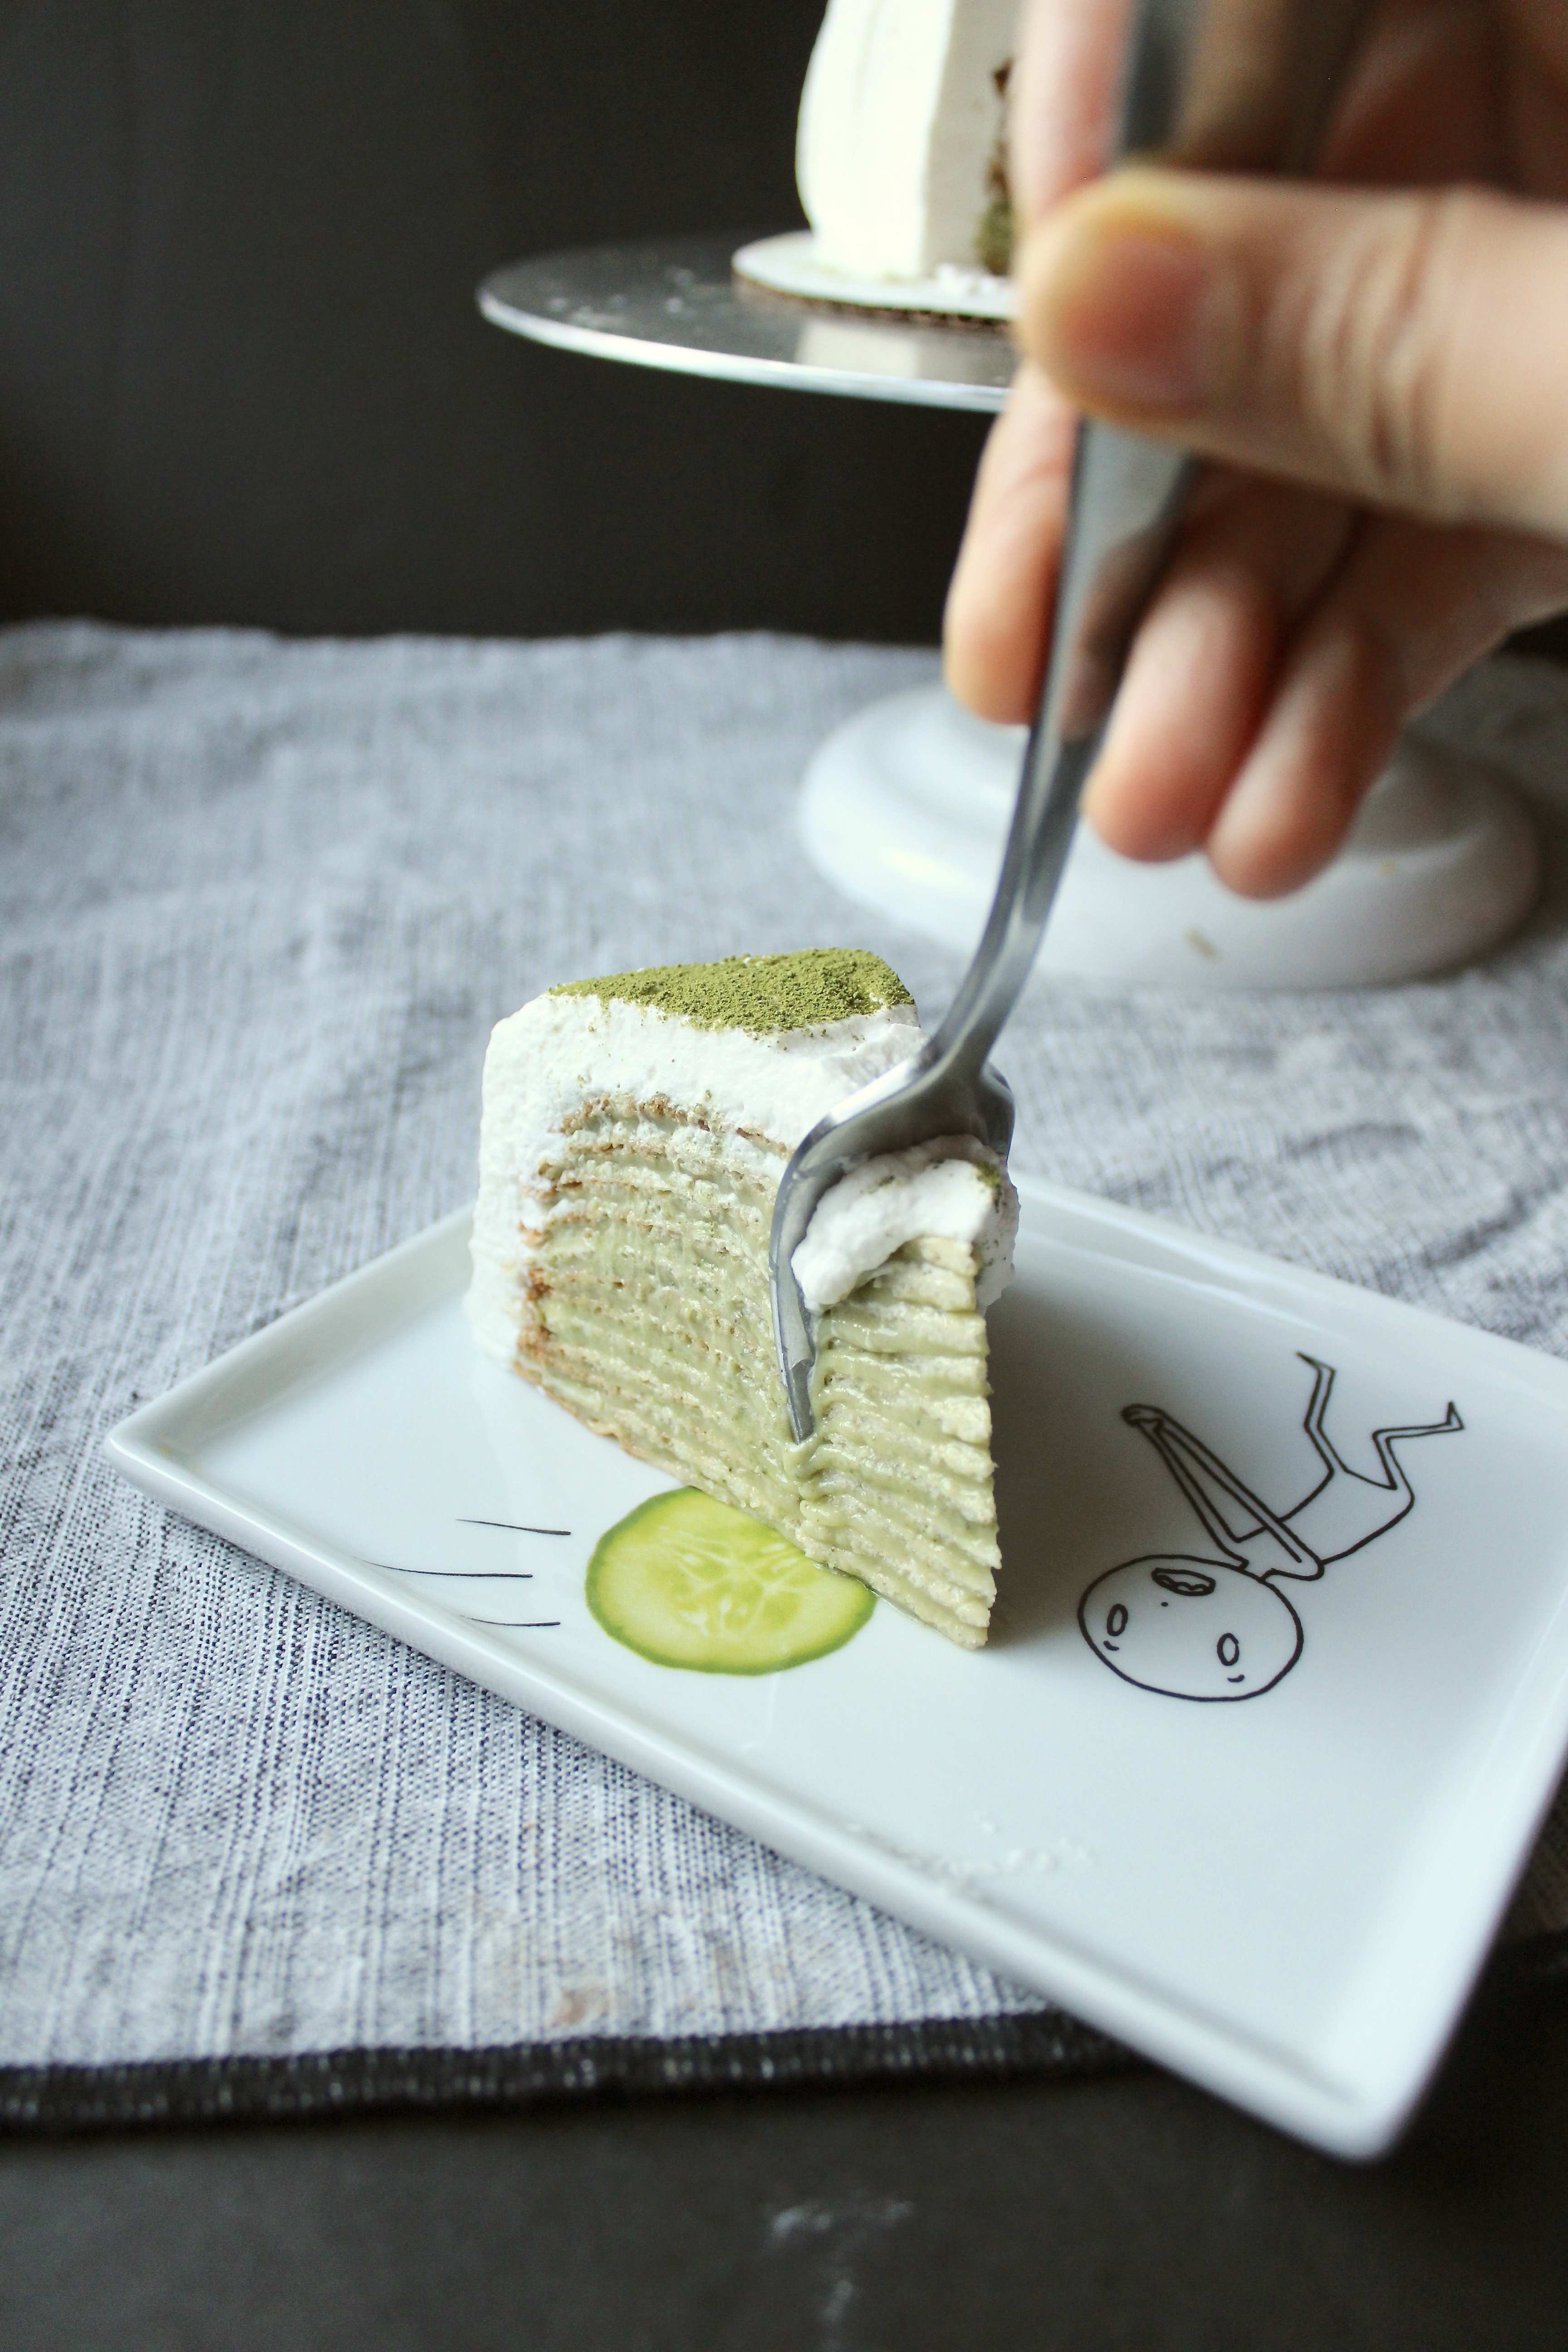
Hope you enjoy! And if you don’t have a krumkake maker and don’t feel like buying one and make it with crepes instead, please let me know!
Pastry cream recipe adapted from King Arthur Flour.
Ingredients
- 12-14 6in round wafers
- 3 cups whole milk
- 3/4 cup sugar plus 3 tbsp
- 1/4 tsp salt
- 2 tsps vanilla extract, divided
- 1/4 cup cornstarch
- 1 tbsp all purpose flour
- 4 egg yolks
- 4 tbsp unsalted butter
- 1 1/2 cups heavy cream
- 1 tbsp matcha plus extra for garnish
Directions
1. Make the pastry cream: heat 2 1/2 cups milk, 3/4 cup sugar and salt in a medium saucepan over medium heat. Stir occasionally until sugar’s dissolved. In a medium bowl, whisk together 1/2 cup milk, egg yolks, corn starch and flour. When the milk is hot and sugar is dissolved, slowly add about a cup of the hot milk mixture to the egg mixture, whisking constantly. Add the tempered egg mixture back to the saucepan. Whisk constantly over medium heat until it starts to thicken. Remove from heat, continue stirring, and add the butter one tablespoon at a time. Add the vanilla and one tablespoon of matcha, sifted. Pour into a heat proof bowl, place a piece of plastic wrap over the surface, touching the cream so it doesn’t form a skin. Refrigerate until cool and set, several hours or overnight.
2. Make the wafers but instead of rolling into a cone shape, leave flat.
3. On an 8in cake board, place a small amount of cream and spread it thin. Place one wafer on the board, then one tablespoon of the pastry cream and spread it across. Repeat until all the pastry cream is used up. Carefully transfer to refrigerator and chill until set – at least 2 hours.
4. In a large bowl whip cream with 3 tbsp sugar until soft peaks form. Add vanilla and whip until combined. Take out cake from refrigerator and dollop generously on cake, spread to the edges, adding more onto the sides until it’s all covered. Garnish with the extra matcha. Cut out concentric circles out of parchment and place atop cake to get the pattern pictured above.
Strawberry Swiss Meringue Buttercream
I find myself craving less and less the city’s top dessert spots. I used to LIVE for post dinner dessertscapades. But these days I wonder, why spend $11 on a dessert that you can whip up at home, exactly to your liking, and share a pretty picture of it on IG? Ok, maybe we’re not all in the same boat here. But lately, when I go out, chocolates desserts aren’t chocolately enough, flavor combinations that were fun for a while started feeling like a bit of a reach (black lava salt? spicy chocolate?).
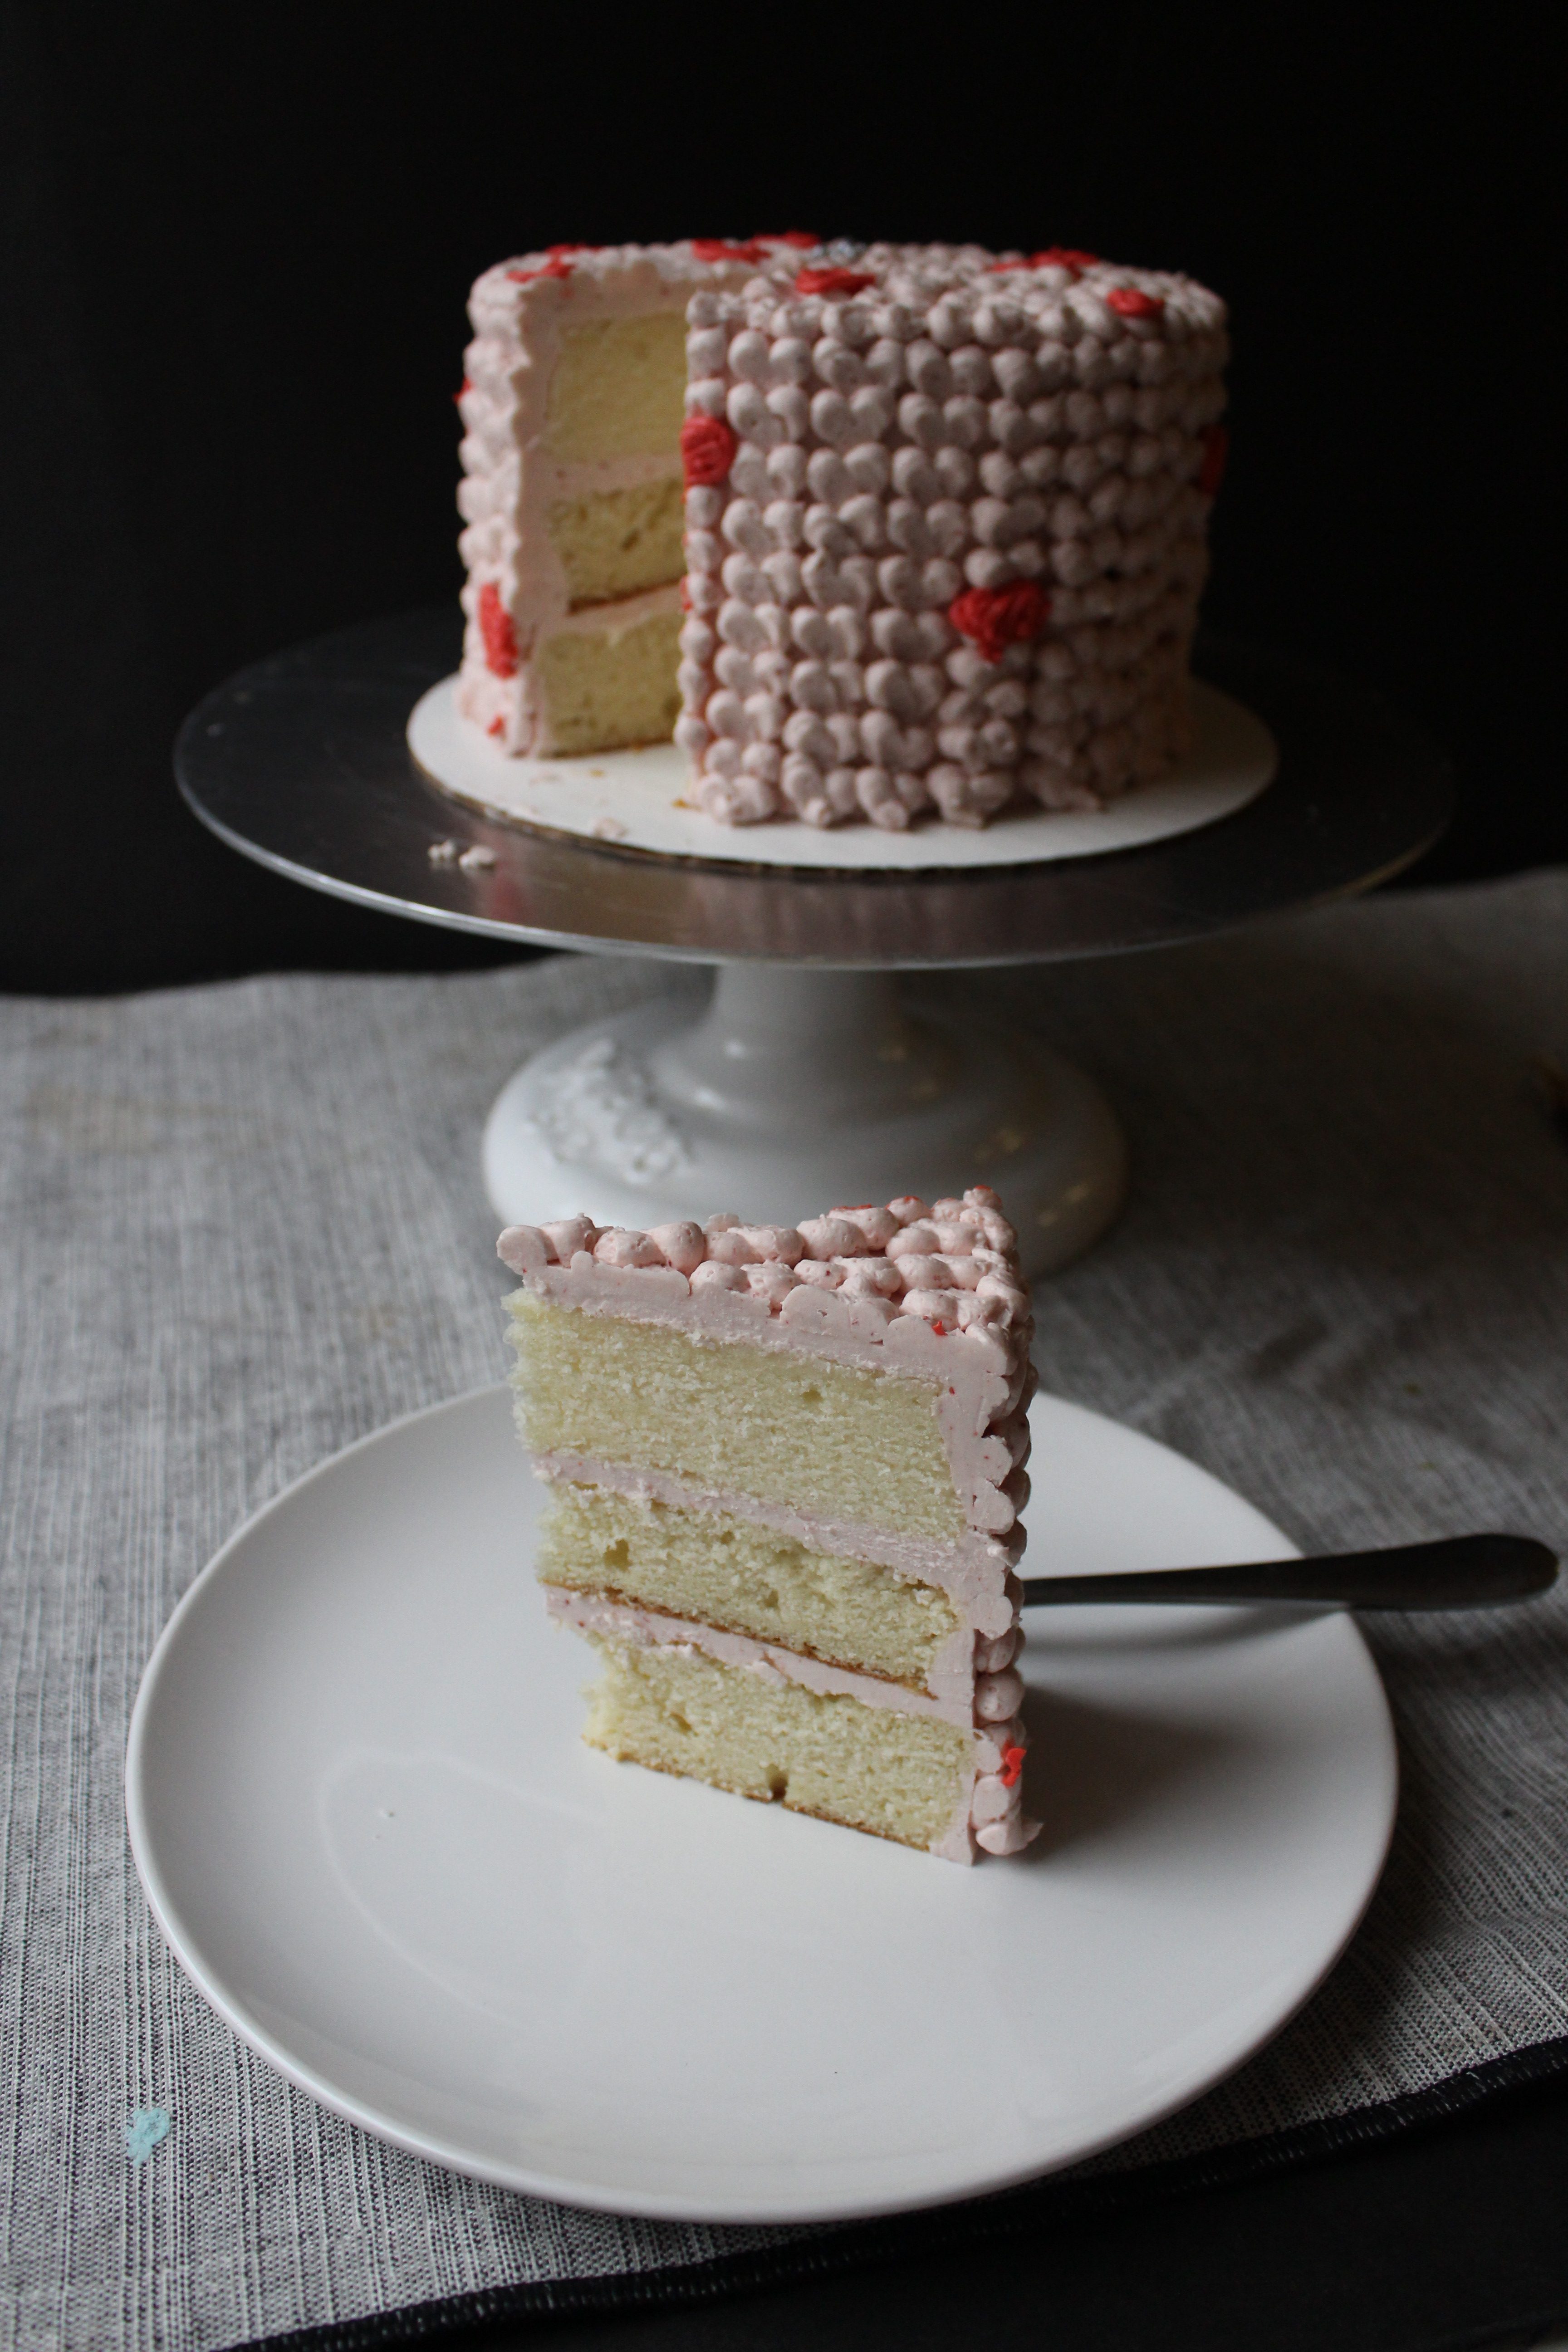
I want to y’all to be in the boat with me. Make fabulous desserts, tailored to your tastes. Make your dinner guests oooh and ahhhhh. We’re on our way there. Today, I’m sharing strawberry swiss meringue buttercream. A naturally strawberry flavored, sophisticated topping for cakes, mousses, trifles and the like. It’s as delicious on chocolate cake as it is on vanilla.

I have so many other desserts in the pipeline I want to share with you. I want your suggestions! What do you want to see? A milk tea tres leches? A green tea mousse cake? A star anise/cinnamon citrus pound cake?
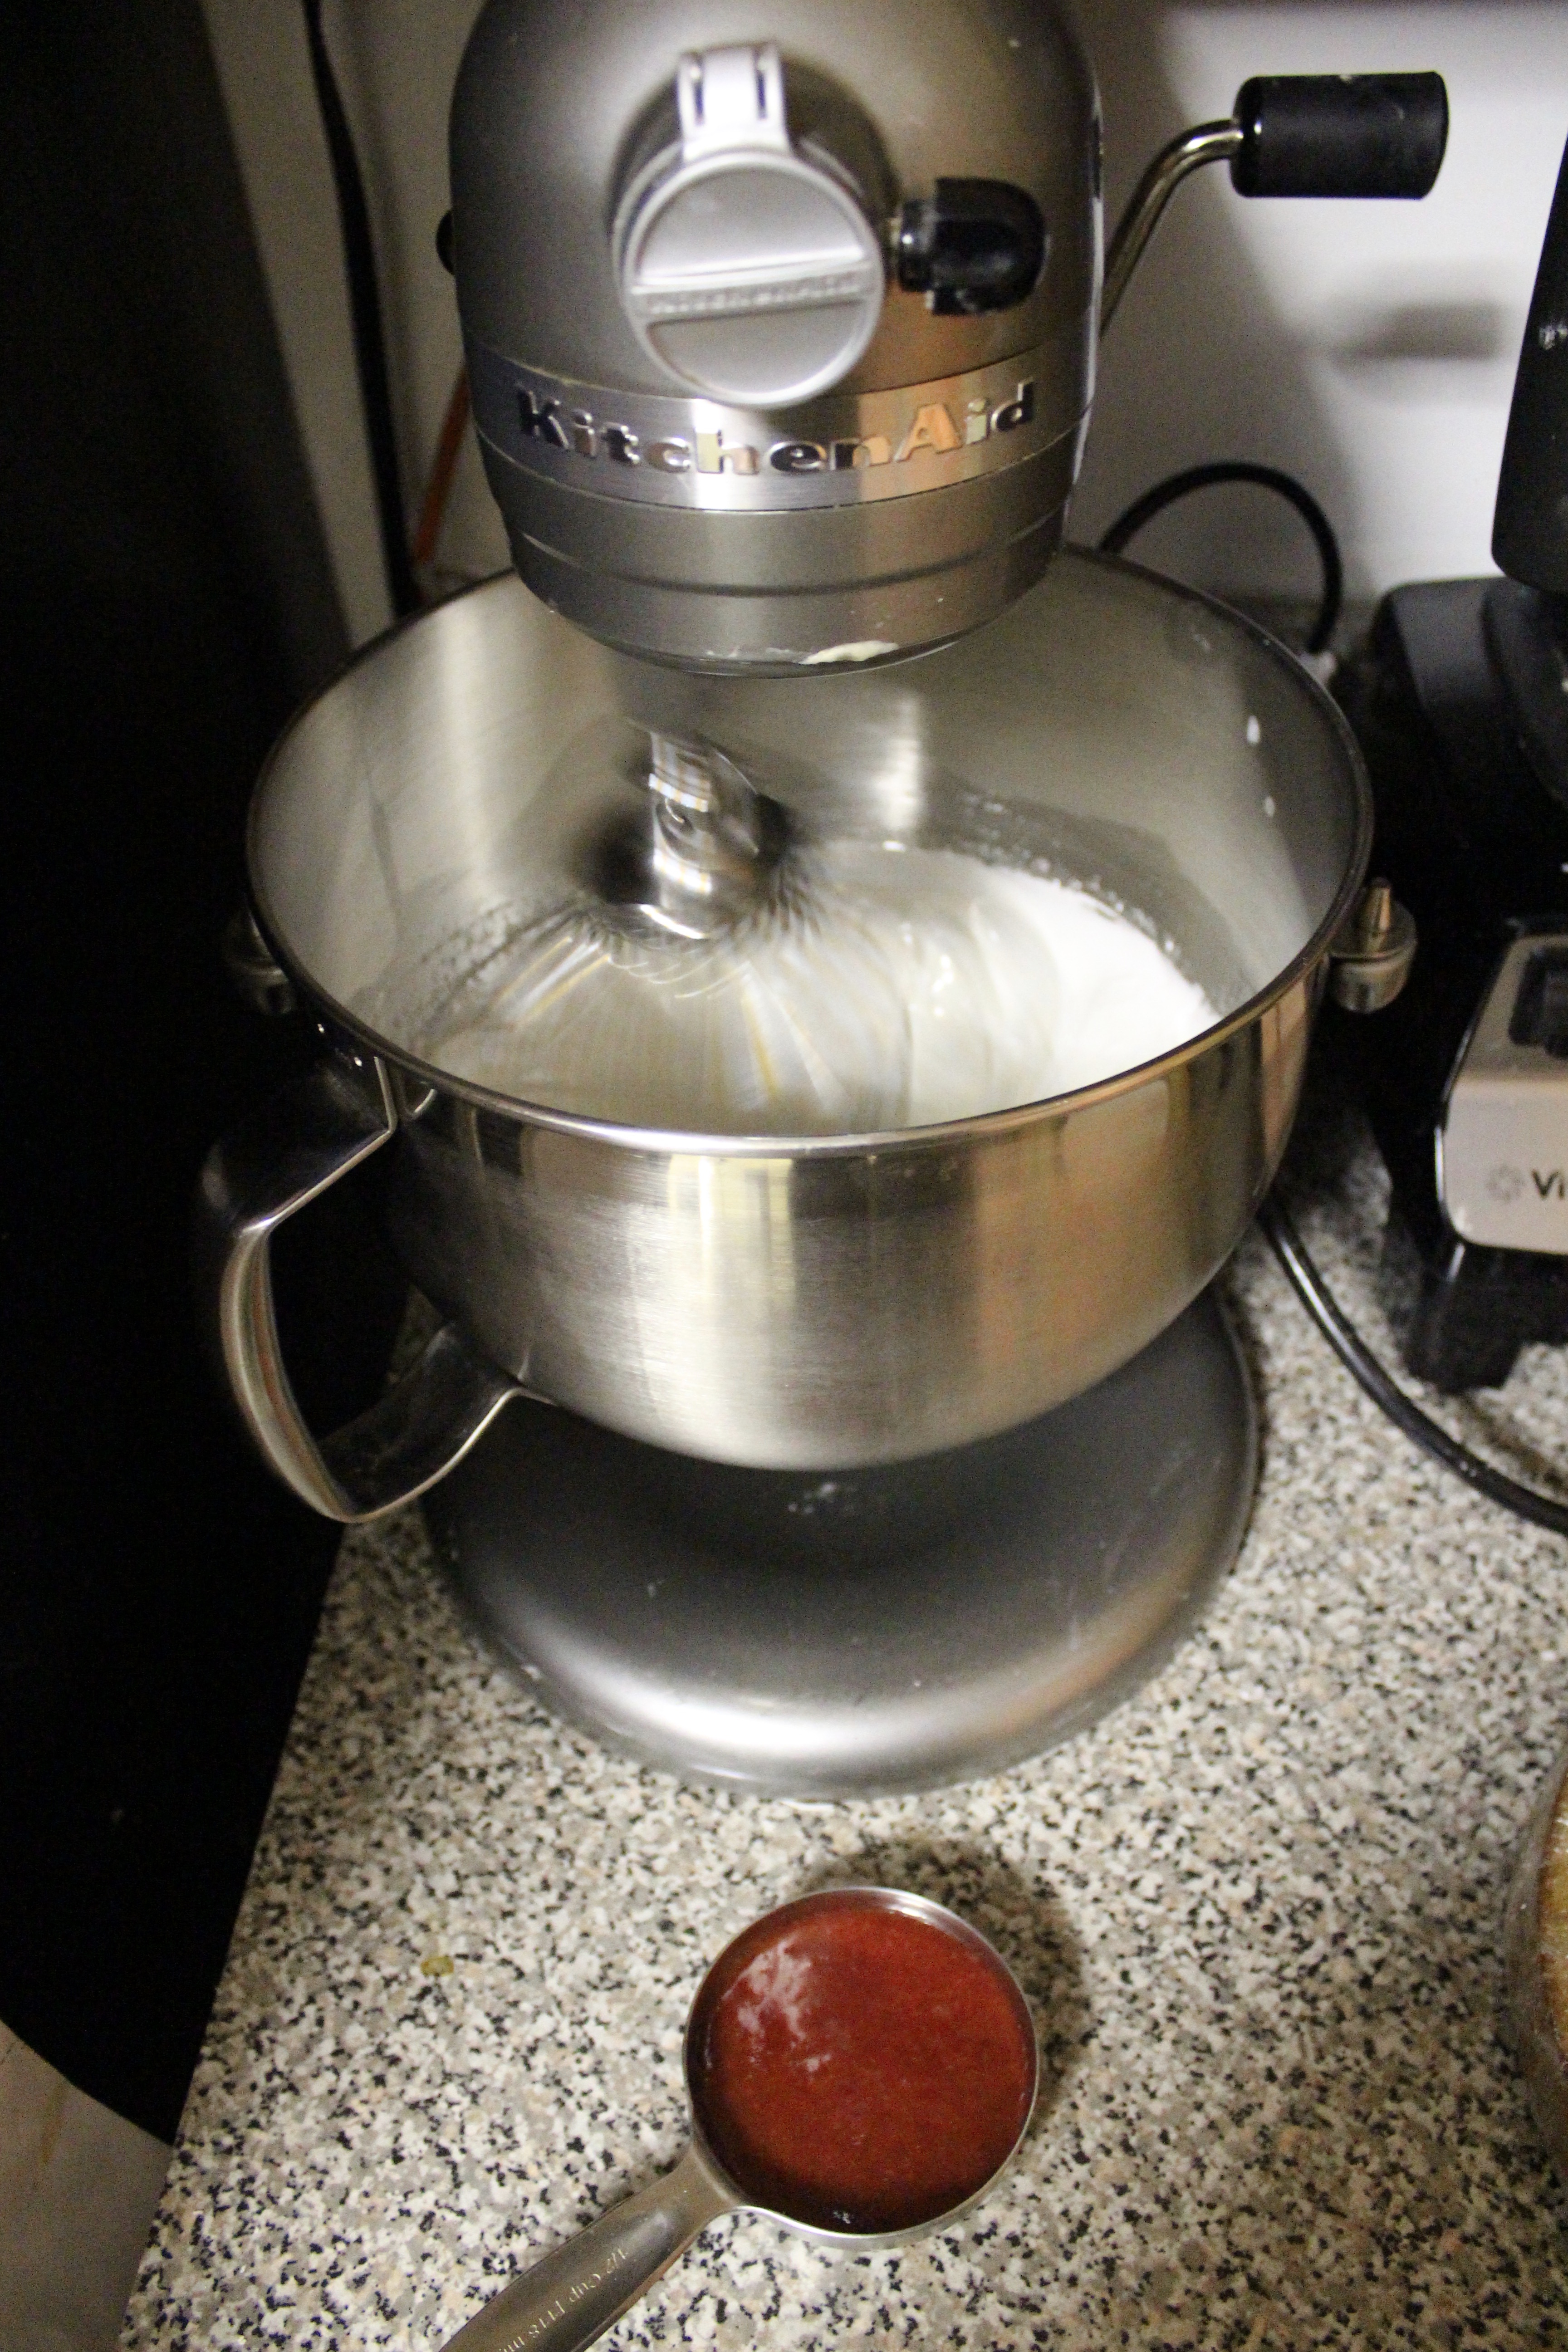
If you’re never made swiss meringue buttercream, it is a game changer for frosting cakes. It’s in the same class as Italian meringue where there is some combination of egg whites, sugar and butter, for a lighter, smoother buttercream than one that’s made out of butter and powdered sugar. When you start spreading it on the cake, it’s like silk. No other way to describe it. It’s traditionally less sweet than American buttercream, so I like to up the flavor and sweetness with extra extracts and even some corn syrup (astaghfirullah I know!).
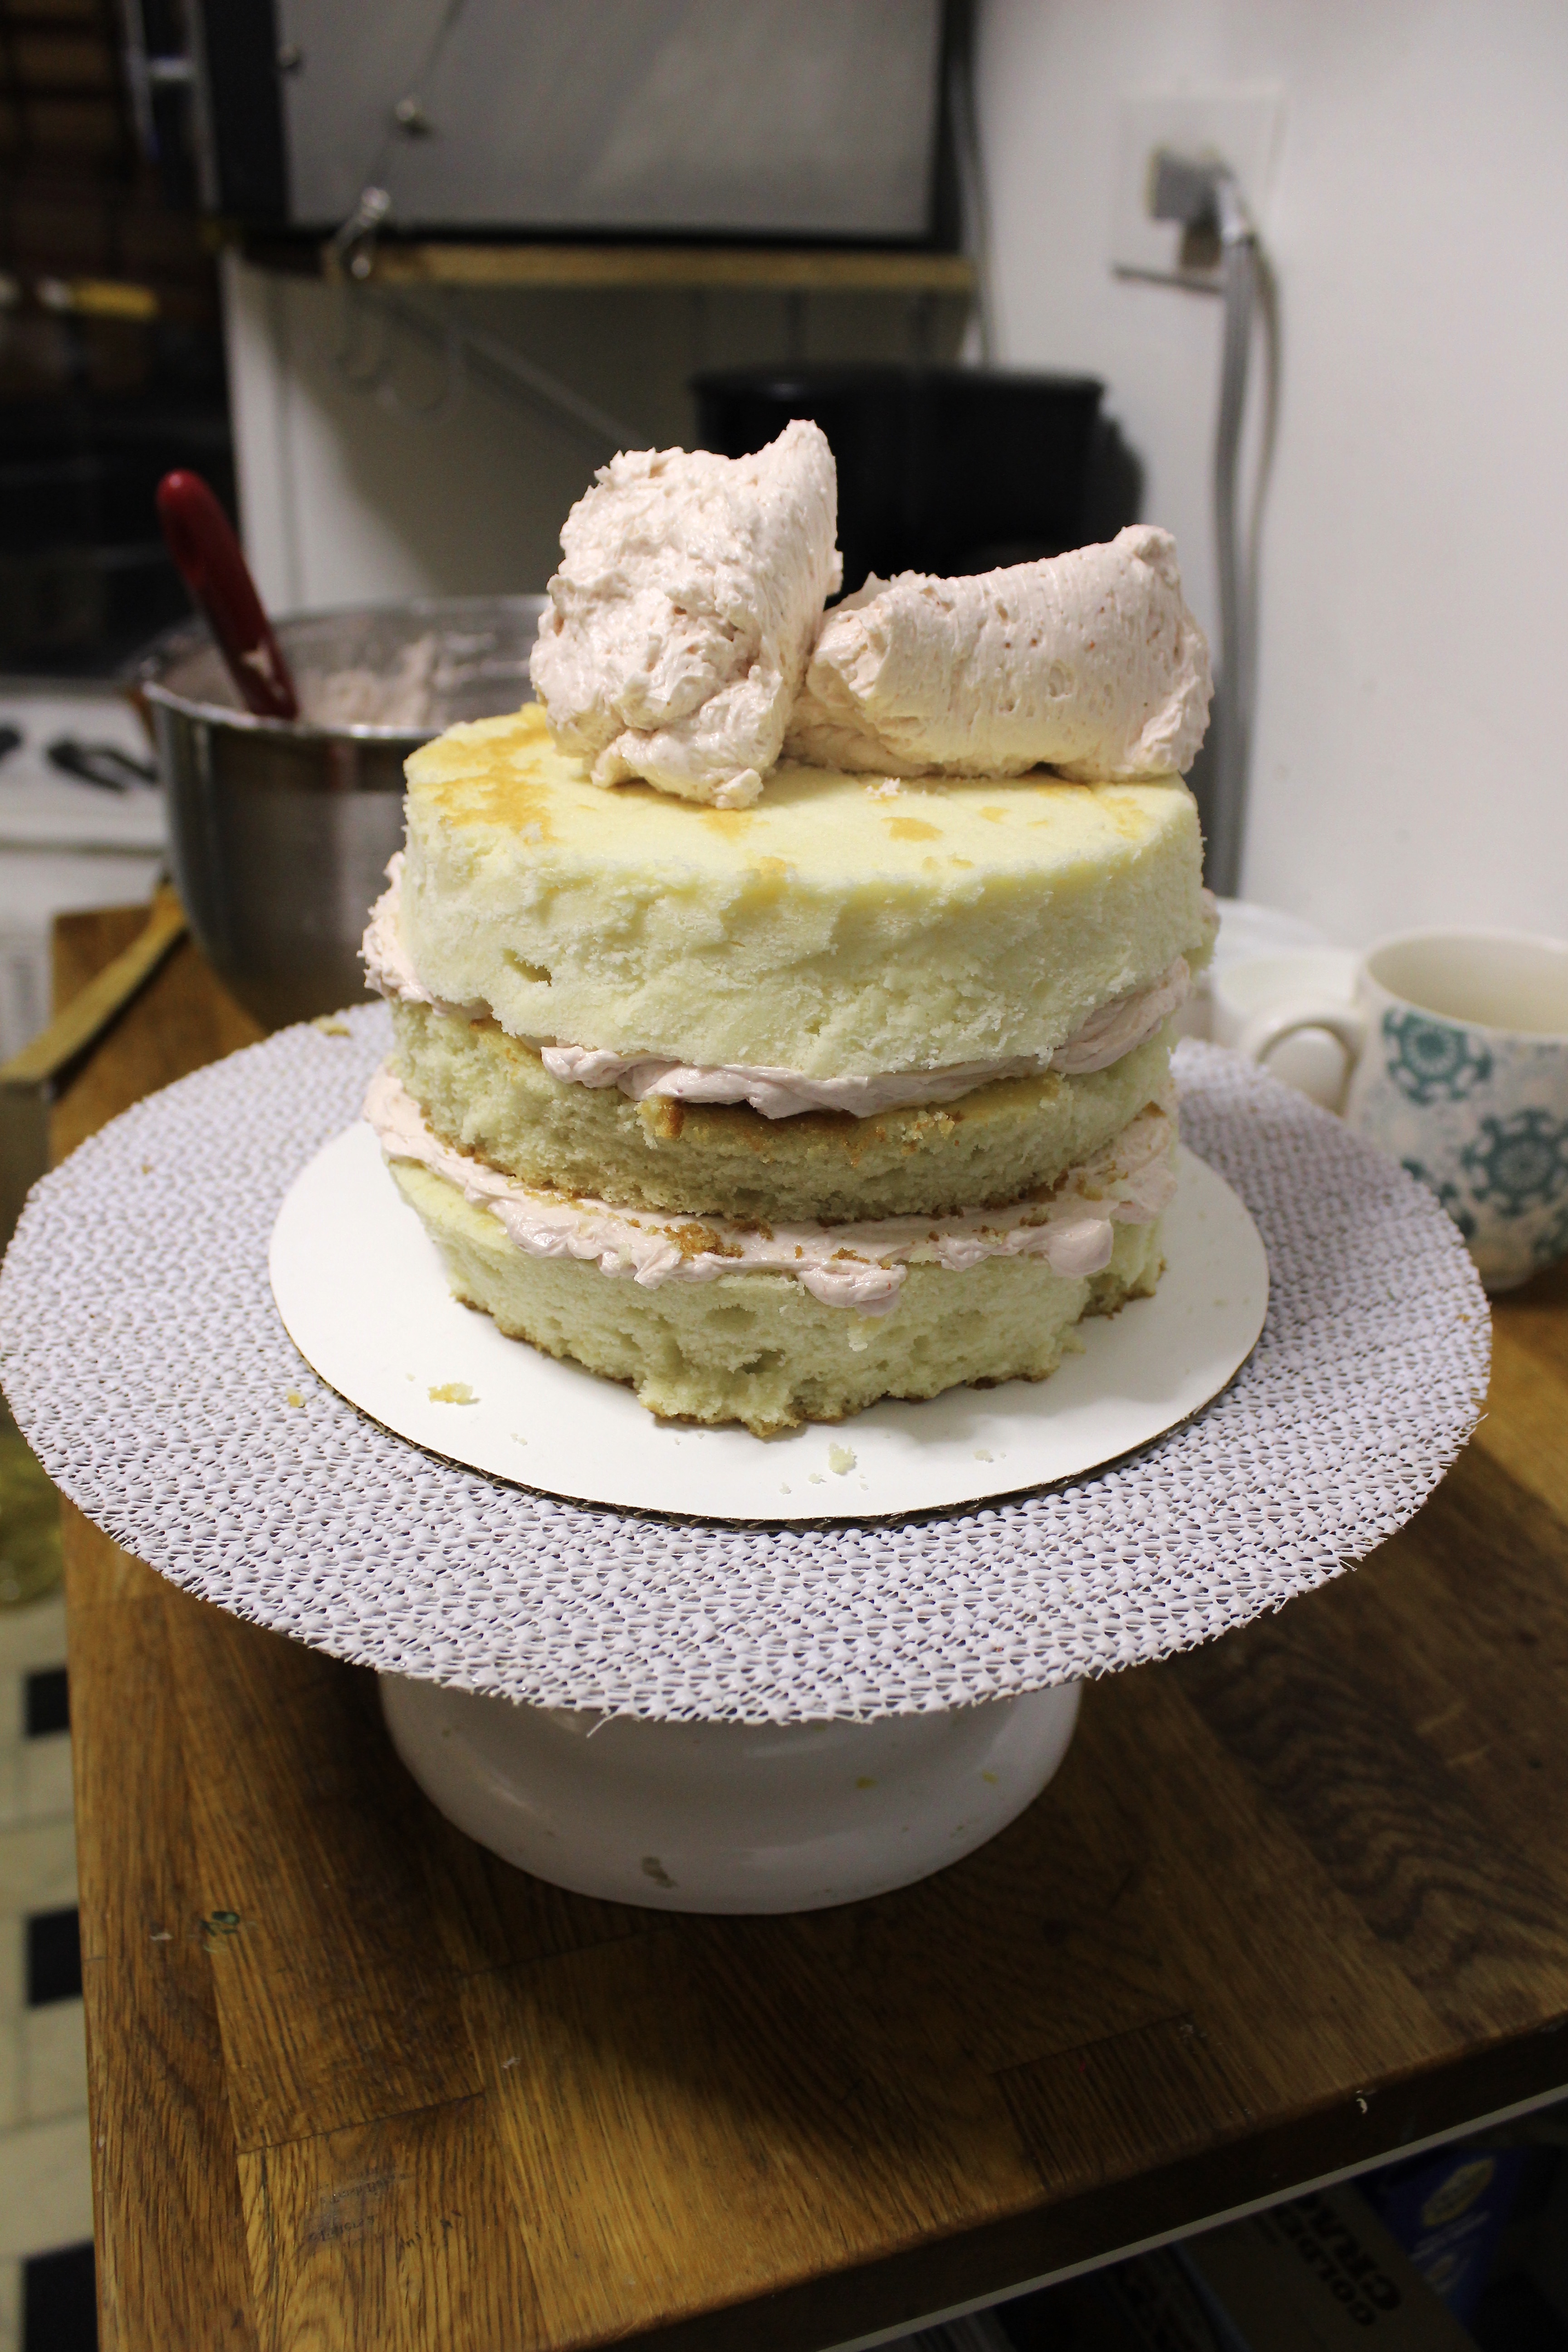
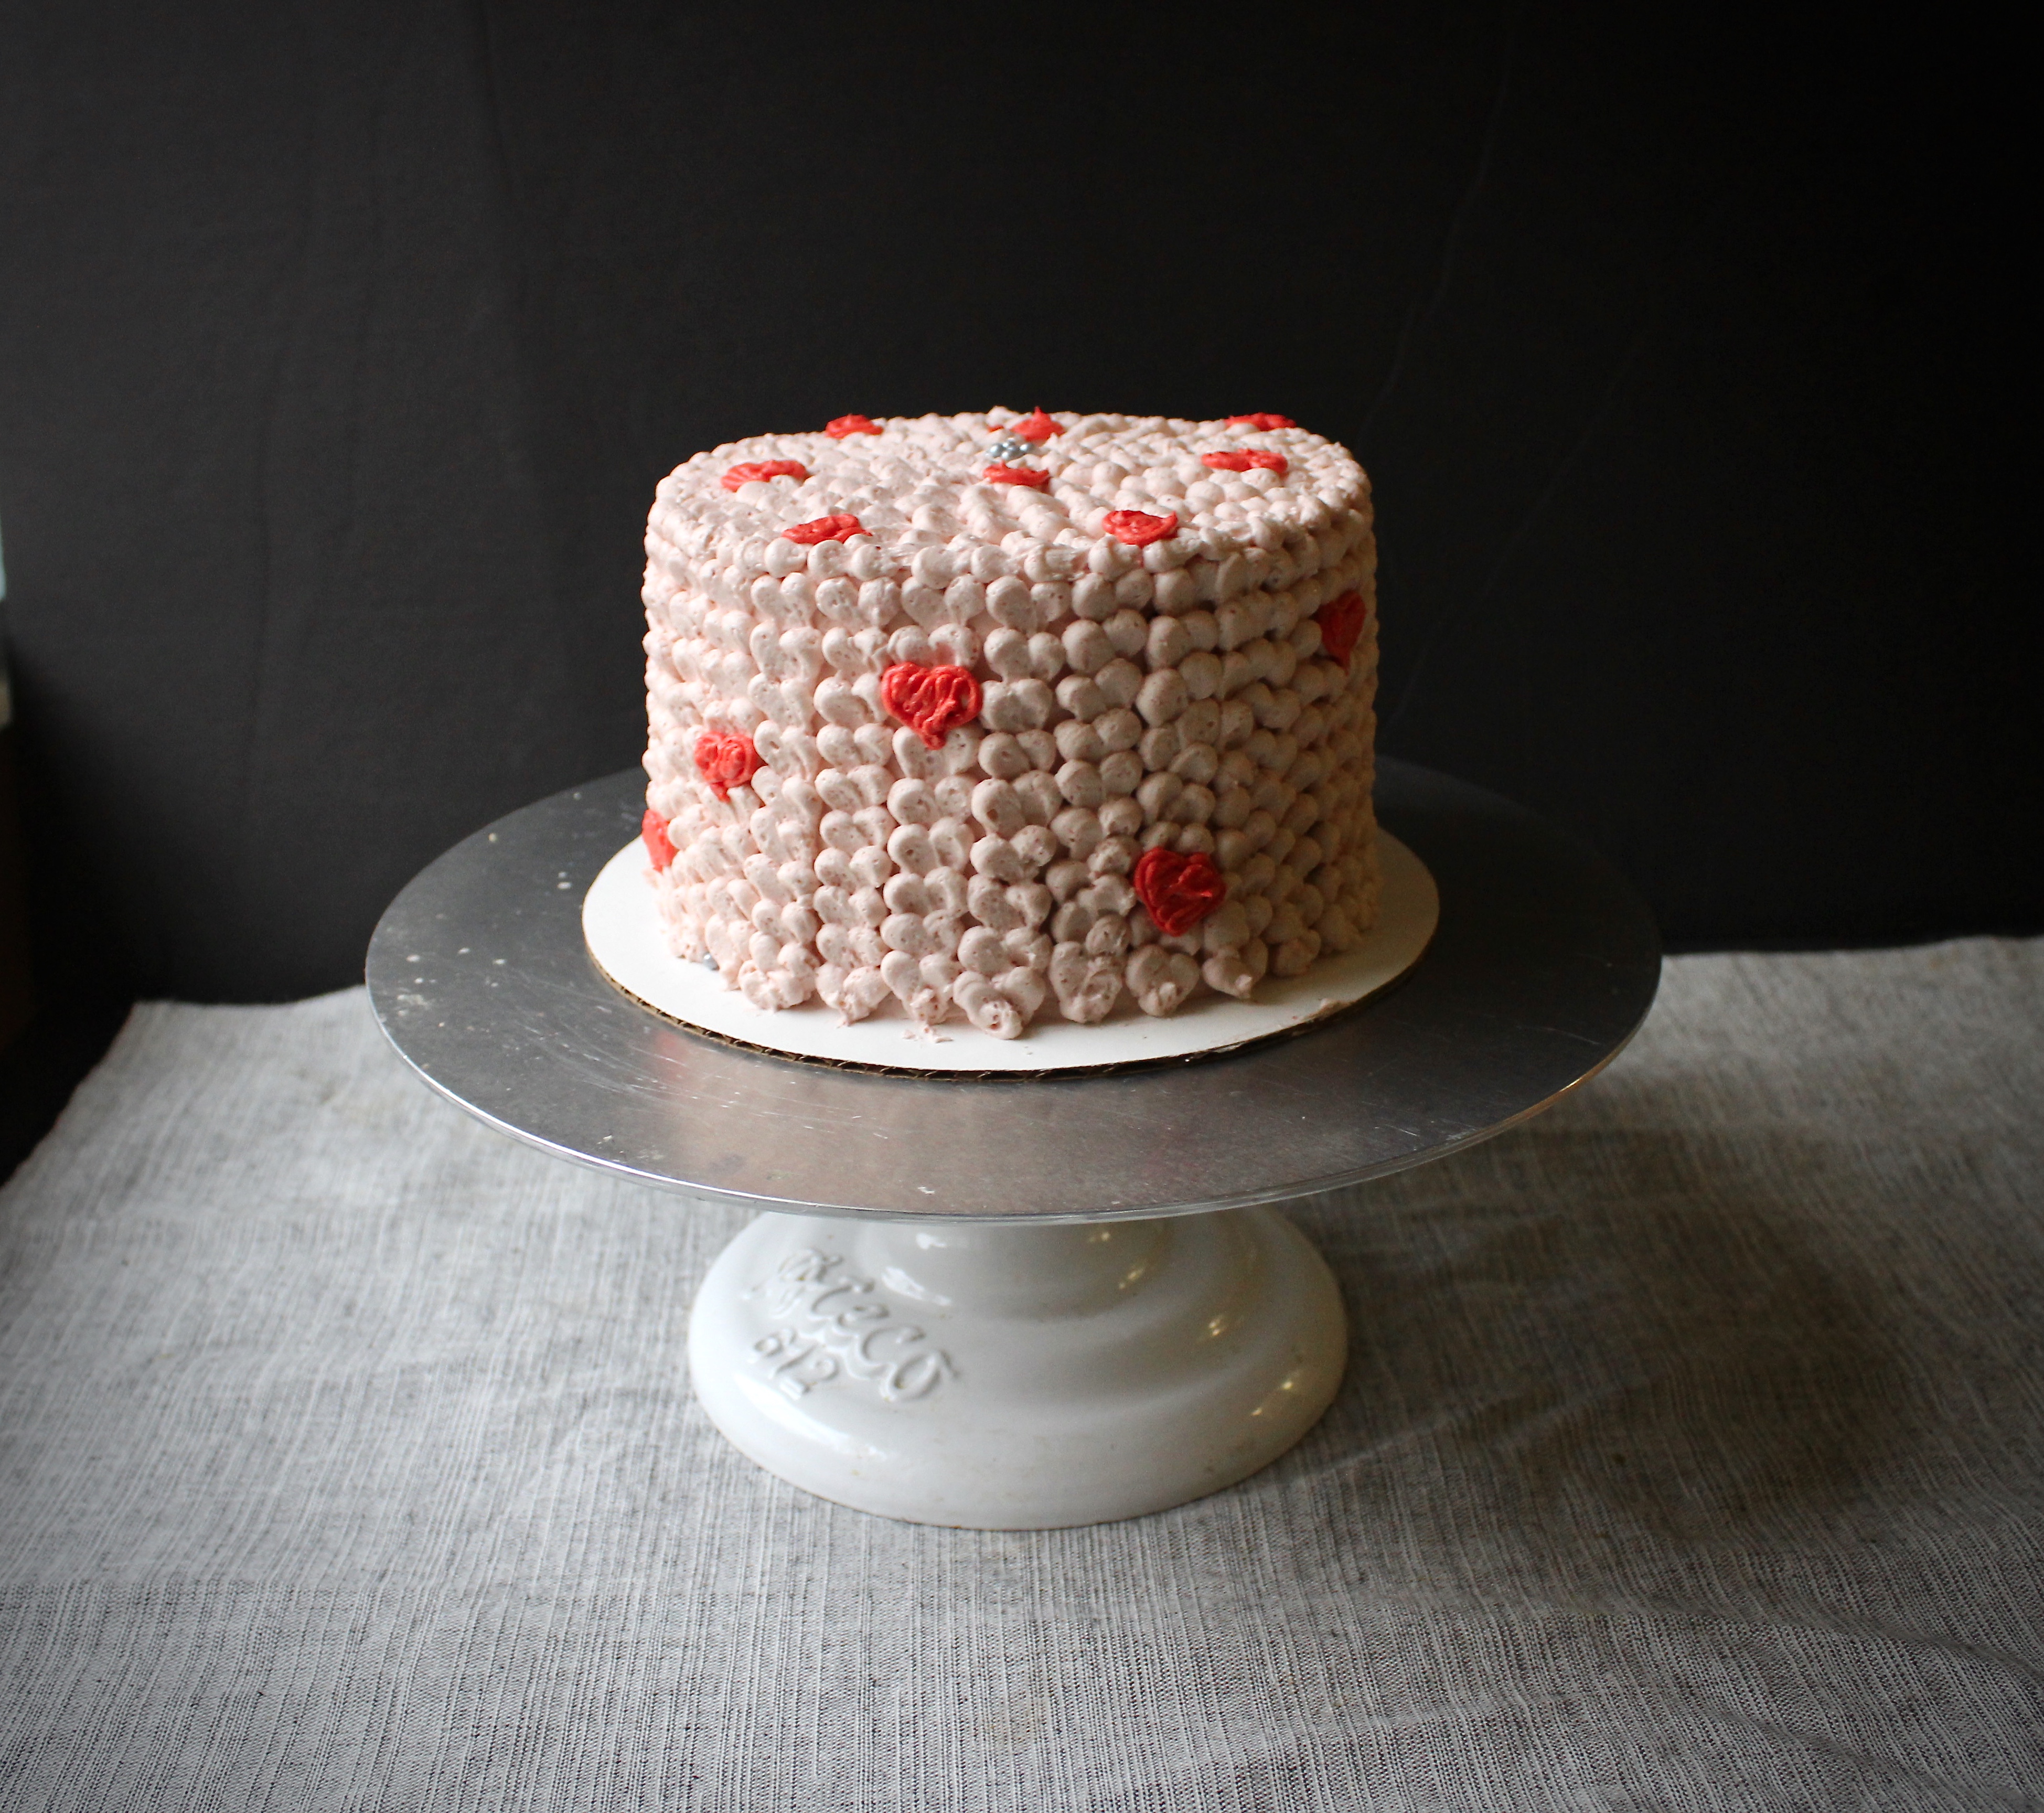
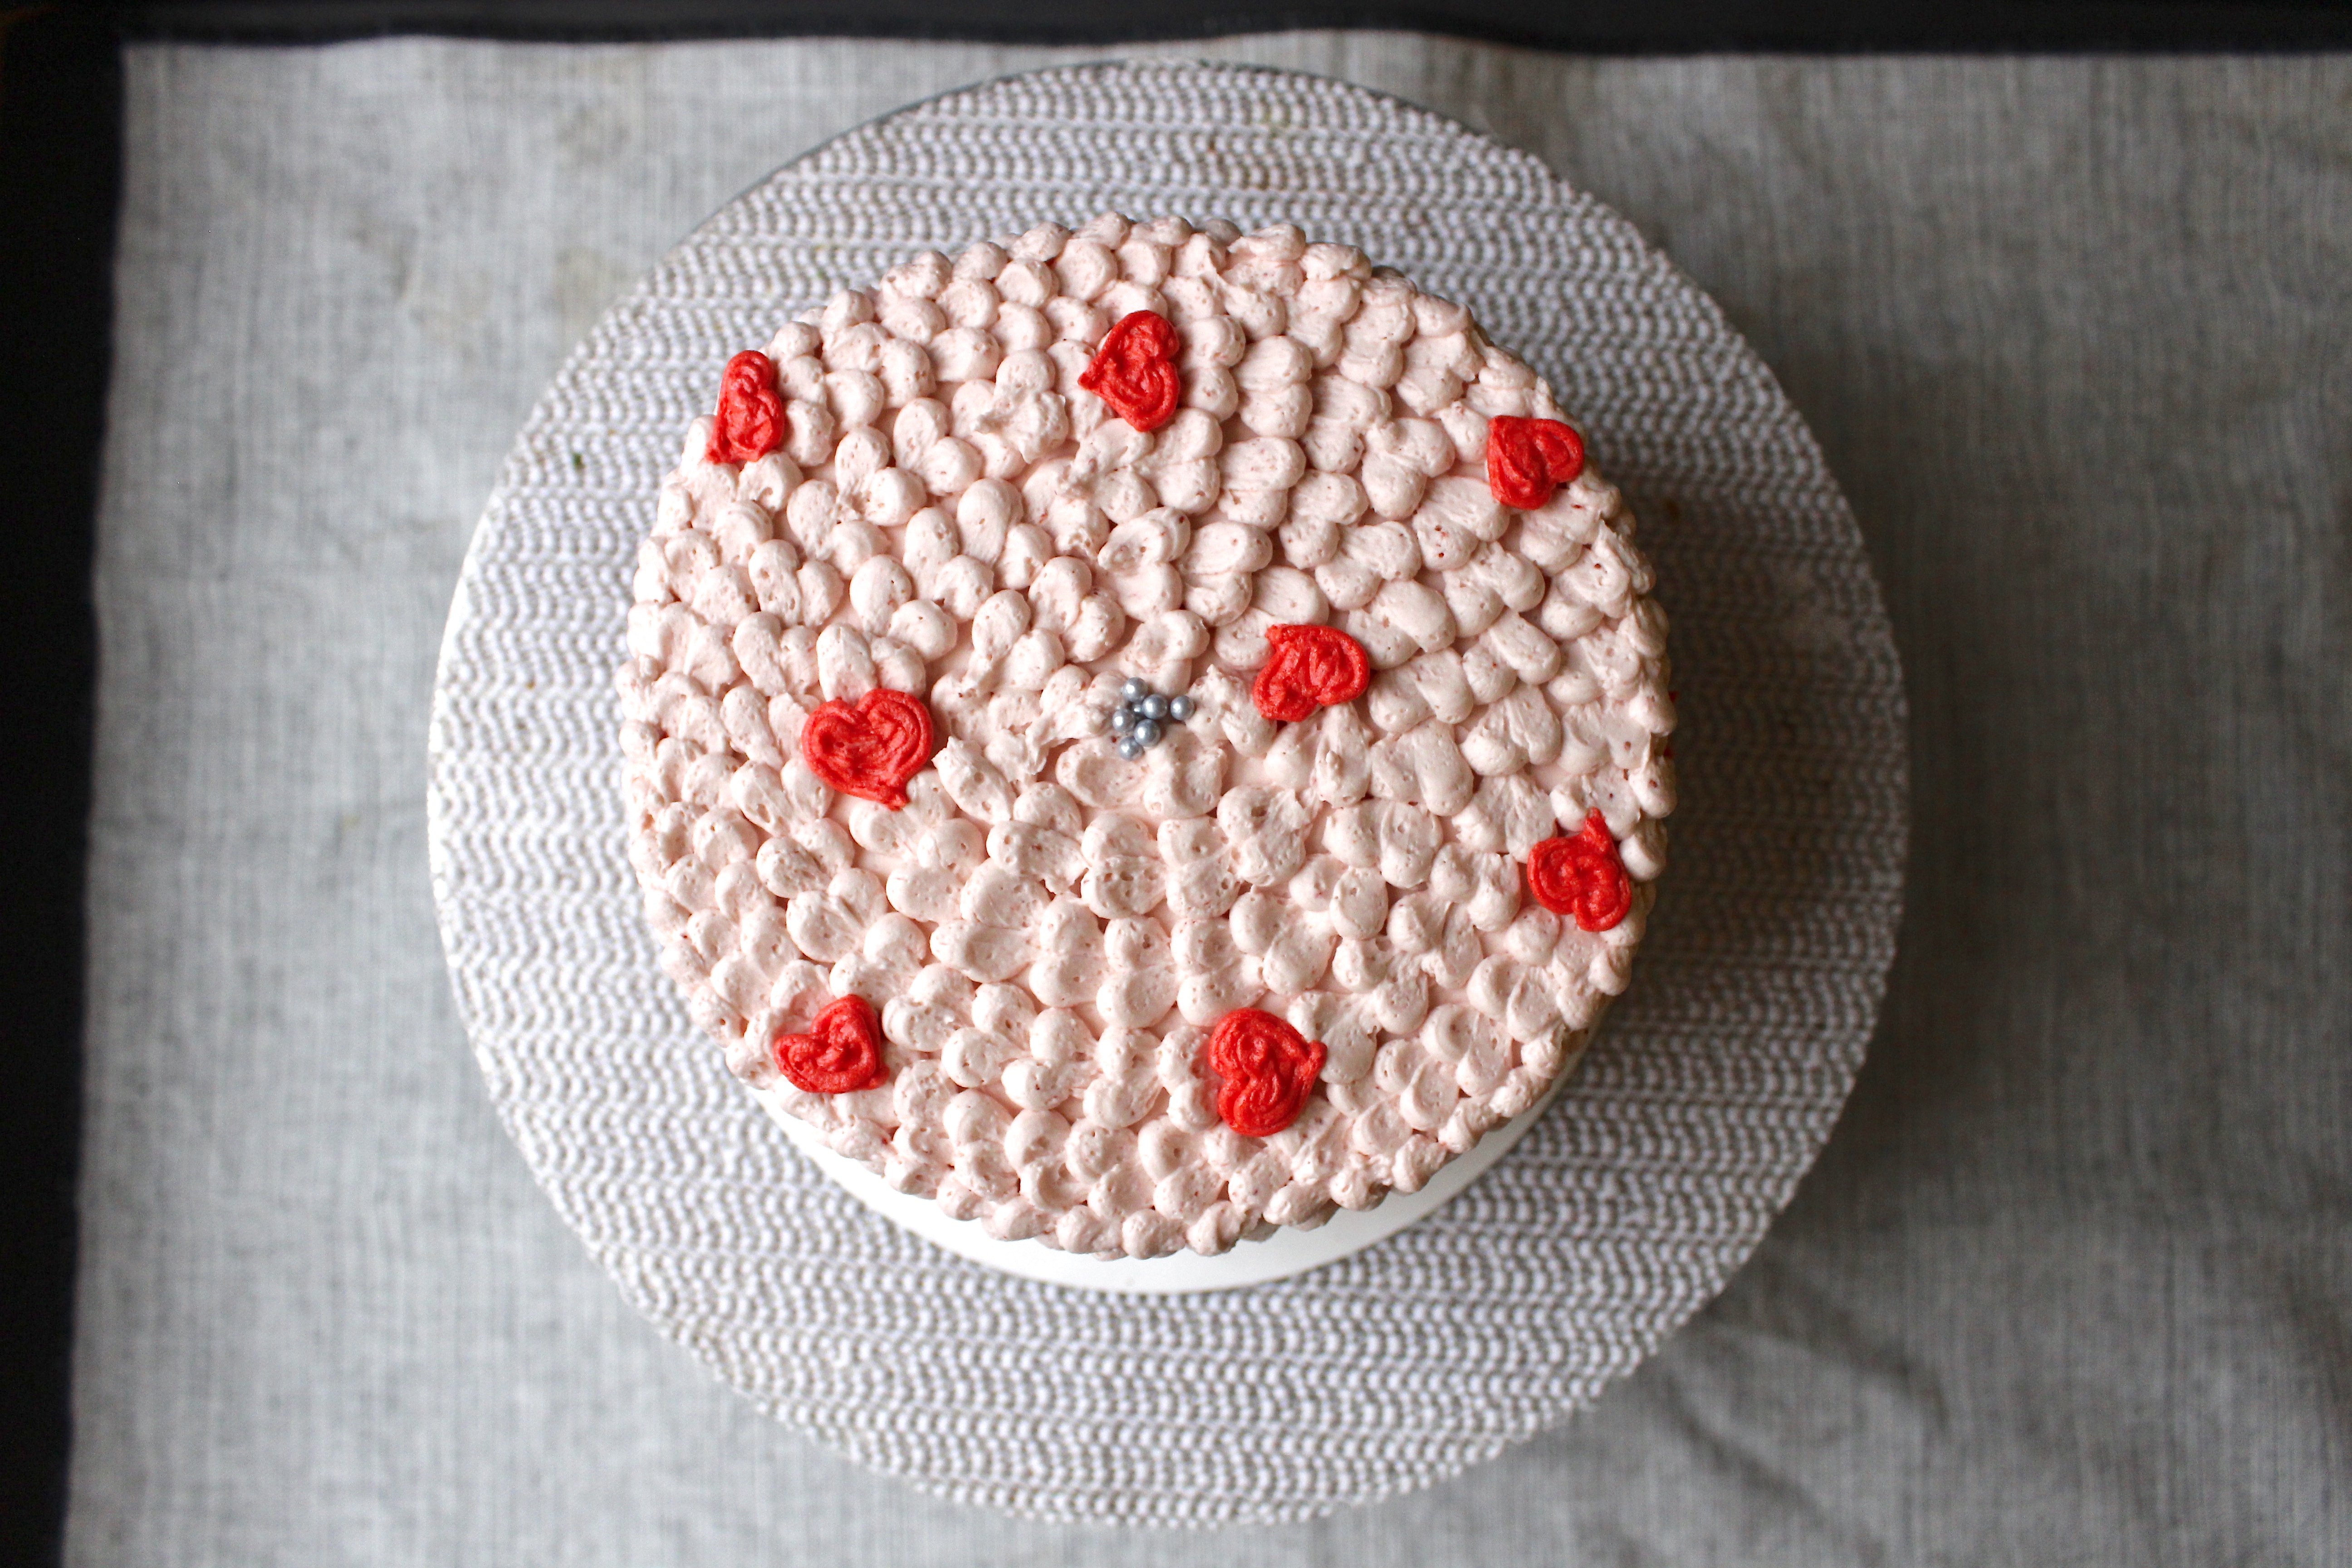
This makes enough to fill and frost a 6in cake generously, so you’ll have some extra leftover for piping decorations. I used a #10 Wilton tip to pipe little hearts for Valentine’s day. Then, because I had some red frosting leftover, outlined some of the hearts sporadically for a fun look. Topped with some silver dragees, it was ready to serve.
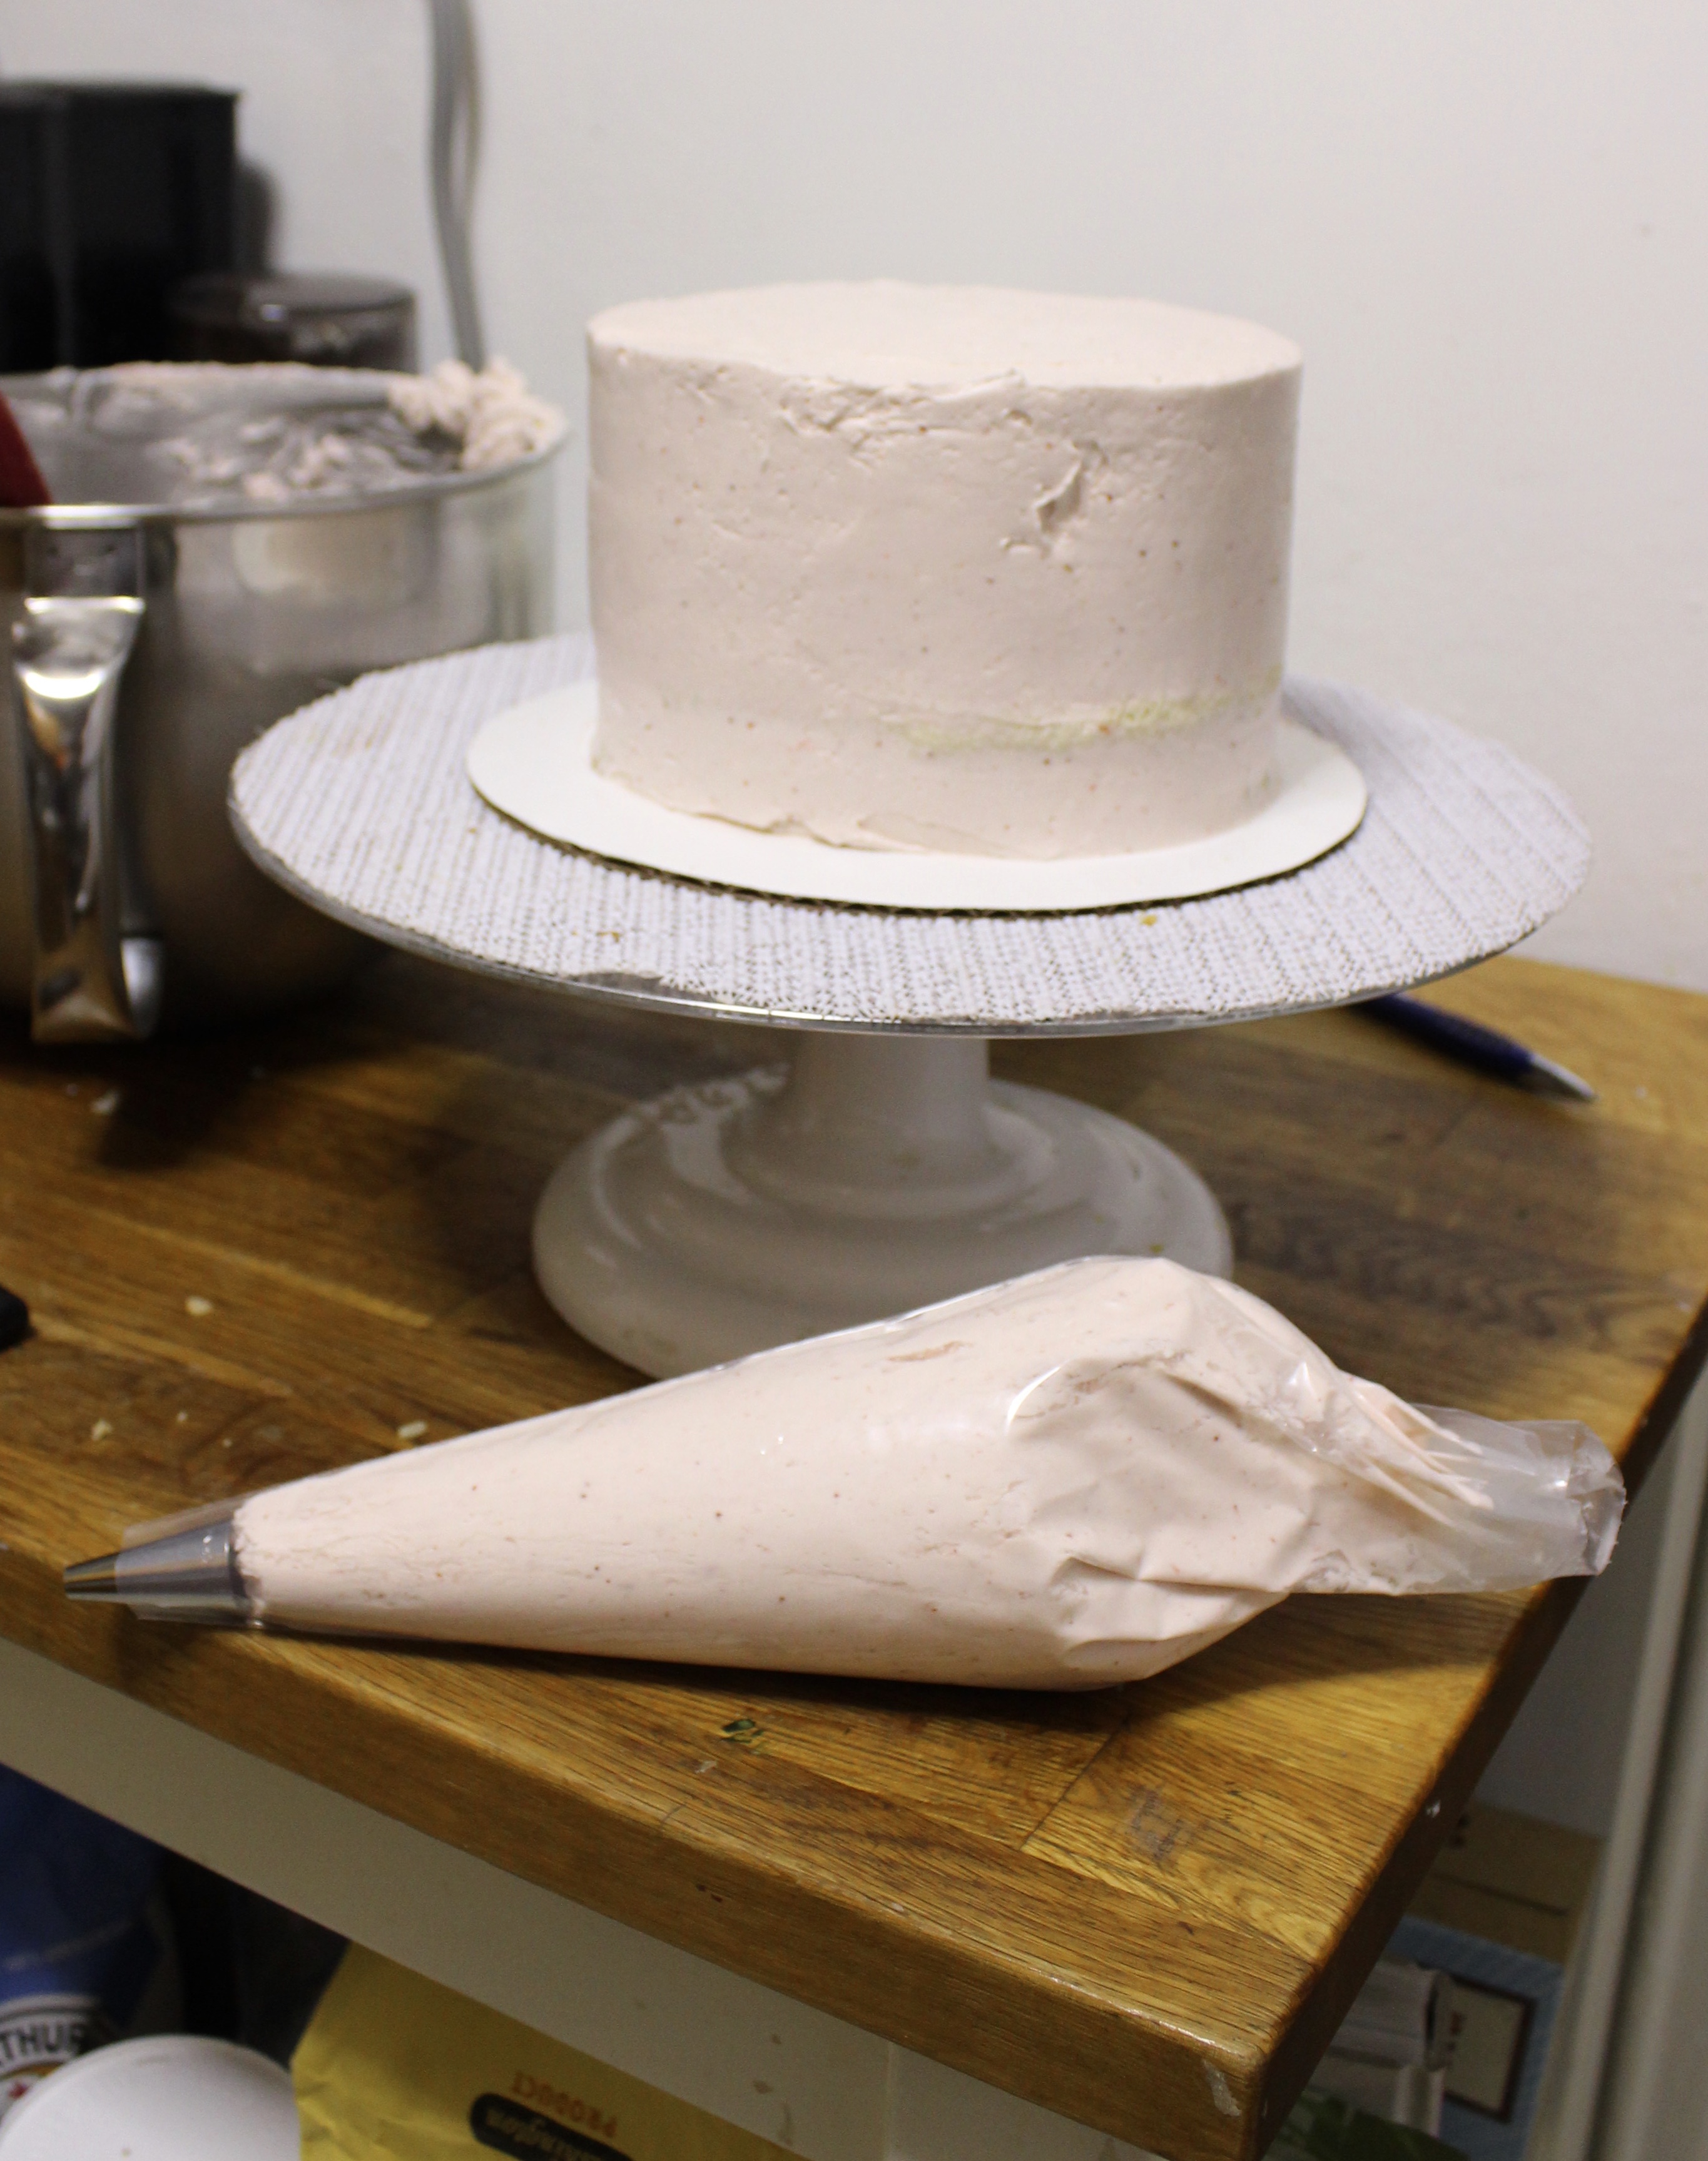
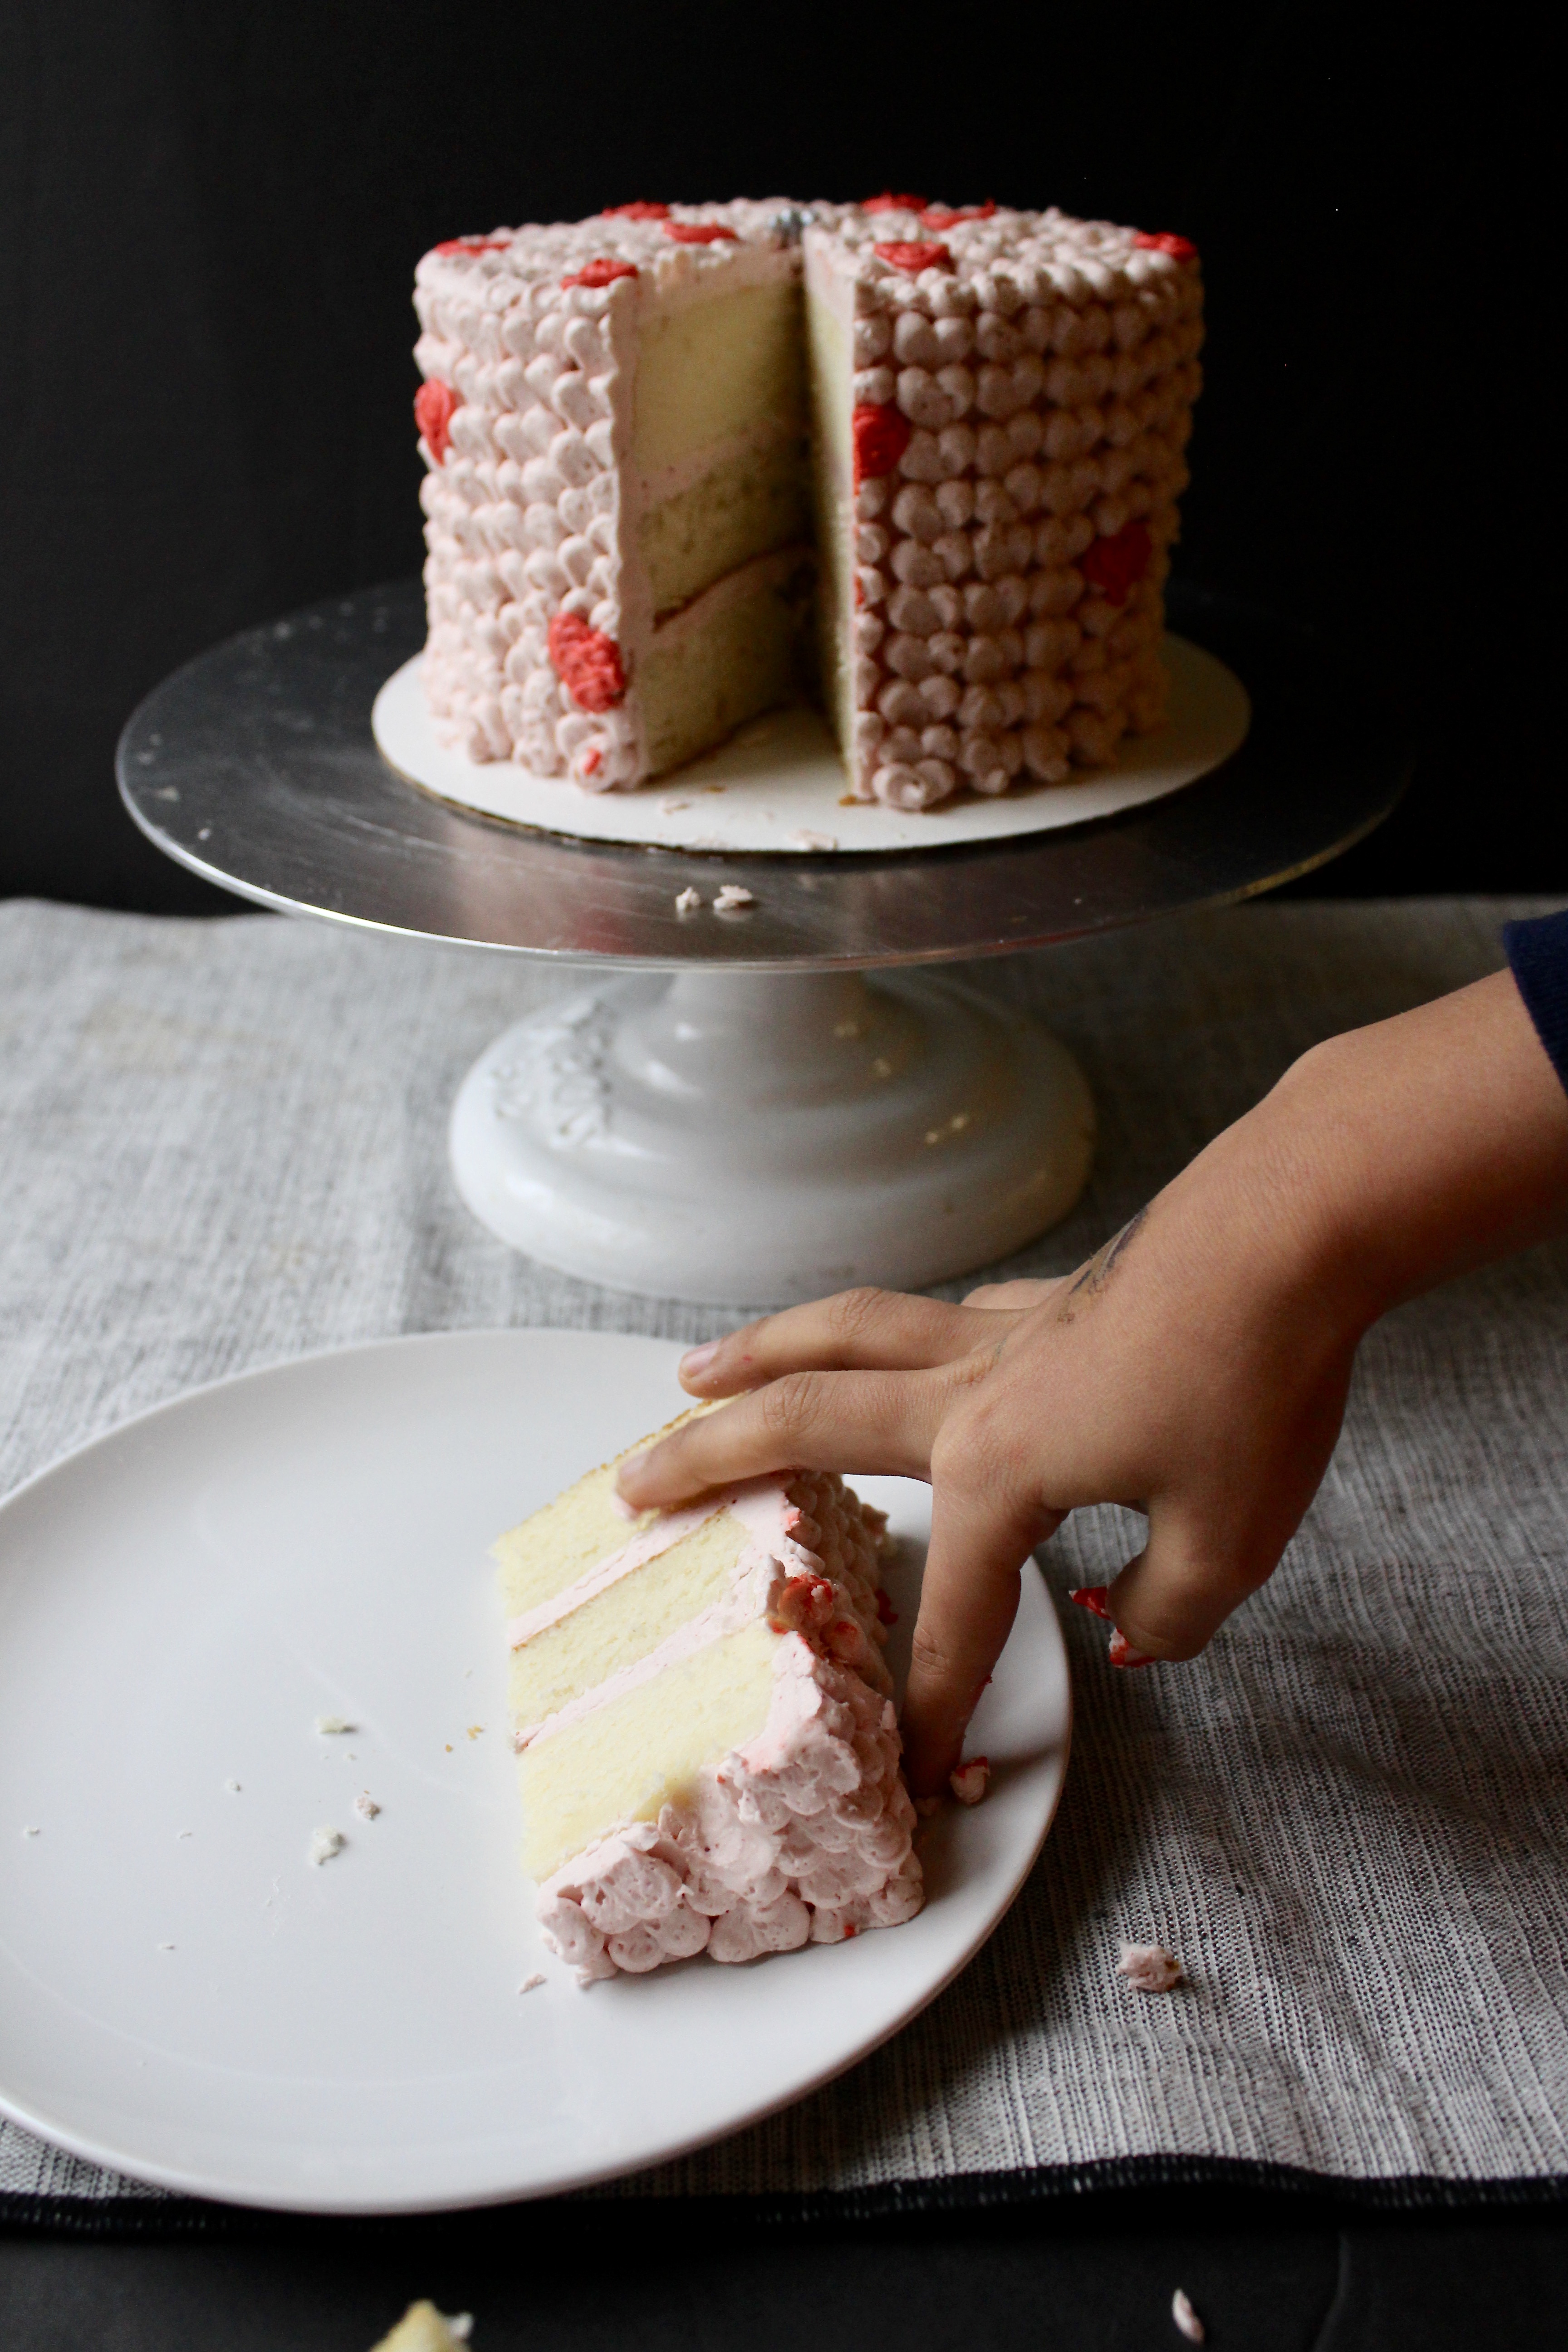
^How all my cakes end up.^
Ingredients
- 2 cups strawberries, fresh or frozen
- 4 egg whites
- 1 1/2 cups sugar
- 3 sticks plus 2 tbsp (26 tbsp) unsalted butter, at room temperature (not too soft or greasy!)
- 1/2 tsp vanilla extract
- 1-2tbsp corn syrup (optional
Directions
- In a small to medium saucepan, combine 2 cups strawberries with 1/2 cup sugar. Bring to a boil, reduce to a simmer and allow to reduce for about 10 minutes. Remove from heat and allow to cool.
- Heat about 1in water to a simmer (over low heat) in a small saucepan. In the bowl of a stand mixer combine egg whites and 1 cup sugar. Whisk to combine. Set over the saucepan of simmering water. Whisk occasionally, until sugar dissolves and mixture is hot to the touch. Remove from heat and attach to stand mixer using the whisk attachment.
- Beat on medium speed until mixture cools down (when you touch the back of your hand to it, it should be the same temperature as your hand) and medium peaks form. Start adding butter 1-2 tbsp at a time. The mixture might turn into a sloppy mess, but keep beating. Once it comes together (it will look like a homogenous glob instead of the previous curdled mess), add extracts, 1/2 cup strawberry puree (or more to taste) and corn syrup, if using. Stop to scrape down the bowl. Continue beating until fully combined. Use right away, or refrigerate for up to 1 week, or freeze for up to 1 month. Allow to come to room temperature and beat before using.
#Baesic Roasted Salmon and Veggies
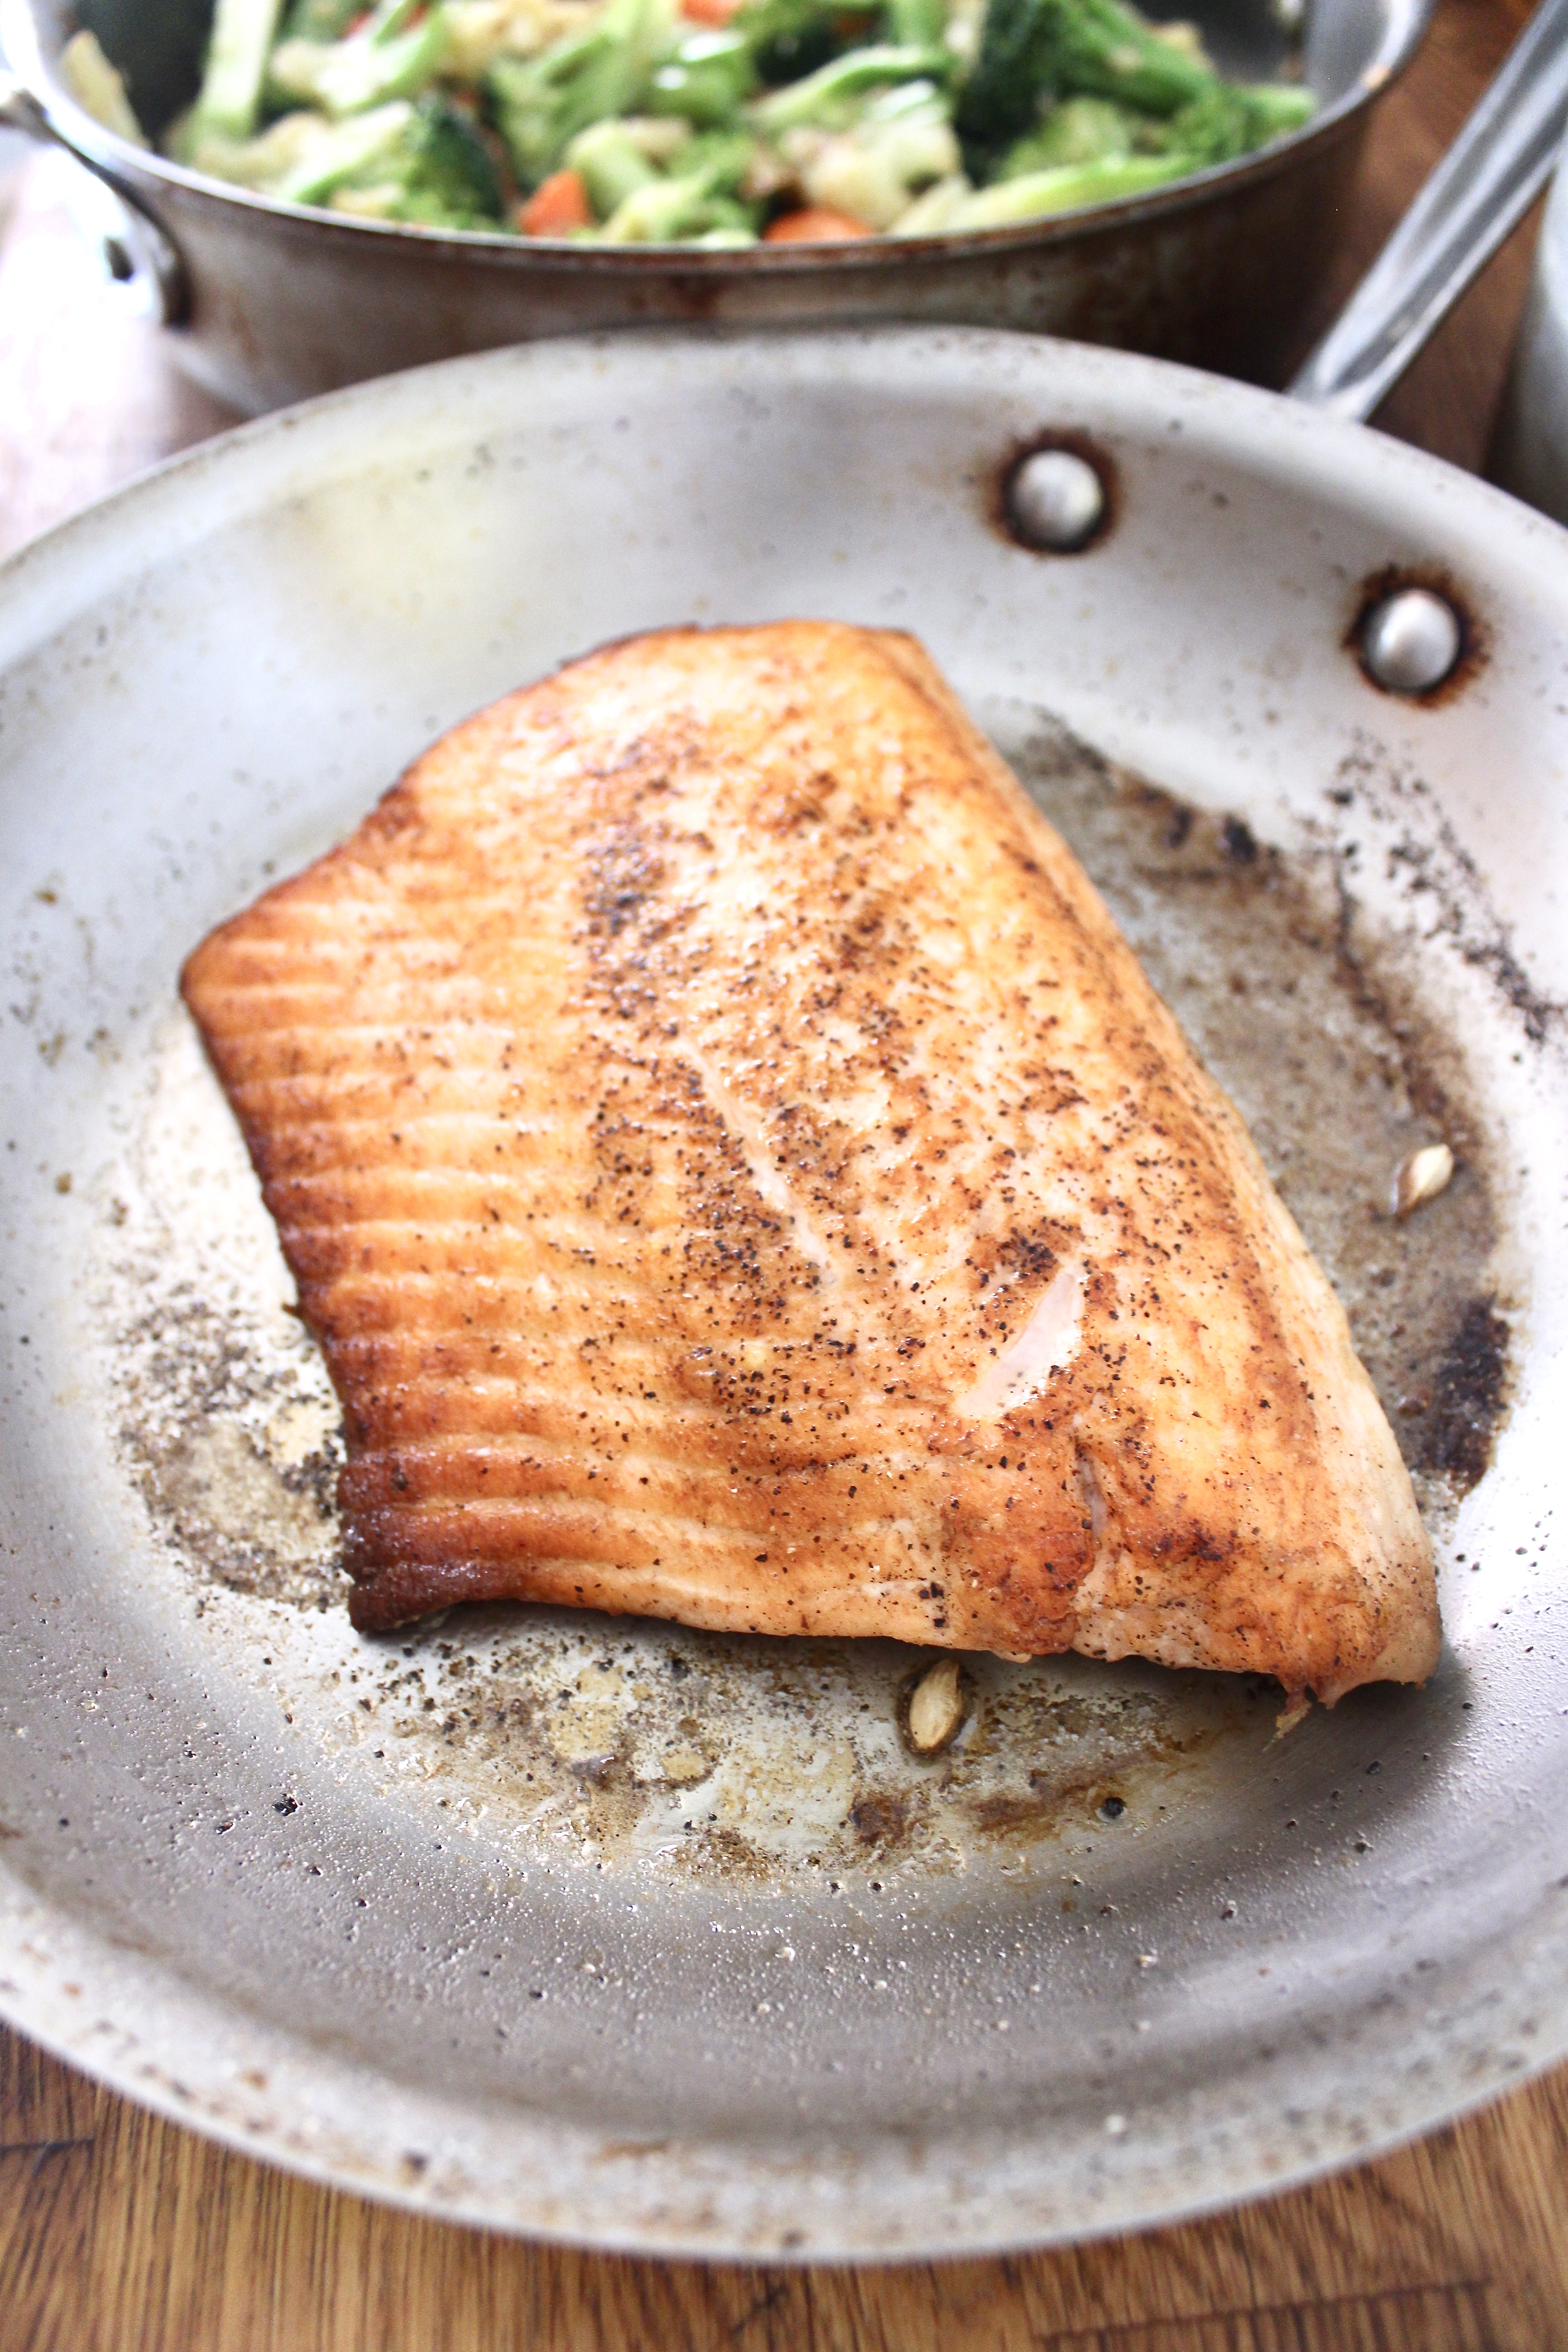
It’s January and I know many of us are trying to find ways to eat healthy. I’ve had a little extra time on my hands so I’ve been coming up with different ways to eat healthy/less meat/fewer carbs. Not exactly low fat though. Kale caesar salad. Chana dal with veggies and coconut milk. Tomato soup. Today I whipped up this salmon and mixed vegetable sauté. Follow along for inspo on my Instagram!
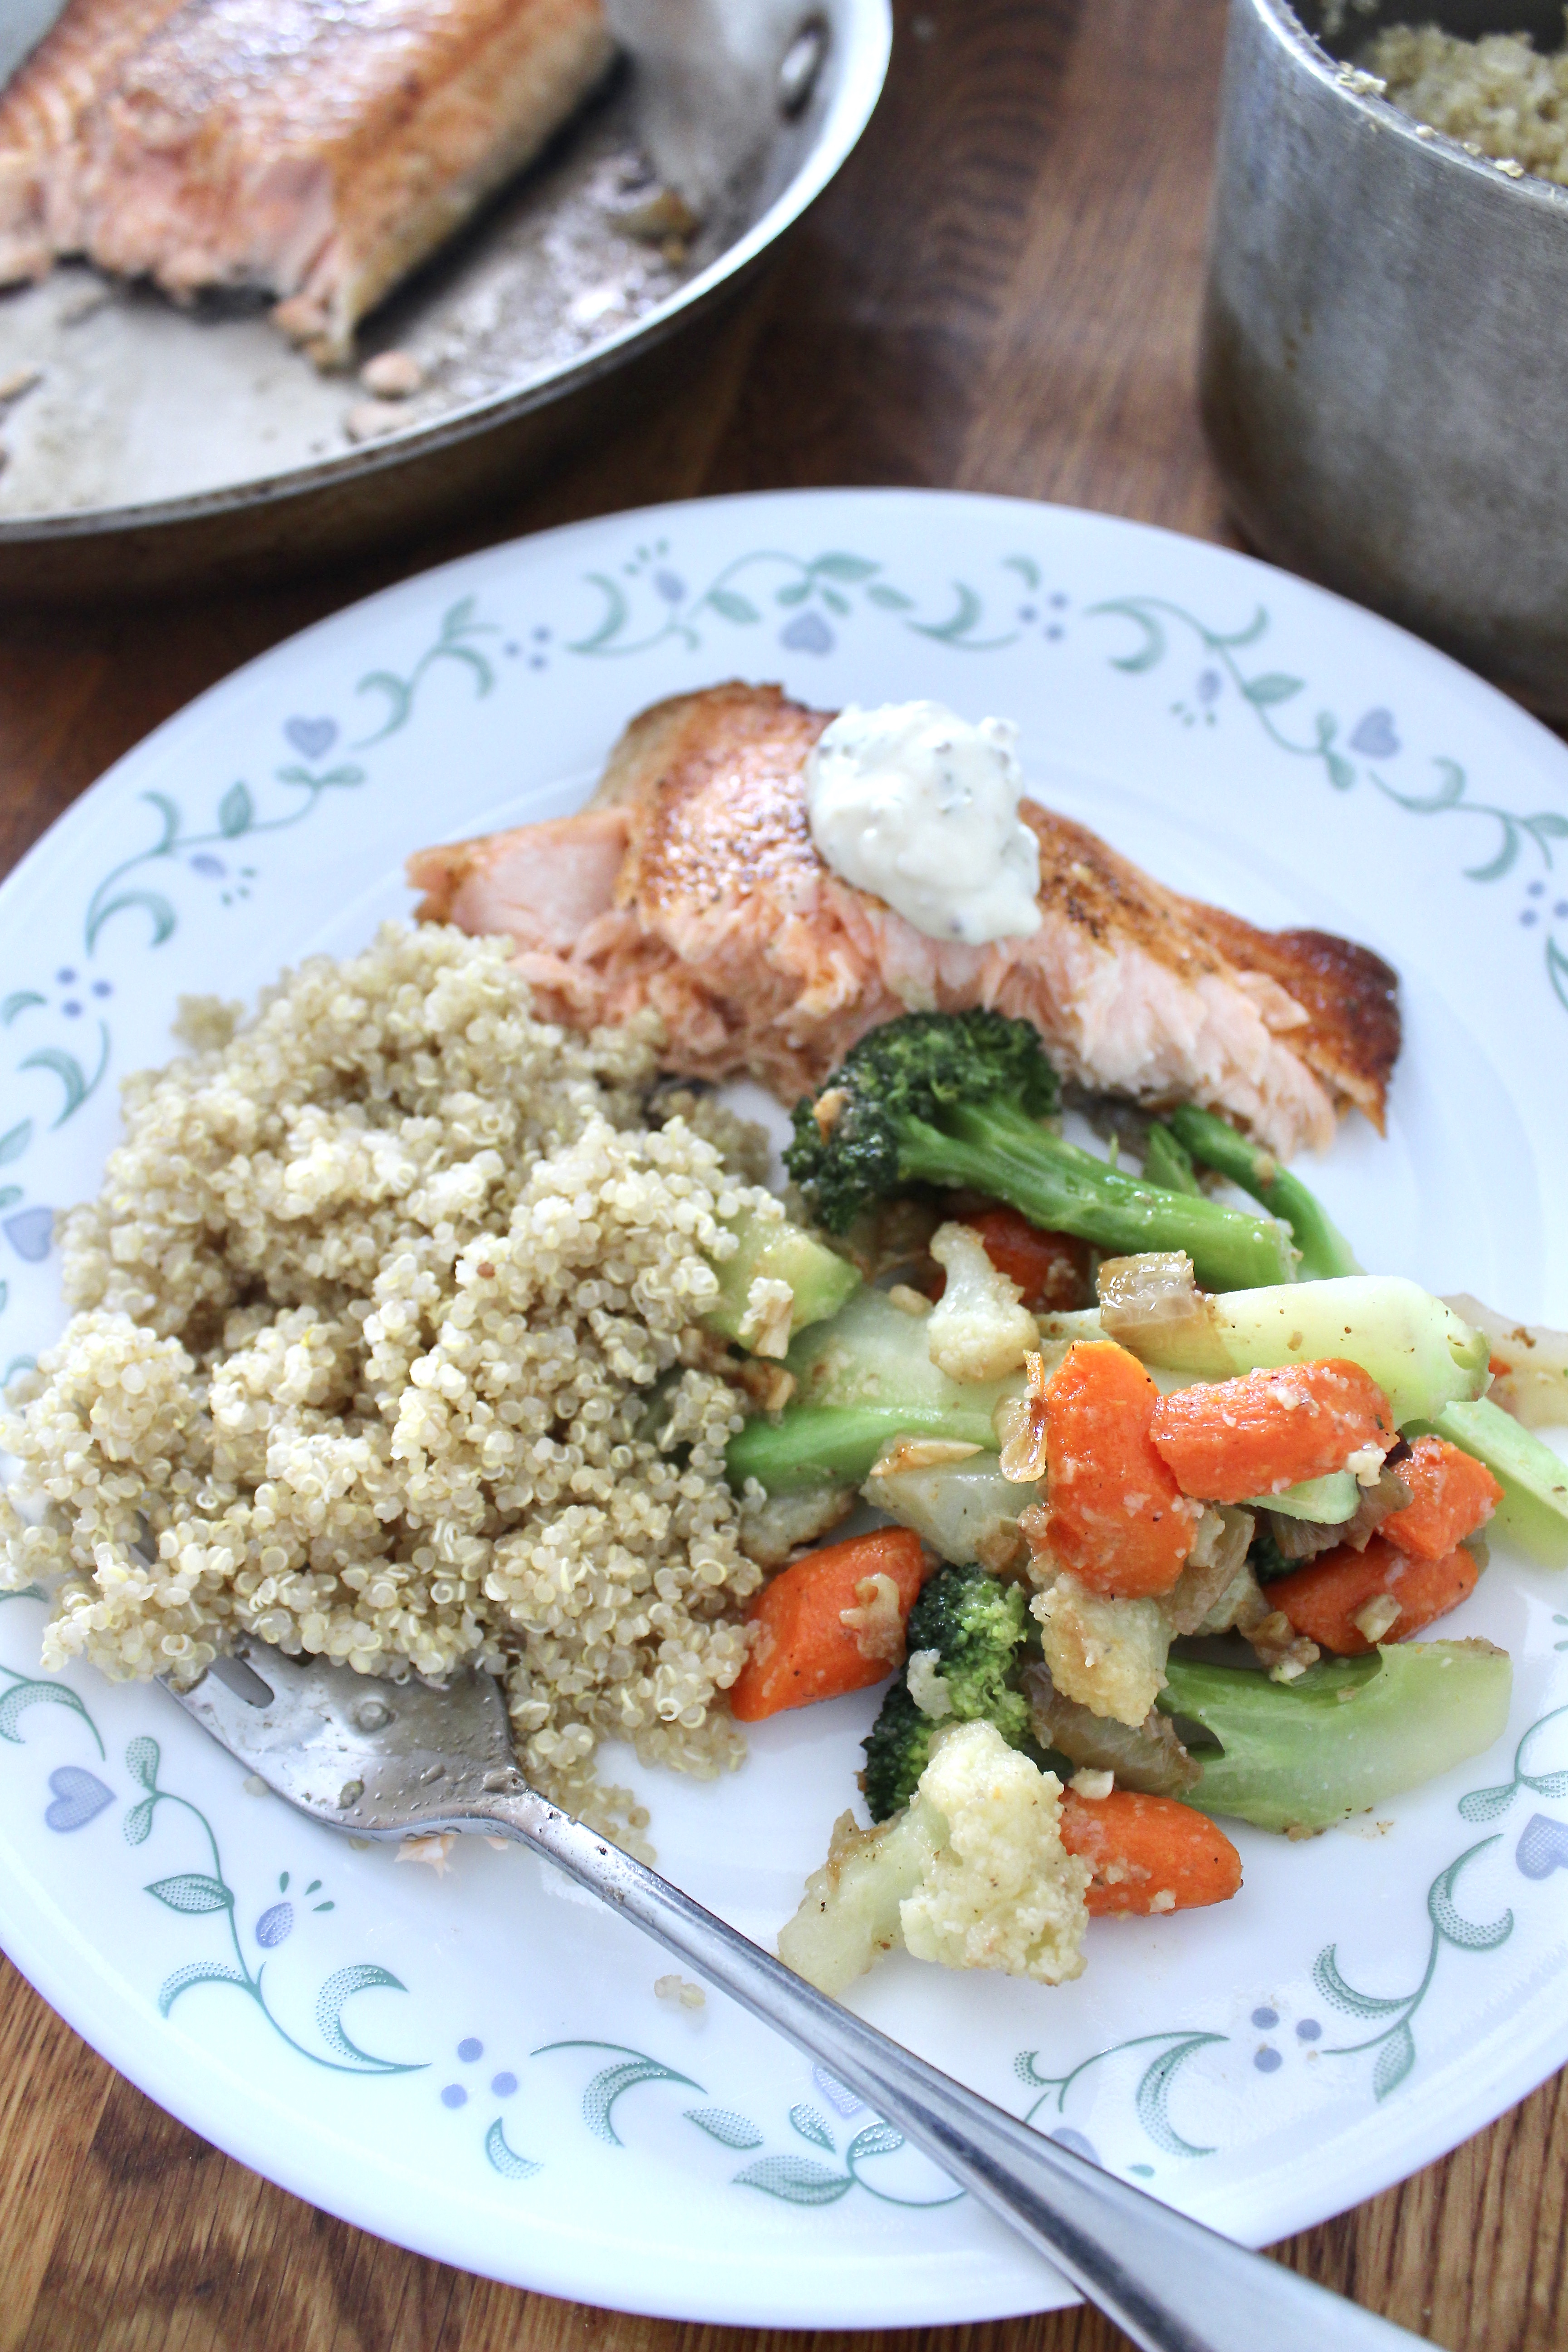
I’m calling this my #baesic salmon because even though it’s a basic way to cook it, it’s bae in my recipe book. I’ve tried cooking salmon just on the the stovetop, and it just burns on the outside before cooking through on the inside. If you lower the heat too much you don’t get the nice crust. This way, if you sear it on the stovetop, finish it off the oven, you get the best of both worlds. I wasn’t sure if it would be done actually, but when I dug into it, it was juuuuuuust slightly pink and rare in the middle. If you prefer it cooked well through, leave in for 2 more minutes.
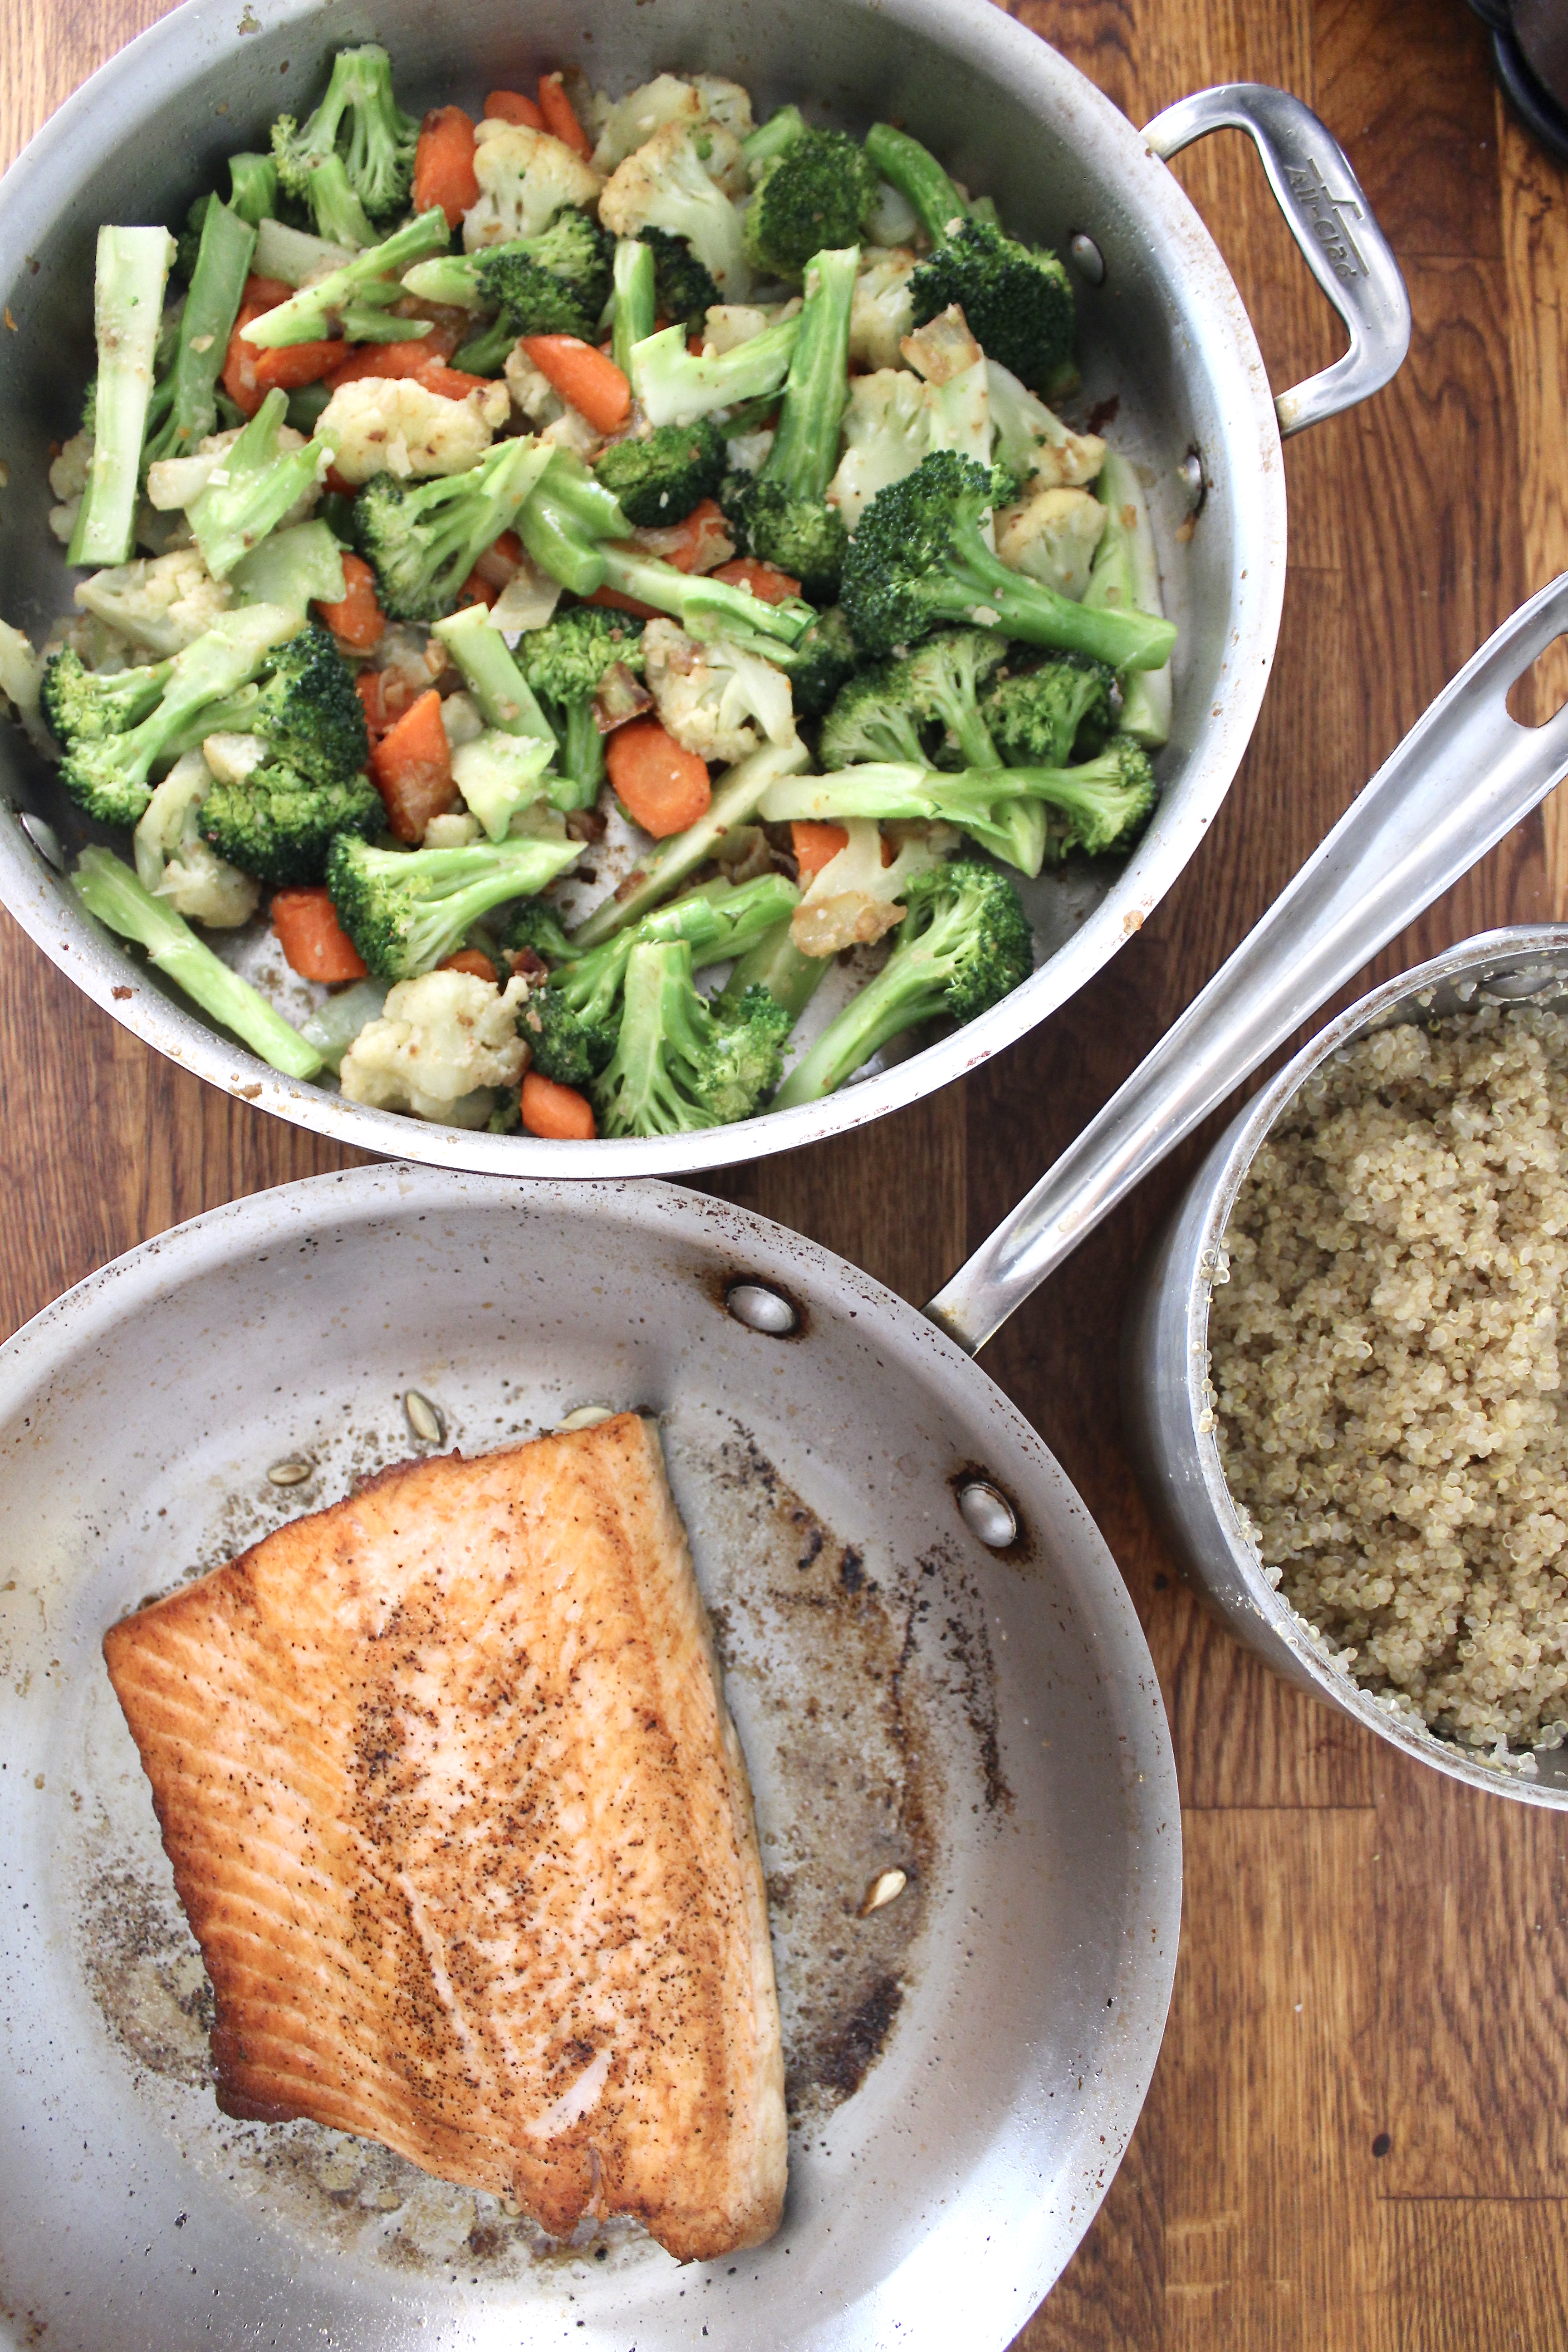
I know we all tryin’ to eat more nutritious food, less meat, fewer carbs. And I know salmon isn’t exactly the best option either. It’s overfished, not sustainable. But I for one need to change things up from beans, lentils and eggs. We still do chicken once a week or so. Red meat once a month maybe. Baby steps.
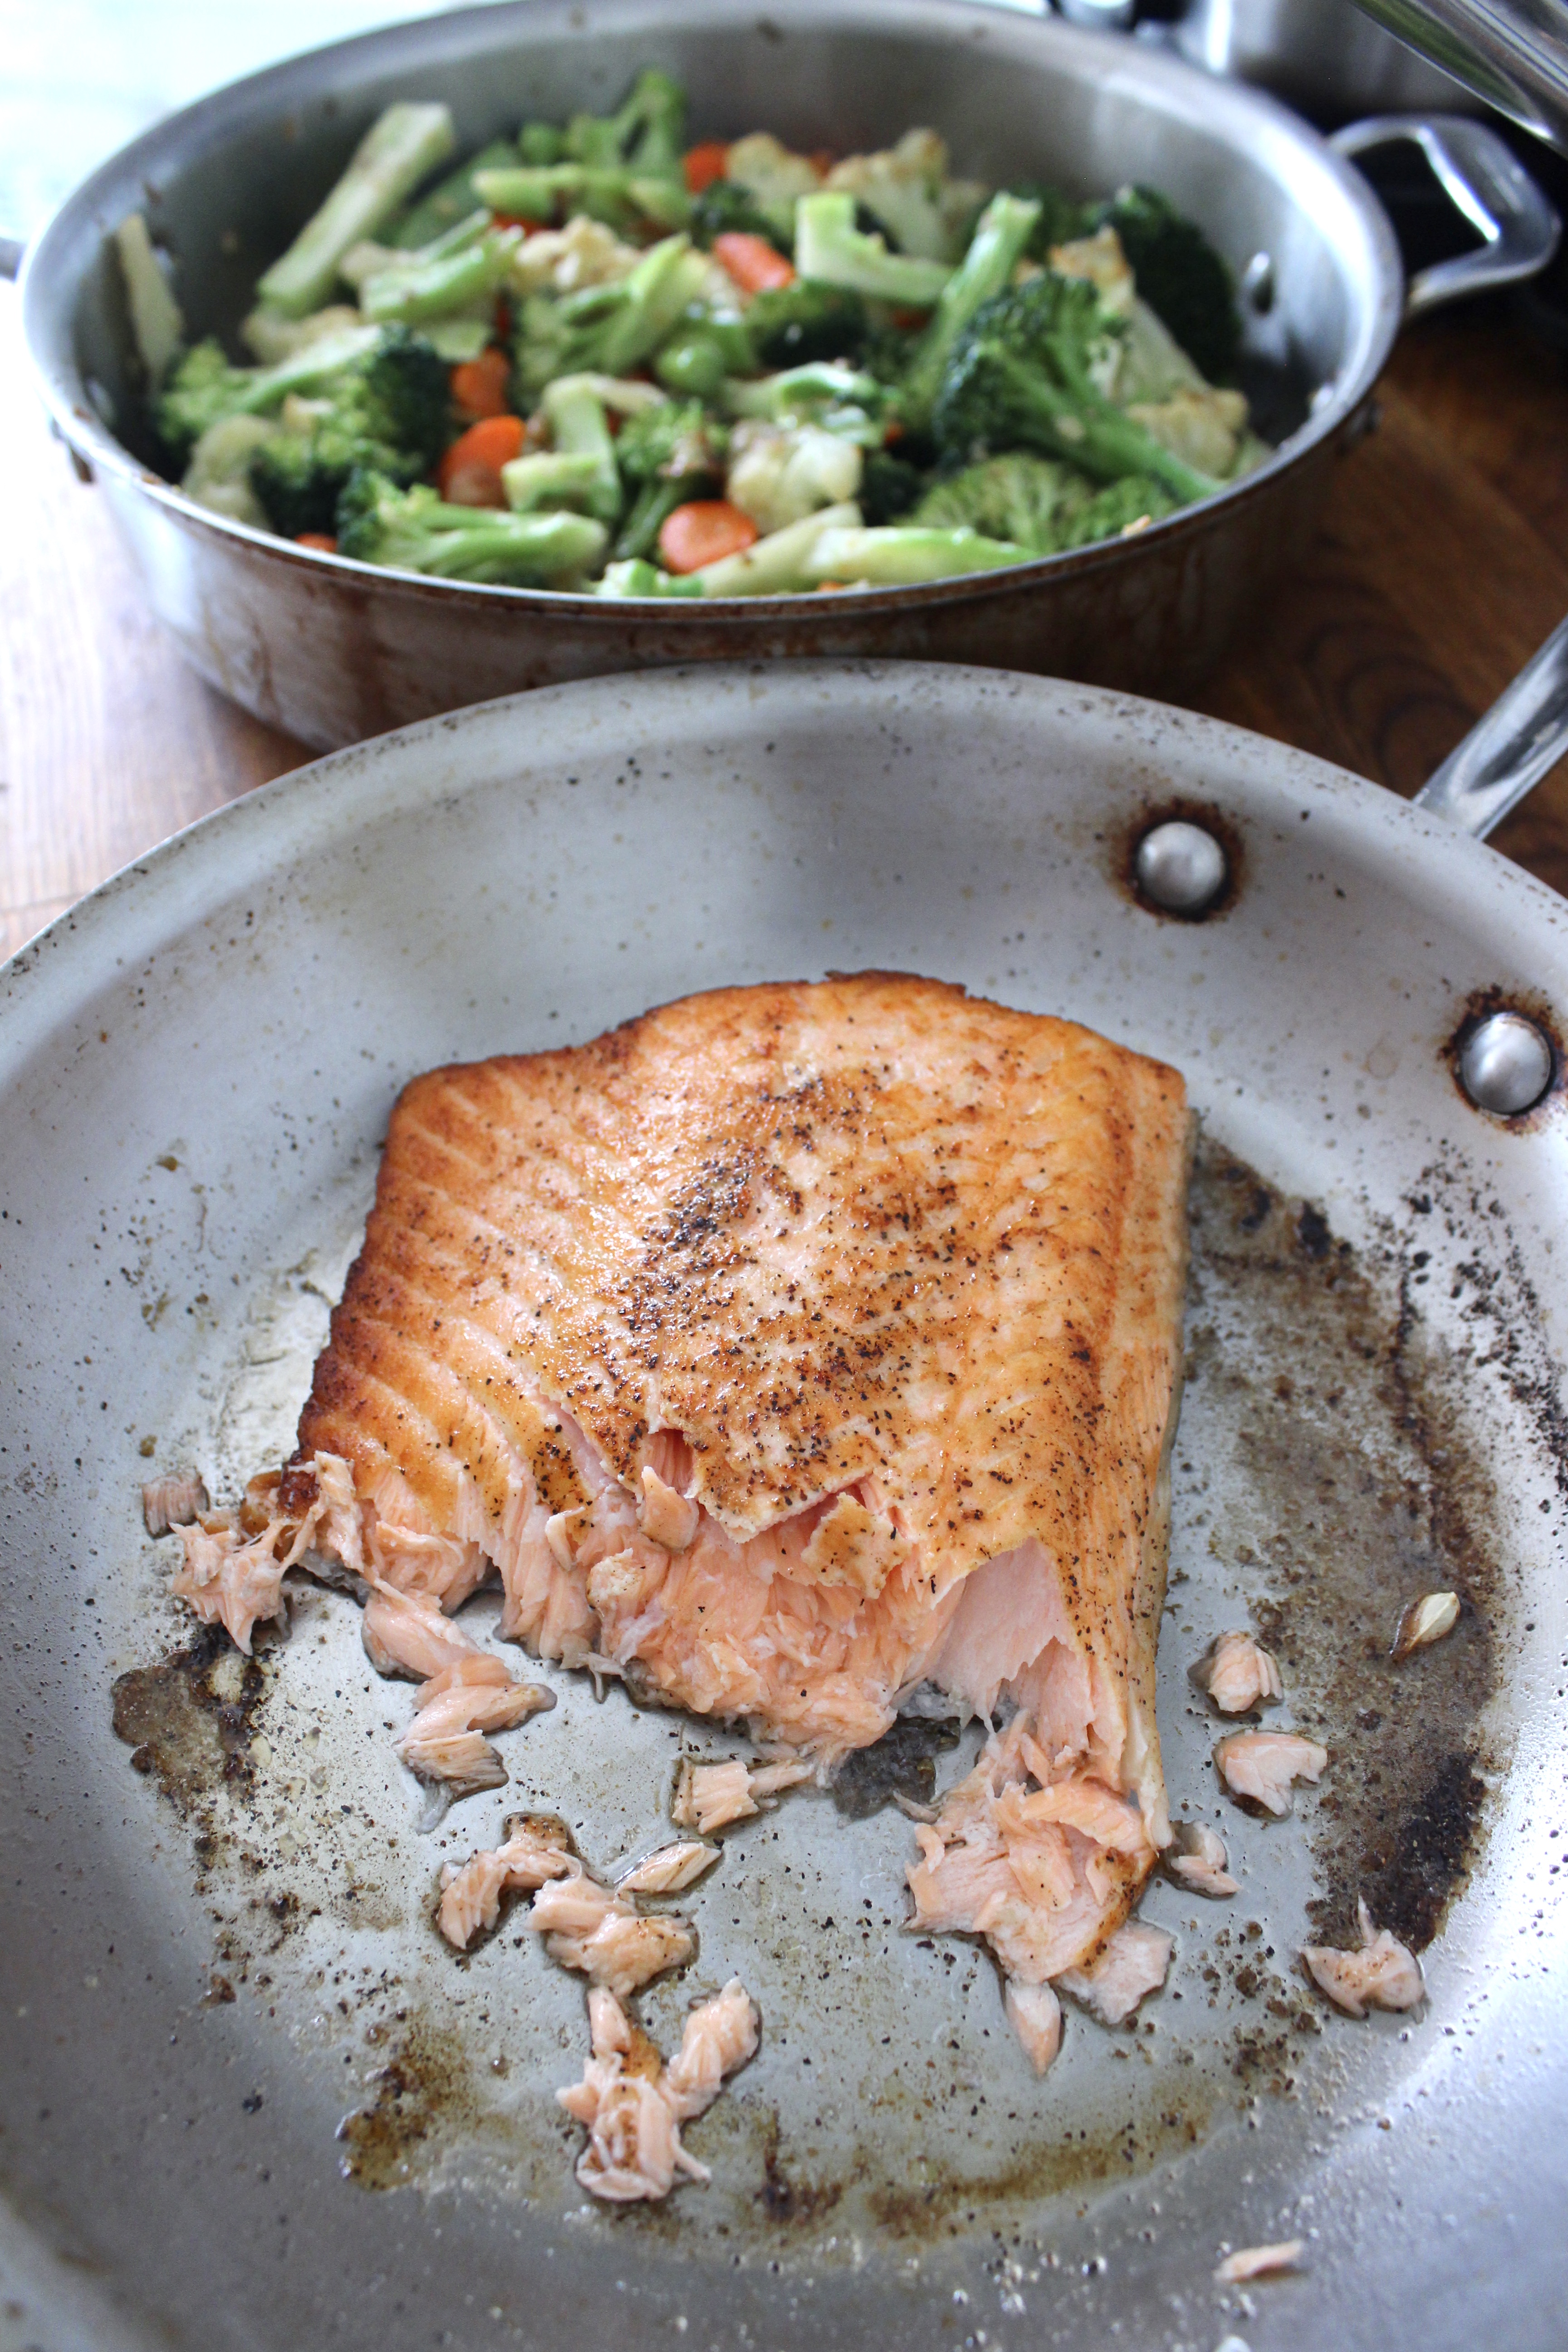
Ingredients
For the mixed vegetable sauté:
- 3 tbsp olive oil
- 5 organic carrots (they’re smaller, so if using big carrots, use 3-4)
- 1/2 large onion or 1 medium onion
- salt and pepper to taste
- 3 cloves garlic, minced
- 12 oz cauliflower florets, or from 1 head of cauliflower
- 12 oz broccoli florets, or from 1 large head of broccoli (I had two small heads of broccoli)
- 2 tbsp unsalted butter
- more salt and pepper to taste
For the salmon
- 2tbsp olive oil
- 2tbsp unsalted butter
- 12 oz salmon fillet
- salt and pepper
- a squeeze of lemon
Directions
- For the vegetable sauté: heat up oil in a large pan over medium-high heat. Add carrots, saute for 2-3 minutes, then add onions. Season with salt and pepper. Cook for 2-3 minutes more. Add the garlic, then broccoli and cauliflower florets. Add butter and more salt and pepper. If the veggies are starting to brown too easily on the bottom, reduce heat to medium. Continue cooking, stirring occasionally until veggies are crisp tender, 10-15 more minutes. Taste for seasoning.
- For the salmon: Preheat oven to 350F. Score the skin side of the salmon – about 3 slits diagonally. Season both sides with salt and pepper. Melt butter and olive oil in at least a 9in round french or other ovenproof skillet. When bubbling stops, add the salmon, skin side down. Don’t touch it for at least 2 minutes. When there’s a nice crust, it’ll lift off easily. Flip over carefully, minimizing splatter of hot oil, using two spatulas if necessary. And cook for an additional 2 minutes. Then insert in preheated oven for 7-8 minutes.
- Remove from heat, finish with a squeeze of lemon and let rest for a few minutes before serving. Serve alongside steamed quinoa or brown rice.
The Last Chocolate Chunk Cookie
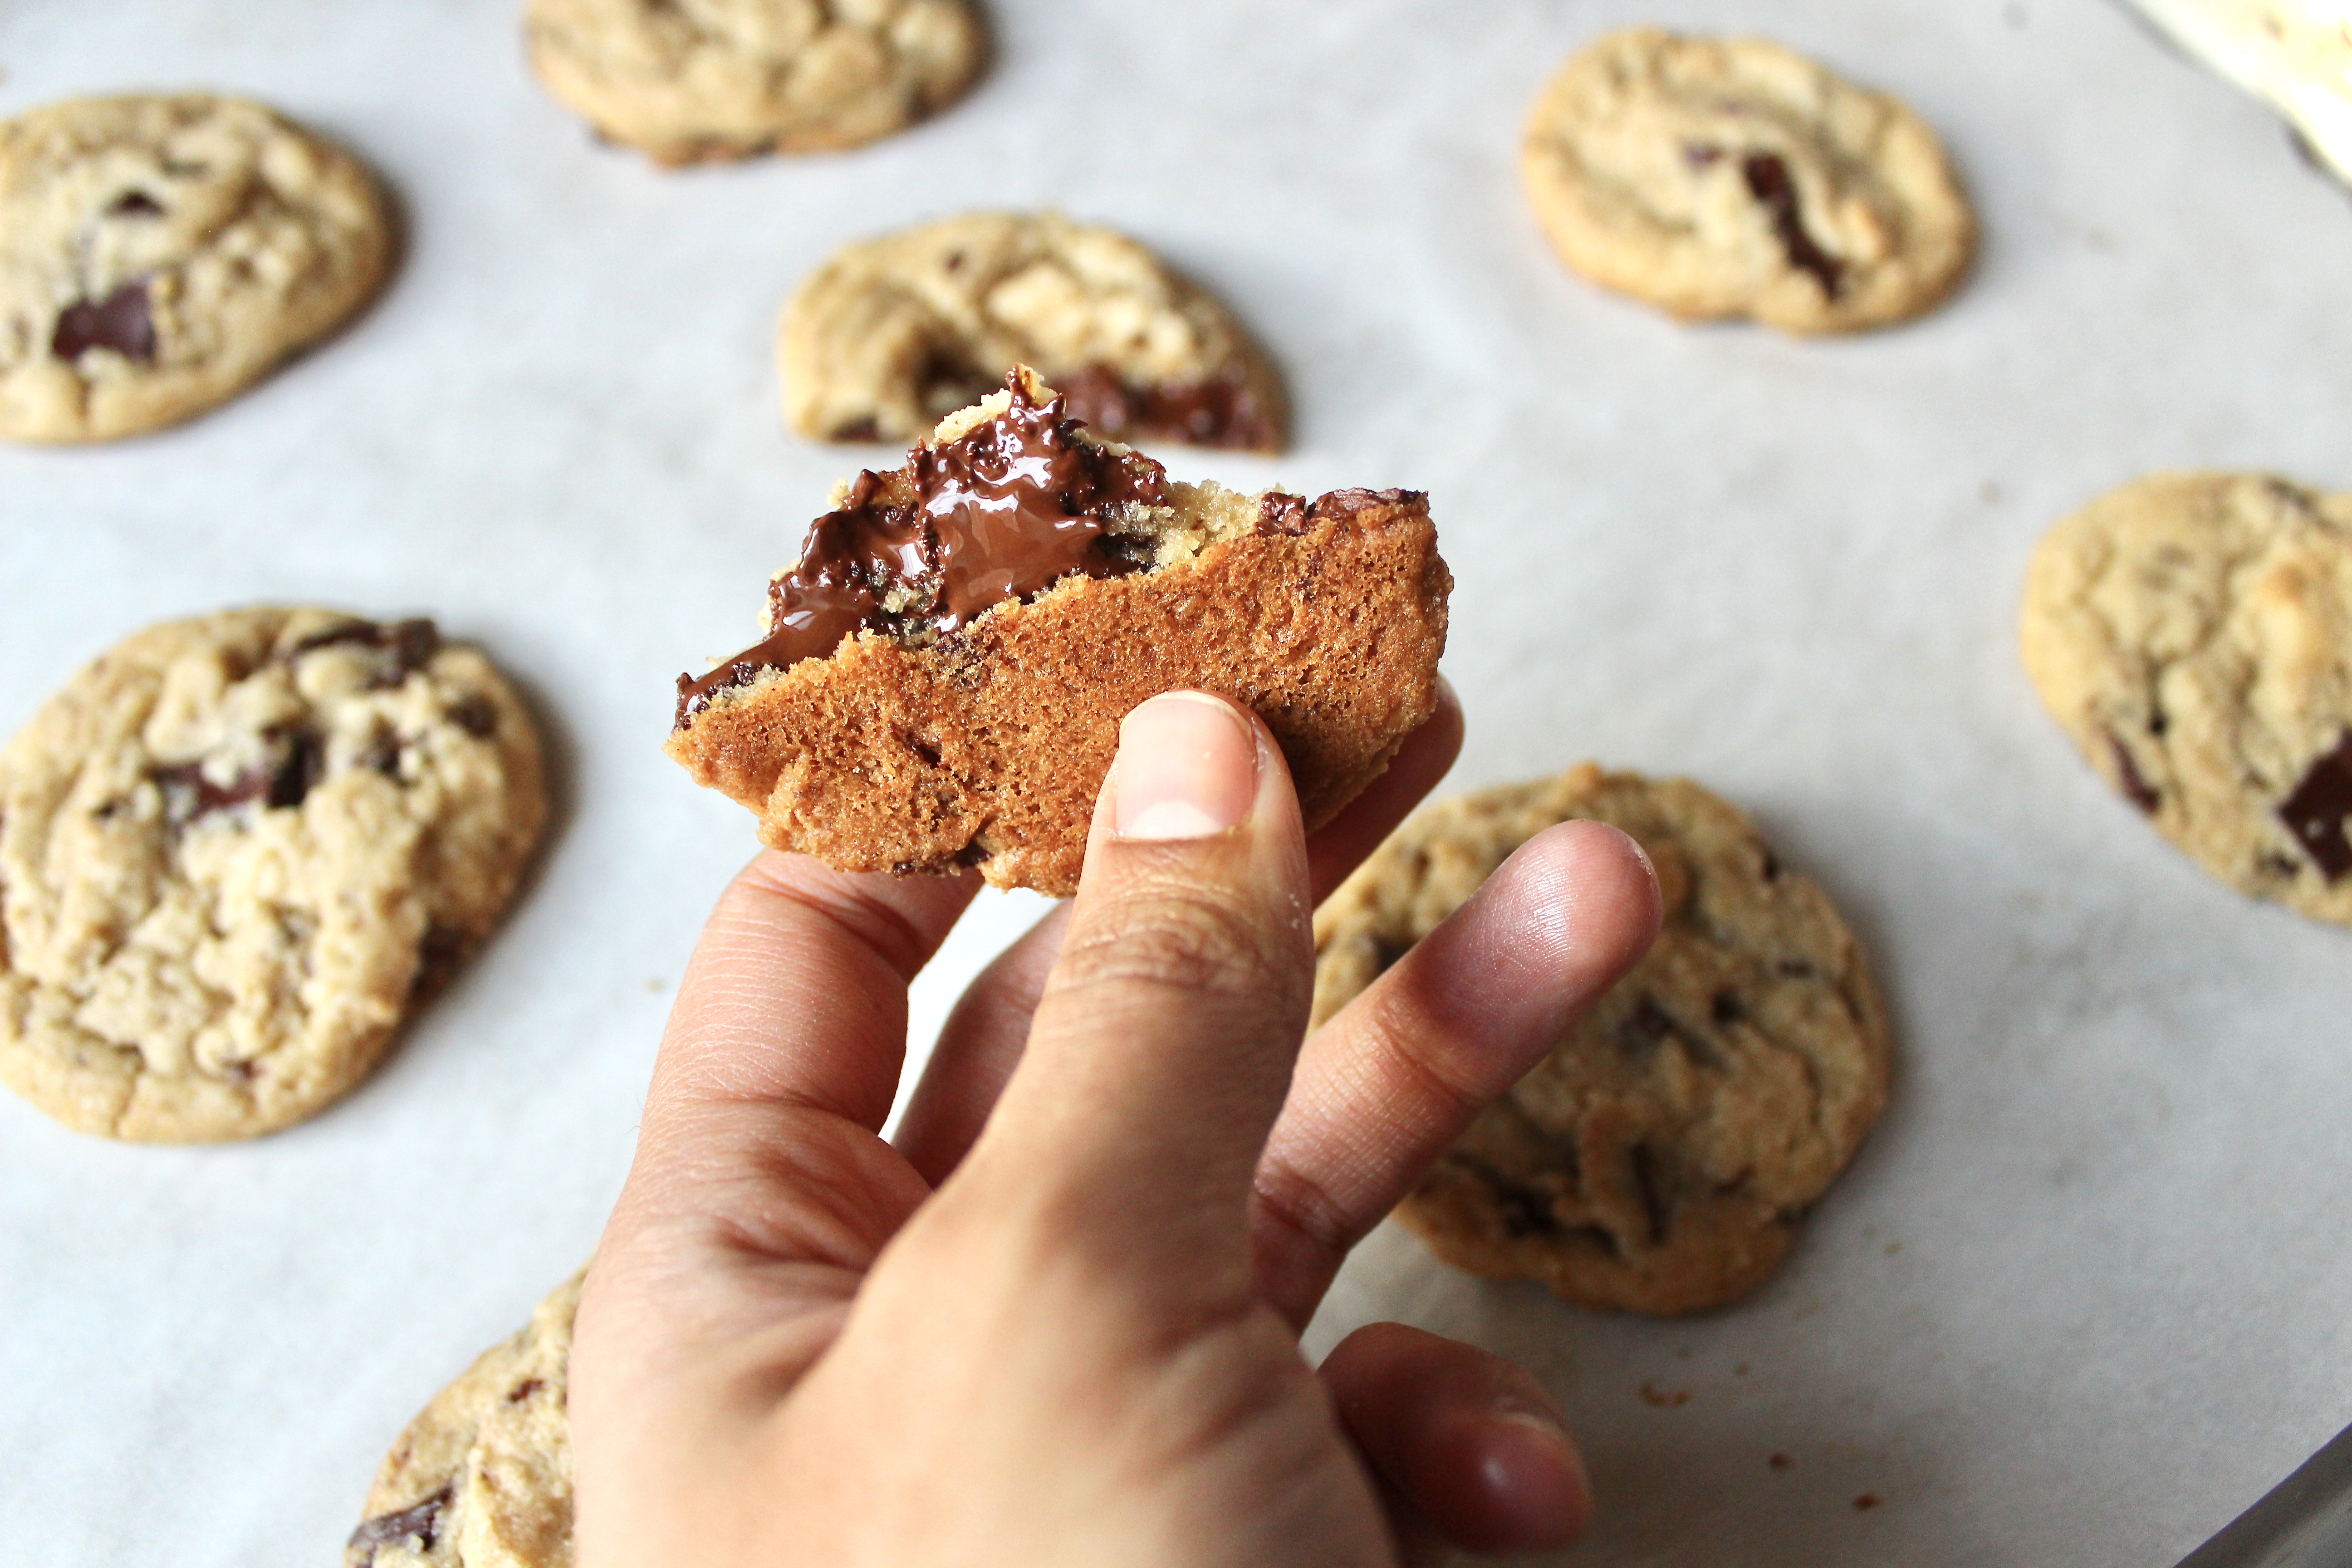
When I die, I want this recipe printed on my tombstone.
Just kidding, Muslims don’t do tombstones.
But this really is the cookie I’ve been searching for all my life. Free of all the silly things people add to chocolate chip cookies (CCC’s from here on out) to one up their game like extra SALT on top or TAHINI or the worst of all, NUTS. I don’t understand the need to muck up the most brilliant baking invention of all time with things that are not chocolate, flour, sugar, butter, leaveners, salt or vanilla. The original Nestle Toll House recipe, as brilliant as is, is missing a little complexity, and little texture.
I’ve tried SO many CCC recipes. Bang on a Pan. The Chewy. The Thin. Something from Buzzfeed. Tahini. Nestle. America’s Test Kitchen. And they all have their redeeming qualities. But for me, the NY Times recipe by David Leite is the closest I’ve come to perfection: a combination of cake flour and bread flour, one makes it tender, the other adds a chewy texture. A full 2 tsp vanilla for extra flavor. Refrigerating the dough to let the gluten relax.
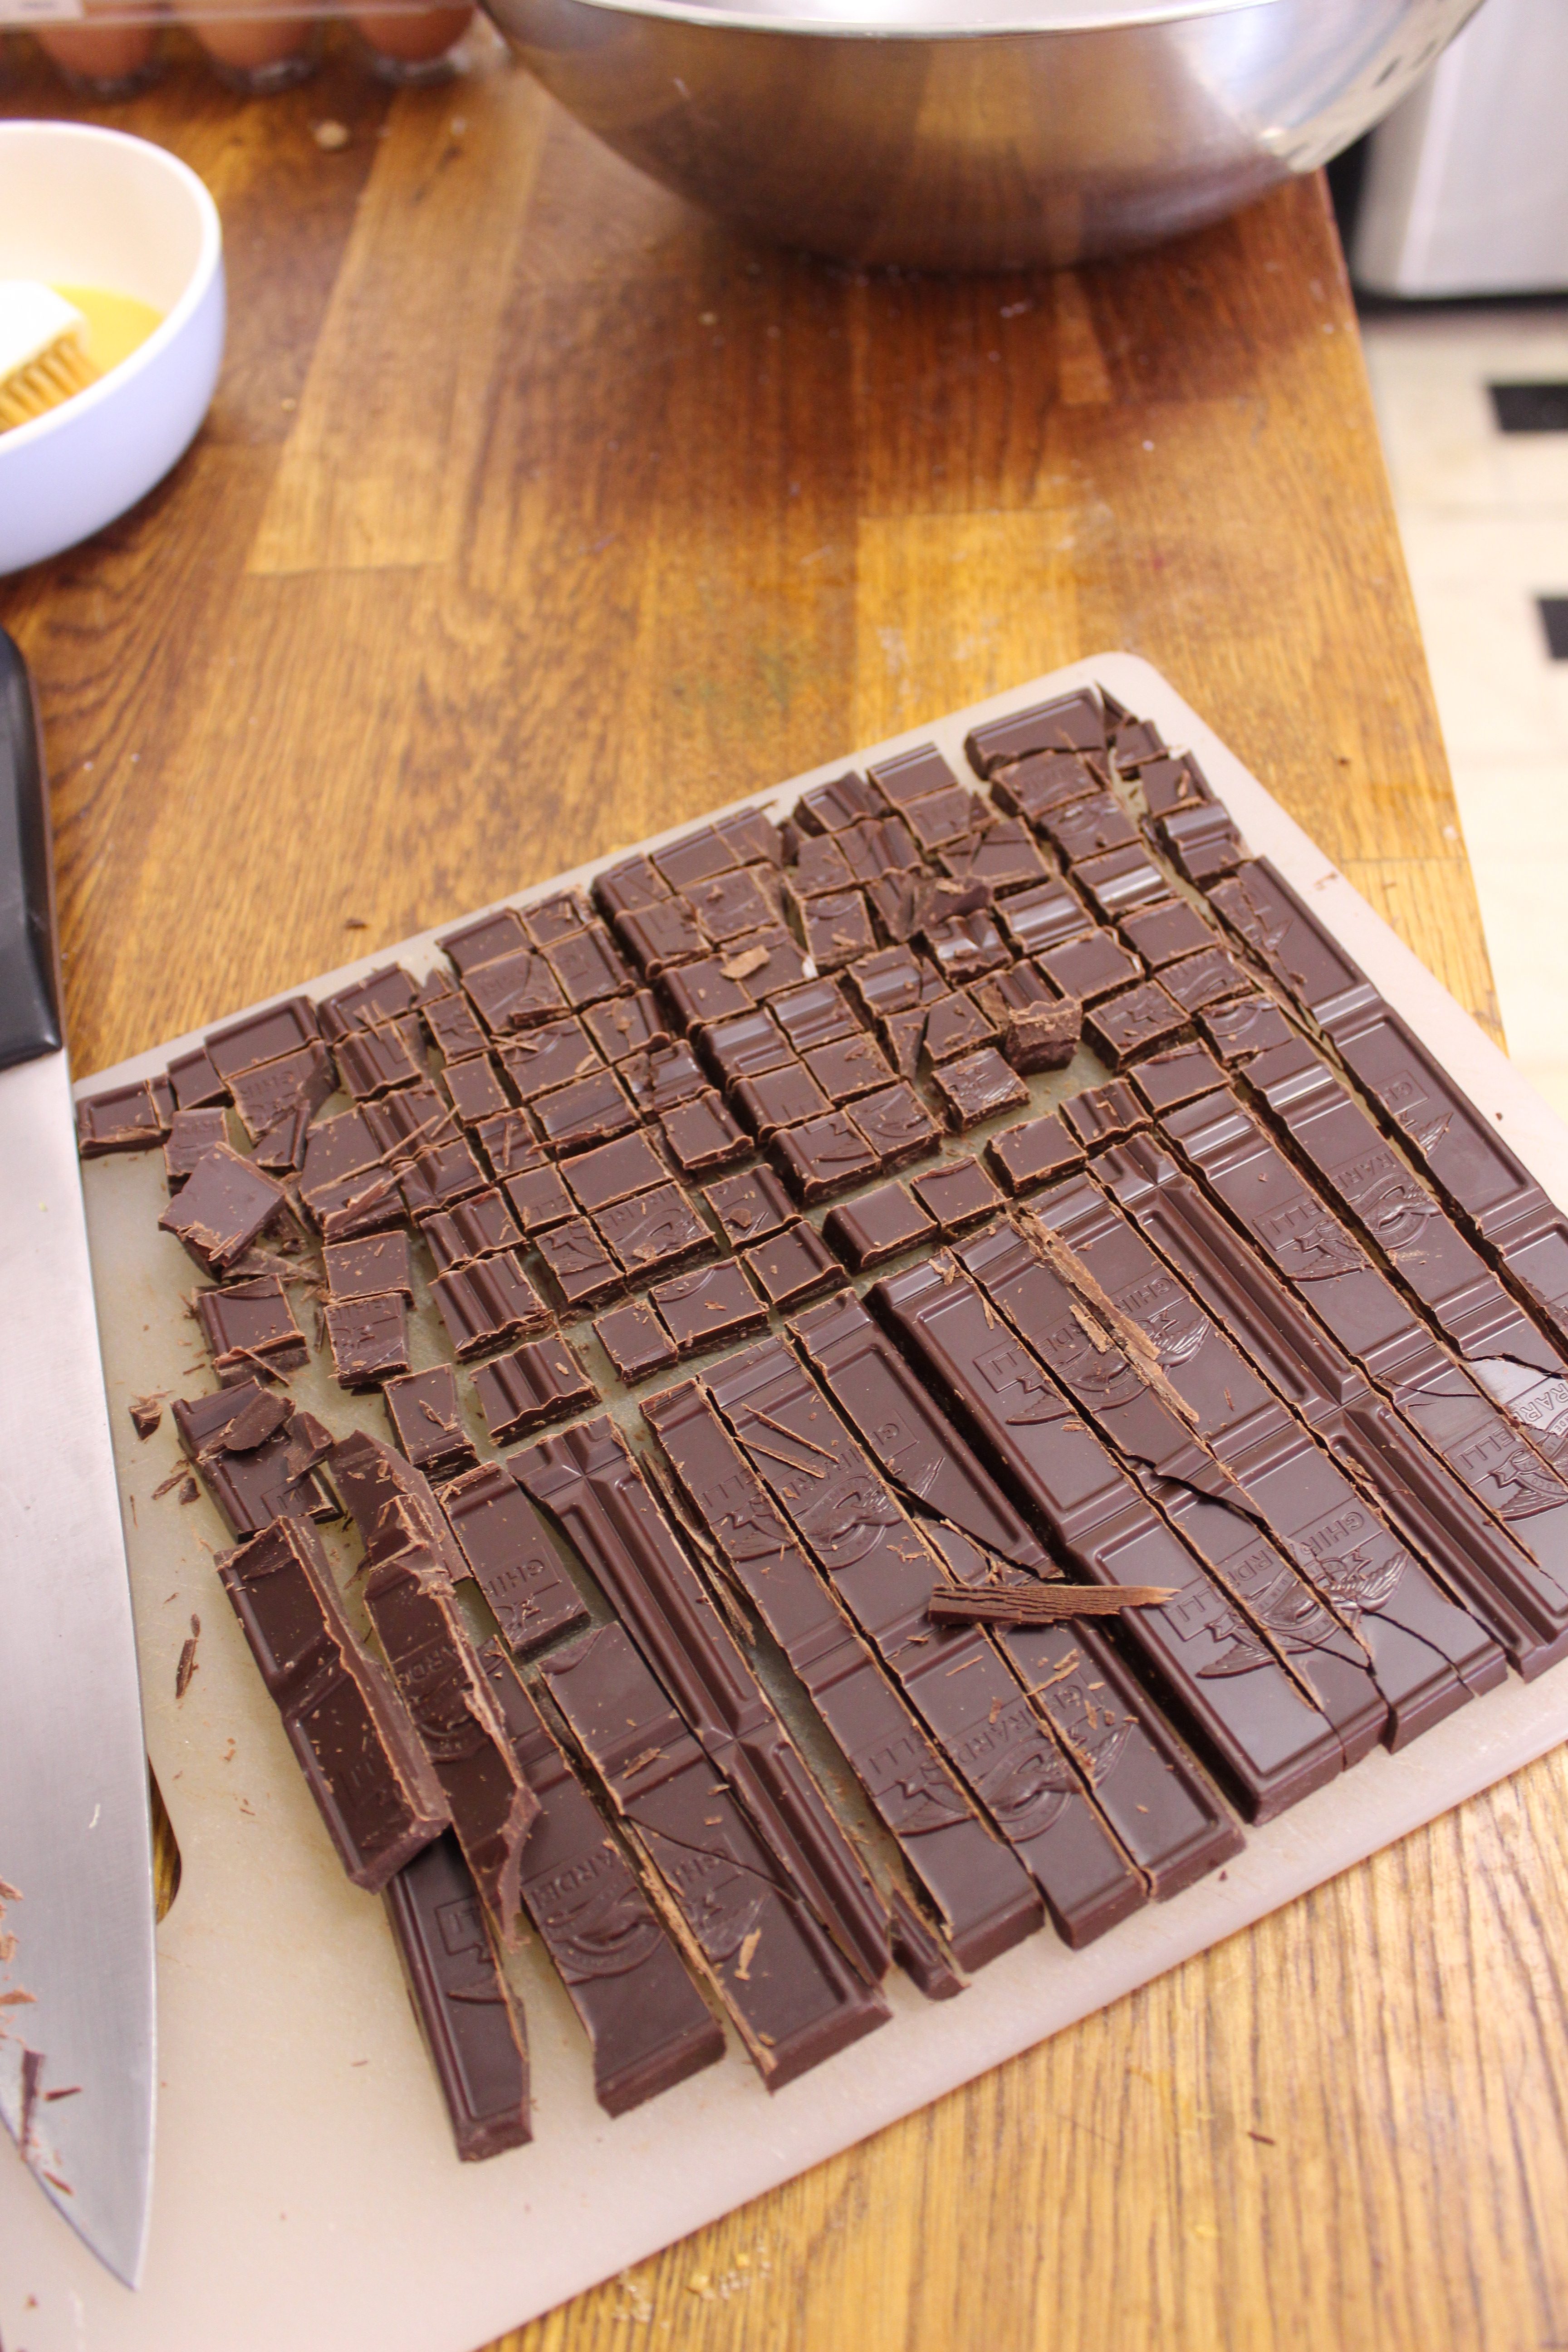
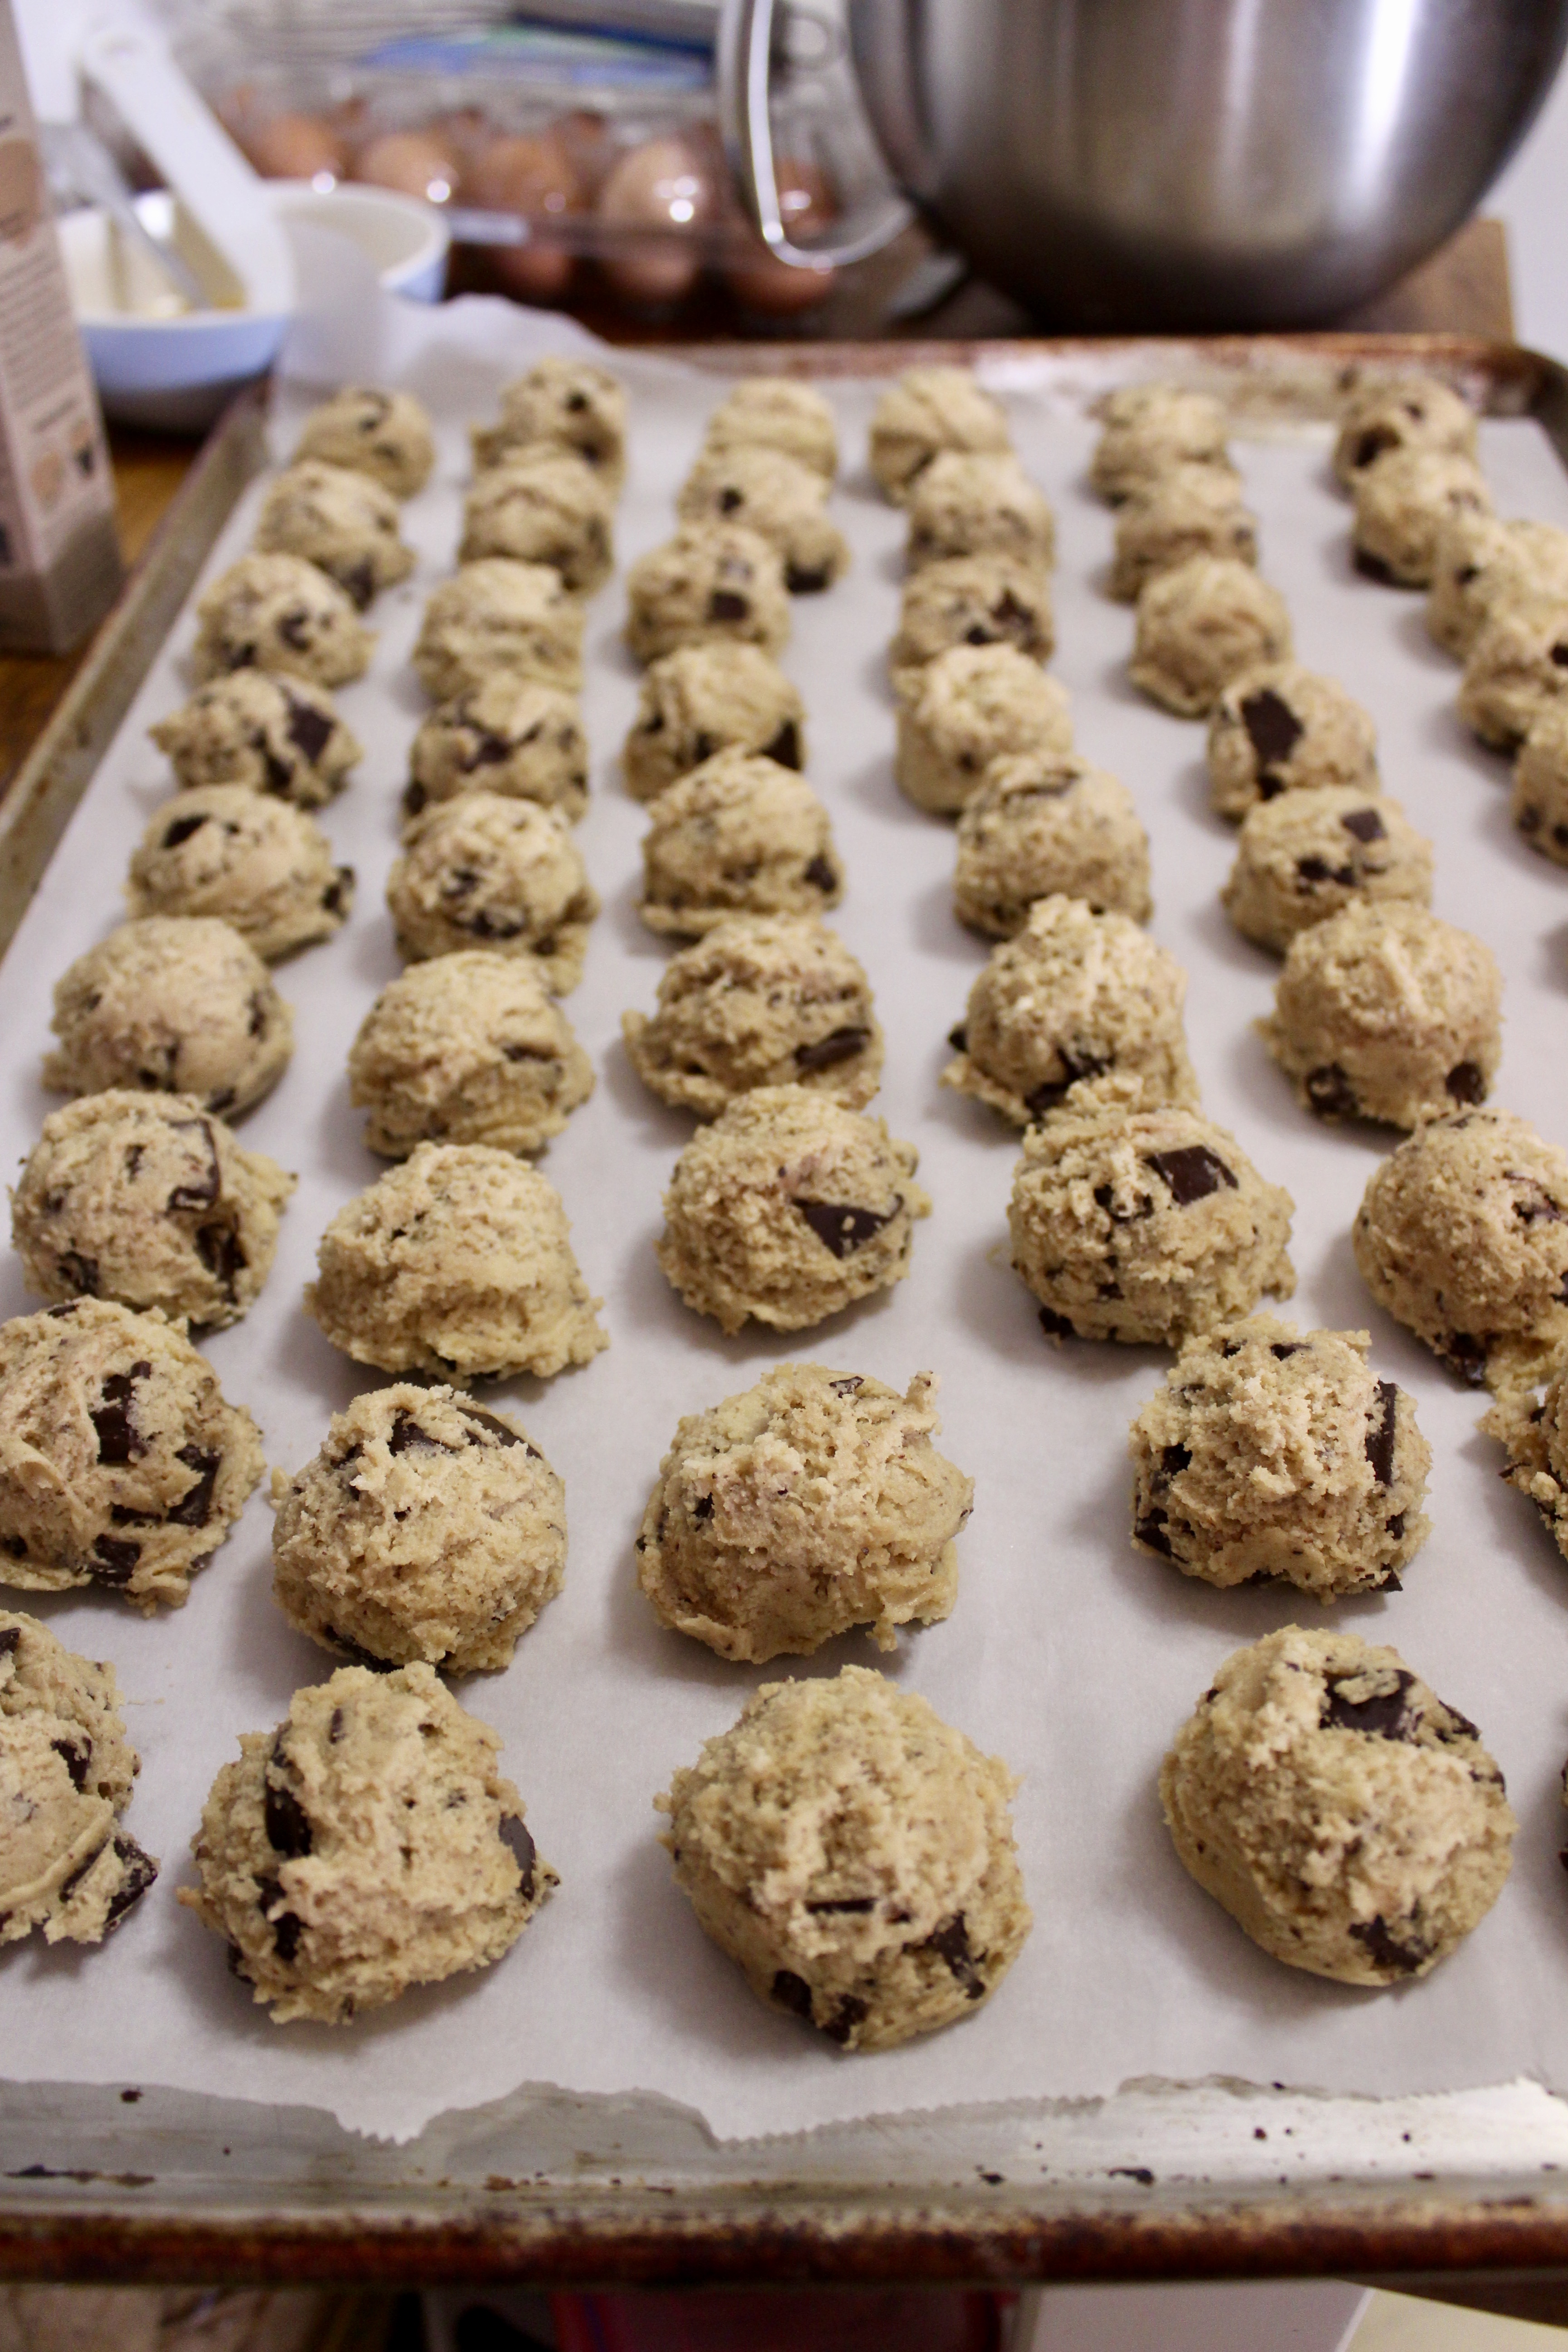
I did need to tweak it to my tastes. I use my trusty OXO medium cookie scoop for perfect sizing. I use chocolate chunks in lieu of chocolate disks/feves/chips and I reduce the amount of chocolate from the original recipe. I know I make fun of my husband a lot for his critiquing the amount of chocolate in the original recipe, but he’s kind of right. The 16oz that I have here gives you a generous amount of chocolate (use good quality!) while allowing you to taste the nutty, buttery, chewy cookie.
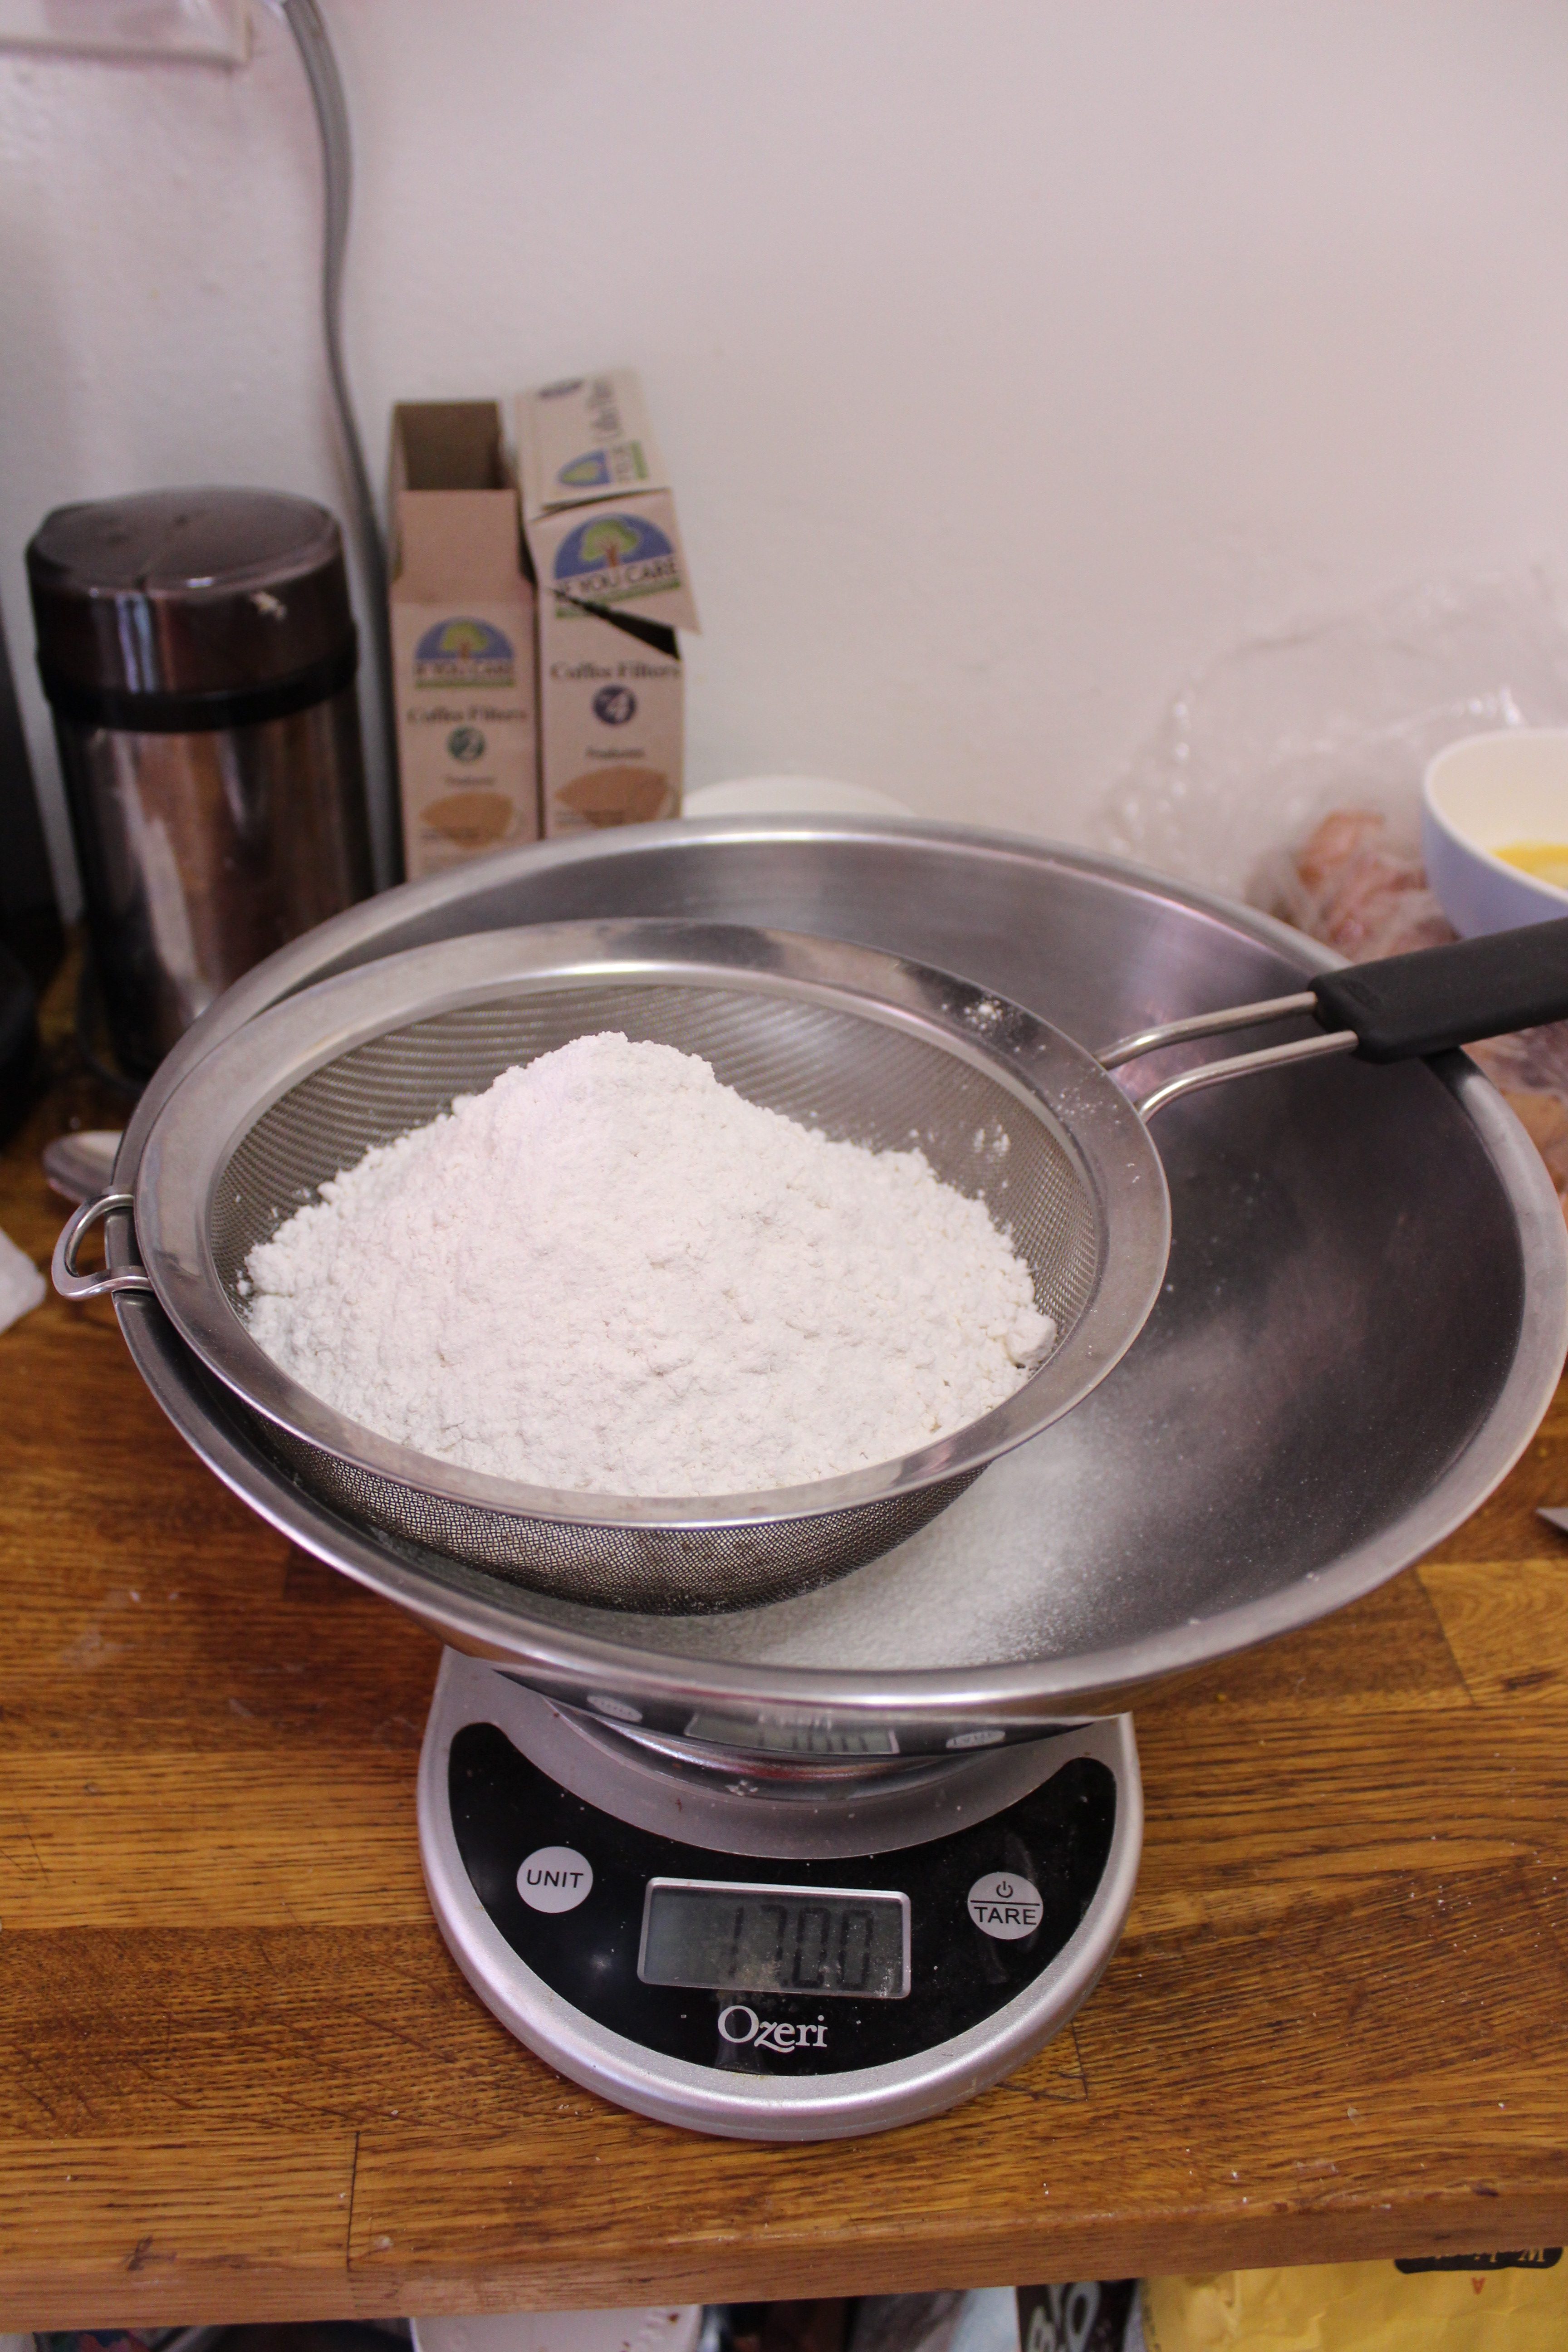
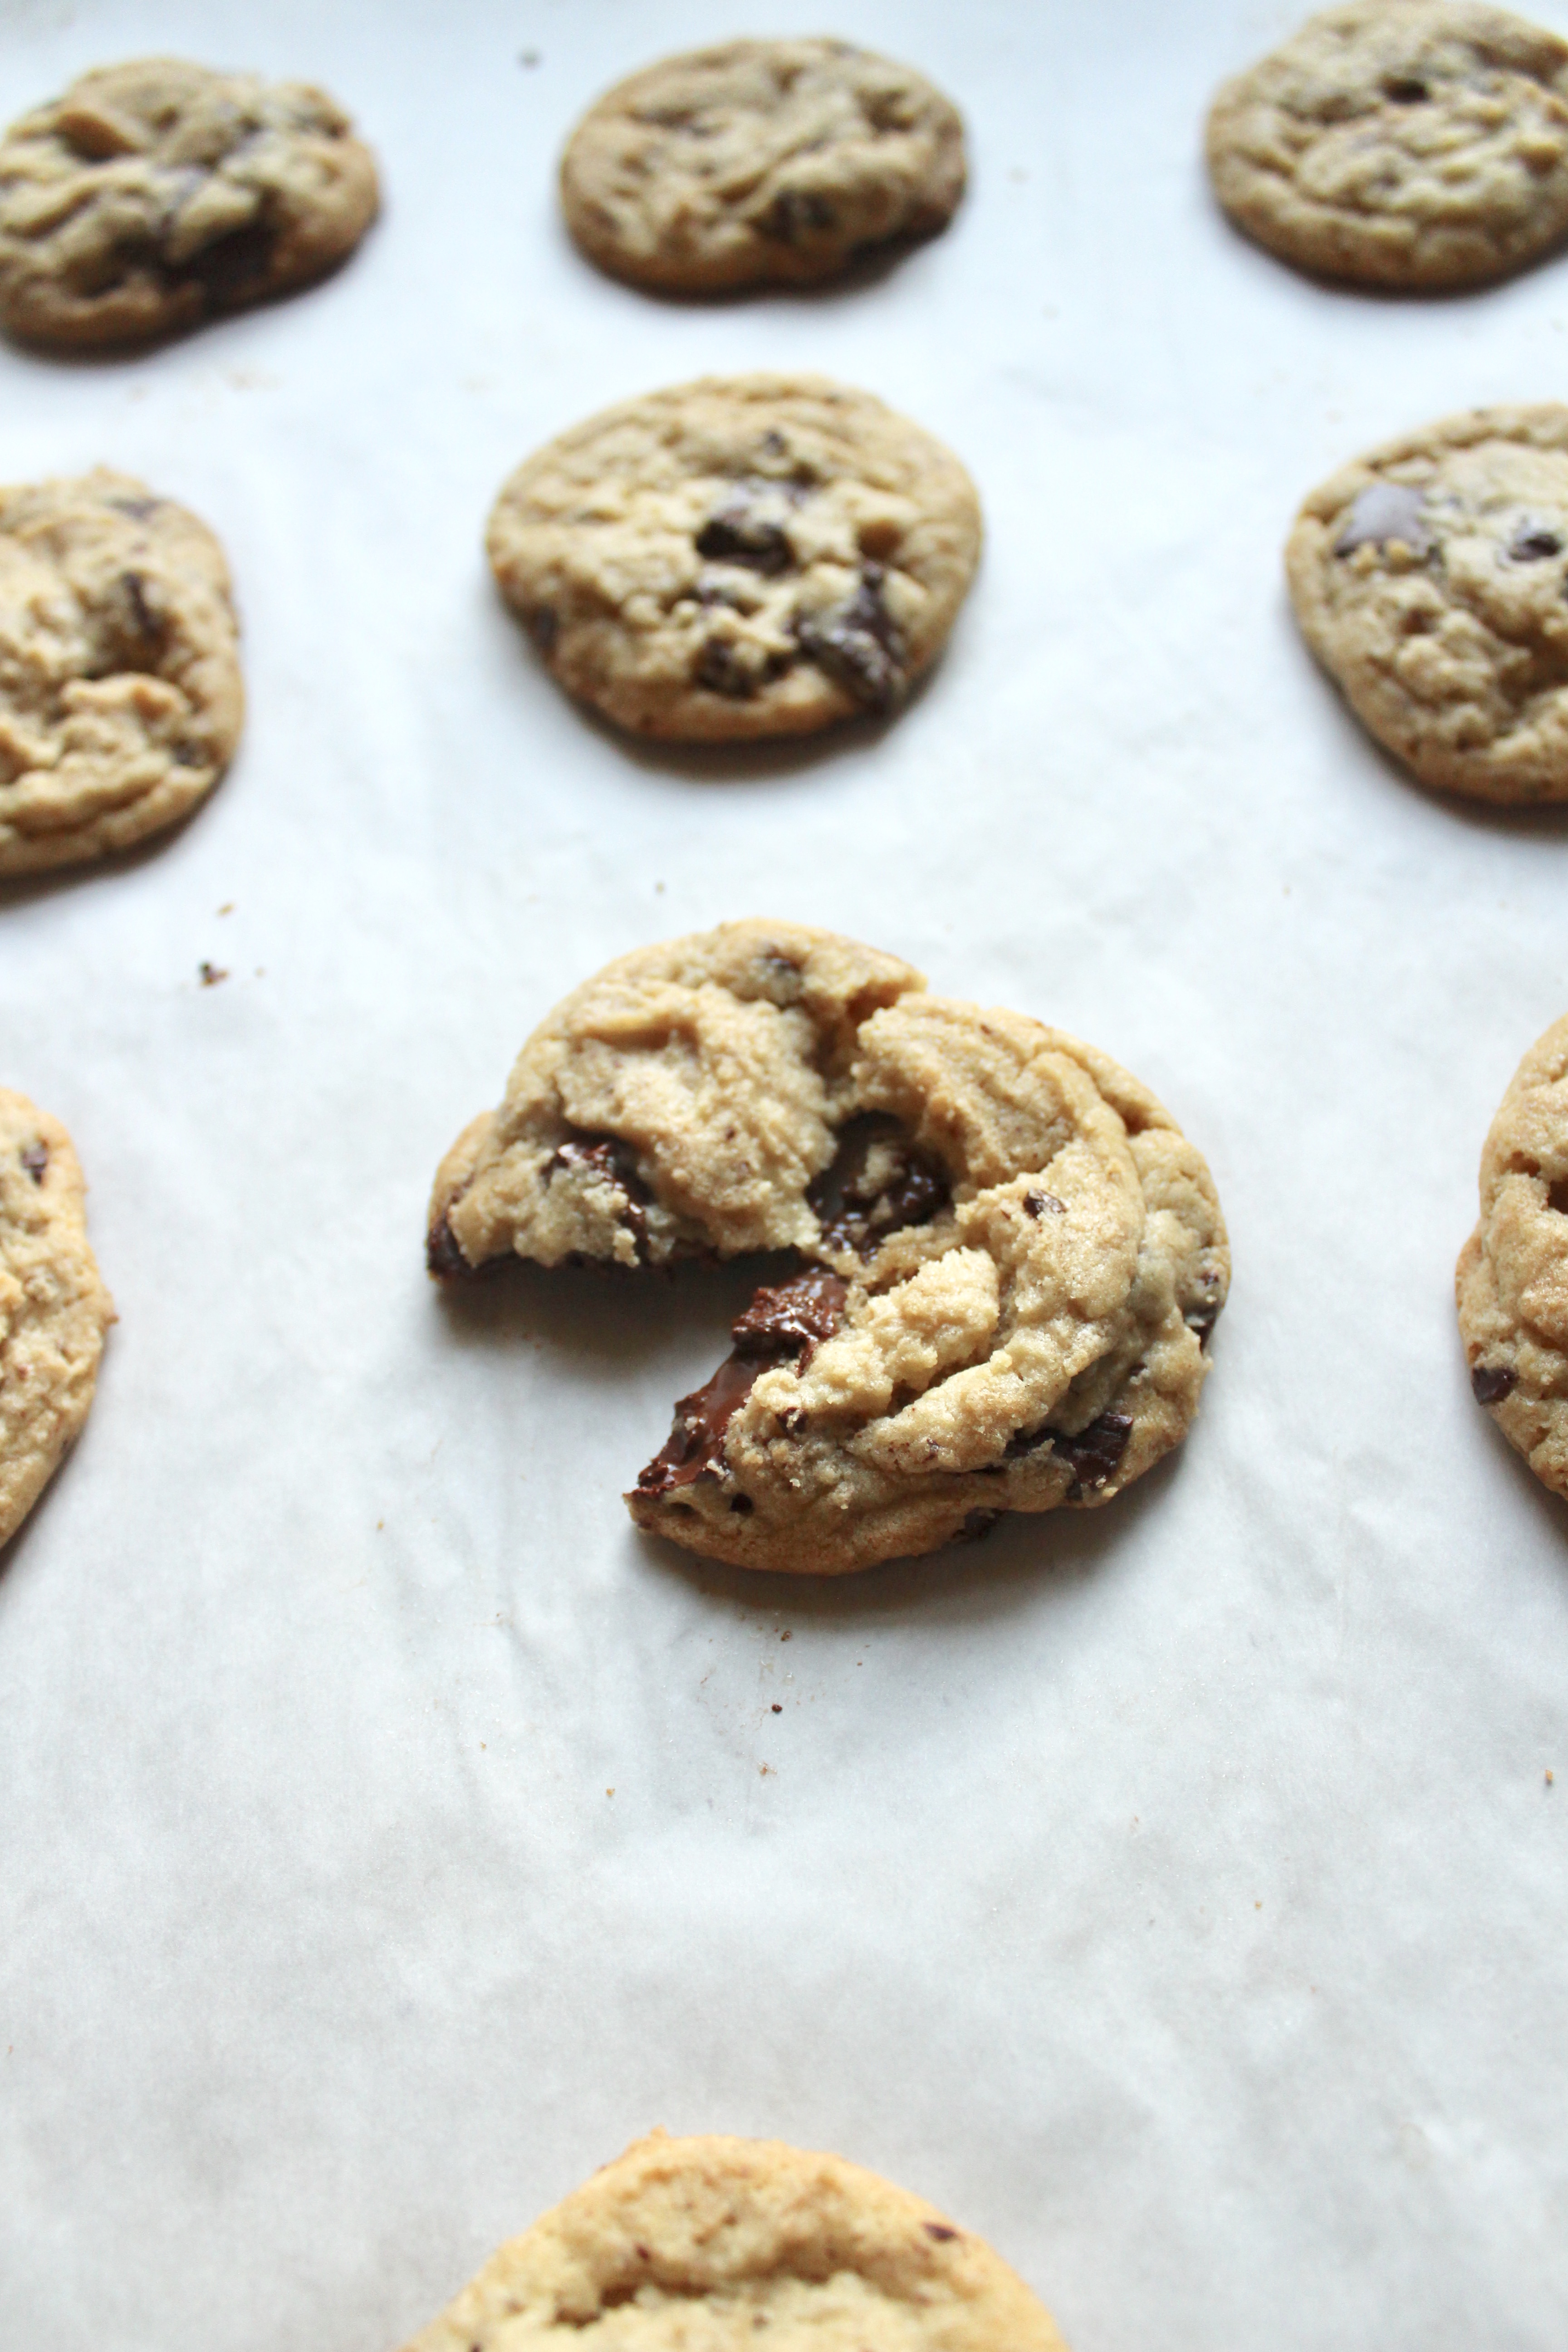
This is the only recipe I use my scale for, mainly because the measurements are so fussy otherwise, with so many cup measures, plus or minus tablespoons. But this recipe is worth the fuss. Think of every delectable high quality CCC you’ve had at the best bakery – this one is it. Everything from the size (it’s big enough so the centers are chewy, the edges are crispy), to the proportions, to the wait time – it’s sheer perfection.
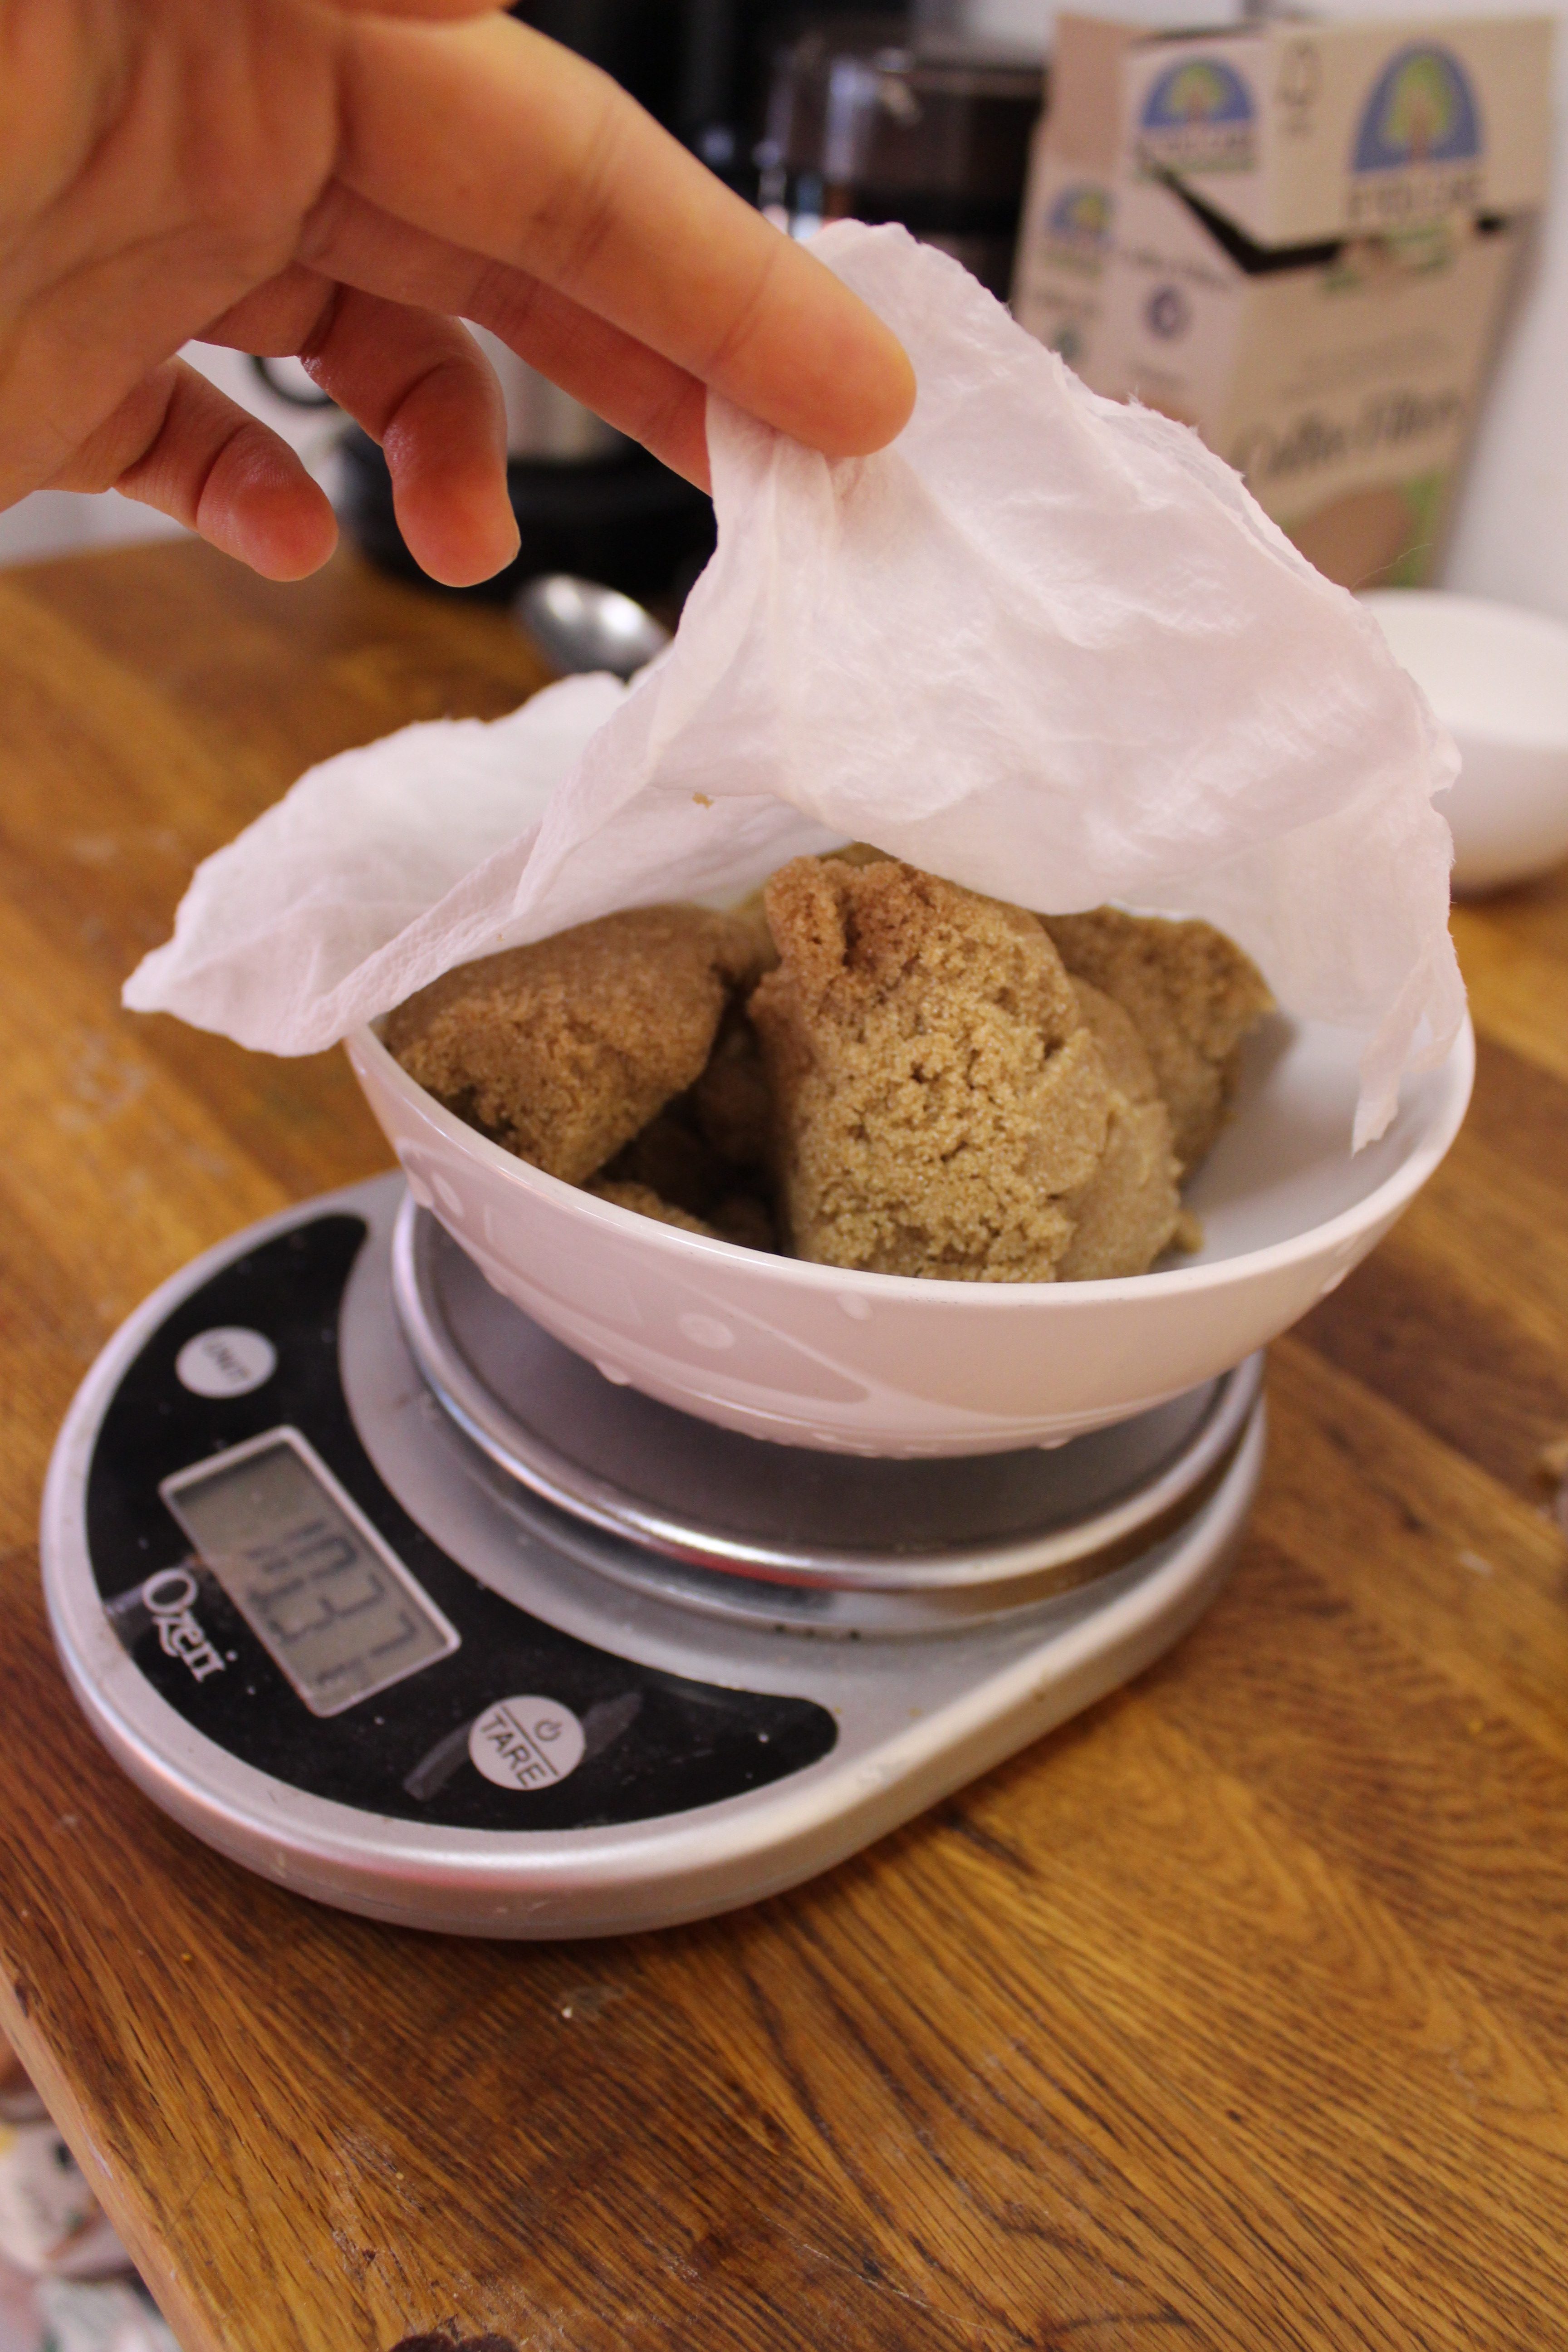
Pro tip – if your brown sugar hardens, don’t toss it! Place in a microwave safe bowl, cover with a damp paper towel and microwave at 30 second intervals at medium power until softened.
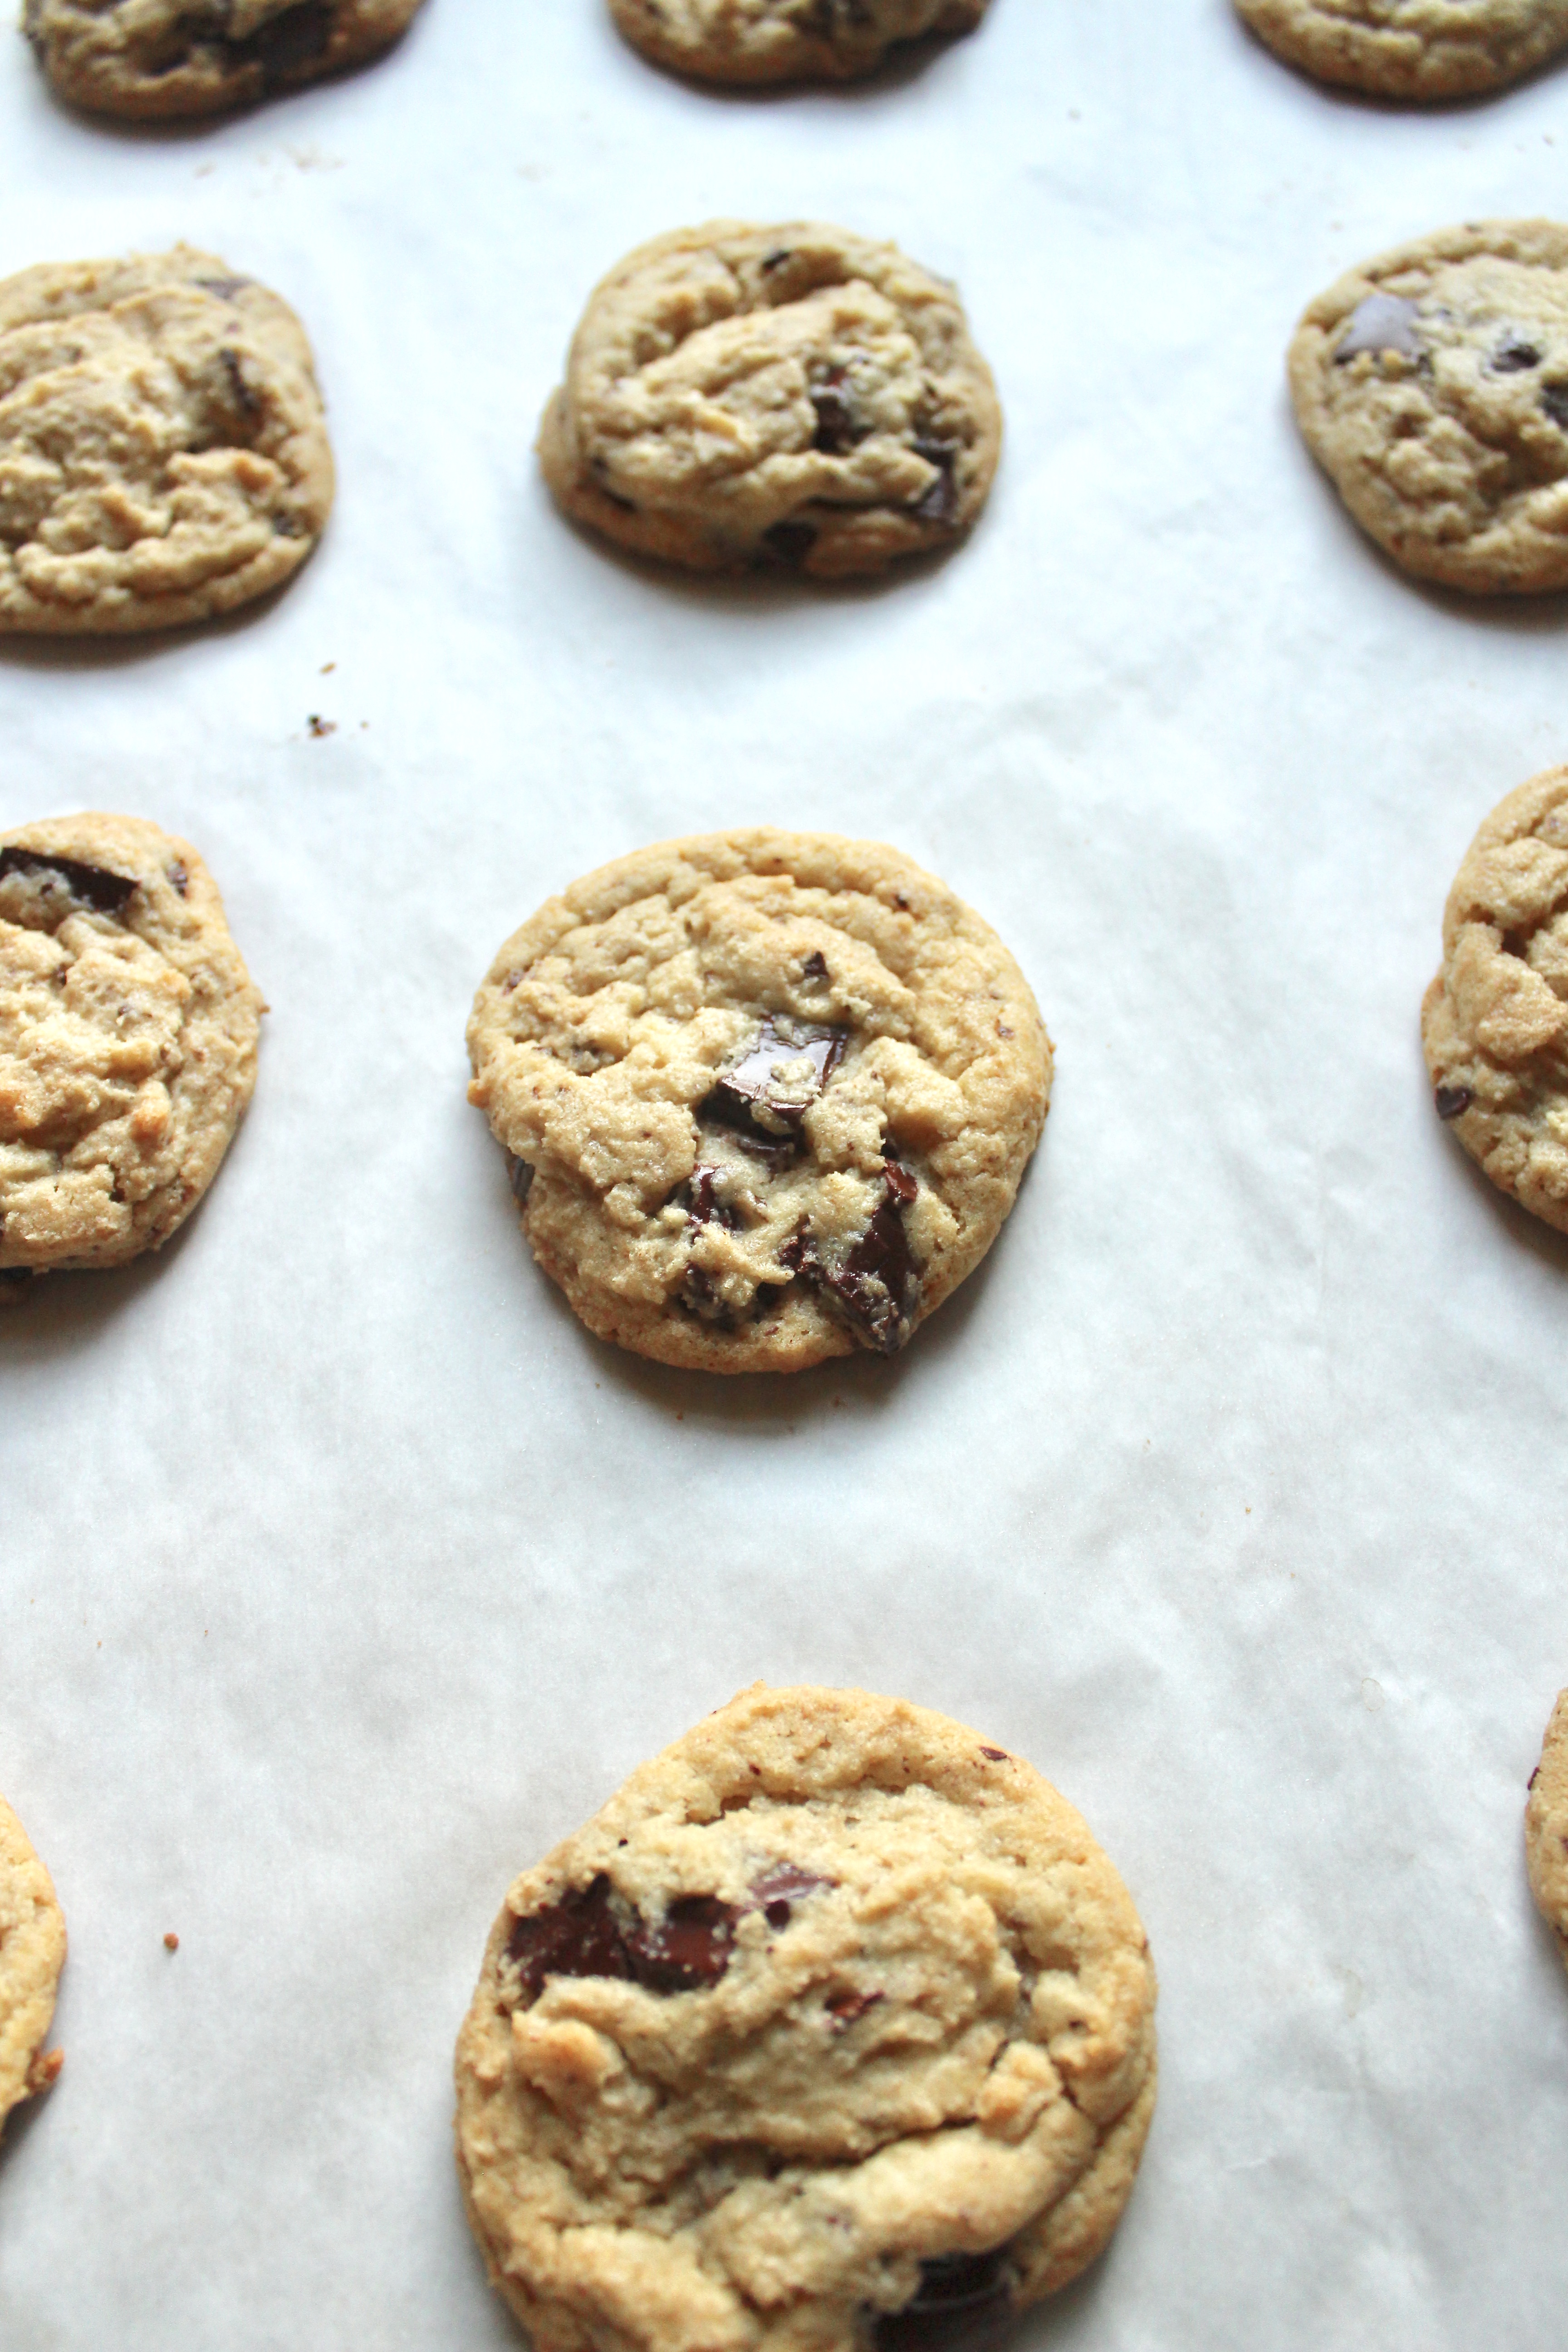
Final tip, I don’t know about your sieve, but salt doesn’t go through mine. So I usually sift the flours and leaveners together, then add the salt. Whisking to combine. Don’t let the butter get too soft, and that’s it. Happy baking!
Ingredients
- 2 cups minus 2tbsp cake flour (8 1/2oz)
- 1 2/3 cup flour bread flour (8 1/2oz)
- 1 1/4 tsp baking soda
- 1 1/2 tsp baking powder
- 1 1/2 tsp kosher salt
- 2 1/2 sticks (1 1/4 cups) unsalted butter
- 1 1/4 cups (10oz) light brown sugar
- 1 cup plust 2 tbsp (8oz) granulated sugar
- 2 large eggs
- 2 tsp vanilla
- 16 oz chopped bittersweet or semisweet chocolate, or a combination of both
Directions
- In a large bowl, sift together the flours, baking soda, baking powder and salt. Set aside.
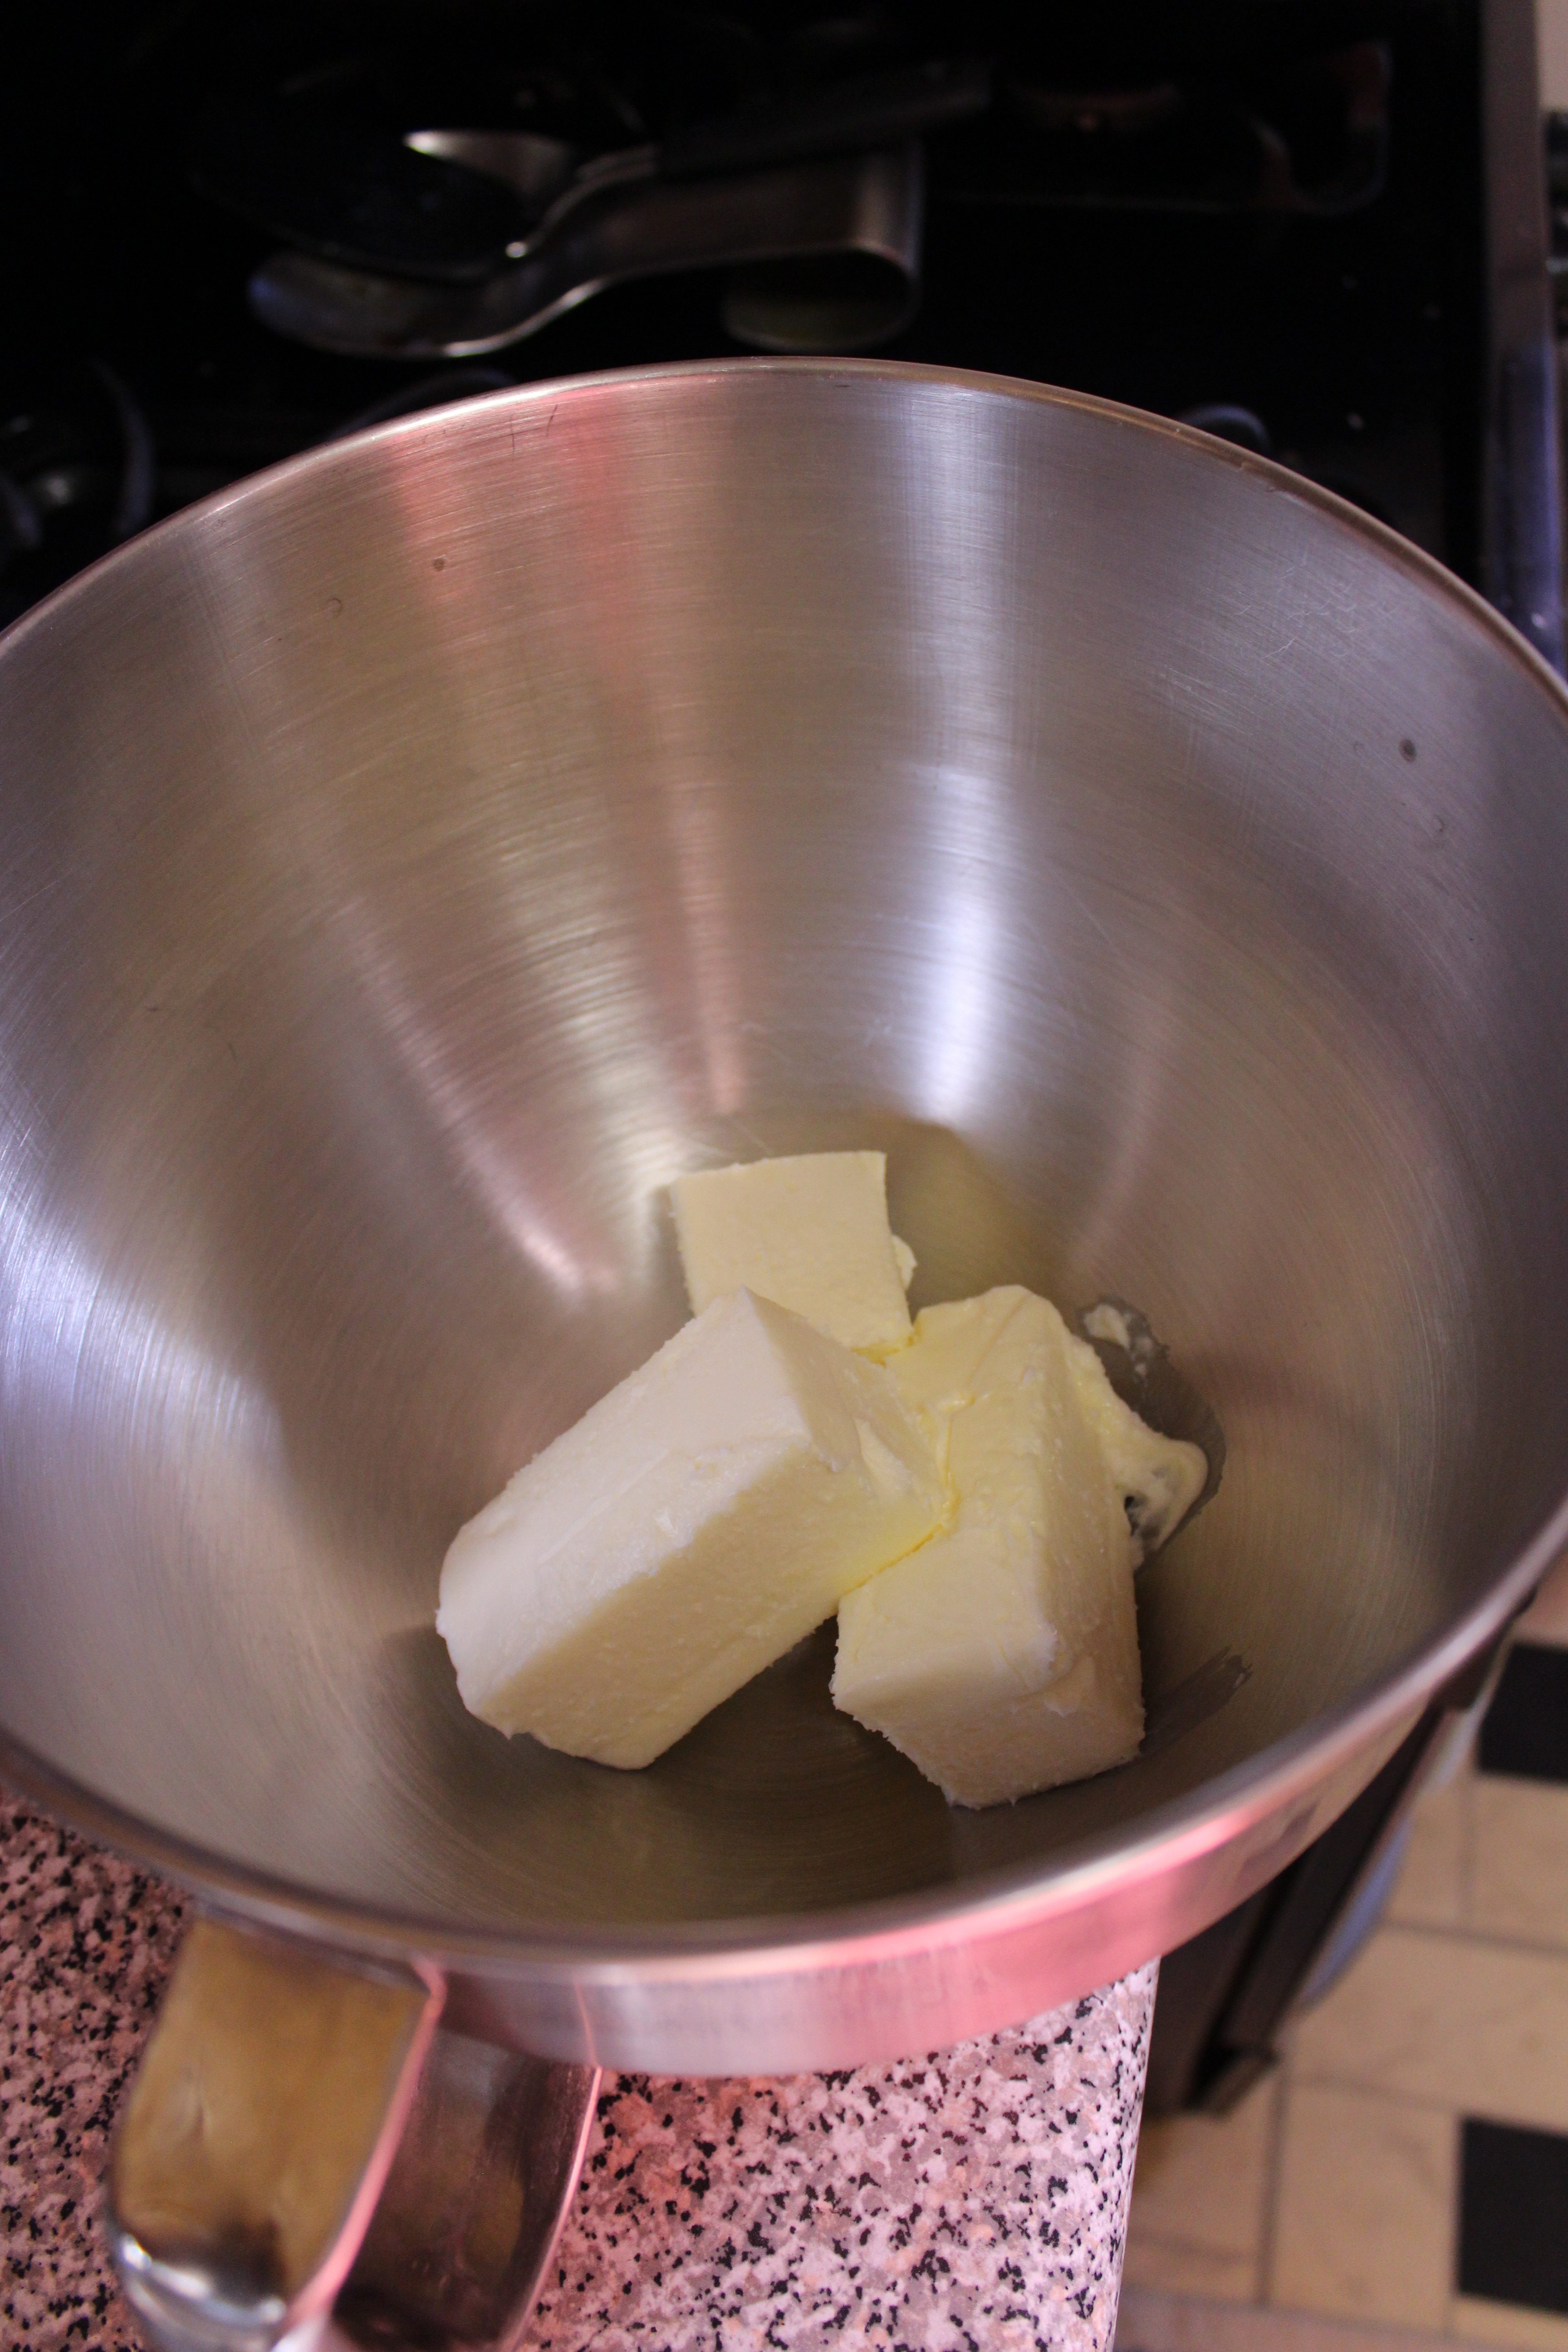
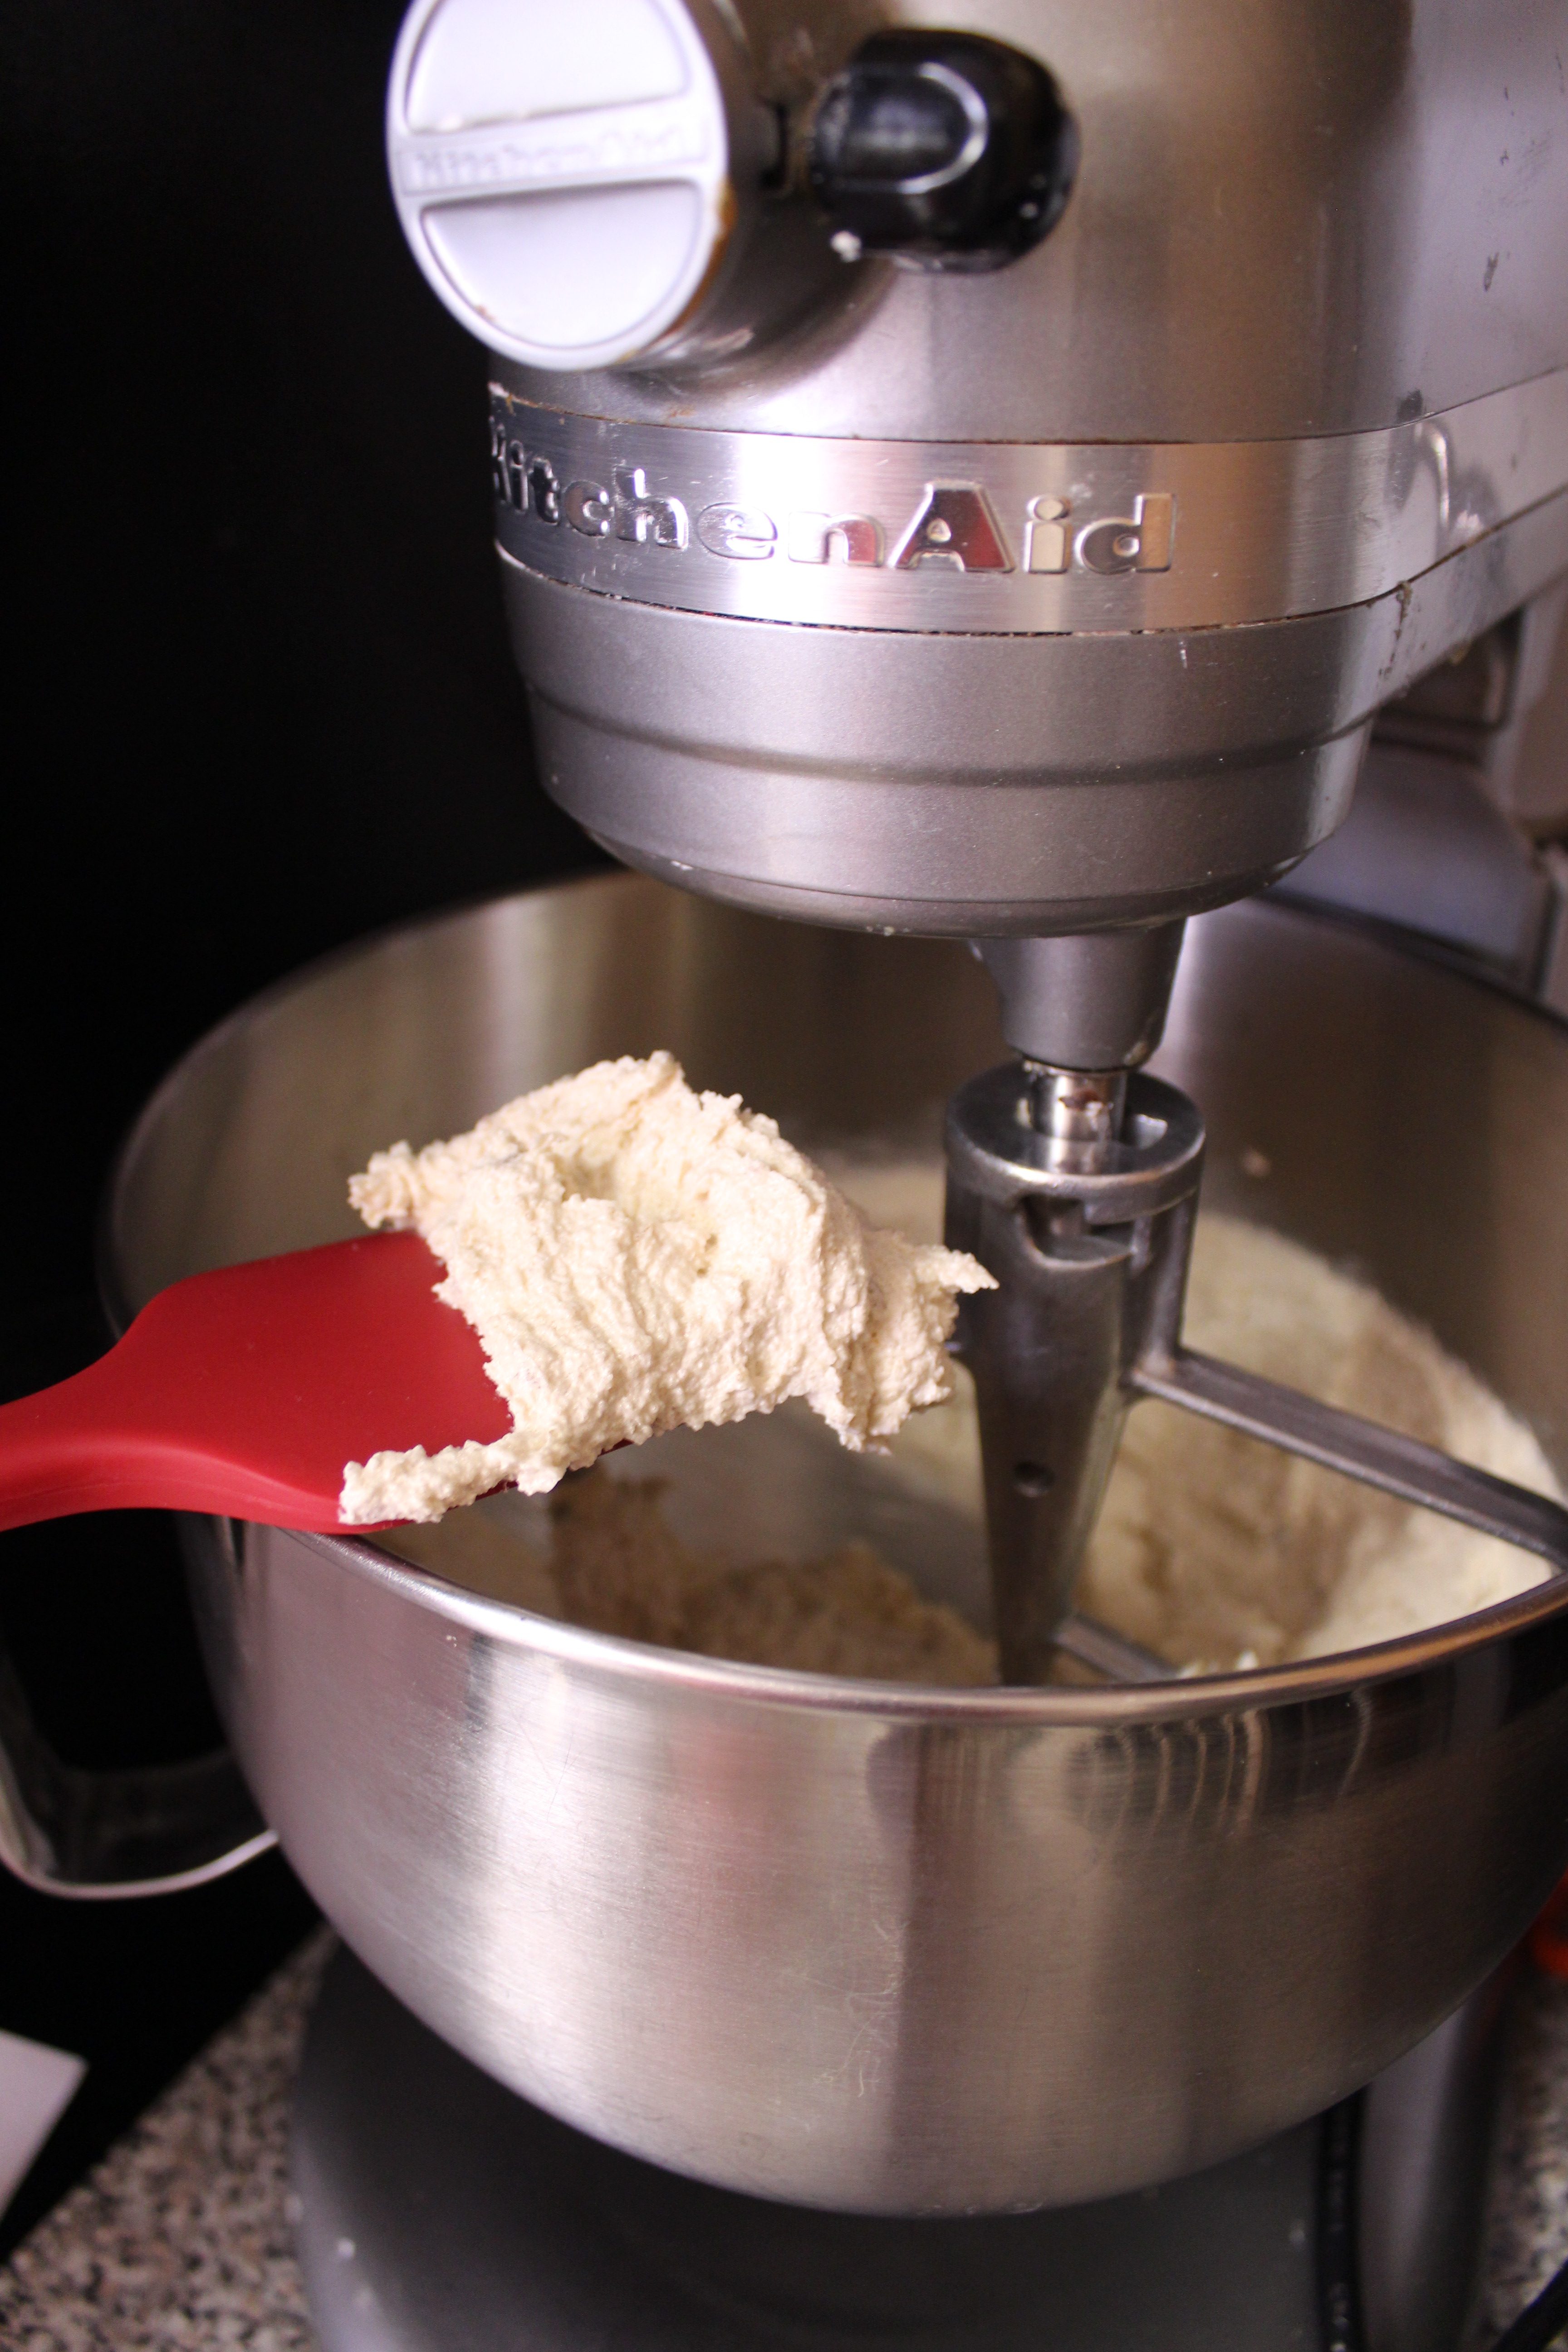
- In the bowl of your stand mixer or in a large bowl using an electric hand mixer cream the butter and sugars together at medium speed for 5 minutes. It should be light and fluffy. Add one egg at a time. Stop to scrape down the bowl before turning on mixer again. Add vanilla. Then, with the mixer on low add the dry ingredients, stopping occasionally to scrape down the bowl. Finally, add the chopped chocolate and stir with the mixer if it can handle it, if not, use a wooden spoon.
- Line a large baking sheet with parchment paper. Using a 1 3/4in cookie dough scoop (I use the OXO medium scoop), scoop out balls of dough until sheet is full. Flash freeze for 30 minutes. Take out then plop them into large ziploc bags or plastic containers. I recommend sticking them in the fridge to let the dough rest and the gluten to relax, as well as the flours to absorb some of the flavors/moisture. Refrigerate between 24 and 72 hours or freeze them if you’d like to bake them a week or two later*.
- When ready to bake, preheat oven to 350 degrees F. Place on a parchment paper or silpat lined baking sheet with plenty of space between each. Bake in preheated oven for 12-14 minutes, at least 15 if taking directly out of freezer. Bottoms should be caramelized, nutty brown. Tops may look underdone but that’s ok as it continues to cook on the pan, even after taking out from the oven. After they cool completely, store in an airtight container and consume within 2 days.**
*I know I can’t help but bake some off right away, so please go ahead and do so (after the 30 minute freeze), but do save some for baking later so you can taste the difference!
**It loses freshness after that, but probably still edible dipped in milk.
Coconut Layer Cake
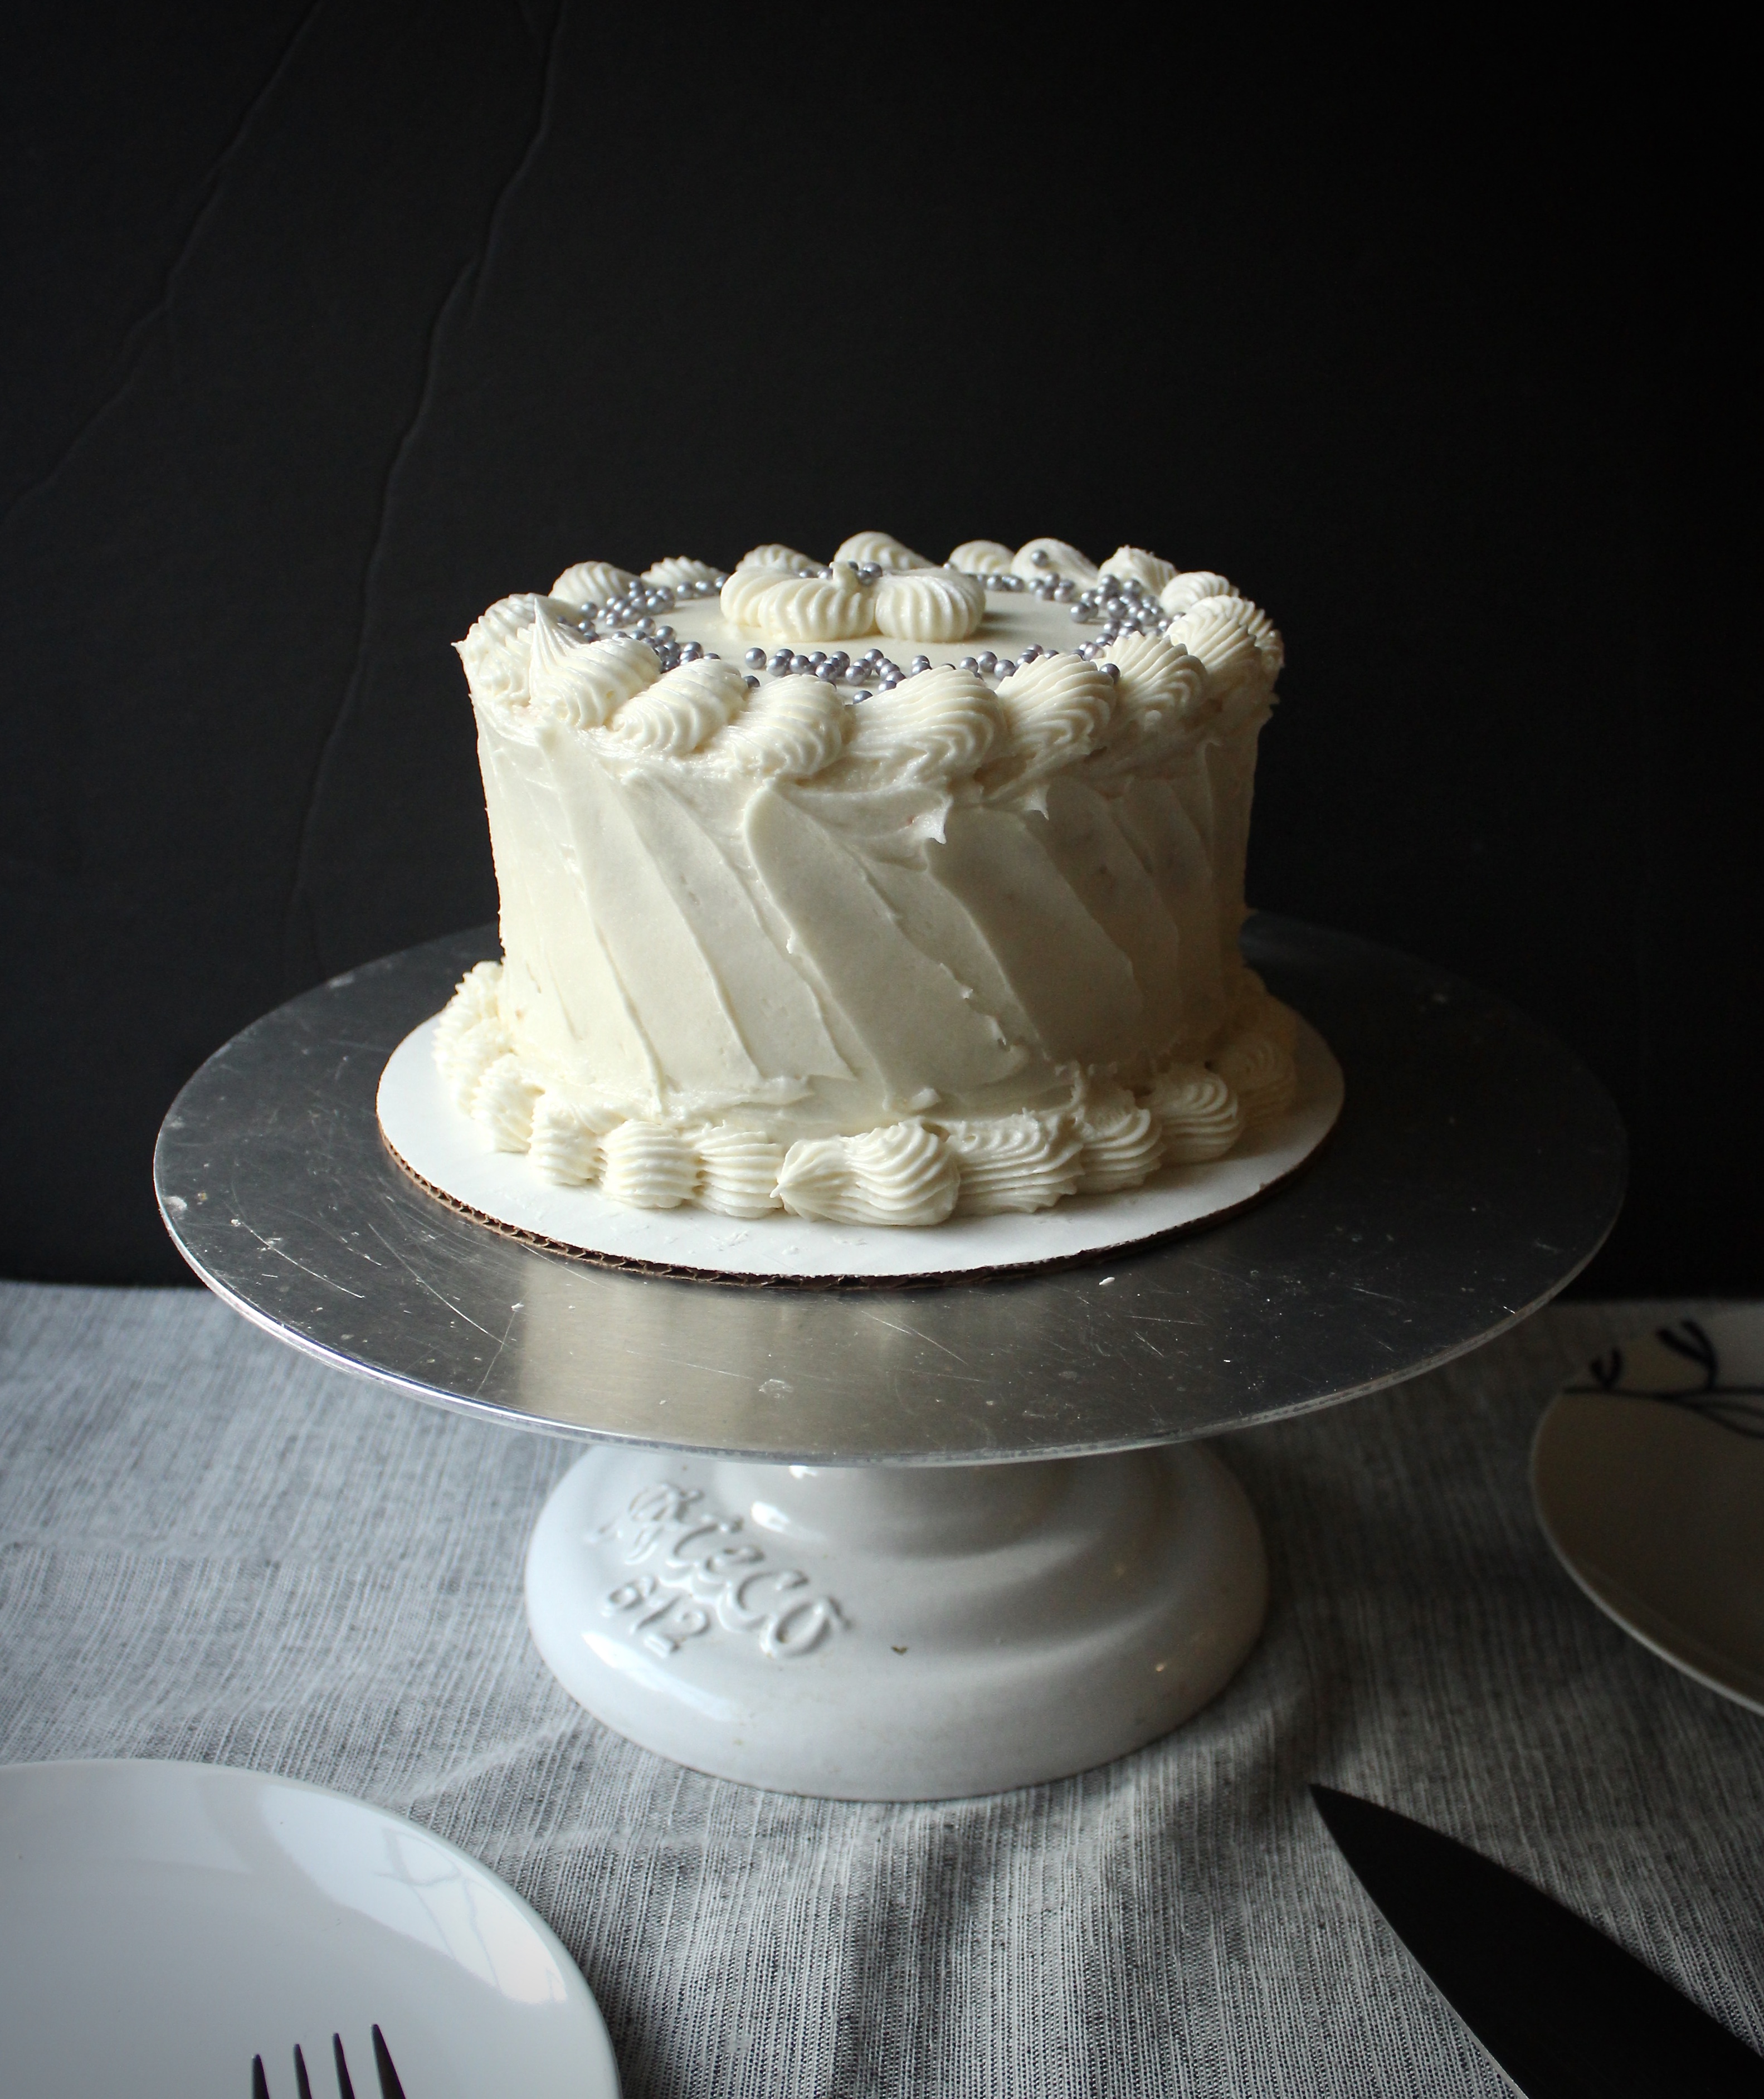
This cake was kind of born 2 and half years ago when I was tasked with feeding 100 people with a coconut cake. “Can it have pineapple filling?” my dear friend Jaf asked. YES, YES IT CAN!
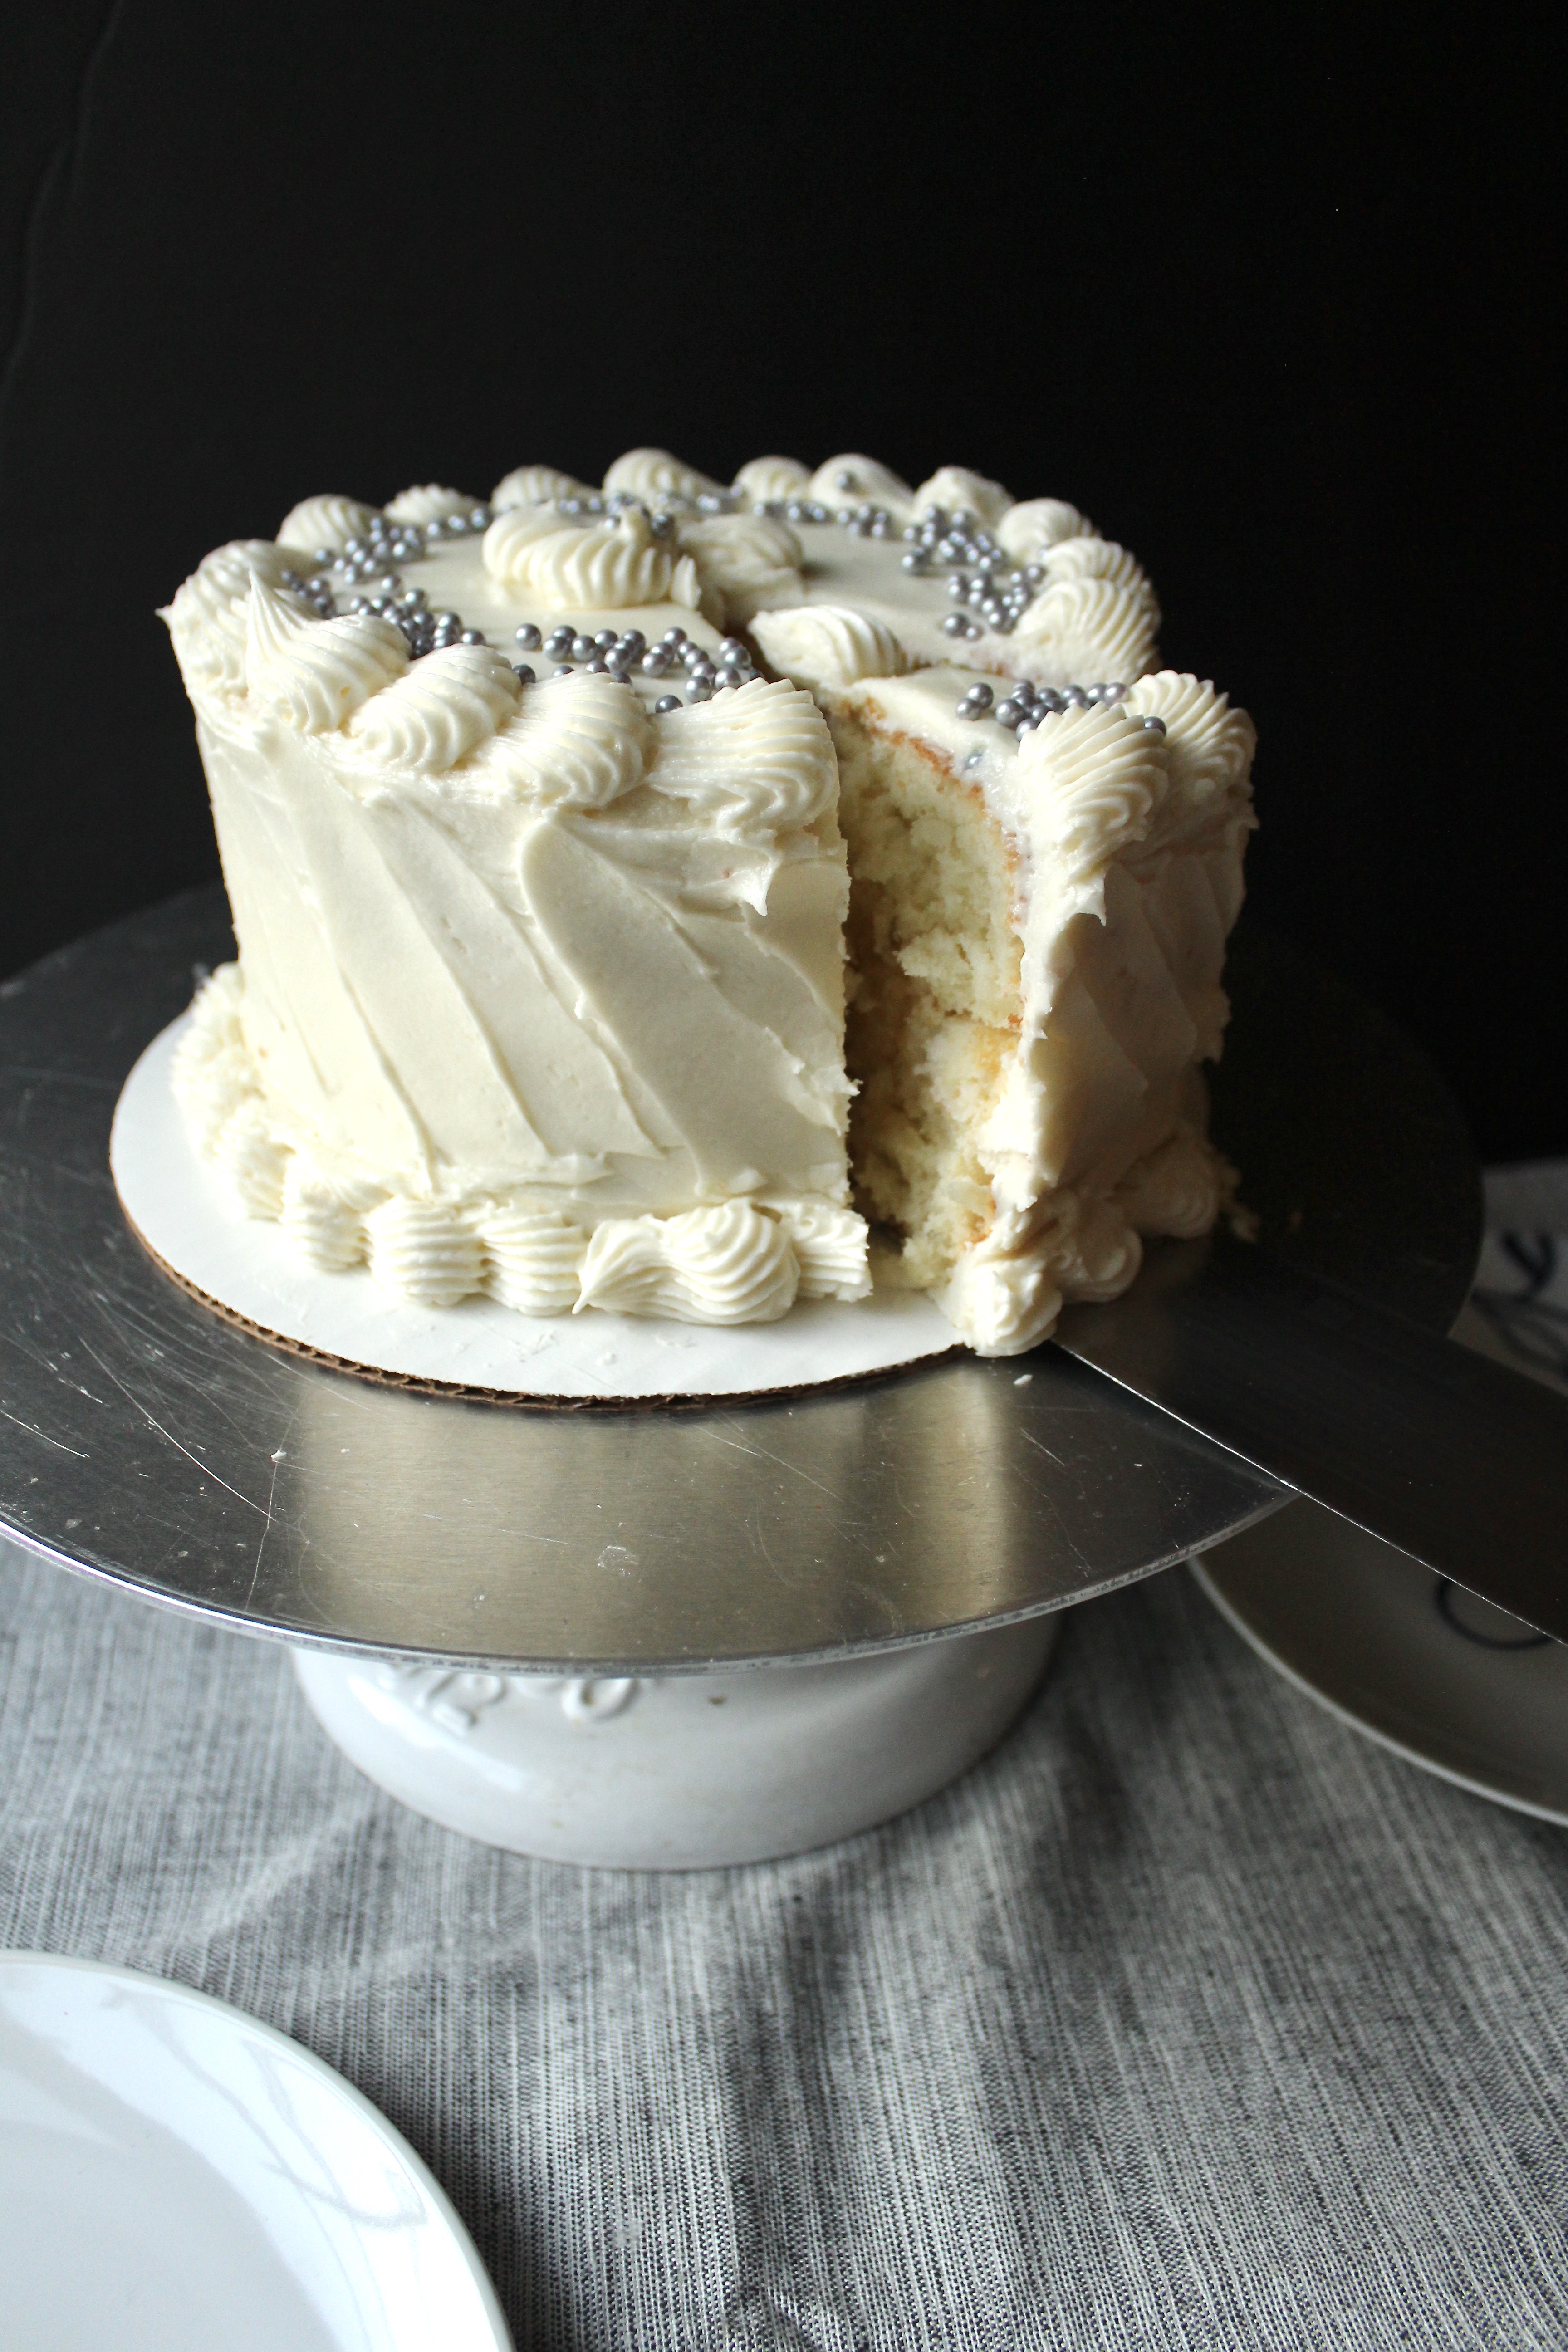
This cake is a delicious, crowd pleasing hit in its original version, but with this pineapple filling, it takes it over the edge. It’s kind of retro, but the fruitiness balances out the richness and creaminess from the buttercream.
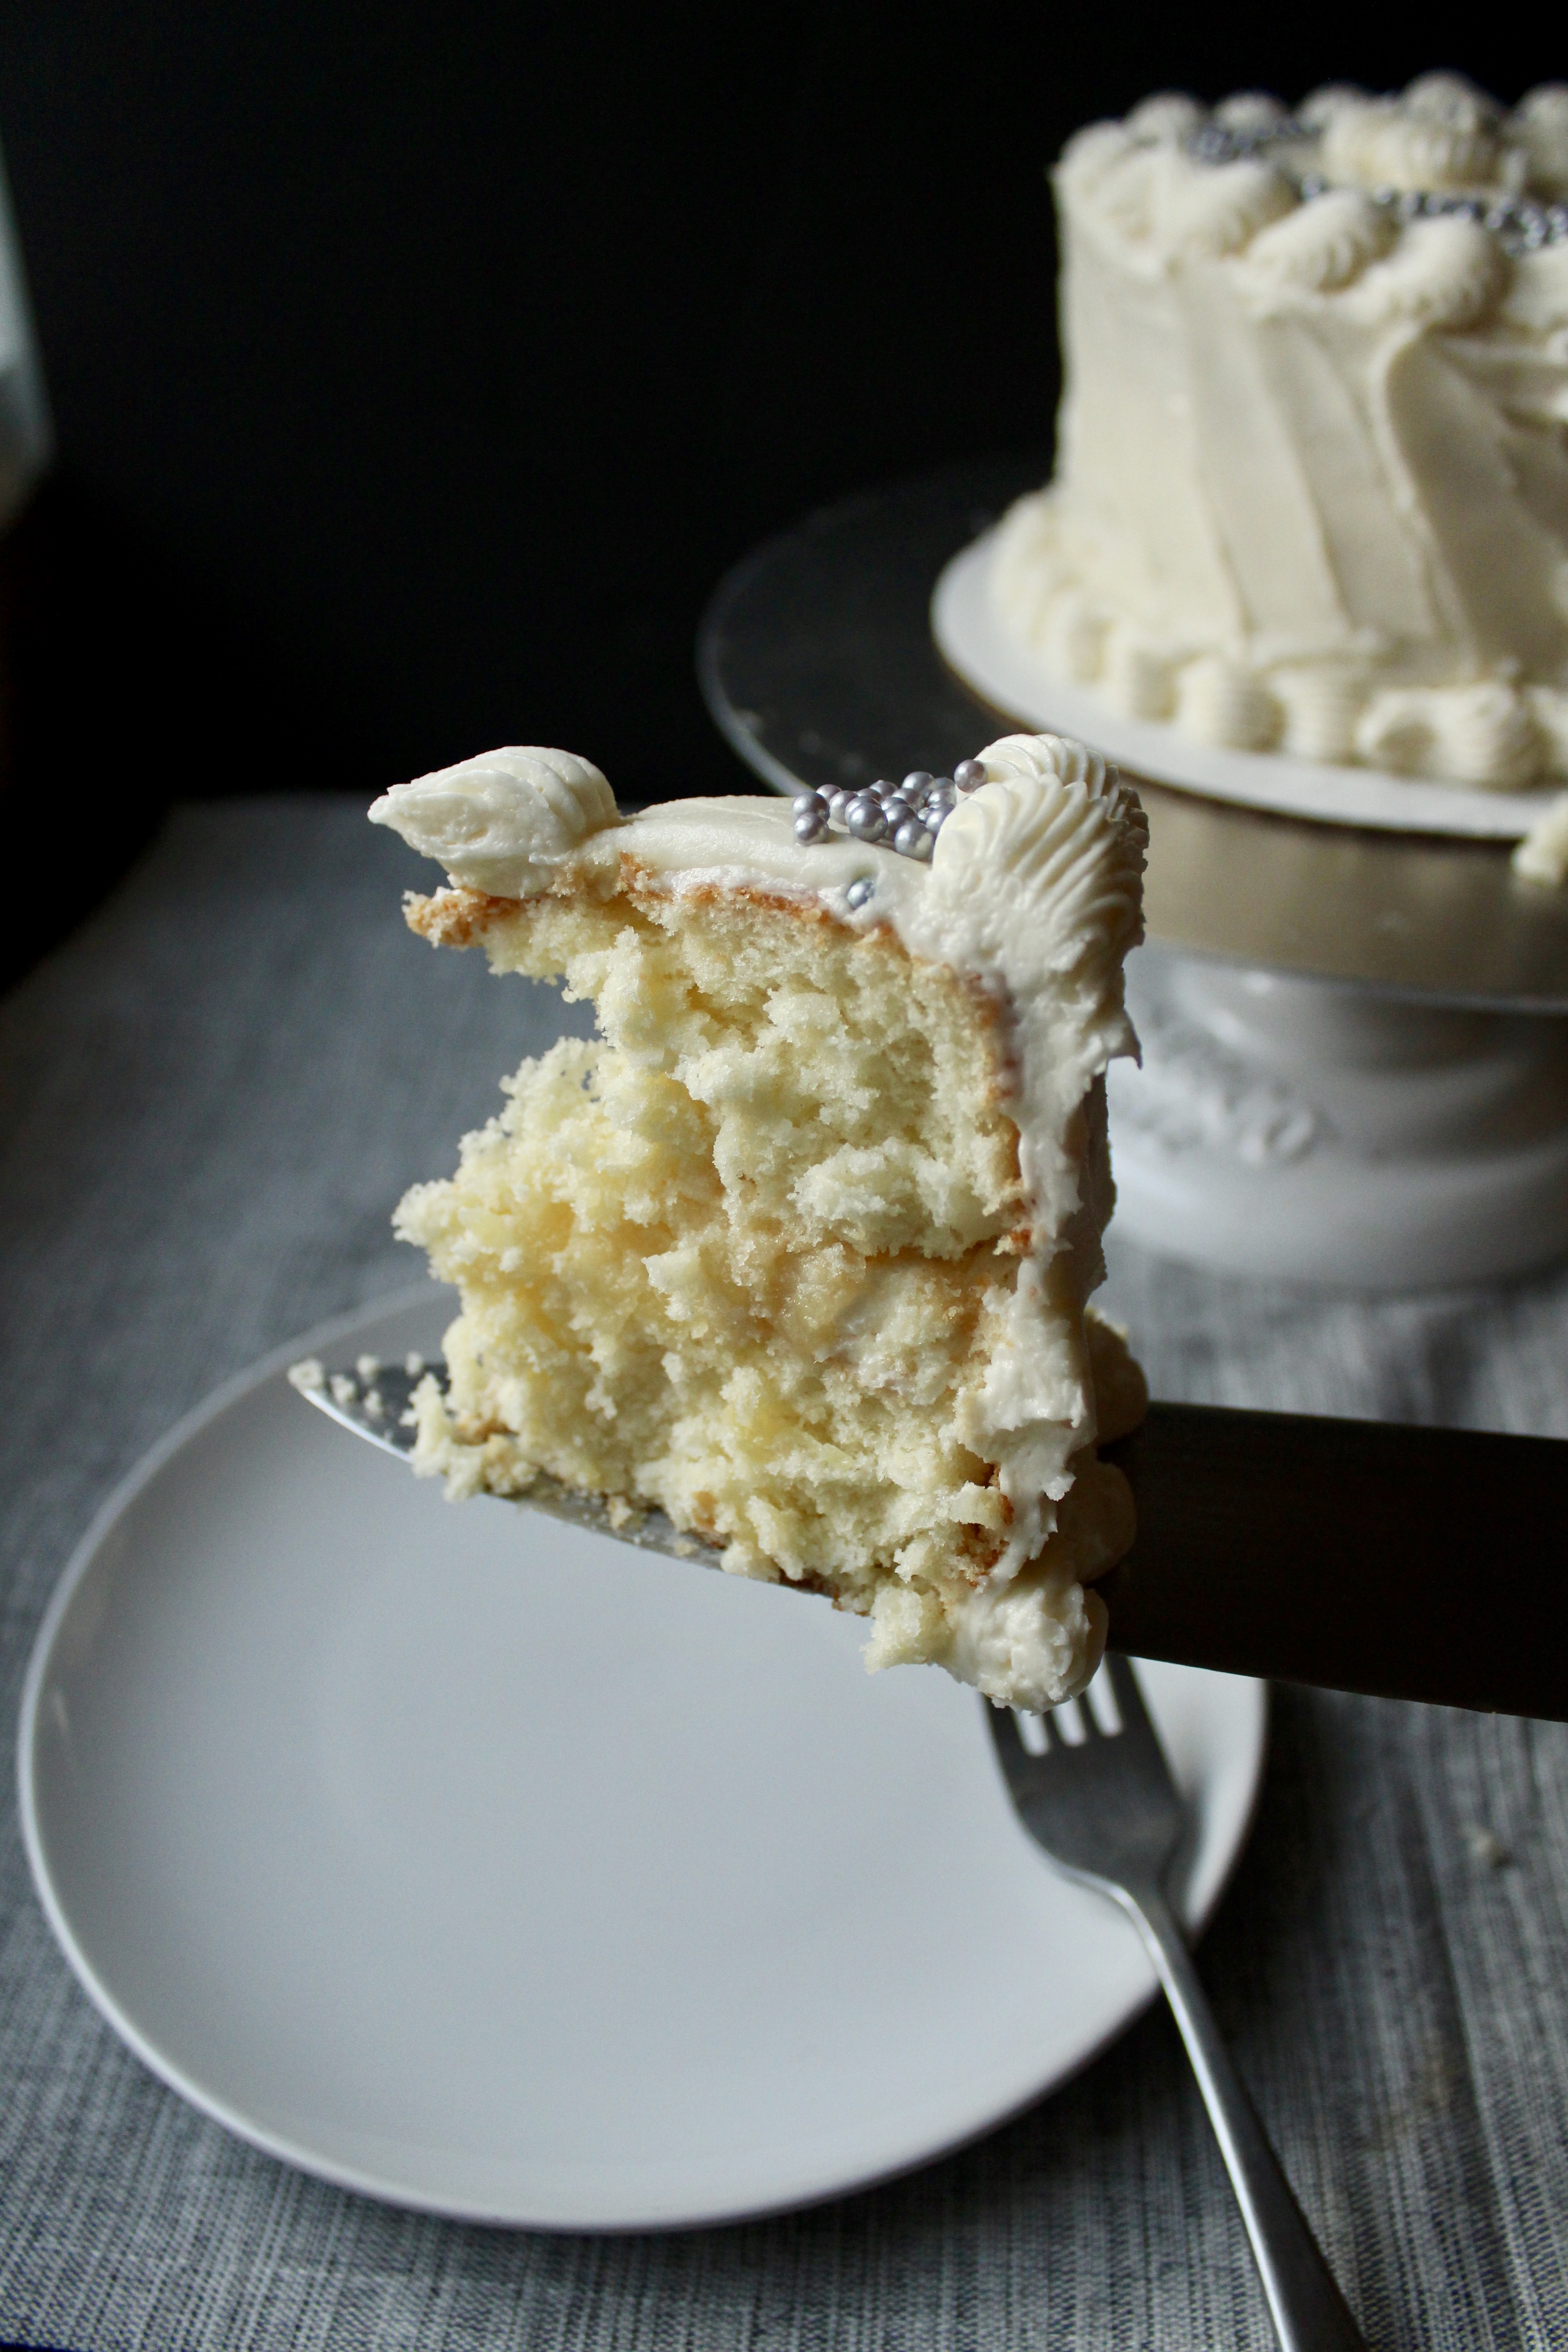
It’s a little fussy, yes, with the beating of egg whites and the careful folding in, but the payout is worth it. It’s the lightest, fluffiest, sweetest, nuttiest, flavorfullest cake you’ll ever have. Ever.
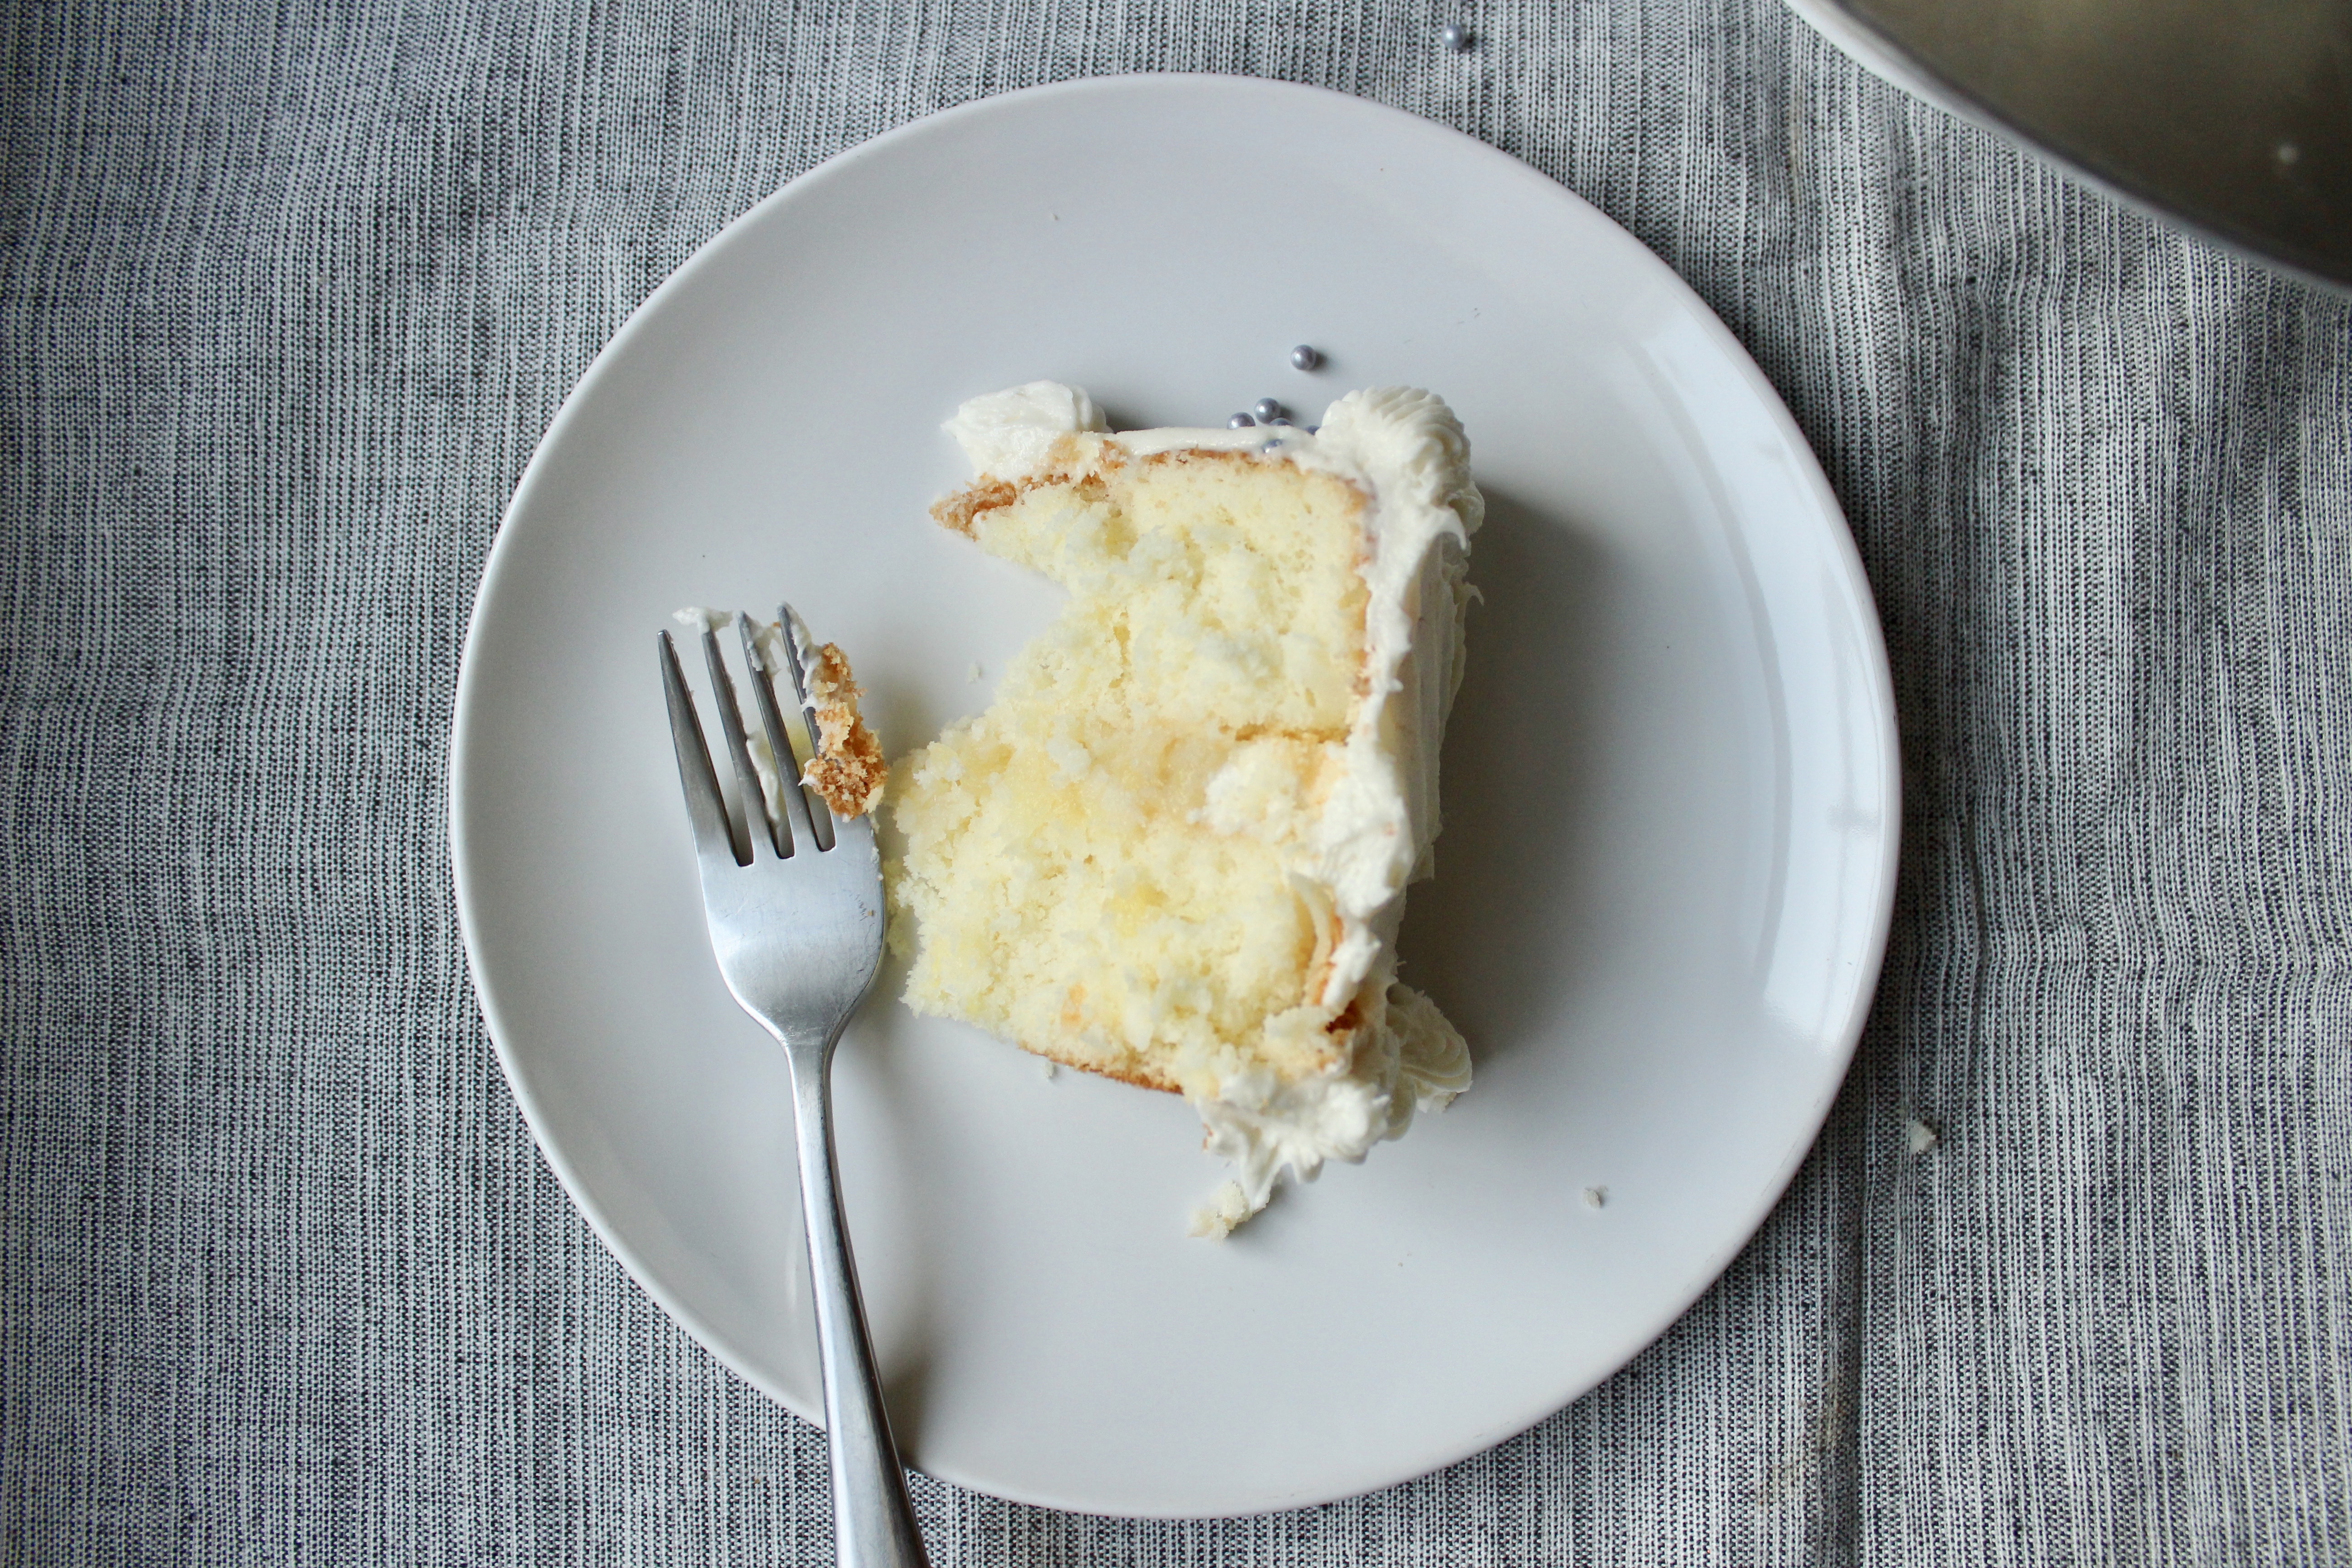
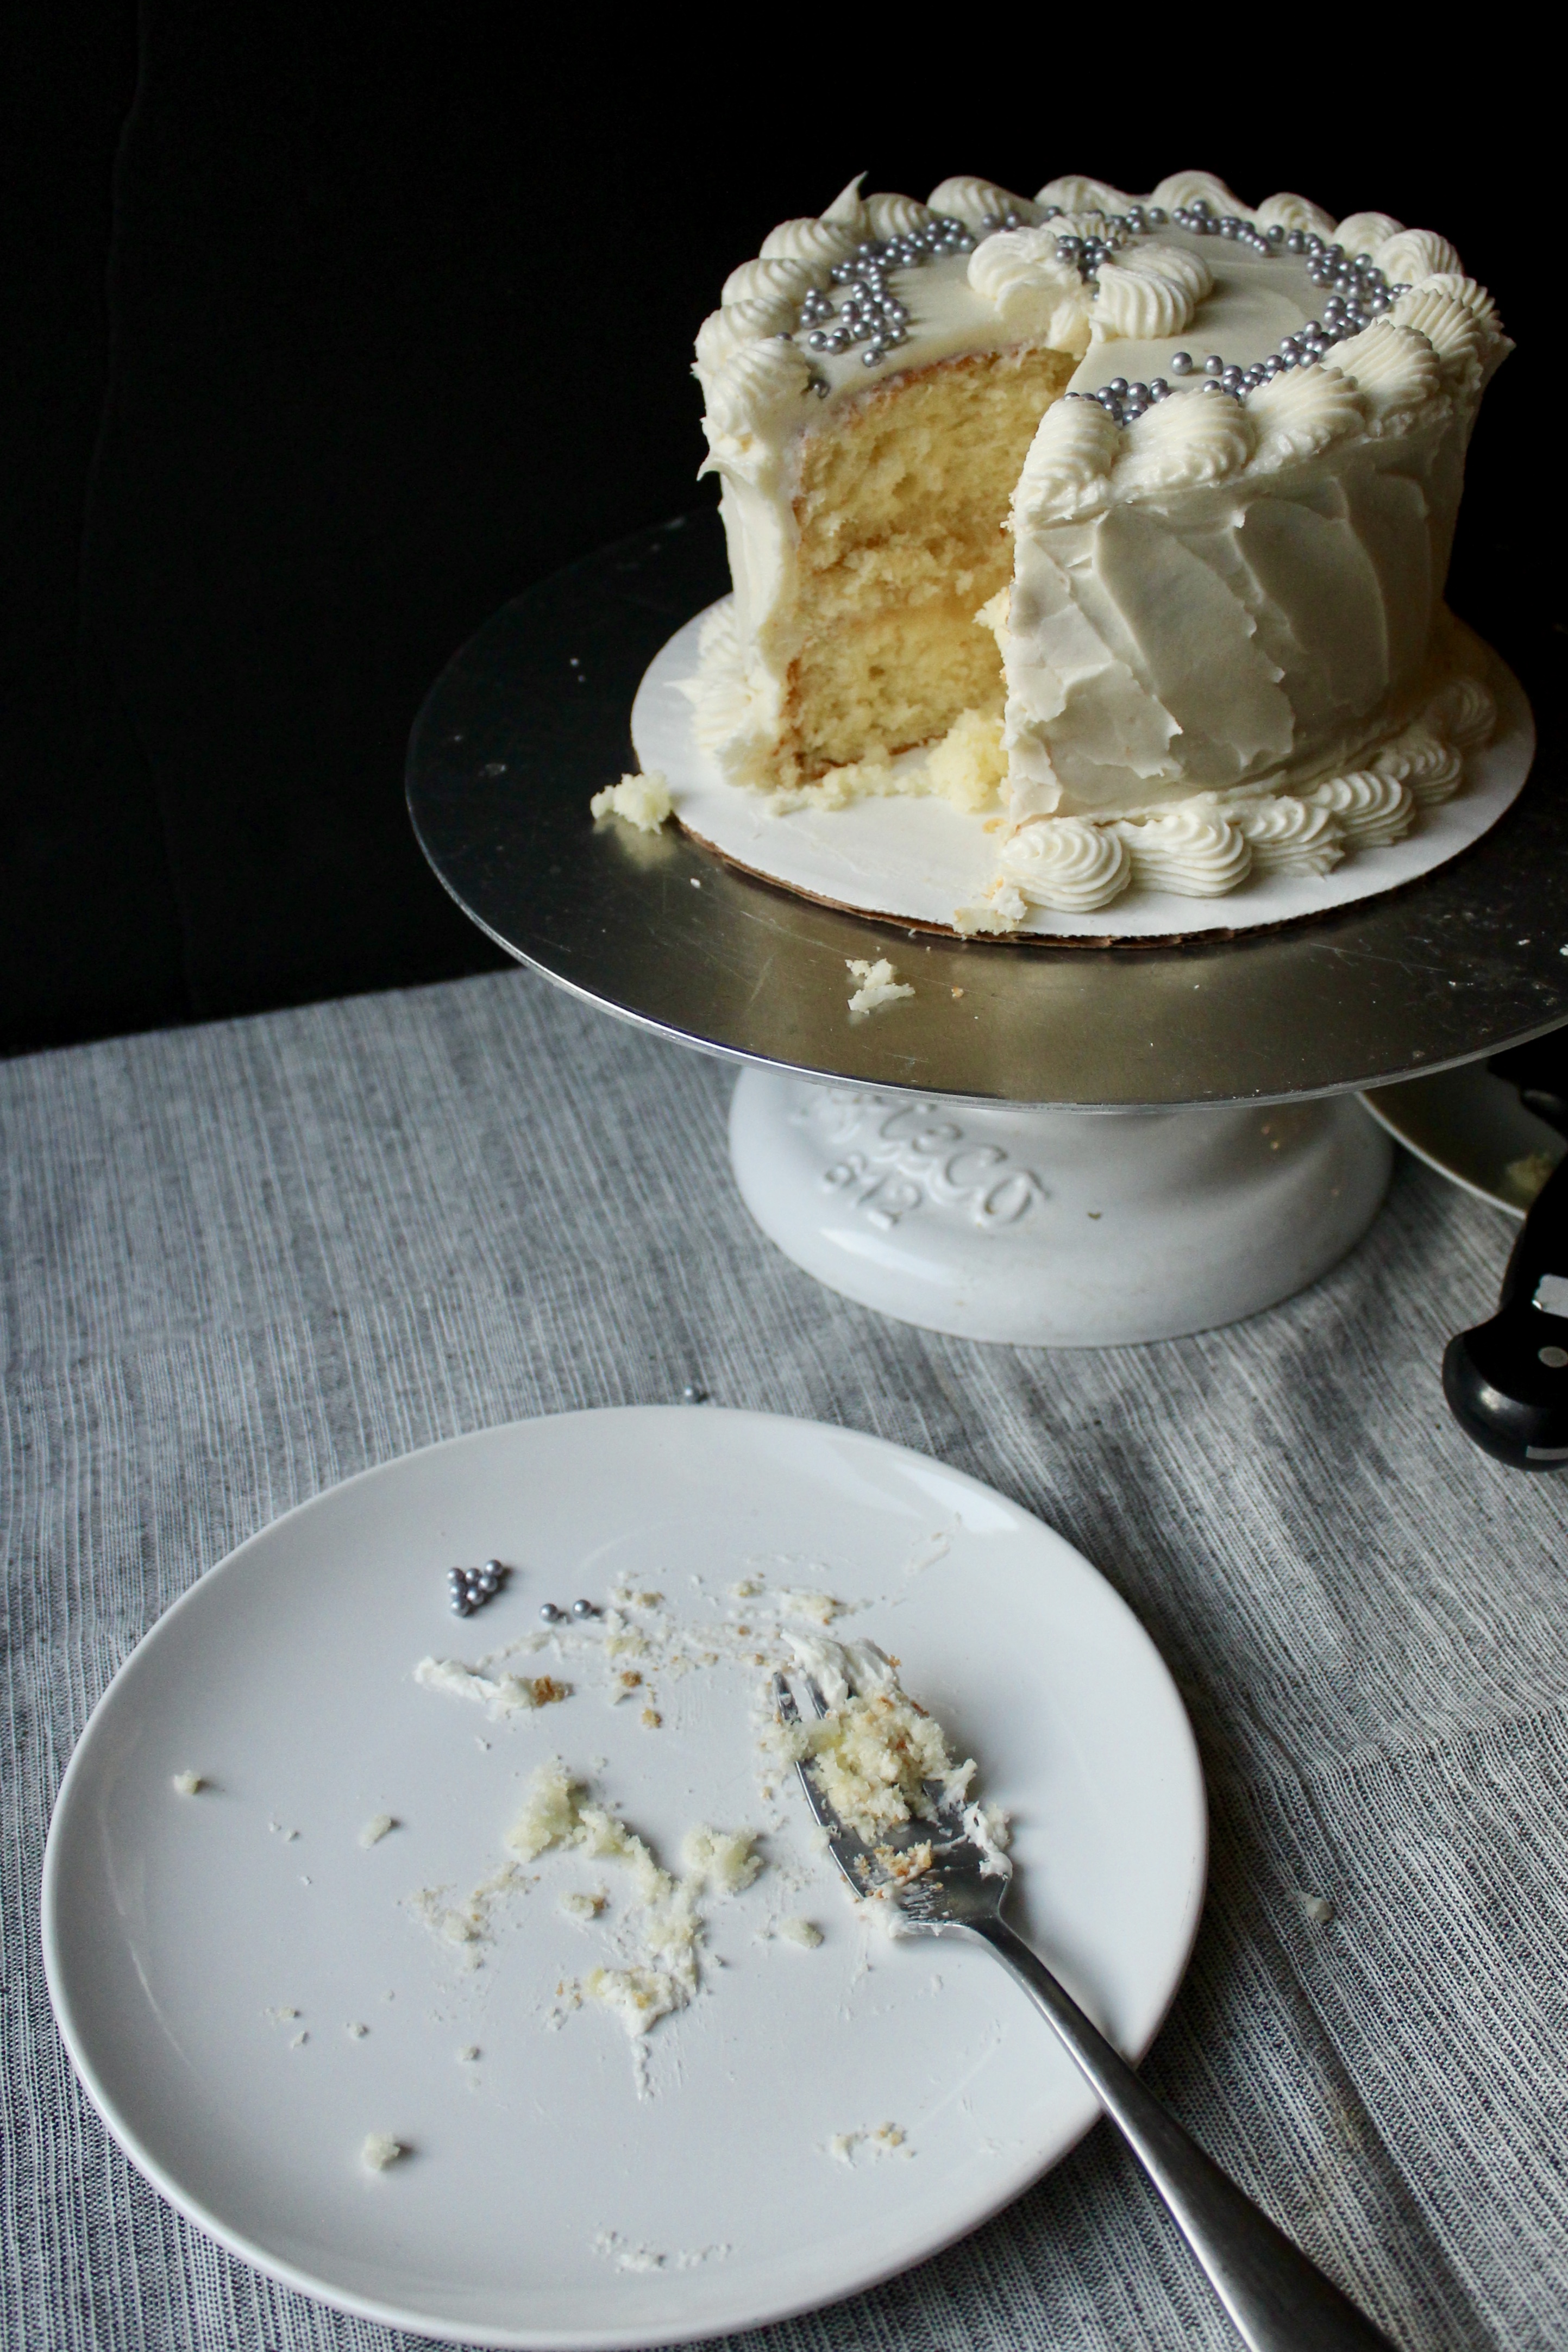
A retro cake deserves a retro look, so feel free to frost this simply, with swooshes of buttercream and toasted (and cooled) coconut flakes.

I’ve piped some old school borders here with Wilton’s open star tip and some silver dragee accents.

I haven’t tinkered with the original recipe at all, except that I bake them in 8in cake pans as opposed to 9in. I like the look of taller cakes, but if 9in is all you have, feel free to use those, just decrease the bake time by a few minutes.
Cake recipe adapted from Taste of Home. Pineapple filling recipe from Genius Kitchen.
Ingredients
For the cake:
- 5 eggs, yolks separated from whites
- 2 cups sugar
- 1/2 cup (1 stick) unsalted butter, room temperature
- 1/2 cup vegetable oil
- 1 tsp coconut extract
- 1/2 tsp vanilla extract
- 1/4 tsp almond extract
- 2 1/4 cups cake flour
- 1 tsp baking powder
- 1/2 tsp baking soda
- 1/4 tsp salt
- 1 cup buttermilk, room temperature
- 2 cups flaked coconut (I like Baker’s brand for this)
- 1/4 tsp cream of tartar
For the filling:
- 1/2 tsp kosher salt
- 1/2 cup plus 2 tbsp granulated sugar
- 3 tbsp corn starch
- 1 20oz can crushed pineapple in its juices
- 3 tbsp butter
For the buttercream
- 1 cup butter, room temperature
- 4 oz cream cheese, room temperature
- 4 to 5 cups confectioner’s sugar, to taste
- 1 tsp coconut extract
- 1 tsp vanilla extract
- 1-2tbsp whole milk
Directions
- Preheat oven to 325 degrees F. Grease 3 8in cake pans with non stick cooking spray. Place over a large sheet of parchment paper and draw circles around the circumference of each pan. Cut out each circle and place at the bottom of each pan. Spray parchment circles with non stick spray.
- In the bowl of stand mixer or in a large bowl with an electric hand mixer, beat butter with 1 cup of sugar on medium low. After about 2 minutes, when butter and sugar is pale and fluffy, add oil and remaining sugar. When well combined, add egg yolks, one at a time. Stop occasionally to scrape down the bowl. Add coconut, vanilla and almond extracts. Stop the mixer.
- For the dry ingredients: sift the flour, baking powder, and baking soda. Add salt and combine with a whisk. Add 1/3 of the dry ingredients to the batter, then 1/2 of the buttermilk. Add second third of dry ingredients then remaining buttermilk. Add remaining dry ingredients and flaked coconut. Mix on low until just combined.
- In a large bowl, combine egg whites and cream of tartar. Mix on low, increasing to high, for about 4-5 minutes until beaters come out of the egg whites with stiff peaks.
Add 1/3 of beaten egg whites to the batter to loosen it up. Add half of remaining egg whites to batter and fold in with spatula, cutting down the middle, then scraping against the bowl and folding up and over the batter. Rotate the bowl slightly and continue until you can no longer see egg white. Add remaining egg white and fold until just combined. - Divide equally between 3 cake pans and bake in preheated oven for 25-30 minutes or until a toothpick inserted comes out clean. Let cool.*
- For the filling: in a small to medium saucepan combine salt, sugar, cornstarch. Whisk with preferably a flat whisk until combined. Add crushed pineapple and stir to combine. Turn on the heat to medium high. Bring to a boil, stirring occasionally, for about 5 minutes until no longer milky white in appearance. When thickened, remove from heat and stir in butter. Turn out onto a plate to cool.
- For the frosting: beat butter with cream cheese with the paddle attachment of your stand mixer, or in a large bowl with handheld electric mixer. Sift 4 cups sugar into a bowl. Add a little bit of sugar into the butter and cream cheese until well combined. After adding 4 cups of sugar, beat until light and fluffy. Add vanilla and coconut extracts. Scrape down the bowl occasionally. Taste the frosting. If desired, add final cup of sugar, sifted. Add milk as needed to thin out frosting. Give a final beat until it looks like buttercream.
- Fill a large piping bag with buttercream and snip off 1/2in tip. Place a small amount of frosting onto a 10in round cake board. Place first cake layer onto cake board. Pipe a dam around the circumference of the cake layer. Spoon 2-3tbsp pineapple filling onto cake. Smooth it out. Place second layer, press down slightly. Repeat and decorate as desired.
*I usually invert onto 8in round cake boards lined with plastic wrap and freeze until reach to decorate. These cakes are super tender and work best for decorating when frozen solid.
- 1
- 2
- 3
- …
- 11
- Previous Entries