Ramadan is coming up! I figured I should add a few more Ramadan friendly recipes to the blog, for those of us who are looking to depart a bit from the usual fried foods iftars. During these long summer days when we’re denying ourselves food and liquid for 15 hours straight, we need to treat our bodies well! This is a dish you can feel good about eating, that’s not going to make you crash before the long night of ibadah (prayers) you have lined up.
This recipe is based on one from Dorie Greenspan’s Around My French Table. I know a quinoa salad is not the first thing you think of when you consider French cuisine, but she’s filled her cookbook with things she makes for her family, without strictly adhering to a particular cuisine. In our hyperconnected world, it’s kind of impossible to resist influences from other regions. She’s got a Moroccan Tagine and carrot salad, small plates from her American upbringing, French pastries and traditional stews from her current residence. And she’s kind of an authority when it comes to food so I trust her with my quinoa!
I’ve taken a lot of liberties with her recipe though. First was to change the prep method for the quinoa. For some reason the package directions always tell you to cook it covered over low heat for about 15 minutes. That always gave me soggy quinoa. My way gives perfectly cooked and fluffy quinoa every time. Second, I nixed the ginger powder for cinnamon since I hate ginger and thought cinnamon would compliment the citrus. Third, I increased the fruit to nut ratio for my sugar loving palette. She suggests using any kind of dried fruits, nuts and herbs. I combined the dried fruits, nuts and herbs I thought would work best (dates, almonds and mint). You could also do raisins, pine nut and parsley. Or apricot, walnut and cilantro. It’s a vibrant, tasty way to prepare your quinoa that uses up the plethora of dates we often have lying around during Ramadan.
Ingredients
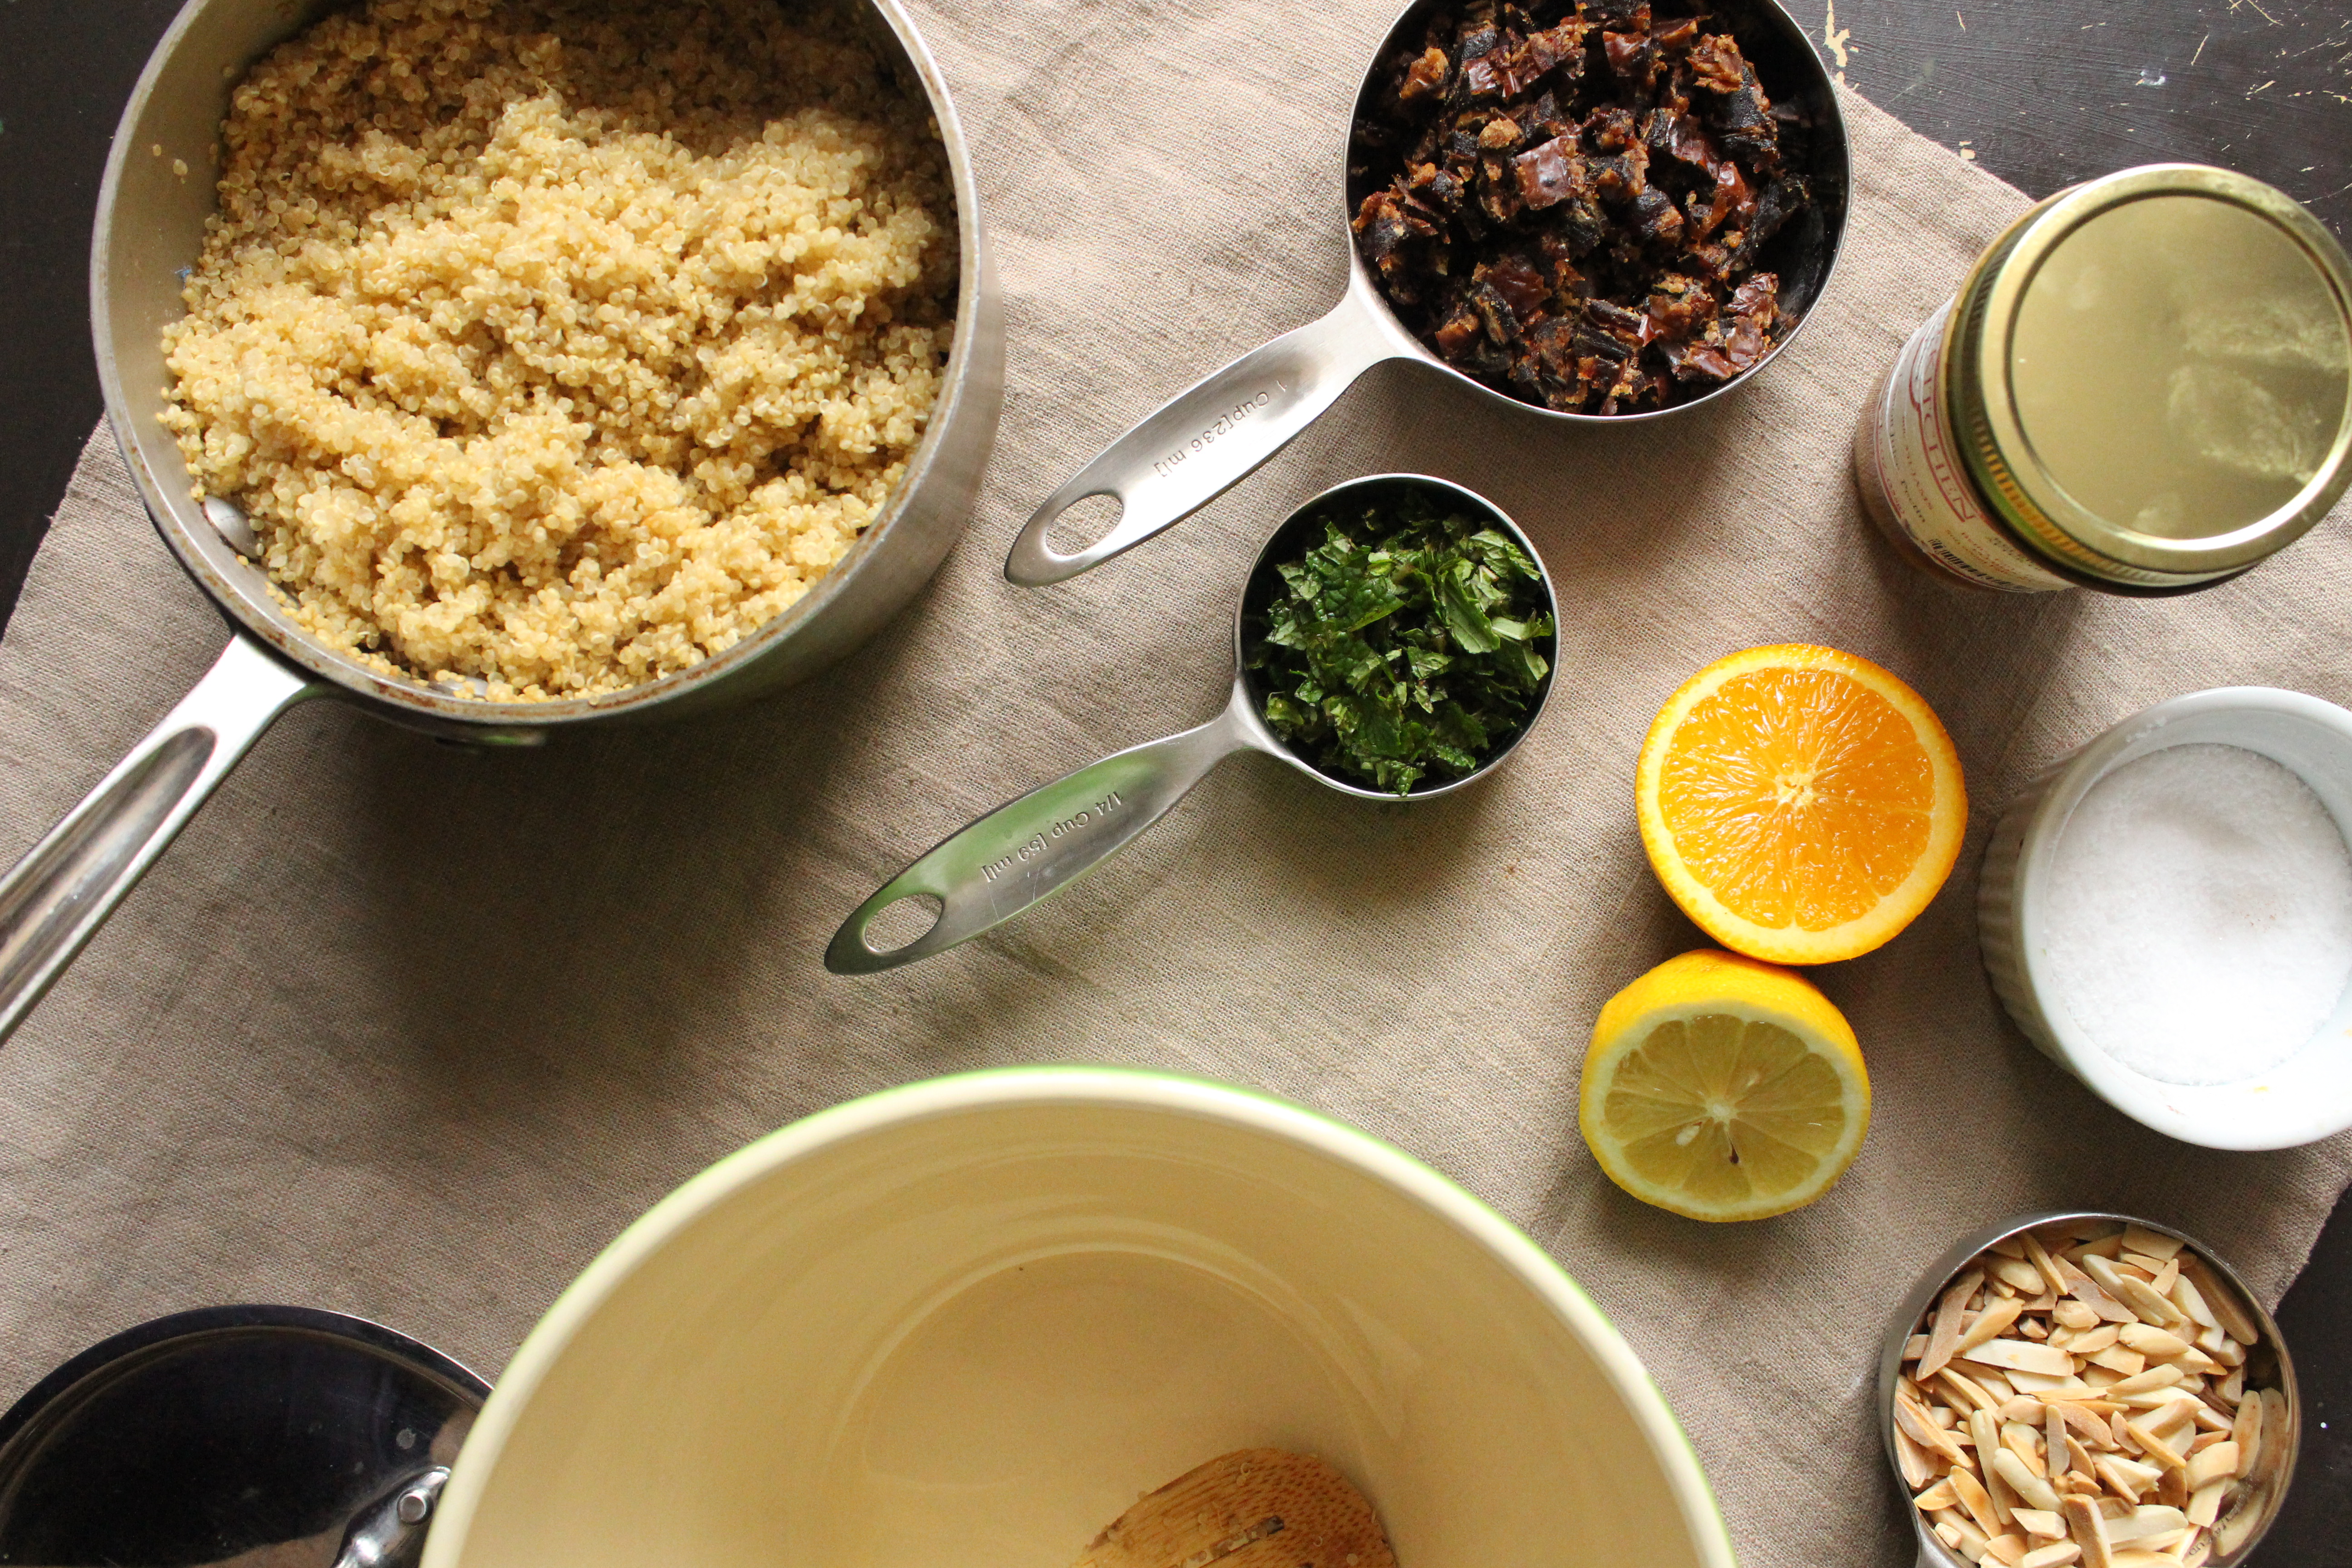
- 1 1/2 cups quinoa
- 1 cup medjool dates, pitted and diced small (about 7 dates)
- 1/2 cup slivered almonds
- 1/4 cup chopped fresh mint
- salt and pepper
- juice of 1 lemon
- juice of 1 orange
- 1/4 tsp ground cinnamon
- 1/4 cup extra virgin olive oil (recommended: Trader Joe’s California Estate EVOO)
Directions
- In a small saucepan, bring 3 cups of water to boil. Add quinoa and lower the heat to medium low. Cook for 12 minutes, uncovered, stirring occasionally. After the 12 min are up, turn off the heat and put the lid on. Let steam for 3 minutes, then fluff with a fork. Set aside.
- Toast the almonds on a dry skillet over medium heat. Stir occasionally. When the nuts are light brown and fragrant, take off the heat and let cool.
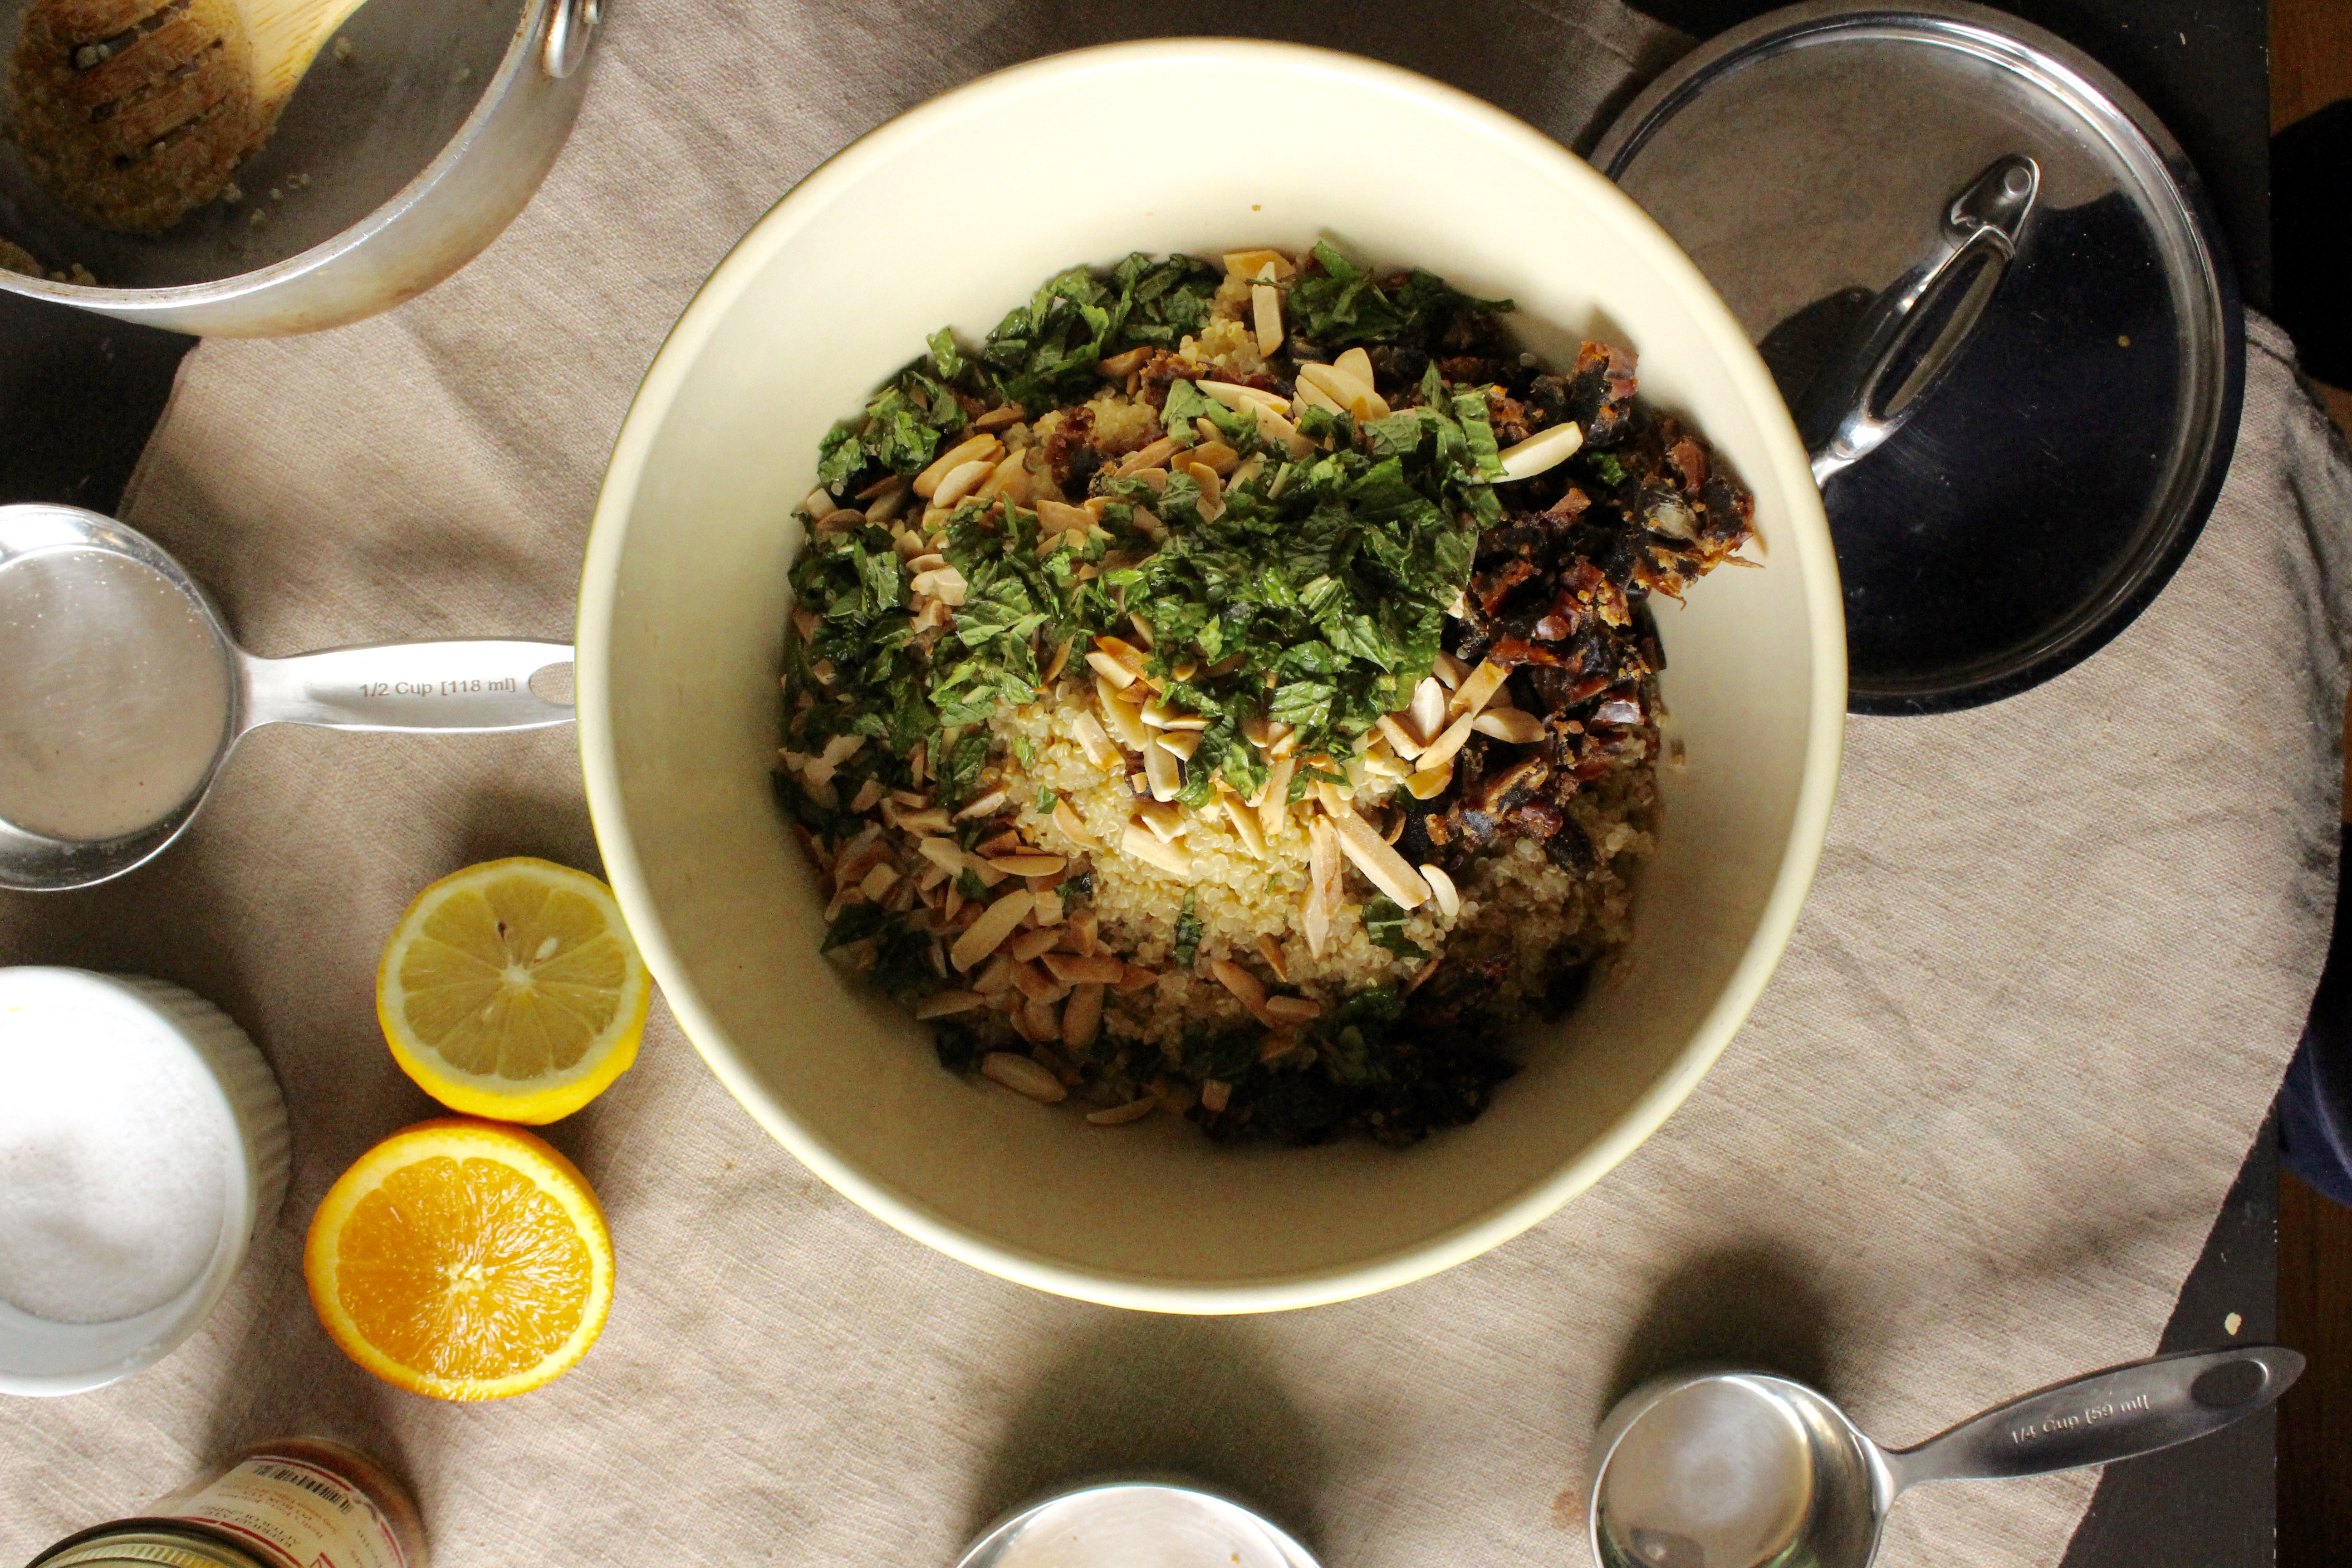
- Chop the mint and combine with the dates and nuts in a large bowl.
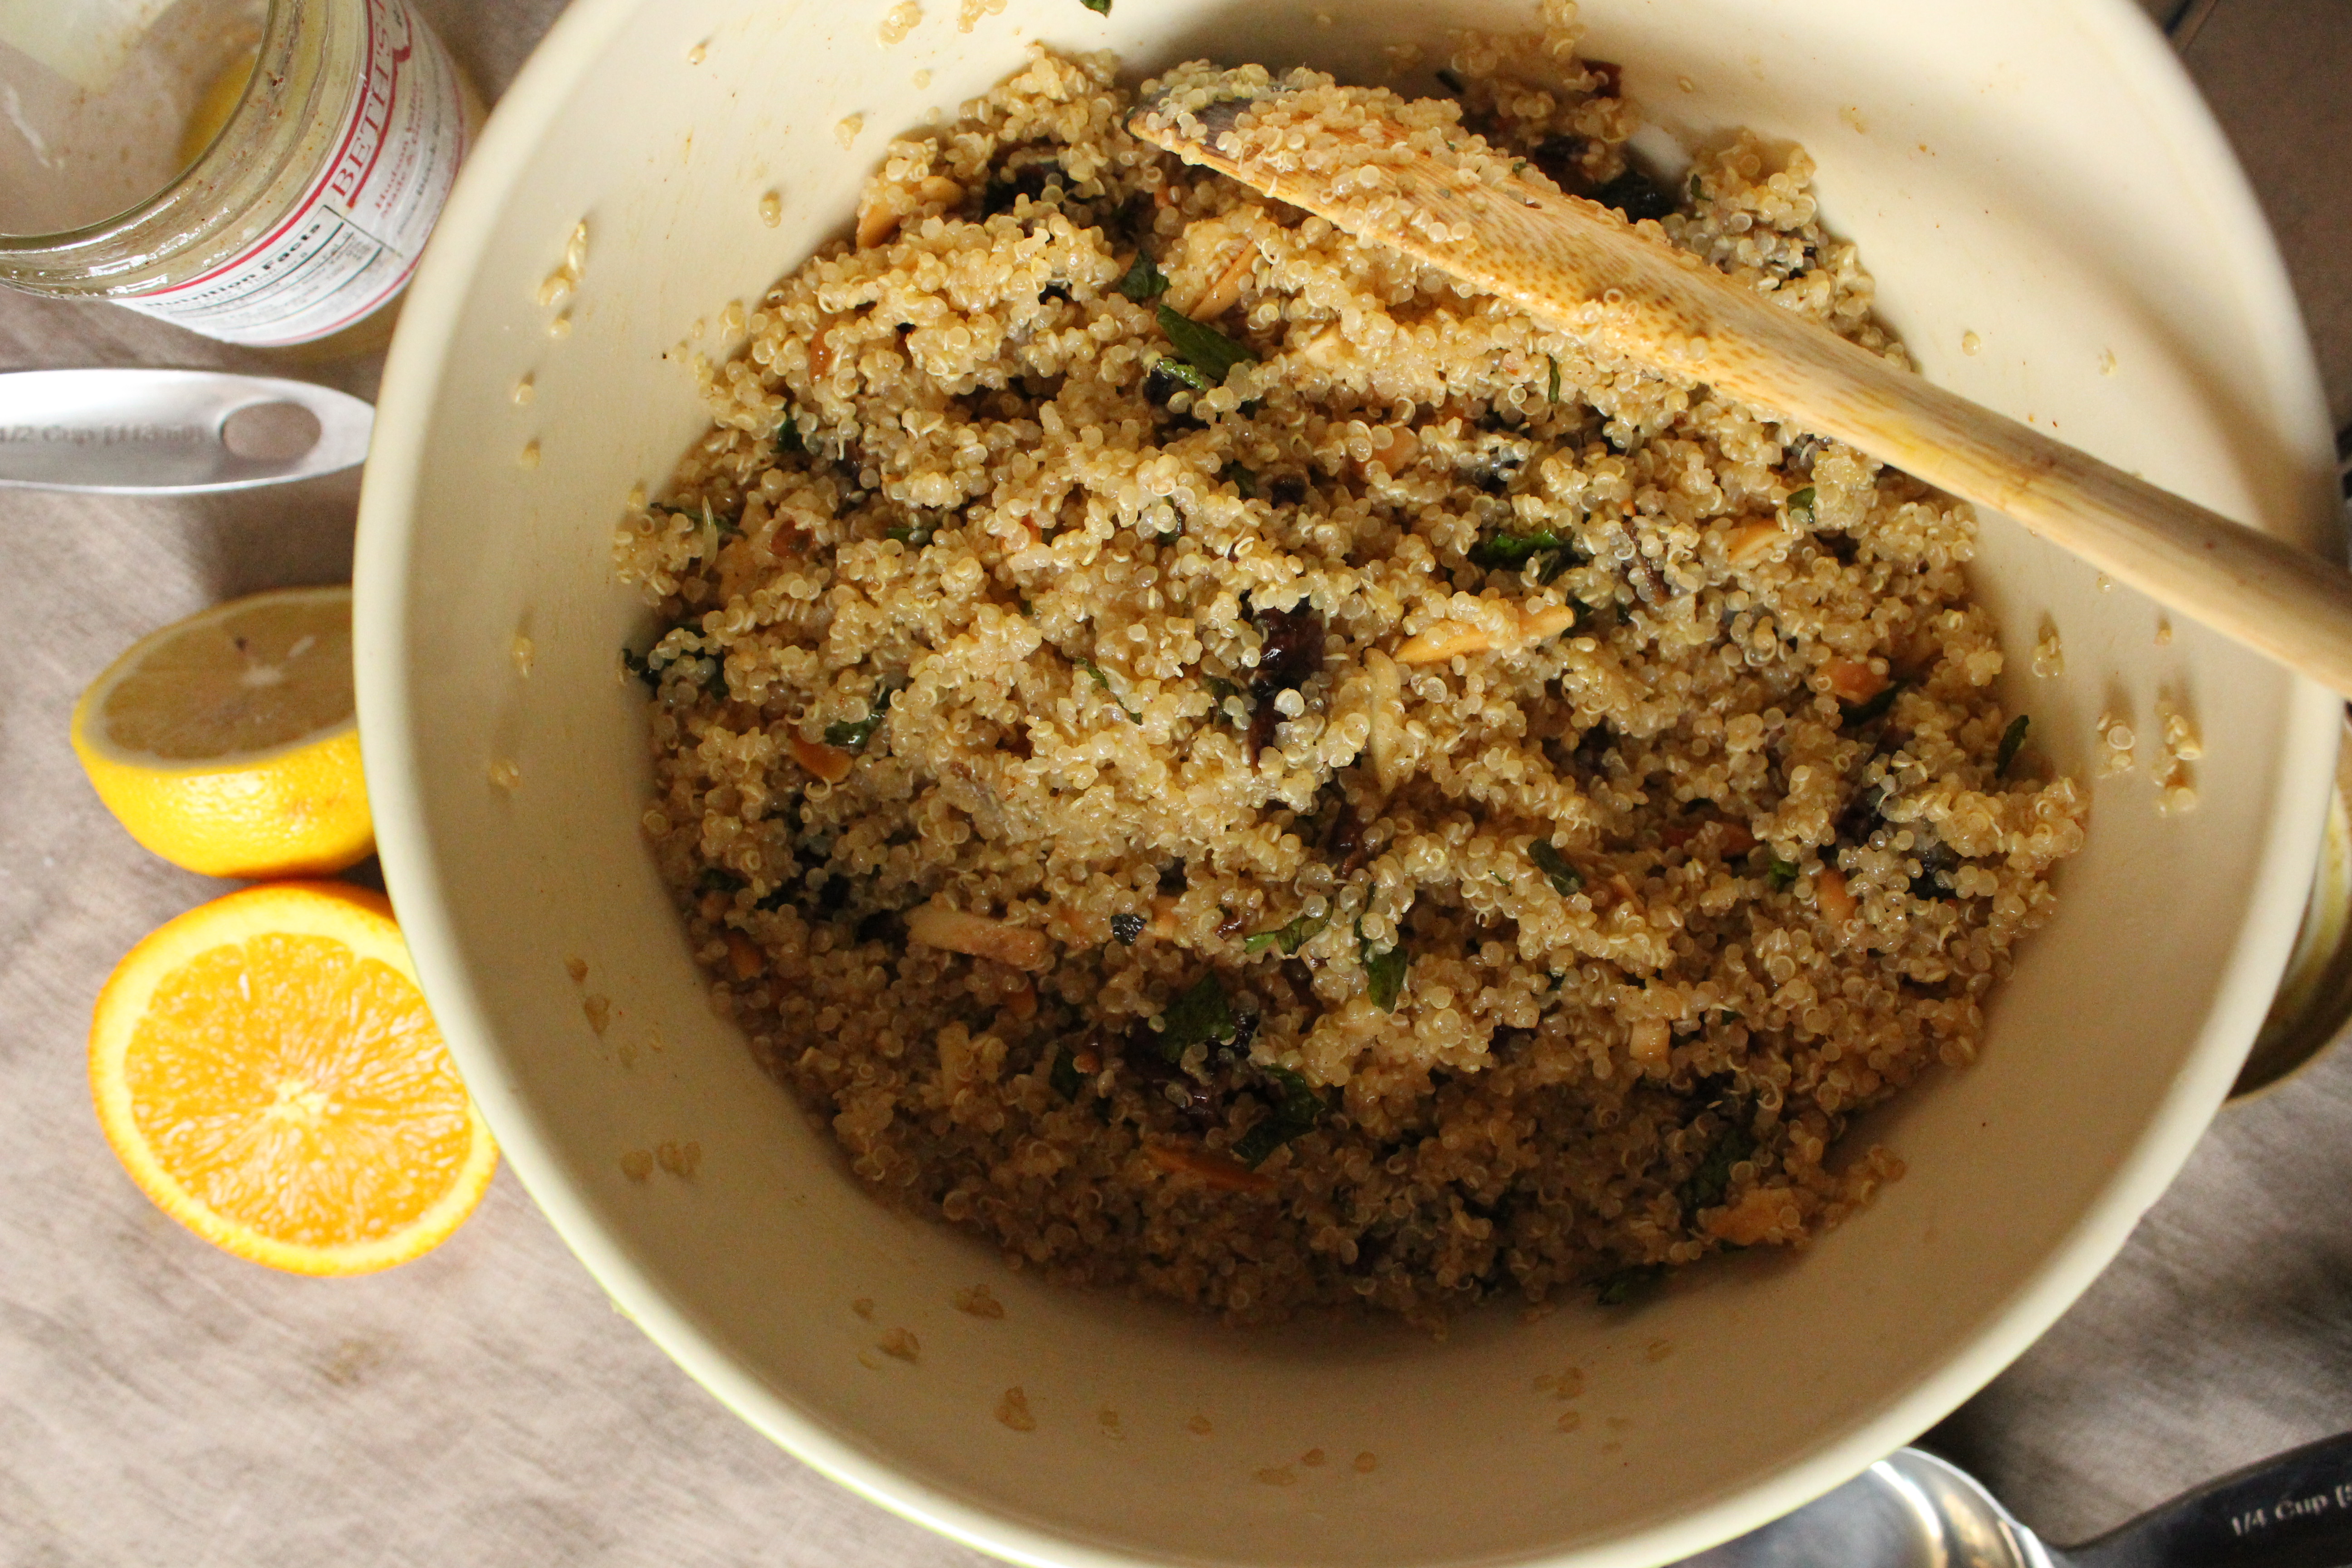
- Make the vinaigrette: combine the orange juice, lemon juice, cinnamon, 1 tsp salt, 1/4 tsp pepper and olive oil in a jar. Put the lid on and shake vigorously.
- Add the quinoa and vinaigrette to the large bowl. Combine everything and taste for seasoning. Add more salt and pepper as needed.


 But let’s talk about the shrooms here. People can get downright militant when it comes to mushrooms: Don’t wash them!! Don’t crowd the pan!! Don’t season them too early!! All advice I’ve taken to heart many a time. And as much as I love properly sautéed mushrooms with bits of brown butter speckling the surface and all the right caramelization in all the right places, these mushrooms fare perfectly fine all in one pan, with leeks and all!


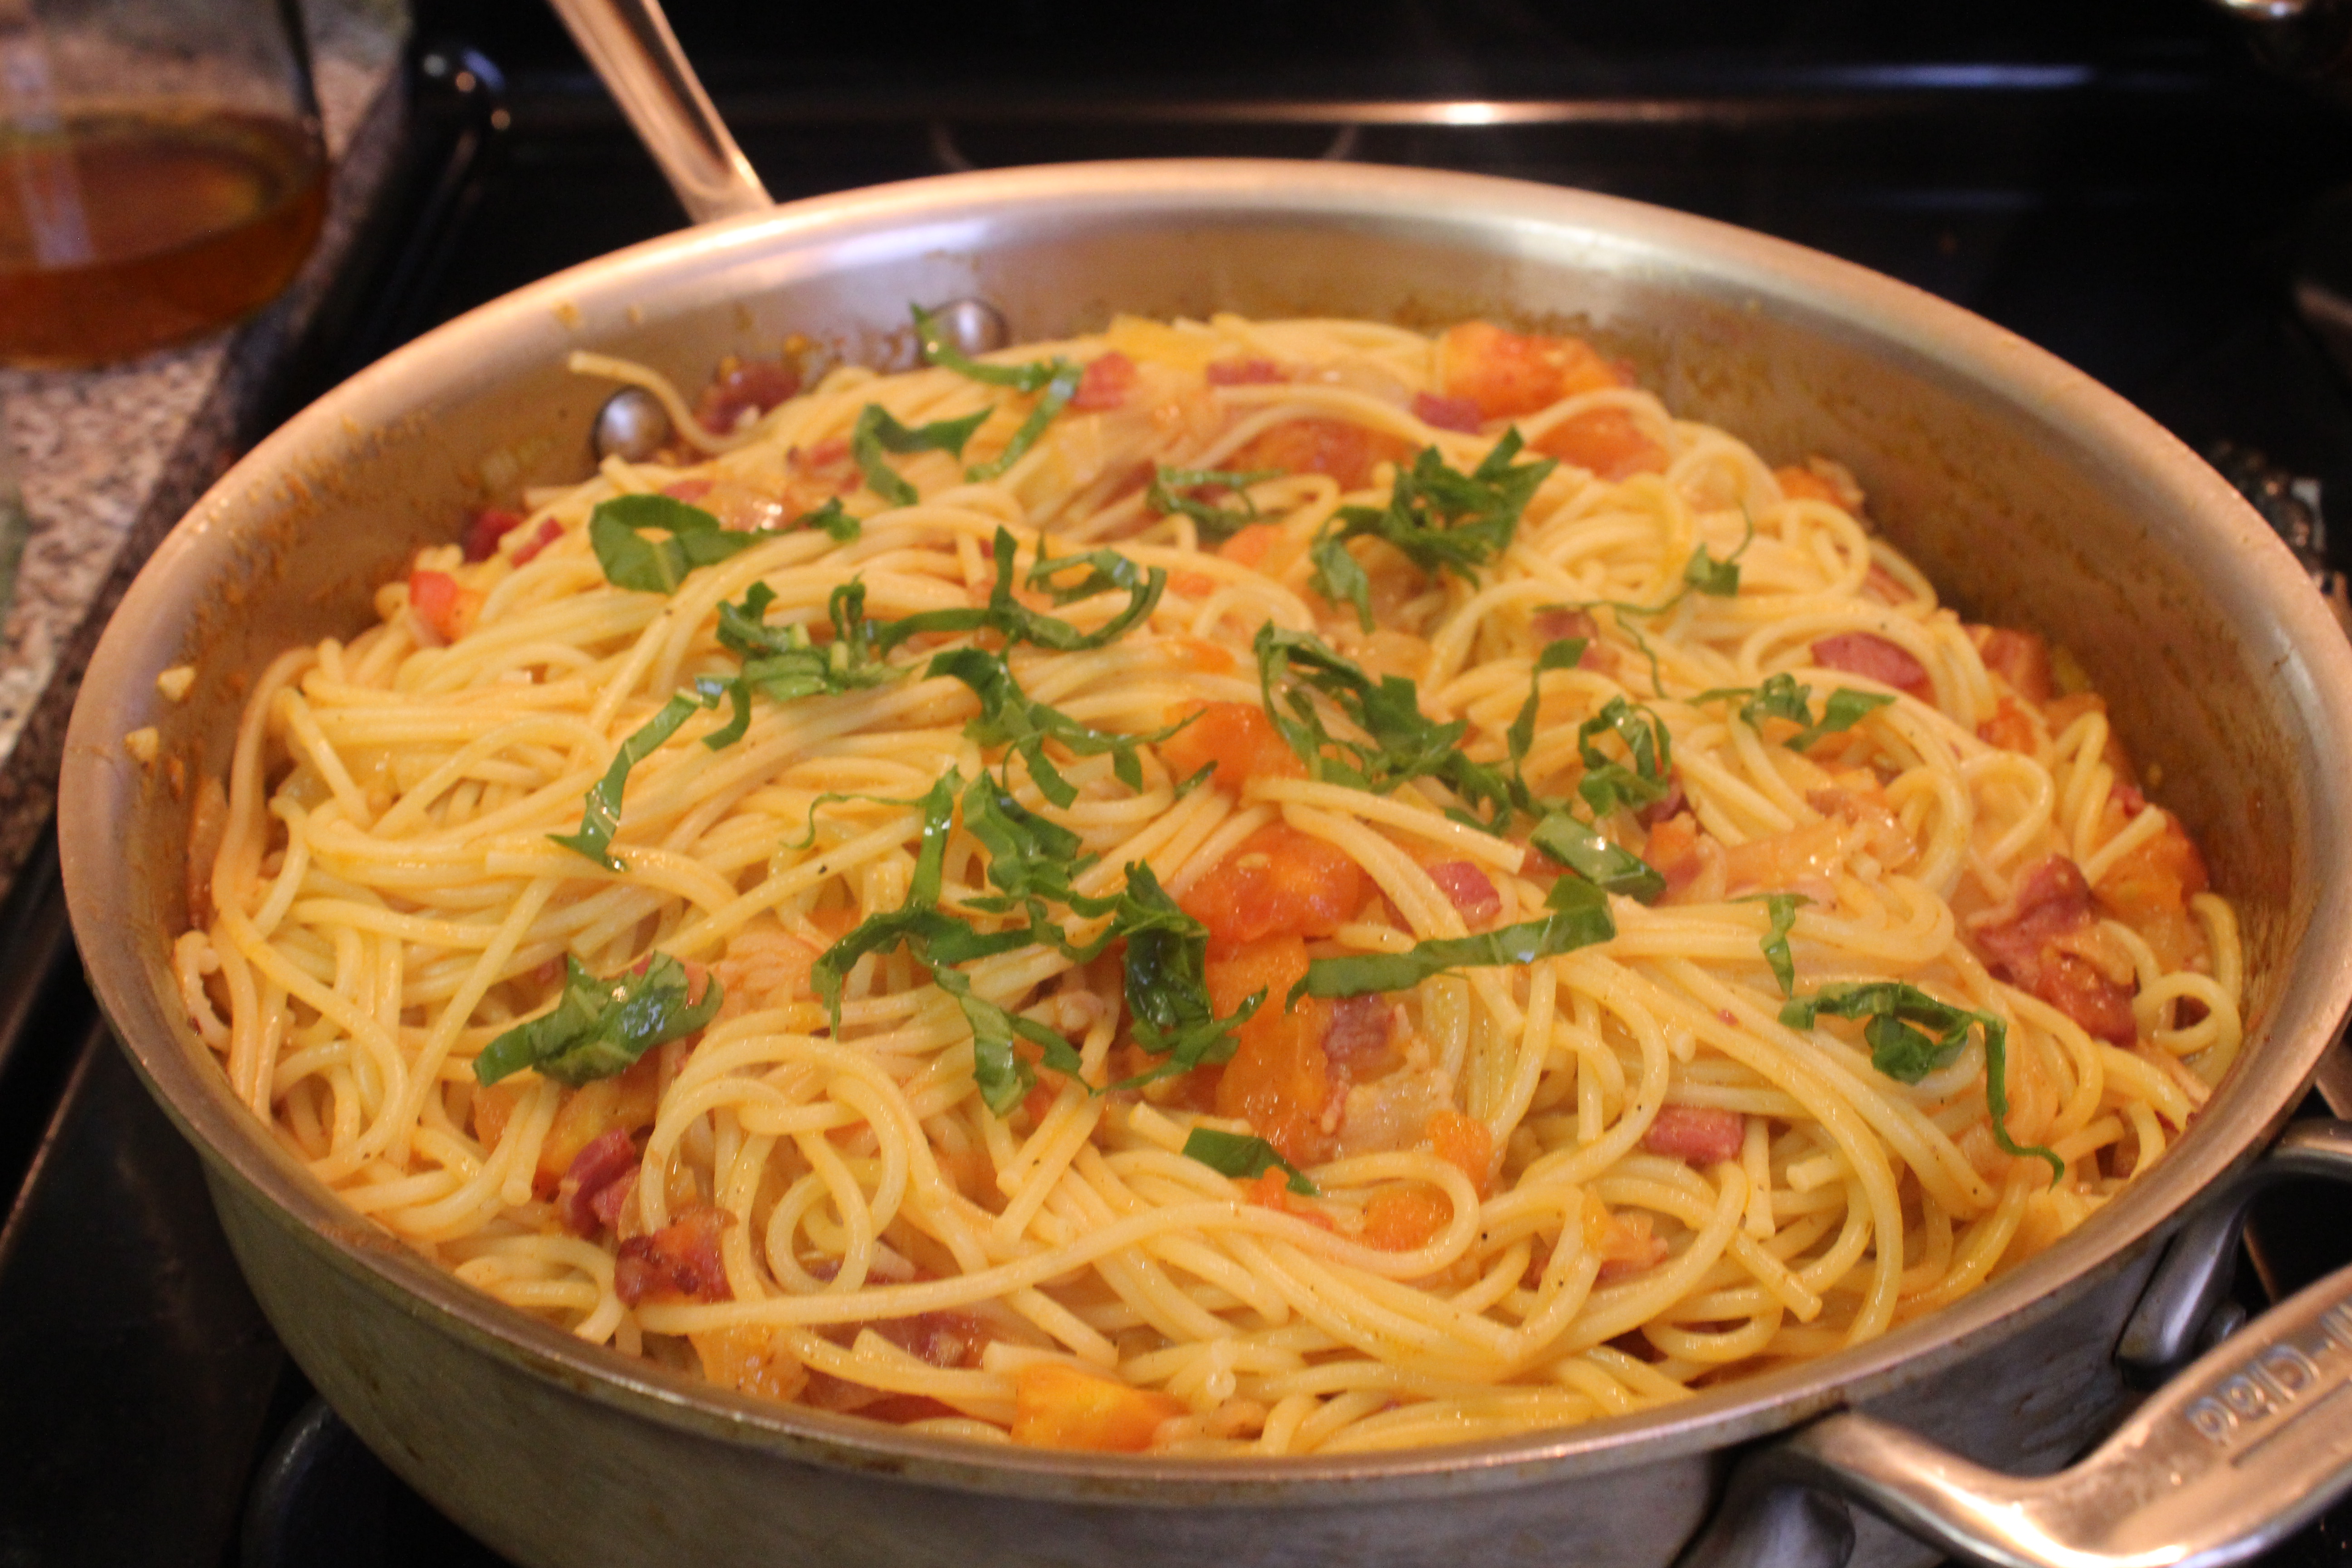
 But my dear friend Amreen has been requesting this recipe from the very first time I made it for her back in college. And I, being the jerk friend that I am, have neglected to share it until now. So, on Friday, with bacon, tomatoes and sidekick Moury in hand, whipped up this old favorite.

 My old, and I mean old (seriously, friends for 13 years now?), friend Moury was with me in the kitchen. And contrary to our last cooking experience, I wasn’t a total tyrant. She took all these photographs for you guys. And since I haven’t been doing any day time eating, these are the only photographs I could manage for this post.
  So, bacon and pasta lovers rejoice! The perfect marriage of the two is in this dish.
