My husband and I were so different when we met. He like TV, I liked the arts. He liked iHOP, I liked (and still like) bougie NYC brunch places. He enjoyed test driving cars and playing video games. I liked boutique window shopping and baking.
Coconut Jaggery Hand Pies (Narkeler Pitha)

Pitha – a Bengali style sweet dumpling. Narkeler pitha – dumpling filled with coconut and date sap. Usually the dough is made with rice flour and water(?), filled with the coconut mixture, then deep fried. I never learned how to make pitha, but I did teach myself how to make hand pies.
Gajer Halwa Mousse (Carrot Mousse)

In my journey of blending the flavors of my ancestral home in the Indian Subcontinent with the desserts I know and love here in America, I pull a lot from you and those around me. In brainstorming dessert ideas, a dear family friend (and ad hoc babysitter – love you Tasfia and Tanifa!) suggested gajer halwa. It’s carrots that’s been cooked down with milk and sugar so that it’s almost a pudding.
Cha Leches Cake

Most of you are familiar with chai – a spiced tea drink, made with some kind of milk. Most Bengalis I know and grew up with, didn’t spice their tea, but steeped some strong black tea and cooked it down with milk, or evaporated milk, and sweetened to taste. This is called dood cha (translation: milk tea). My favorite childhood treat was dunking a piece of Wonder bread in my mother’s milk tea. This dessert, an adaptation of tres leches, rekindles that memory. A sponge cake that is soaked in a steeped black tea milk mixture, and topped with whipped cream, recreates that childhood favorite in dessert form. I made it on a whim at my in law’s place over the weekend so I don’t have many pictures. I tried recreating it with PG Tips pyramid tea bags – and although tasty, did not have a strong enough flavor. Will share more pictures when I recreate it – in the meantime I need to buy up some loose tea of my own, since the tea bags just won’t do in this recipe.
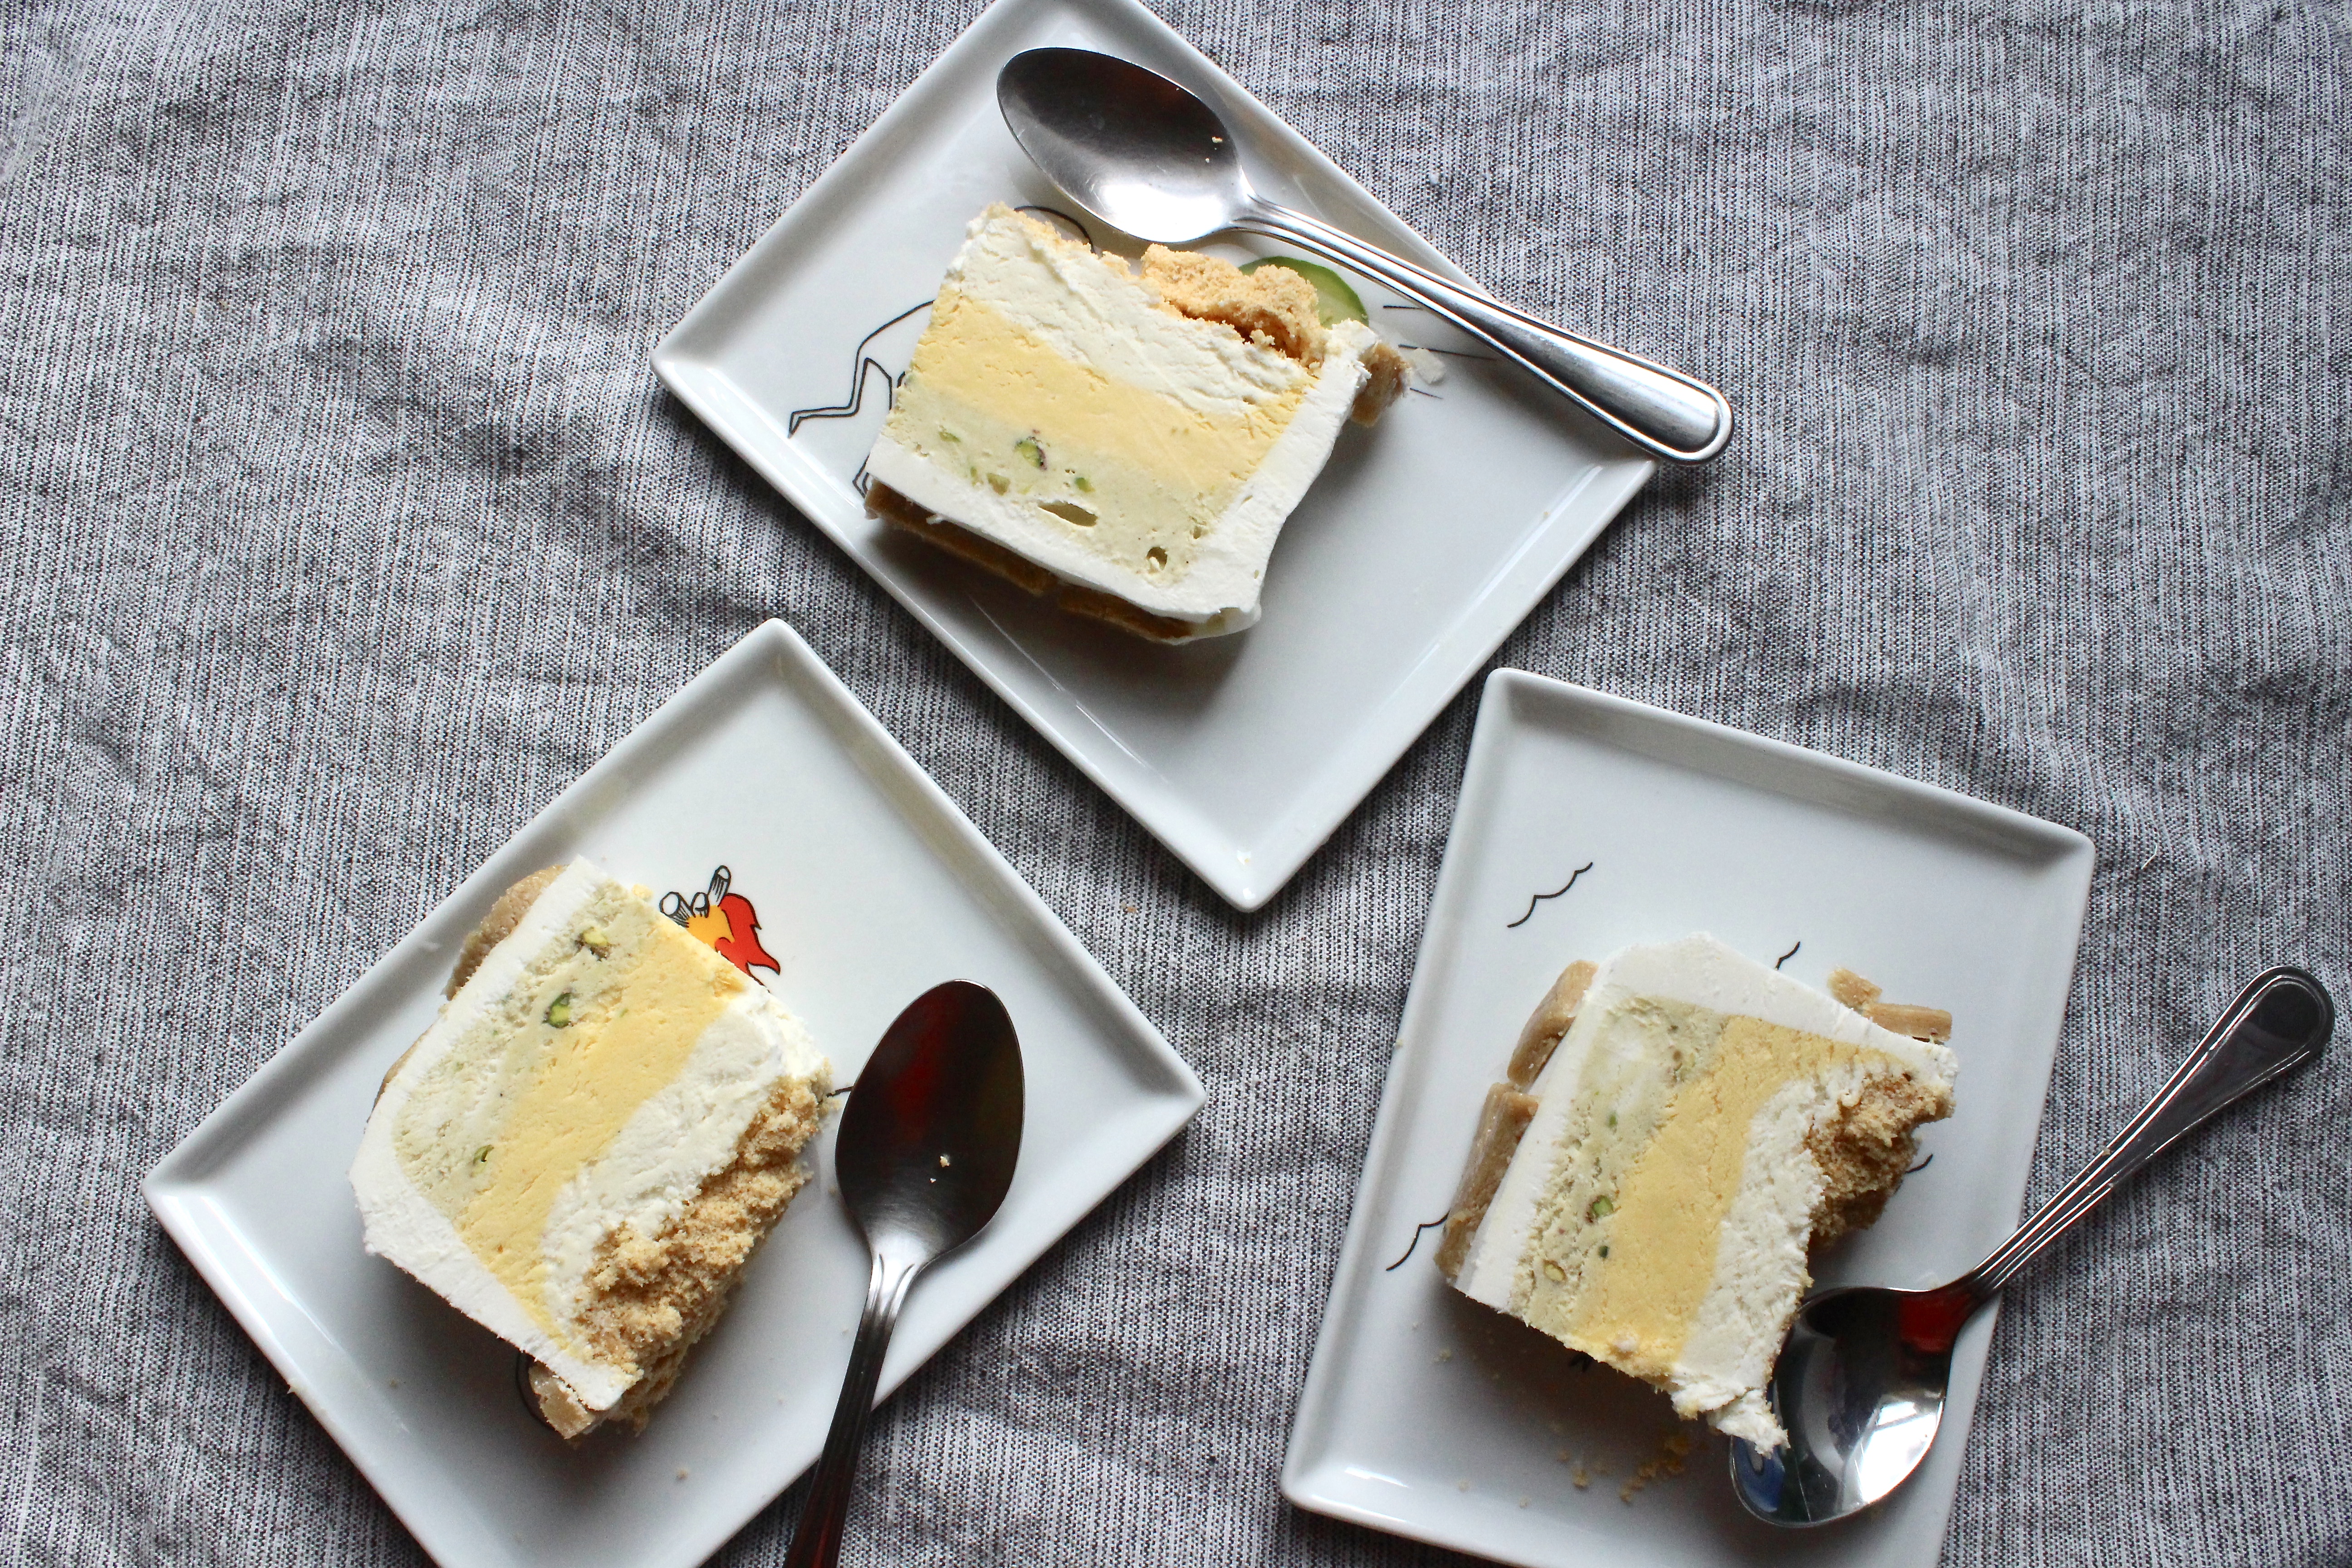
Rasmalai Ricotta Cheesecake
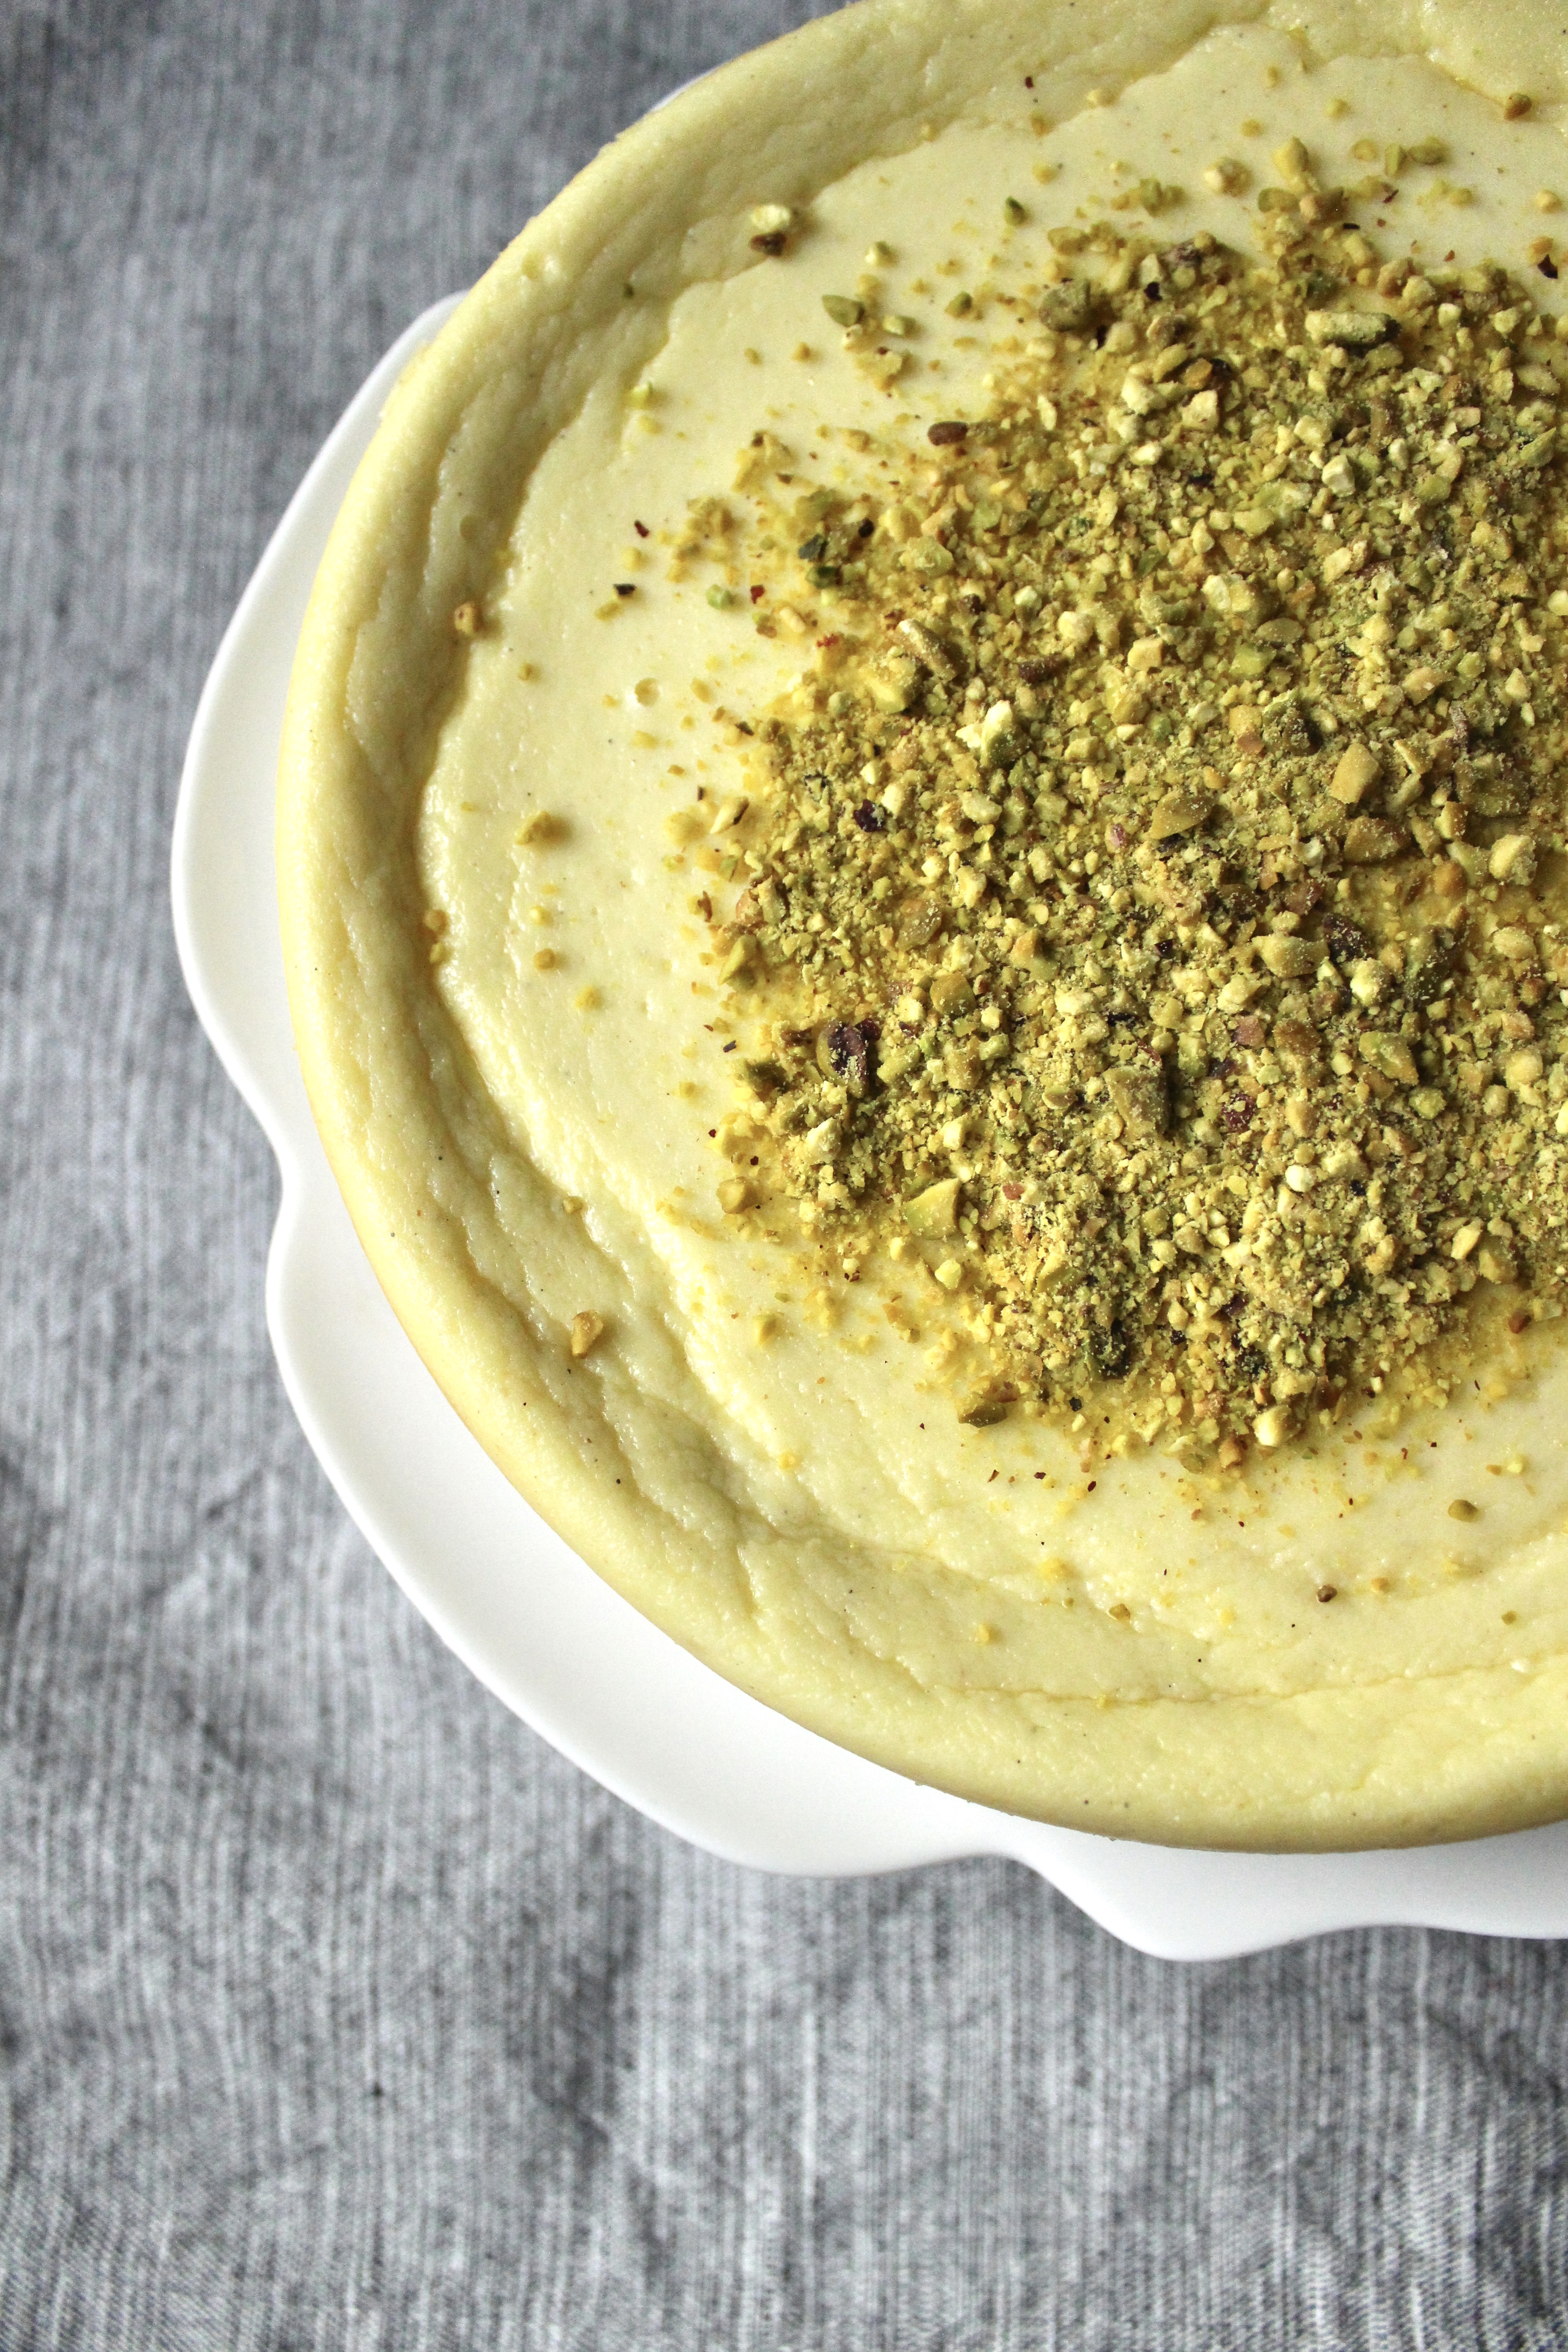
I had a lemon ricotta cheese in Sorrento that was a game changer. Compared to dense, tangy, NY style cheesecake (which is delicious in its own rite), this was so light, so brightly flavored with regional citrus, it was the most heavenly thing I had tasted during my 4 months in Italy (in addition to cinnamon gelato, rosemary potato pizza, and fresh ricotta calzone).
Samosa Cake
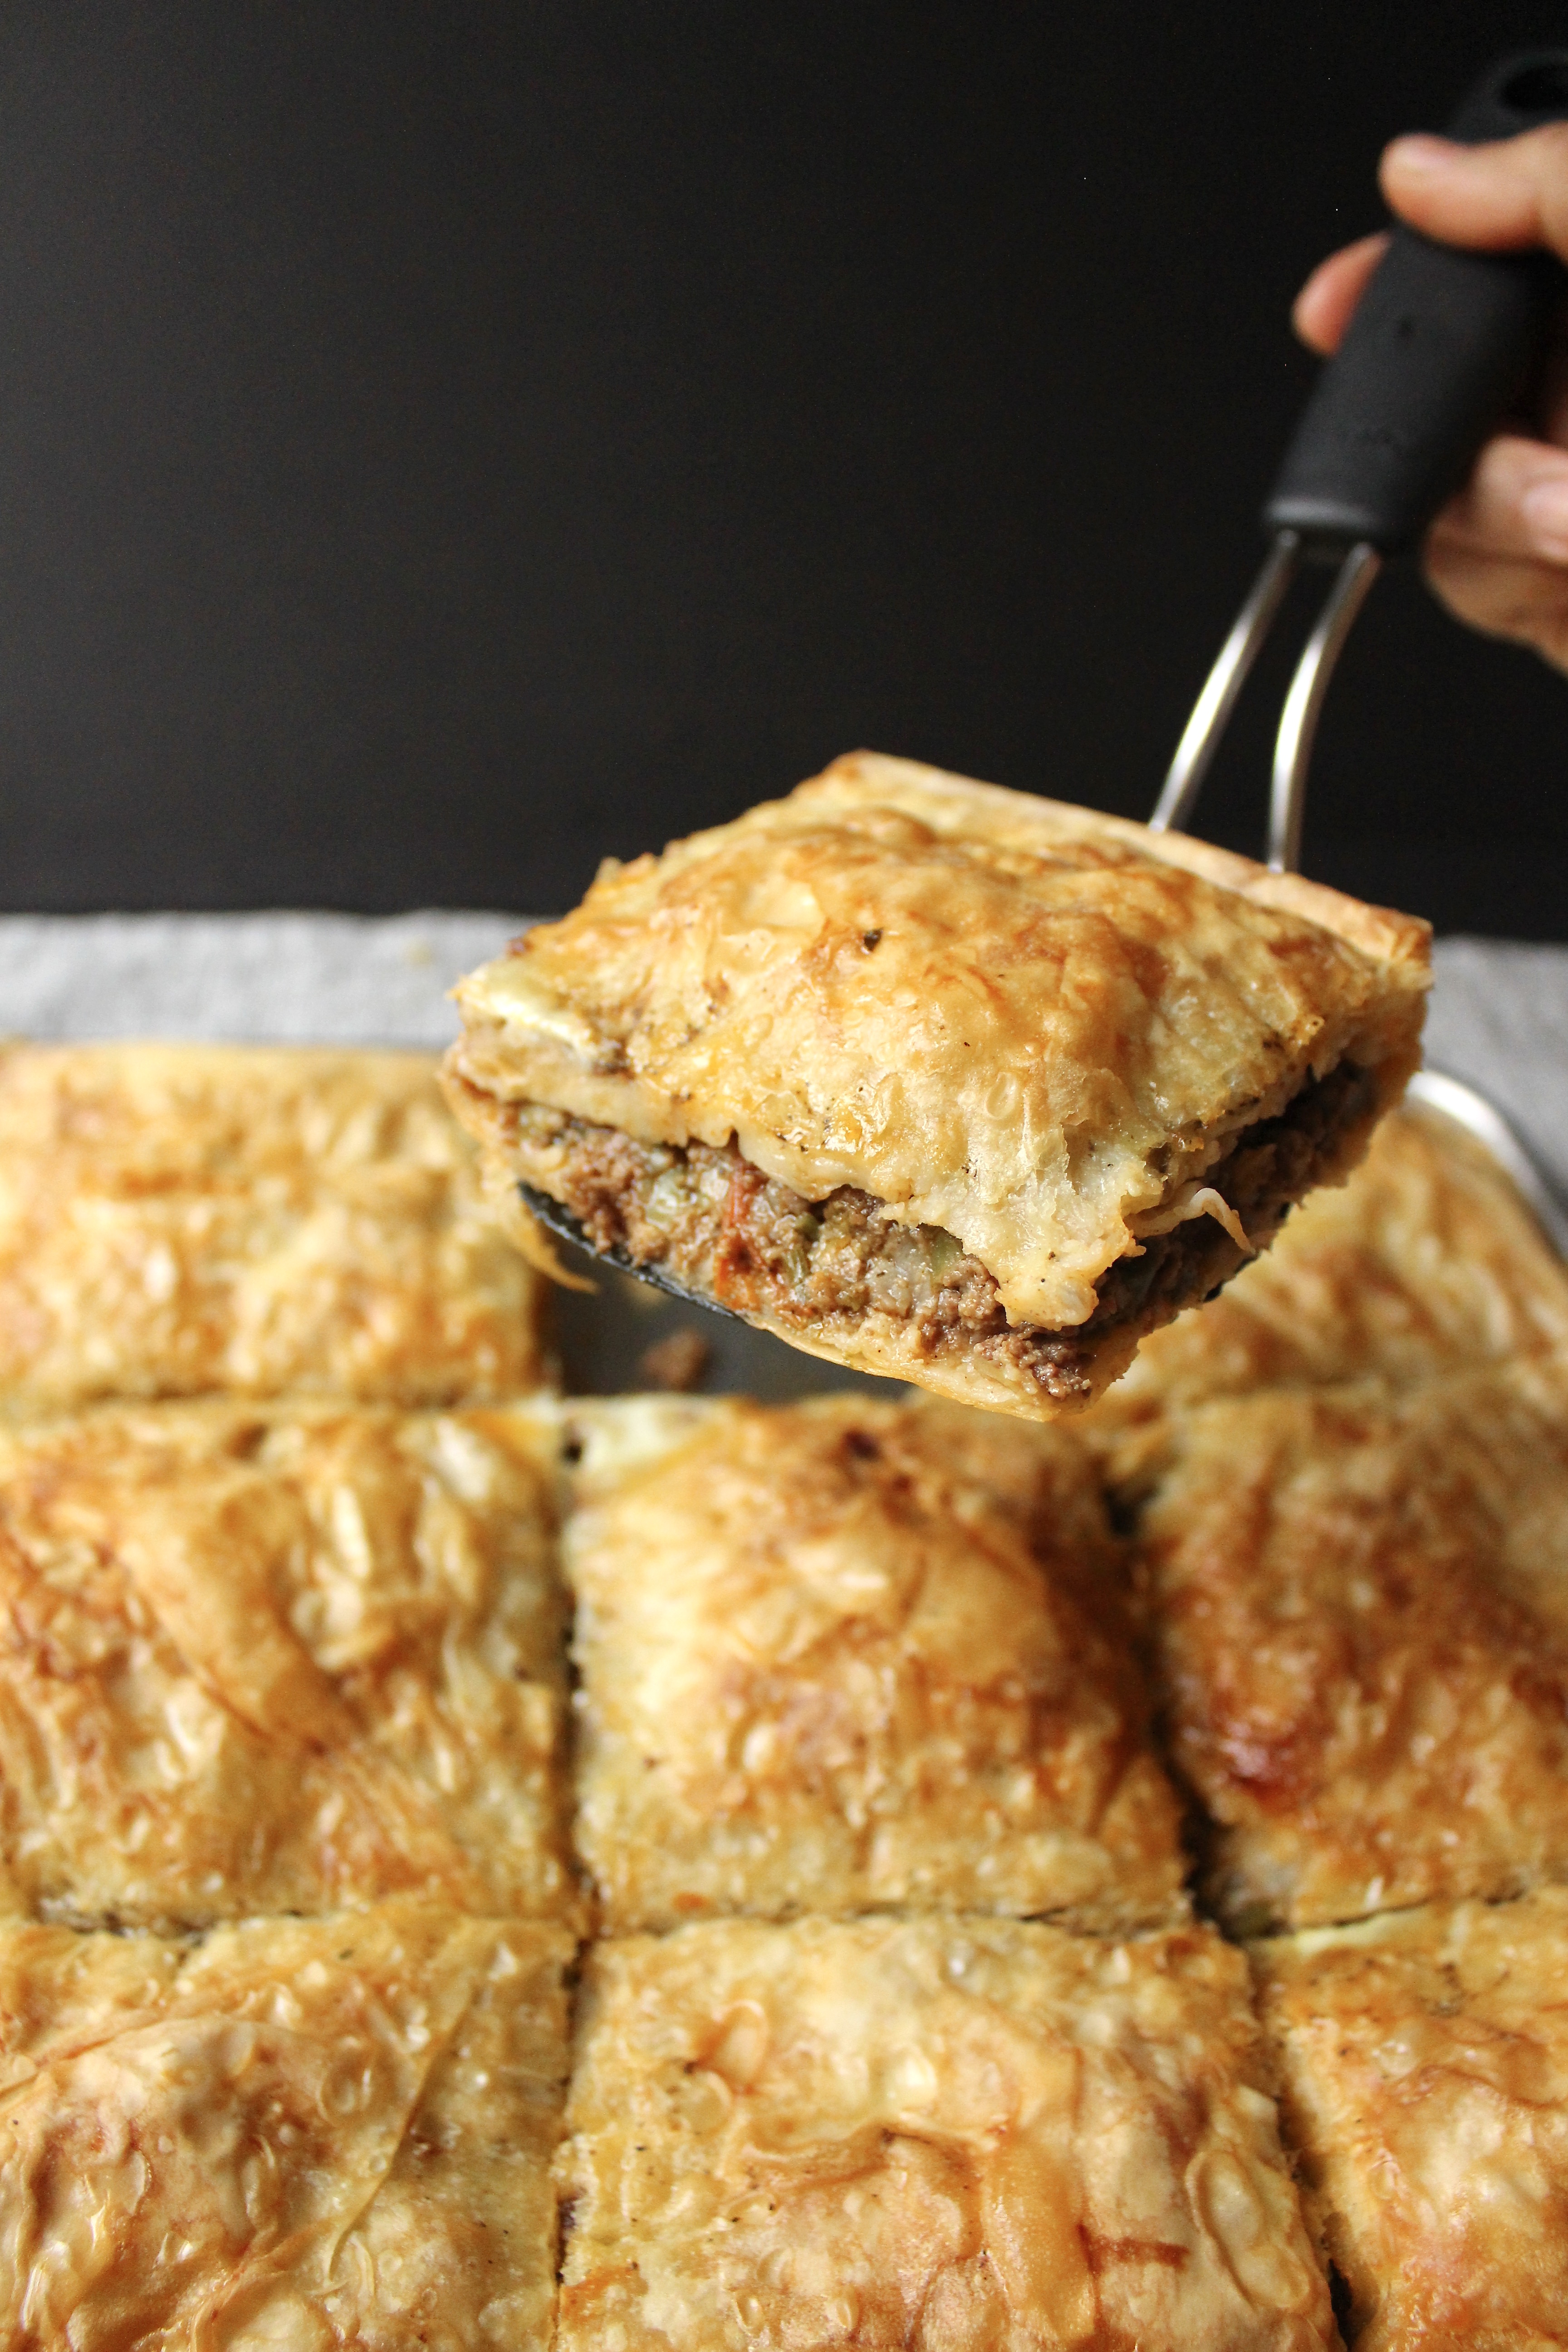
This is the story of how a typo turned into an entree. In Whatsapp group of fellow moms, coordinating the dishes of a potluck, someone offered up a Samoa cake. Misreading that for “Samosa Cake” many of the moms jumped at the prospect: “Samosa cake?! What’s a Samosa Cake?! I want to try it!!”. After clarifying the mix up, some ideas were thrown around as to what a samosa cake would look like. I immediately thought of layers of phyllo dough stacked with a samosa meat mixture, baked and cut in slices. When I looked up for recipes that would meet these requirements, I pulled together elements from a Borek recipe (Turkish layered meat pastry), an Egyptian meat pie, and the filling from a Yemeni Samboosa. There are cubanelle or italian frying peppers here for flavor, often seen in Turkish recipes. There’s tomato paste from the samboosa recipe, an ingredient that is necessary for any red meat dish, in my humble opinion. And the whole layering and baking technique pulls from Egyptian meat pie recipe.
Strawberry Meringue Hearts
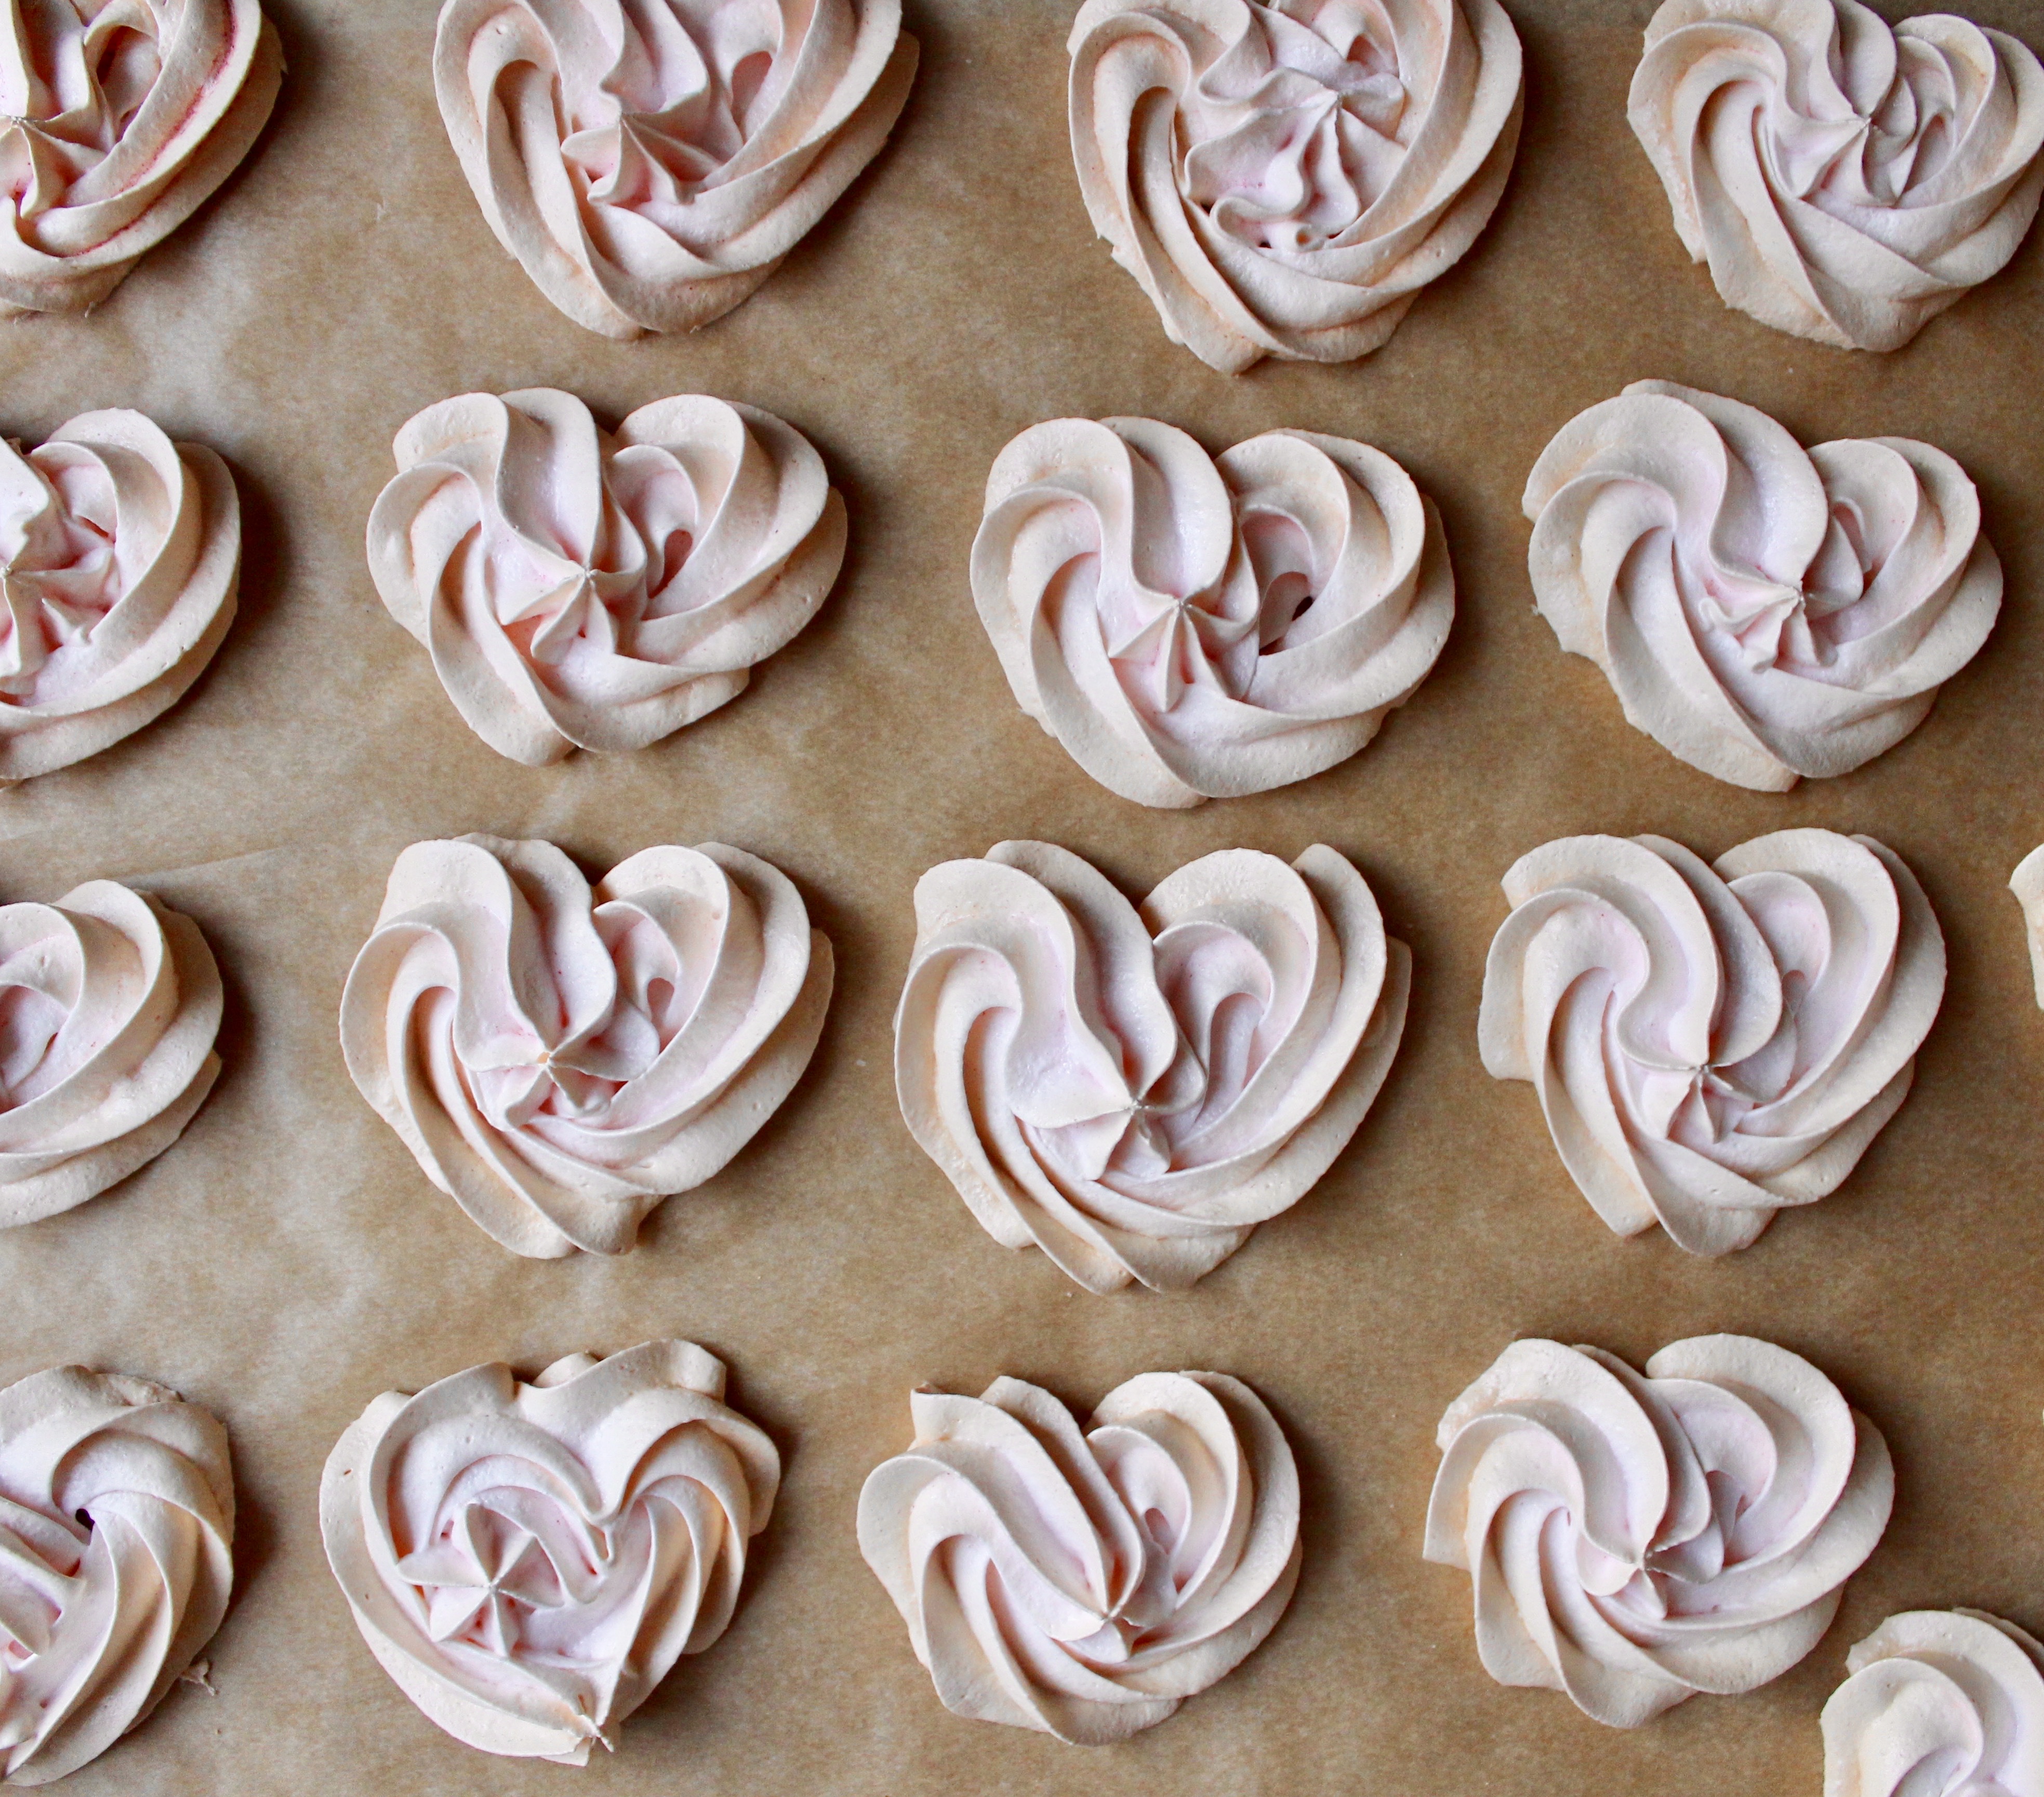
Just when you thought she couldn’t produce another great recipe, she pulls one out just to prove you wrong. I’m referring to the OG Deb Perelman and a recipe from her new book, Smitten Kitchen Every Day. She calls them strawberry cloud cookies – they are essentially meringues flavored with a unique ingredient – strawberry powder, rather than the traditional vanilla extract. She dollops the meringue onto cookie sheets before baking for 30-35 min. I piped mine with an open star tip into heart shapes (it is February after all) and baked them for a shorter time, since they are flatter meringues.
Chocolate Pudding or Pastry Cream

I had a revelation this week: pastry cream is basically pudding, with perhaps an egg yolk or two more. Both start off with a milk/sugar base, thickened over the stove top using some combination of cornstarch/flour/egg yolks then flavored with vanilla, chocolate or any other flavor of choice. This recipe, in my opinion, can pass for both.
Strawberry Swiss Meringue Buttercream
I find myself craving less and less the city’s top dessert spots. I used to LIVE for post dinner dessertscapades. But these days I wonder, why spend $11 on a dessert that you can whip up at home, exactly to your liking, and share a pretty picture of it on IG? Ok, maybe we’re not all in the same boat here. But lately, when I go out, chocolates desserts aren’t chocolately enough, flavor combinations that were fun for a while started feeling like a bit of a reach (black lava salt? spicy chocolate?).
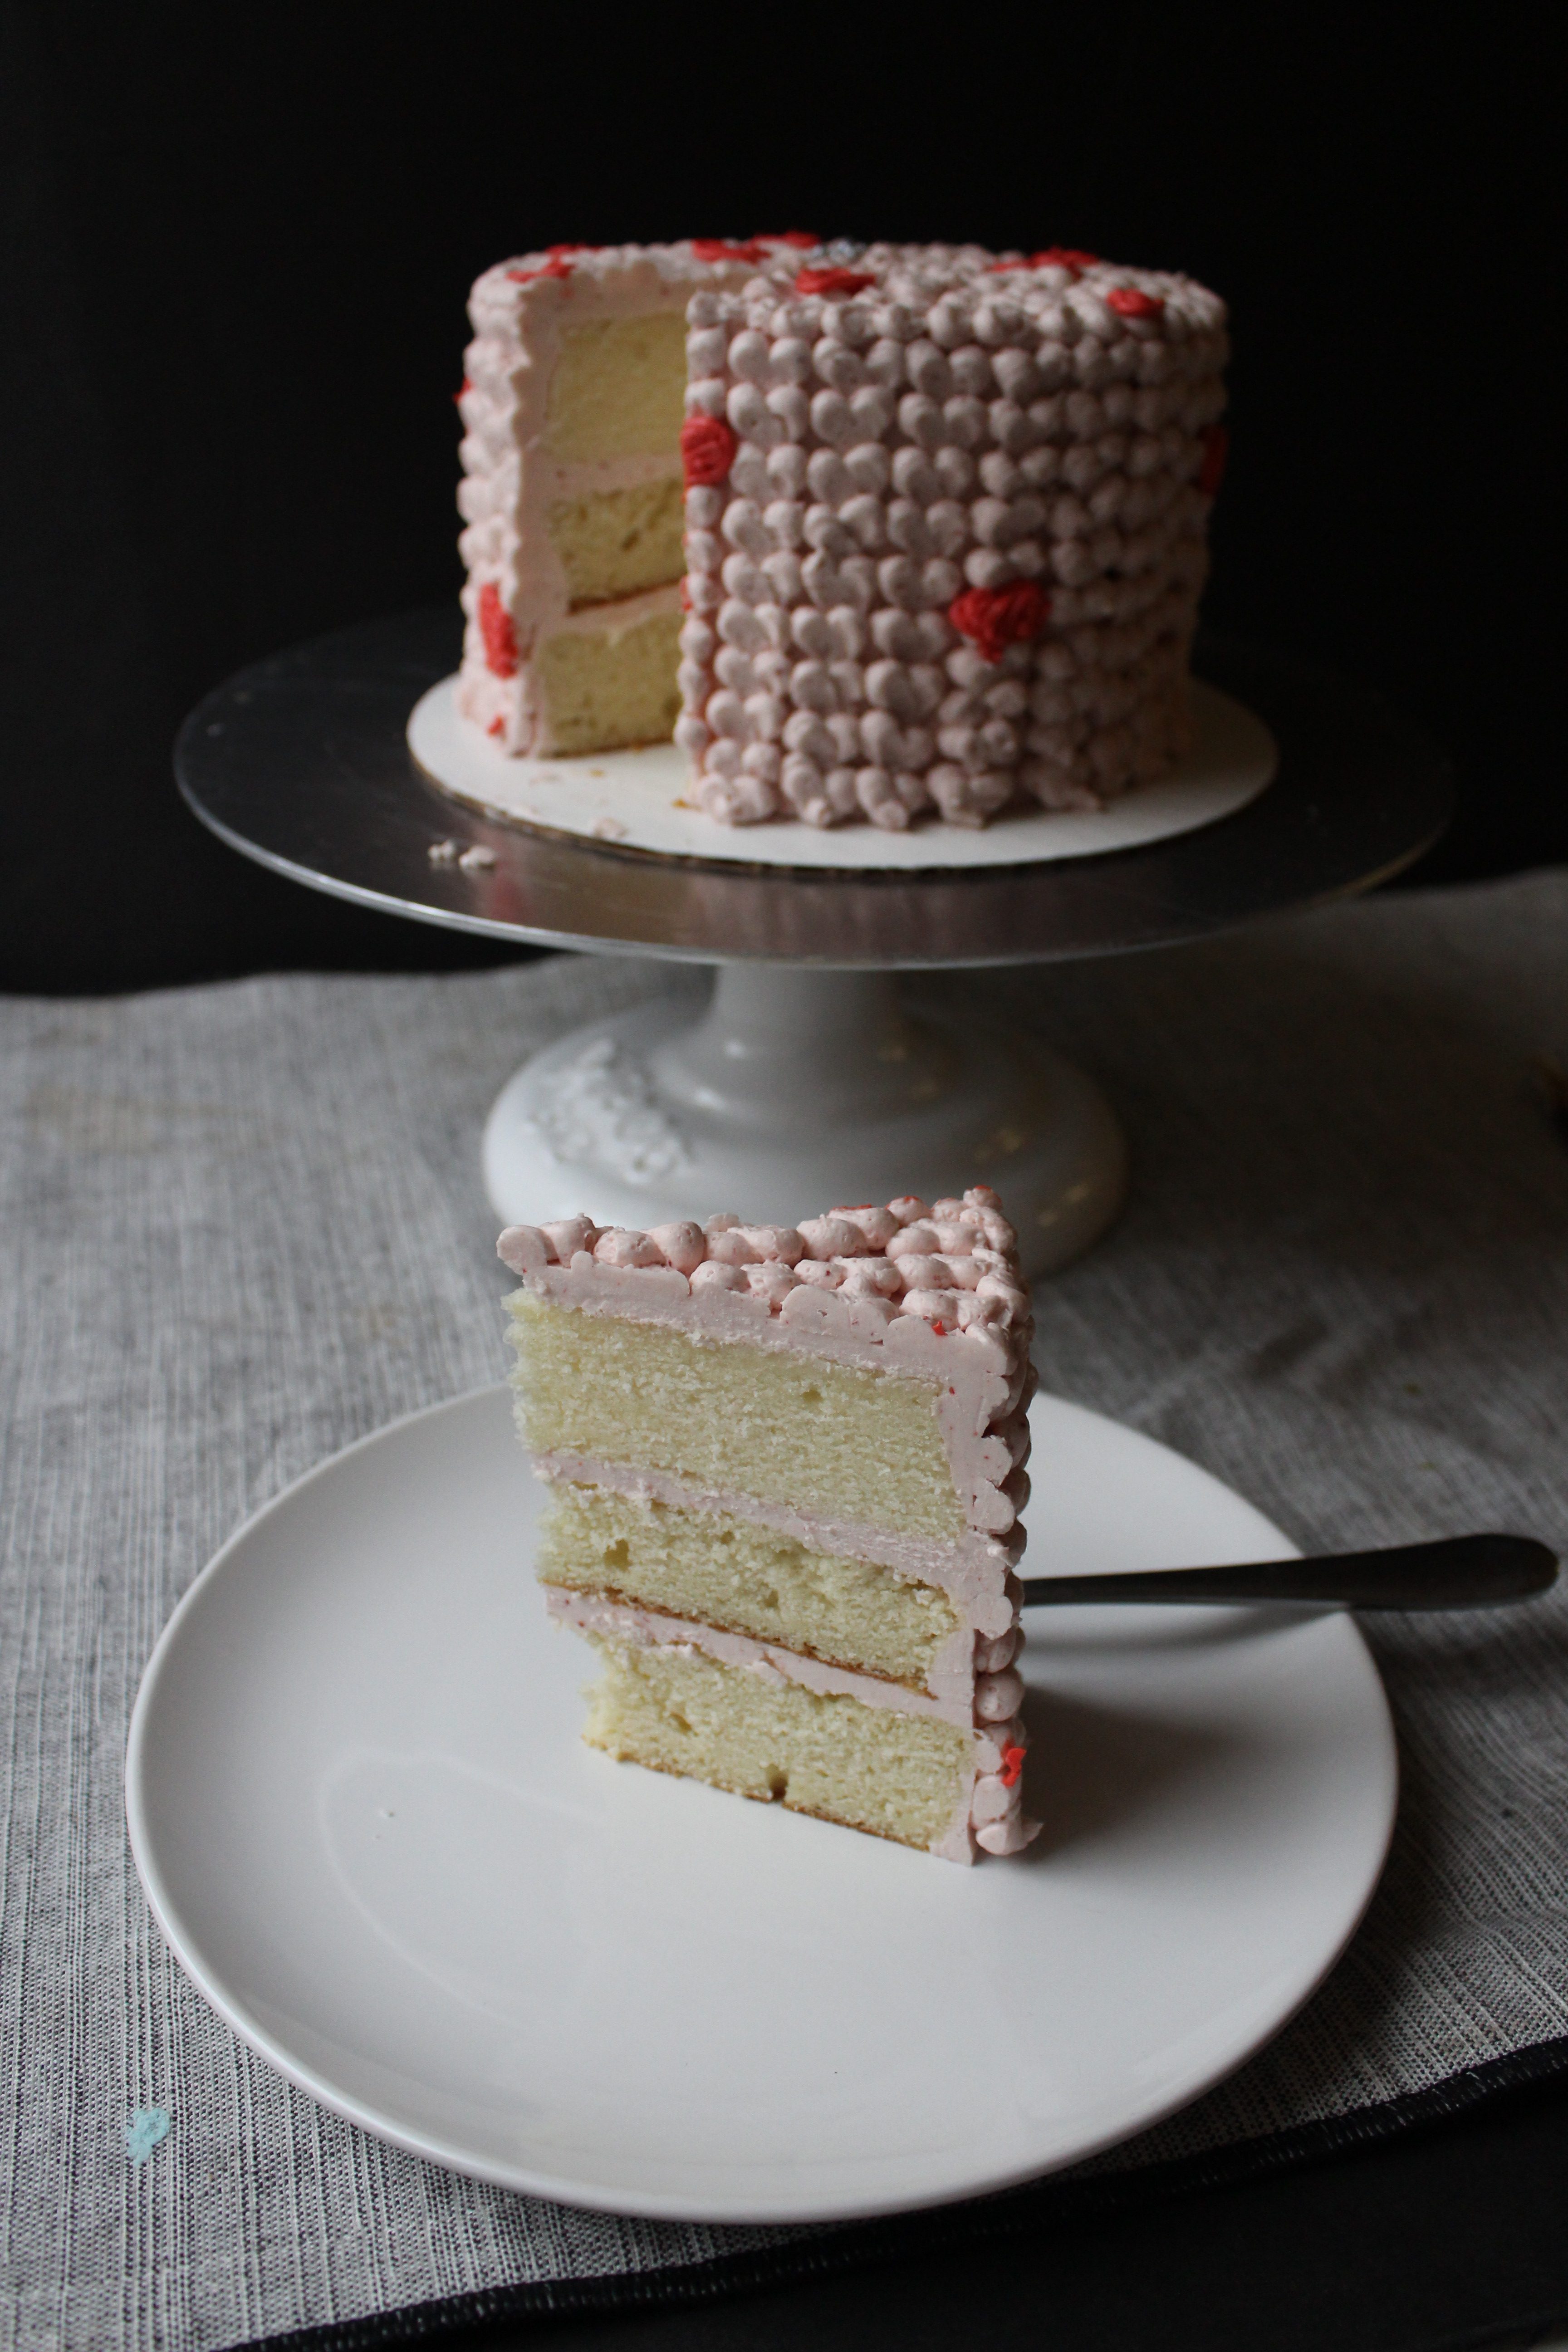
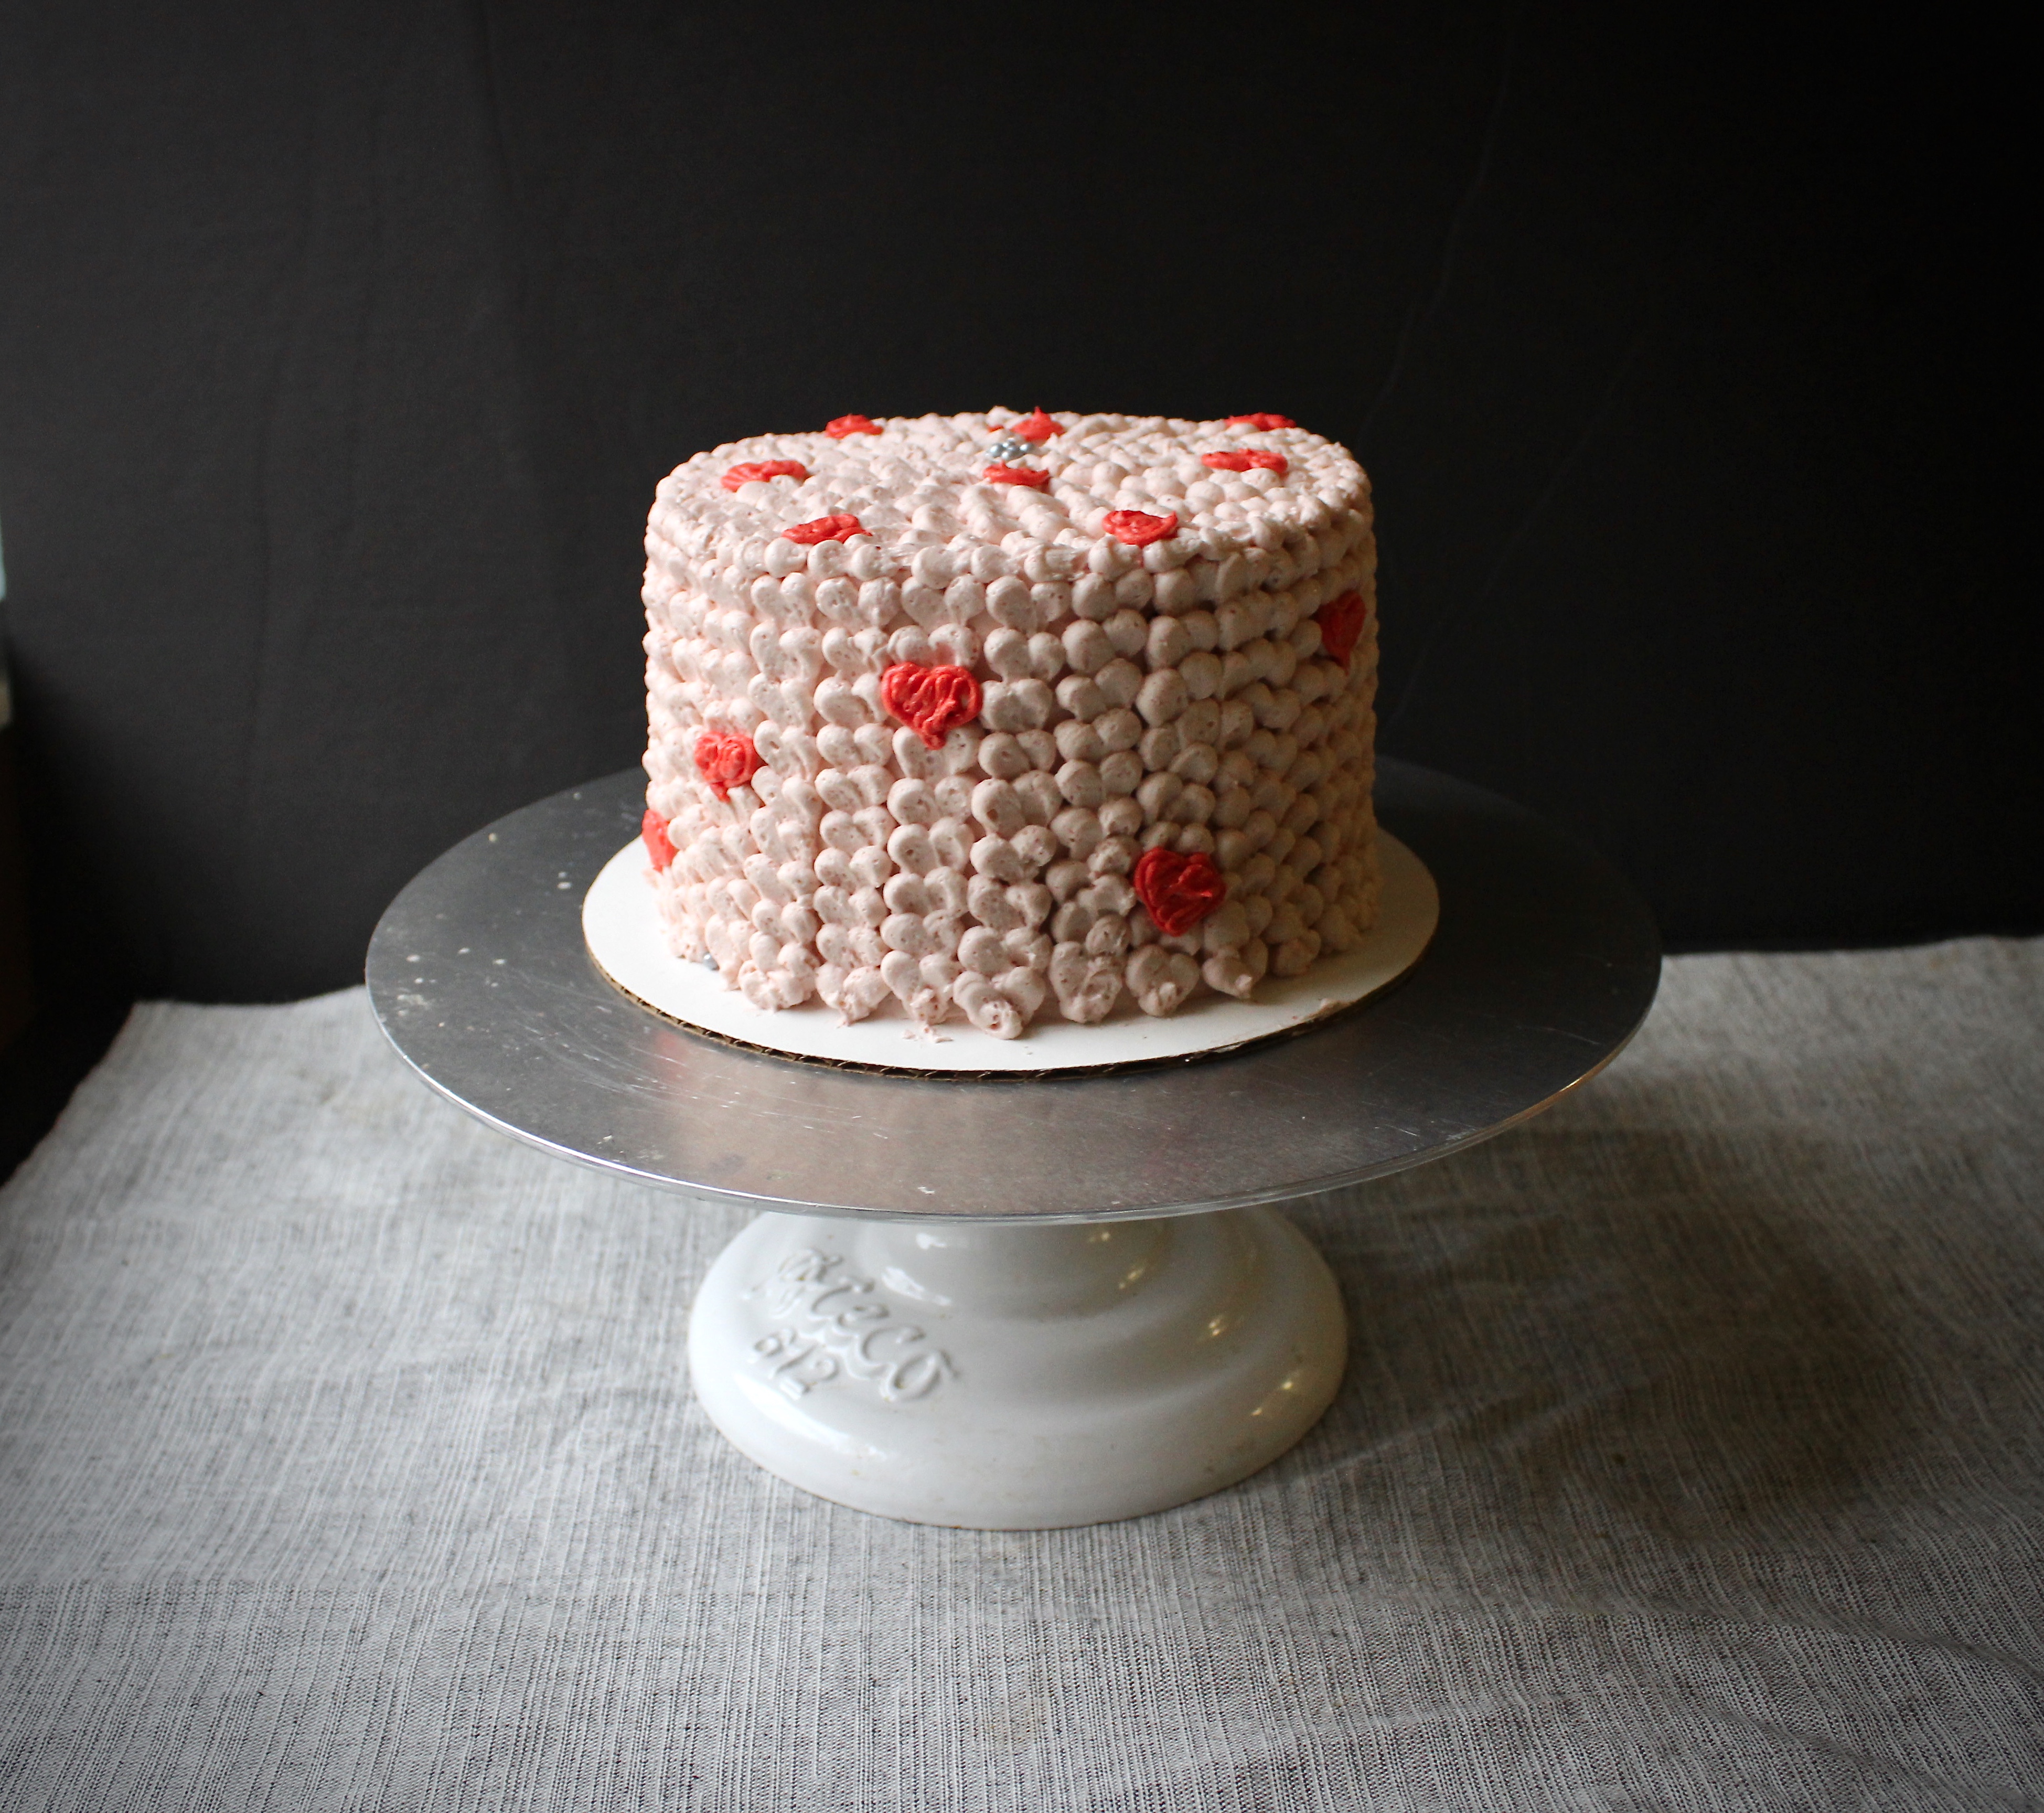
I want to y’all to be in the boat with me. Make fabulous desserts, tailored to your tastes. Make your dinner guests oooh and ahhhhh. We’re on our way there. Today, I’m sharing strawberry swiss meringue buttercream. A naturally strawberry flavored, sophisticated topping for cakes, mousses, trifles and the like. It’s as delicious on chocolate cake as it is on vanilla.

I have so many other desserts in the pipeline I want to share with you. I want your suggestions! What do you want to see? A milk tea tres leches? A green tea mousse cake? A star anise/cinnamon citrus pound cake?
If you’re never made swiss meringue buttercream, it is a game changer for frosting cakes. It’s in the same class as Italian meringue where there is some combination of egg whites, sugar and butter, for a lighter, smoother buttercream than one that’s made out of butter and powdered sugar. When you start spreading it on the cake, it’s like silk. No other way to describe it. It’s traditionally less sweet than American buttercream, so I like to up the flavor and sweetness with extra extracts and even some corn syrup (astaghfirullah I know!).
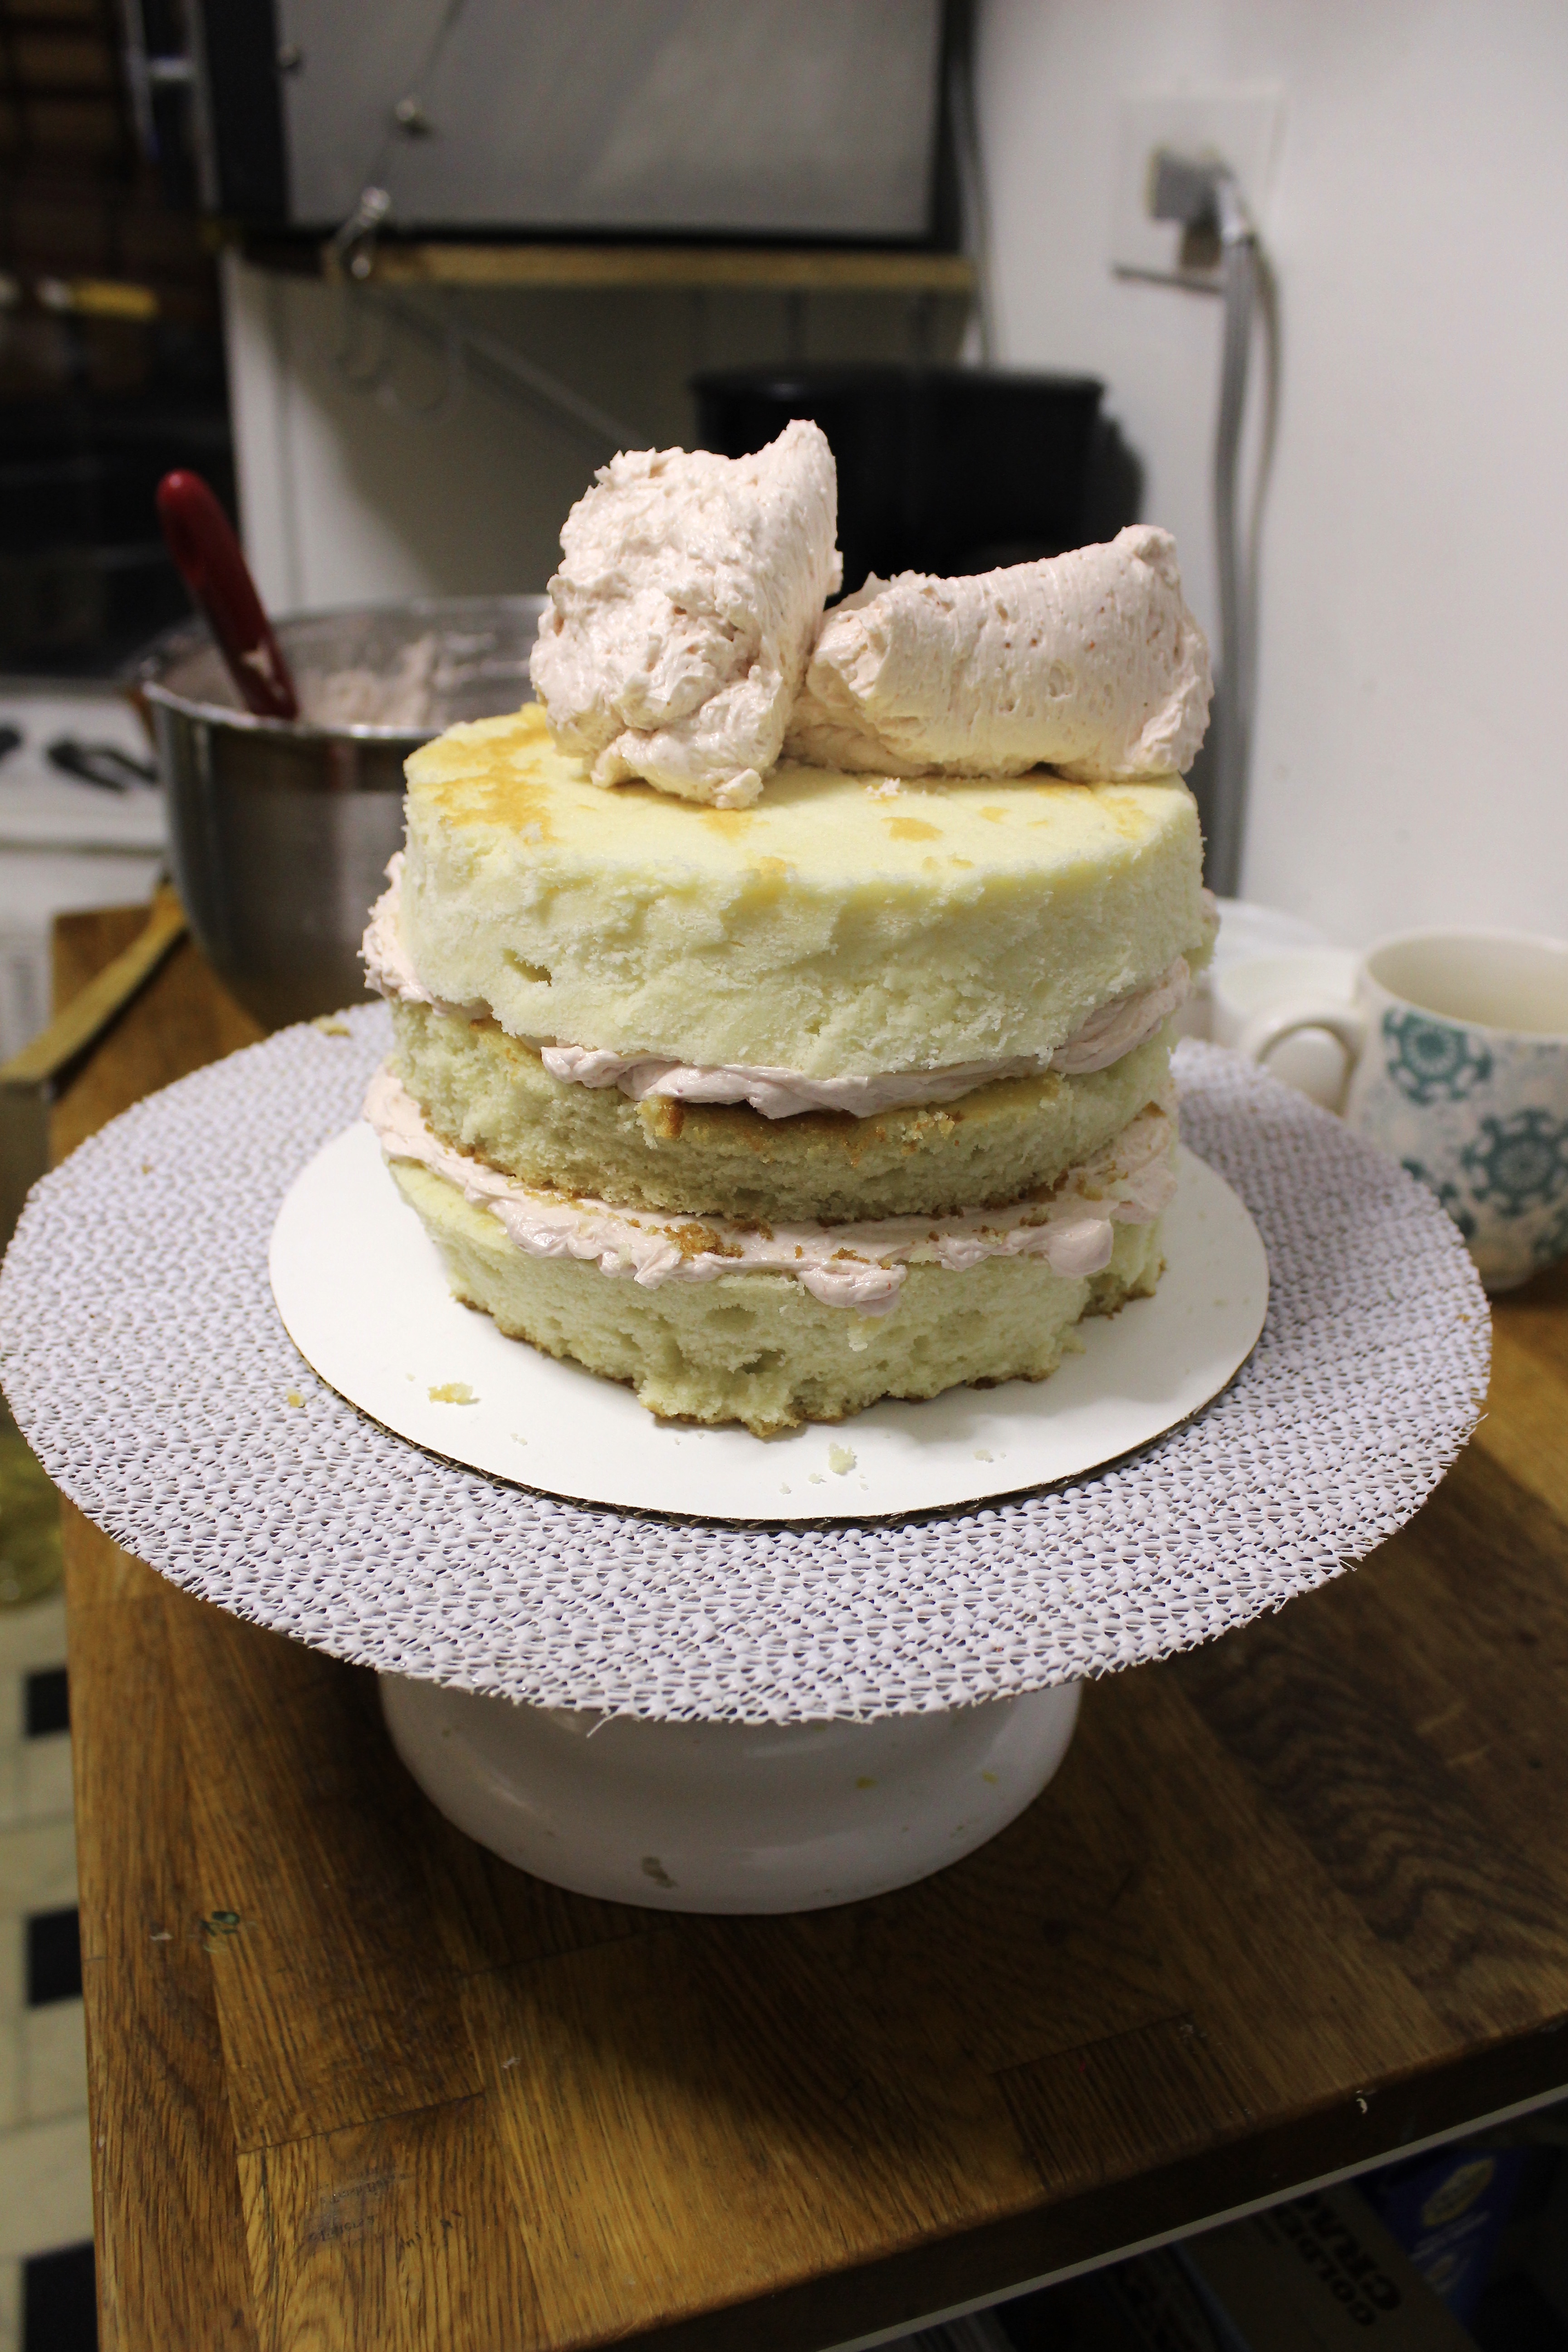
This makes enough to fill and frost a 6in cake generously, so you’ll have some extra leftover for piping decorations. I used a #10 Wilton tip to pipe little hearts for Valentine’s day. Then, because I had some red frosting leftover, outlined some of the hearts sporadically for a fun look. Topped with some silver dragees, it was ready to serve.
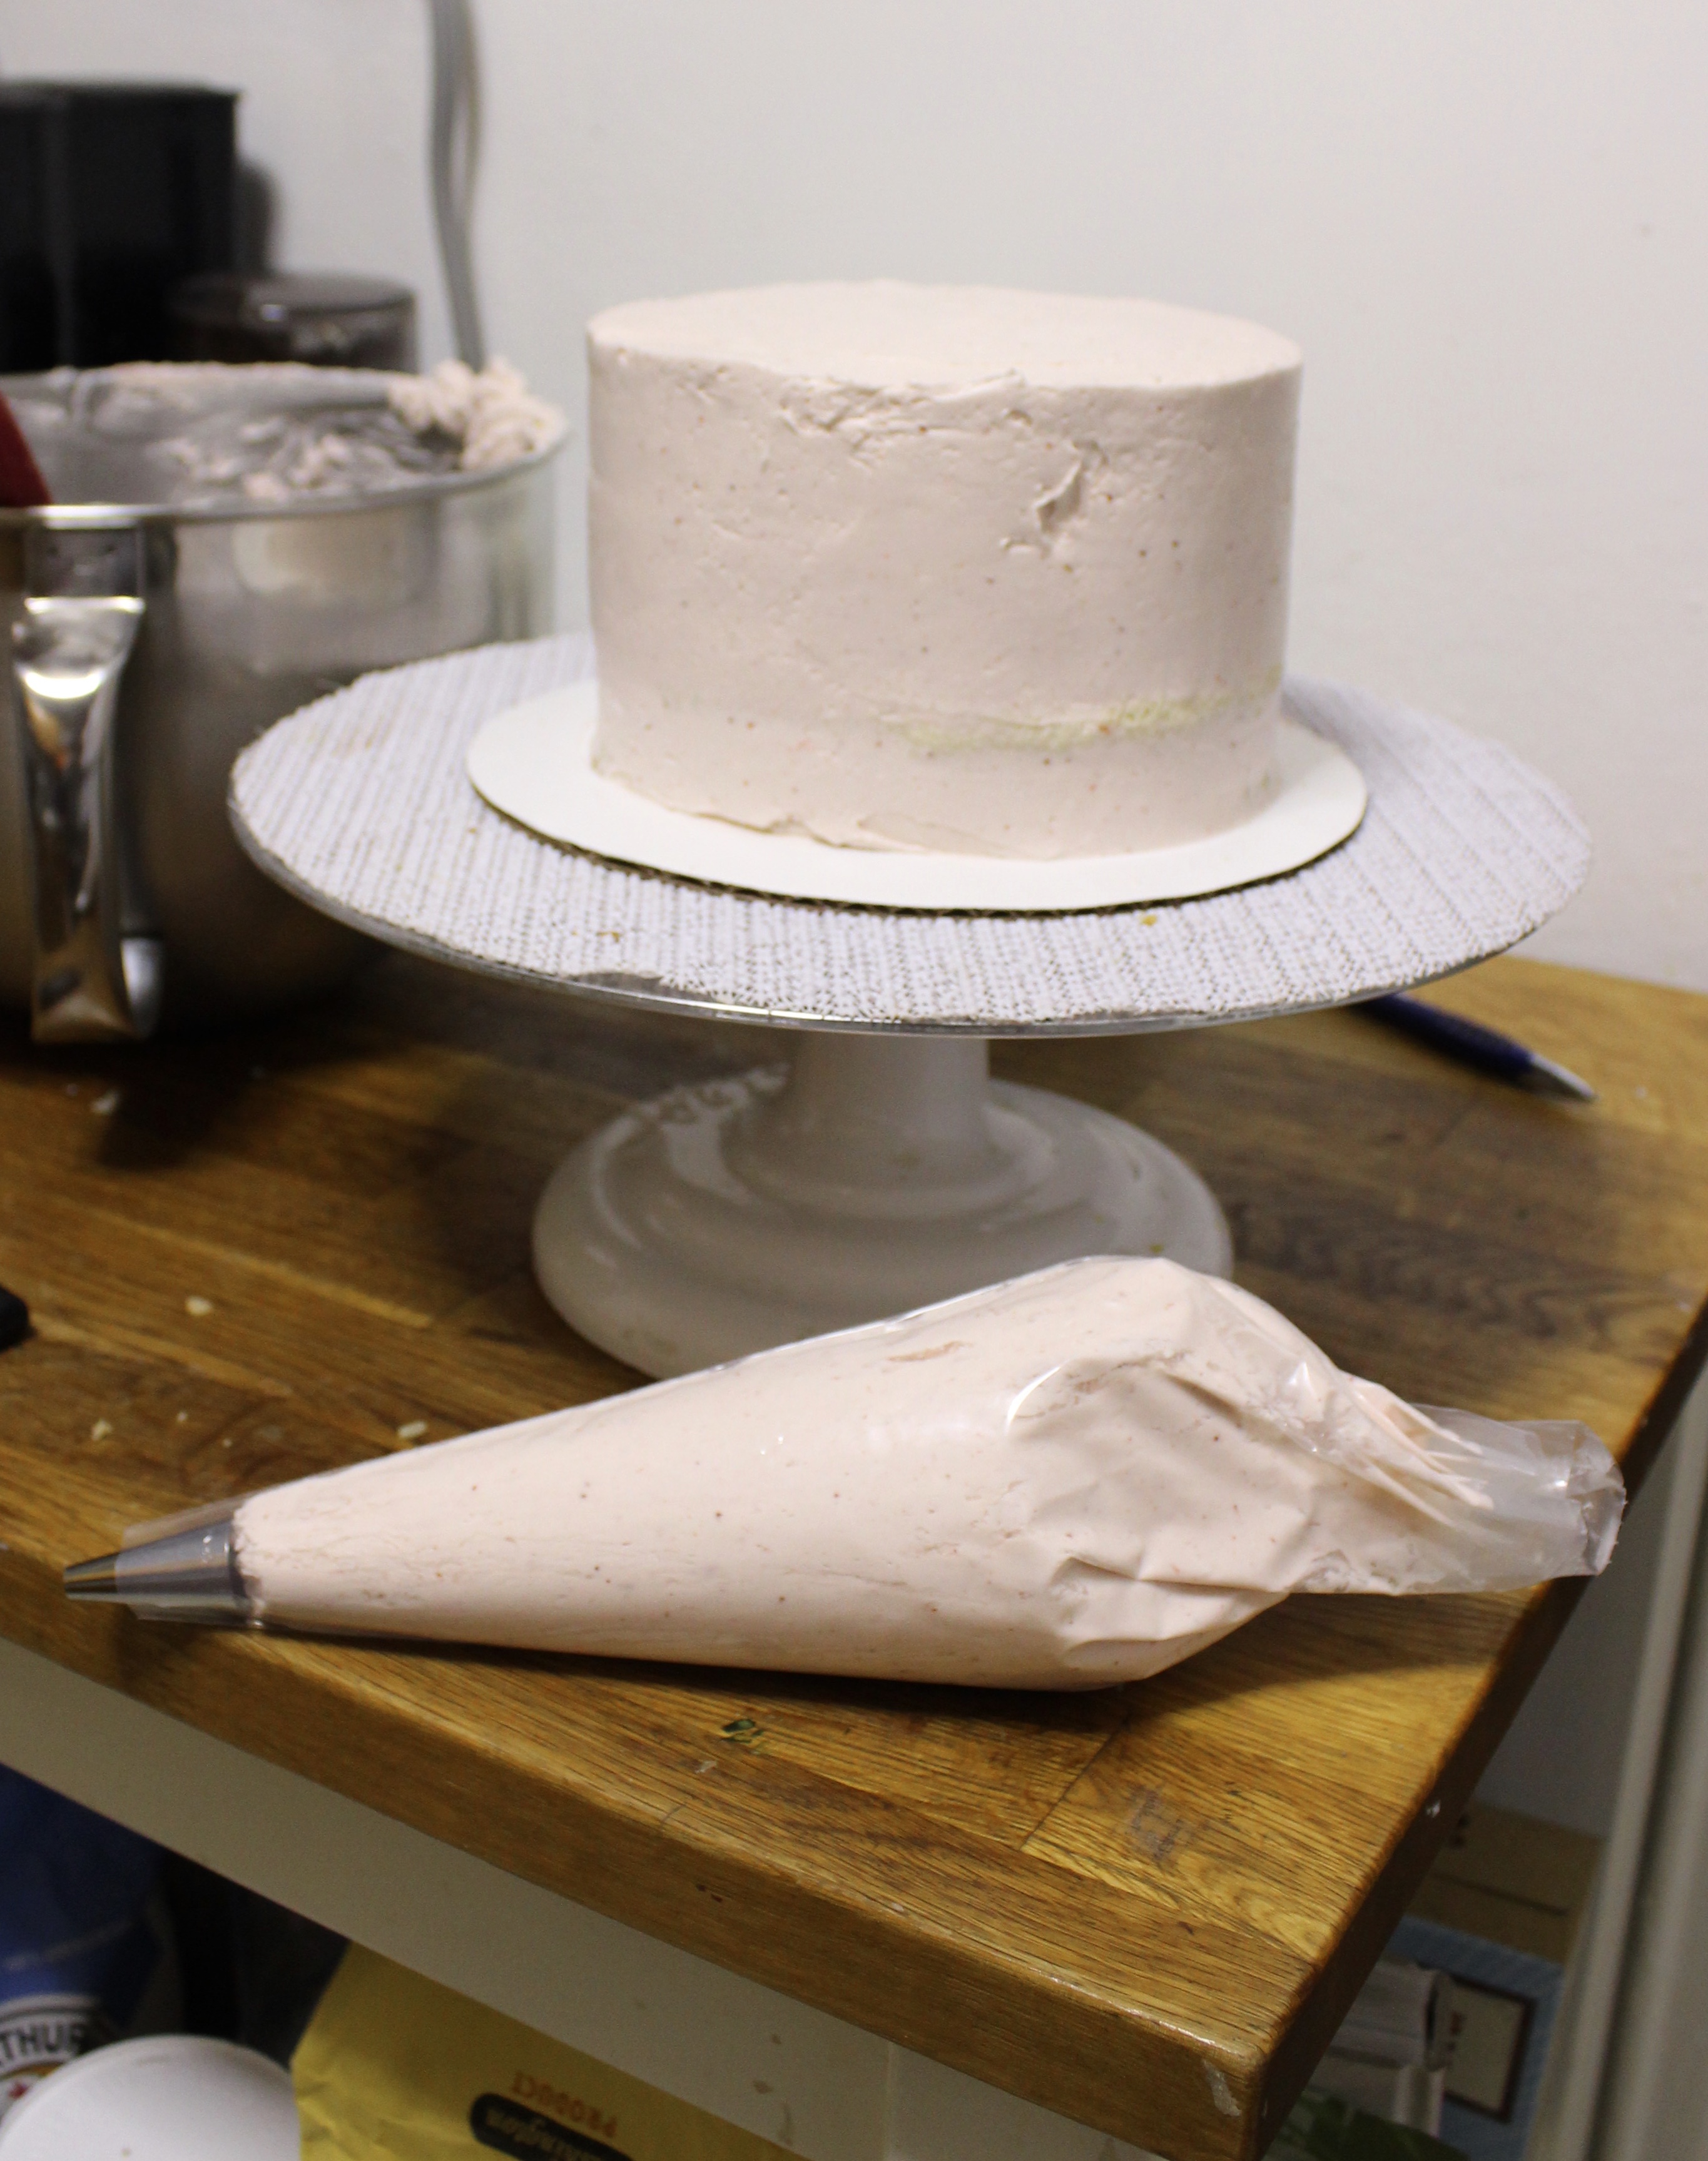
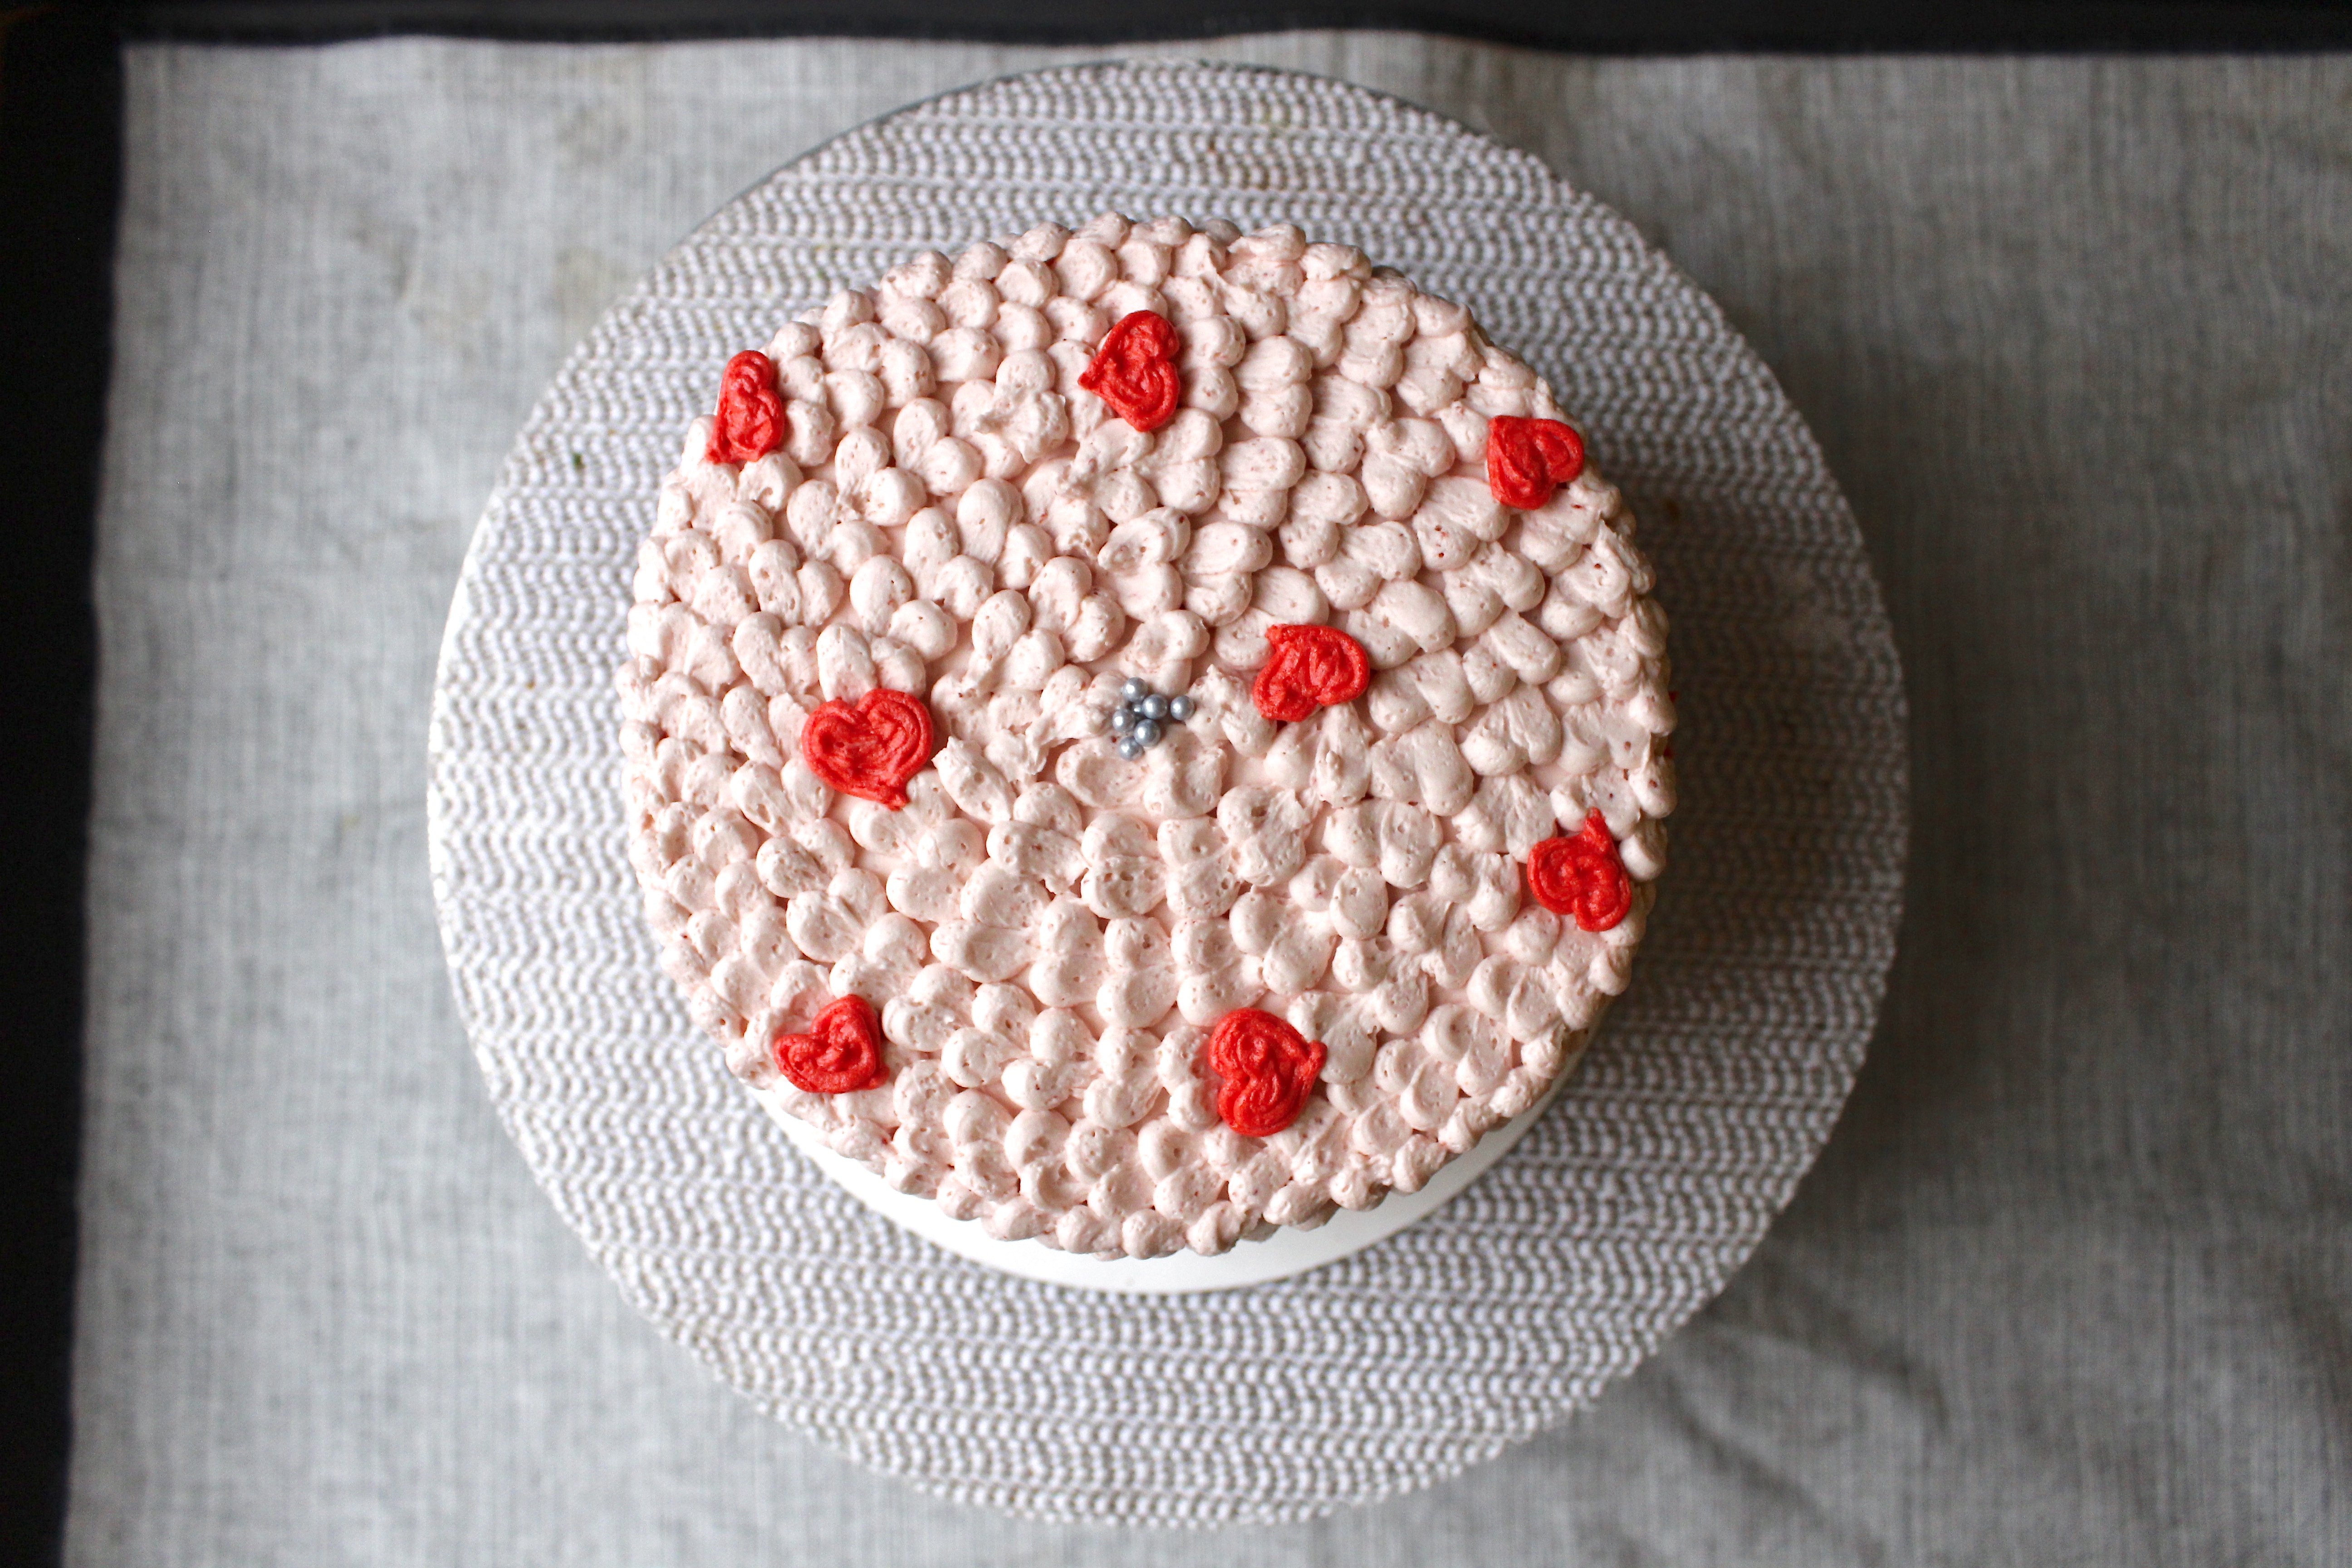
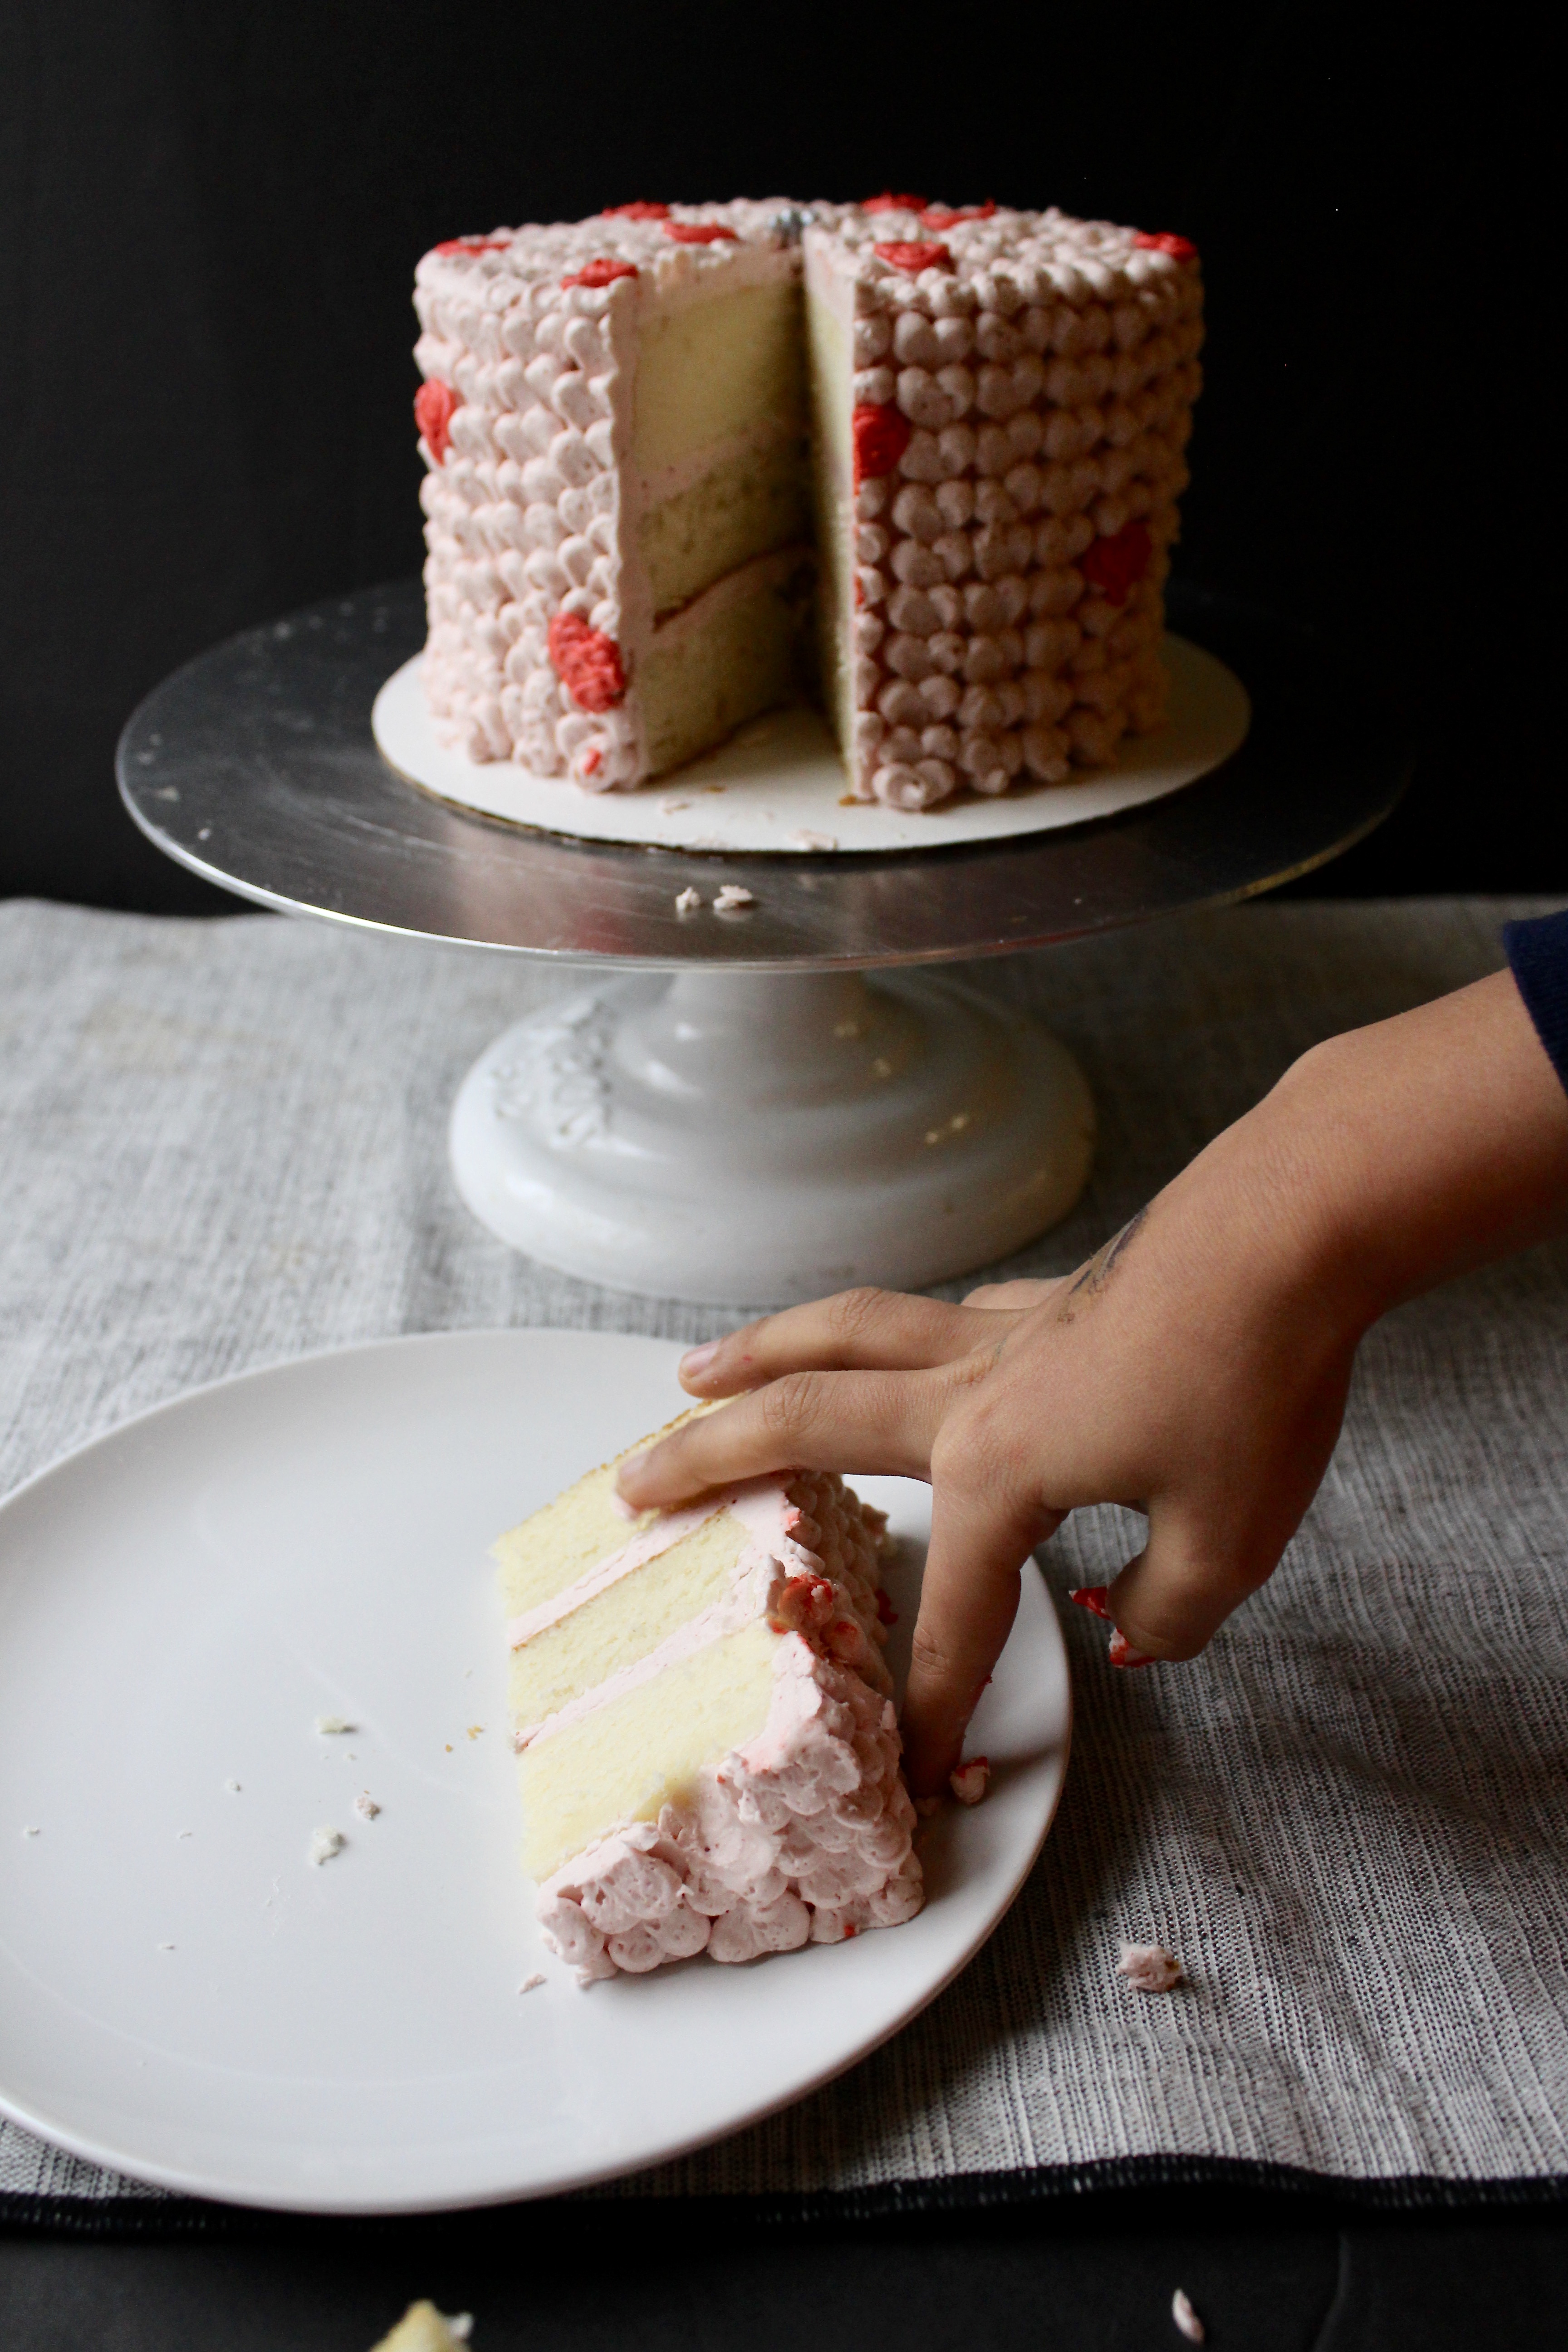
^How all my cakes end up.^
Ingredients
- 2 cups strawberries, fresh or frozen
- 4 egg whites
- 1 1/2 cups sugar
- 3 sticks plus 2 tbsp (26 tbsp) unsalted butter, at room temperature (not too soft or greasy!)
- 1/2 tsp vanilla extract
- 1-2tbsp corn syrup (optional
Directions
- In a small to medium saucepan, combine 2 cups strawberries with 1/2 cup sugar. Bring to a boil, reduce to a simmer and allow to reduce for about 10 minutes. Remove from heat and allow to cool.
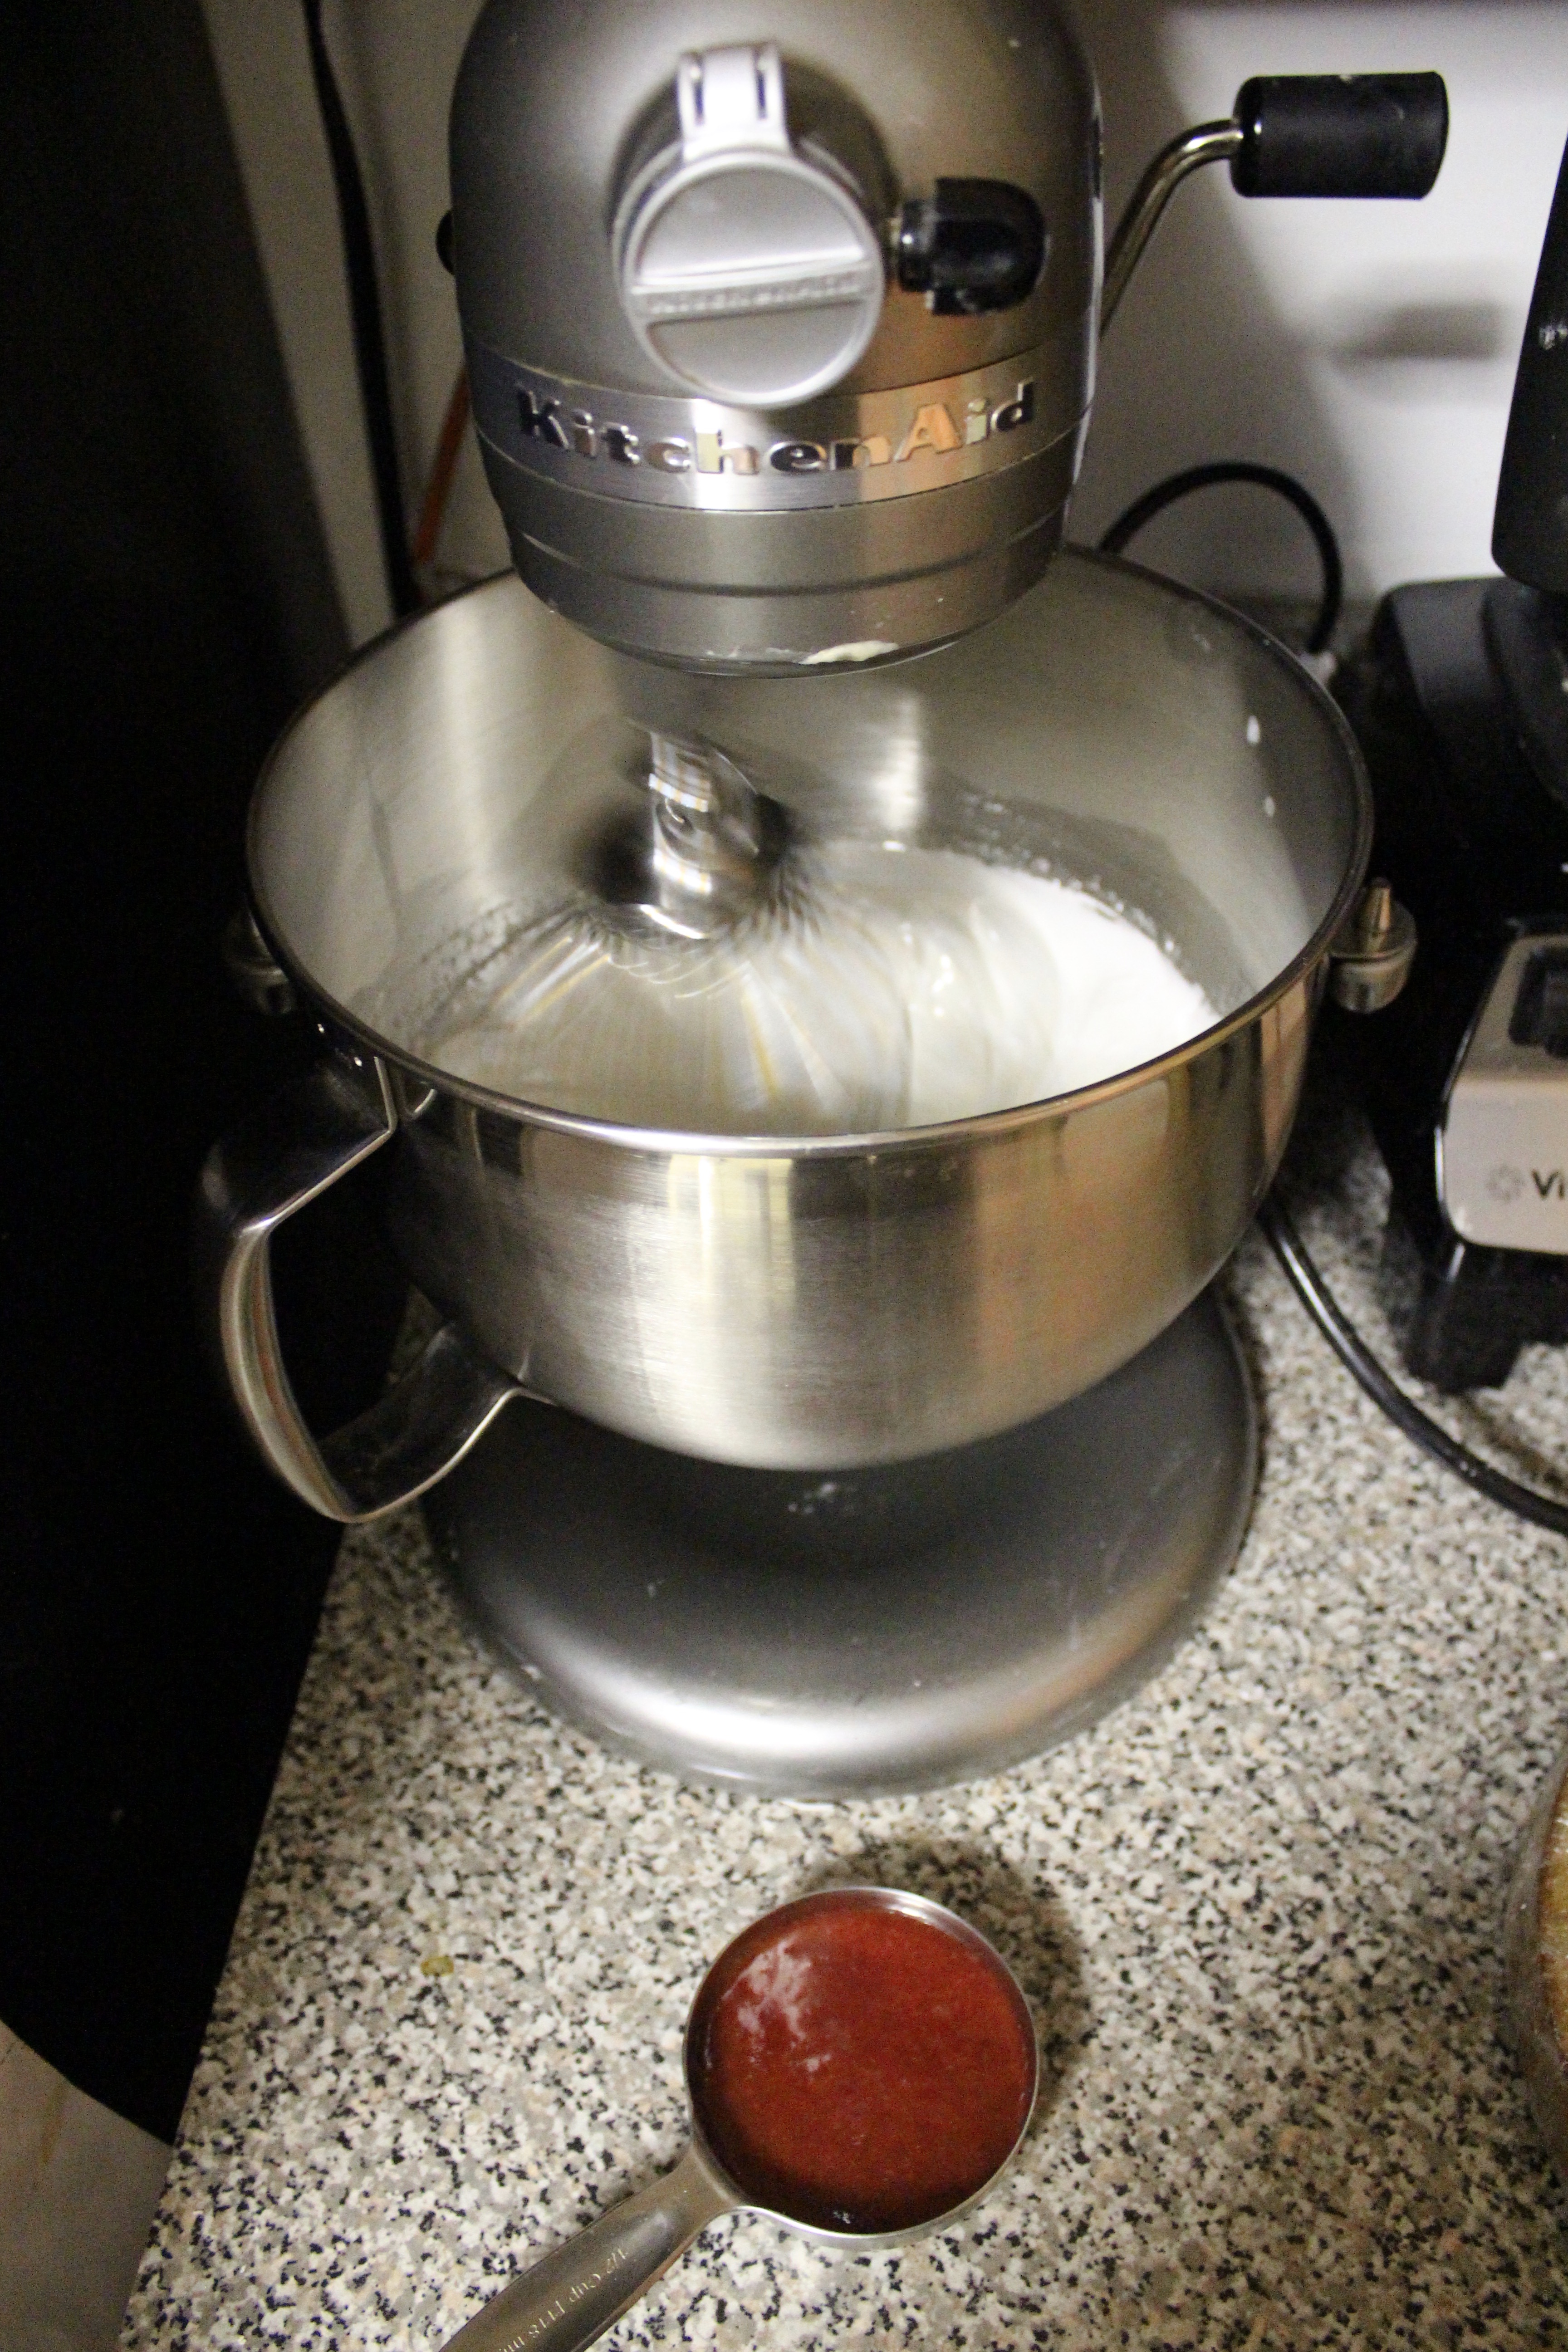
- Heat about 1in water to a simmer (over low heat) in a small saucepan. In the bowl of a stand mixer combine egg whites and 1 cup sugar. Whisk to combine. Set over the saucepan of simmering water. Whisk occasionally, until sugar dissolves and mixture is hot to the touch. Remove from heat and attach to stand mixer using the whisk attachment.
- Beat on medium speed until mixture cools down (when you touch the back of your hand to it, it should be the same temperature as your hand) and medium peaks form. Start adding butter 1-2 tbsp at a time. The mixture might turn into a sloppy mess, but keep beating. Once it comes together (it will look like a homogenous glob instead of the previous curdled mess), add extracts, 1/2 cup strawberry puree (or more to taste) and corn syrup, if using. Stop to scrape down the bowl. Continue beating until fully combined. Use right away, or refrigerate for up to 1 week, or freeze for up to 1 month. Allow to come to room temperature and beat before using.
Krumkake
If you’ve been following along on social media (esp Instagram!) you’ll know I’ve had an exciting week: my little girl turned 7, my favorite fashion blogger of all time (Aimee Song!) showed my IG some love, and I discovered a classic Norwegian dessert called Krumkake.

In anticipation of my daughter’s birthday, I got to thinking what kind of cake should I make for her? Chocolate and vanilla can get tiresome when you make them almost every day. I thought, what about a Kit Kat cake? What would I need?

Chocolate, wafers, and more chocolate. I did some research on the filling of KitKat – apparently it’s some trade secret! Rumor has it the filling is made up of crushed KitKat?? That’s kind of dark. Like, candy cannibalism.

Anywho, that’s what got me started on my wafer journey. Looked up a wafer recipe, said recipe directed me to various presses. Instead of a waffle press, I went with this Norwegian Krumkake press, with it’s beautiful design, I couldn’t resist!
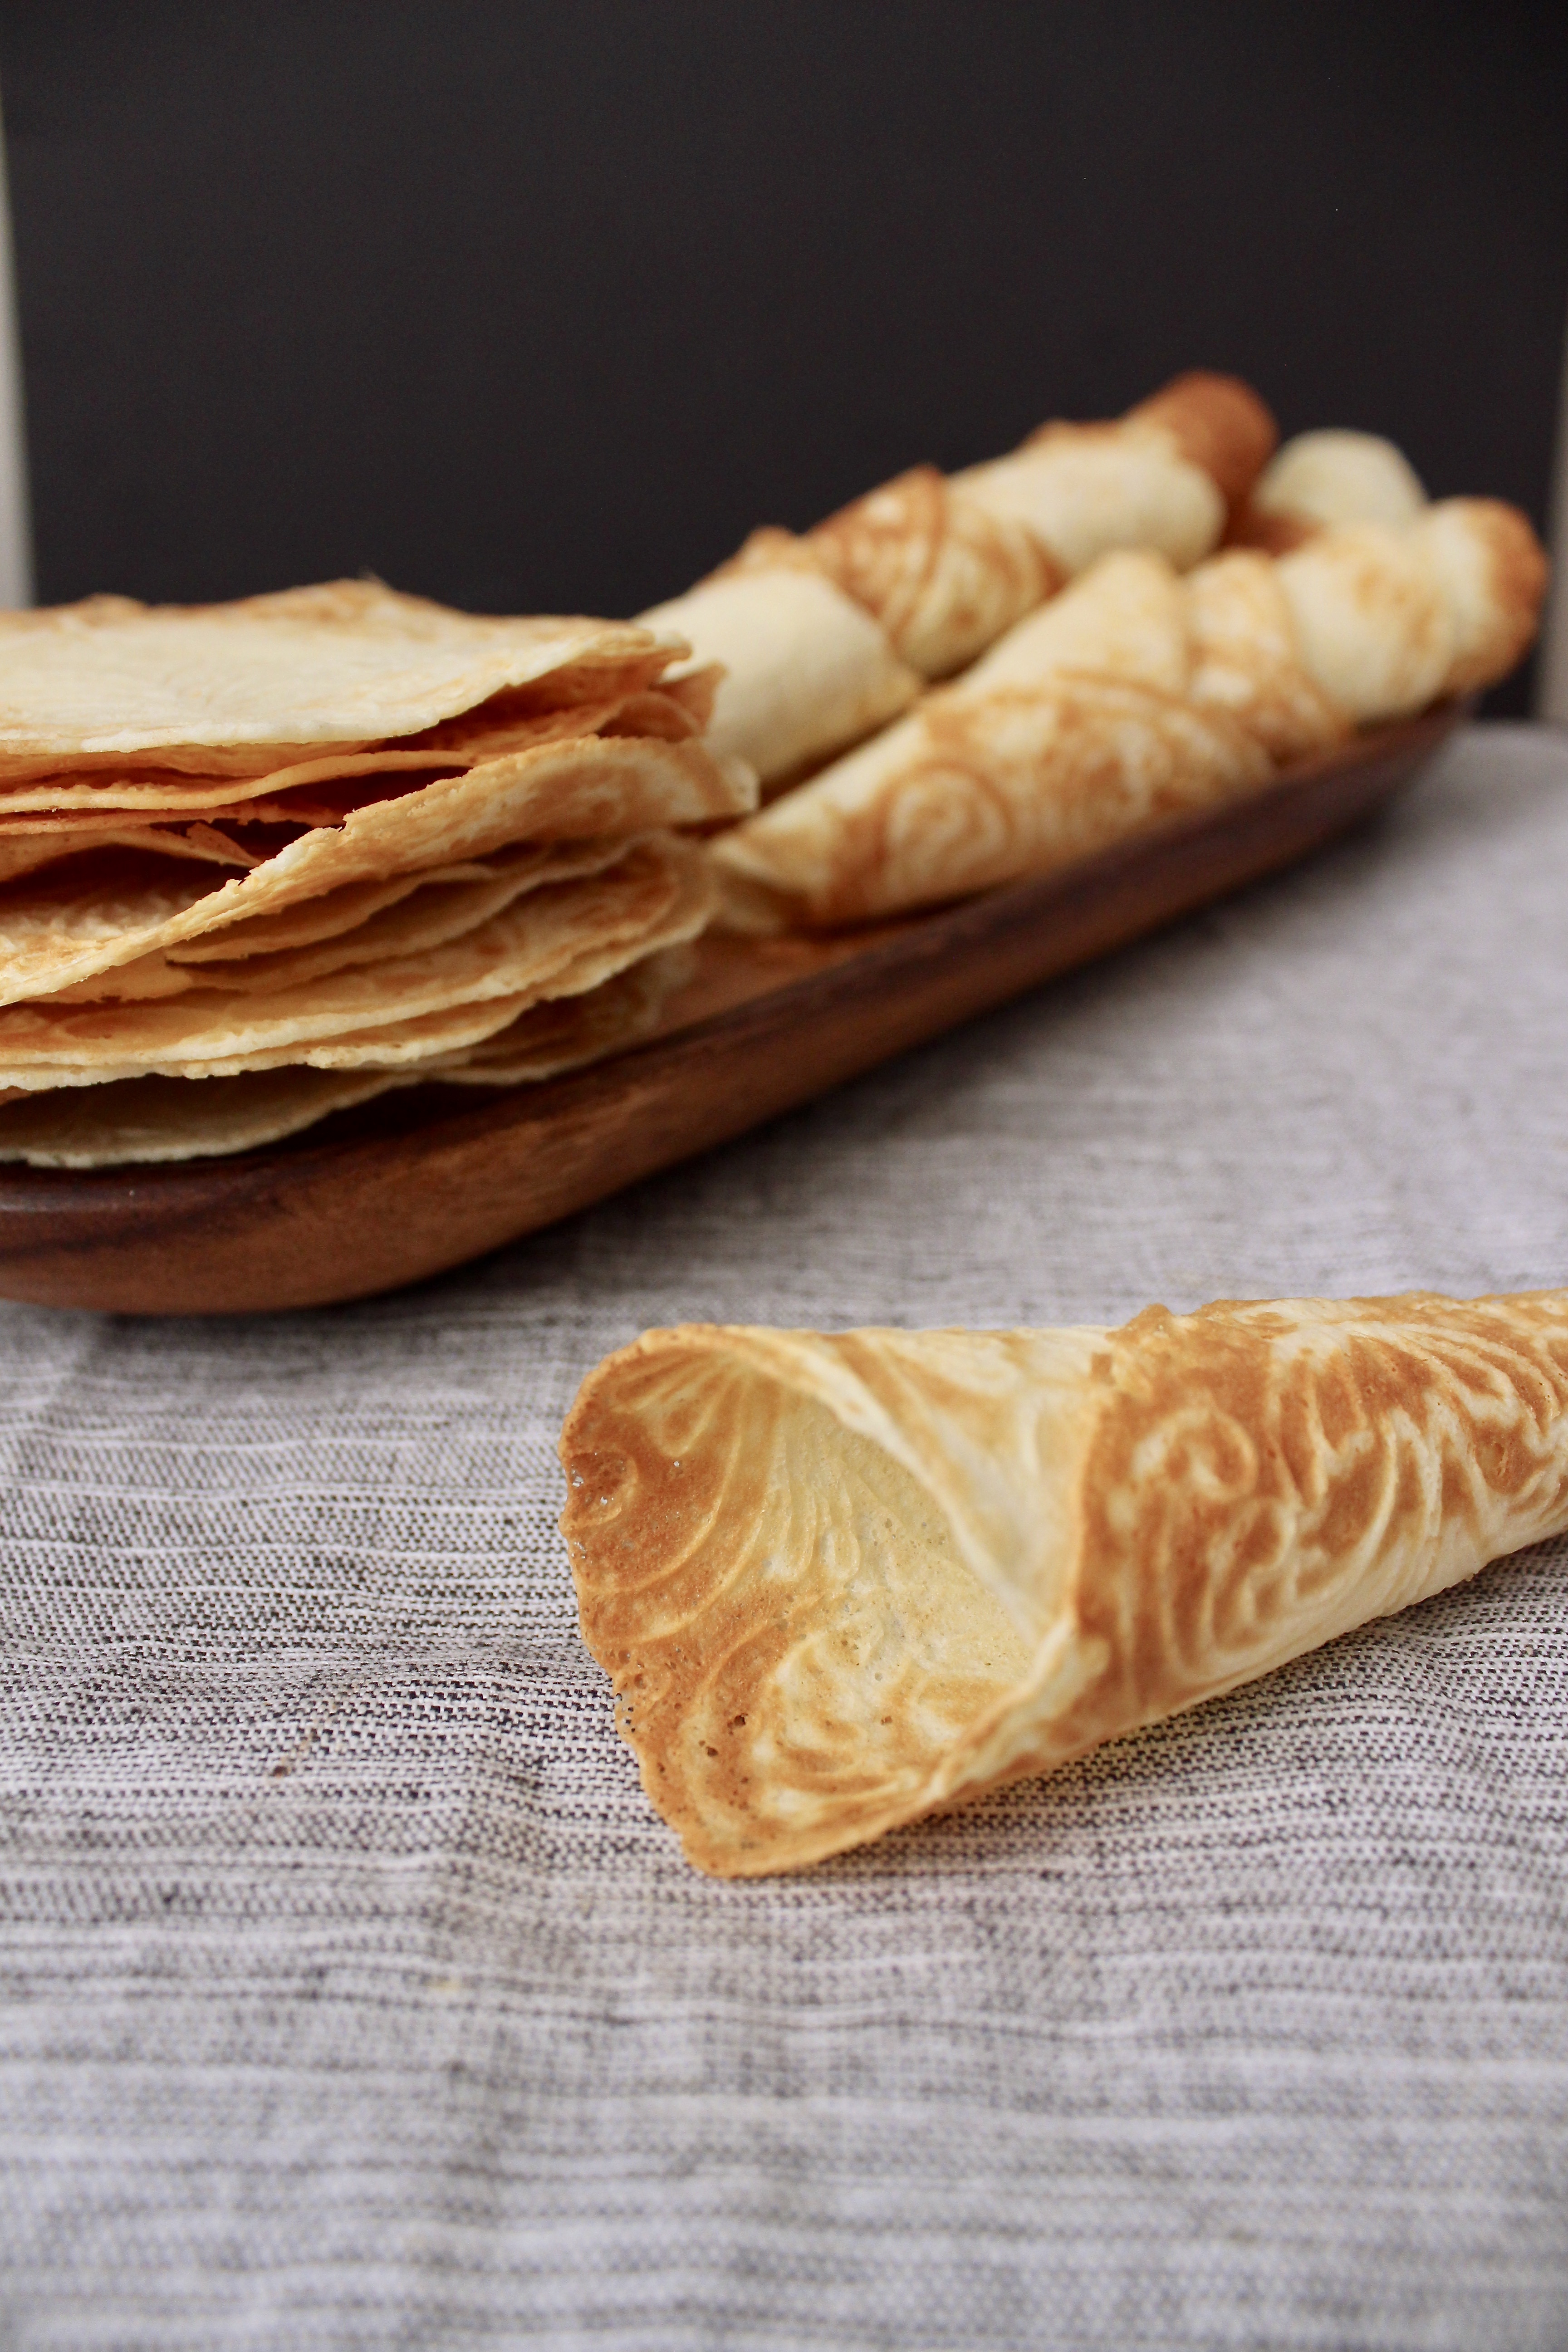
The simplest batter of butter, flour, eggs, sugar and milk gives you excellent wafers. The only thing is you need like 1 hour in the kitchen, baking each one for about 30 seconds each, and rolling them around the cone that the press comes with, or leaving flat if you want to stack them for a cake.
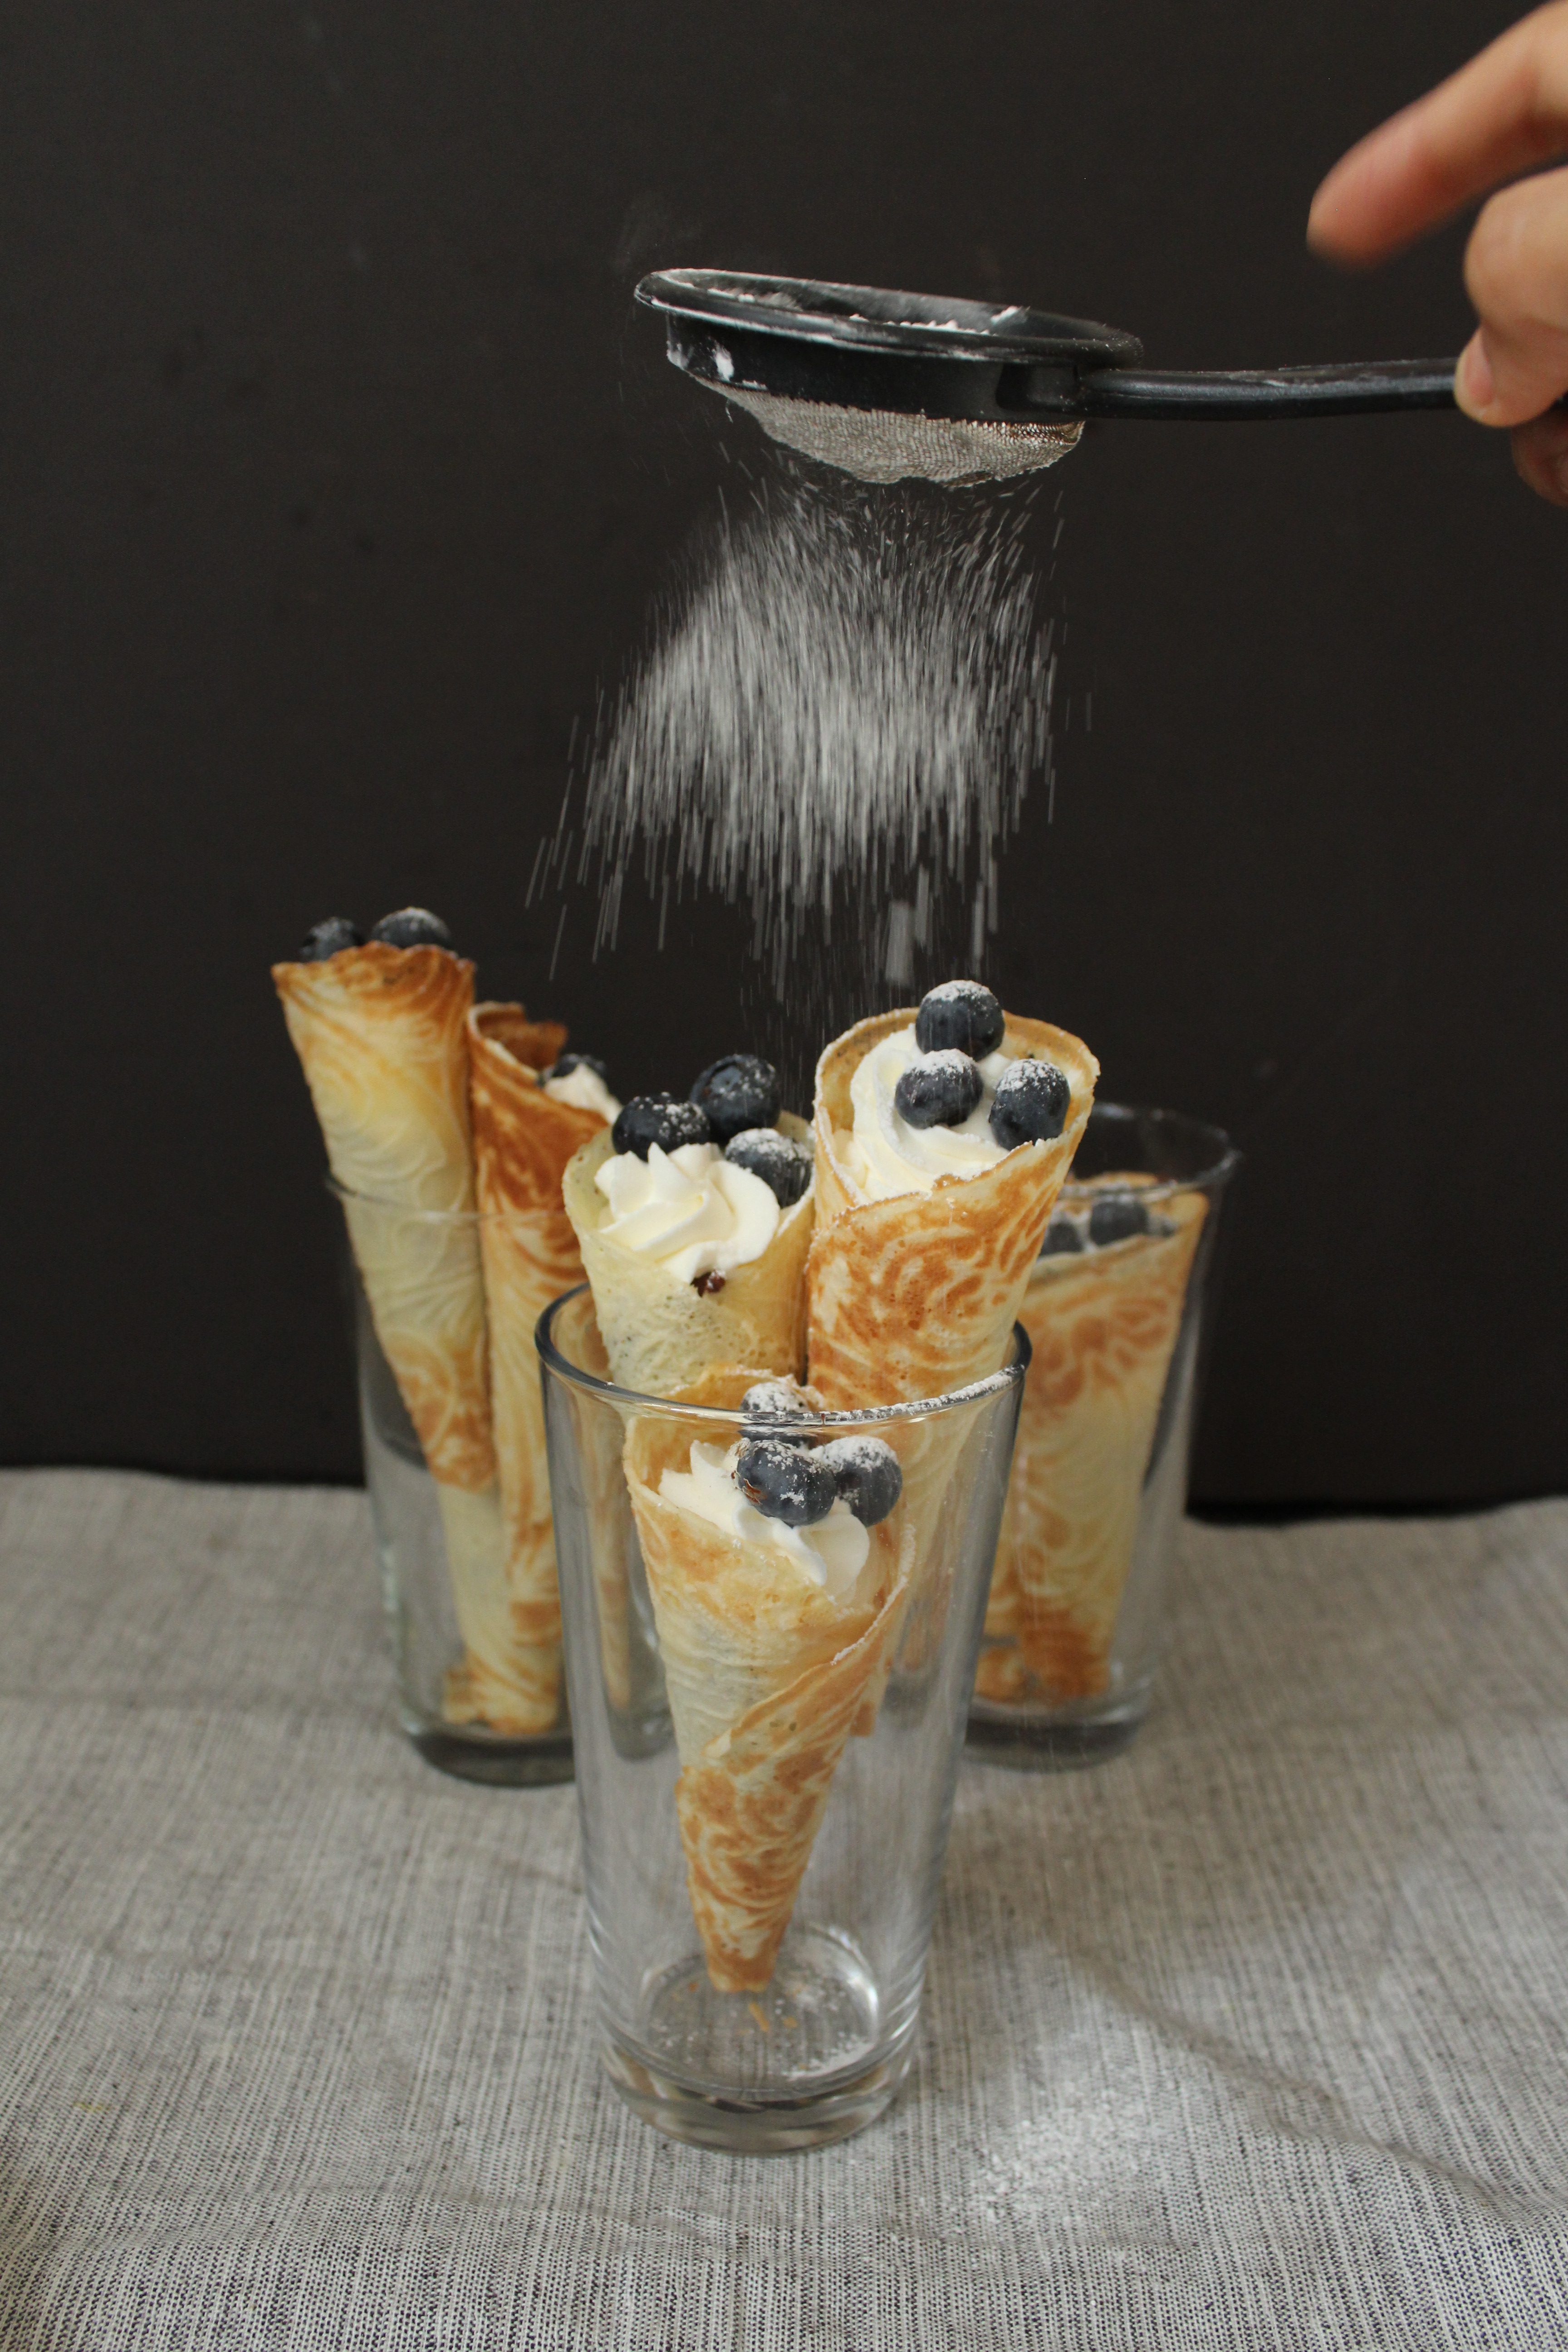
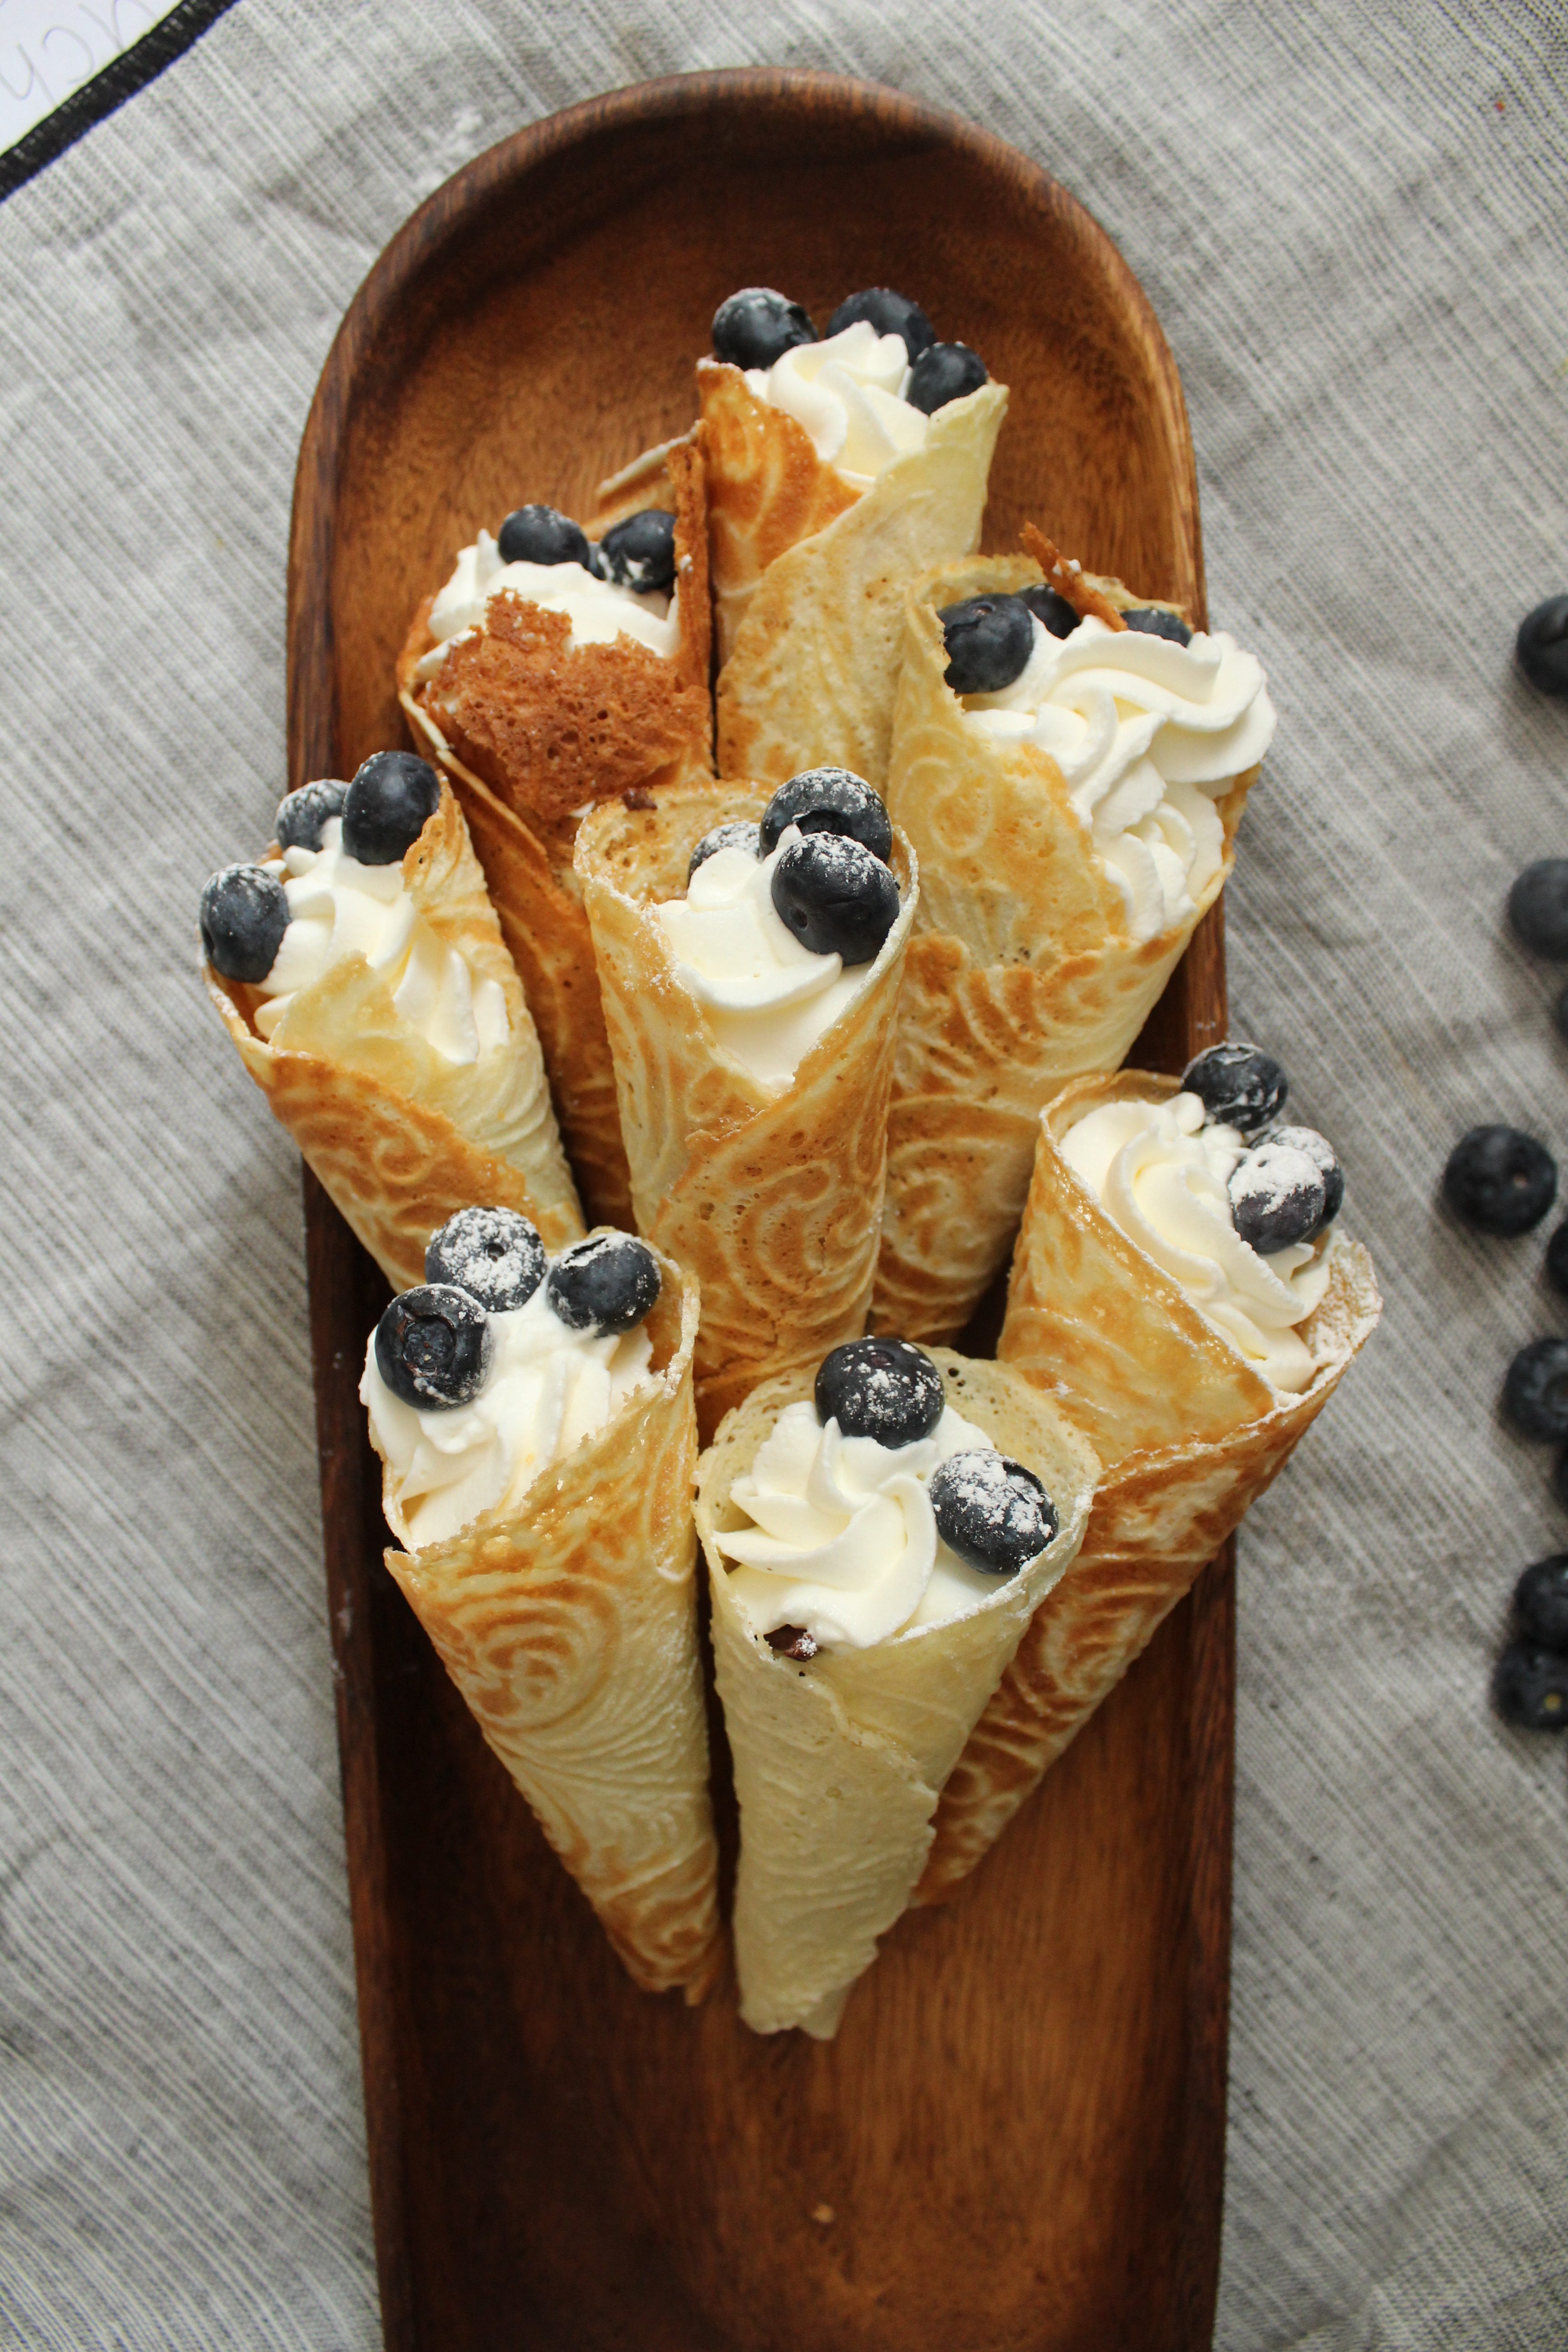
You can fill them with pretty much anything you like! Whipped cream, pastry cream, fresh fruit, ice cream. I opted for a dark chocolate ganache, whipped cream, blueberries and powdered sugar. They are delicious on their own, as well!
They are delicate, so take care handling them after they’ve dried. I found it easier to fill and decorate by placing them in tall glasses. Serve on a nice wooden platter and enjoy immediately!
Ingredients
- 2/3 stick (5 tbsp) unsalted butter
- 2/3 cup granulated sugar
- pinch salt
- 2 eggs
- 2/3 cup milk
- 1 cup all purpose flour
- 1/2 tsp vanilla extract
- chocolate ganache (optional)
- whipped cream (optional)
- blueberries (optional)
Directions
- Melt the butter in a double boiler (a heat proof bowl set over a saucepan of simmering water, not allowing the water to touch the bottom of the bowl), careful not to let it brown or get too hot. Add sugar + salt and beat on high speed with a handheld electric mixer until well combined. Add eggs one at a time and blend until mixture is a pale yellow color. Add milk, alternating with flour until all ingredients are combined. Add vanilla. Batter should be thick but drip off the spoon easily.
- Plug in your krumkake maker and set the color number to 4. Set out a kitchen towel and rolling cone. Spray the inside with non stick cooking spray. The red “baking” light will turn on. When the light changes to green (“ready”), drop 1tbsp of batter in the center. Close the lid and snap the latch shut. The light will switch back to red and when done, green again. Use tongs to carefully remove the krumkake and place over the cone, aligning the center of the krumkake along the length of the cone. Roll to form a cone and allow to set while working on the next one.
- Repeat (no need to spray additional spray) and remove previous krumkake from shaping cone. Adjust the color if you prefer a lighter krumkake*.
- When all the krumkakes have dried and keep their shape, place in tall glasses to fill. Fill with puddings, whipped cream, chocolate ganache and/or fresh fruit for a delicate, wonderful and tasty dessert.
*My manual suggests a setting of 2.5 but I was getting zero color at that setting.
- 1
- 2
- 3
- …
- 12
- Previous Entries