Kitchen3N

Recipes and food fun from Apt 3N

  • About
  • Gallery
  • Recipes

Coconut Layer Cake

December 29, 2017

fullsizeoutput_6cc1
This cake was kind of born 2 and half years ago when I was tasked with feeding 100 people with a coconut cake. “Can it have pineapple filling?” my dear friend Jaf asked. YES, YES IT CAN!
fullsizeoutput_6cc0
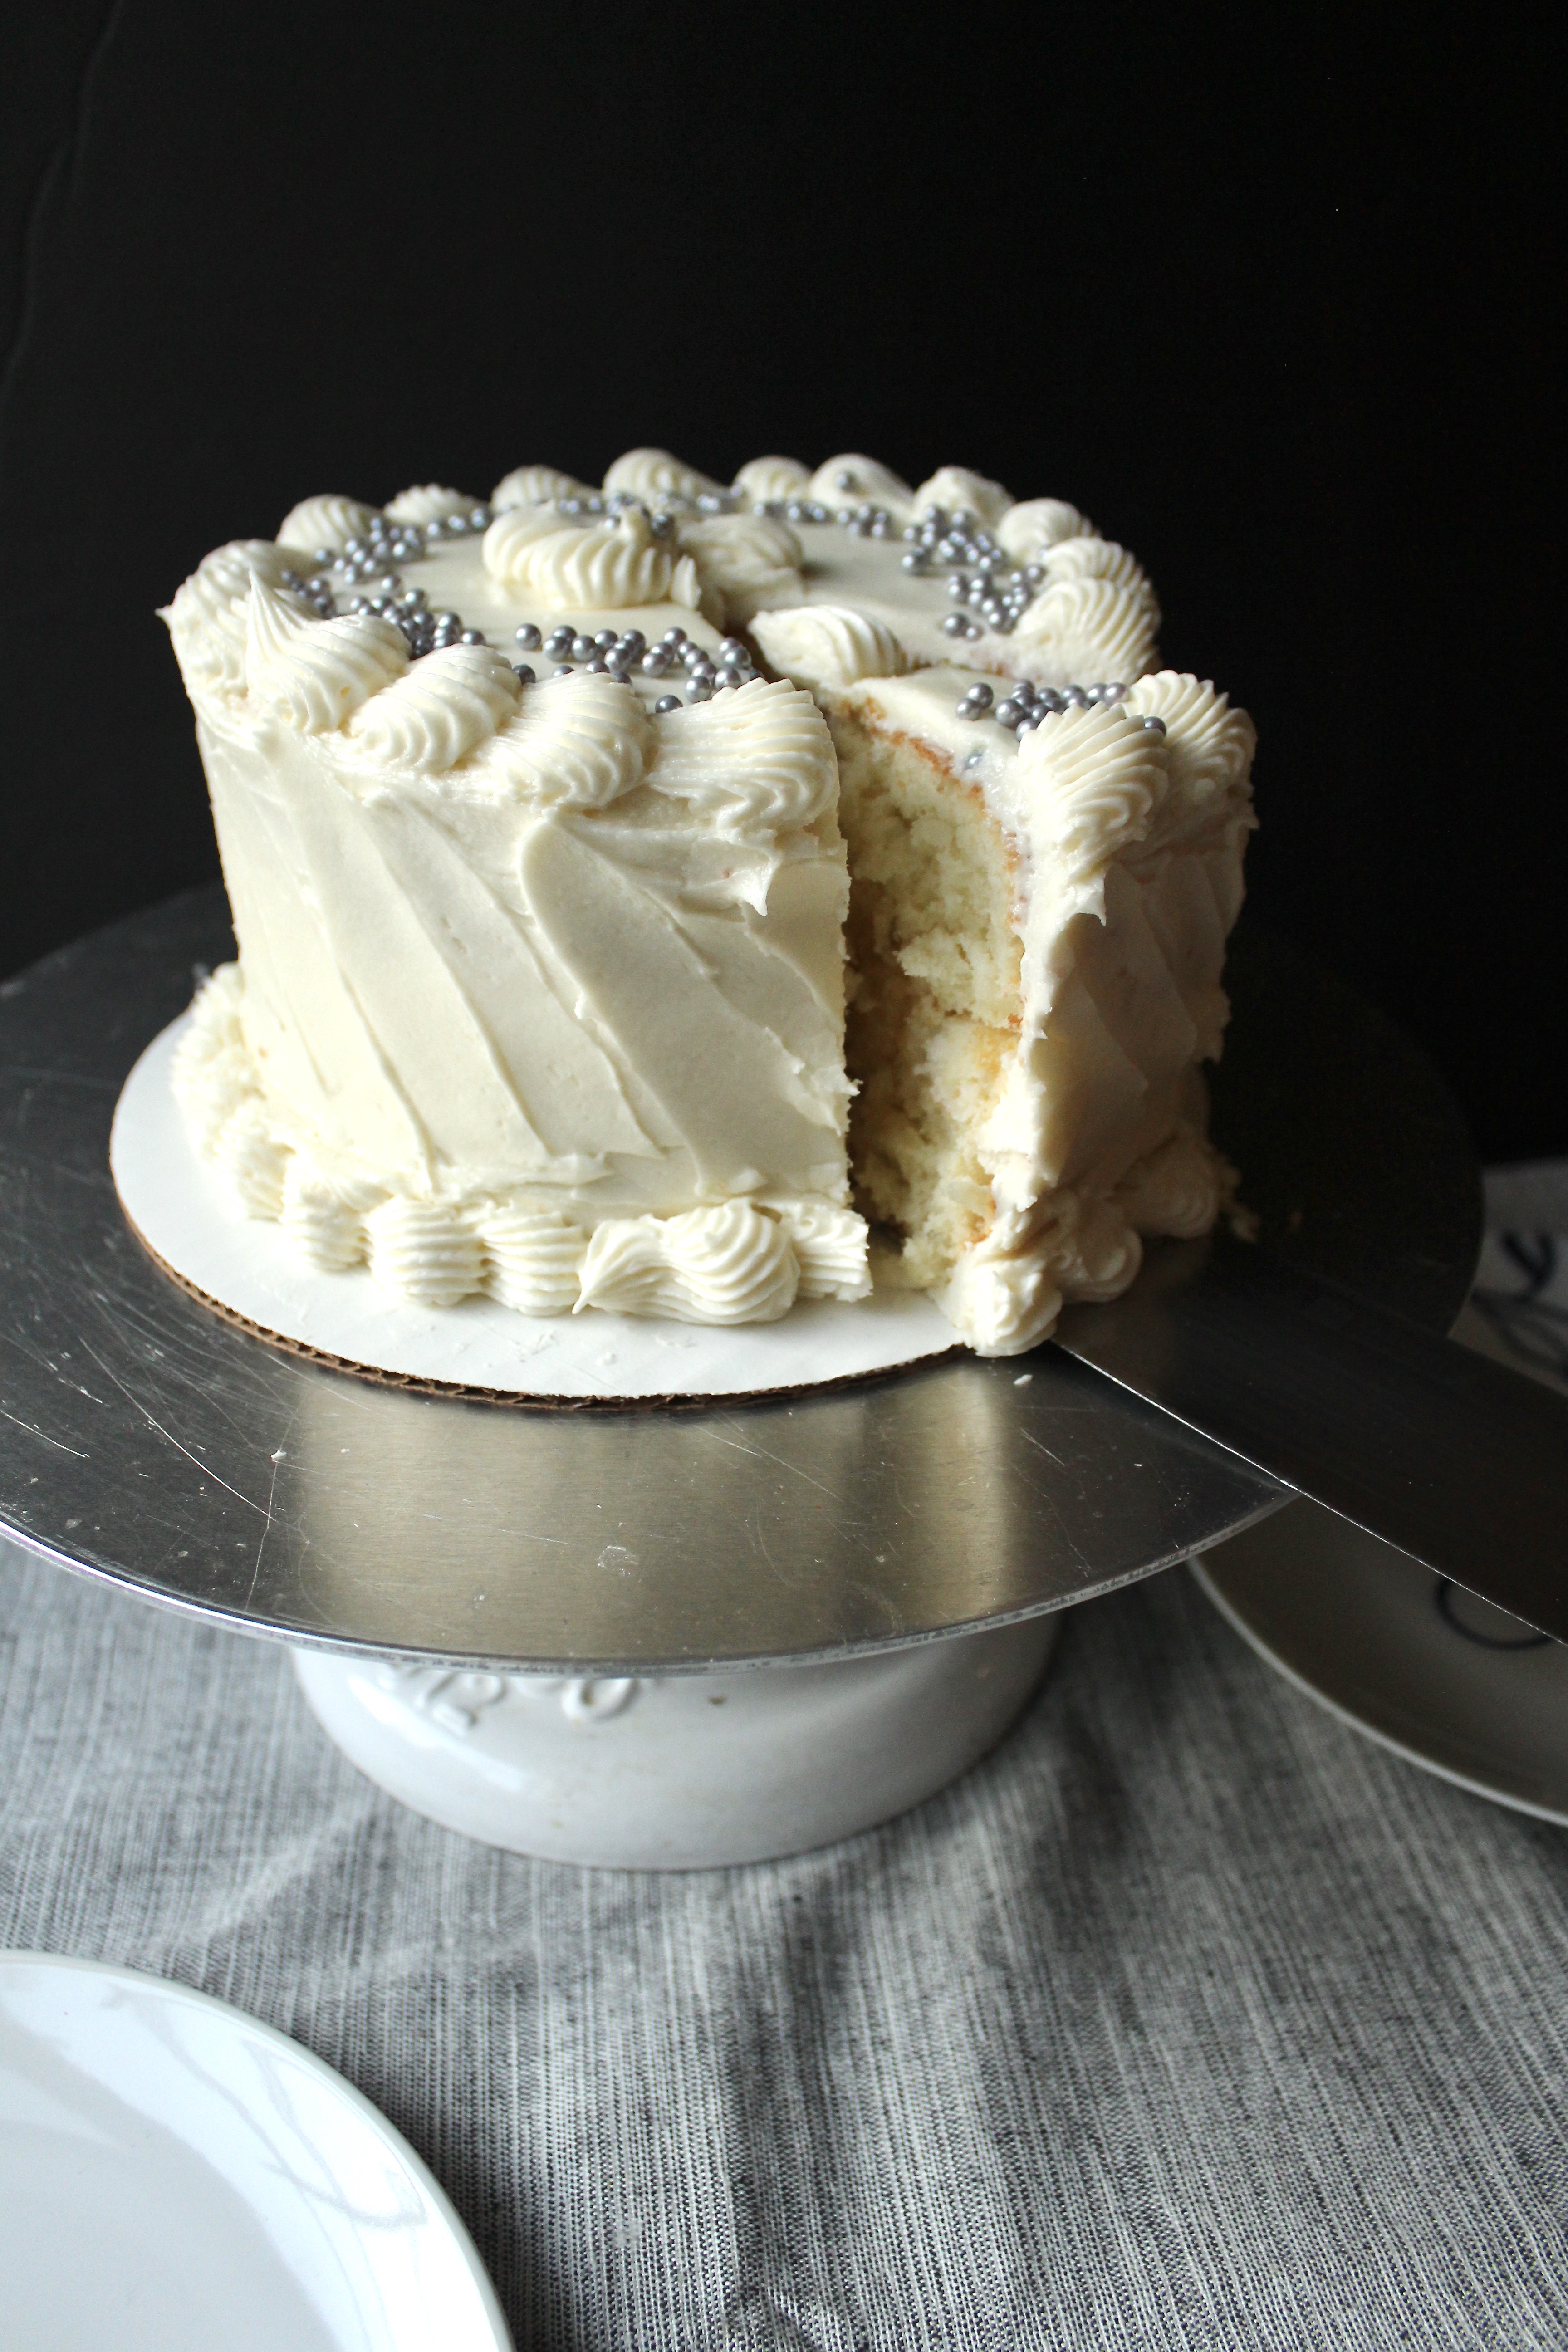
This cake is a delicious, crowd pleasing hit in its original version, but with this pineapple filling, it takes it over the edge. It’s kind of retro, but the fruitiness balances out the richness and creaminess from the buttercream.
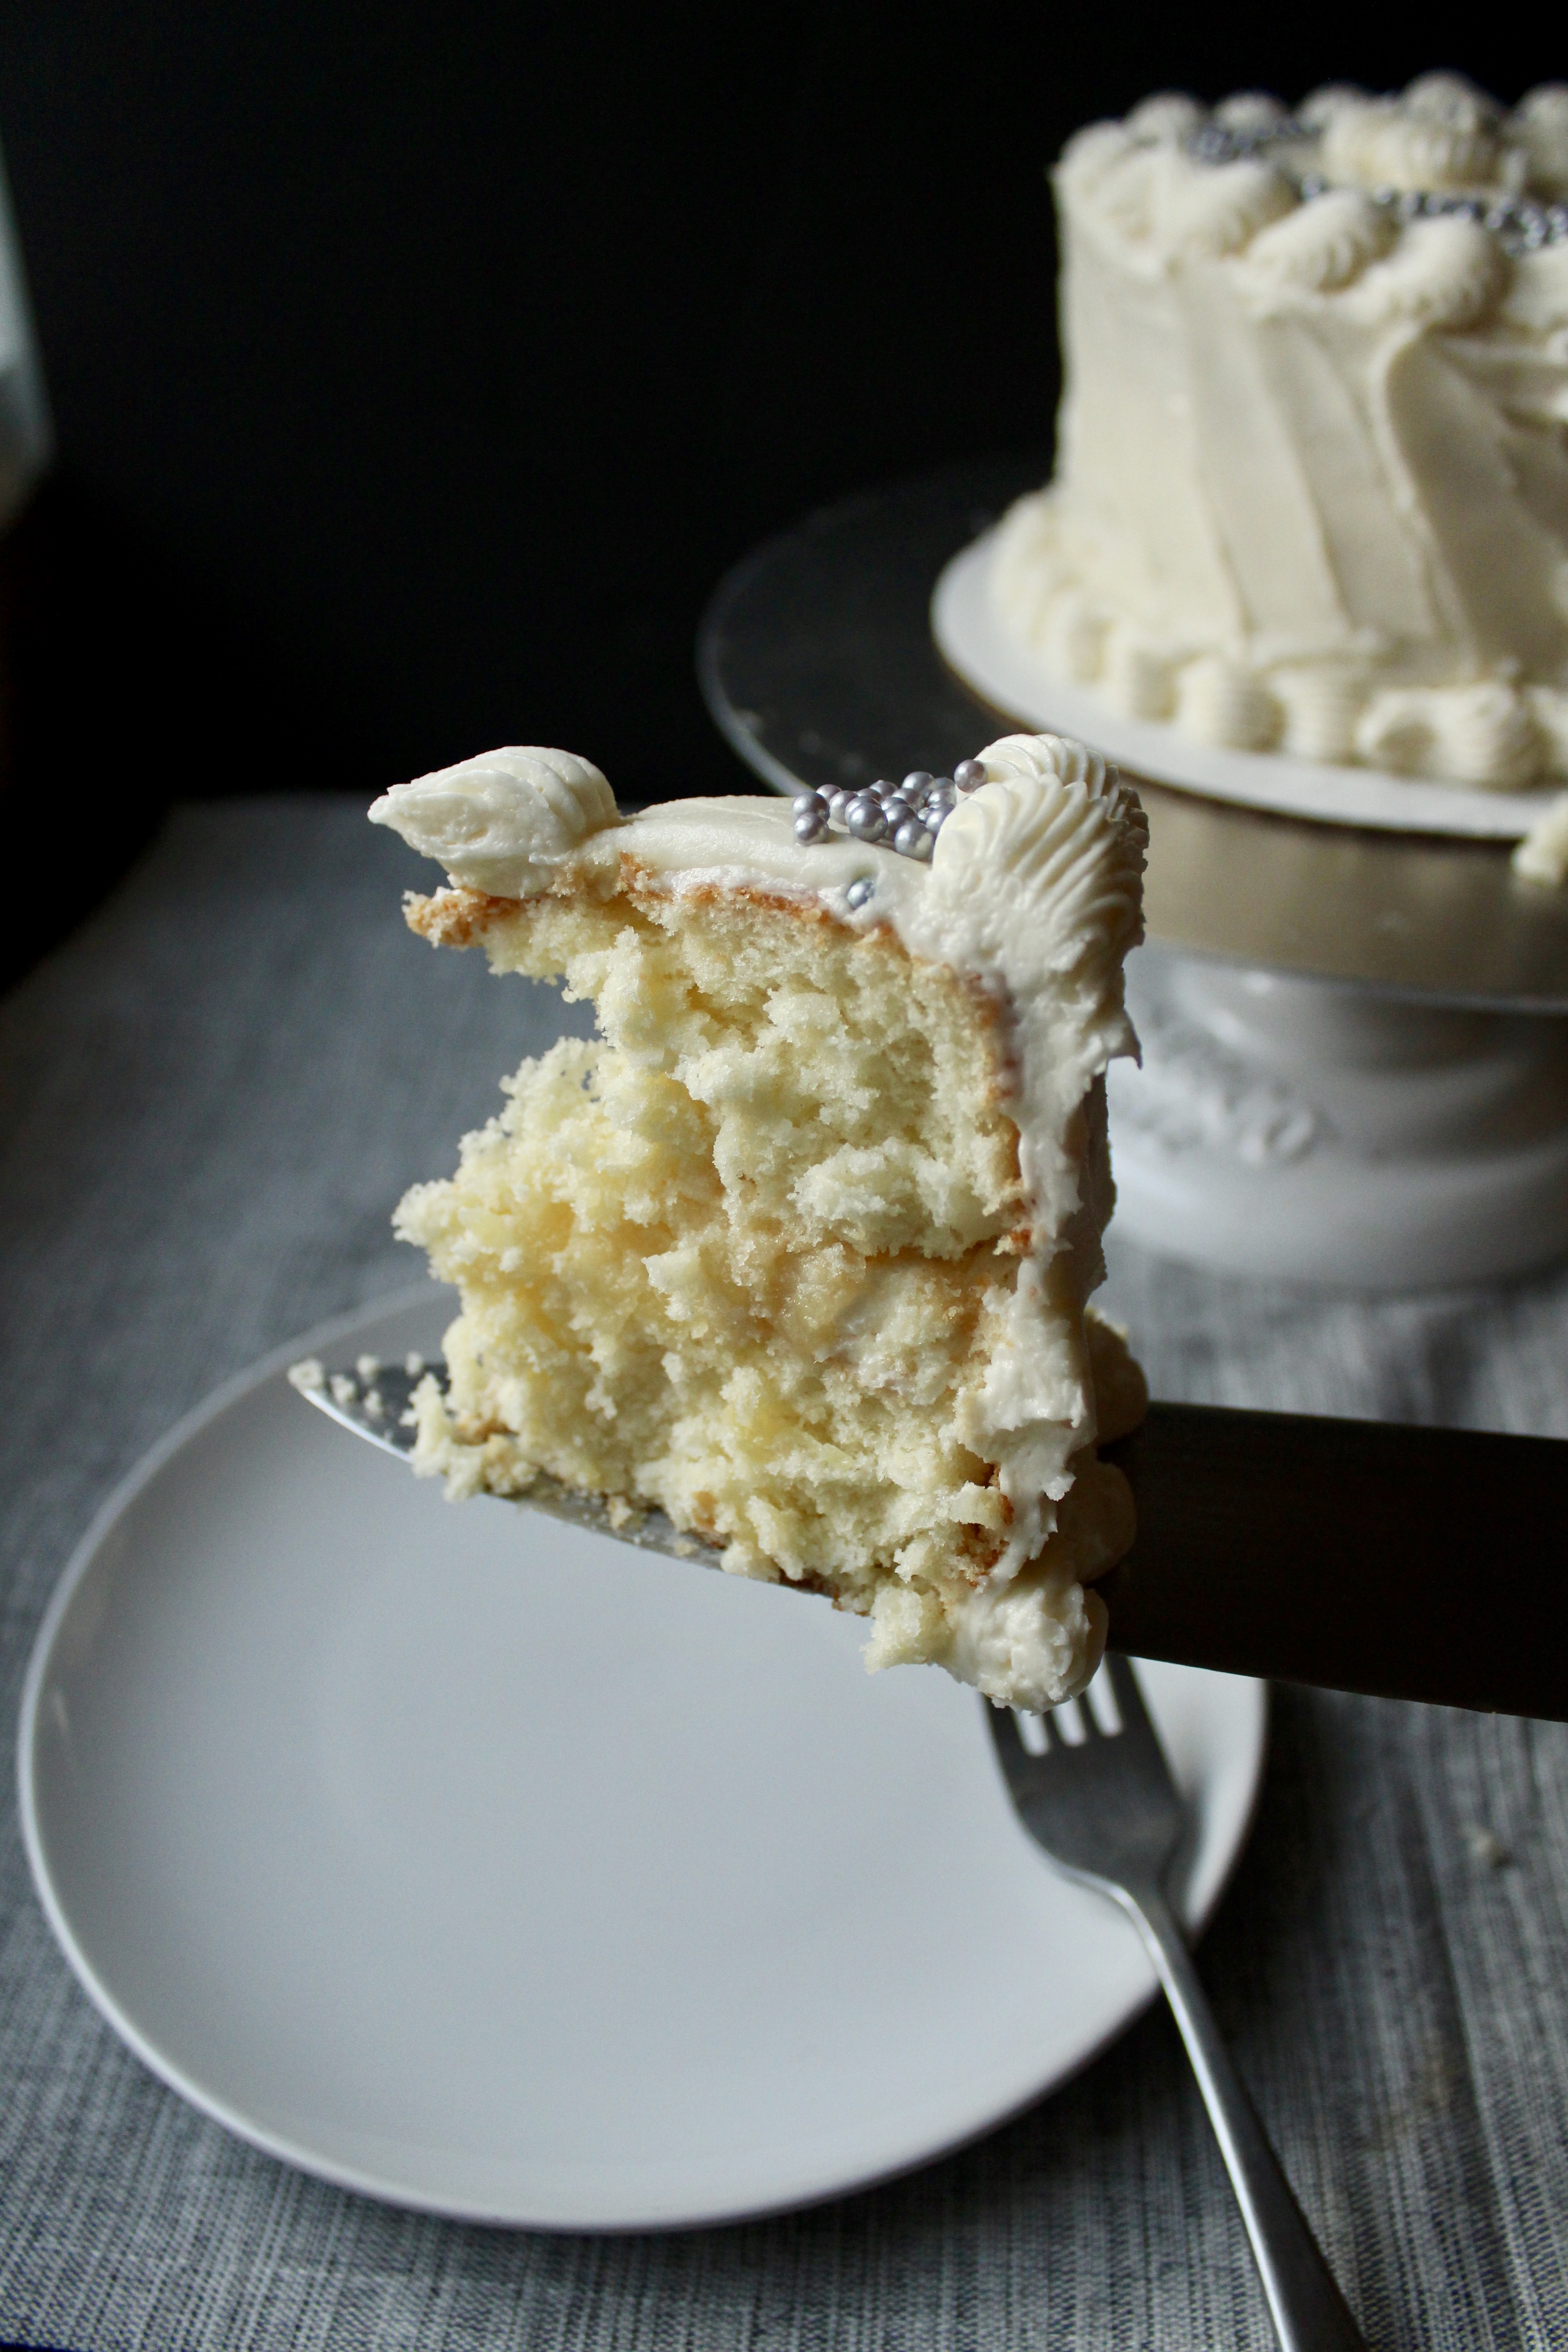
fullsizeoutput_6cba
It’s a little fussy, yes, with the beating of egg whites and the careful folding in, but the payout is worth it. It’s the lightest, fluffiest, sweetest, nuttiest, flavorfullest cake you’ll ever have. Ever.
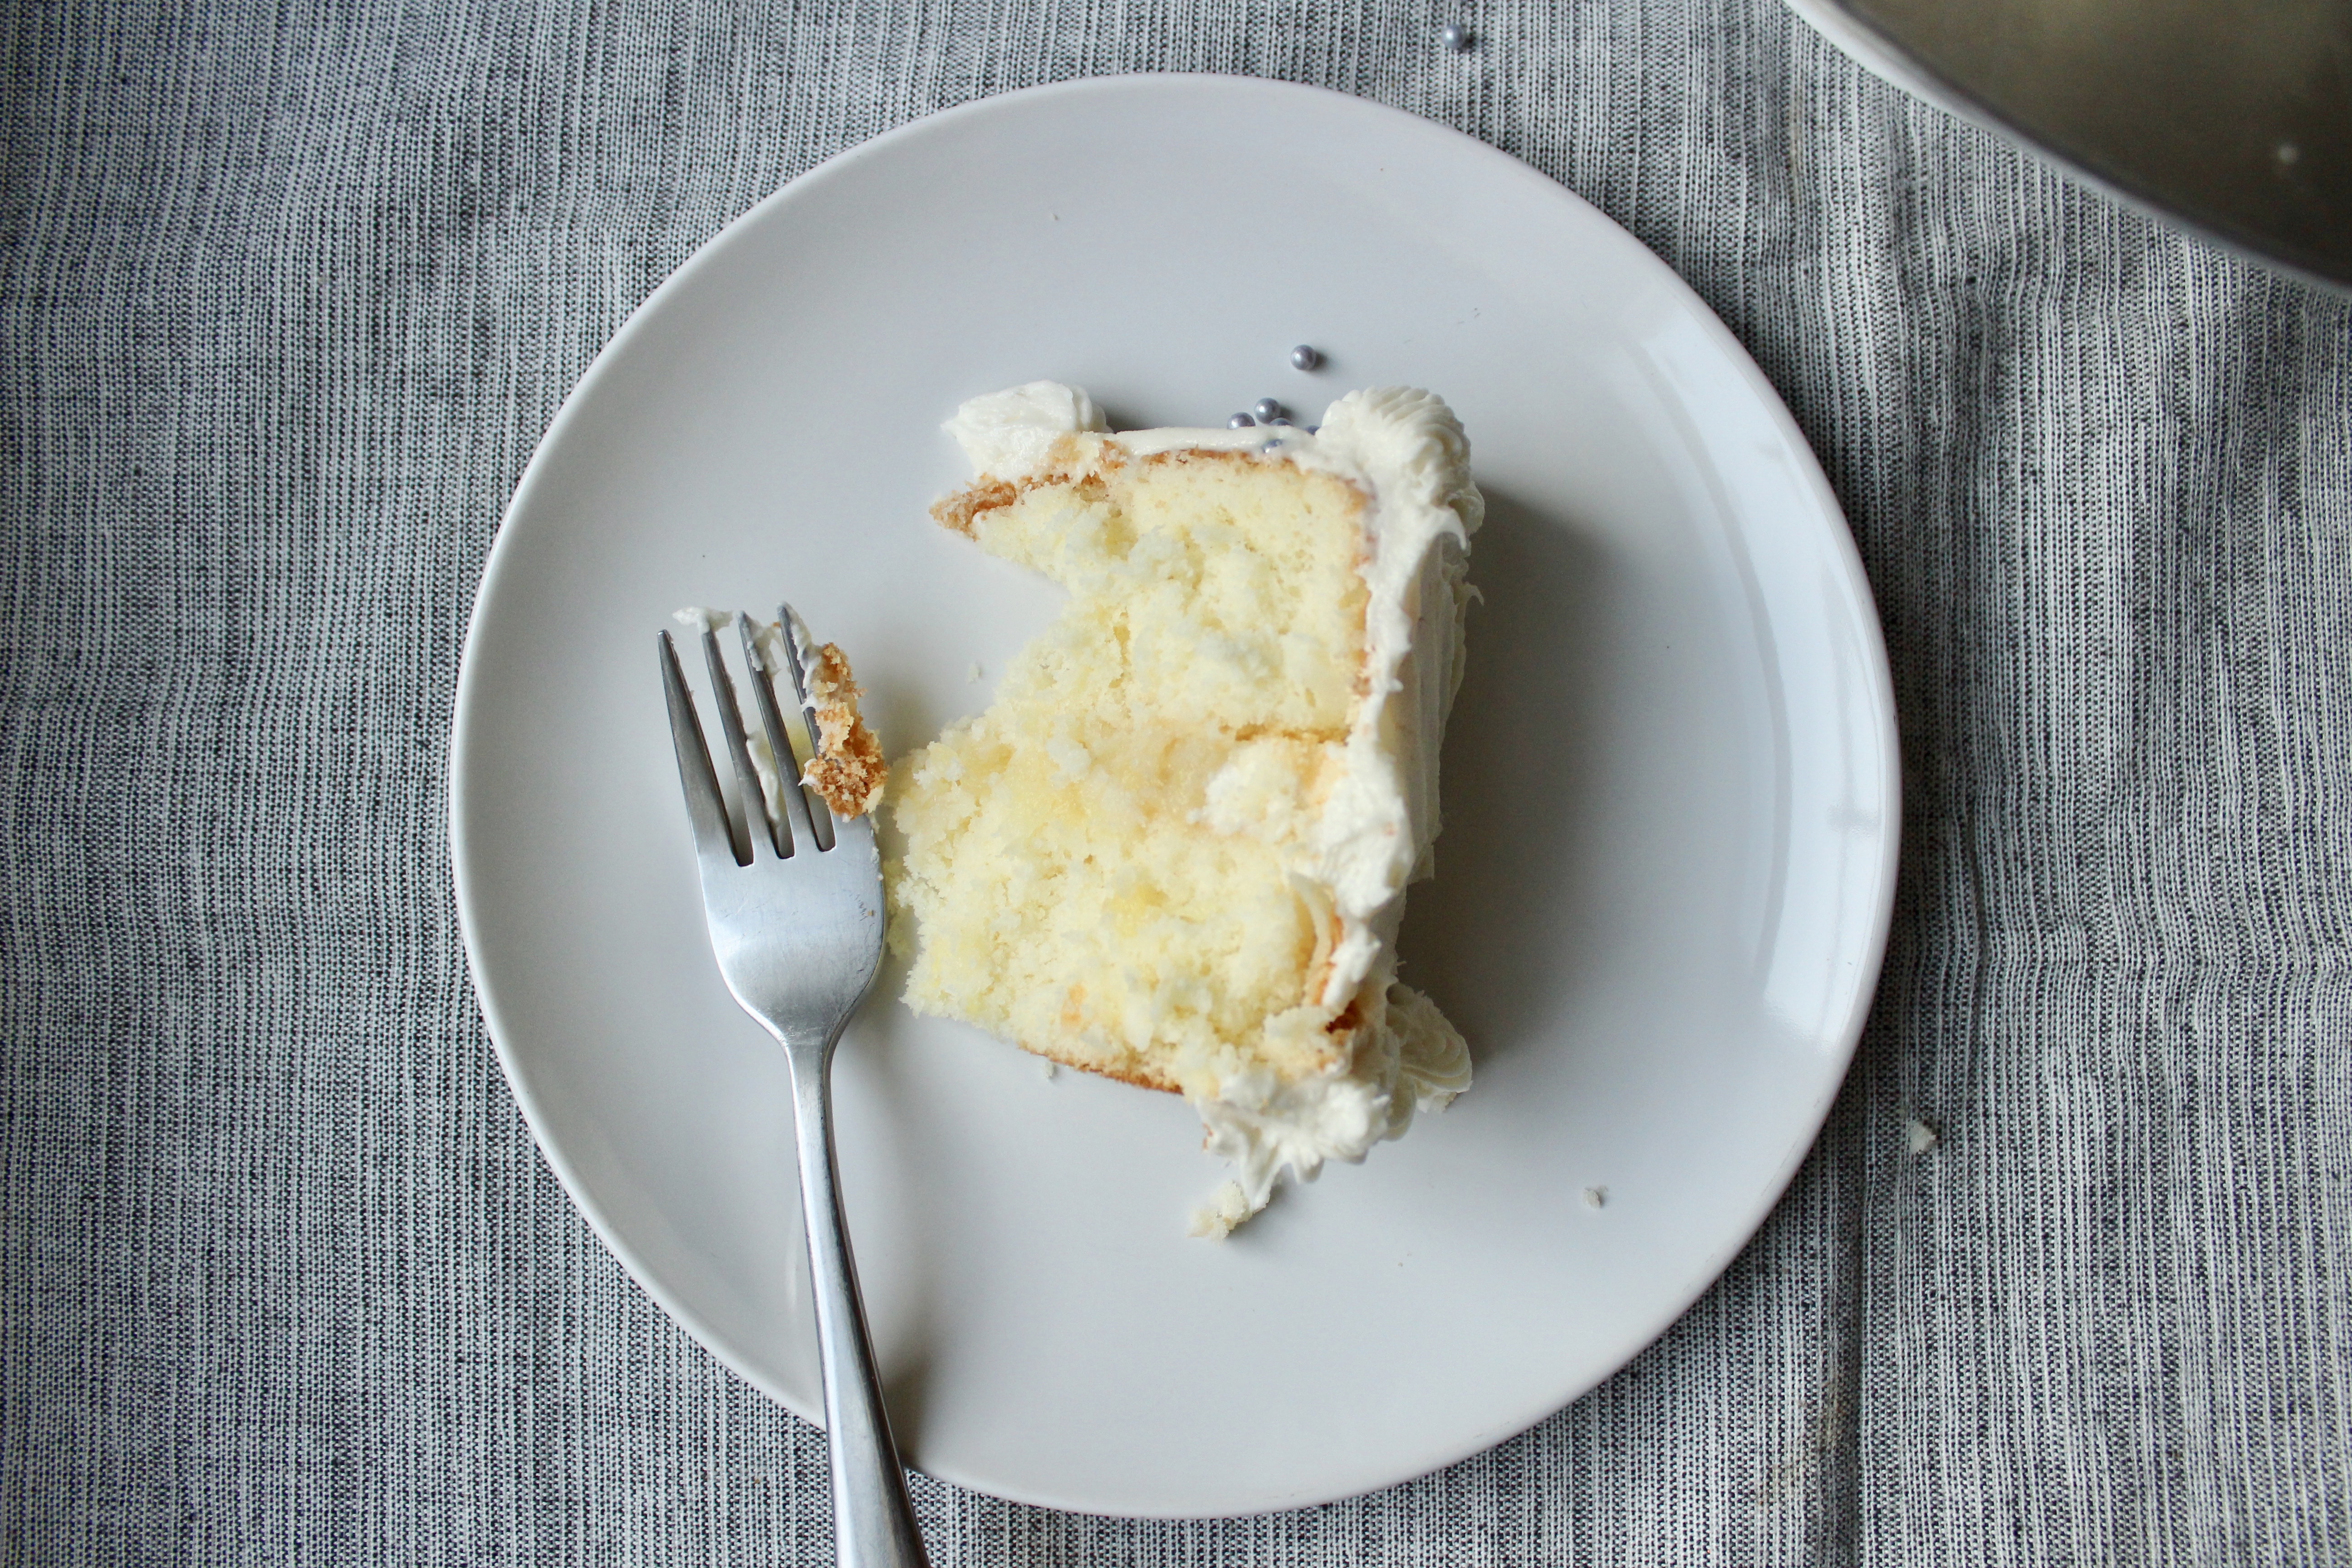
fullsizeoutput_6cb9
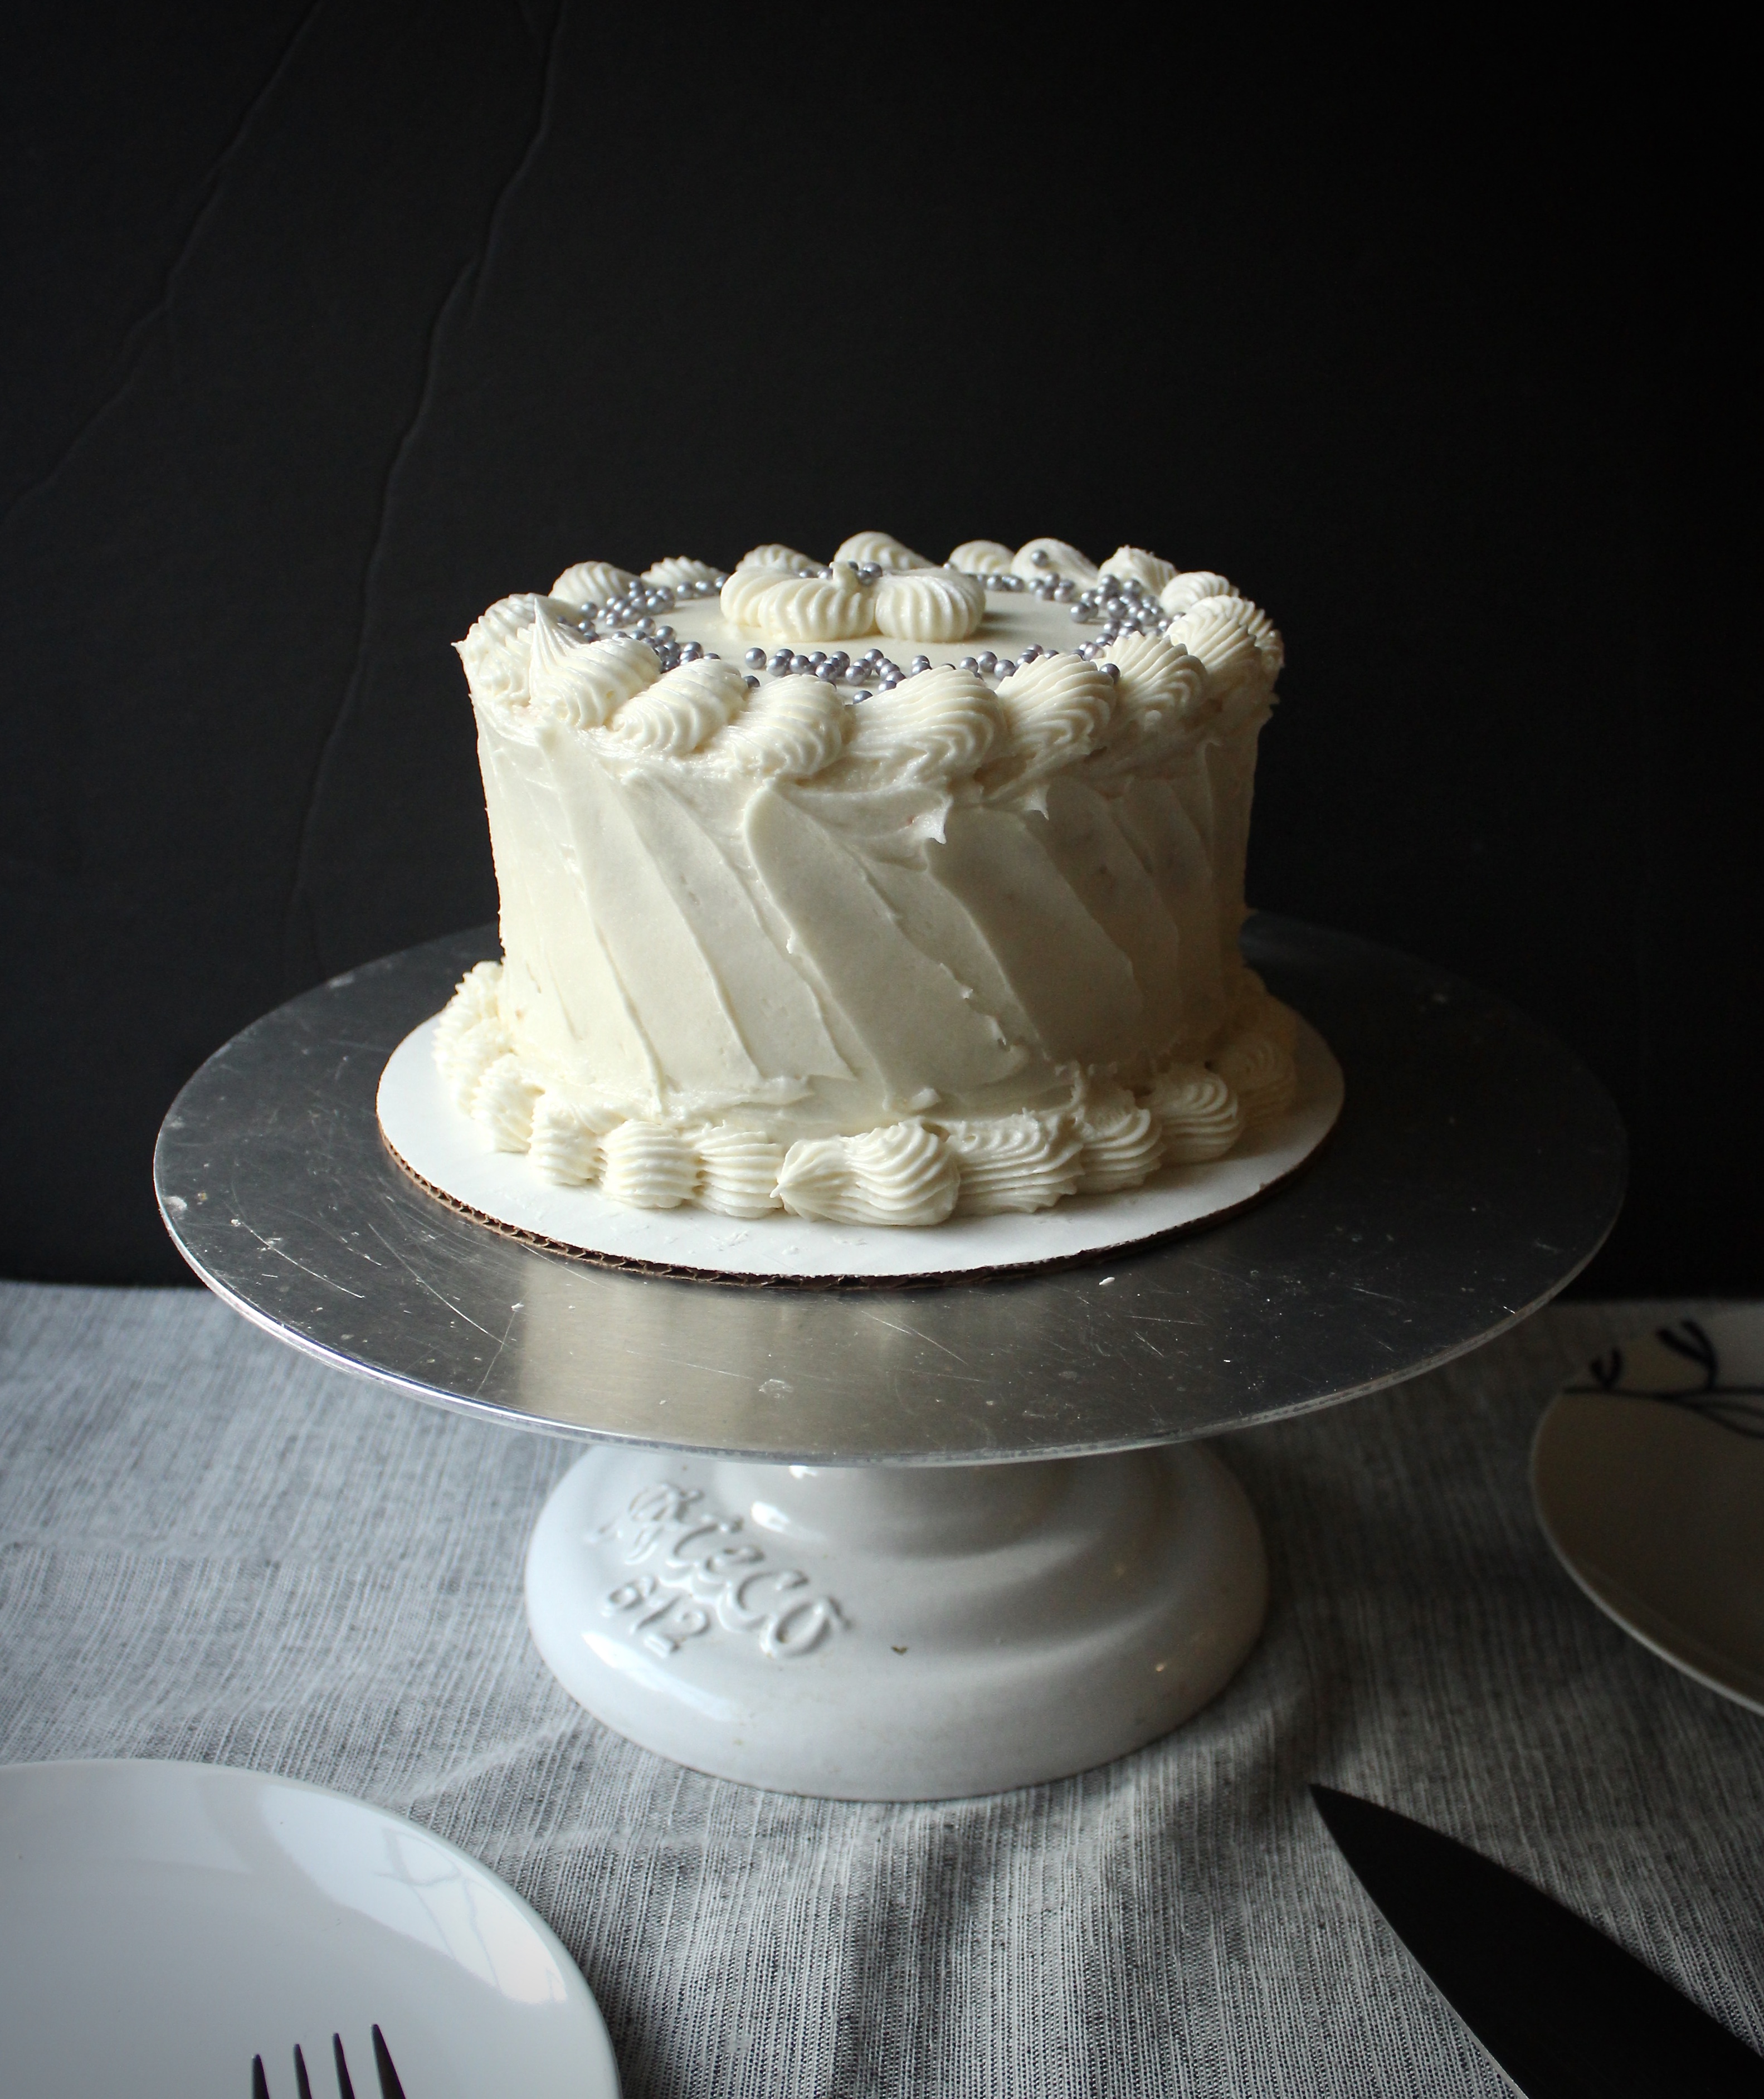
A retro cake deserves a retro look, so feel free to frost this simply, with swooshes of buttercream and toasted (and cooled) coconut flakes.
img_0857
I’ve piped some old school borders here with Wilton’s open star tip and some silver dragee accents.
img_0865
I haven’t tinkered with the original recipe at all, except that I bake them in 8in cake pans as opposed to 9in. I like the look of taller cakes, but if 9in is all you have, feel free to use those, just decrease the bake time by a few minutes.
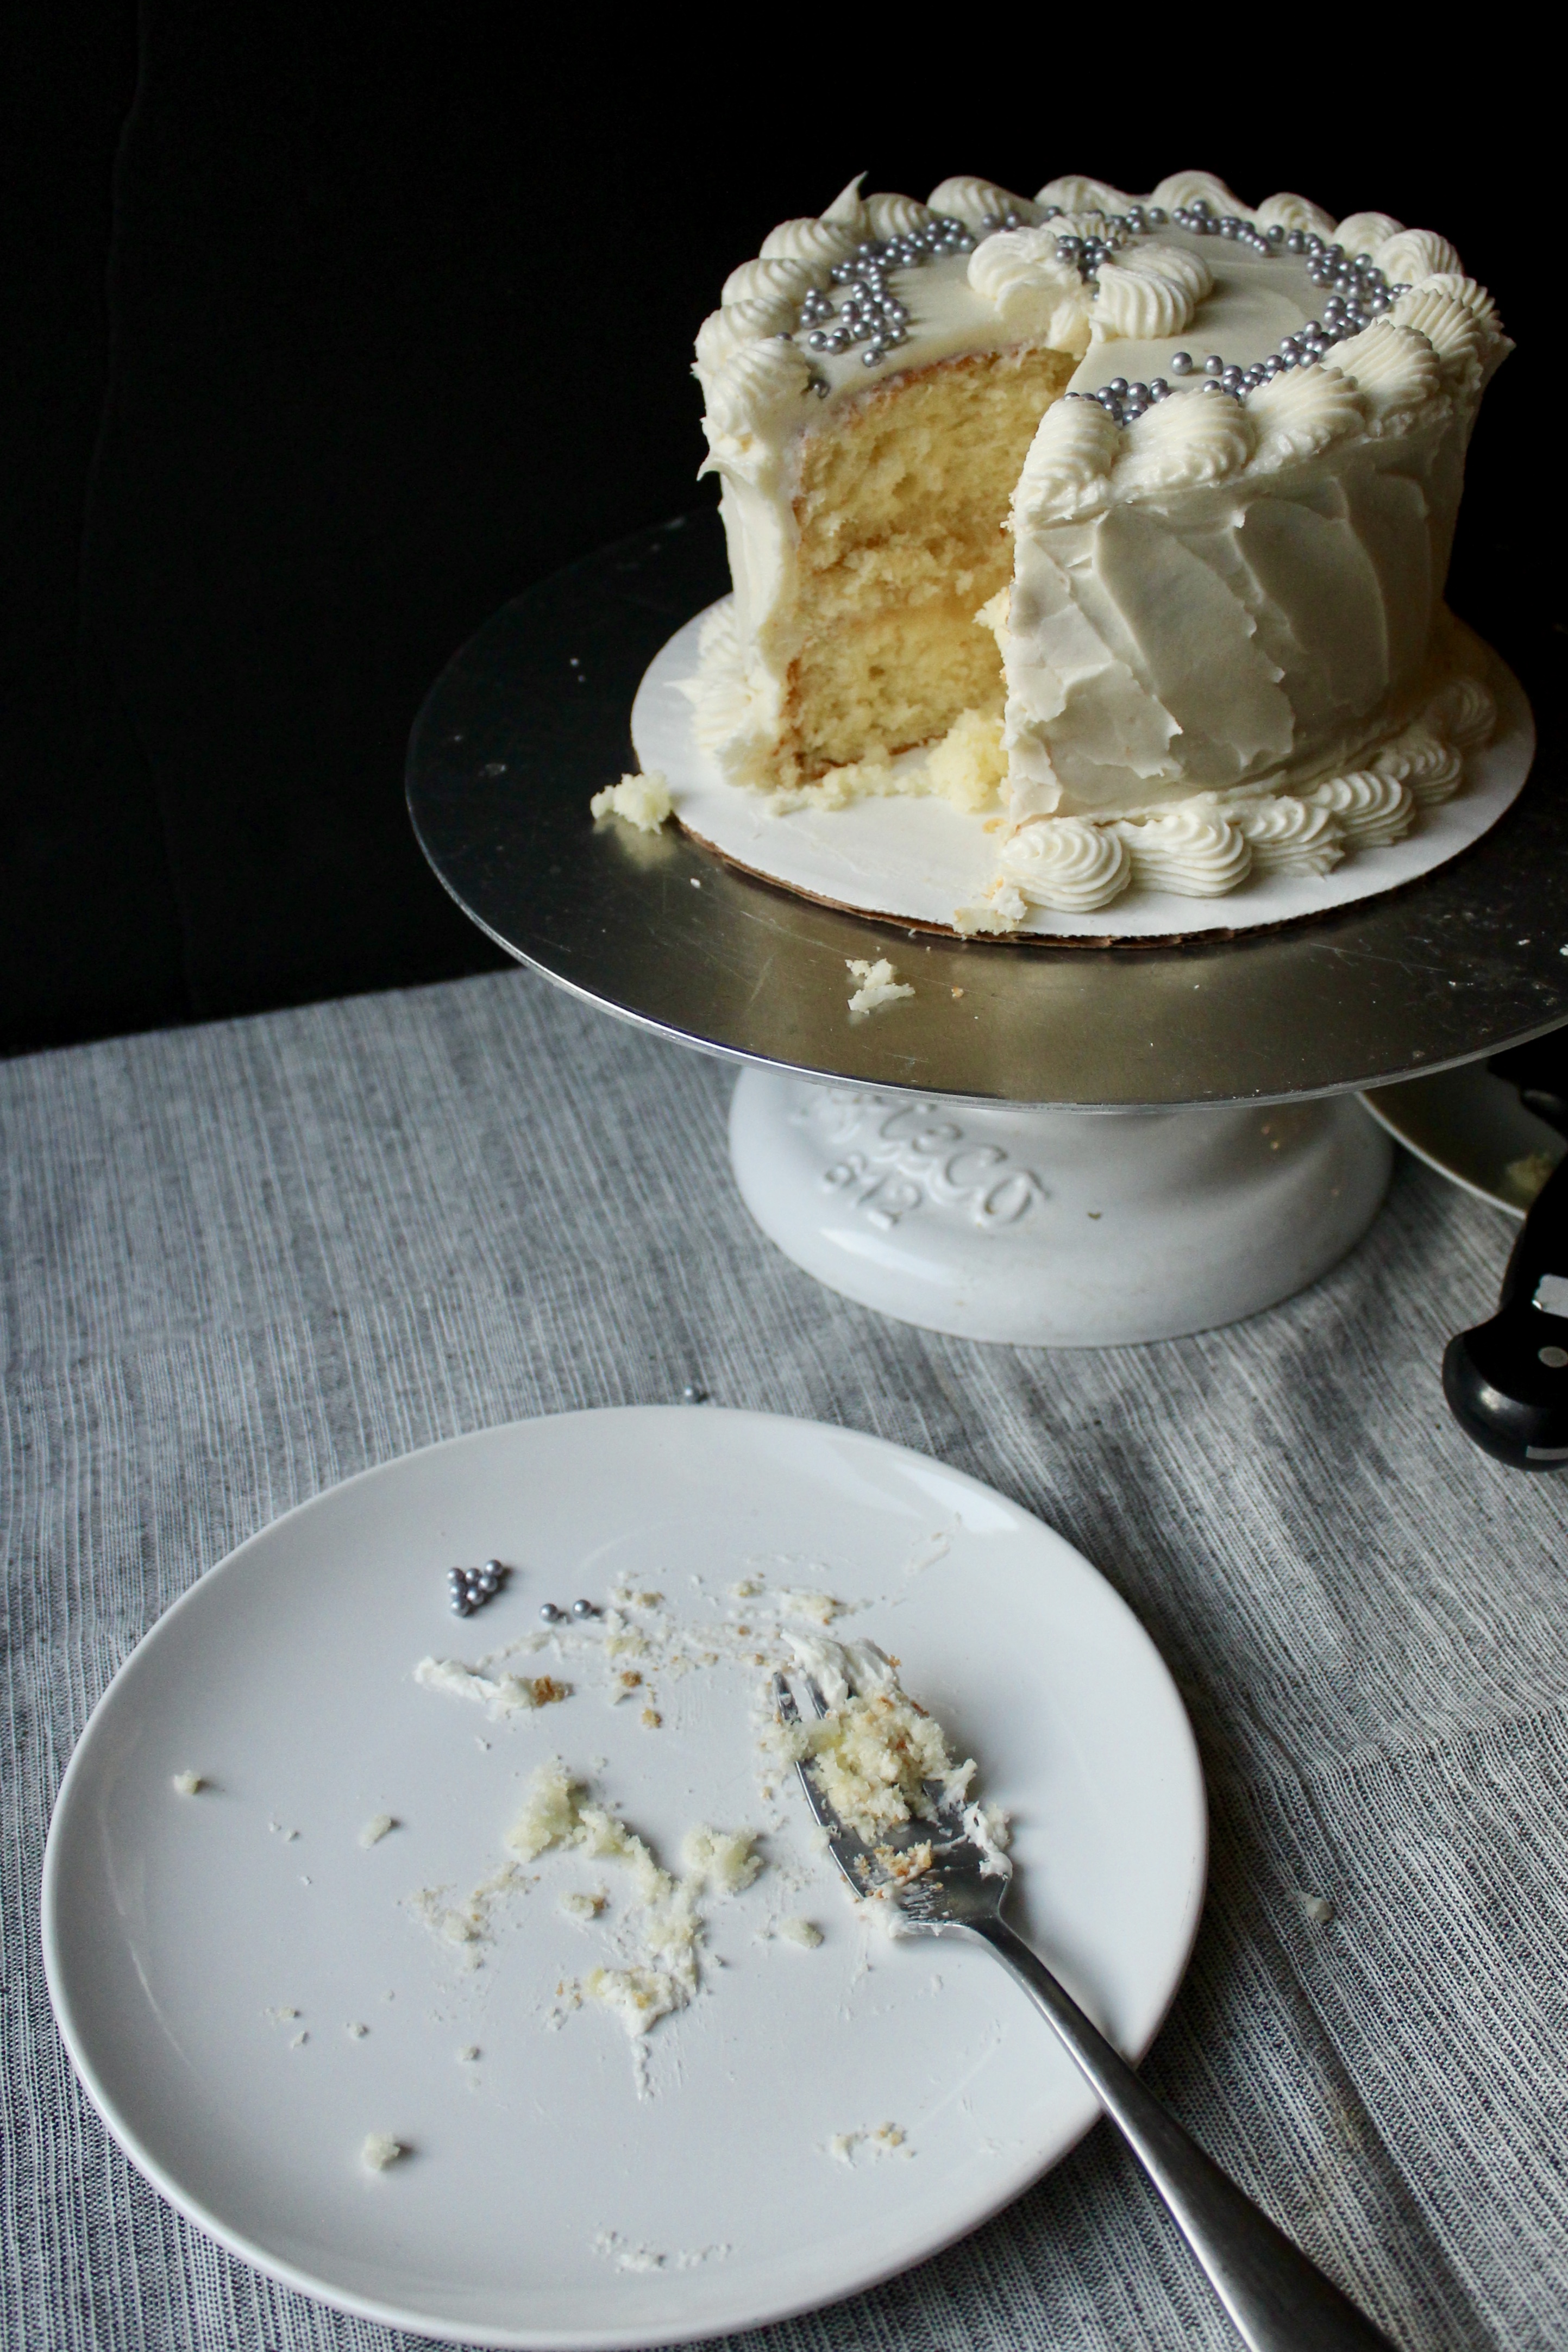
fullsizeoutput_6cb8
Cake recipe adapted from Taste of Home. Pineapple filling recipe from Genius Kitchen.

Ingredients

For the cake:

  • 5 eggs, yolks separated from whites
  • 2 cups sugar
  • 1/2 cup (1 stick) unsalted butter, room temperature
  • 1/2 cup vegetable oil
  • 1 tsp coconut extract
  • 1/2 tsp vanilla extract
  • 1/4 tsp almond extract
  • 2 1/4 cups cake flour
  • 1 tsp baking powder
  • 1/2 tsp baking soda
  • 1/4 tsp salt
  • 1 cup buttermilk, room temperature
  • 2 cups flaked coconut (I like Baker’s brand for this)
  • 1/4 tsp cream of tartar

For the filling:

  • 1/2 tsp kosher salt
  • 1/2 cup plus 2 tbsp granulated sugar
  • 3 tbsp corn starch
  • 1 20oz can crushed pineapple in its juices
  • 3 tbsp butter

For the buttercream

  • 1 cup butter, room temperature
  • 4 oz cream cheese, room temperature
  • 4 to 5 cups confectioner’s sugar, to taste
  • 1 tsp coconut extract
  • 1 tsp vanilla extract
  • 1-2tbsp whole milk

Directions

  1. Preheat oven to 325 degrees F. Grease 3 8in cake pans with non stick cooking spray. Place over a large sheet of parchment paper and draw circles around the circumference of each pan. Cut out each circle and place at the bottom of each pan. Spray parchment circles with non stick spray.
  2. In the bowl of stand mixer or in a large bowl with an electric hand mixer, beat butter with 1 cup of sugar on medium low. After about 2 minutes, when butter and sugar is pale and fluffy, add oil and remaining sugar. When well combined, add egg yolks, one at a time. Stop occasionally to scrape down the bowl. Add coconut, vanilla and almond extracts. Stop the mixer.
  3. For the dry ingredients: sift the flour, baking powder, and baking soda. Add salt and combine with a whisk. Add 1/3 of the dry ingredients to the batter, then 1/2 of the buttermilk. Add second third of dry ingredients then remaining buttermilk. Add remaining dry ingredients and flaked coconut. Mix on low until just combined.
  4. In a large bowl, combine egg whites and cream of tartar. Mix on low, increasing to high, for about 4-5 minutes until beaters come out of the egg whites with stiff peaks.
    Add 1/3 of beaten egg whites to the batter to loosen it up. Add half of remaining egg whites to batter and fold in with spatula, cutting down the middle, then scraping against the bowl and folding up and over the batter. Rotate the bowl slightly and continue until you can no longer see egg white. Add remaining egg white and fold until just combined.
  5. Divide equally between 3 cake pans and bake in preheated oven for 25-30 minutes or until a toothpick inserted comes out clean. Let cool.*
  6. For the filling: in a small to medium saucepan combine salt, sugar, cornstarch. Whisk with preferably a flat whisk until combined. Add crushed pineapple and stir to combine. Turn on the heat to medium high. Bring to a boil, stirring occasionally, for about 5 minutes until no longer milky white in appearance. When thickened, remove from heat and stir in butter. Turn out onto a plate to cool.
  7. For the frosting: beat butter with cream cheese with the paddle attachment of your stand mixer, or in a large bowl with handheld electric mixer. Sift 4 cups sugar into a bowl. Add a little bit of sugar into the butter and cream cheese until well combined. After adding 4 cups of sugar, beat until light and fluffy. Add vanilla and coconut extracts. Scrape down the bowl occasionally. Taste the frosting. If desired, add final cup of sugar, sifted. Add milk as needed to thin out frosting. Give a final beat until it looks like buttercream.
  8. Fill a large piping bag with buttercream and snip off 1/2in tip. Place a small amount of frosting onto a 10in round cake board. Place first cake layer onto cake board. Pipe a dam around the circumference of the cake layer. Spoon 2-3tbsp pineapple filling onto cake. Smooth it out. Place second layer, press down slightly. Repeat and decorate as desired.

*I usually invert onto 8in round cake boards lined with plastic wrap and freeze until reach to decorate. These cakes are super tender and work best for decorating when frozen solid.

Leave a Comment · Labels: American/Mediterranean, Dessert, Recipes Tagged: baking, cake, coconut, coconut cake, dessert, genius kitchen, home baking, homemade, homemade dessert, pineapple filling, taste of home

Linzer Cookies

December 22, 2017

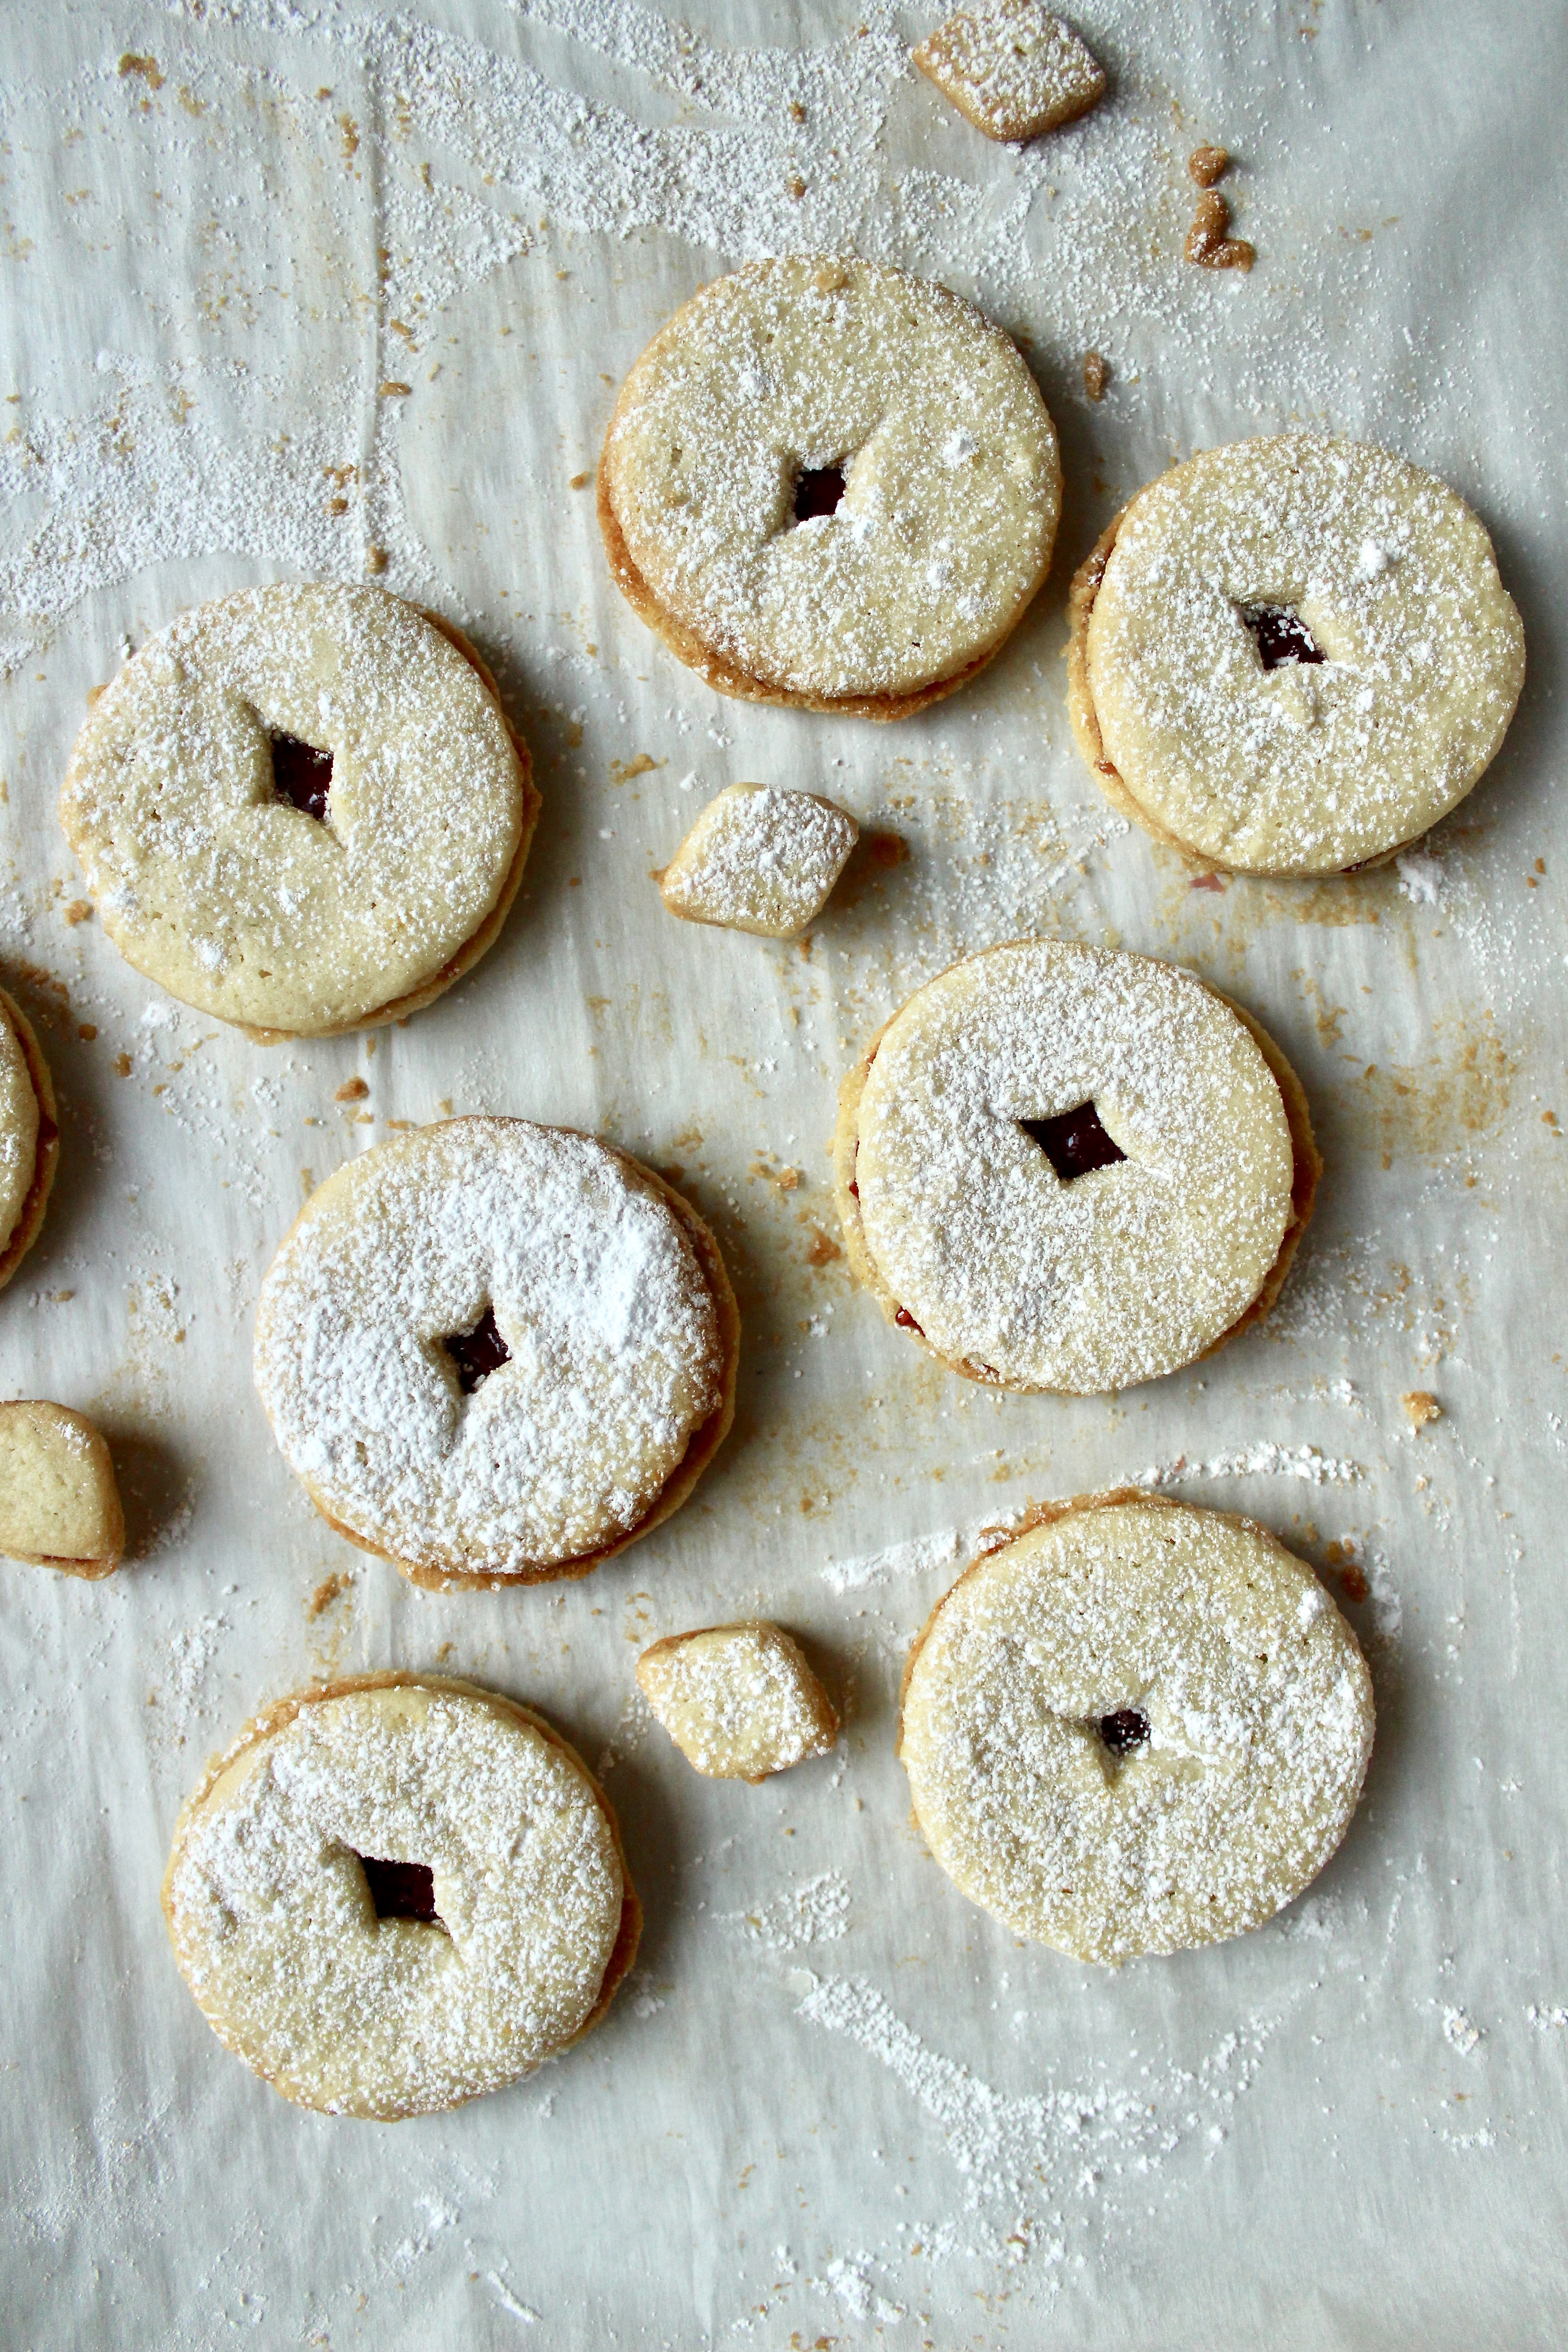
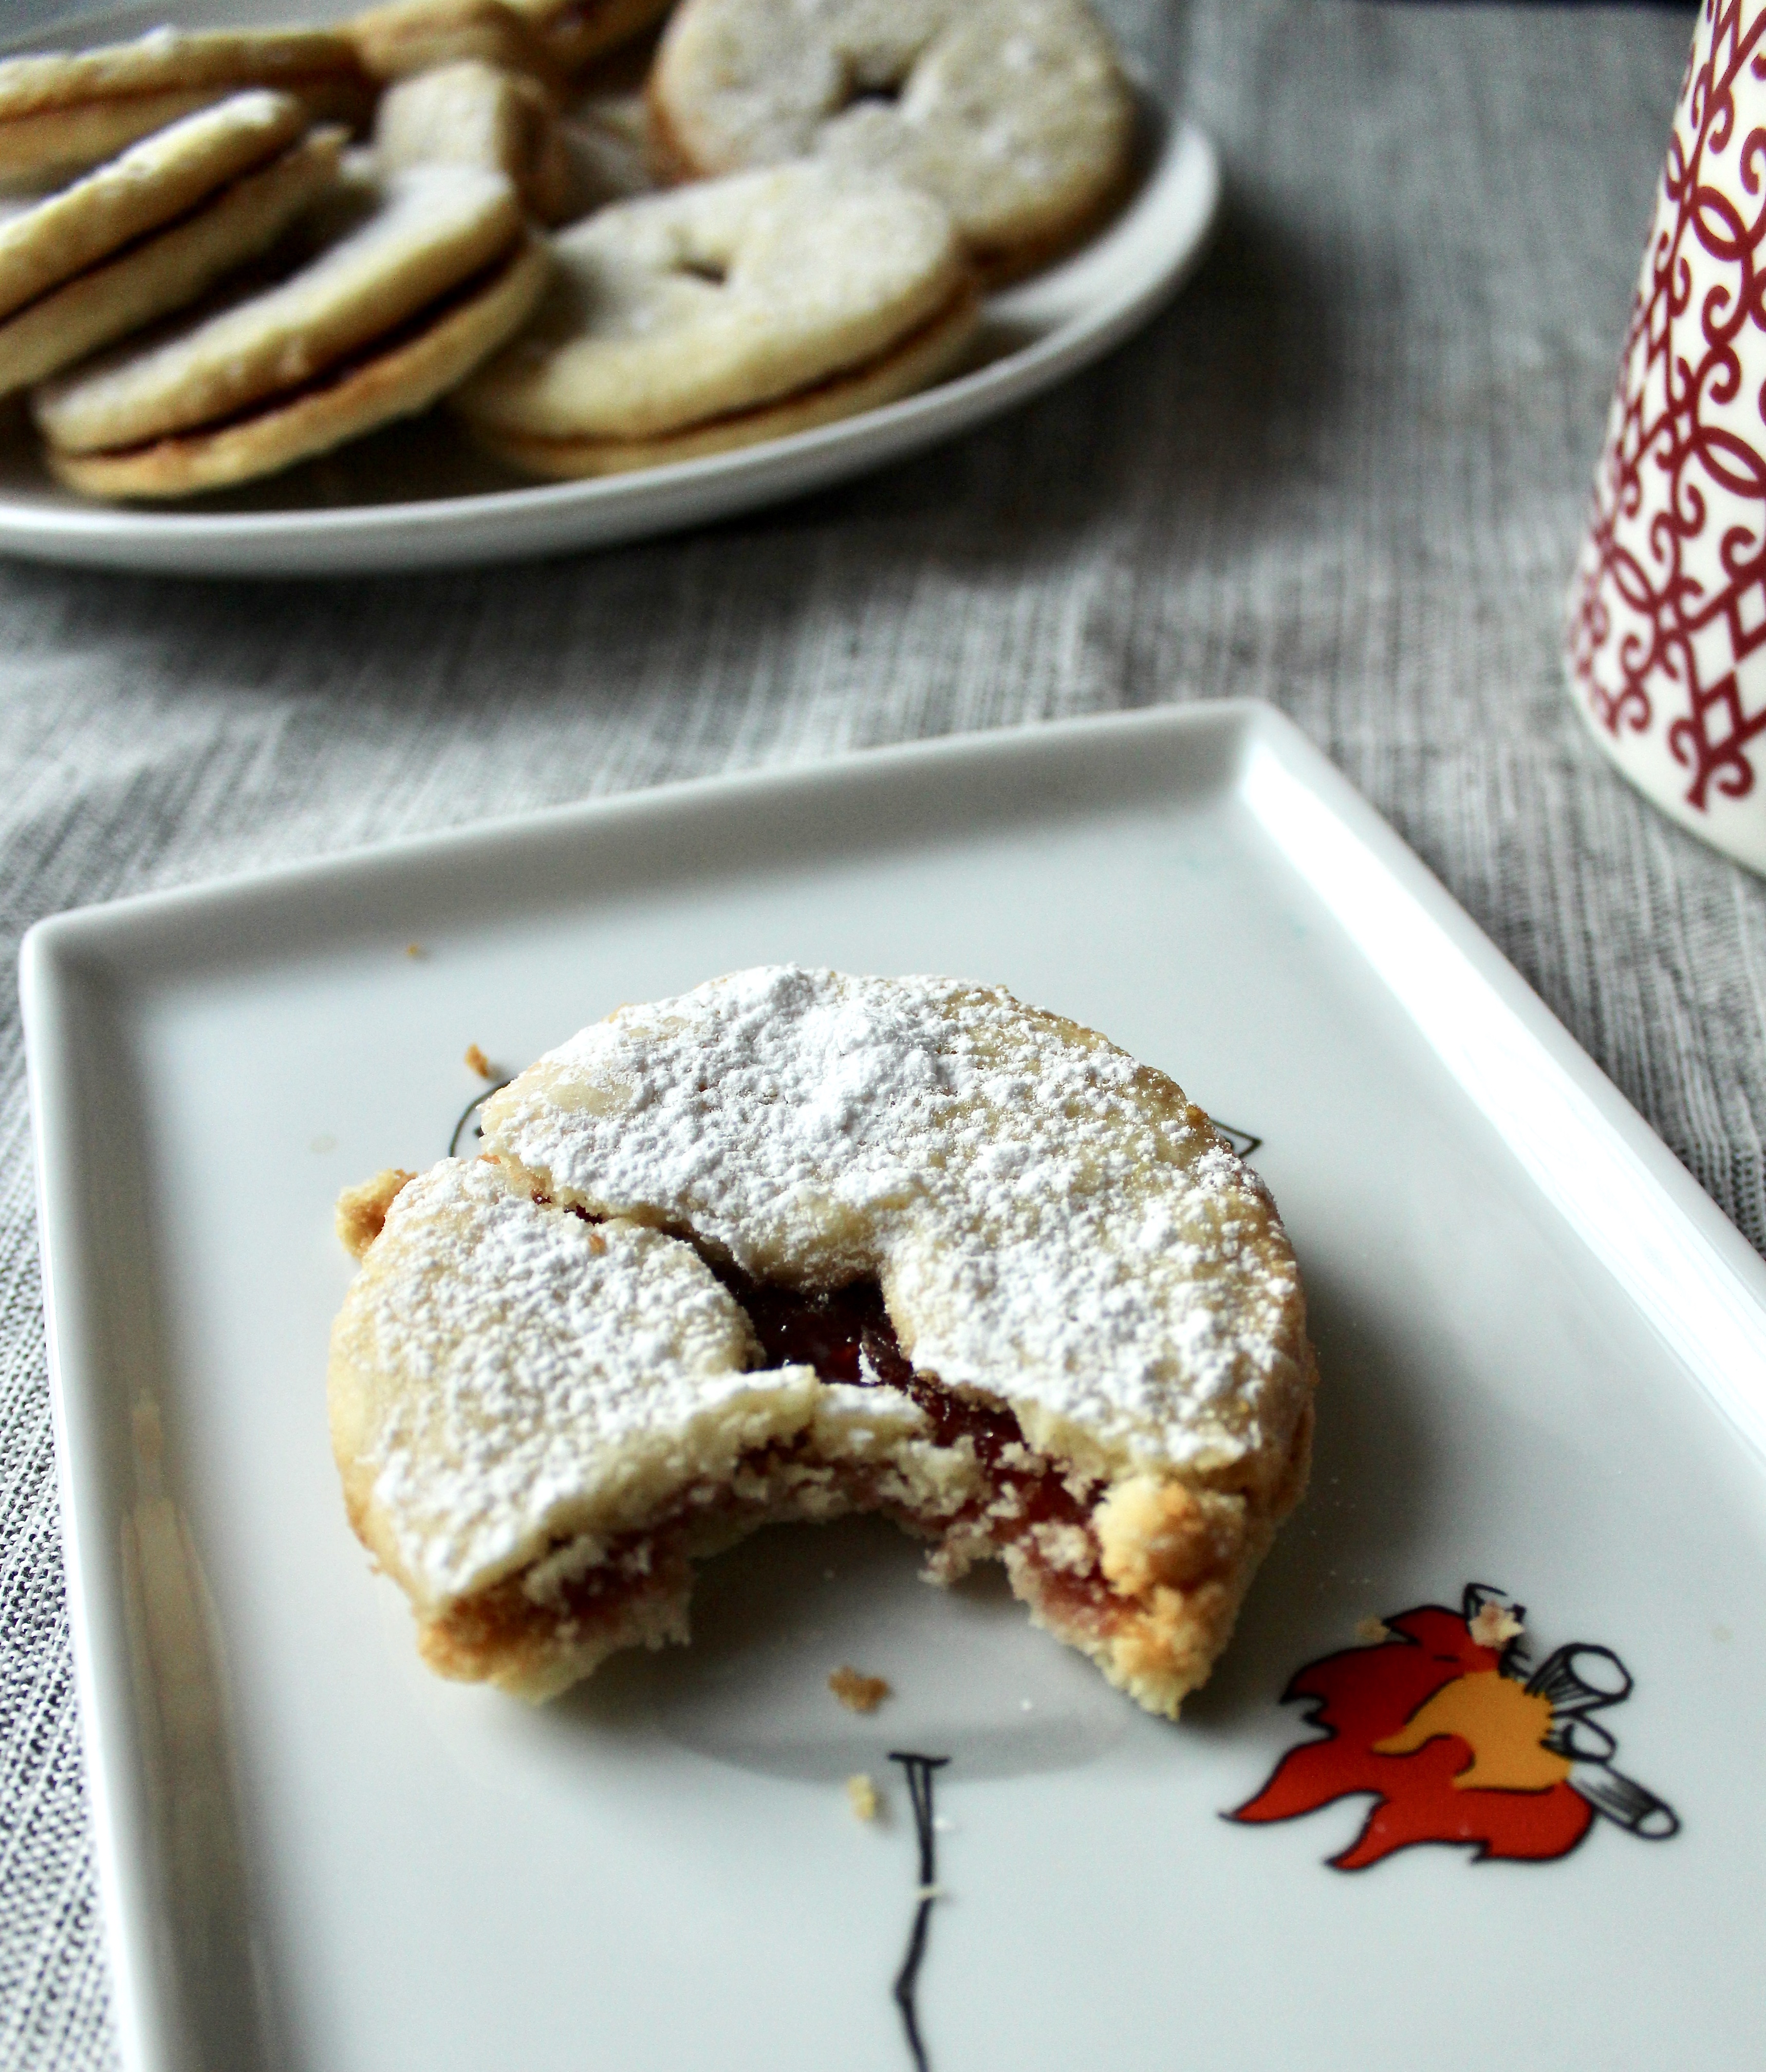
fullsizeoutput_6cb2
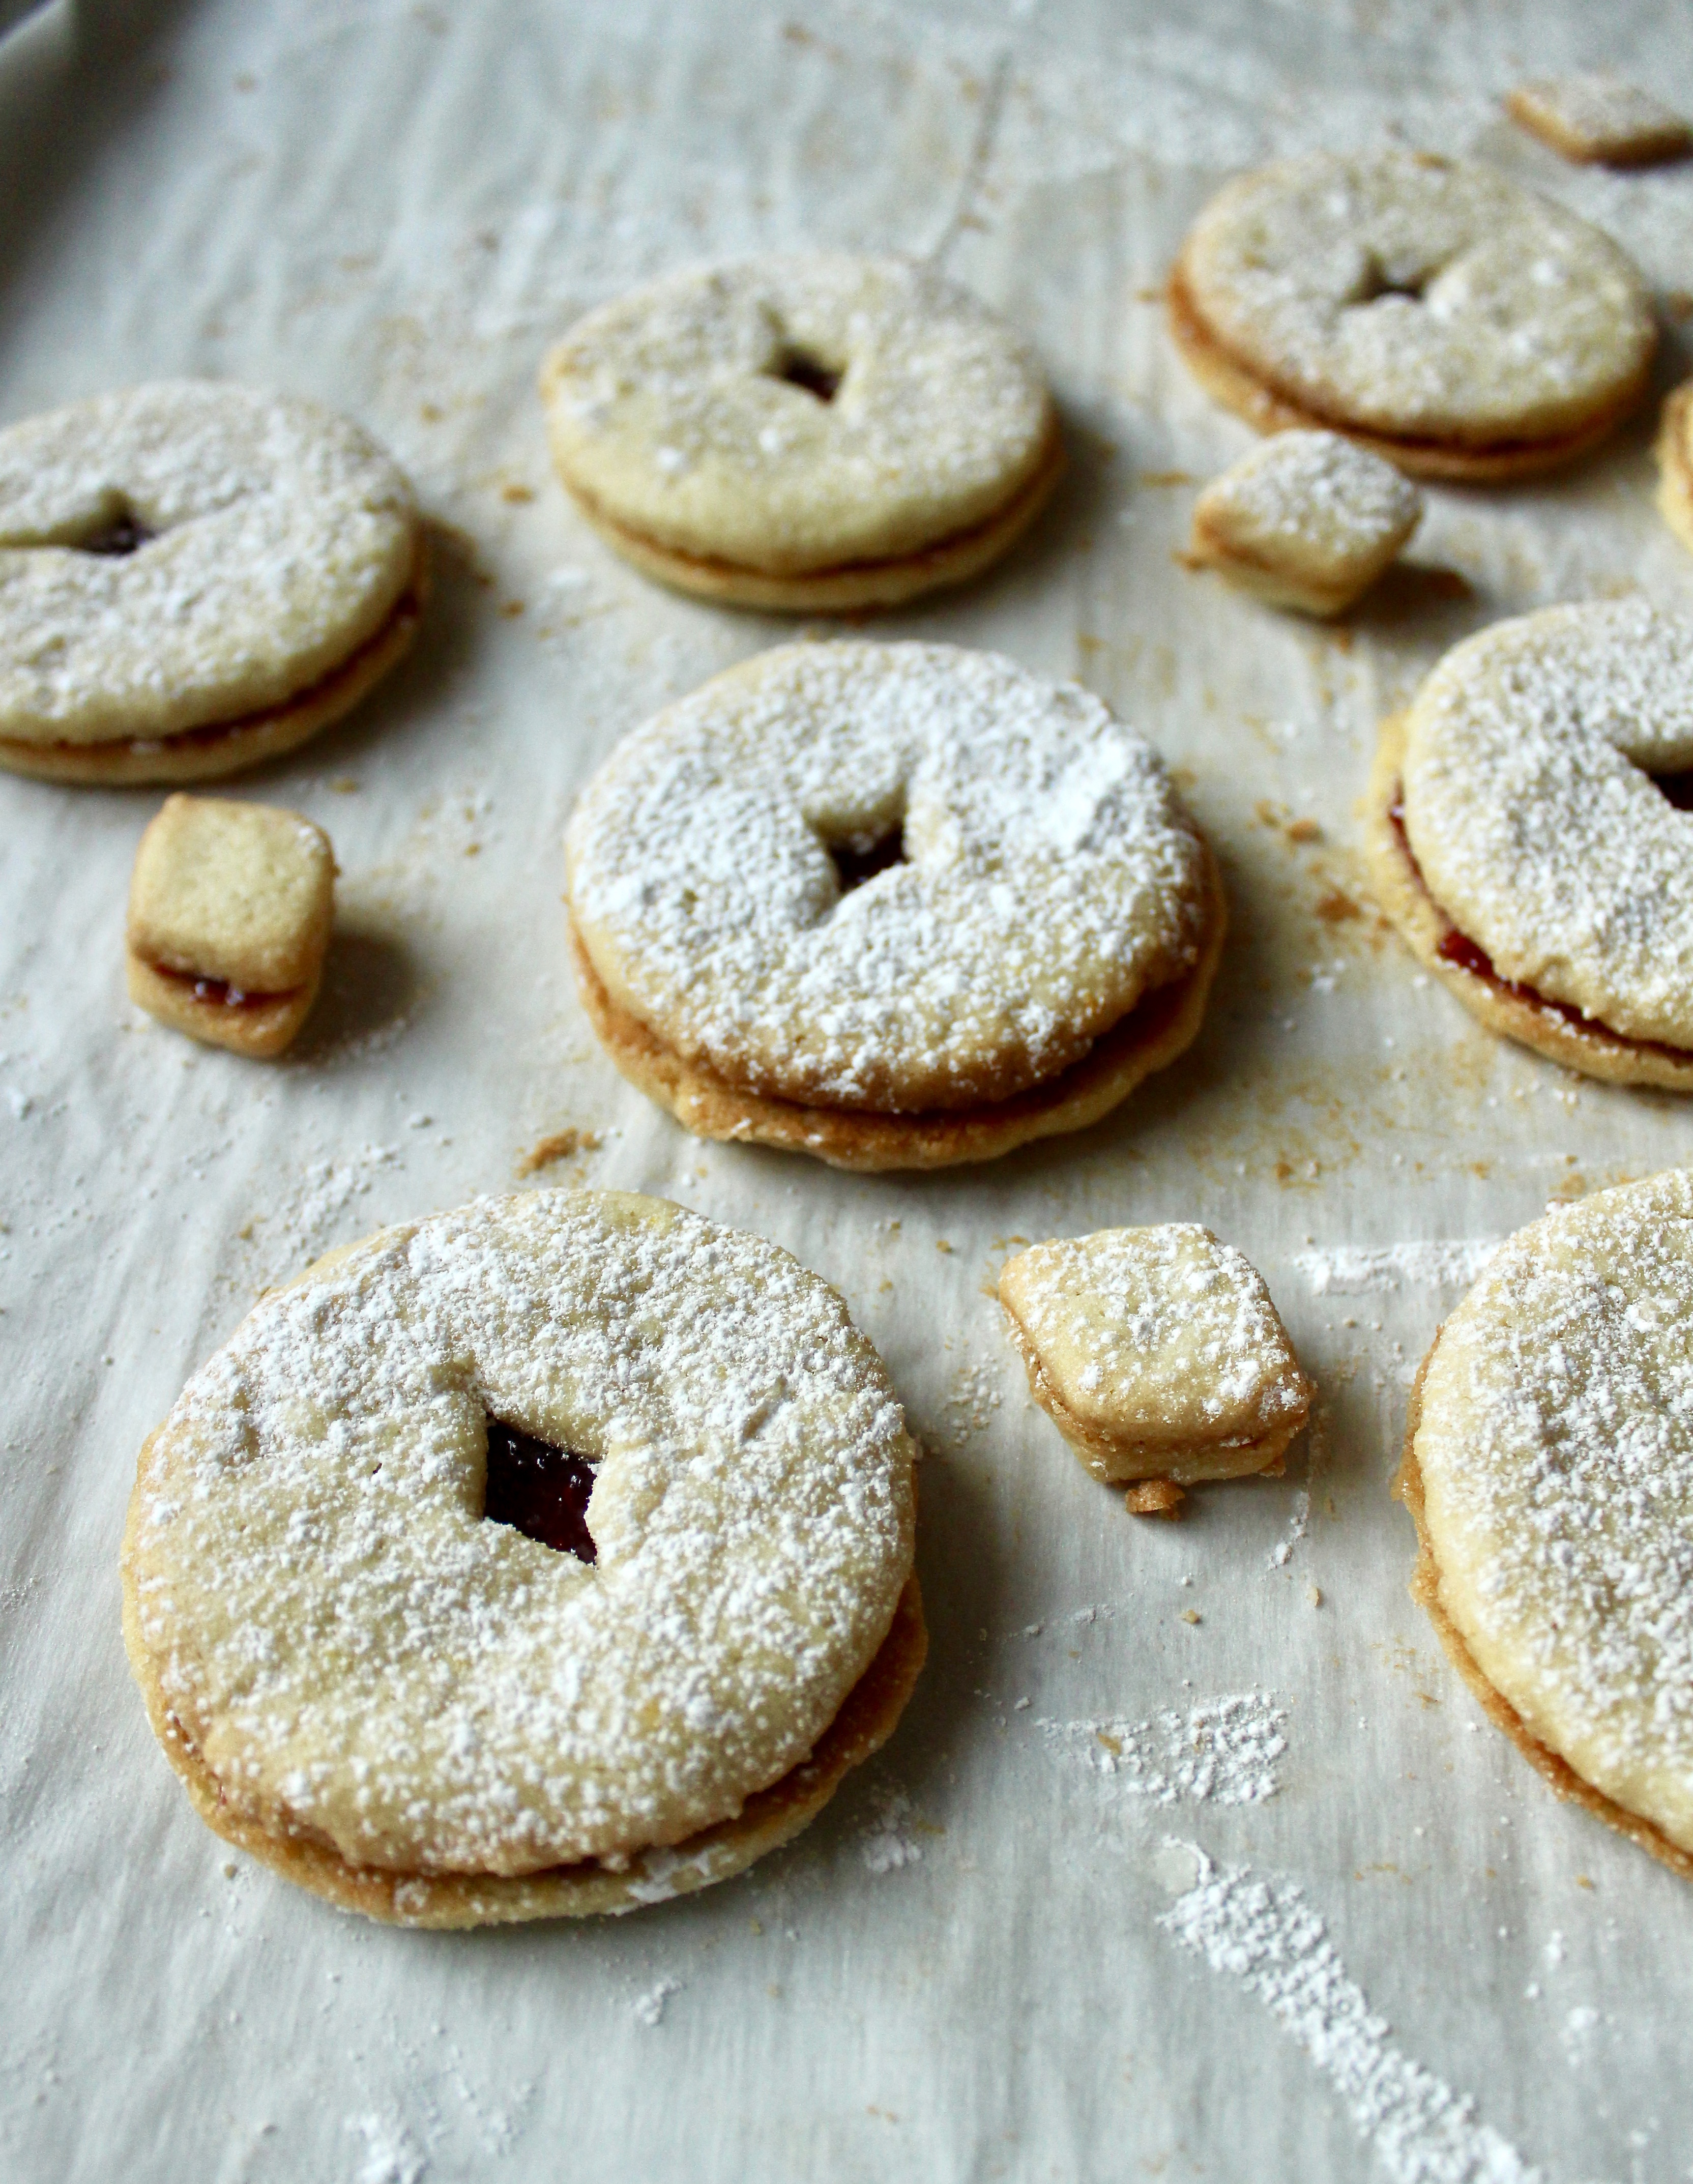
I don’t know why I became obsessed with Linzer cookies this week. I probably saw one or two in my Instagram feed because of the holiday baking season, got lured in by the jewel like centers and fluffy snow-like confectioners sugar topping. So the research ensued, and I learned they are an Austrian/Hungarian cookie, traditionally made with some nut flour (almond or hazelnut) and filled with raspberry jam. I saw a few recipes that looked true to form, but when I saw my beloved Ina Garten had her version, and it was no frills, I thought I’d go that route. Big. Mistake.
fullsizeoutput_6cb3
Very minimally flavored and sweetened shortbread dough – OK. That’s fine. It will get sweetness and flavor from the raspberry jam and confectioner’s sugar. No almond flour, or flavorings besides vanilla – all OK to try. But what I couldn’t believe was the bake time. 20-25 minutes?! Of course, in following these instructions, I way over baked my first batch. So I went back to the recipe and watched the video in which she made them…in the video she declares a bake time of 10-15 minutes! How has no one caught such a glaring mistake?! After re-rolling the scraps and baking a second batch (for 10-12 min) the results were much better, but I still had an itch I needed to scratch. I had to try the traditional version – with almond flour and lemon zest.
fullsizeoutput_6cb1
But thank you, internet, for your recommendations. The King Arthur Recipe was the way to go. And although it was a little difficult to handle, the final product was worth it. Delicate cookies with a zesty lemon flavor, crumbly almond texture. It was a cookie to match the aesthetic.
fullsizeoutput_6cb4
I hope you enjoy these cookies during this holiday season and beyond! Wishing everyone a joyous holiday, whatever you’re celebrating, and a happy happy new year!

Recipe from King Arthur Flour.

Ingredients

  • 3/4 cup unsalted butter
  • 1/2 cup granulated sugar
  • zest of 1 lemon
  • 1 large egg yolk
  • 1 tsp vanilla extract
  • 1 cup all purpose flour
  • 3/4 cup almond flour
  • 1/4 tsp fine sea salt
  • raspberry jam for filling
  • confectioner’s sugar for dusting

Directions

  1. Beat butter and sugar together in the bowl of a stand mixer, or in a large bowl using a handheld electric mixer, until well combined and light and fluffy, about 3 minutes at low to medium speed. Add egg yolk, then vanilla. Stop the mixer, scrape down the sides of the bowl, and beat until just combined. Turn mixer off.
  2. Combine flours and salt in a bowl. Whisk to combined. With the mixer on low, slowly add the flour, stopping to scrape down the bowl occasionally. Stop the mixer when all the dry ingredients have been incorporated. Dump onto a large piece of plastic wrap and flatten into a disk.* Refrigerate for 30 minutes or until well chilled.
  3. Remove dough from fridge, unwrap and place on a large piece of parchment paper. Place another large piece of parchment on top and roll out with a large (I use a French) rolling pin to spread dough to 1/4in thickness. Cut out rounds, about 2in diameter, and use a small heart or diamond cutter to cut out the center of half of them.** Slide the parchment paper and dough onto your baking sheet, and refrigerate the whole thing for 30 minutes.
  4. Preheat oven to 350 degrees F. Remove sheet pan and use a small spatula or butterknife to remove scraps and center shapes. Set scraps aside to reuse later and leave center shapes on the pan. Bake for 8-10 minutes in preheated oven until edges just start to brown. Remove from oven, allow to cool, then spread flat side of full circle cookies with jam. Place a cookie with a cutout middle on top. Continue with the rest, including the small shape cookies, and dust the tops with confectioners sugar through a sieve.

*If you have a large 16x22in sheet pan like I do, do this in one batch. If you have anything smaller, like a quarter or half sheet pan, separate into two pieces, refrigerate and roll out separately.
**If you don’t have small shaped cutters, use a small paring knife to cut out a simple shape, like a diamond.

2 Comments · Labels: American/Mediterranean, Dessert Tagged: almond, austrian, baking, christmas, cookies, holiday cookies, holiday season, holidays, linzer cookies, new year, raspberry jam, sandwich cookies, shortbread

5 Things I’ve Learned About Baking Chocolate Chip Cookies

August 5, 2015

IMG_4839I’ve been baking chocolate chip cookies since I was 10 years old. It was my first culinary endeavor. What does that mean for you? That means I’ve messed them up every which way so here I am to share with you some of my learnings.IMG_48291. Make sure your leaveners are still potent. For years I thought baking powder was just a more potent form of baking soda, just because the first batch of chocolate chip cookies I made came out flat as disks (and I blamed it on the baking soda! Rightfully so, just for the wrong reasons). If your baking soda and/or baking powder has been in your pantry for more than 6 months, toss them. If you’re baking cookies just for yourself or your family, you could take the risk if you fill guilty about tossing them. But if you’re planning to serve them to company or take as a hostess gift, do not take the chance! Use fresh leavener! IMG_48302. Use a cookie scoop! Gone are the days of using two teaspoons to artfully mold the perfect cookie mound. Using a cookie scoop is the only way to ensure each cookie is uniformly sized and shaped. I know it sucks to buy additional kitchen gadgets, but if you love cookies as much as I do, or when you realize how great it is to have frozen cookie dough stocked in your freezer to bake off when the occasion arises, you’ll be glad you have one in your arsenal!IMG_48313. Use parchment paper or silicon baking mat. This might be old news for many of you, but I just cringe thinking of the days I greased cookie sheets and had to deal with the aftermath of scrubbing encrusted cookie dough off of them. They slide off parchment so easily that I’ve never looked back. I always keep my pantry stocked with parchment paper, chocolate chips, and butter so I can make these if I need a last minute hostess gift (or for a sudden attack of PMS).  IMG_48324. Refrigerate your cookie dough. There’s an unmistakeable difference in texture when you bake off cookies that have had time to chill. The flavors blend, the dough rests, and the center attains a heavenly chewiness that’s consistent among the best cookie recipes. Bake times will vary depending on the temperature the recipe dictates and the size of the cookie scoop you use. I like to bake mine until the tops have the slightest blush. It may look underdone, but it will continue cooking once out of the oven and resting on the baking sheet. Be mindful not to remove it from the baking sheet right away, as it will mostly likely bend and break while in the process of transferring. IMG_48345. There is no single greatest chocolate chip cookie recipe. Your palette changes as you get older. Different recipes highlight different characteristics of a marvelous chocolate chip cookie: the nuttiness, the chewiness, the contrasting flavors. Lately I’ve been using Leit’s Consummate Chocolate Chip Cookie recipe. I like the combination of cake flour and bread flour to give it the ultimate texture – chewy while delicate. For years before switching over, I’ve used Alton Brown’s The Chewy recipe with great results. However, chocolate chip cookie recipes, like shampoo, should be switched periodically.

Leave a Comment · Labels: American/Mediterranean, Dessert, Food Fun Tagged: baking, baking 101, baking tips, chocolate, chocolate chip cookies, cookie dough, dessert, hostess gifts

American, Bangladeshi. Savory, sweet. I don't discriminate and neither should you.

Most recently…

Load More...
Follow on Instagram

Social

Subscribe to Blog via Email

Enter your email address to subscribe to this blog and receive notifications of new posts by email.

Tags

appetizer beef bengali breakfast butter cake caramel chicken chocolate chocolate chips cilantro clean eating coconut comfort food cookies dessert dinner entertaining fall fruit ganache gluten free halal healthy homemade honest chops honest creations iftar italian pasta pastry pistachio quick and easy dinner ramadan recipe side side dish south asian spinach vegan vegetables vegetarian weeknight dinner weeknight meal whipped cream

Theme by 17th Avenue · Powered by WordPress & Genesis