Kitchen3N

Recipes and food fun from Apt 3N

  • About
  • Gallery
  • Recipes

Crepes

January 3, 2017

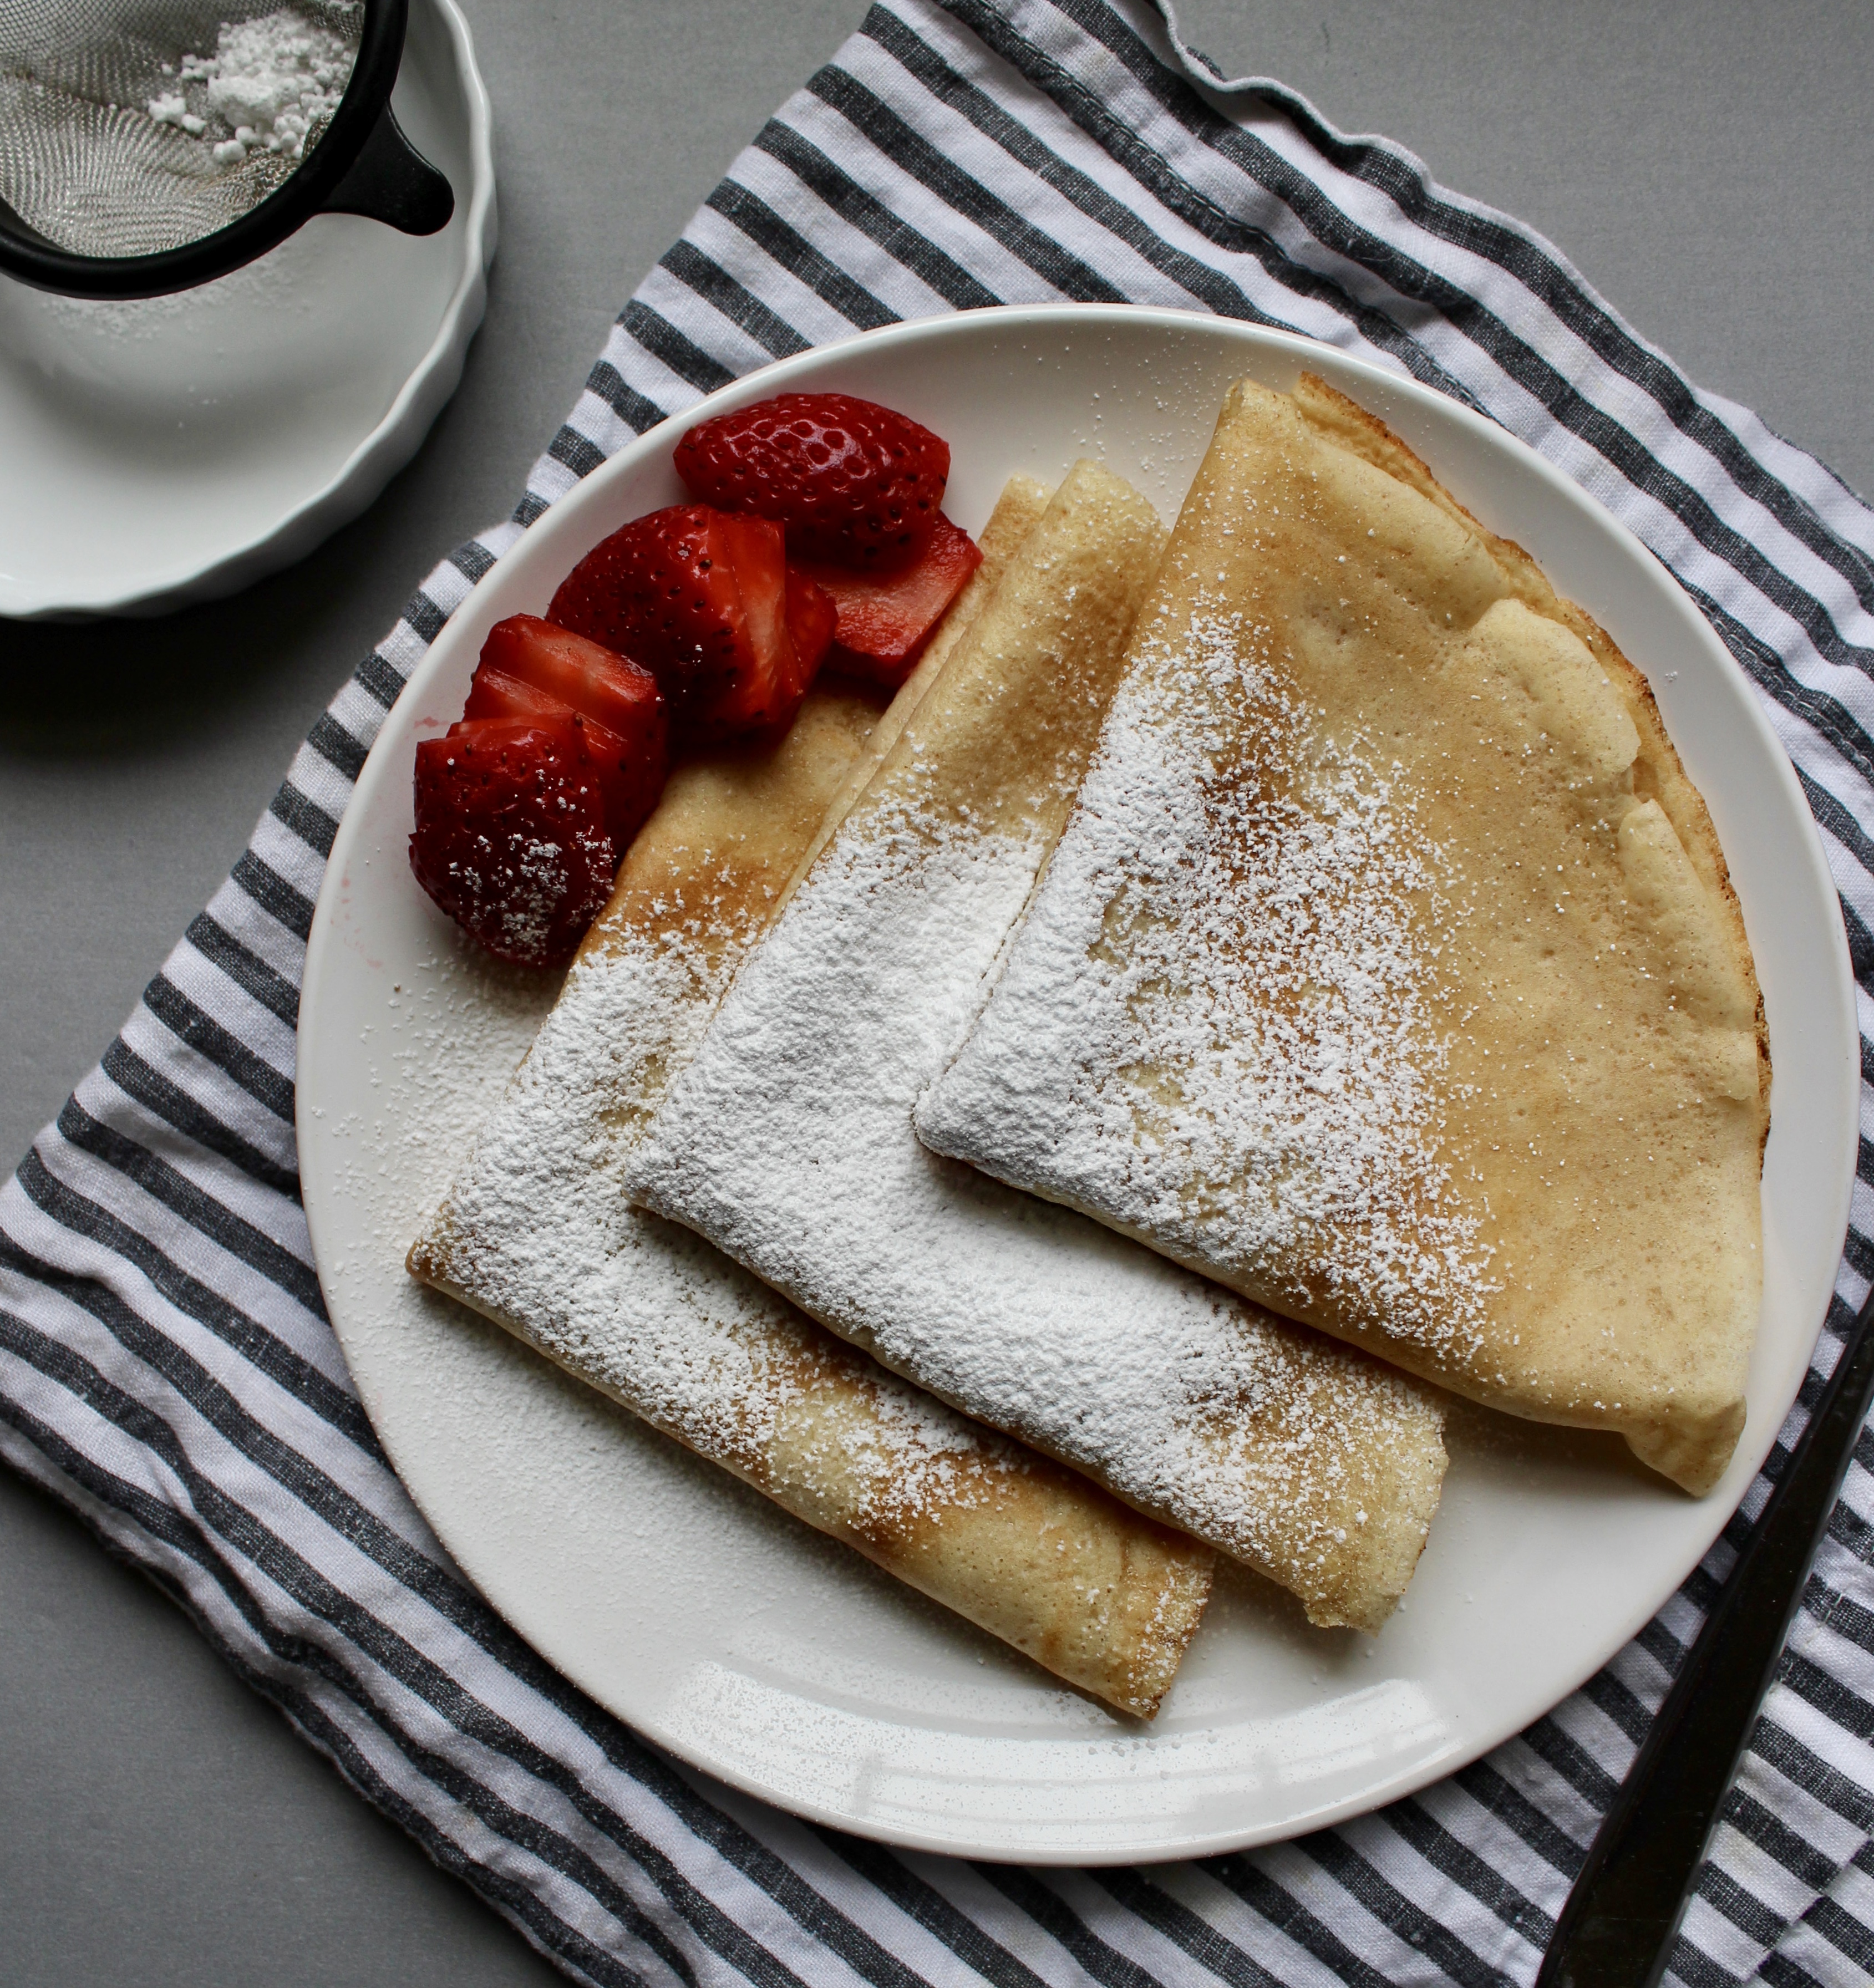
fullsizeoutput_476b
The first time I had crepes was in Paris in 2006. Kids coming home from school were snacking on this conical things wrapped in paper filled with all kinds of chocolately/fruity goodness. My buddy and I did not hesitate. We got ourselves some crepes filled with nutella and slices of banana and our minds were blown. So delicious and, as I’d soon discover, so easy to make, with such simple ingredients?!

Flash forward to 2017 and I’ve made it 34098734287234 times. I’ve filled them with sautéed mushrooms and swiss cheese to serve to guests. With scrambled eggs and spinach for a savory breakfast. Most often though, with nutella/banana or simply with strawberry jam for my sweet-toothed family. It is the THE most requested breakfast item, surpassing pancakes, waffles, french toast, everything. Which works for me since it’s SO EASY and cooks much faster than all those other options.
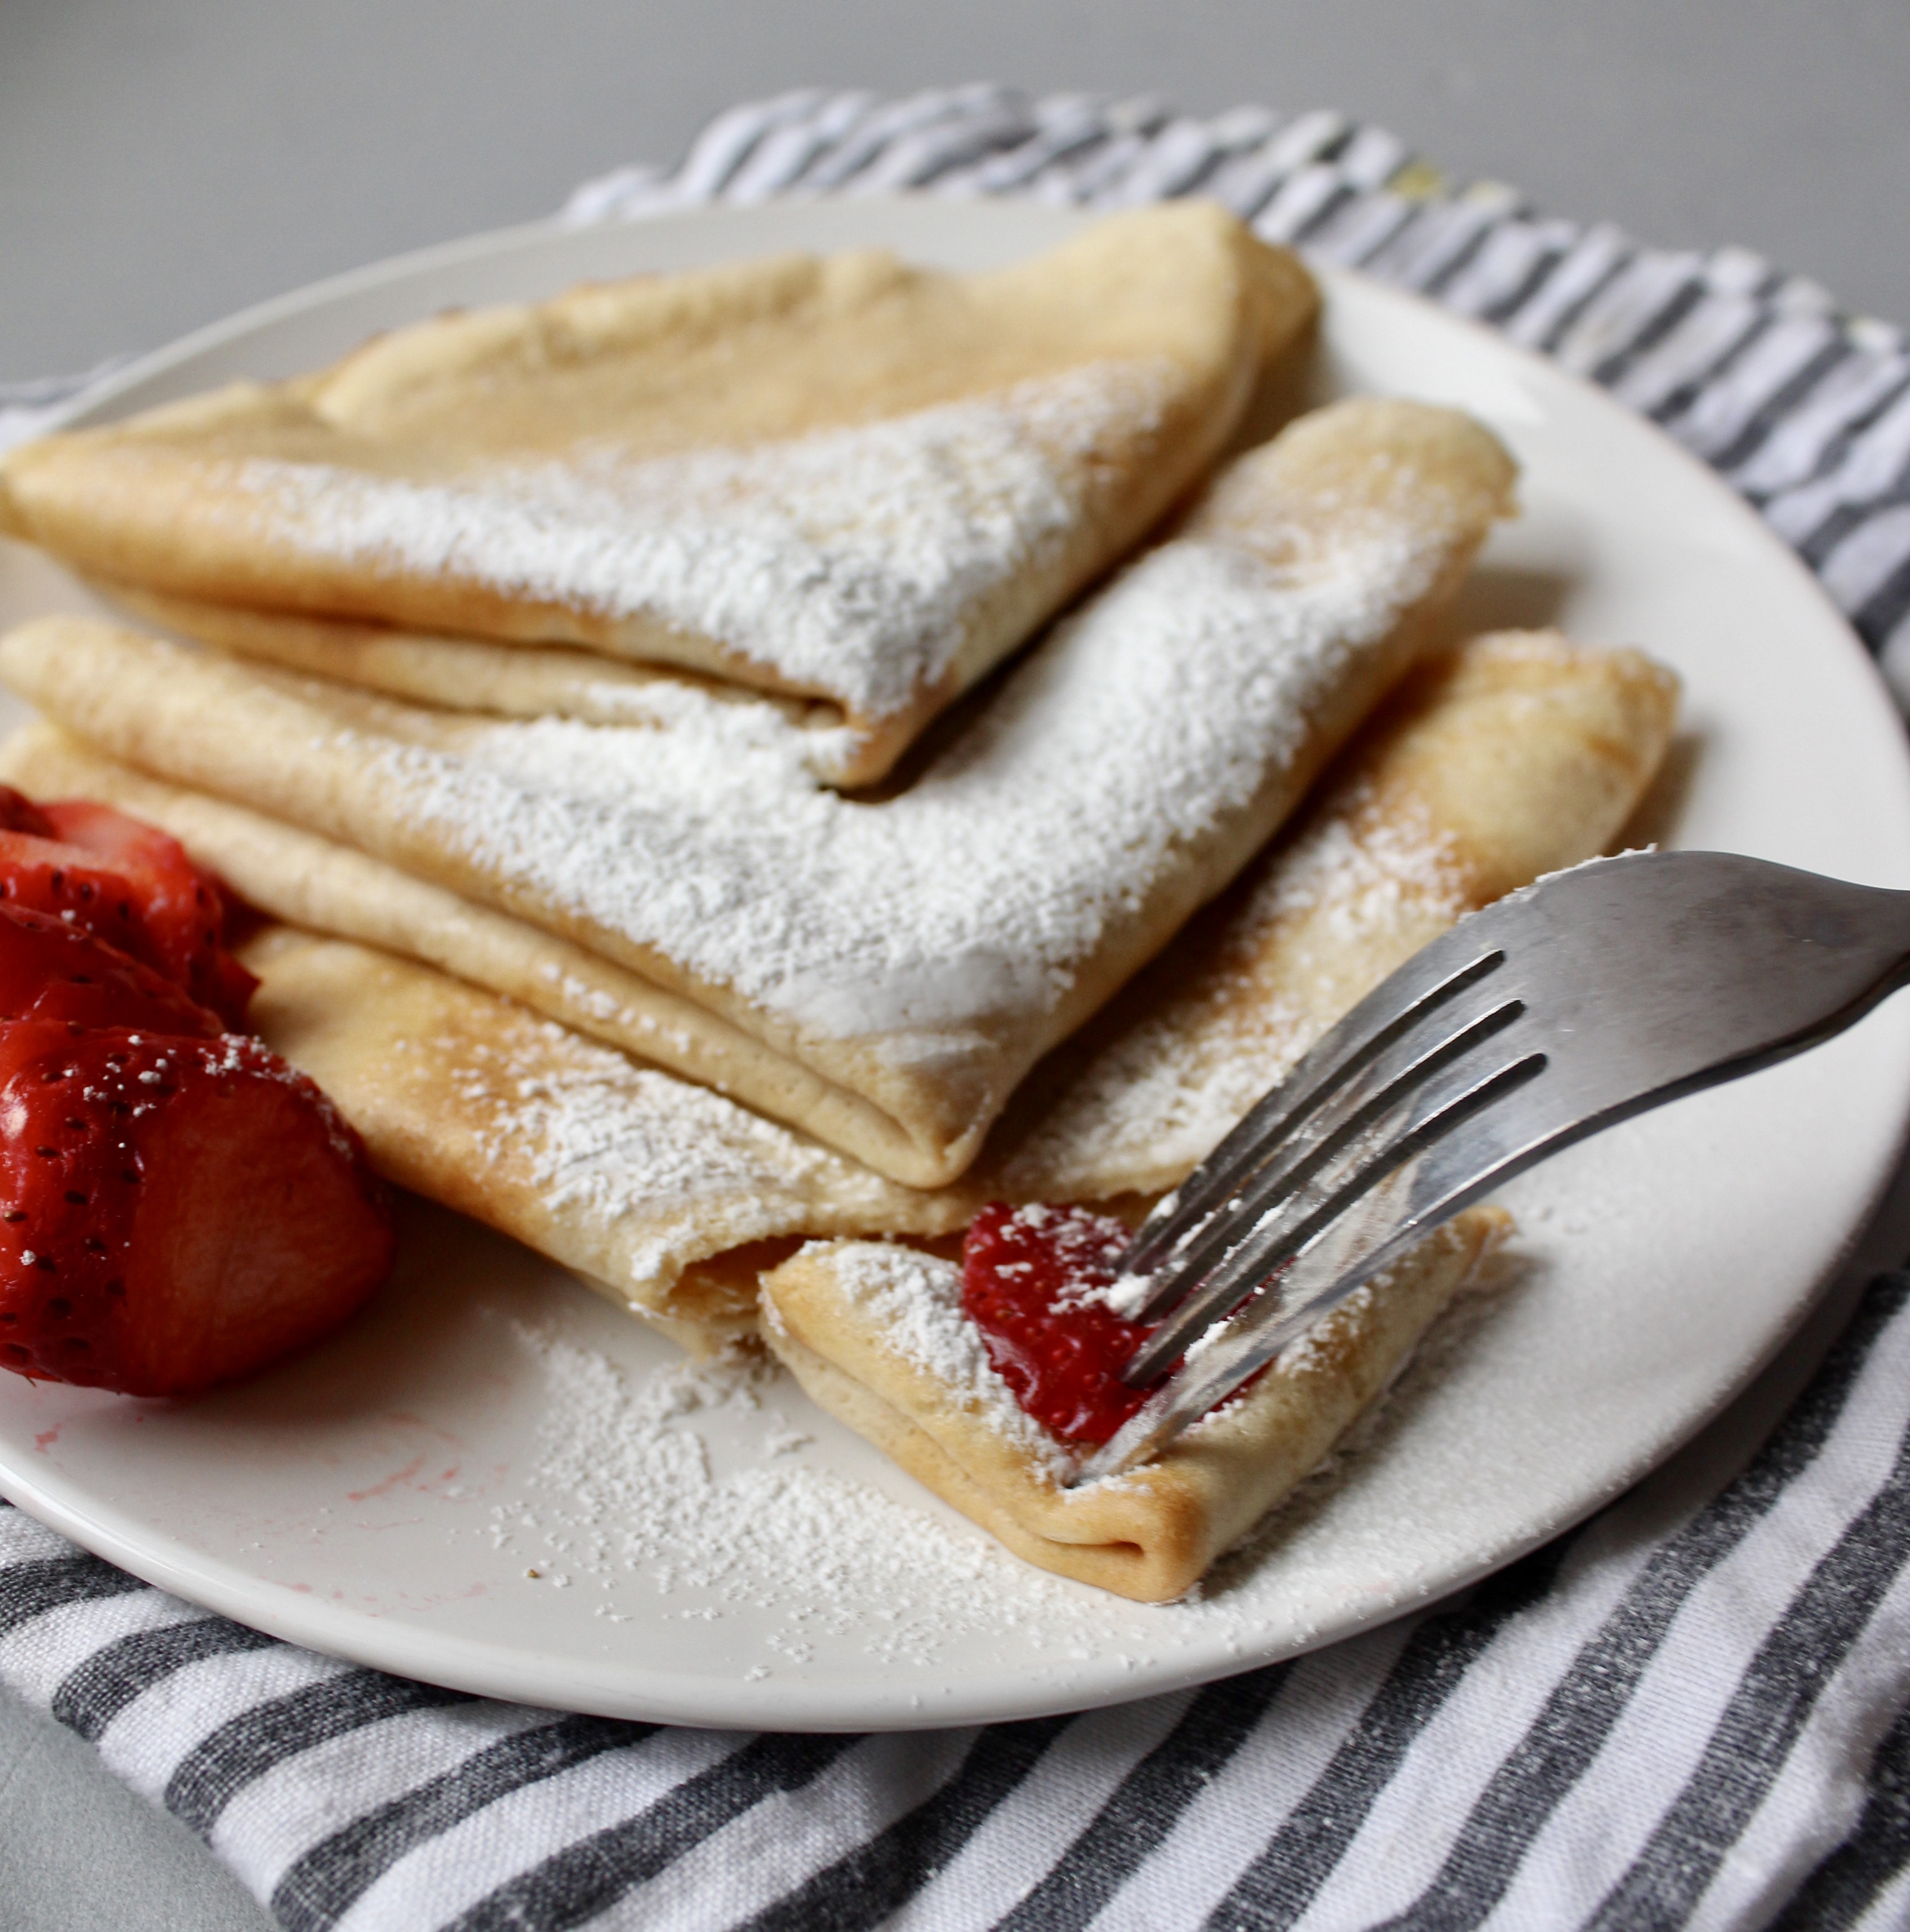
fullsizeoutput_476a

I’ve pretty much stuck to Alton Brown’s recipe all these years, tweaking it only by adding whole wheat flour and a pinch of salt (it was the only thing missing). For many years I’ve mixed the batter by hand using a whisk, which was a monumental mistake. You end up with lumps of flour in the batter that only go away after the batter sits for a while, hydrating the lumps away. As soon as I started using a blender, I never looked back.

Enjoy this recipe in any sweet/savory permutation you’d like.

Recipe adapted from Alton Brown.

Ingredients

  • 3/4 cup whole milk
  • 1/2 cup water
  • 1 cup all purpose flour (I use half whole wheat flour)
  • a pinch salt
  • 2 eggs
  • 3 tbsp butter, melted

Directions

  1. Melt butter in a small saucepan or in the non-stick skillet. Set aside.
  2. In a blender, add first five ingredients and blend on low speed, gradually increasing the speed to high. Blend for about 20 seconds. Add melted butter and blend once more for 10 seconds.
  3. Heat a 9 or 10in non stick skillet to medium heat. Pour 1/3 cup of the batter into a liquid measuring cup. Lift the pan up slightly above the flame and pour the batter onto the pan, tilting the pan around gently so the batter swirls and spreads evenly across the surface. Return to flame and cook for about a minute or until the sides start to loosen from the pan. Flip and cook for 30 seconds more. Remove from pan and set on plate. Continue with remaining batter, stacking the crepes on a plate.
  4. Serve with nutella, jam, powdered sugar, ,fruit and/or whipped cream.
Leave a Comment · Labels: American/Mediterranean, Breakfast, Carb, Dessert, Recipes Tagged: breakfast, Crepes, easy, french

Tropical Green Smoothie

April 29, 2016

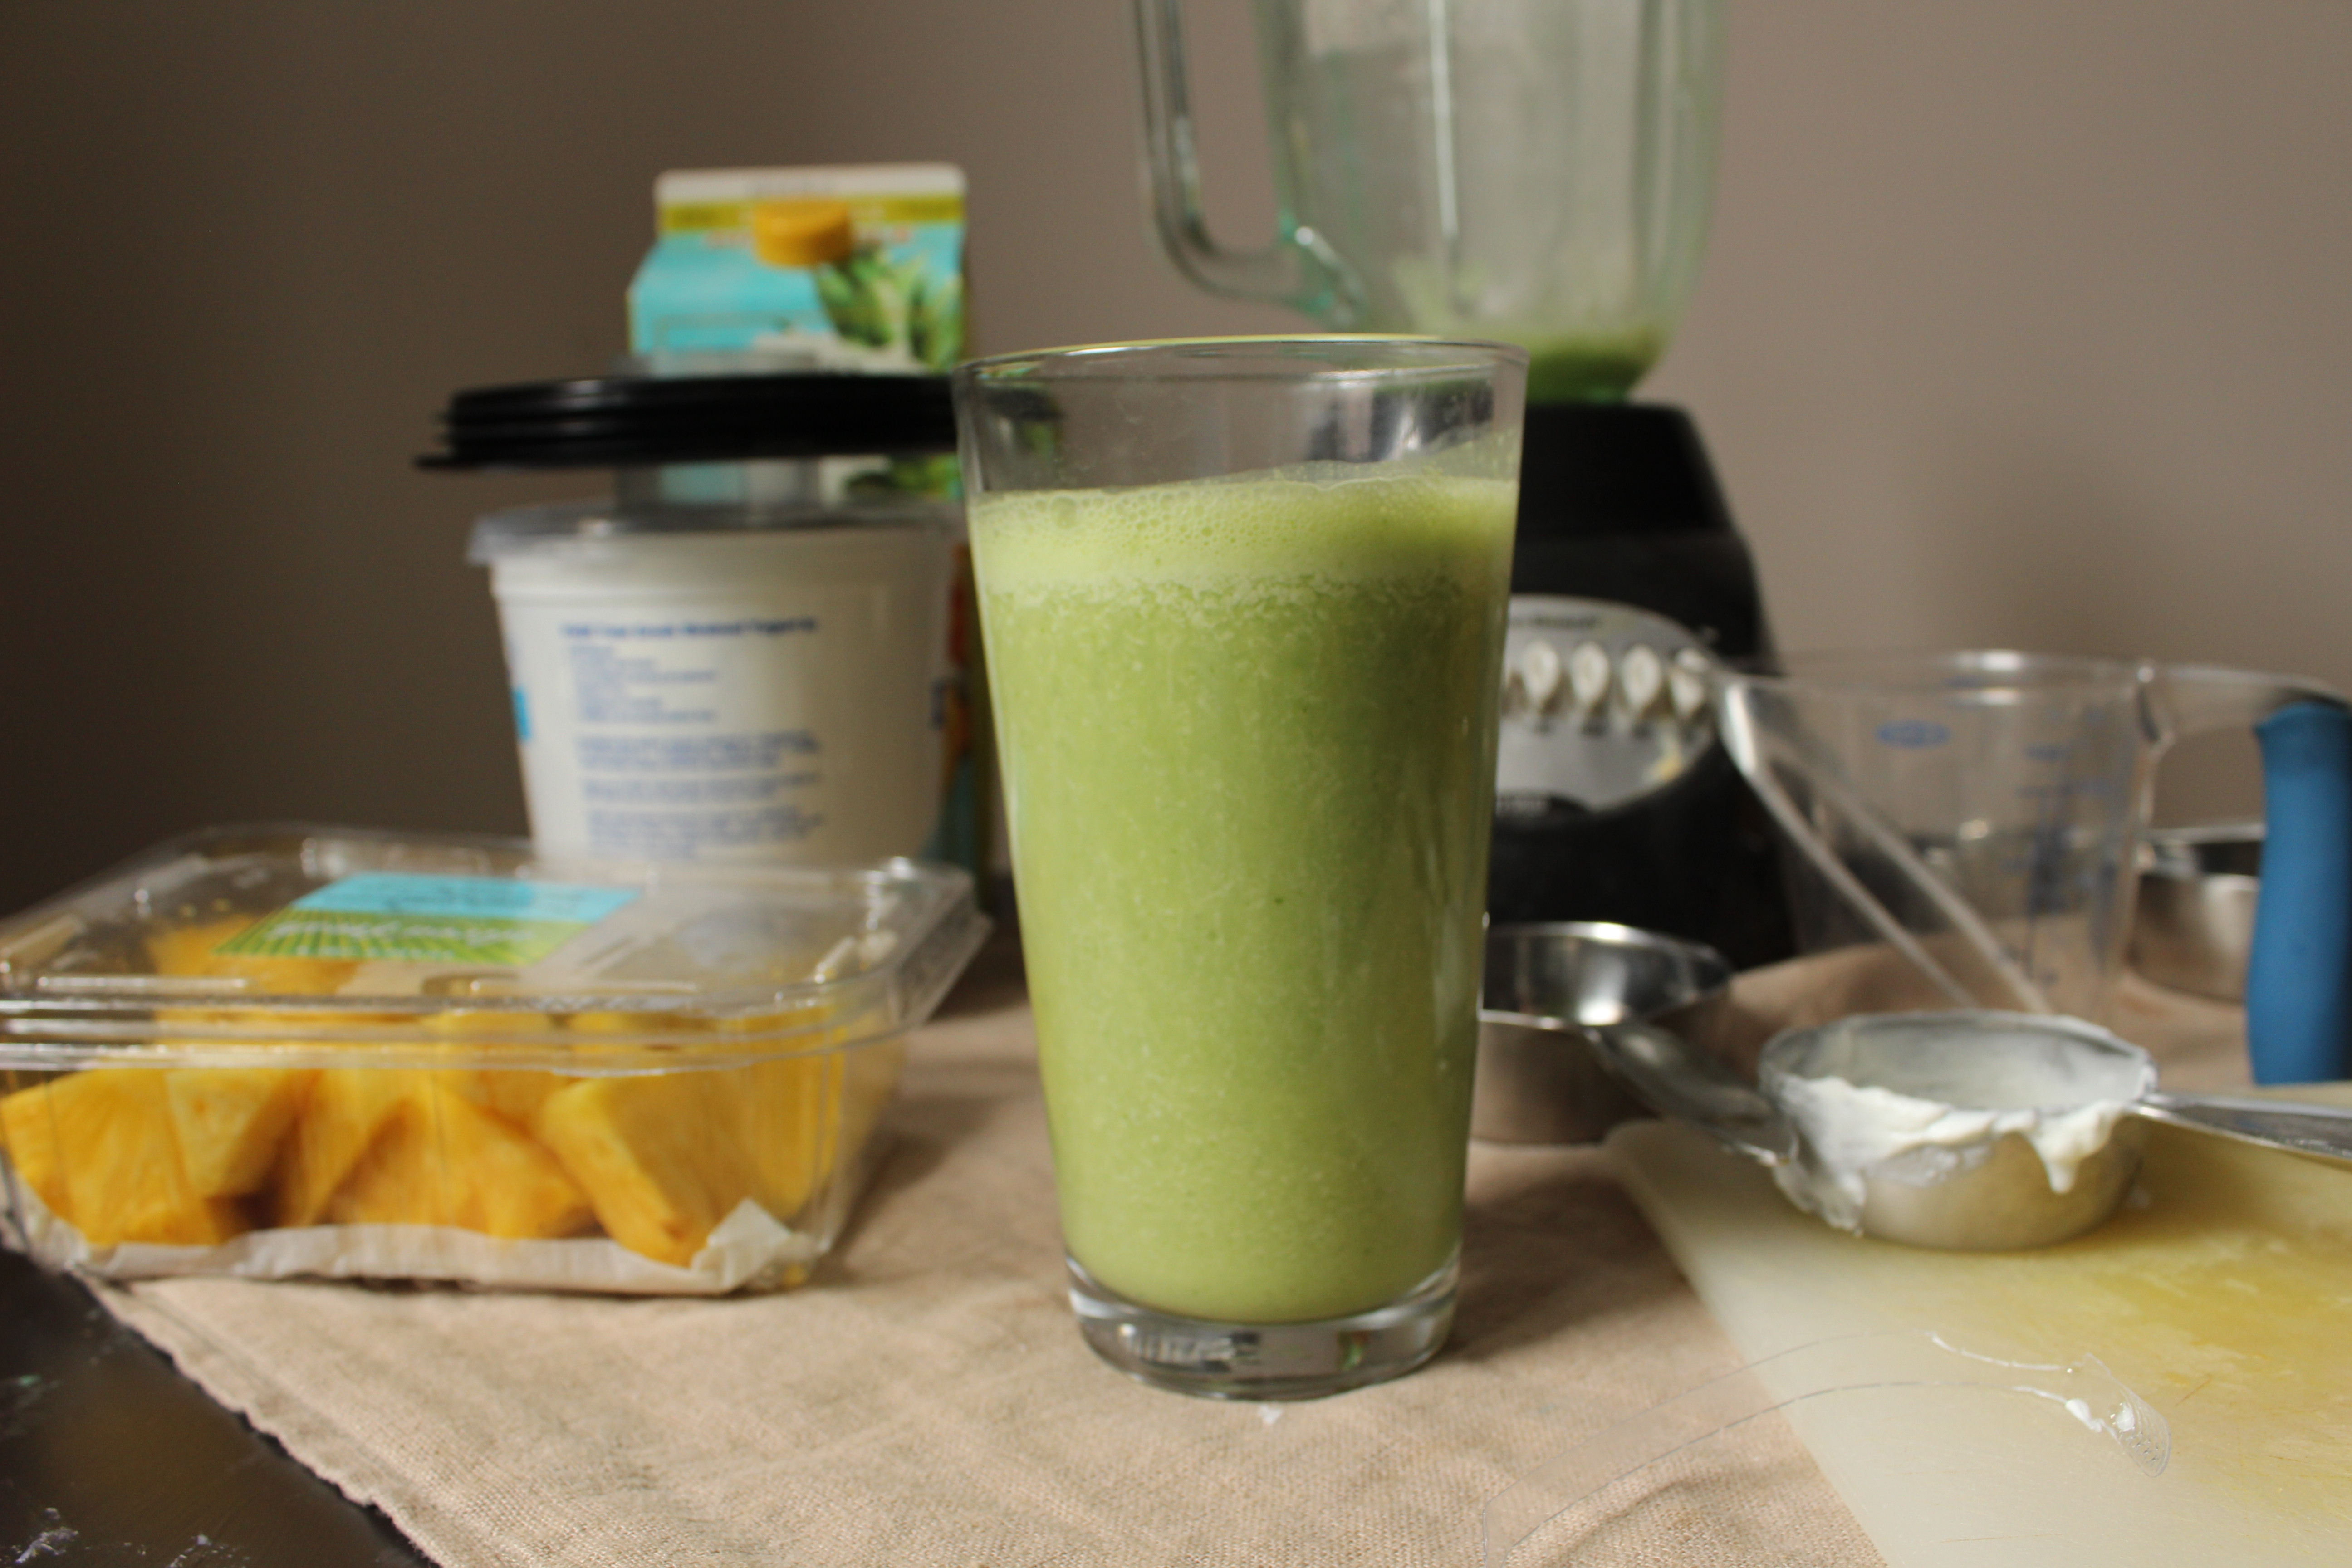
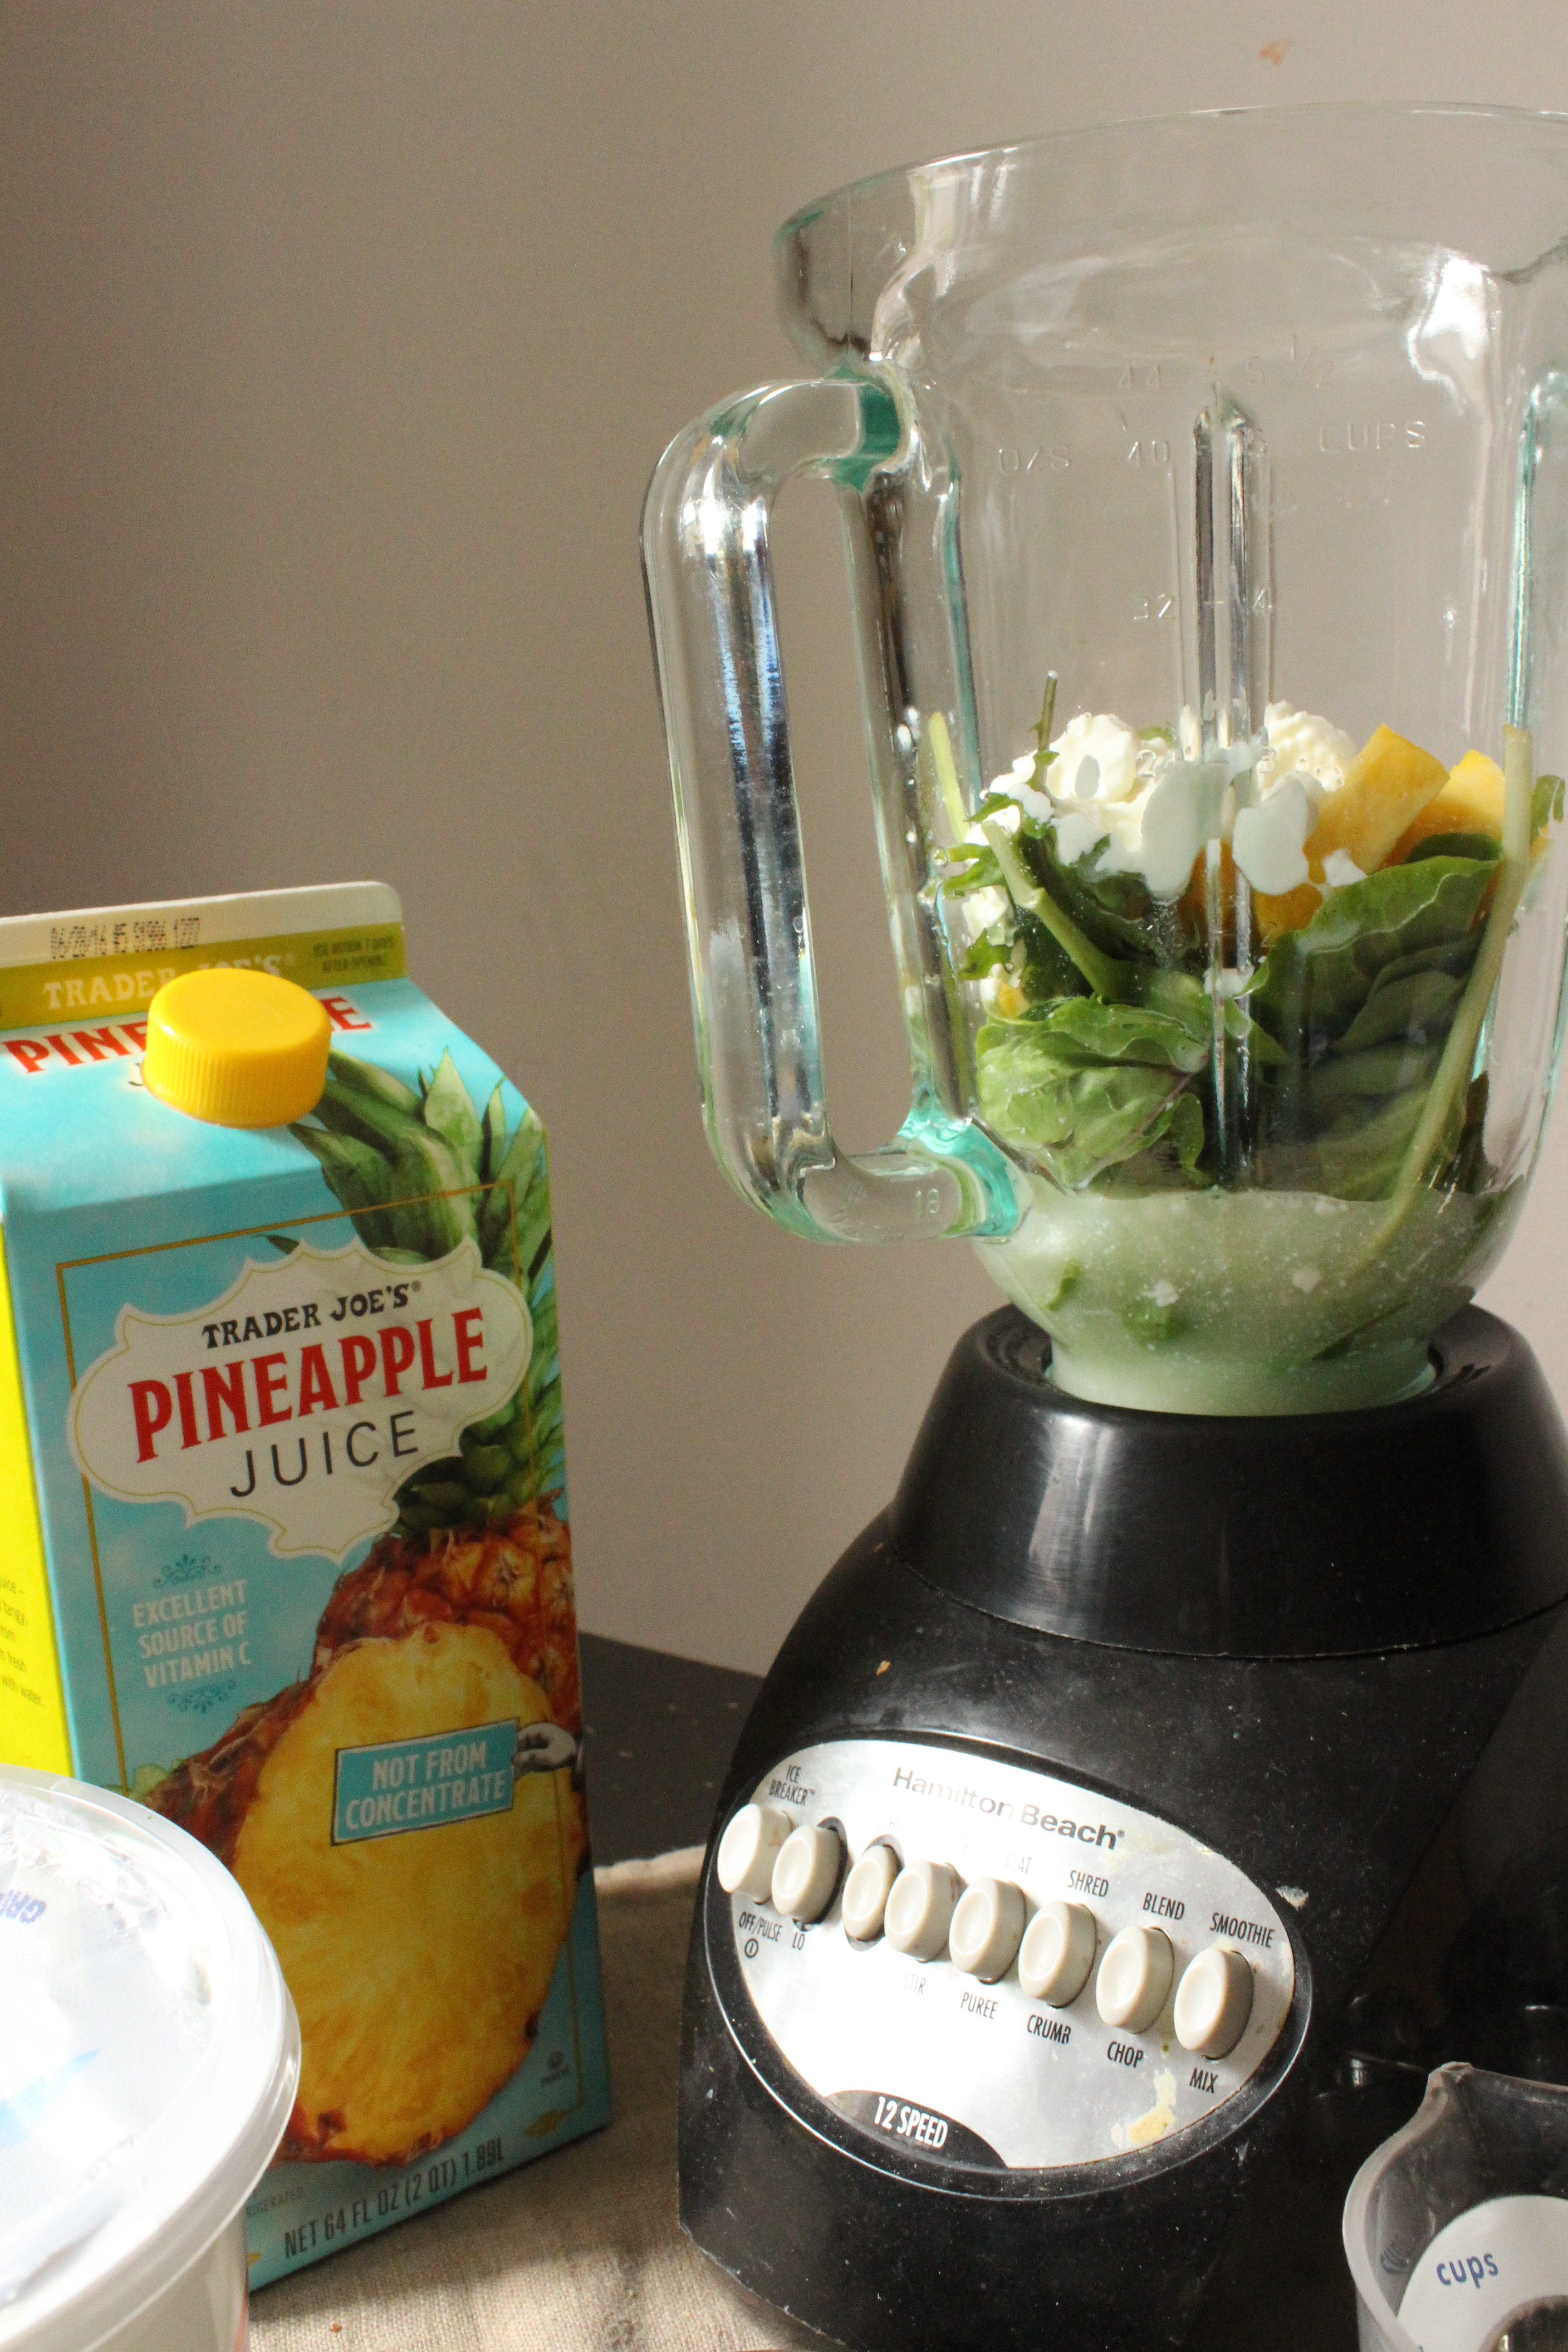
IMG_6284

I just realized that it’s been 2 years since I lost the baby weight. I realize it because I’m slowly putting the weight back on (oh no!).

It’s hard being smaller than your natural dress size! I look at all the women in my family, and post childbirth, we are all at least a size 8 and pear shaped.

I’m 5’1 and for the longest time after my second kid, I was stuck at 129 pounds. Inspired by my Barnard classmate, Asiya Khaki, photographer and beach body coach, I decided to get in shape. I started doing 25 minute interval training workouts with FitnessBlender. I cut out sugar almost entirely. Subbed quinoa for rice in pretty much every meal.

I lost 17 pounds. It was amazing. My core looked better in my late twenties than it ever did as a teenager.

And then Ramadan came, and I couldn’t really stick to my 3 small meals plus 2 snacks a day anymore. And the tons of water to curb my sugar cravings. So things got out of whack.

IMG_6289

I’ve put 5 pounds back on since hitting my lowest (112). I still keep up with the exercise at least twice a week (trying to make it 3 times a week). But I’ve gotten back to some bad habits. Late night work = late night snacks. Busy schedules means less time to make my quinoa salad. More often than not I’m finishing up the kids pasta for lunch. And dinner.

And though I am eating carbs again, I still try to keep up with the nutrition. I buy a big bag of avocados early on in the week. I try to ensure everyone’s got a serving of vegetables at every meal, and fruits at their disposal any time of the day.

In short, this smoothie is not for you if you are looking to lose weight. If you are looking for a nutritious, tasty drink to sub for a meal, definitely give this a try!

Ingredients

  • 1 cup loosely packed mixed baby greens
  • 1/2 cup fresh fruit like pineapple, mango, banana
  • 1/4 cup greek yogurt, full fat
  • 3/4 to 1 cup pineapple or orange juice

Directions

  1. Add the greens, fruit, yogurt and 3/4 cup of the juice to the blender. If it doesn’t start to come together, add the extra 1/4 cup of juice. Enjoy immediately.

Leave a Comment · Labels: American/Mediterranean, Breakfast, Drinks Tagged: breakfast, fruit, greek yogurt, green smoothie, healthy, kale, nutritious, pineapple, smoothie, spinach, swiss chard, tropical

Strawberry Rhubarb Hand Pies

May 18, 2015

IMG_4519I gave into peer pressure, guys. When the first ramps popped up in my instagram feed, I rushed to the Union Square Green Market to pick some up. Not too long after, I picked up some rhubarb without much idea about what I was going to do with it. I am all about eating seasonal foods, local, humane, natural, sustainable, etc. But sometimes the thing that’s in season isn’t exactly worth all the hype. Ramps are great and all. If you are less familiar with them, they are a green leafy vegetable available for a few short weeks in spring. They are sold leaves, stalk, bulb and all and have a lovely mild onion flavor. I loved them first time I used them, as a topping on my homemade pizza. More recently, I chopped them up and stewed them with some tomatoes. I even bought a ramp pesto that works wonders on a tomato mozzarella panino.

IMG_4486But I thought part of the point of seasonal foods was that they would be a bit more affordable? Because of their limited availability these items can be incredibly marked up. I vow for next year (and for later on this year), to wait until the end of a crop’s season to buy them. After the hype dies down, so does the price. And that, my friends, is how I internalize Supply and Demand (take that AP Microeconomics). IMG_4488I’m not posting an original recipe here today. I worked off a Smitten Kitchen recipe and am sharing my experience as a novice in hand pie assembly. This is after all a Web-Log. I am logging my forays into new foods and techniques.  IMG_4489Observation 1: Mamma mia that’s a lot of butter. 3 sticks. That’s an amount usually reserved for Ina’s Pecan Bars or the frosting for a 2 layer cake.

Observation 2: It was a pleasant salty, tangy, sweet and savory flavor experience. I thought the tartness of the rhubarb would be off-putting, but it worked well with the buttery-ness of the crust. I am so used to inundating my tart fruits with sugar (see Lemon Yogurt Cake) that my aging palette appreciated the change of pace. I actually misread the recipe and used 1/4 cup sugar for the filling as opposed to 1/3 cup. Oops. I did, however, intentionally add 1/4 tsp of salt. I ALWAYS need plenty of salt on my tangy fruits.

Observation 3: Make sure you have a good stainless steel saucepan to make this compote in. You have to leave it in the pot for 15 minutes, covered, so it is essential that it doesn’t stick to the sides or bottom. Do not try this on your Mother’s or Mother In Law’s 100 year old Imusa pot. Next time I might try it with black pepper or balsamic vinegar added to the fruit compote. Mmmm….IMG_4490IMG_4511I got to use my pastry blender for the first time. Or as my kids like to call it, The Monster. I had to resort to my salad bowl for mixing. You need a nice, big, wide bowl to work the dough in.  IMG_4514Although I regretted not making this with store bought pie dough (because of the million other things I had to do that in preparation for our weekend beach getaway), I can comfort myself by saying that a store bought pie dough would not have been made special with buttermilk and grapefruit zest. Small comforts when you’ve got fried chicken grease splattered all over your kitchen, a cold dough to work until flat, and a suitcase that just won’t pack itself!IMG_4516Pardon my cutting board’s appearance. It’s close to retirement.IMG_4517I think I should have gotten them thinner than I did. The directions were to roll to 1/8 of an inch but this was the best I could do. Is it ghetto to roll out your dough on a cutting board rather than the counter? I don’t trust myself to clean the counter well enough to roll out dough onto it. Maybe it’s a desi thing. And given my limited counter space, I wouldn’t gain a whole lot by nixing the board. IMG_4524Directions also stated a cooking time of 15 to 20 minutes. I needed to go a bit beyond the the 20 to ensure a nice golden color on my hand pies. IMG_4529Enjoy the season, folks, and all that it has to offer (but maybe wait a week or two ;)).

Recipe adapted from Smitten Kitchen.

Ingredients

  • 3 3/4 cups all-purpose flour
  • 1/2 tsp grated orange or grapefruit zest
  • 1 1/2 tbsps granulated sugar
  • 1 1/2 tsp salt
  • 1 1/2 cups (3 sticks) cold, unsalted butter
  • 1 cup cold buttermilk
  • 3 cups chopped rhubarb and strawberries (I used two cups rhubarb, one cup strawberries. Cut off the leaves and any tough parts of the rhubarb)
  • 1/4 to 1/3 cup sugar (depending on how sweet your strawberries are, but if you’re using all rhubarb, go with 1/3 cup)
  • 1/4 tsp salt
  • 1 egg

Directions

  1. Make the dough: mix the flour, citrus zest, sugar and salt in a large bowl with a whisk. Add the butter and work with a pastry blender, fork or your fingers until you have pea sized bits of flour encrusted butter running throughout. Then, slowly add the buttermilk and mix with a spatula or wooden spoon to incorporate. When all the buttermilk has been added, knead a few times with your hand to get it in the shape of the ball. Divide the ball in four and flatten each into a disk. Wrap with plastic wrap and stick them in the fridge for at least 30 minutes.
  2. Make the filling: combine the fruit, sugar, and salt in a medium to large stainless steel saucepan. Turn on the heat to medium low, cover and cook for 15 minutes. You don’t need to stir during this time. Enough liquid emerges from the fruit to self baste. After the 15 minutes are up, uncover and cook for an additional 15 minutes at medium low. Stir occasionally to ensure nothing sticks to the bottom, particularly towards the end. After these 15 minutes are up, pour onto a plate to let cool.
  3. Preheat the oven to 400 degrees F and line two baking sheets with parchment paper. Generously flour your surface and rolling pin. Roll out one of the disks until 1/8 of an inch thick. Do this with a swift back and forth motion, rotate the dough 45 degrees, then repeat until it is sufficiently thin. Take your time with this, young Jedi. Trim off the edges with a pizza cutter or sharp knife and cut to make 4 squares or rectangles. In a small bowl, beat the egg with a dash of water. Brush two of the squares with the egg wash. These will be the bottoms (hehe). Spoon a teaspoon of the cooled fruit compote onto the two squares. Place the adjacent squares a top the squares with filling, pulling a bit to ensure the edges line up. Crimp the edges with a fork. Brush the top with egg wash and cut a slit to let the steam out while they are in the oven. Place the two completed hand pies on a baking sheet and sprinkle the tops generously with sugar. Bake in the preheated oven for about 20 minutes. While those bake, work on rolling out the next quarter of dough and assemble the next two hand pies in the same fashion. I alternated by sticking the second batch in the oven as soon as it was ready and calculating the extra time required when the first timer went off, but it really browns best when there’s only one baking sheet in the oven at a time. Continue with the rest of the dough. Let cool a few minutes before moving onto a wire rack for complete cooling.

1 Comment · Labels: American/Mediterranean, Breakfast, Carb, Dessert, Recipes Tagged: breakfast, breakfast pastry, butter, buttermilk, dough, hand pies, pastry, pastry blender, pie dough, rhubarb, seasonal, snacks, spring, strawberry

Over the Muffin Top Blueberry Muffins

April 6, 2015

IMG_3893 I wasn’t planning on posting anything anytime soon. I’ve been swamped with work and caught in a whirlwind of Pre-K applications. If some of you have read my previous posts, you know I had been planning on homeschooling my kids. I felt I could provide them with a much more tailored education than could be provided at a public school – supplementing my kids’ homeschooling with extracurricular activities like soccer or dance classes, for the socialization, discipline, and physical outlet.

IMG_3889  But the extracurricular activities aren’t exactly panning out. My kids (ages 4 and almost 3) have such intense stranger/separation anxiety that they don’t want to participate. That’s not the only thing. As parenting young children evolves, it goes from becoming a physically demanding endeavor to an emotionally taxing one. As my days are less and less filled with diaper changes, bottle prep, washing, rocking to sleep, etc. those pockets of time are increasingly filled with

  • negotiations – how many times can you re-wear the same old tutu? when IS bedtime really?
  • refereeing – who deserves that toy? how do you ask patience of an almost 3 year old when you are running out of it?
  • cleaning up spilled milk/juice/paint – i literally cry over spilled milk

IMG_3897 So, we’ve made the decision to enroll our daughter in Pre-K, and my son, when he is ready, next year, God willing. I think it will be good for me – and by extension, the kids. I’ve found in my conversations with other moms (full time workers, part time workers, and stay at home homeschooling mothers) that mothers who work part time have the best of both worlds. They have an outlet in the form of work – using their intellect, getting tangible rewards, conversing with other adults, etc. Plus, they get to spend a good amount of time with their kids afterschool or whenever. There are obviously exceptions to this. I can’t imagine my previous boss allocating any less time from her profession, or rather, her mission in life, to anything else. On the other end of the spectrum I’ve seen some homeschooling moms who just have it together and are getting it done!  IMG_3900 But until my baby girl starts her long, arduous journey of education, she will continue helping me out in the kitchen. Somehow both kids helped with making these (from sifting the dry ingredients, to scooping batter) and despite it all – they came out decent looking! These started off with good intentions – part whole wheat flour, part almond flour. But ended up getting a sprinkling of butter/brown sugar/cinnamon that – you guessed it – sent them over the muffin top. It’s got that nice sugary crust that bakery style muffins have. Everyone is crazy about brown butter these days and I am, too. But not so much browning butter, then adding it to the batter. I like when the food cooks in the butter (pancakes, toast, you name it), so that the browning happens at the surface, where it can impart a crunch when possible and elevate the whole flavor profile of said food.

Try these crunchy, nutty, fruity, delicious muffins. Recipe adapted from Food.com.

Ingredients

  • 1 cup all purpose flour
  • 1 cup whole wheat flour
  • 1/2 cup almond meal (if you don’t have this, then you can use all purpose flour, but it won’t be the same!)
  • 1 1/2 tsp baking powder
  • 1/2 tsp baking soda
  • 3/4 cup sugar
  • 1/4 tsp salt
  • zest from 1 lemon
  • 2 eggs, beaten
  • 1 cup buttermilk
  • 1/2 cup vegetable oil
  • half pint of blueberries
  • 1/4 cup butter, diced
  • 1/4 cup brown sugar
  • 1/8 tsp ground cinnamon

Directions

  1. Preheat oven to 400 degrees F. Line muffin pan with 18 muffin liners.
  2. Sift flour, baking powder and baking soda together in a bow. Add the whole wheat flour, almond meal, sugar, salt and lemon zest. Stir with a whisk (if you try to sift the latter 4 ingredients, I’ve found that it just doesn’t pass through the mesh).
  3. In a separate large measuring cup or bowl, combine eggs, buttermilk and vegetable oil. Beat with a fork or whisk until well combined. Add to the dry ingredients, incorporating everything slowly. Take care not to over mix as that will toughen your muffins. Add the blueberries and carefully fold into the batter (you don’t want to mush the berries!).
  4. Using an ice cream scoop, evenly distribute the batter among the muffin pans. In a separate bowl, combine diced butter, brown sugar and cinnamon with your fingers. Dot the tops of each muffin with the butter/brown sugar mixture and bake for 20-30 minutes in preheated oven.

Leave a Comment · Labels: American/Mediterranean, Breakfast, Carb, Recipes Tagged: almond meal, blueberry, blueberry muffins, breakfast, brown butter, butter, buttermilk, crumble, lemon zest, muffins, summer, whole wheat flour

Potato Hash

December 19, 2014

IMG_3167 I’m sorry I haven’t been posting any holiday related recipes. Do you guys want more of that stuff? Gingerbread, snickerdoodle and the like? For this post, I thought of one of my readers, Raseefa, who mentioned she loves the basic, every day South Asian (or not) recipes that she can make for her small family. Potato hash is definitely one of those recipes you should have your arsenal. It’s not complicated, but there is a small trick to getting it right…IMG_3152 Add potatoes first, remaining vegetables after. I can’t tell you how many times in the early days of my marriage, did my husband put up with potatoes with slightly burned, shriveled pieces of onion and pepper running through it. Because potatoes take longer to cook, I save time by getting them going in the oil first, while chopping the rest of my veggies. IMG_3154 This way of making potato hash won’t give you crispy potatoes. They’ll be tender and flavorful, but cooking them together with the peppers and onions will keep them from crisping up. If you’d rather fry them until crisp and take them off the heat, and combine them with the vegetables later, you’re more than welcome to. This version is easy, and gets eaten by the pickiest eaters in my household for breakfast, lunch or dinner. IMG_3155 I didn’t add any heat this time, mainly to cater to the young’ns. But diced jalapeno, chilli powder or even chipotle peppers would be so good with this. I just doused mine in hot sauce.

I recall my mom’s version of breakfast potatoes: aloo bhaji. She dices potatoes into matchsticks and fries them up generously in oil, seasoned with salt, turmeric and green chilis running through. Her version is delicious, but in order to satisfy my conscience a bit, I add veggies and use a lot less oil.

IMG_3158 Traditionally, potato hash gets topped with some eggs during the final stages of cooking. Since I like my fried eggs over easy, that doesn’t work for me. It easily goes from being breakfast side, to lunch or dinner by adding some diced leftover protein: chicken, beef, tofu, shrimp.

One final note: this dish is so much prettier with red bell pepper if you have it in your fridge.

Ingredients

  • 3 tbsp olive oil
  • 3 to 4 large yukon gold or russet potatoes, diced to 1/2 inch cubes
  • 1 medium yellow onion, or half of a large one
  • 1 red/orange/yellow bell pepper
  • 1 green bell pepper
  • 3 cloves garlic
  • 1 tsp tomato paste
  • 1/2 tsp salt, plus more to taste
  • 1/2 tsp black pepper
  • 1/2 tsp paprika
  • 1/4 cup chopped cilantro

Directions

  1. Heat the oil over medium high heat in a large wok or sauté pan. Add the potatoes in a single layer. Let cook while chopping up the remaining vegetables.
  2. Dice onion and peppers. Add to the pan and stir to combine. Mince garlic and add to pan. Add tomato paste, salt, pepper and paprika. Stir to combine.
  3. Cook, uncovered for about 15 minutes, stirring every once in a while to bring up the vegetables from the bottom to the top. If the vegetables at the bottom are scorching, turn heat down to medium and continue cooking.
  4. Top with cilantro and serve.

Leave a Comment · Labels: American/Mediterranean, Breakfast, Recipes, Side, Veg Tagged: aloo bhaji, breakfast, comfort food, gluten free, morning, paleo, potato, potato hash

Banana Date Nut Bread

March 25, 2014

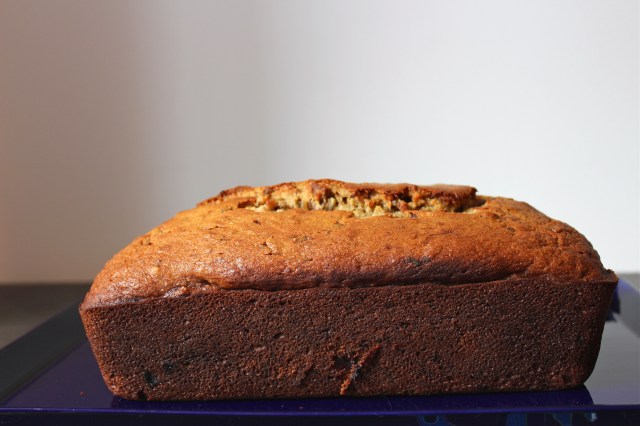
IMG_2408I bought quinoa a week ago. I still don’t have the guts to prepare it, out of fear of what happens to unfortunately too many of my experiments in healthy-food-ness. Make it. Eat some the first day. Then a day goes by: everyone opts for the other options in the fridge. Another day goes by: my mom brings over a vat of chicken curry. Another day goes by: take out time! By day 4, no one will be eating what they hadn’t eaten the past 4 days (my chia seed pudding is currently suffering that fate)! So while I procrastinate on the quinoa, I tried to make some healthier substitutions in my usual banana bread. After going through Mastering the Art of French Cooking, I was all like “yeah! butter! if french people can douse their food in it, why can’t we?”. Then I read an article that scared the pants off of me about saturated fats. So what to do?! There’s got to be a balance between the Paula Deen fried mac’n’cheese-wrapped-in-bacon death on a plate and quinoa/kale/green smoothie diet.IMG_2403So, here is my answer. Banana bread. I know bananas have a bad rap for the amount of sugar in them, but hey, they have potassium. That’s important, right? Personally, I’d rather eat natural foods with natural sugars (like coconut water) and vitamins/minerals than an artificially flavored protein shake to curb my appetite! So, on to this bread. Does it have sugar? Yes. But there’s fiber from the date and whole wheat flour. Does it have fat? Yes. But it’s coconut oil and supposedly the saturated fat in that is better for you. And nuts! Good fats that keep you full longer! I cut the amount of sugar from the original recipe by a 1/2 cup. If you’re rolling your eyes at me at this point, I’m ok with that. This isn’t a cake baked in a loaf pan that you can call a breakfast. It’s hearty. It tastes good. And you don’t have to feel guilty for having a slice. Have it with a glass of milk for a snack, or with coffee for breakfast.

Ingredients

  • 1/2 cup coconut oil
  • 3/4 cup sugar
  • 5 medium bananas, smashed
  • 2 eggs
  • 1/2 cup buttermilk
  • 1 cup whole wheat flour
  • 1 1/2 cups all purpose flour
  • 1 tsp salt
  • 1 tsp baking soda
  • 1/2 cup chopped, pitted dates
  • 1/2 cup chopped pecans

Directions

  1. Bring the buttermilk and eggs to room temperature: set the half cup of buttermilk out and let it come to room temperature while assembling the rest of the ingredients. Place the eggs in a bowl with lukewarm water (cold ingredients will cause the coconut oil to congeal).
  2. Preheat oven to 350 degrees Fahrenheit. Spray a 9x5in loaf pan with non-stick spray (or grease with butter).
  3. Combine coconut oil and sugar in a stand mixer and beat on medium speed until combined (or use any electric mixer) for about 2 minutes. Add the bananas, eggs, and buttermilk, one at a time until combined.
  4. In a separate bowl, whisk together the flours, salt, and baking soda. Slowly add to the wet ingredients with the mixer running, until combined.
  5. Turn off the mixer. Add the dates and pecans. Stir with a spatula or wooden spoon to combine (scraping off the sides and bottom).
  6. Bake in preheated oven for 1 hour 15 minutes (start checking with a toothpick at 1 hour 5 minutes. It should come out dry).

4 Comments · Labels: American/Mediterranean, Breakfast, Carb, Recipes Tagged: banana bread, bananas, bread, breakfast, buttermilk, coconut oil, dates, quick bread, snack, vegetarian, whole wheat flour

Chocolate Chip Banana Pancakes

February 12, 2014

IMG_2303 Were the first year or two out of college a big smack in the face for anyone else? I remember sitting around  my freshman year sociology class discussing Durkheim, or learning about the Coriolis effect in Intro Mechanics, or even listening to Bashir Abu Manneh’s impassioned lectures on Fanon, thinking, “I’m good enough to get this far, I can do pretty much whatever I want to do.” Well, I couldn’t. Not for a long time. For many of us who graduate from Liberal Arts schools without ultra competitive job offers, Teach For America gigs, or grad school acceptances, life after college is a bitch.  IMG_2271One of my peers in Physics had a nanny gig lined up after graduation. Mindy Kaling, even with her Dartmouth education, nannied for a while when she first moved to the city. I got a part time job pushing paper at a consulting firm (that led to better opportunities later on). I searched for jobs for over a year and a half, whereas I believed with my degree, landing one would be a cinch. It was a humbling experience. I realized that as while you’re dishing out the dough, you can be fooled into a false sense of entitlement. But when it comes to earning a few of those dollars back, intelligence is rarely enough. You need to be practical. Don’t fall into the same millenials boat.IMG_2282 Moral of the story is this: don’t go to a liberal arts school. Of, if you do, do incredibly well, so that you graduate at the top of your class. Become a pharmacist. Or learn to code. Make sure you have a decent internship lined up before your senior year. Harass people to get a decent job offer – persistence pays. I wish someone had told me any one of these.  IMG_2285 What does all this have to do with chocolate chip banana pancakes? Well, I have a lot of time to think while babysitting these guys on the stove. I make these like once a week and they are so incredibly good. I rarely have enough overripe bananas for banana bread, but often have one or two. The perfect amount for providing a hint of sweetness and banana flavor to regular pancakes. They are so light and fluffly…not like these ricotta pancakes I had at brunch a few weeks ago at a pretty popular Greenpoint spot (could NOT finish those dense giants).

I make them “reduced guilt” by incorporating whole wheat. You can even go the full 9 yards by subbing unsweetened applesauce for butter, and blueberries for chocolate chips. I sometimes have blueberries and hand and ALWAYS have chocolate chips. So, here you go.IMG_2305

Ingredients

  • 2 overripe bananas
  • 1 egg
  • 1 1/2 cups whole or reduced fat milk
  • 3 tbsp butter, melted
  • 3/4 cup all purpose flour
  • 3/4 cup whole wheat flour
  • 2 1/2 tsps baking powder
  • 1 tsp baking soda
  • 1 tsp salt
  • 1 tbsp sugar
  • 1/4 cup chocolate chips

Directions

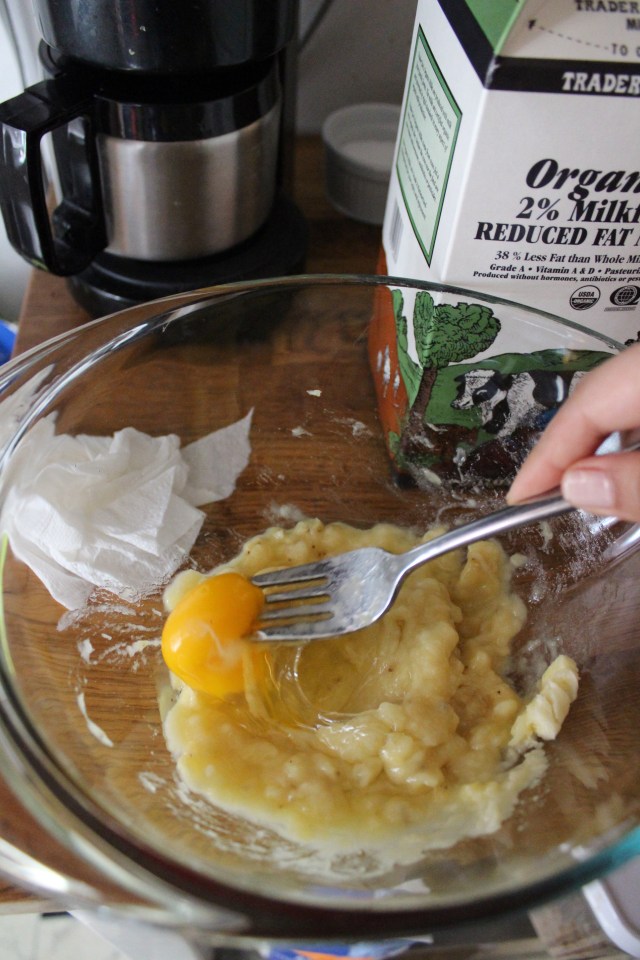
  1. Mash bananas in a medium bowl with fork. Add egg and whisk together. Add milk and stir to combine. I like to melt the butter in the frying pan that I’m using to cook the pancakes in. Add to the banana/egg/milk mixture.
  2. Add both flours, baking powder, baking soda, salt and sugar to the mix. Stir to combine without over beating (few lumps are ok). Add chocolate chips.
  3. Heat up your griddle or non stick pan over low heat.
  4. Scoop 1/4 cup of batter onto the pan. Cook until bubbles come through, about 1 min. Flip and cook for an additional 30 seconds or until  you achieve a golden brown color.

I prefer this method rather than adding pads of butter to the pan for each pancake, as the coloring is much more even.

Leave a Comment · Labels: American/Mediterranean, Breakfast, Recipes Tagged: banana, banana pancakes, breakfast, chocolate chip, chocolate chip pancakes, chocolate chips, flapjacks, pancakes

Toaster Oven Baked Eggs

September 26, 2013

IMG_1535 **$50 Sur La Table Giveaway ends at midnight tonight!**I nearly burned our building down a few months ago when I tried the self-cleaning mechanism on my oven for the first time and forgot about a teeny tiny pot of oil for deep frying in the back of the top rack. The initial fumes didn’t worry me…I knew it was incinerating all the baked on muck and turning it into ash. However, when the smoke started to darken, and our eyes started to burn, I ran to the oven to find smoke billowing out of the oven and “F10” flashing on the digital display. Needless to say, my stovetop was out of commission for several days until it was replaced. This was tricky for me, as fried eggs and oatmeal (alternately) are the most common  breakfast foods in our house. Then, one day, I remembered Ina Garten’s herb-baked eggs, and I thought, I could definitely make these in the toaster oven. IMG_1536Now, I don’t have individualized gratin dishes, and I don’t imagine many people do. But I did have these creme brûlée dishes I got as a wedding gift that don’t get used nearly as much they should. So, I buttered them up, cracked a couple of eggs into them, sprinkled with salt, and voila. Breakfast was ready in 10-11 minutes. No babysitting a fried egg on the stovetop, or worrying about breaking the yolk. Use any oven proof, small, shallow bowl you have. Feel free to throw your toast in there as well, halfway through the cooking process. Remember, it will keep cooking even after the timer goes off. So, leave it in the toaster oven for another minute or two, letting the ramekin/gratin dish/creme brûlée dish cool a bit while the egg sets.

Ingredients

  • Butter, for greasing
  • 2 eggs
  • a pinch of salt
  • chives or parmesan for garnish (optional)

Directions

  1. Butter your baking dish generously. Crack two eggs into it, taking care not to break the yolk, and sprinkle with salt (and pepper if you like).
  2. Insert into toaster oven and set the temperature to 375 degrees Fahrenheit. Bake for 10 minutes.
  3. Leave in toaster oven for another minute or two while the eggs set. Serve with a garnish of chives and/or parmesan. Eat immediately!

1 Comment · Labels: American/Mediterranean, Breakfast, Protein, Recipes Tagged: baked eggs, breakfast, eggs, gluten free, good fats, protein, toaster oven, weekday morning breakfast

Homemade Granola

September 4, 2013

IMG_1394

Why not have breakfast in your favorite dessert bowl?

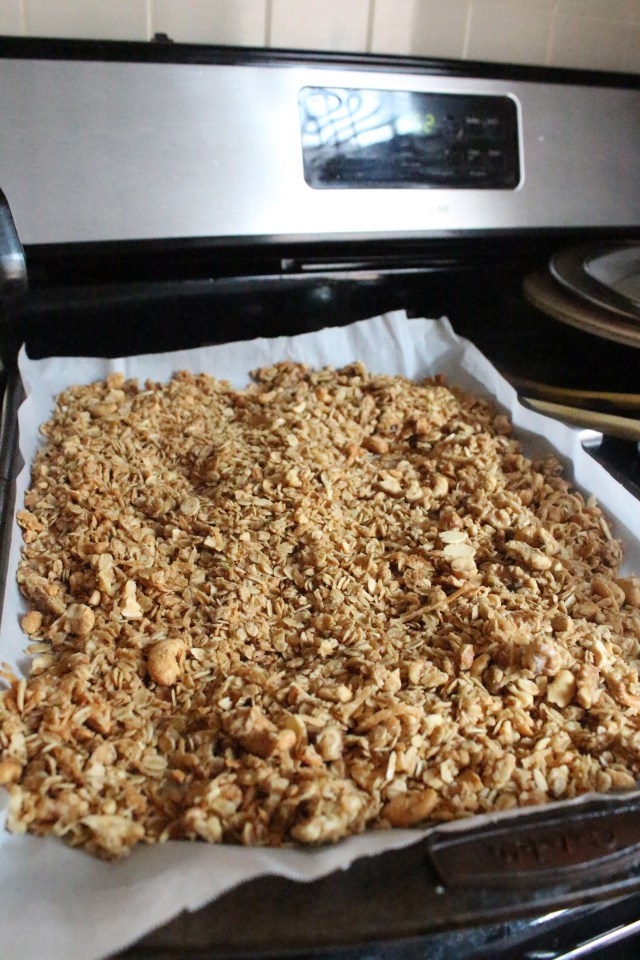
I am not crazy about oatmeal. Unless it’s steel cut. That I don’t mind for a weekday breakfast. But it can be time consuming. So, the other option is to make a nice big batch of this granola on a lazy Sunday (believe me, it does not take a whole lot of effort…a little babysitting while it’s in the oven, sure, but nothing over the top). And boom, you have breakfast ready for the whole week. Over yogurt, over milk, over ice cream as a midnight snack, it’s delicious. Can you buy ready made granola from the store with about the same amount of effort? Yes. Will it make your whole house smell like maple syrup and toasted coconut? No.  Besides, like most foods when made fresh, it tastes better!IMG_1383I realize most people may not have all the necessary ingredients on hand for this, but if you make it just once, you’ll likely keep those items in stock for future cravings. It’s super customizable, too. Don’t have almonds? Use peanuts. Don’t have raisins? Use craisins. I don’t care  for dried fruit in my granola so I just leave it out entirely. Just don’t skimp on the maple syrup or coconut.IMG_1390This is Alton Brown’s recipe. When it comes to basics, this guy knows what he’s doing.

Ingredients

  • 3 cups rolled oats
  • 1 cup slivered almonds
  • 1 cup cashews
  • 3/4 cup shredded sweet coconut
  • 1/4 cup plus 2 tablespoons dark brown sugar (I use light brown)
  • 1/4 cup plus 2 tablespoons maple syrup
  • 1/4 cup vegetable oil
  • 3/4 teaspoon salt
  • 1 cup raisins

Directions

Preheat oven to 250 degrees F.

In a large bowl, combine the oats, nuts, coconut, and brown sugar.

In a separate bowl, combine maple syrup, oil, and salt. Combine both mixtures and pour onto 2 sheet pans (I use one). Cook for 1 hour and 15 minutes, stirring every 15 minutes to achieve an even color.

Remove from oven and transfer into a large bowl. Add raisins and mix until evenly distributed.

Leave a Comment · Labels: American/Mediterranean, Breakfast, Recipes, Snacks Tagged: breakfast, cereal, coconut, granola, maple, nuts, oats

On Butter

April 8, 2013

IMG_0865I didn’t grow up eating butter. My eggs were fried in vegetable oil. We spread country crock vegetable spread on our toast. The only time I saw butter were in big blocks in the freezer that my mother eventually cooked down to make ghee, which was reserved for bengali mashed potatoes (like yours except with raw onions and green chilis but definitely no milk) and biryani (morog palau in bengali, rice and meat pilaf in english). Why the discrimination against butter? As my sister explained, butter does not do so well in tropical climates. So, by removing the milk solids from it, they are able to preserve it for longer. Which makes sense given what a commodity it is over there.

So when I left the nest, I started buying butter FOR REAL. Not to spite tradition or anything. I made the change simply because it felt more wholesome, less artificial than some of the alternatives. And there is definitely something to be said for consuming moderate amounts of natural fats rather than hydrogenated vegetable fat. Or using a small amount of flavorful fat (eg olive oil) rather than vasts amount of corn oil to make your food taste good. Though, admittedly, I have been tip toeing the line between moderate and excessive only because of this:  IMG_0867

OH MY GOD. You have not lived until you’ve had one of these high fat content european butters (puglia is another one) on your toast, topped with a sprinkling of powdered sugar. I know because I went sky diving. This is better than sky diving. I never cared to spend the extra money on these before, until I read Dorie Greenspan’s take on these french butter cookies. The lady knows what she’s doing, so I picked up a bar of one of these at my local TJ’s. I have not looked back!

So, the next time you are thinking of whipping up a batch of Sunday morning pancakes (I use a combo of whole wheat flour and almond meal in mine) or super easy French toast, try adding a little bit of gourmet to the mix. You won’t regret it! Then perhaps we’ll all ease up a bit on Paula. IMG_0871On a final note: remember to use the salted butter on your pancakes, french toast, etc. The sweet/salty combo takes it over the edge!

2 Comments · Labels: Food Fun Tagged: breakfast, butter, kerrygold

American, Bangladeshi. Savory, sweet. I don't discriminate and neither should you.

Most recently…

Load More...
Follow on Instagram

Social

Subscribe to Blog via Email

Enter your email address to subscribe to this blog and receive notifications of new posts by email.

Tags

appetizer beef bengali breakfast butter cake caramel chicken chocolate chocolate chips cilantro clean eating coconut comfort food cookies dessert dinner entertaining fall fruit ganache gluten free halal healthy homemade honest chops honest creations iftar italian pasta pastry pistachio quick and easy dinner ramadan recipe side side dish south asian spinach vegan vegetables vegetarian weeknight dinner weeknight meal whipped cream

Theme by 17th Avenue · Powered by WordPress & Genesis