Kitchen3N

Recipes and food fun from Apt 3N

  • About
  • Gallery
  • Recipes

Krumkake

January 12, 2018

img_1189
If you’ve been following along on social media (esp Instagram!) you’ll know I’ve had an exciting week: my little girl turned 7, my favorite fashion blogger of all time (Aimee Song!) showed my IG some love, and I discovered a classic Norwegian dessert called Krumkake.
img_1103
In anticipation of my daughter’s birthday, I got to thinking what kind of cake should I make for her? Chocolate and vanilla can get tiresome when you make them almost every day. I thought, what about a Kit Kat cake? What would I need?
img_1104
Chocolate, wafers, and more chocolate. I did some research on the filling of KitKat – apparently it’s some trade secret! Rumor has it the filling is made up of crushed KitKat?? That’s kind of dark. Like, candy cannibalism.
img_1112
Anywho, that’s what got me started on my wafer journey. Looked up a wafer recipe, said recipe directed me to various presses. Instead of a waffle press, I went with this Norwegian Krumkake press, with it’s beautiful design, I couldn’t resist!
fullsizeoutput_6d4a
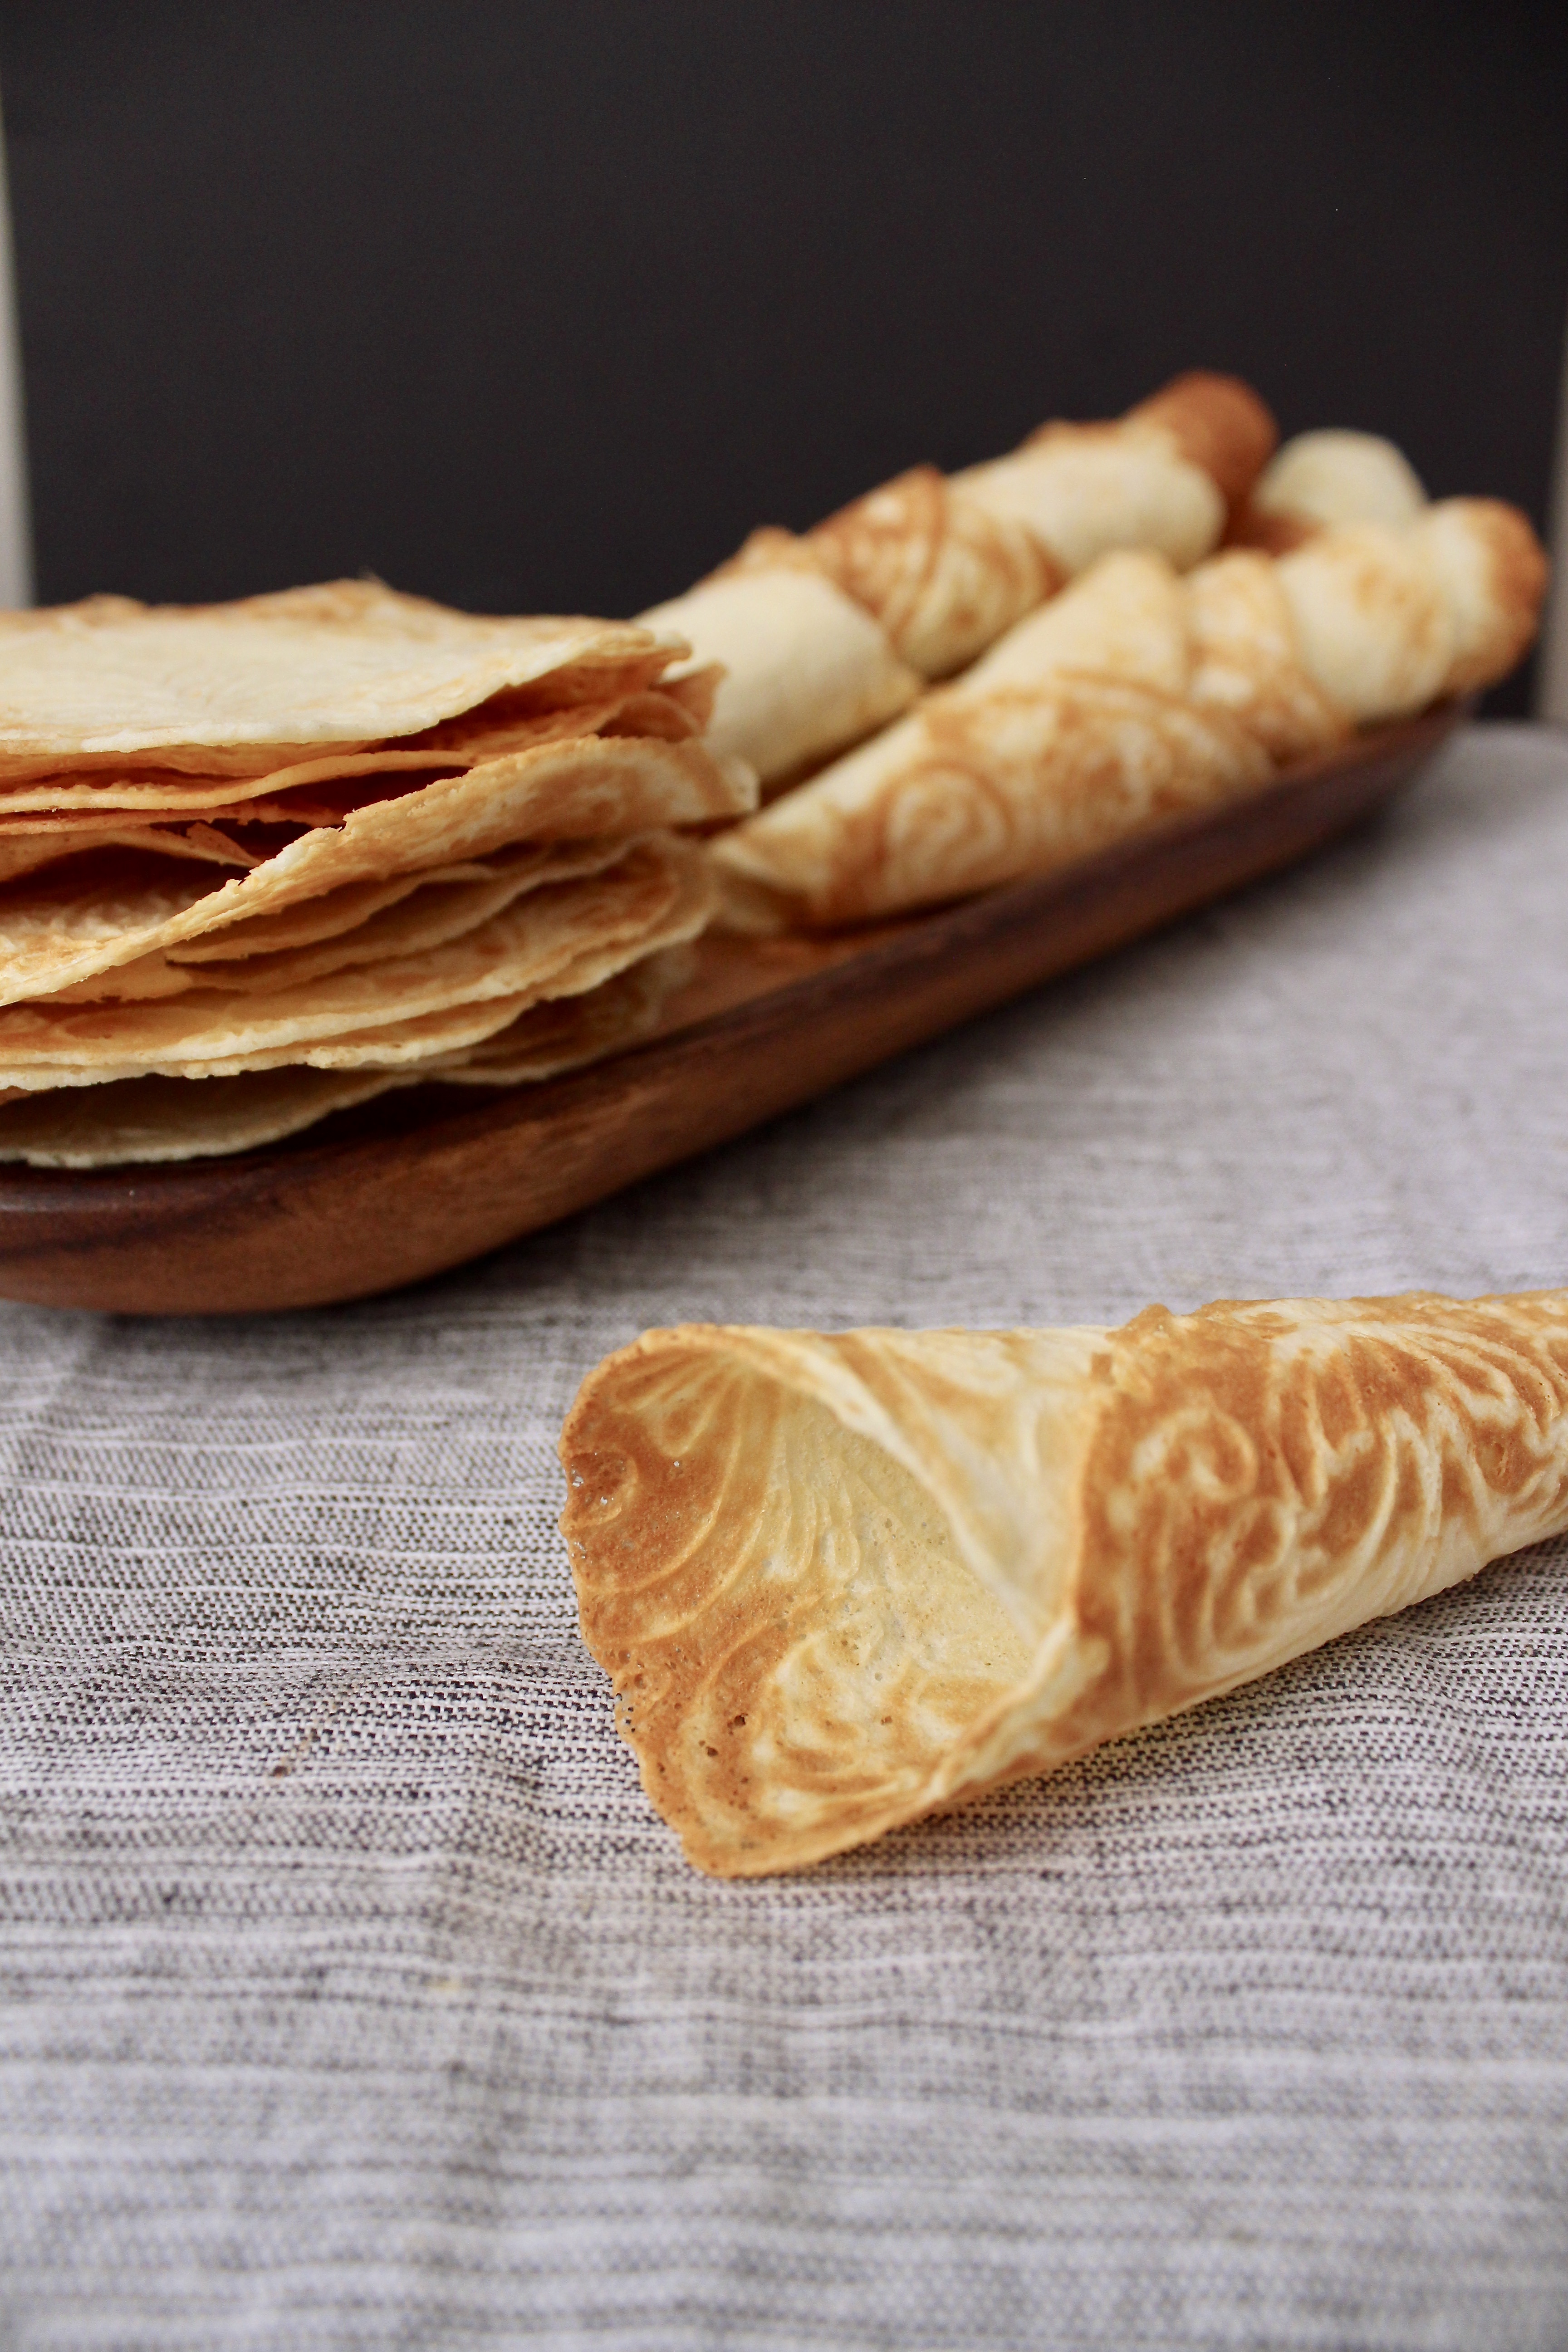
The simplest batter of butter, flour, eggs, sugar and milk gives you excellent wafers. The only thing is you need like 1 hour in the kitchen, baking each one for about 30 seconds each, and rolling them around the cone that the press comes with, or leaving flat if you want to stack them for a cake.
img_1172
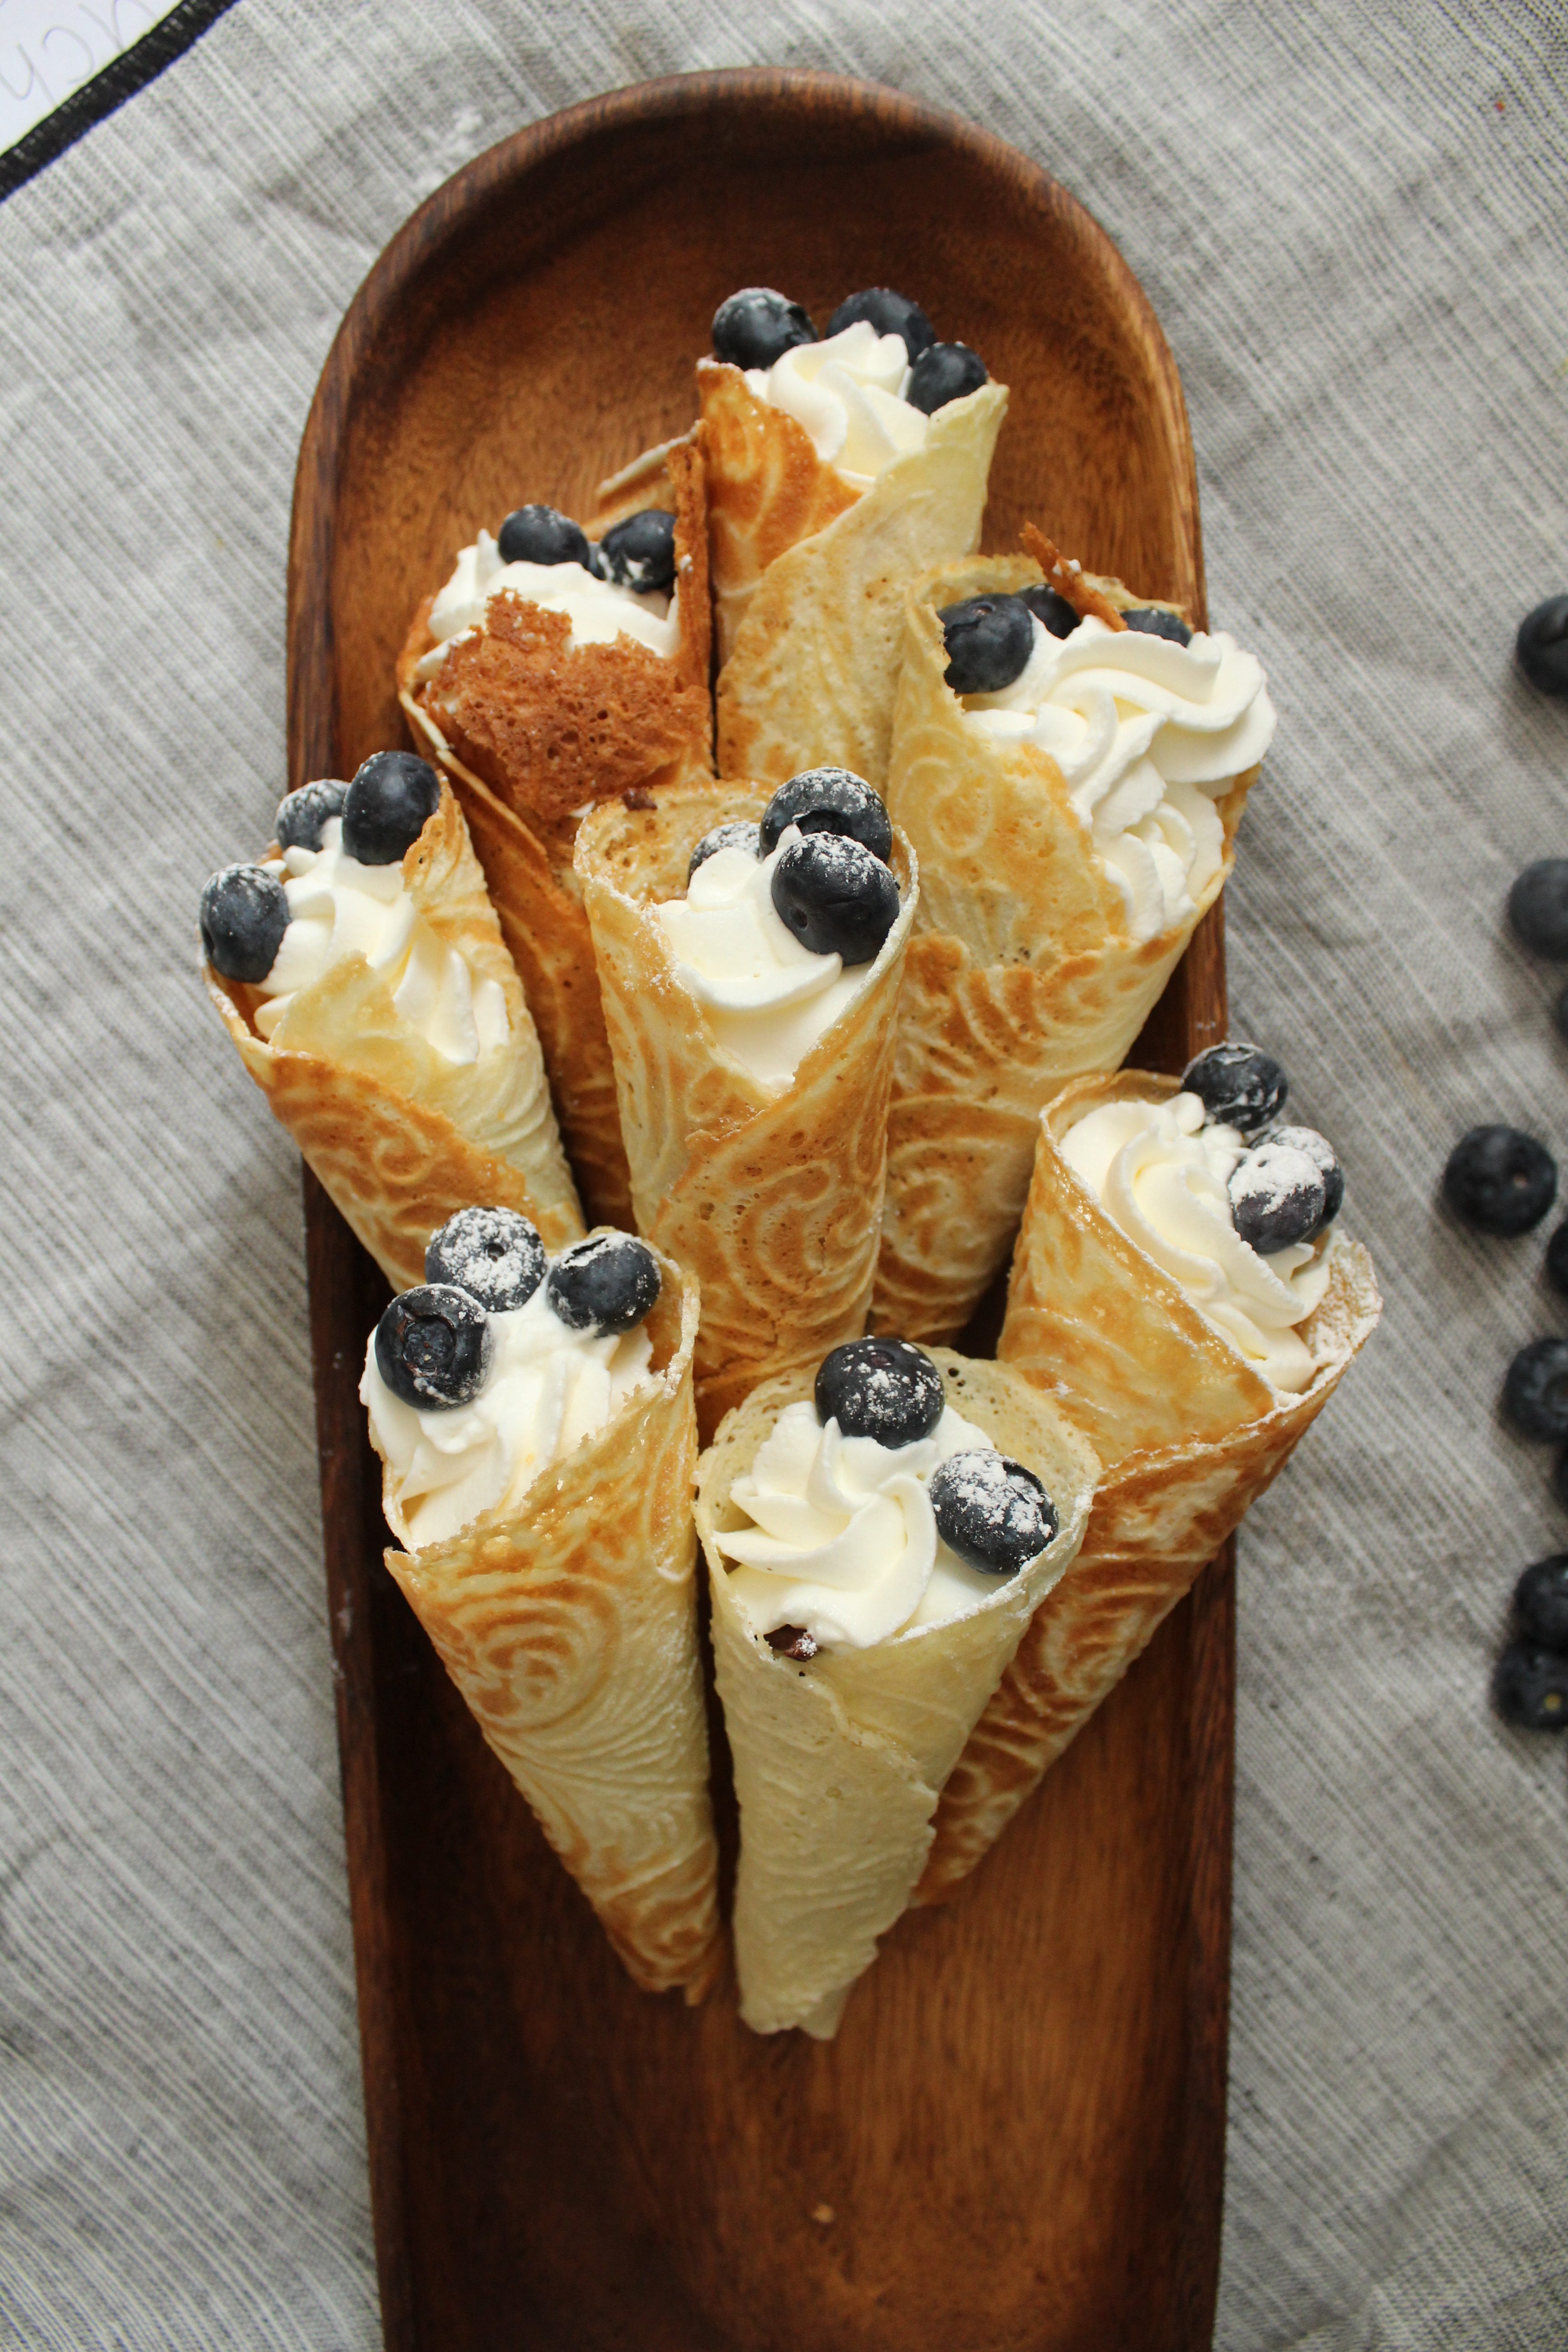
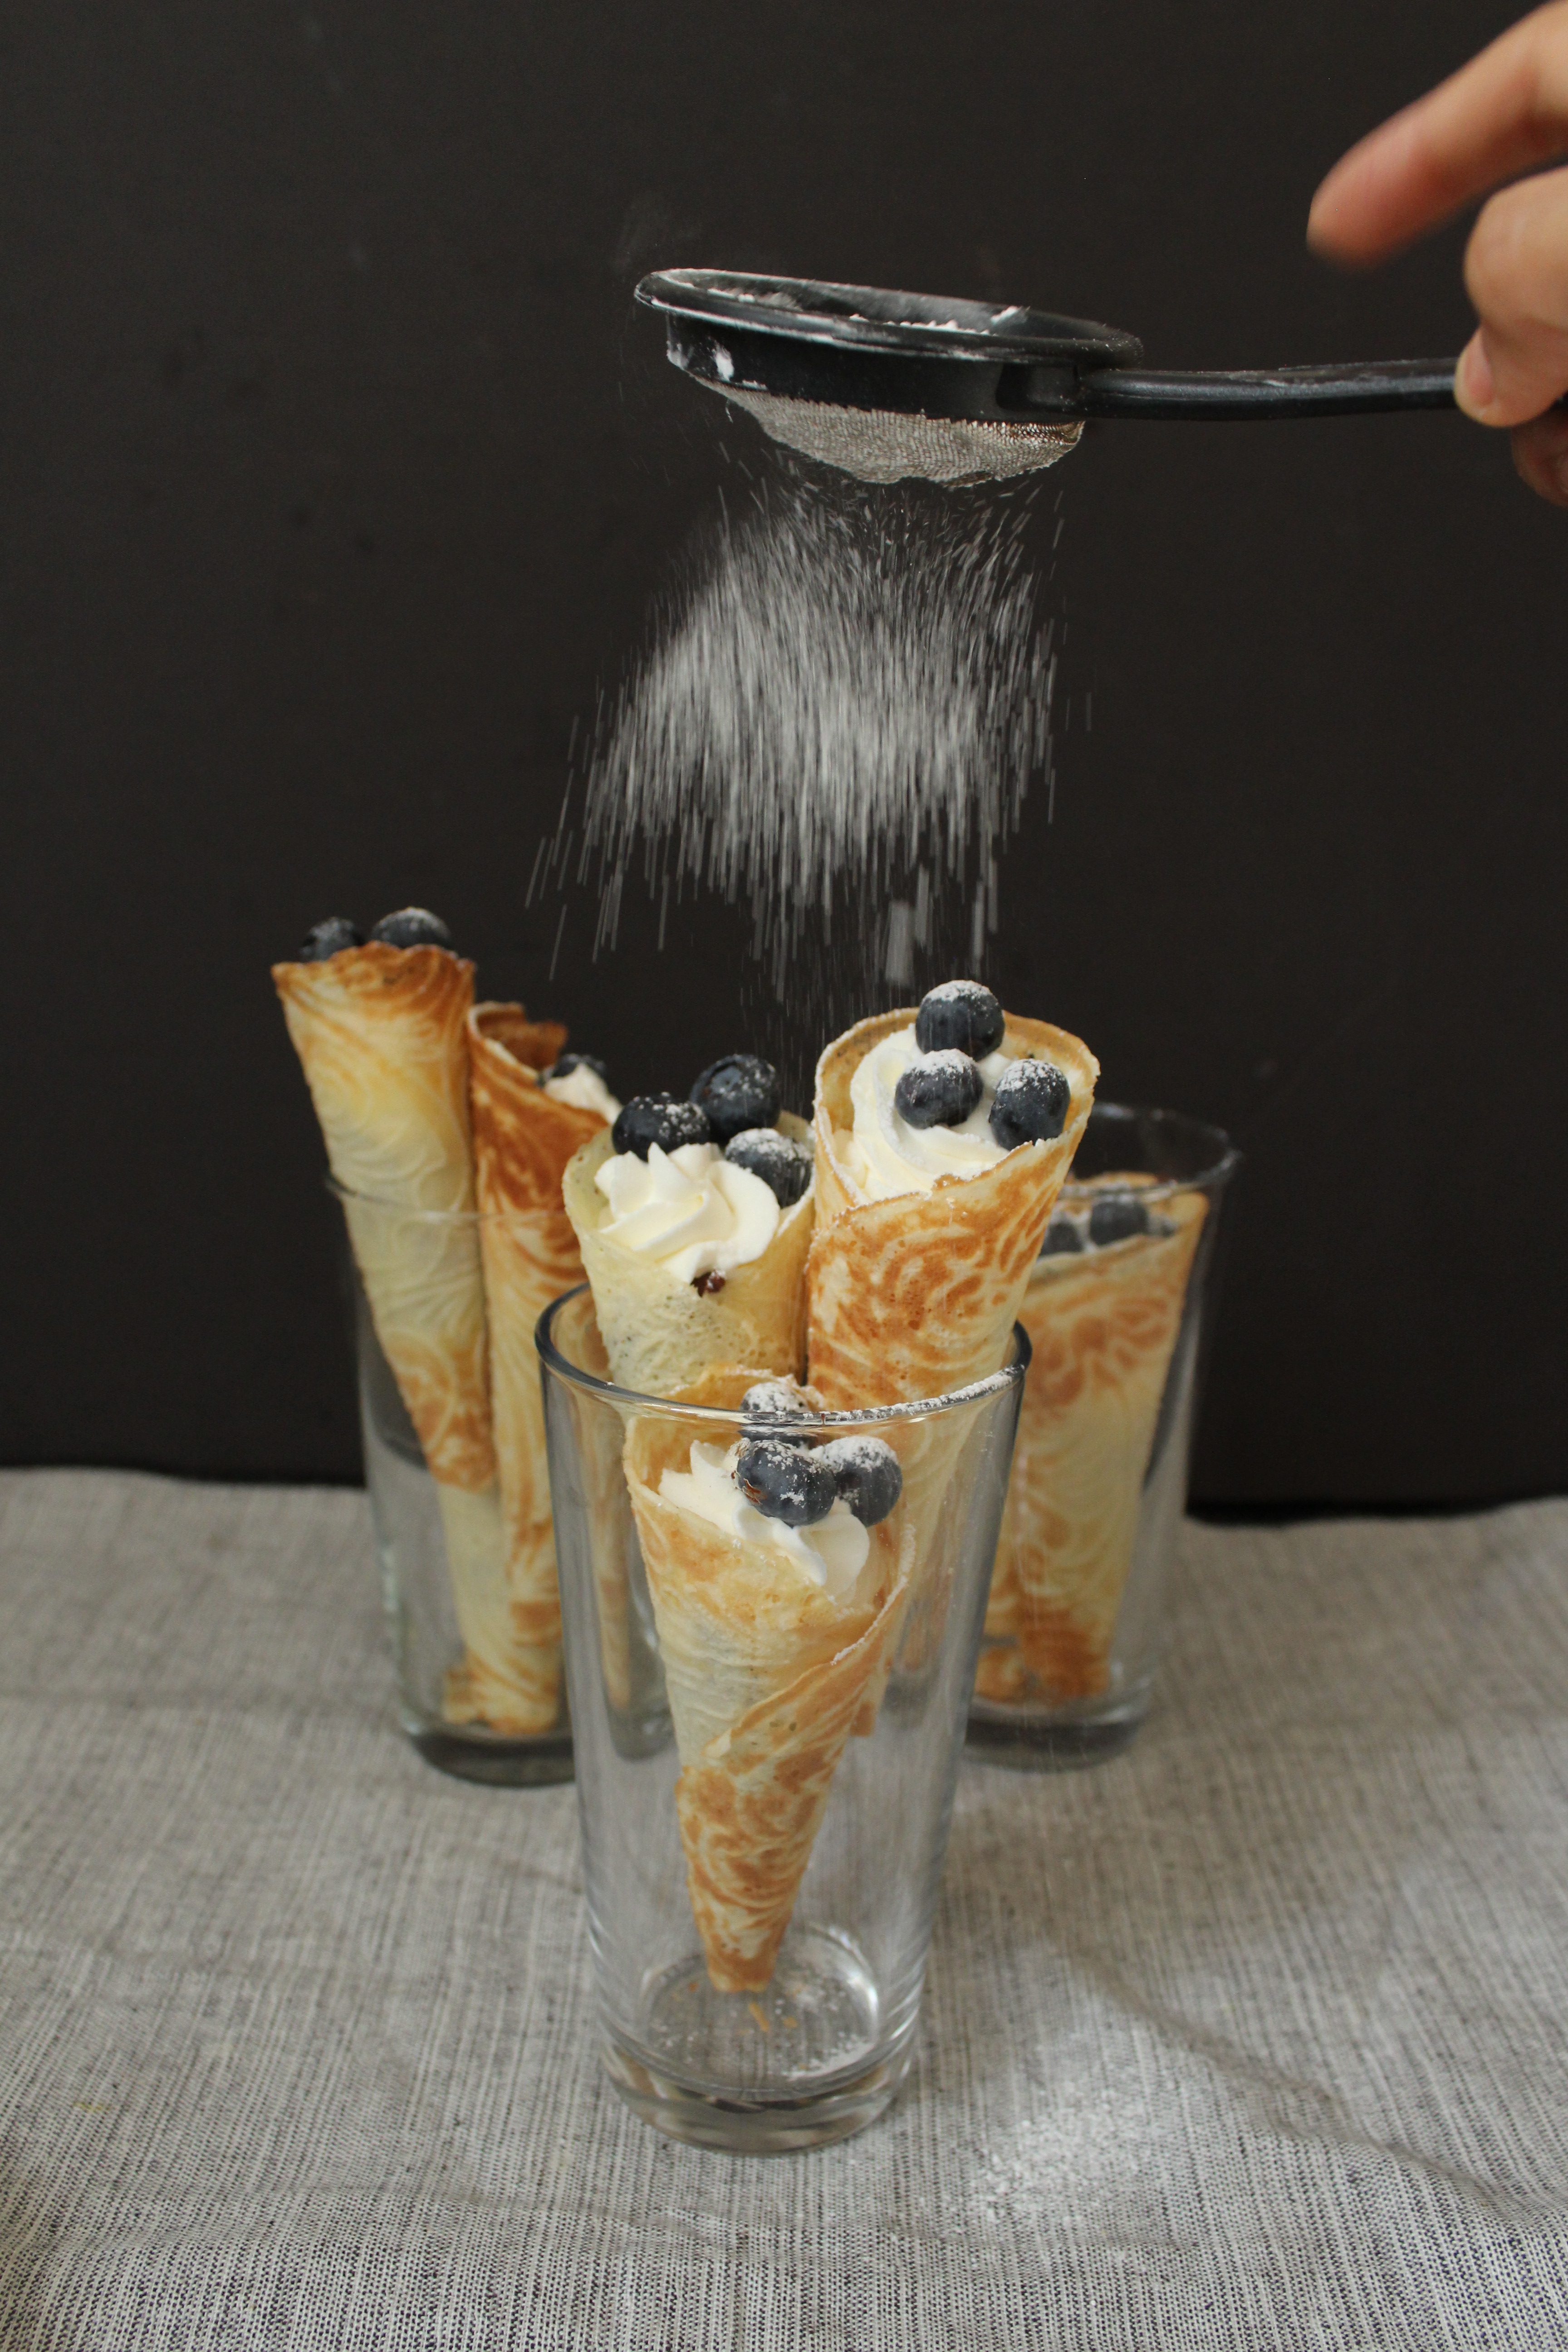
You can fill them with pretty much anything you like! Whipped cream, pastry cream, fresh fruit, ice cream. I opted for a dark chocolate ganache, whipped cream, blueberries and powdered sugar. They are delicious on their own, as well!

/wp-content/uploads/2018/01/Krumkake.mp4

They are delicate, so take care handling them after they’ve dried. I found it easier to fill and decorate by placing them in tall glasses. Serve on a nice wooden platter and enjoy immediately!

Ingredients

  • 2/3 stick (5 tbsp) unsalted butter
  • 2/3 cup granulated sugar
  • pinch salt
  • 2 eggs
  • 2/3 cup milk
  • 1 cup all purpose flour
  • 1/2 tsp vanilla extract
  • chocolate ganache (optional)
  • whipped cream (optional)
  • blueberries (optional)

Directions

  1. Melt the butter in a double boiler (a heat proof bowl set over a saucepan of simmering water, not allowing the water to touch the bottom of the bowl), careful not to let it brown or get too hot. Add sugar + salt and beat on high speed with a handheld electric mixer until well combined. Add eggs one at a time and blend until mixture is a pale yellow color. Add milk, alternating with flour until all ingredients are combined. Add vanilla. Batter should be thick but drip off the spoon easily.
  2. Plug in your krumkake maker and set the color number to 4. Set out a kitchen towel and rolling cone. Spray the inside with non stick cooking spray. The red “baking” light will turn on. When the light changes to green (“ready”), drop 1tbsp of batter in the center. Close the lid and snap the latch shut. The light will switch back to red and when done, green again. Use tongs to carefully remove the krumkake and place over the cone, aligning the center of the krumkake along the length of the cone. Roll to form a cone and allow to set while working on the next one.
  3. Repeat (no need to spray additional spray) and remove previous krumkake from shaping cone. Adjust the color if you prefer a lighter krumkake*.
  4. When all the krumkakes have dried and keep their shape, place in tall glasses to fill. Fill with puddings, whipped cream, chocolate ganache and/or fresh fruit for a delicate, wonderful and tasty dessert.

*My manual suggests a setting of 2.5 but I was getting zero color at that setting.

· Labels: Dessert, Recipes Tagged: biscuits, blueberries, chocolate, chocolate ganache, christmas, cones, confectioners sugar, cookies, crisps, dessert, ganache, kromkake, krumkake, norwegian, sugar cones, wafers, whipped cream

Rocket Cake

January 20, 2014

IMG_2127

Photo credit: my dear sister in law, Sabika Mustafa. Ethics Bowl Champ of NJ!!

My daughter wants to be an astronaut…for now. For the sole purpose of being able to board a rocket and go to the mysterious presence in the night sky. I remember wanting to as well. Then I learned you have to pass a swim test. And psych testing. And you  need a PhD in math/science/engineering (the bachelors did me in).

And the job market doesn’t seem to be too promising for astronauts, since they’re outsourcing it to the machines [insert techno slur]. But she doesn’t know all this just yet. So for now, [CLICHÉ ALERT] she will just have her rocket cake and eat it, too. IMG_2071Planet earth(ish) sugar cookies, pop rocks, and little green men all helped make the space party special!IMG_2066For the inside, I used the classic chocolate cake recipe from Ina Garten (Beatty’s Chocolate Cake), baked in an 11×15 pan for 27 min. Except I did the usual substitution for buttermilk (1 tbsp white vinegar + 1 tbsp less than 1 cup of milk). And since the kids were going to be hopped up on sugar, I used decaf coffee. I’ve been doing  A LOT of reading up on cakes. And there’s no wonder why this recipe has over 1700 rave reviews and counting. There’s:

  • vegetable oil, which is a liquid at room temp, which makes it moist
  • coffee, which compliments the cocoa flavor and also adds moisture
  • acidity from the buttermilk: which tenderizes the flour

And yet with all these liquids, the cake holds up well enough to decorate. I used the guide from Spoonful on how to create a rocket cake. Just remember when you are attaching the “thrusters”, you have to flip cut parts down, and then over, so that the curve faces away from the cake. I added a little extra “flair”  with the leftover scraps (I could have eaten all of them myself, but my pants would hate me for it).

IMG_2037I also made two other cakes: banana cake with dark chocolate ganache for my daughter for the day of her birthday and perfect yellow cake with chocolate buttercream for a friend from college on her 30th (can you tell I’m a big smitten kitchen fan?)!IMG_2010

For the frosting, I used a concoction of my own:

Ingredients

  • 12 oz white chocolate (Ghirardelli)
  • 3 sticks (12 oz) butter, room temp
  • 4 tbsp milk (or as needed)

Directions

  1. Break the chocolate up and add to a  bowl and microwave at 30 second intervals, stirring between each interval, until melted. Do not overheat! Remaining bits of chocolate will melt with the residual heat of the melted chocolate. Just keep stirring! Mine took 90 seconds. Set aside and let cool for 10 minutes.
  2. Whip butter at medium speed for 1 minute. Add cooled chocolate and continue whipping for 2 minutes. Lower the speed and add milk until it reaches spreadable consistency. Tint TINY dabs of food gels to decorate.

1 Comment · Labels: American/Mediterranean, Dessert, Food Fun, Recipes Tagged: banana cake, beauty's chocolate cake, best birthday cake, cake, chocolate buttercream, chocolate cake, chocolate ganache, moist chocolate cake, monkey cake, rocket cake, smitten kitchen, space theme, white chocolate, white chocolate frosting, yellow cake

American, Bangladeshi. Savory, sweet. I don't discriminate and neither should you.

Most recently…

Load More...
Follow on Instagram

Social

Subscribe to Blog via Email

Enter your email address to subscribe to this blog and receive notifications of new posts by email.

Tags

appetizer beef bengali breakfast butter cake caramel chicken chocolate chocolate chips cilantro clean eating coconut comfort food cookies dessert dinner entertaining fall fruit ganache gluten free halal healthy homemade honest chops honest creations iftar italian pasta pastry pistachio quick and easy dinner ramadan recipe side side dish south asian spinach vegan vegetables vegetarian weeknight dinner weeknight meal whipped cream

Theme by 17th Avenue · Powered by WordPress & Genesis