
Pitha – a Bengali style sweet dumpling. Narkeler pitha – dumpling filled with coconut and date sap. Usually the dough is made with rice flour and water(?), filled with the coconut mixture, then deep fried. I never learned how to make pitha, but I did teach myself how to make hand pies.
Coconut Layer Cake
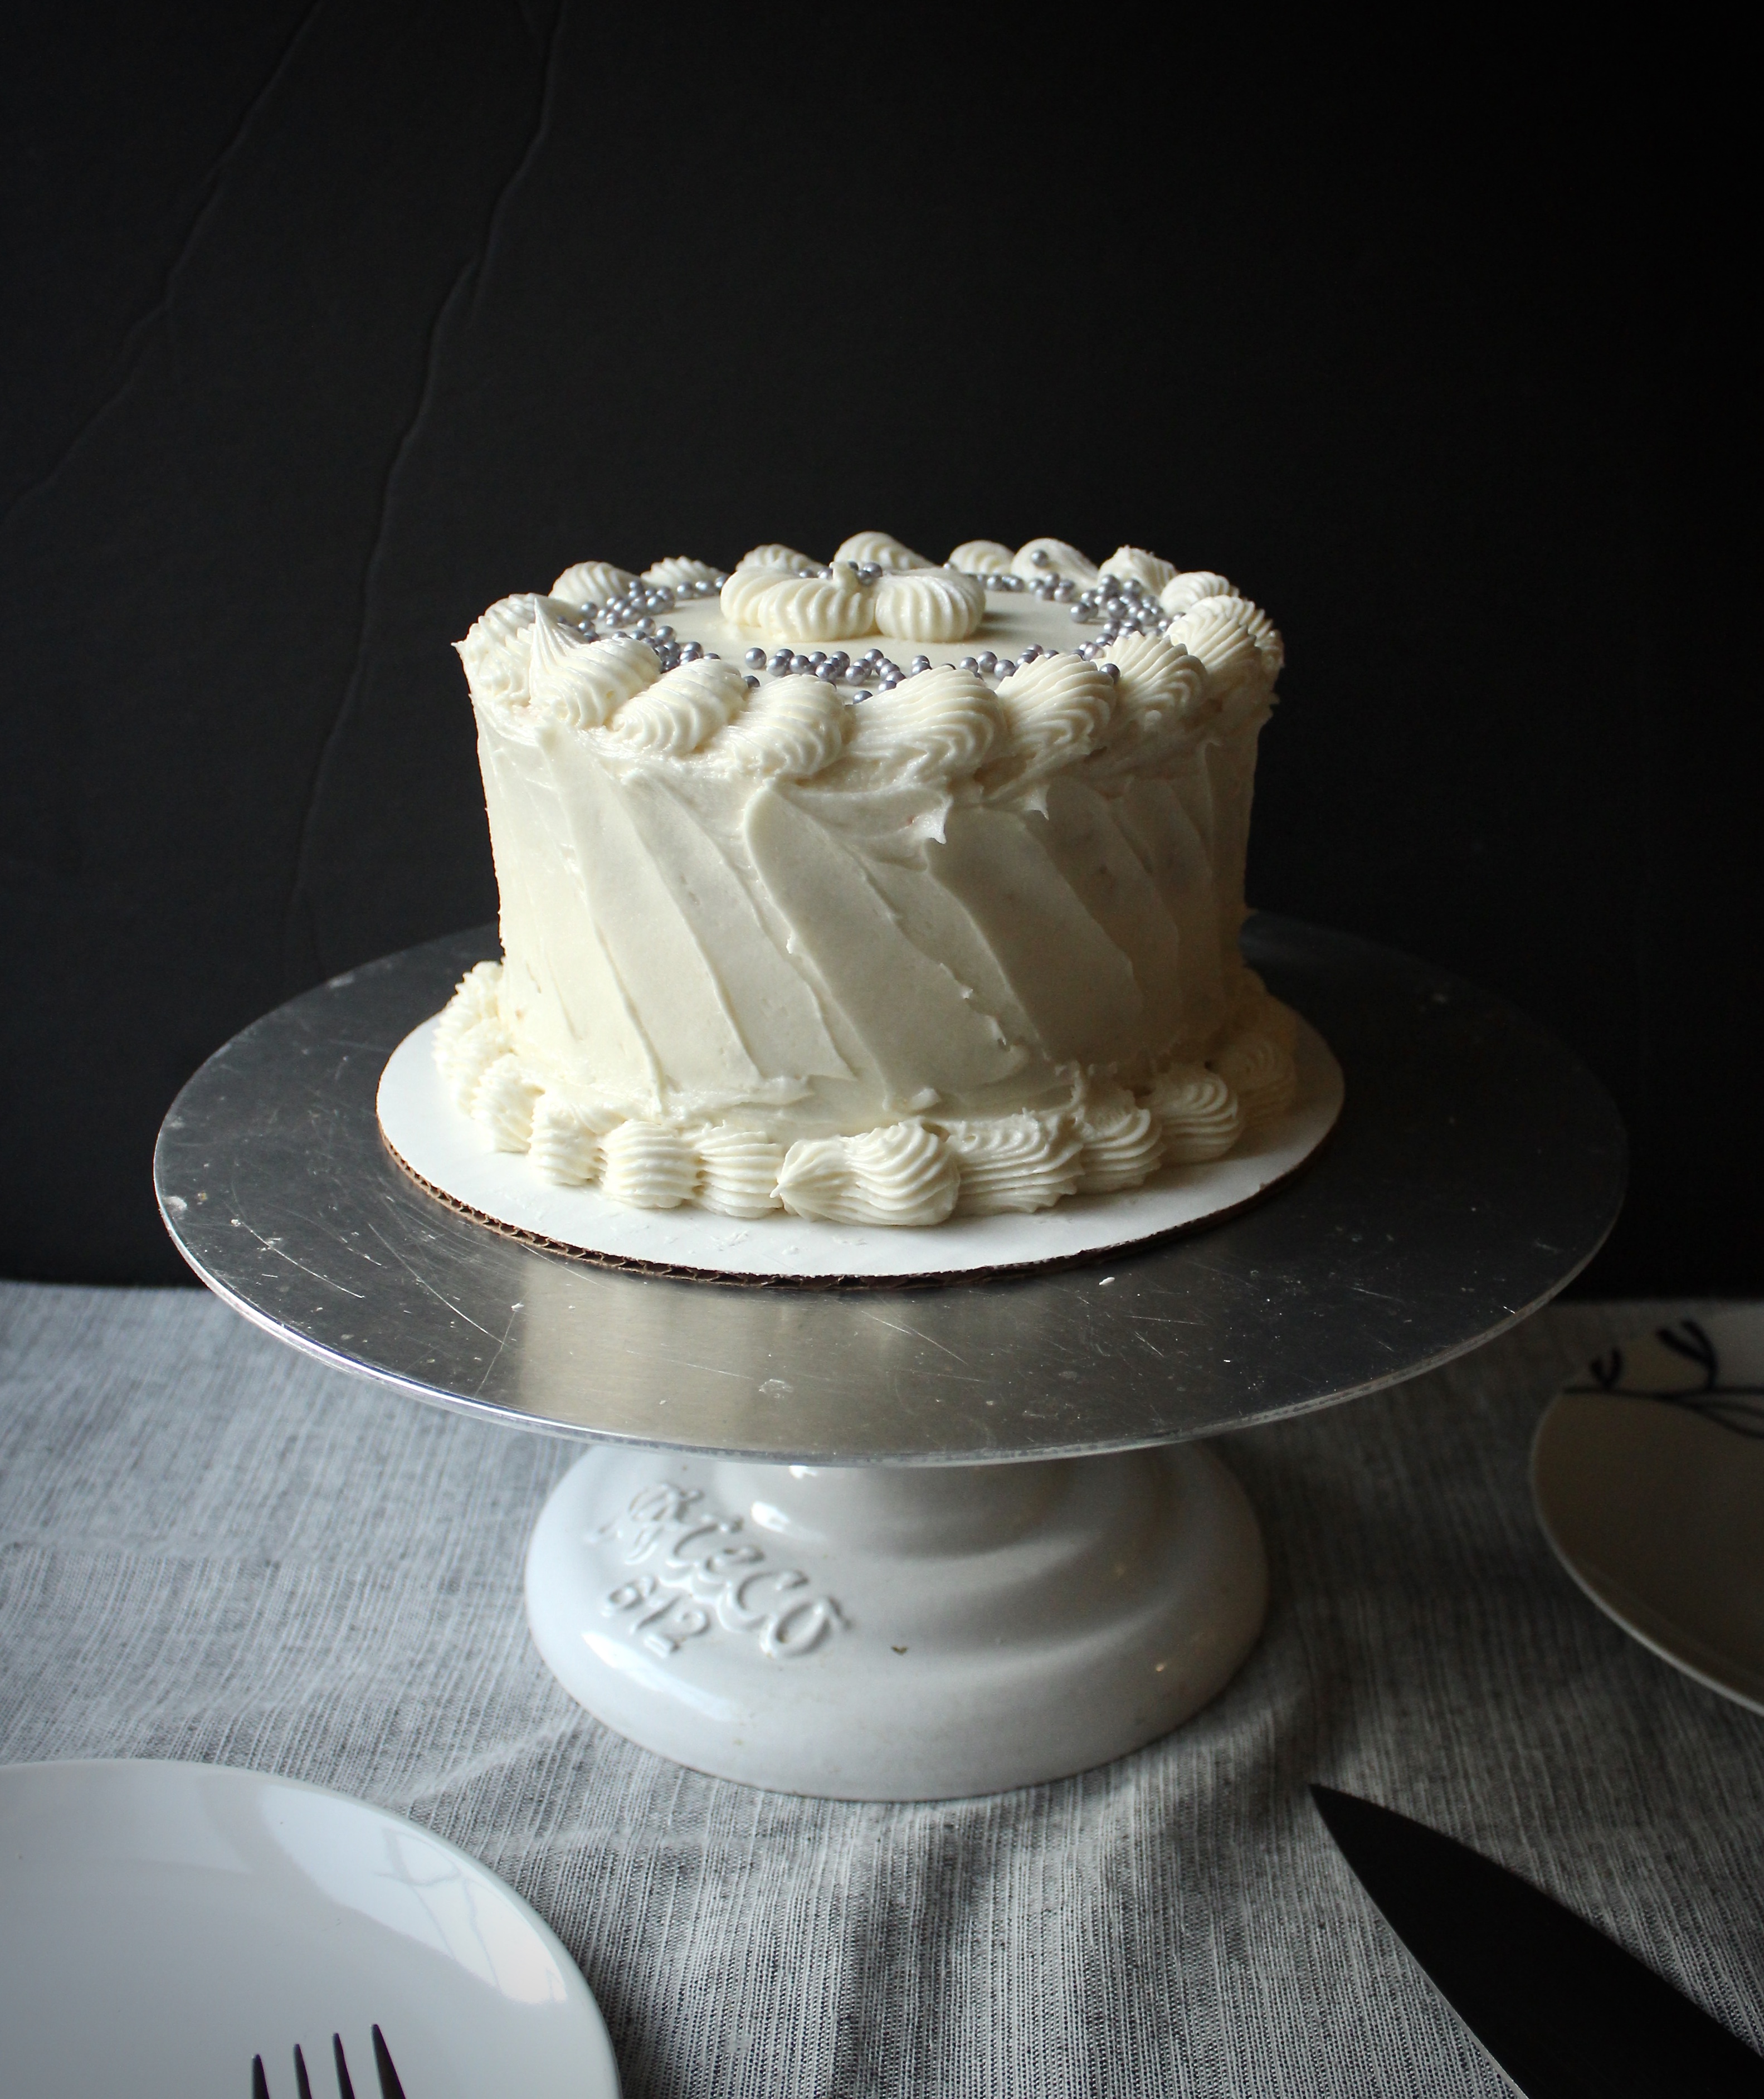
This cake was kind of born 2 and half years ago when I was tasked with feeding 100 people with a coconut cake. “Can it have pineapple filling?” my dear friend Jaf asked. YES, YES IT CAN!
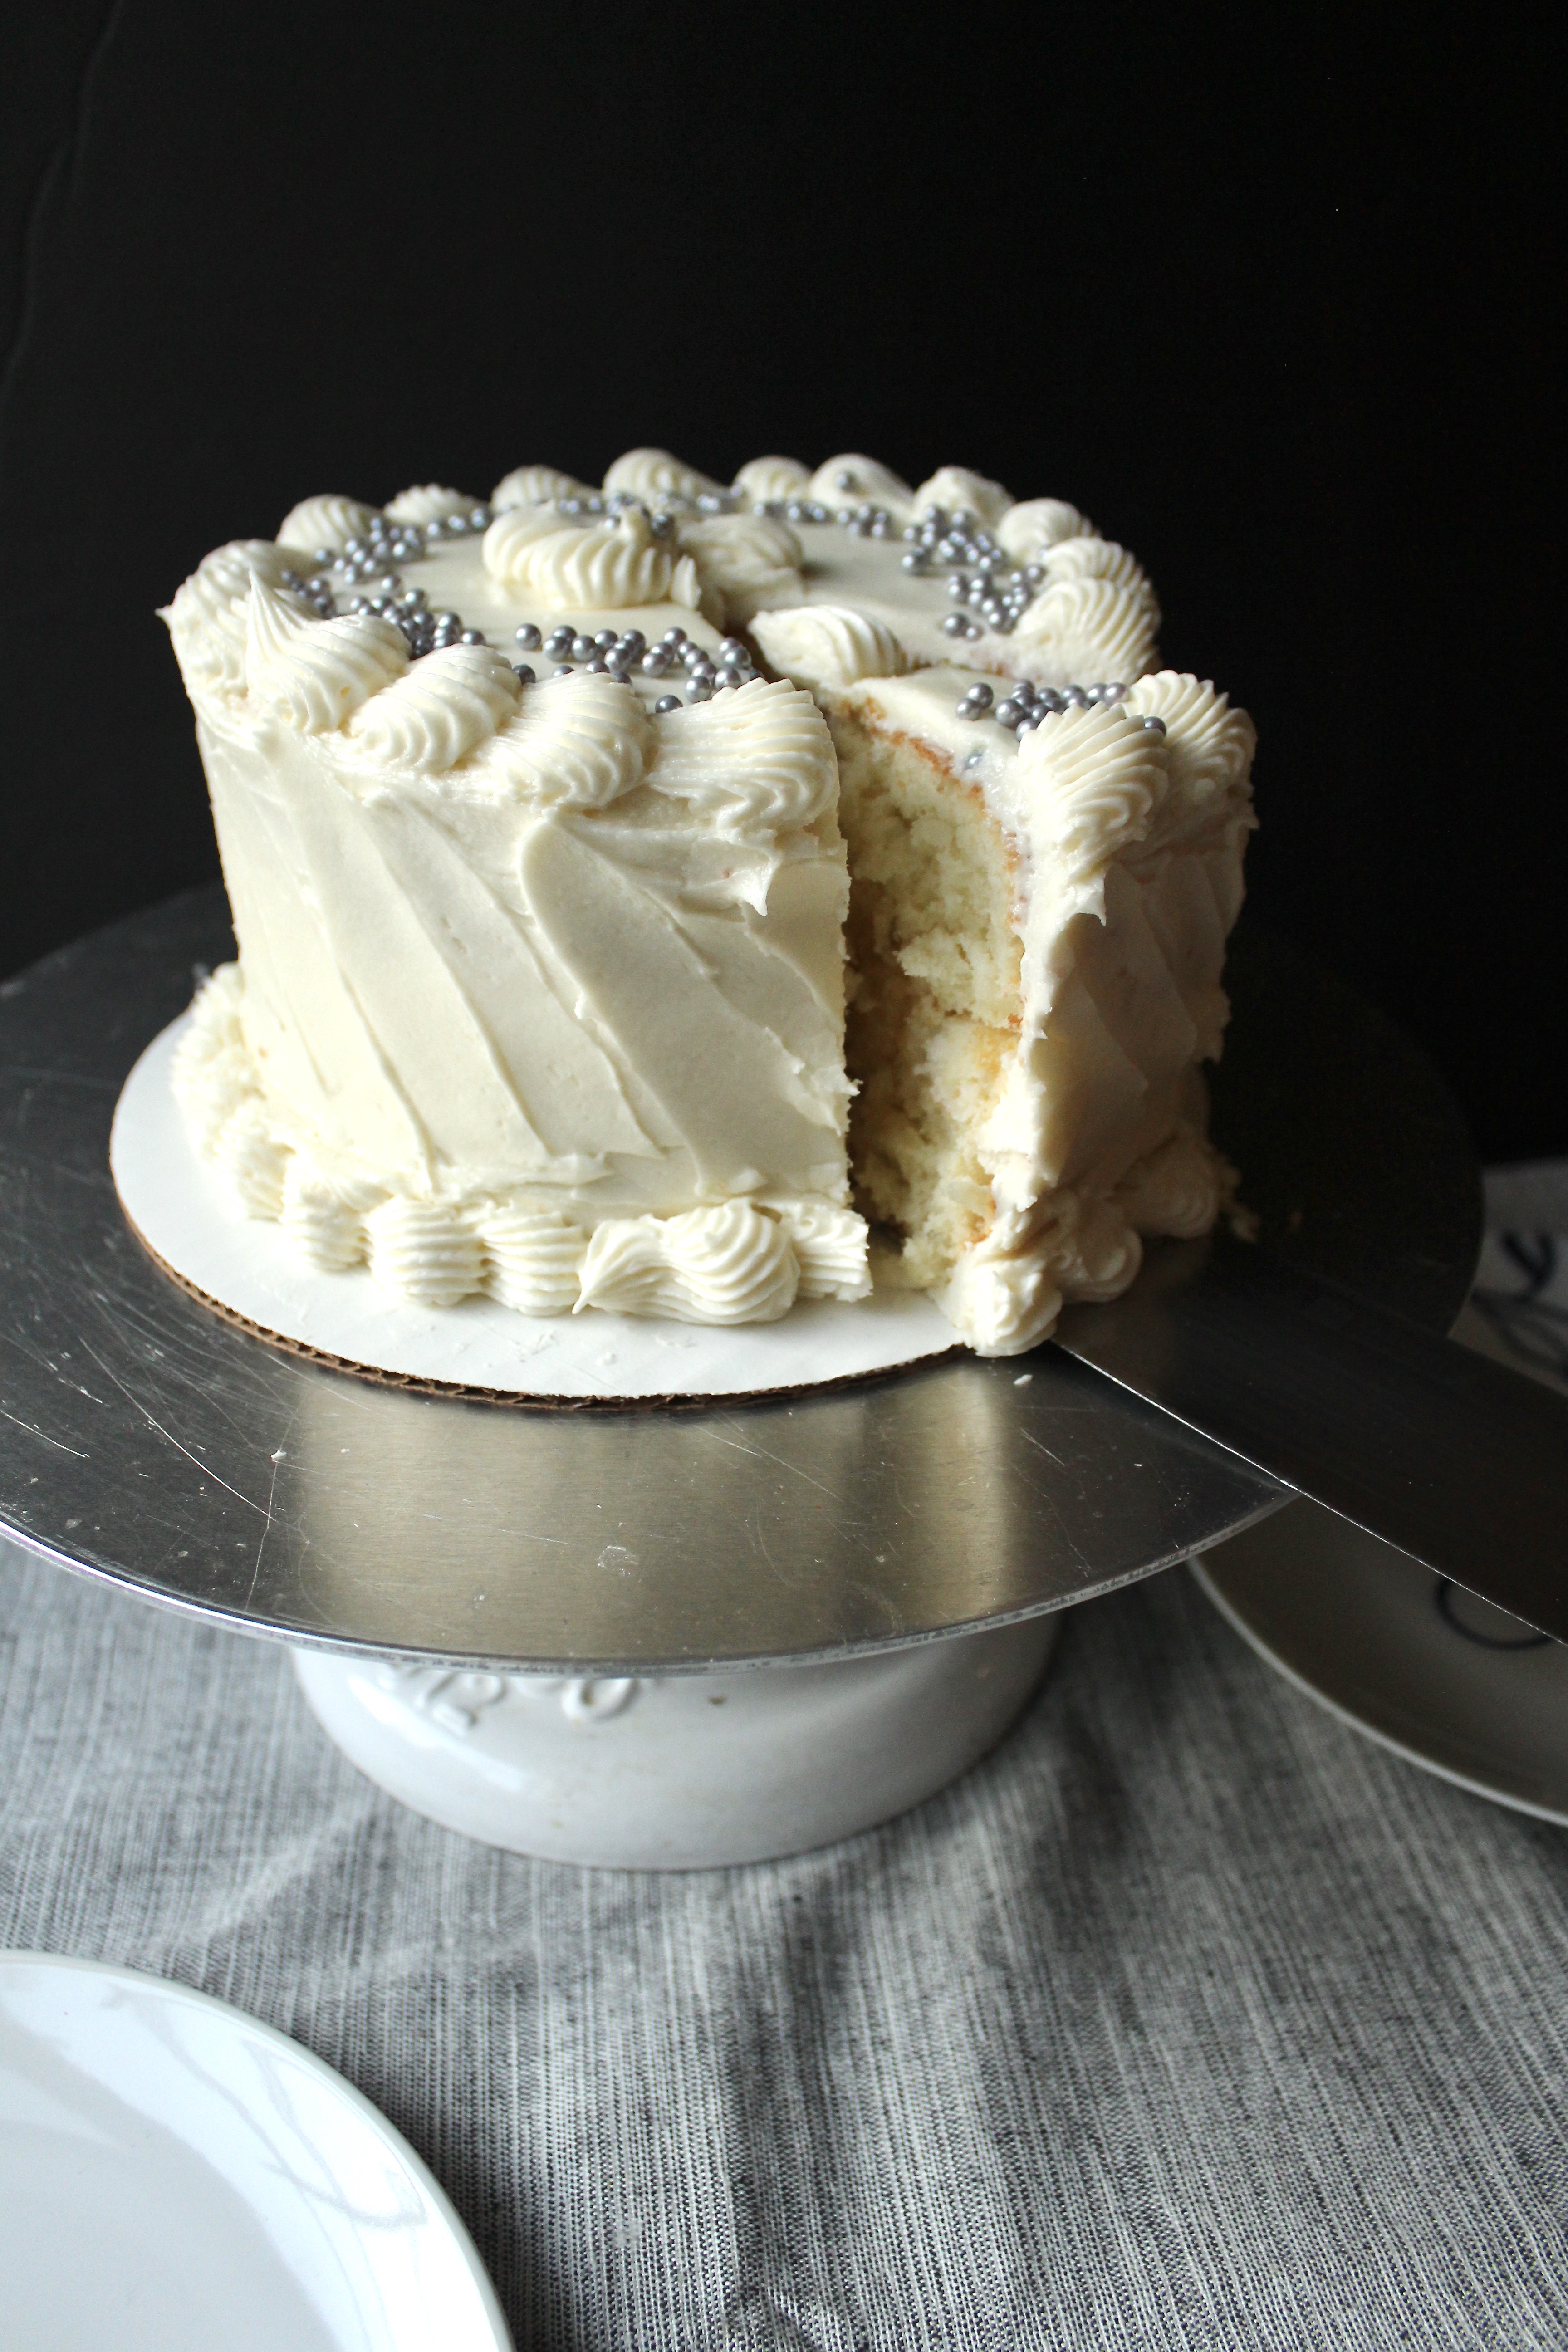
This cake is a delicious, crowd pleasing hit in its original version, but with this pineapple filling, it takes it over the edge. It’s kind of retro, but the fruitiness balances out the richness and creaminess from the buttercream.
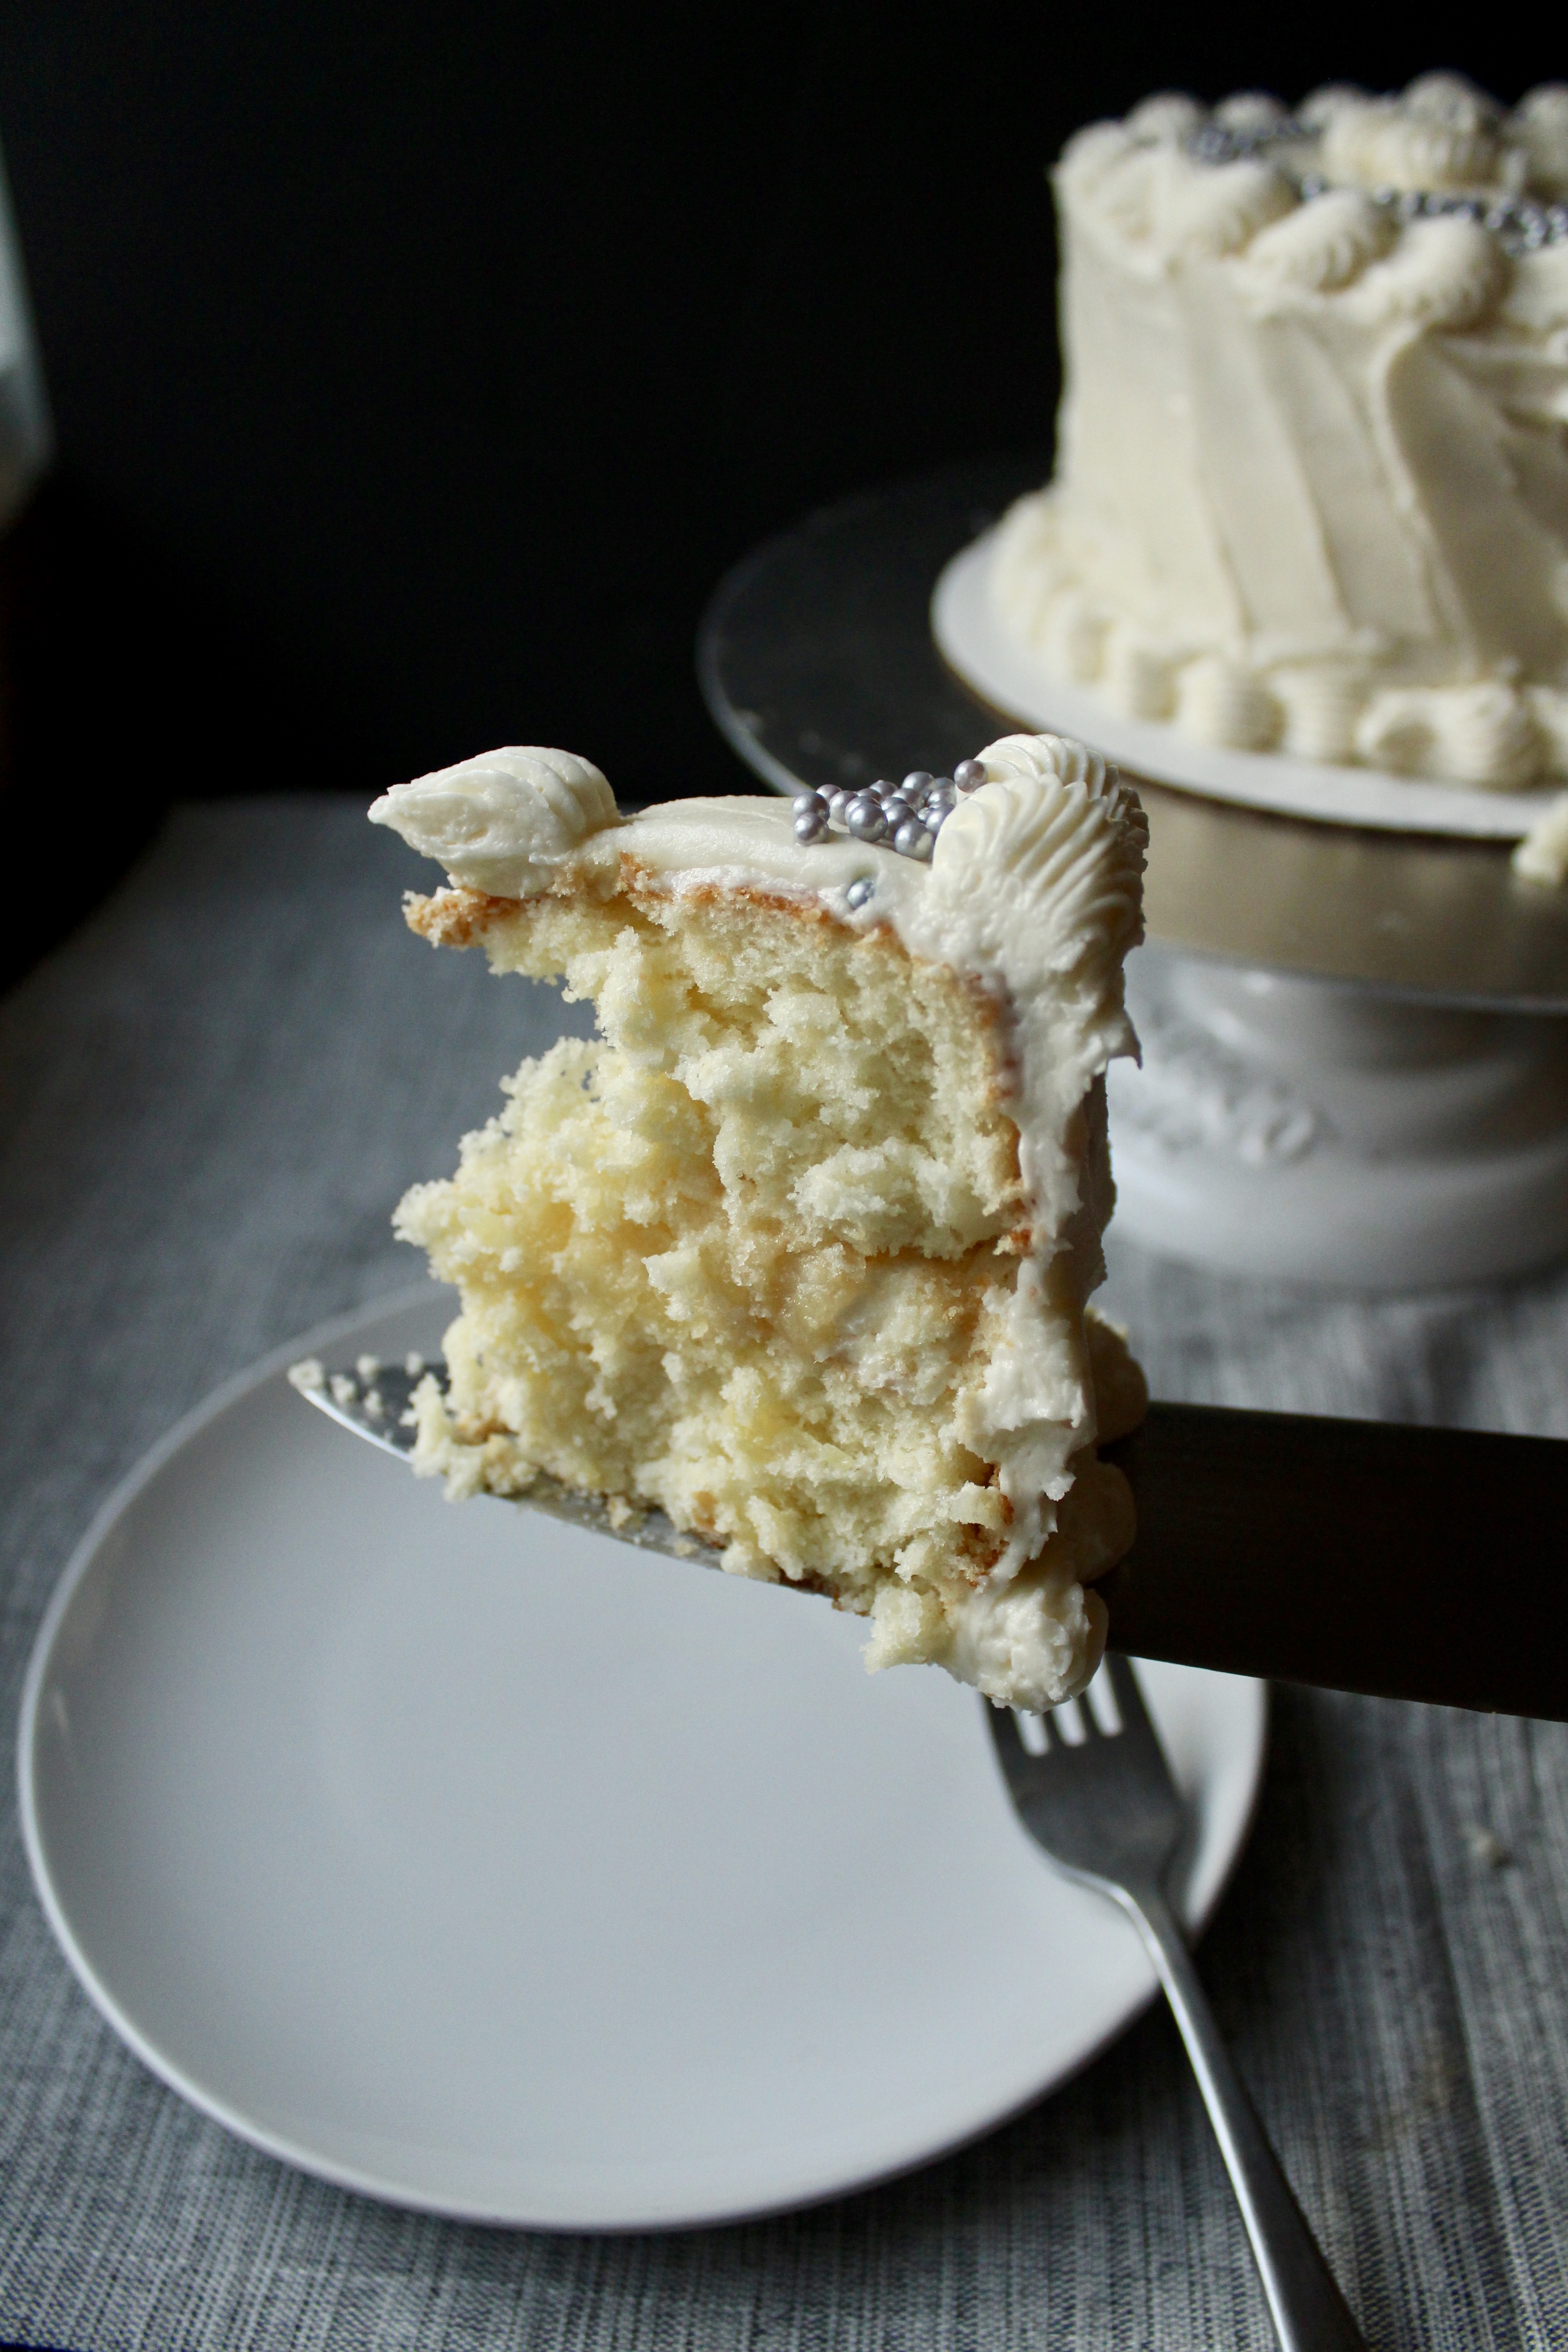
It’s a little fussy, yes, with the beating of egg whites and the careful folding in, but the payout is worth it. It’s the lightest, fluffiest, sweetest, nuttiest, flavorfullest cake you’ll ever have. Ever.
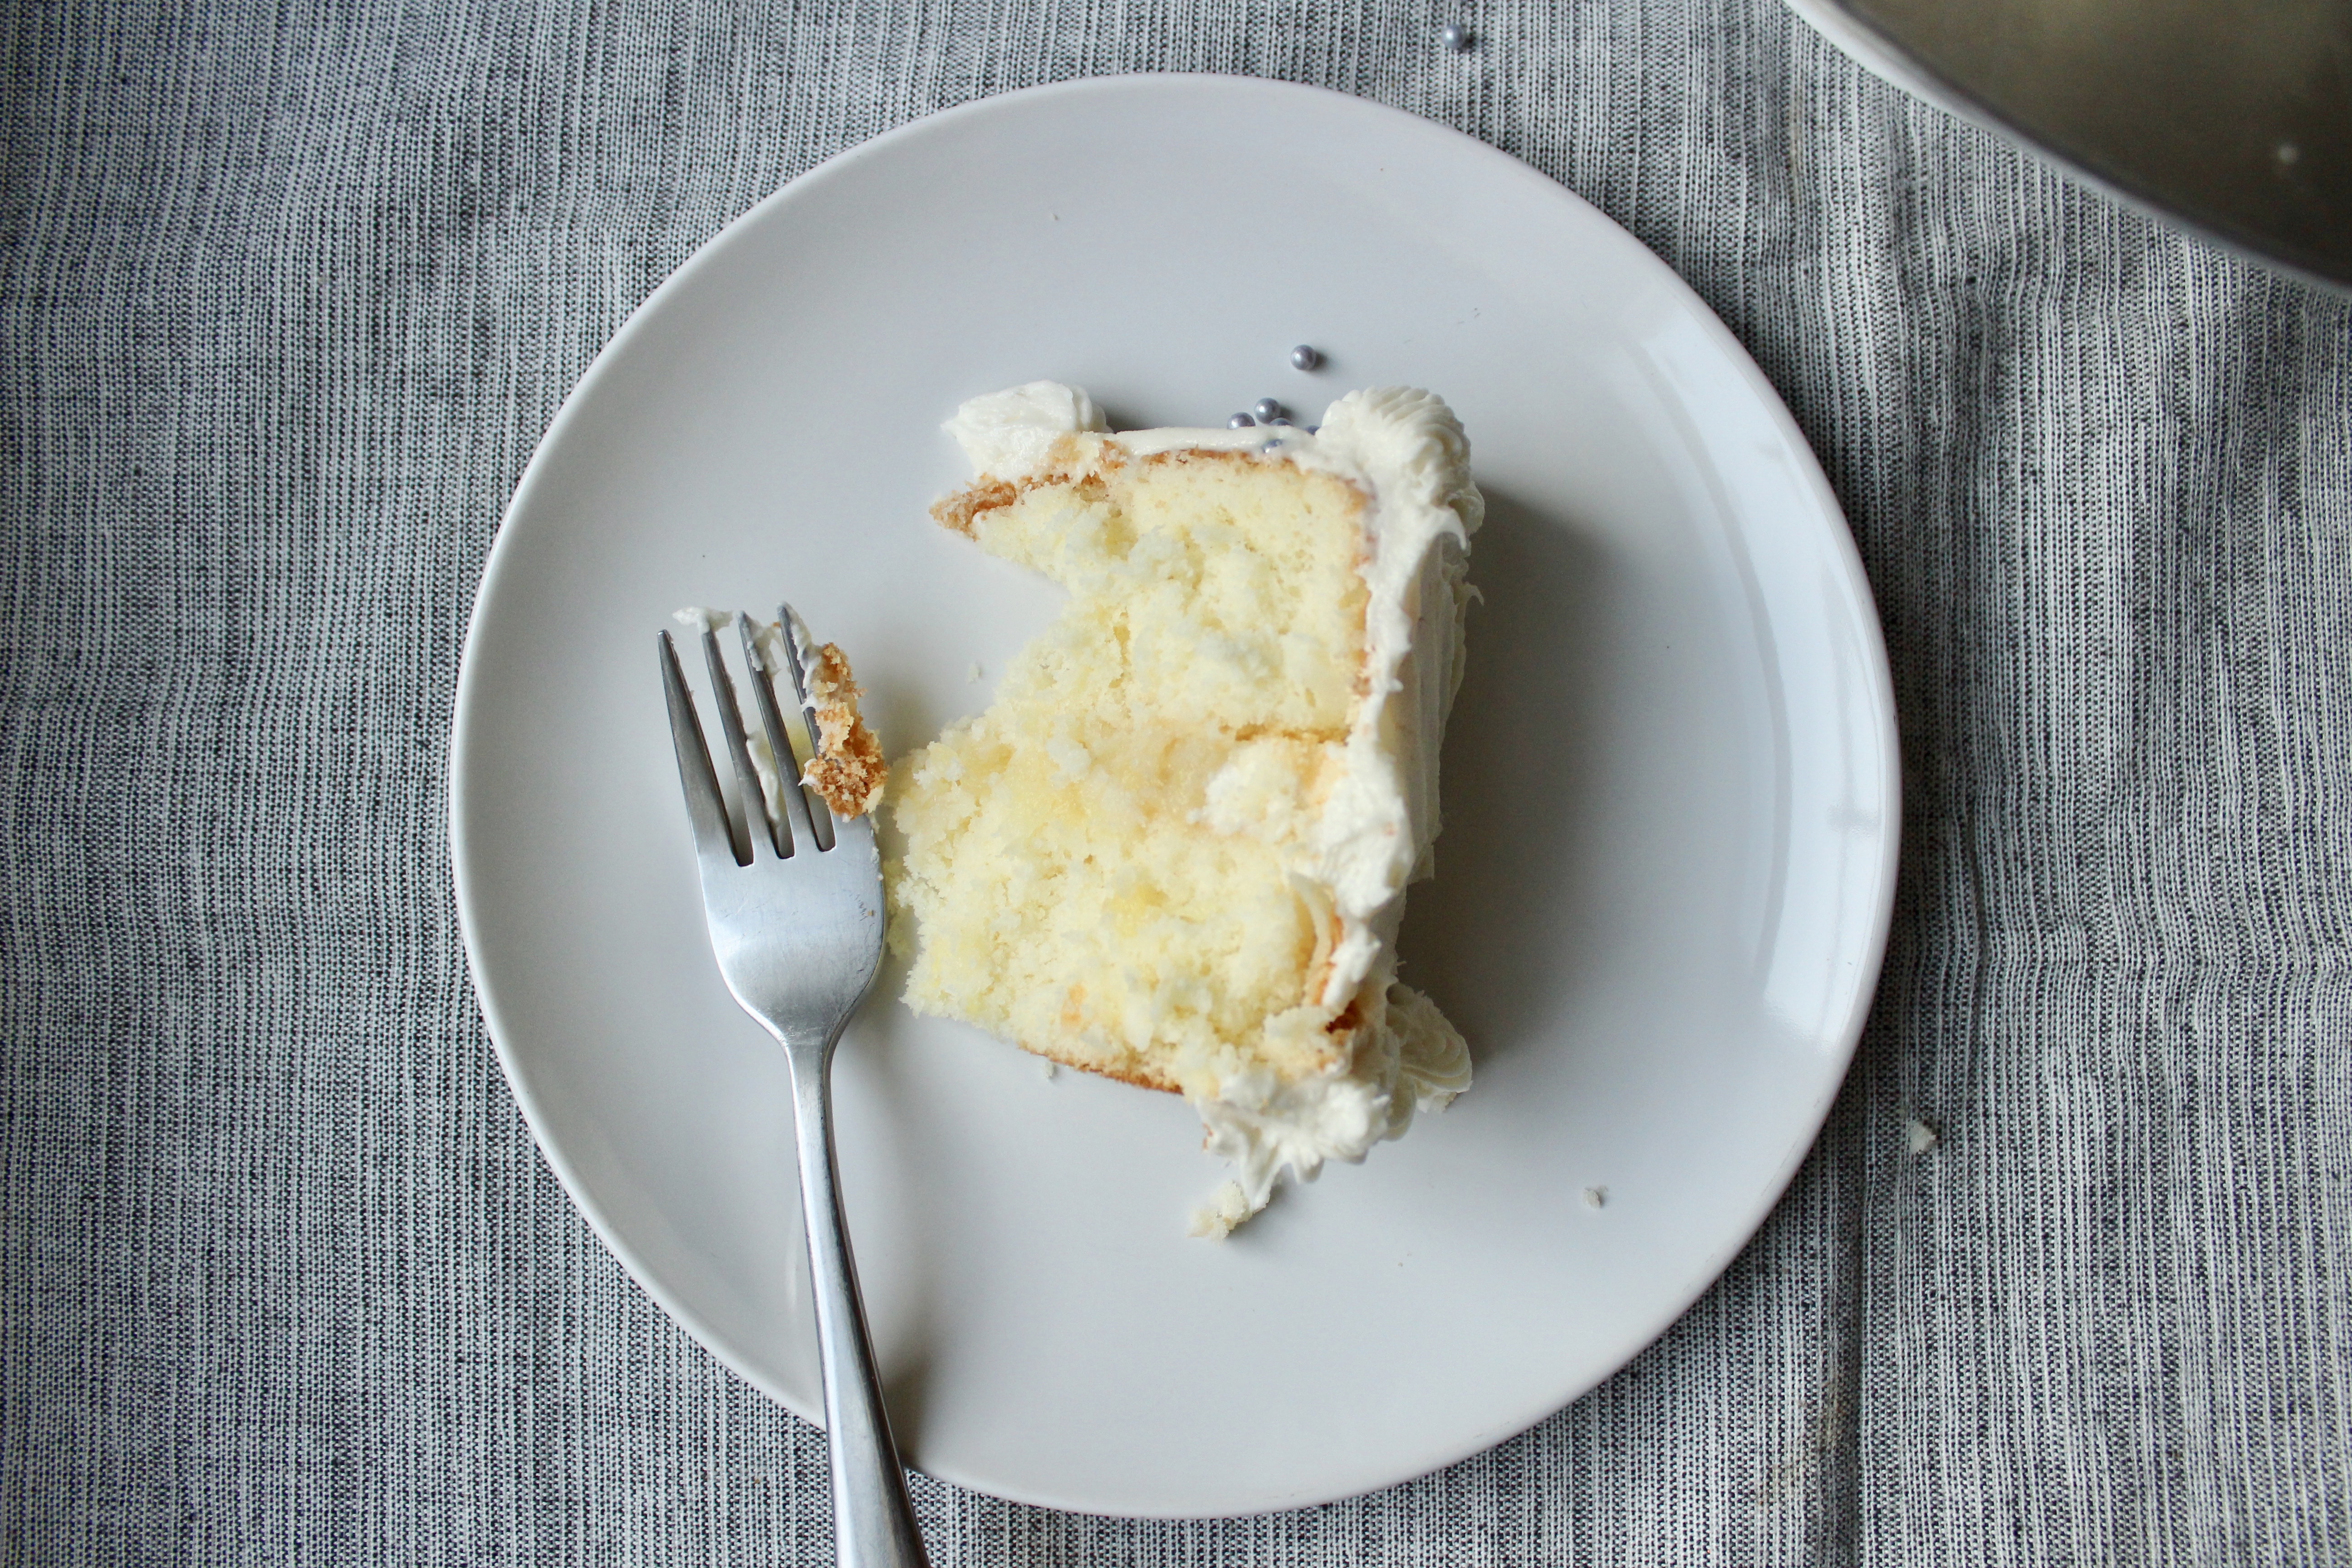
A retro cake deserves a retro look, so feel free to frost this simply, with swooshes of buttercream and toasted (and cooled) coconut flakes.

I’ve piped some old school borders here with Wilton’s open star tip and some silver dragee accents.

I haven’t tinkered with the original recipe at all, except that I bake them in 8in cake pans as opposed to 9in. I like the look of taller cakes, but if 9in is all you have, feel free to use those, just decrease the bake time by a few minutes.
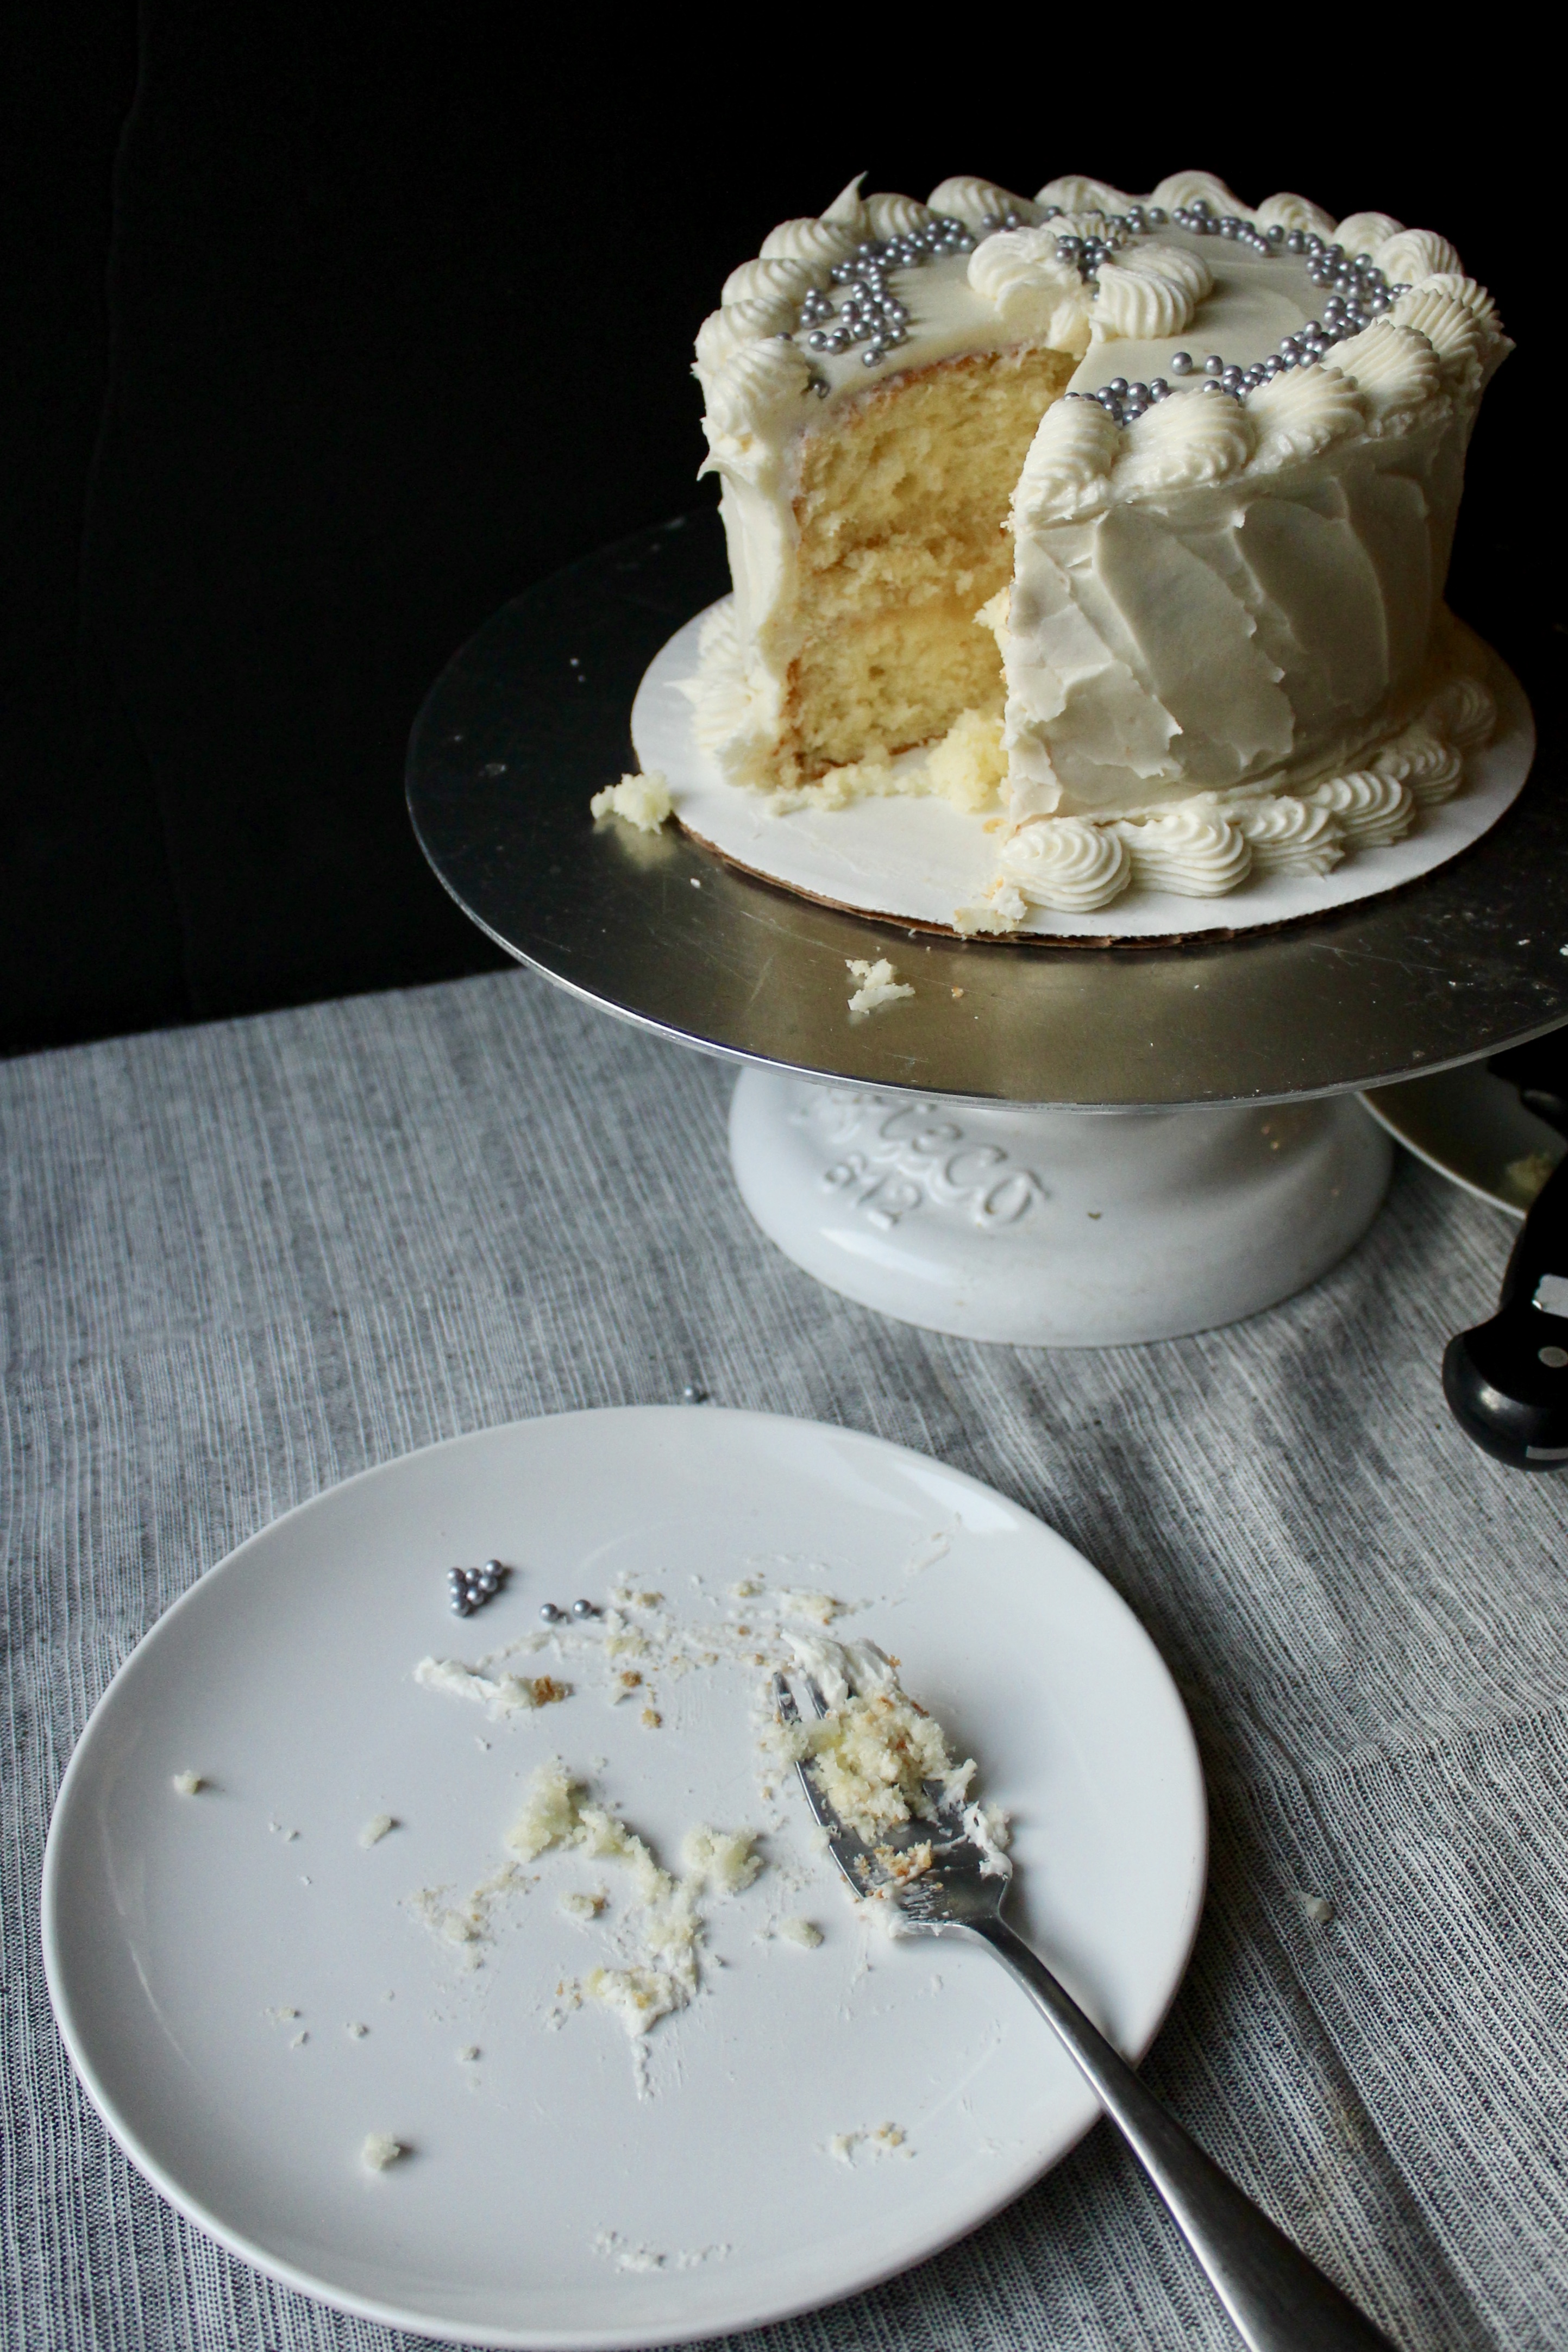
Cake recipe adapted from Taste of Home. Pineapple filling recipe from Genius Kitchen.
Ingredients
For the cake:
- 5 eggs, yolks separated from whites
- 2 cups sugar
- 1/2 cup (1 stick) unsalted butter, room temperature
- 1/2 cup vegetable oil
- 1 tsp coconut extract
- 1/2 tsp vanilla extract
- 1/4 tsp almond extract
- 2 1/4 cups cake flour
- 1 tsp baking powder
- 1/2 tsp baking soda
- 1/4 tsp salt
- 1 cup buttermilk, room temperature
- 2 cups flaked coconut (I like Baker’s brand for this)
- 1/4 tsp cream of tartar
For the filling:
- 1/2 tsp kosher salt
- 1/2 cup plus 2 tbsp granulated sugar
- 3 tbsp corn starch
- 1 20oz can crushed pineapple in its juices
- 3 tbsp butter
For the buttercream
- 1 cup butter, room temperature
- 4 oz cream cheese, room temperature
- 4 to 5 cups confectioner’s sugar, to taste
- 1 tsp coconut extract
- 1 tsp vanilla extract
- 1-2tbsp whole milk
Directions
- Preheat oven to 325 degrees F. Grease 3 8in cake pans with non stick cooking spray. Place over a large sheet of parchment paper and draw circles around the circumference of each pan. Cut out each circle and place at the bottom of each pan. Spray parchment circles with non stick spray.
- In the bowl of stand mixer or in a large bowl with an electric hand mixer, beat butter with 1 cup of sugar on medium low. After about 2 minutes, when butter and sugar is pale and fluffy, add oil and remaining sugar. When well combined, add egg yolks, one at a time. Stop occasionally to scrape down the bowl. Add coconut, vanilla and almond extracts. Stop the mixer.
- For the dry ingredients: sift the flour, baking powder, and baking soda. Add salt and combine with a whisk. Add 1/3 of the dry ingredients to the batter, then 1/2 of the buttermilk. Add second third of dry ingredients then remaining buttermilk. Add remaining dry ingredients and flaked coconut. Mix on low until just combined.
- In a large bowl, combine egg whites and cream of tartar. Mix on low, increasing to high, for about 4-5 minutes until beaters come out of the egg whites with stiff peaks.
Add 1/3 of beaten egg whites to the batter to loosen it up. Add half of remaining egg whites to batter and fold in with spatula, cutting down the middle, then scraping against the bowl and folding up and over the batter. Rotate the bowl slightly and continue until you can no longer see egg white. Add remaining egg white and fold until just combined. - Divide equally between 3 cake pans and bake in preheated oven for 25-30 minutes or until a toothpick inserted comes out clean. Let cool.*
- For the filling: in a small to medium saucepan combine salt, sugar, cornstarch. Whisk with preferably a flat whisk until combined. Add crushed pineapple and stir to combine. Turn on the heat to medium high. Bring to a boil, stirring occasionally, for about 5 minutes until no longer milky white in appearance. When thickened, remove from heat and stir in butter. Turn out onto a plate to cool.
- For the frosting: beat butter with cream cheese with the paddle attachment of your stand mixer, or in a large bowl with handheld electric mixer. Sift 4 cups sugar into a bowl. Add a little bit of sugar into the butter and cream cheese until well combined. After adding 4 cups of sugar, beat until light and fluffy. Add vanilla and coconut extracts. Scrape down the bowl occasionally. Taste the frosting. If desired, add final cup of sugar, sifted. Add milk as needed to thin out frosting. Give a final beat until it looks like buttercream.
- Fill a large piping bag with buttercream and snip off 1/2in tip. Place a small amount of frosting onto a 10in round cake board. Place first cake layer onto cake board. Pipe a dam around the circumference of the cake layer. Spoon 2-3tbsp pineapple filling onto cake. Smooth it out. Place second layer, press down slightly. Repeat and decorate as desired.
*I usually invert onto 8in round cake boards lined with plastic wrap and freeze until reach to decorate. These cakes are super tender and work best for decorating when frozen solid.
Coconut Sheet Cake
 I feel like I just completed a marathon. Not the running kind, though there was a lot of physical activity involved. Running to/from the store. Planning, baking, cleaning, putting away, assembling, decorating on top of the usual taking care of 2 small children and managing a household. Before this past weekend, my cake orders were usually 2-3 layer 9 in cakes. Now I had to prepare 2 full sheet cakes to feed 200 people over two consecutive days. Luckily the other cake was an icebox cake that required lots and lots of chocolate wafers that I was able to store in the fridge. I was pretty much at capacity when I baked the first layer of this cake and froze earlier in the week.
  I had previously made this as 3 layered cake. But the recipe needed tweaking in order to make it more sturdy and stand up to the demands of a sheet cake!
  The customer requested pineapple filling in lieu of the cream cheese frosting, so if you like pina coladas then this cake is for you! I made two batches using the recipe found here. It was just perfect.
  The groom to be, after taking a bite could only say “wow”. That’s right. I don’t strive to make the most over the top decorative cakes that look like your favorite handbags. I strive to make the best cake you have ever tasted, every time.
  I should probably mention this was for a Bengali pre-wedding party called a Gai Holud. The writing on the cake reads “Jamil’s Gai Holud”. It’s a tradition wherein the bride or groom is rubbed all over with turmeric paste and then bathed publicly (with the Bengali equivalent of a bathing suit on). Here in America, we do a more symbolic version. Bride/groom sits on some decorated platform with an array of sweets in front of him/her. There is a bowl of turmeric paste that is rubbed on a small portion of his or her face, then wiped off.

 This is how I prepped the board for my 16×22 in cake. Because apparently they make pans in that size, but not cake boards or cake boxes. Lame.

 I don’t usually do crumb coatings, but because I made the amount listed in the original recipe, it wasn’t enough to properly frost a cake of this size, so I used it just to cover the surface. This cake is very tender, very moist, so it needed the crumb coating.
  The real challenge was in getting the second layer onto the first. The first layer was just inverted by placing the cake board on top of the sheet pan and flipping. But the second layer was not as trivial. I stood over the first layer, second layer in hand for like 5 minutes taking deep breaths before going for it. And it didn’t align evenly! Although I held the cake in place by the bits of parchment sticking out of the edges, I couldn’t fully control how it flipped out of the cake pan so it came out slightly rotated down (by like 10 degrees). I sawed off the parts that stuck out on either side and sort of glued it onto the barren sides with frosting.
  It worked. The guests were none the wiser. Til now, of course.
 Traditional henna patterns as decoration and toasted coconut flakes all around for that extra oomph.
Coconut Sheet Cake
Recipe adapted from A Taste of Home. Please note I made two batches of the recipe below for my 2 layer sheet cake. I used the frosting from the link above (also 2 batches).
Ingredients
- 6 eggs, separated, at room temperature
- 2 1/4 cups sugar
- 3/4 cup butter, softened
- 3/4 cup vegetable oil
- 1 tsp coconut extract
- 1 tsp vanilla extract
- 1/2 tsp almond extract
- 3 cups cake flour
- 1 1/2 tsp baking powder
- 1 tsp baking soda
- 1/2 tsp salt
- 1 1/3 cup buttermilk at room temperature
- 2 heaping cups sweetened coconut flakes
- 1/4 tsp cream of tartar
Directions
- Preheat oven to 325 degrees F. Prepare 16x22in sheet pan by lining with parchment paper, spraying with non stick spray or butter, and sprinkling a bit of flour.
- Beat butter at low speed, gradually increasing to medium until light and aerated, 1 1/2 to 2 minutes. Gradually add 1 1/2 cups of sugar. Beat until light and fluffy – about another minute. Decrease speed to low and add oil. Gradually add the remaining sugar so as not to deflate the butter. Add the six egg yolks, one at a time, scraping down the bowl halfway through. Add the extracts and beat until combined. Stop mixer.
- Sift cake flour, baking powder and baking soda into a medium bowl. Add salt and give a gentle stir with a wooden spoon. Turn the mixer on low and add the dry ingredients in 3 batches, alternating with with buttermilk. Turn off mixer when dry ingredients are just incorporated.
- In a large bowl, beat egg whites with cream of tartar with a handheld electric mixer starting at low speed and increasing to high speed. Beat until peaks are stiff, 5 to 7 minutes. Add 1/4 of the egg whites to the batter to loosen it up. Add remaining egg whites by gently folding with a rubber spatula, cutting down the middle of the batter, then turning the bowl 1/4 of the way and bringing the spatula up and over. Repeat until you can just barely see the streaks of egg white.
- Pour batter evenly over sheet pan and bake in preheated oven for about 23 minutes. Start checking with a toothpick inserted in the center to make sure it’s done at about 21 min. There should be minimal crumbs on the toothpick.
Homemade Granola
I am not crazy about oatmeal. Unless it’s steel cut. That I don’t mind for a weekday breakfast. But it can be time consuming. So, the other option is to make a nice big batch of this granola on a lazy Sunday (believe me, it does not take a whole lot of effort…a little babysitting while it’s in the oven, sure, but nothing over the top). And boom, you have breakfast ready for the whole week. Over yogurt, over milk, over ice cream as a midnight snack, it’s delicious. Can you buy ready made granola from the store with about the same amount of effort? Yes. Will it make your whole house smell like maple syrup and toasted coconut? No. Besides, like most foods when made fresh, it tastes better!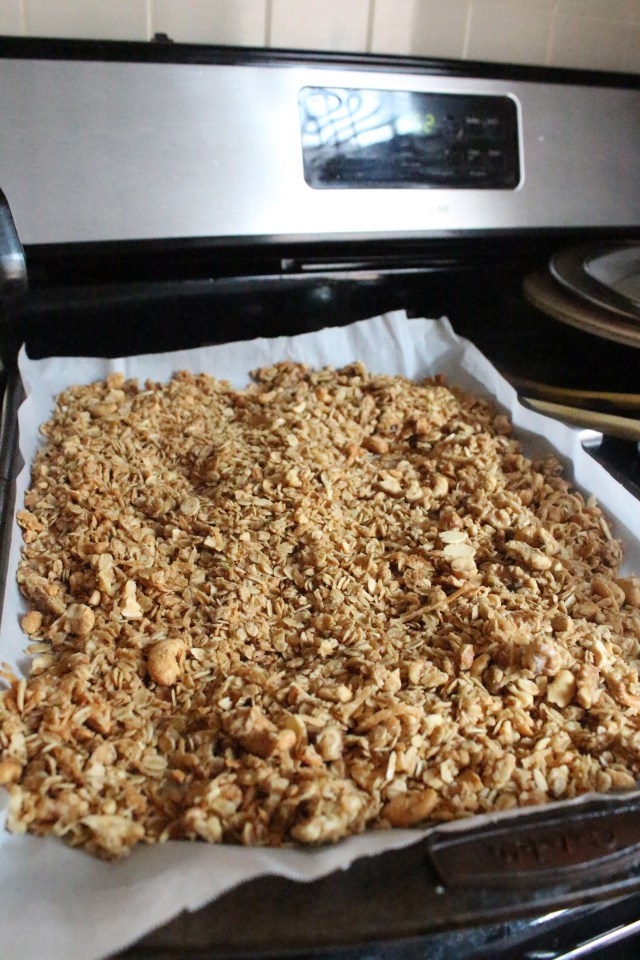 I realize most people may not have all the necessary ingredients on hand for this, but if you make it just once, you’ll likely keep those items in stock for future cravings. It’s super customizable, too. Don’t have almonds? Use peanuts. Don’t have raisins? Use craisins. I don’t care for dried fruit in my granola so I just leave it out entirely. Just don’t skimp on the maple syrup or coconut.
 This is Alton Brown’s recipe. When it comes to basics, this guy knows what he’s doing.
Ingredients
- 3 cups rolled oats
- 1 cup slivered almonds
- 1 cup cashews
- 3/4 cup shredded sweet coconut
- 1/4 cup plus 2 tablespoons dark brown sugar (I use light brown)
- 1/4 cup plus 2 tablespoons maple syrup
- 1/4 cup vegetable oil
- 3/4 teaspoon salt
- 1 cup raisins
Directions
Preheat oven to 250 degrees F.
In a large bowl, combine the oats, nuts, coconut, and brown sugar.
In a separate bowl, combine maple syrup, oil, and salt. Combine both mixtures and pour onto 2 sheet pans (I use one). Cook for 1 hour and 15 minutes, stirring every 15 minutes to achieve an even color.
Remove from oven and transfer into a large bowl. Add raisins and mix until evenly distributed.
Kitchen Sink Cookies
 Not the most appetizing name for a cookie, I know. But take one bite, and who? wha? What’s in a name? These are actually based off the kitchen sink cookies from a certain famous/infamous bakery that has taken Queens by storm (Martha’s, if you must). Why the duality? You either love it or you hate it. Their chocolate mousse and rainbow cookies: perfection. Their cheesecakes and gelato: leave something to be desired. Pretty much everything else is lukewarm, considering it opened shop in a city that is overrun with foodies, michelin award winning pastry chefs and french macarons that are flown in from Paris daily. Enough about their kitchen sink cookies. Mine have a tad fewer ingredients (nix the white chocolate and toffee bits) and satisfy a craving for chocolate chip cookies that have just a little extra something. The addition of coconut made them appealing even for all the South Asian mouths I have to feed around here. And obviously the oats make them a healthy and nutritious snack so when your toddler stuffs her face with them you’re not thinking “I’m a terrible parent” rather “just look at all that fiber she’s getting”. Lastly, after baking chocolate chip cookies for the past 15 years, I will leave you with some things I’ve realized:
- You don’t need to wait around for your eggs and butter to come to room temperature before baking. Just melt the butter in the microwave or saucepan! The cookies come out just as good. But if you insist on being old school, cube up the butter so it warms up faster.
- The original recipe says to use quick cooking oats but I used old fashioned and it came out just fine.
- Make sure your leavener isn’t too old. For years I thought baking soda was just an inferior cousin of baking powder because the first time I made CC cookies I used an out of date baking soda and my cookies just went SPLAT all over the baking sheet. So, after one year, I’d say get a new one.
- For a long time I under baked my cookies (325 or 350 degrees for no more than 10 minutes) but these days, I bake at a higher temp (375) for ten minutes and it just toasts up the butter in the cookies and they get that magical nuttiness to them.
- Finally, I’ve started using raw sugar instead of white sugar and there’s no difference in taste or texture as far as I can tell.
 Adapted from Allrecipes.com
Ingredients
- 1 cup butter softened (or melted)
- 1 cup brown sugar, firmly packed
- 1/2 cup sugar
- 2 large eggs
- 2 tsps vanilla extract
- 1 1/4 cups all purpose flour
- 1/2 tsp baking soda
- 1 tsp salt
- 3 cups old fashioned or quick cooking oats
- 1 cup chopped walnuts (optional)
- 1 cup semisweet chocolate chips
- 1 cup sweetened coconut flakes
Directions
- Preheat the oven to 375 degrees F. Line a baking sheet with parchment paper.
- In a large bowl, cream together the butter, brown sugar, and white sugar until smooth. Beat in eggs one at a time, then stir in vanilla. In a separate bowl, sift together the flour, baking soda, and salt; stir into the creamed mixture until just blended. Mix in the oats, walnuts, chocolate chips and coconut flakes. Drop by heaping spoonfuls onto ungreased baking sheets.
- Bake for 10 minutes in the preheated oven. Allow cookies to cool on baking sheet for 5 minutes before transferring to a wire rack to cool completely.
