
Pitha – a Bengali style sweet dumpling. Narkeler pitha – dumpling filled with coconut and date sap. Usually the dough is made with rice flour and water(?), filled with the coconut mixture, then deep fried. I never learned how to make pitha, but I did teach myself how to make hand pies.
Strawberry Meringue Hearts
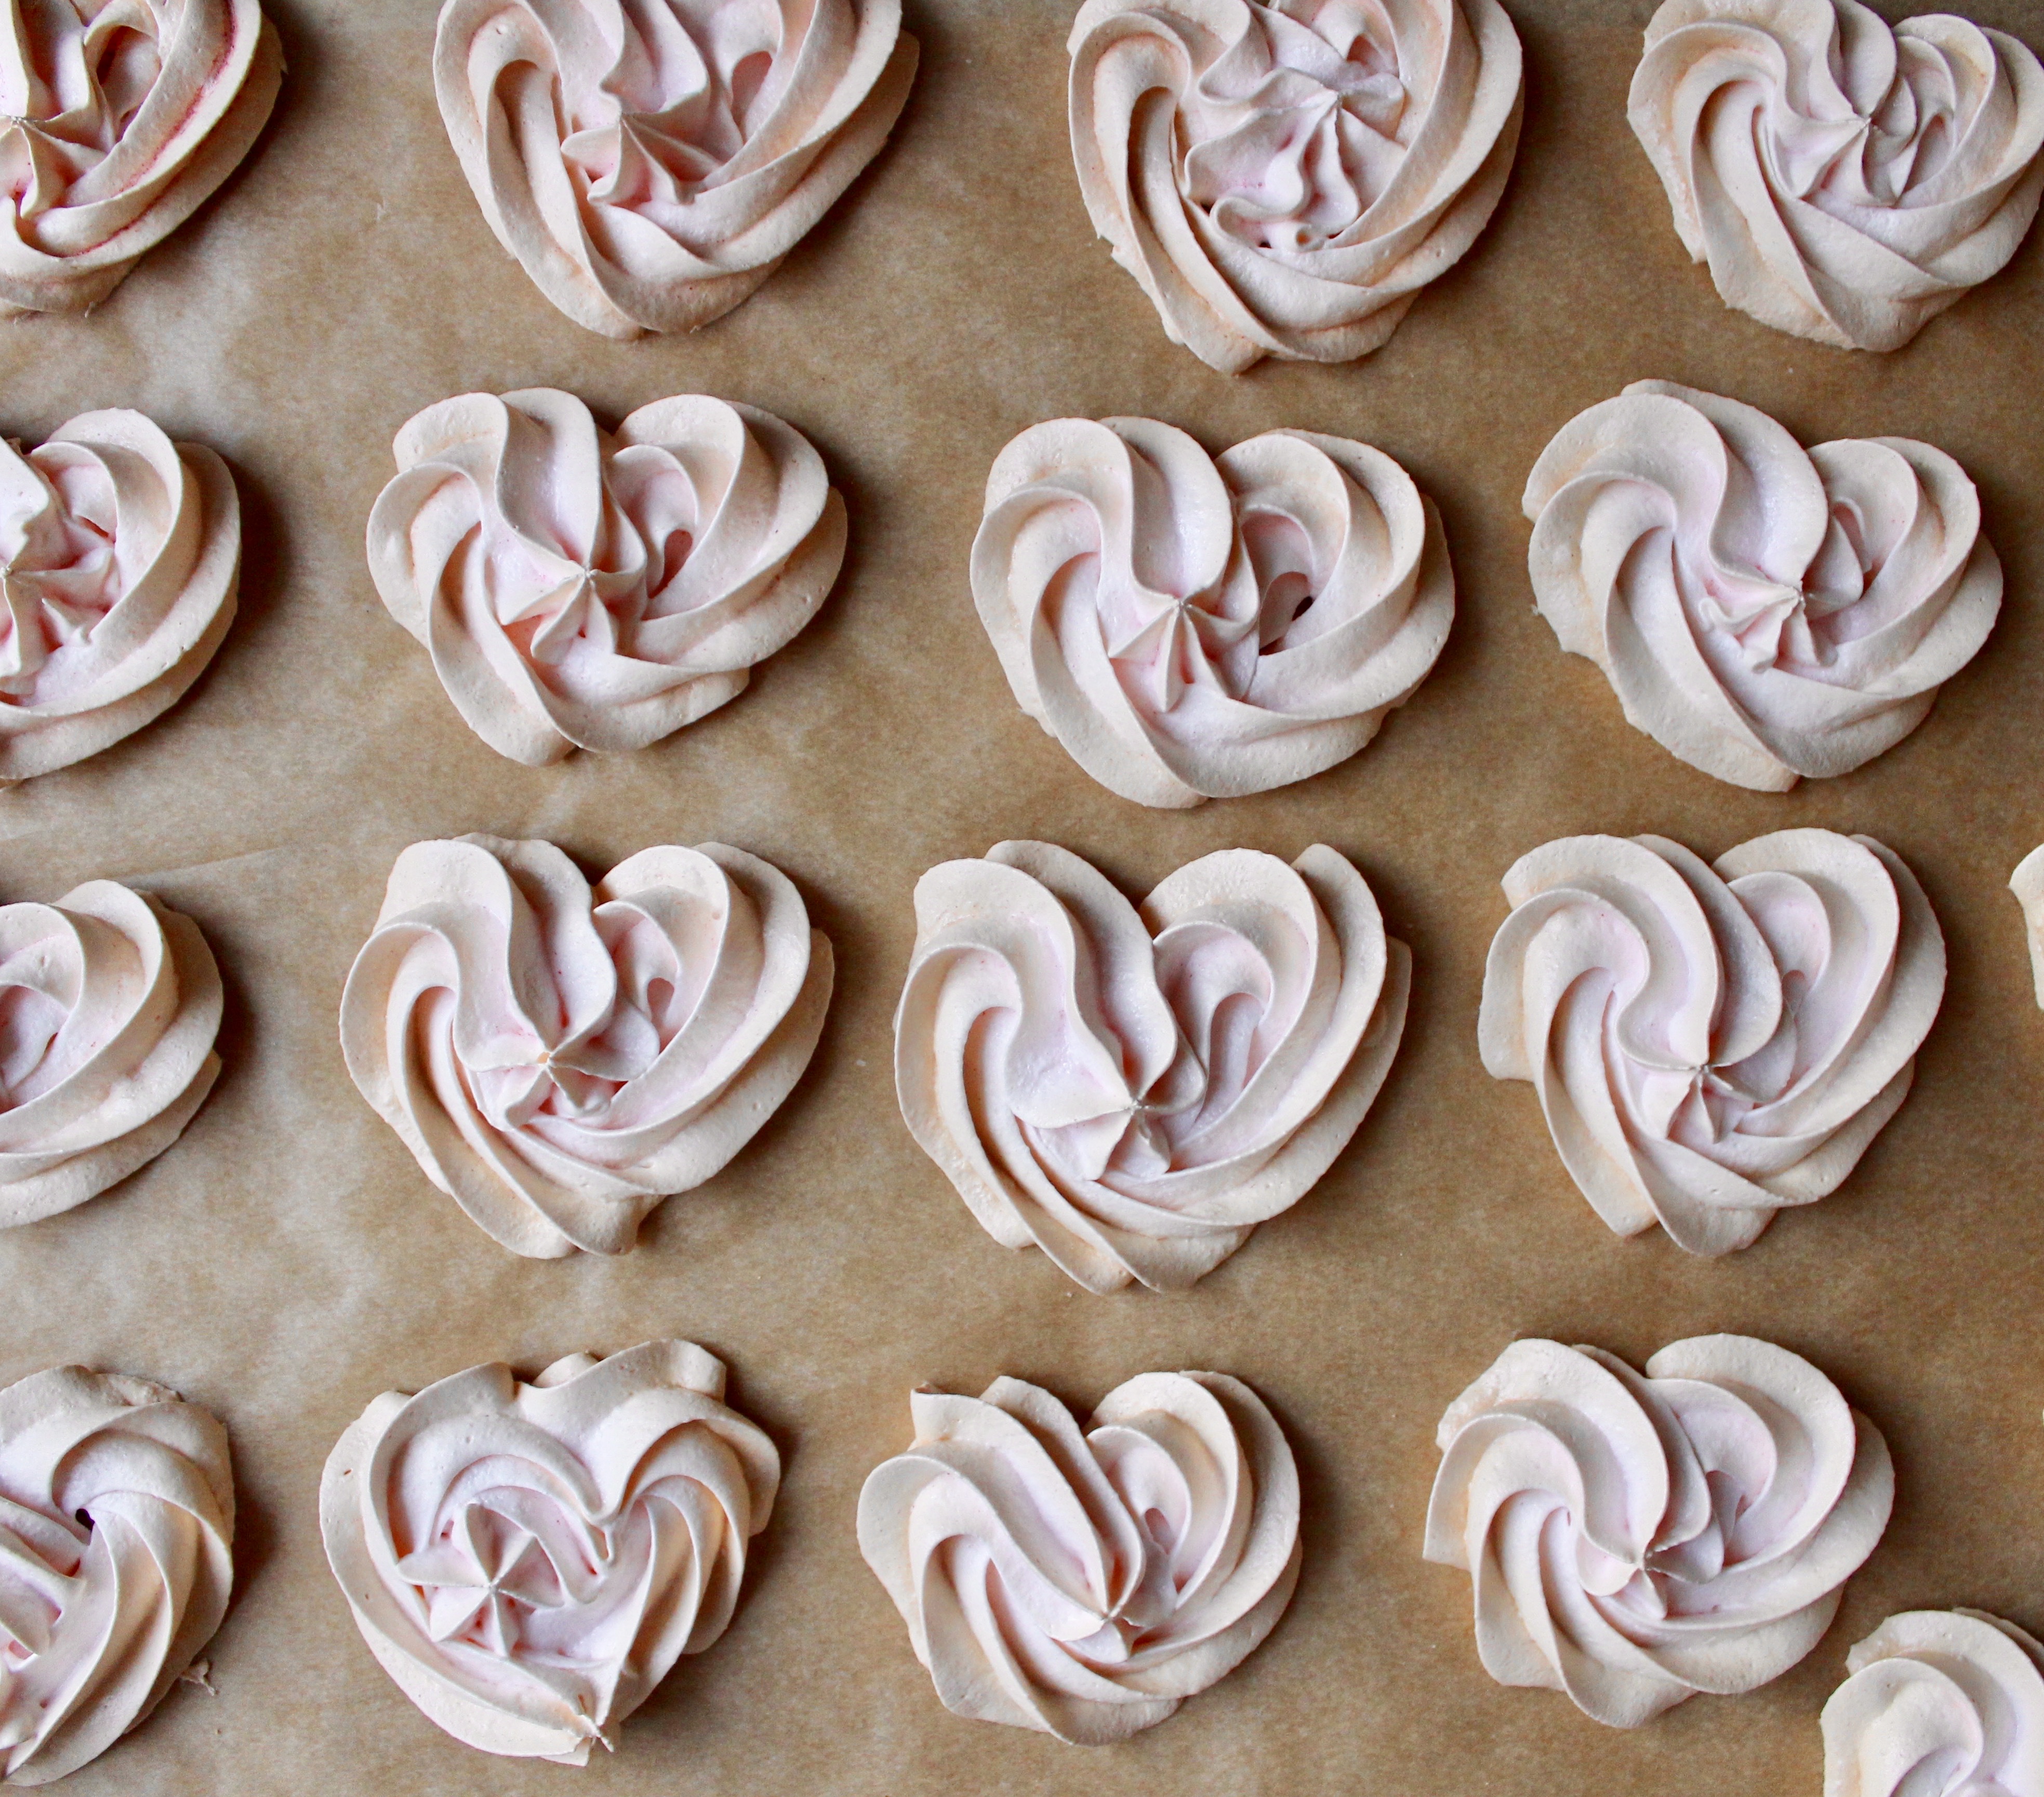
Just when you thought she couldn’t produce another great recipe, she pulls one out just to prove you wrong. I’m referring to the OG Deb Perelman and a recipe from her new book, Smitten Kitchen Every Day. She calls them strawberry cloud cookies – they are essentially meringues flavored with a unique ingredient – strawberry powder, rather than the traditional vanilla extract. She dollops the meringue onto cookie sheets before baking for 30-35 min. I piped mine with an open star tip into heart shapes (it is February after all) and baked them for a shorter time, since they are flatter meringues.
Krumkake
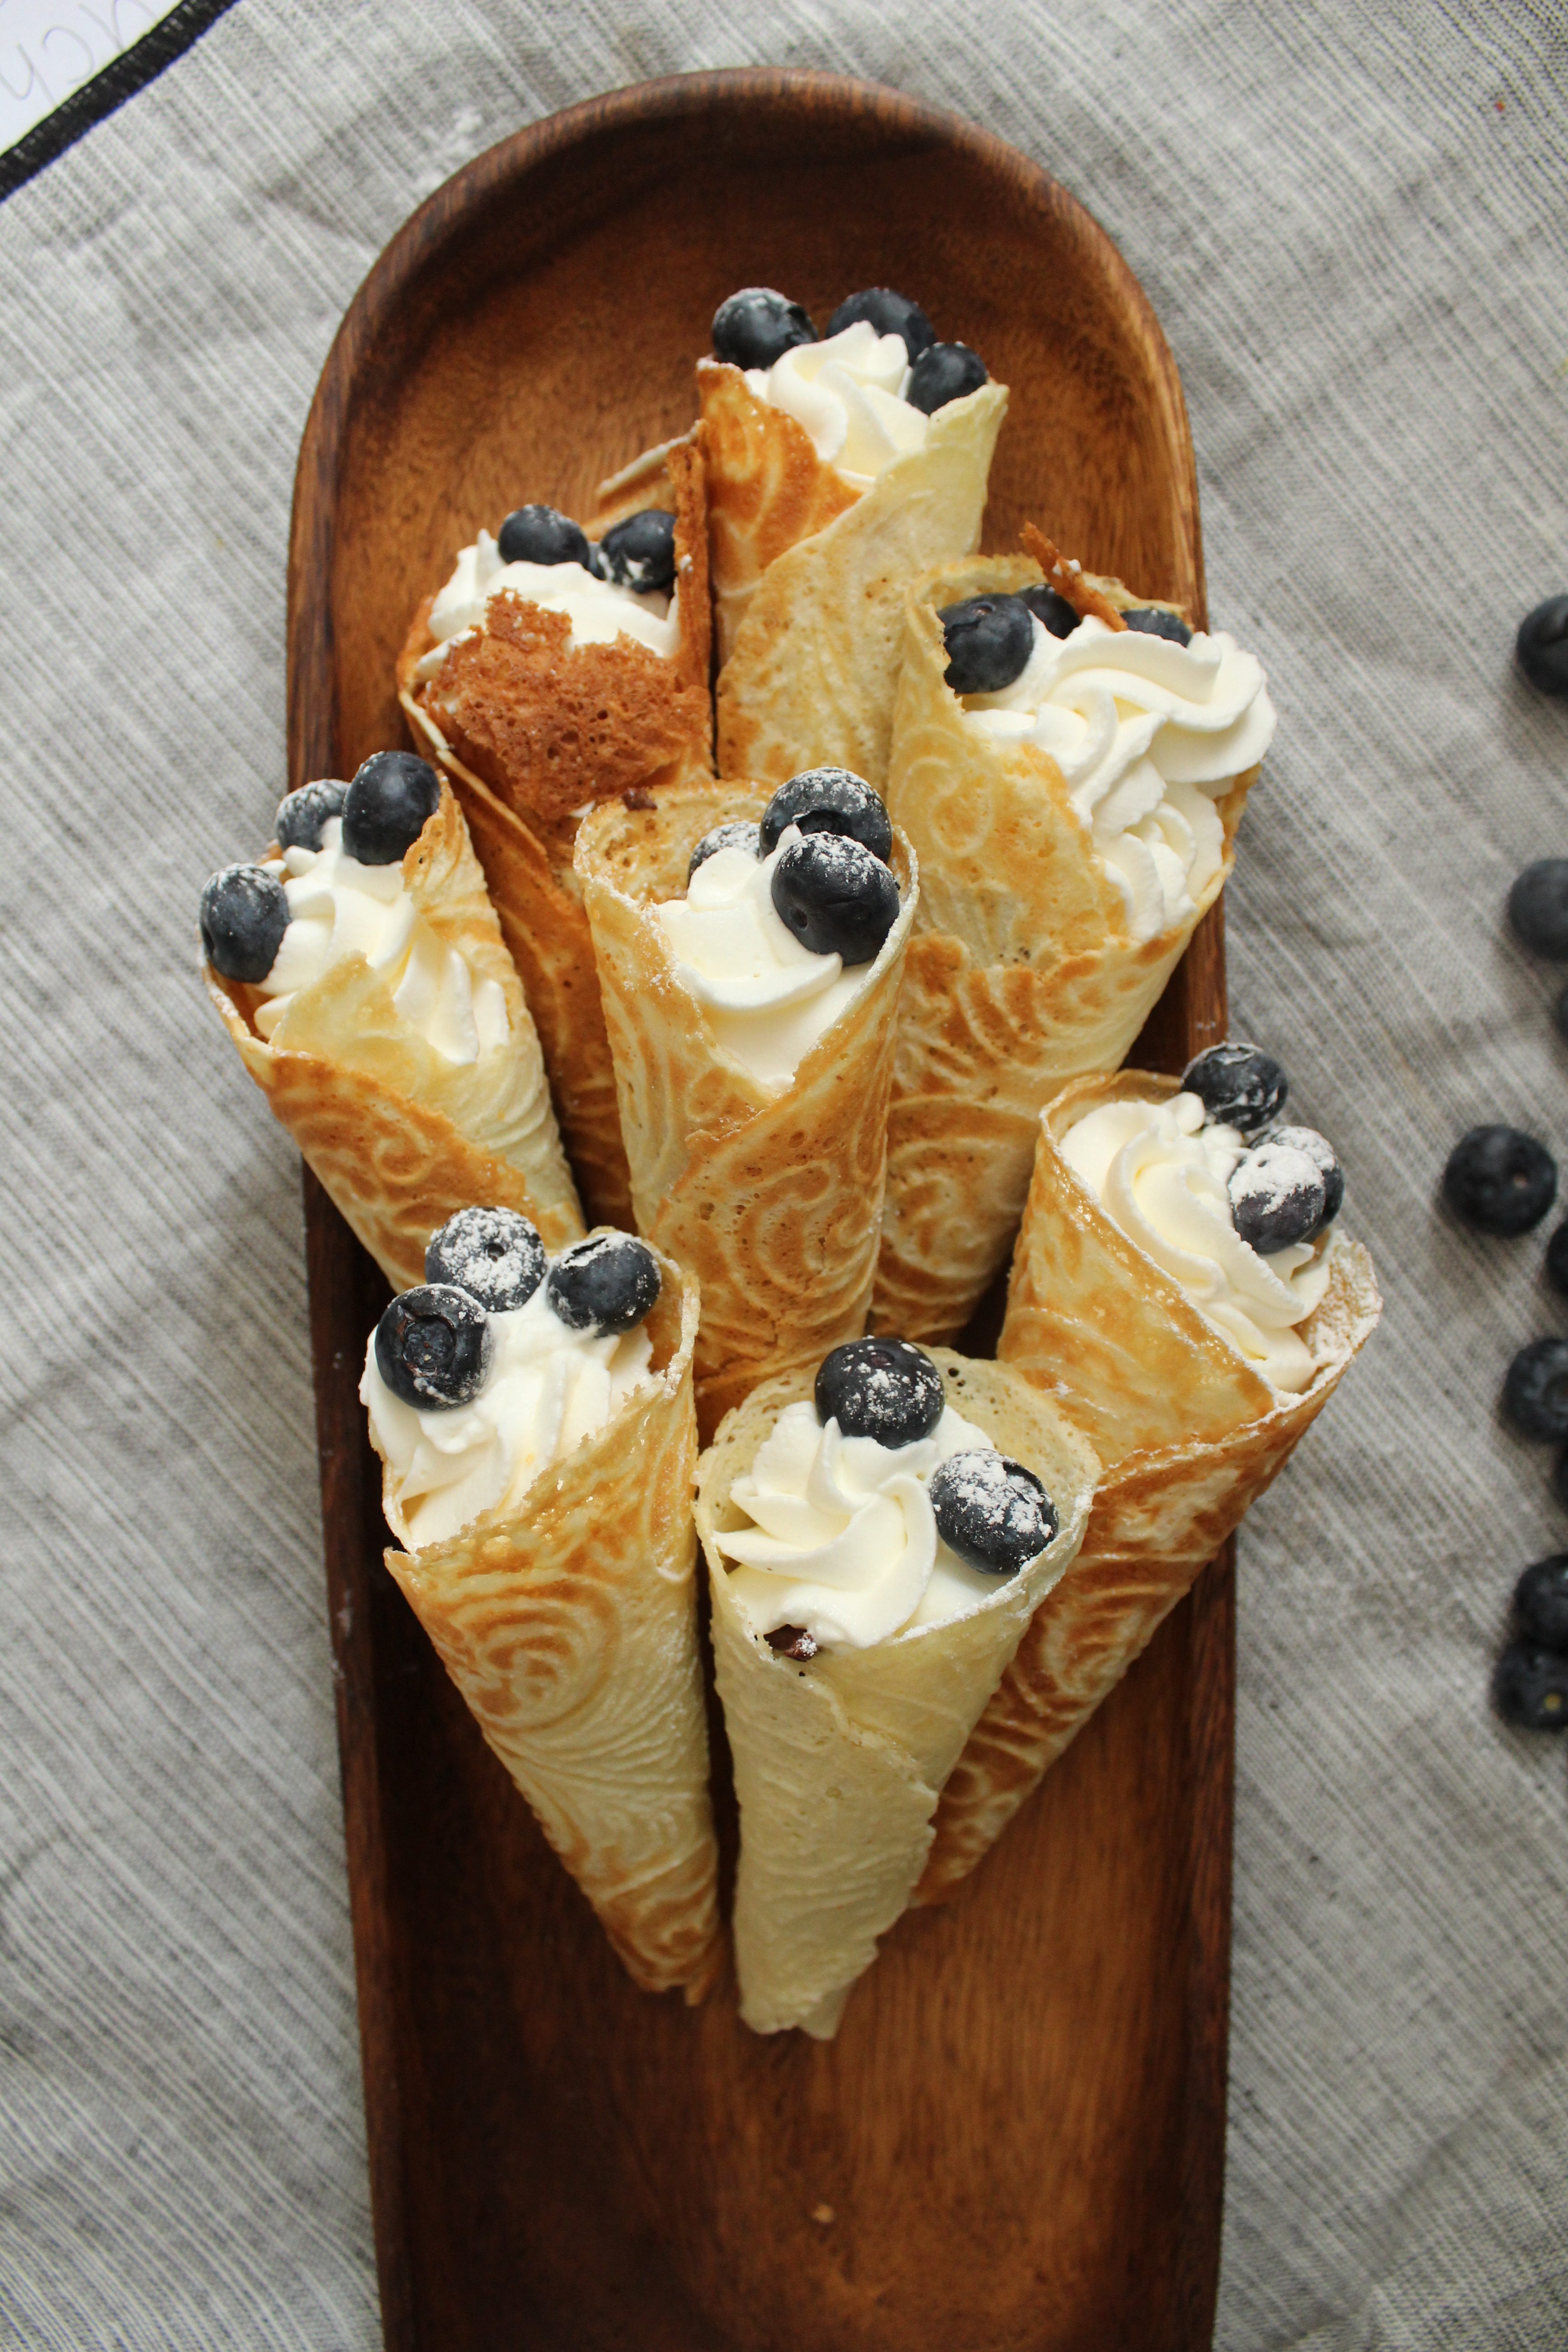
If you’ve been following along on social media (esp Instagram!) you’ll know I’ve had an exciting week: my little girl turned 7, my favorite fashion blogger of all time (Aimee Song!) showed my IG some love, and I discovered a classic Norwegian dessert called Krumkake.

In anticipation of my daughter’s birthday, I got to thinking what kind of cake should I make for her? Chocolate and vanilla can get tiresome when you make them almost every day. I thought, what about a Kit Kat cake? What would I need?

Chocolate, wafers, and more chocolate. I did some research on the filling of KitKat – apparently it’s some trade secret! Rumor has it the filling is made up of crushed KitKat?? That’s kind of dark. Like, candy cannibalism.

Anywho, that’s what got me started on my wafer journey. Looked up a wafer recipe, said recipe directed me to various presses. Instead of a waffle press, I went with this Norwegian Krumkake press, with it’s beautiful design, I couldn’t resist!
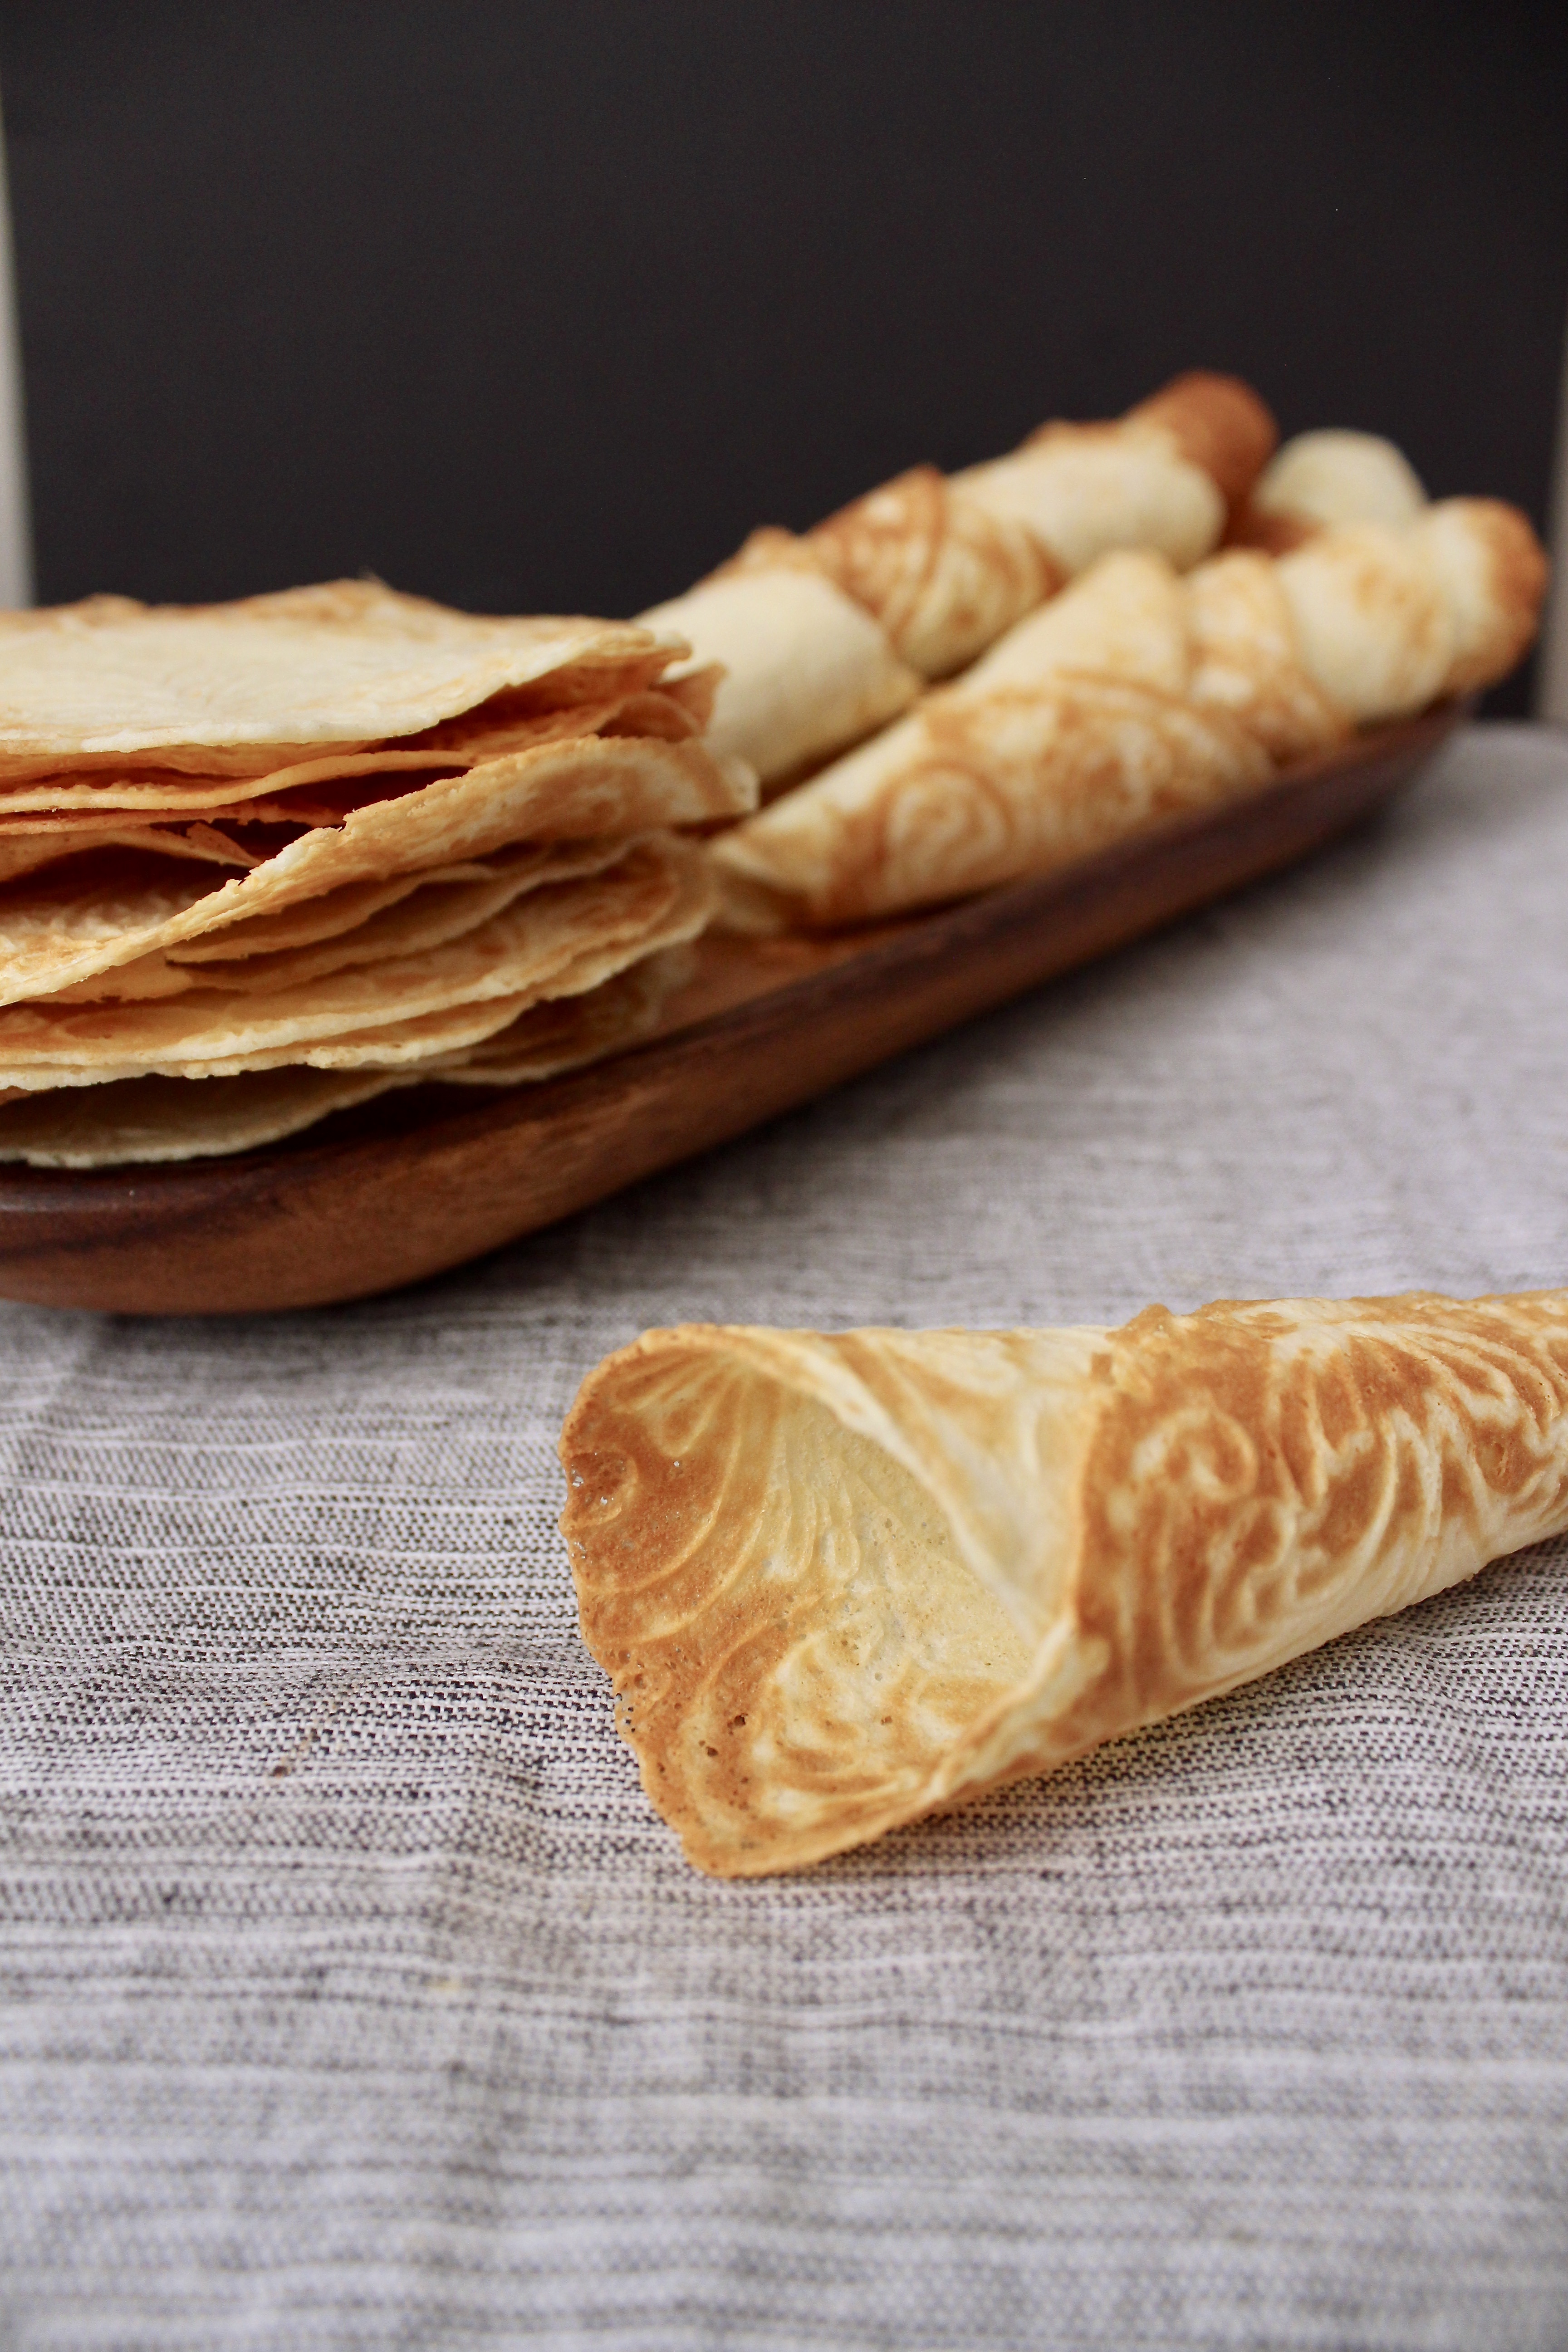
The simplest batter of butter, flour, eggs, sugar and milk gives you excellent wafers. The only thing is you need like 1 hour in the kitchen, baking each one for about 30 seconds each, and rolling them around the cone that the press comes with, or leaving flat if you want to stack them for a cake.
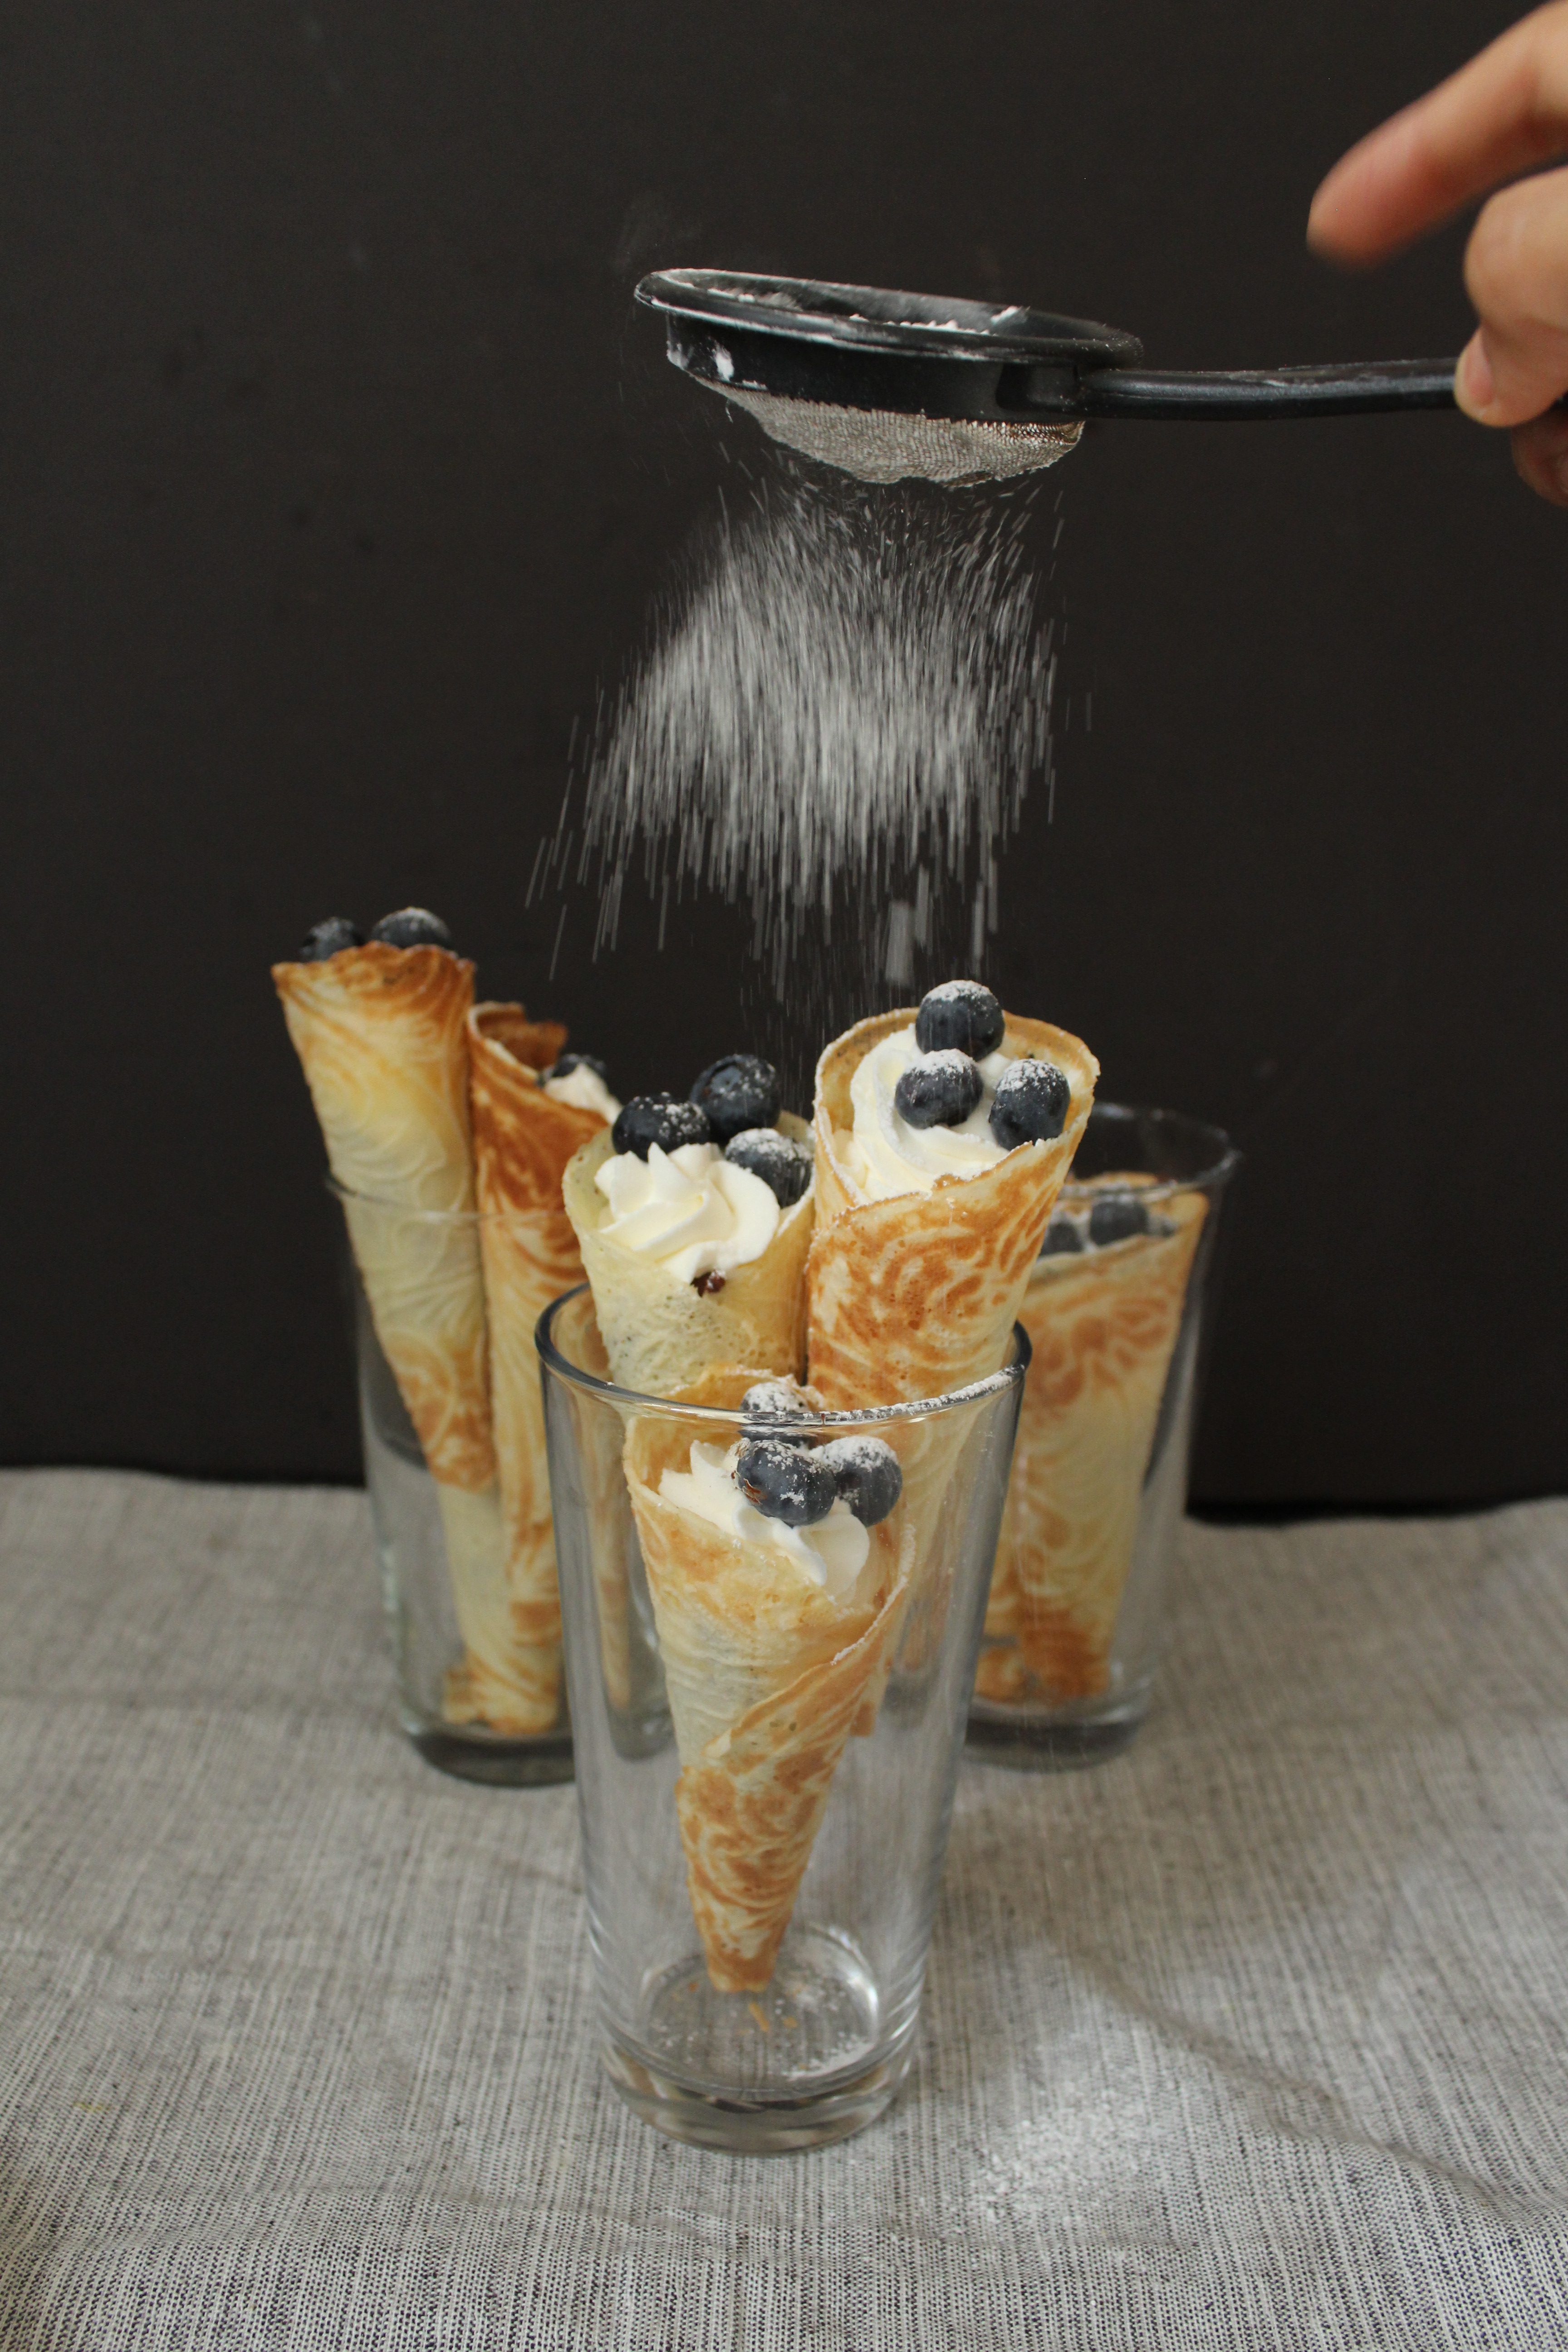
You can fill them with pretty much anything you like! Whipped cream, pastry cream, fresh fruit, ice cream. I opted for a dark chocolate ganache, whipped cream, blueberries and powdered sugar. They are delicious on their own, as well!
They are delicate, so take care handling them after they’ve dried. I found it easier to fill and decorate by placing them in tall glasses. Serve on a nice wooden platter and enjoy immediately!
Ingredients
- 2/3 stick (5 tbsp) unsalted butter
- 2/3 cup granulated sugar
- pinch salt
- 2 eggs
- 2/3 cup milk
- 1 cup all purpose flour
- 1/2 tsp vanilla extract
- chocolate ganache (optional)
- whipped cream (optional)
- blueberries (optional)
Directions
- Melt the butter in a double boiler (a heat proof bowl set over a saucepan of simmering water, not allowing the water to touch the bottom of the bowl), careful not to let it brown or get too hot. Add sugar + salt and beat on high speed with a handheld electric mixer until well combined. Add eggs one at a time and blend until mixture is a pale yellow color. Add milk, alternating with flour until all ingredients are combined. Add vanilla. Batter should be thick but drip off the spoon easily.
- Plug in your krumkake maker and set the color number to 4. Set out a kitchen towel and rolling cone. Spray the inside with non stick cooking spray. The red “baking” light will turn on. When the light changes to green (“ready”), drop 1tbsp of batter in the center. Close the lid and snap the latch shut. The light will switch back to red and when done, green again. Use tongs to carefully remove the krumkake and place over the cone, aligning the center of the krumkake along the length of the cone. Roll to form a cone and allow to set while working on the next one.
- Repeat (no need to spray additional spray) and remove previous krumkake from shaping cone. Adjust the color if you prefer a lighter krumkake*.
- When all the krumkakes have dried and keep their shape, place in tall glasses to fill. Fill with puddings, whipped cream, chocolate ganache and/or fresh fruit for a delicate, wonderful and tasty dessert.
*My manual suggests a setting of 2.5 but I was getting zero color at that setting.
The Last Chocolate Chunk Cookie
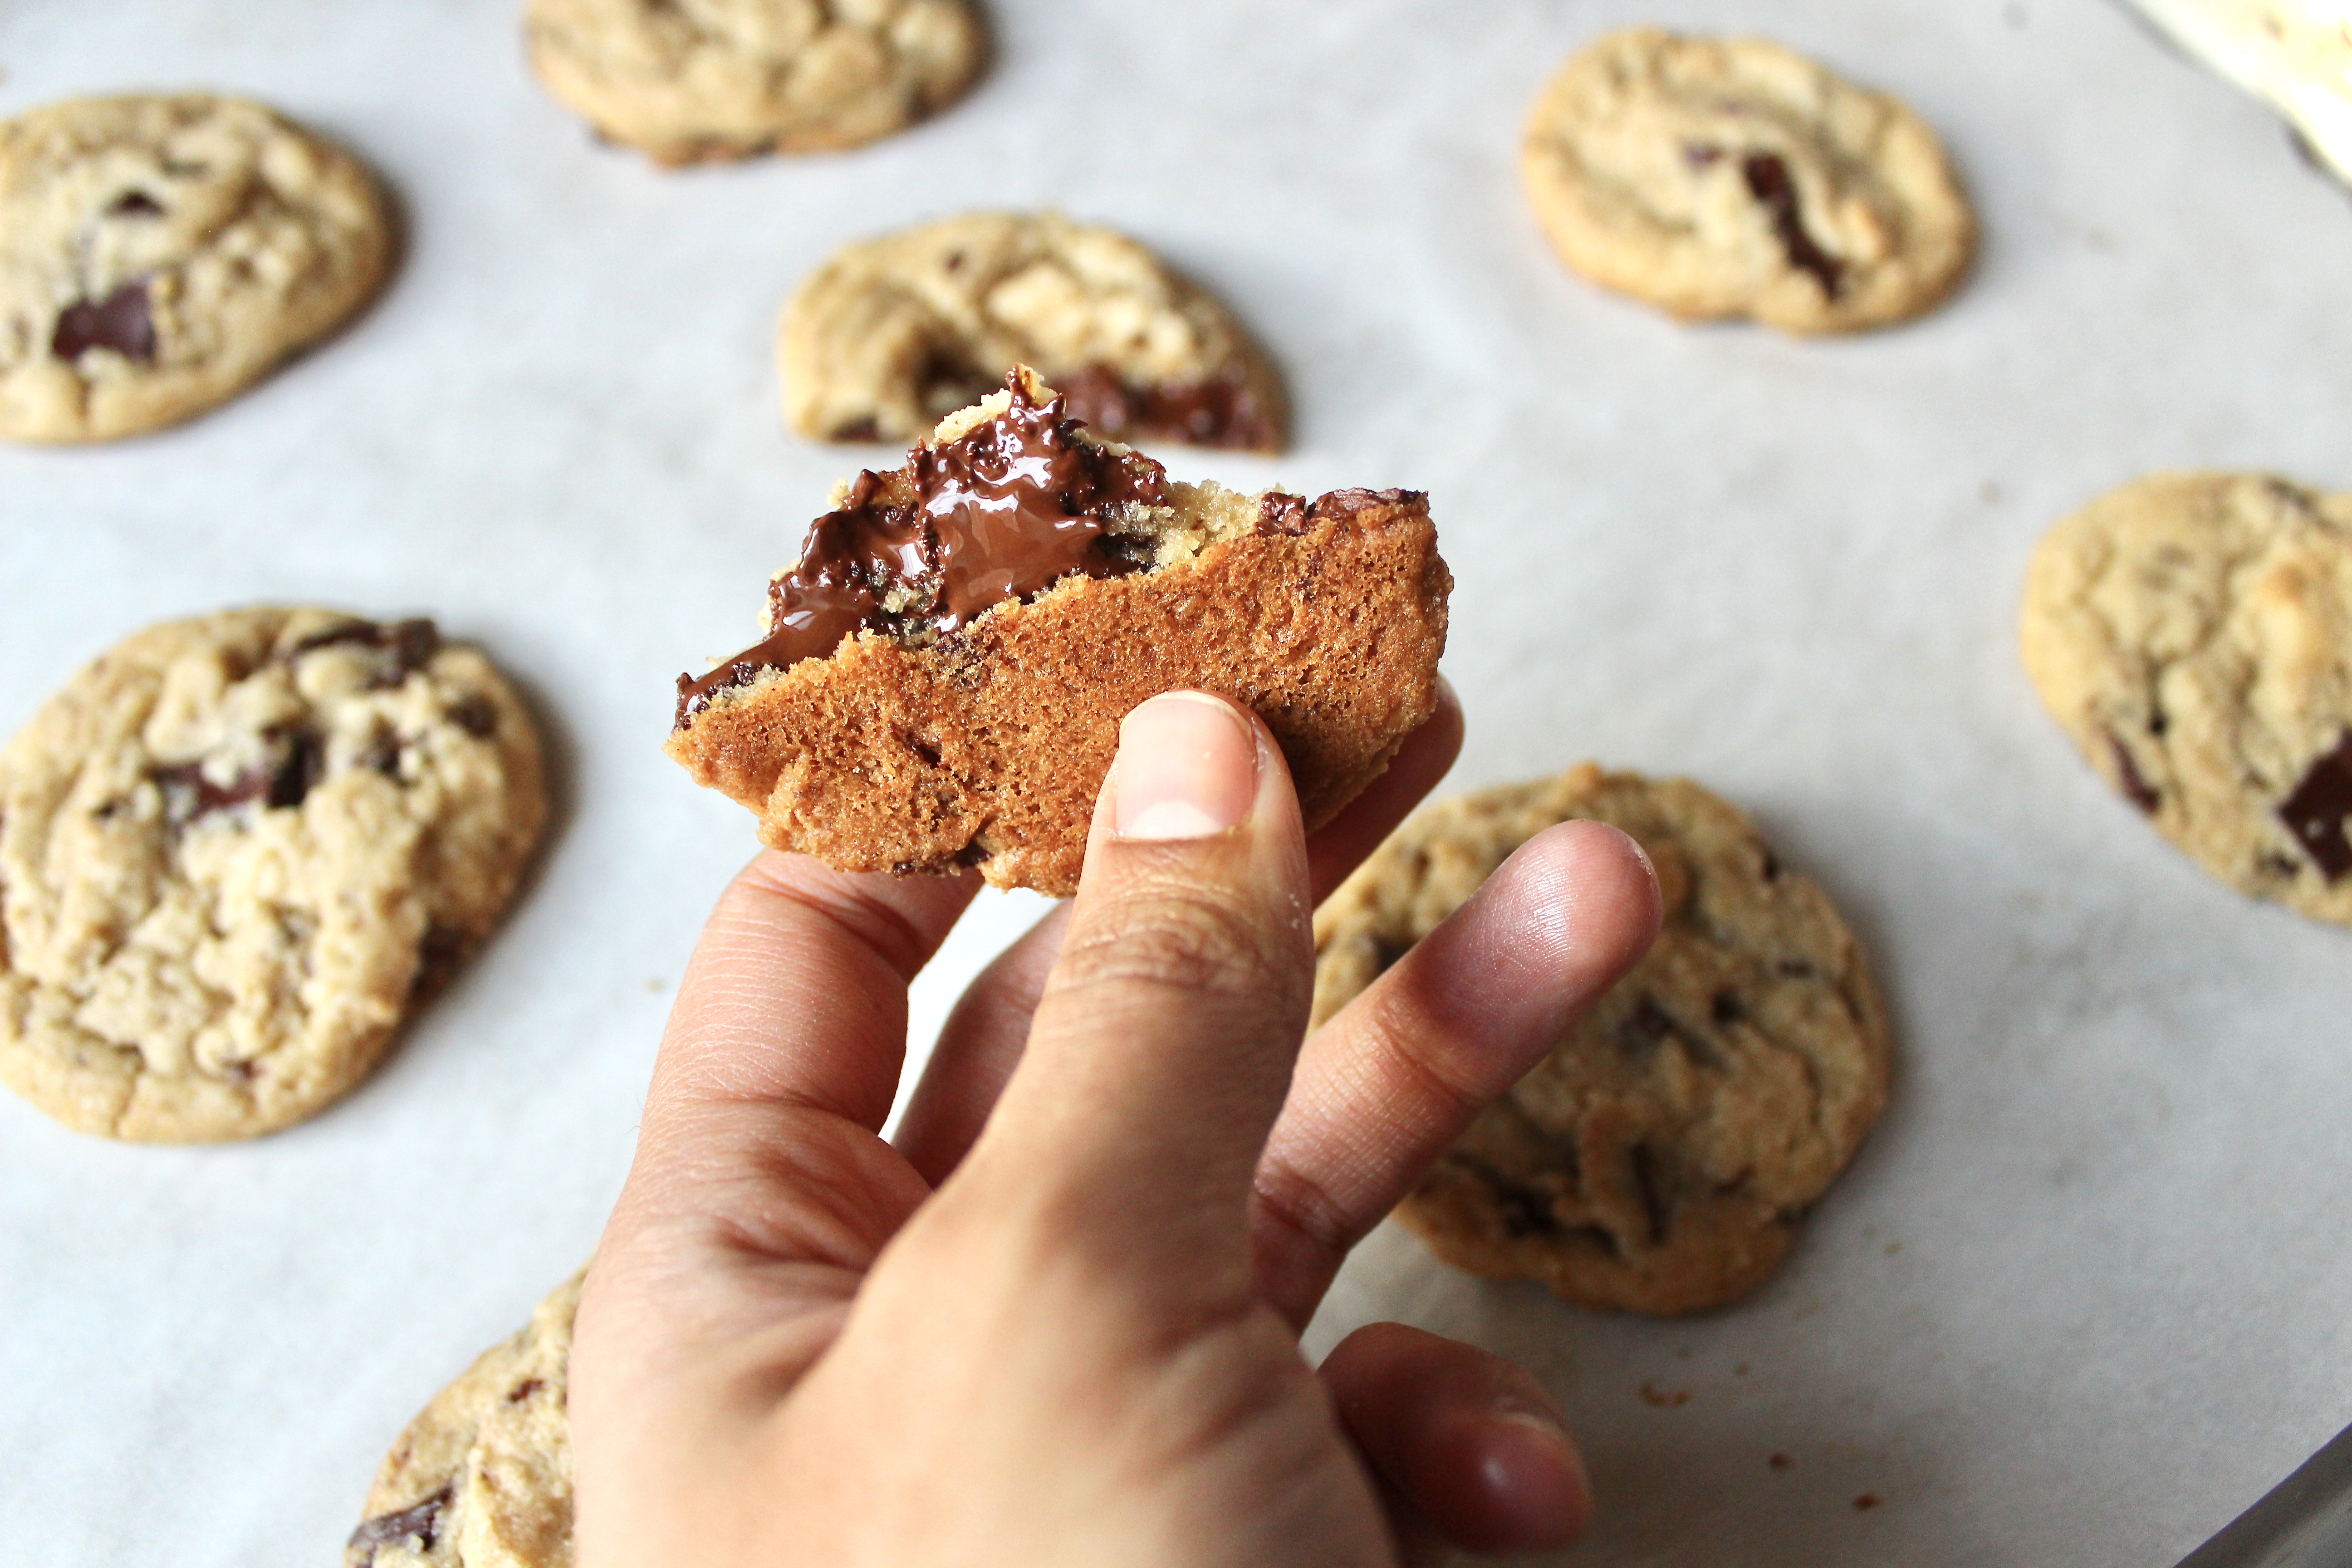
When I die, I want this recipe printed on my tombstone.
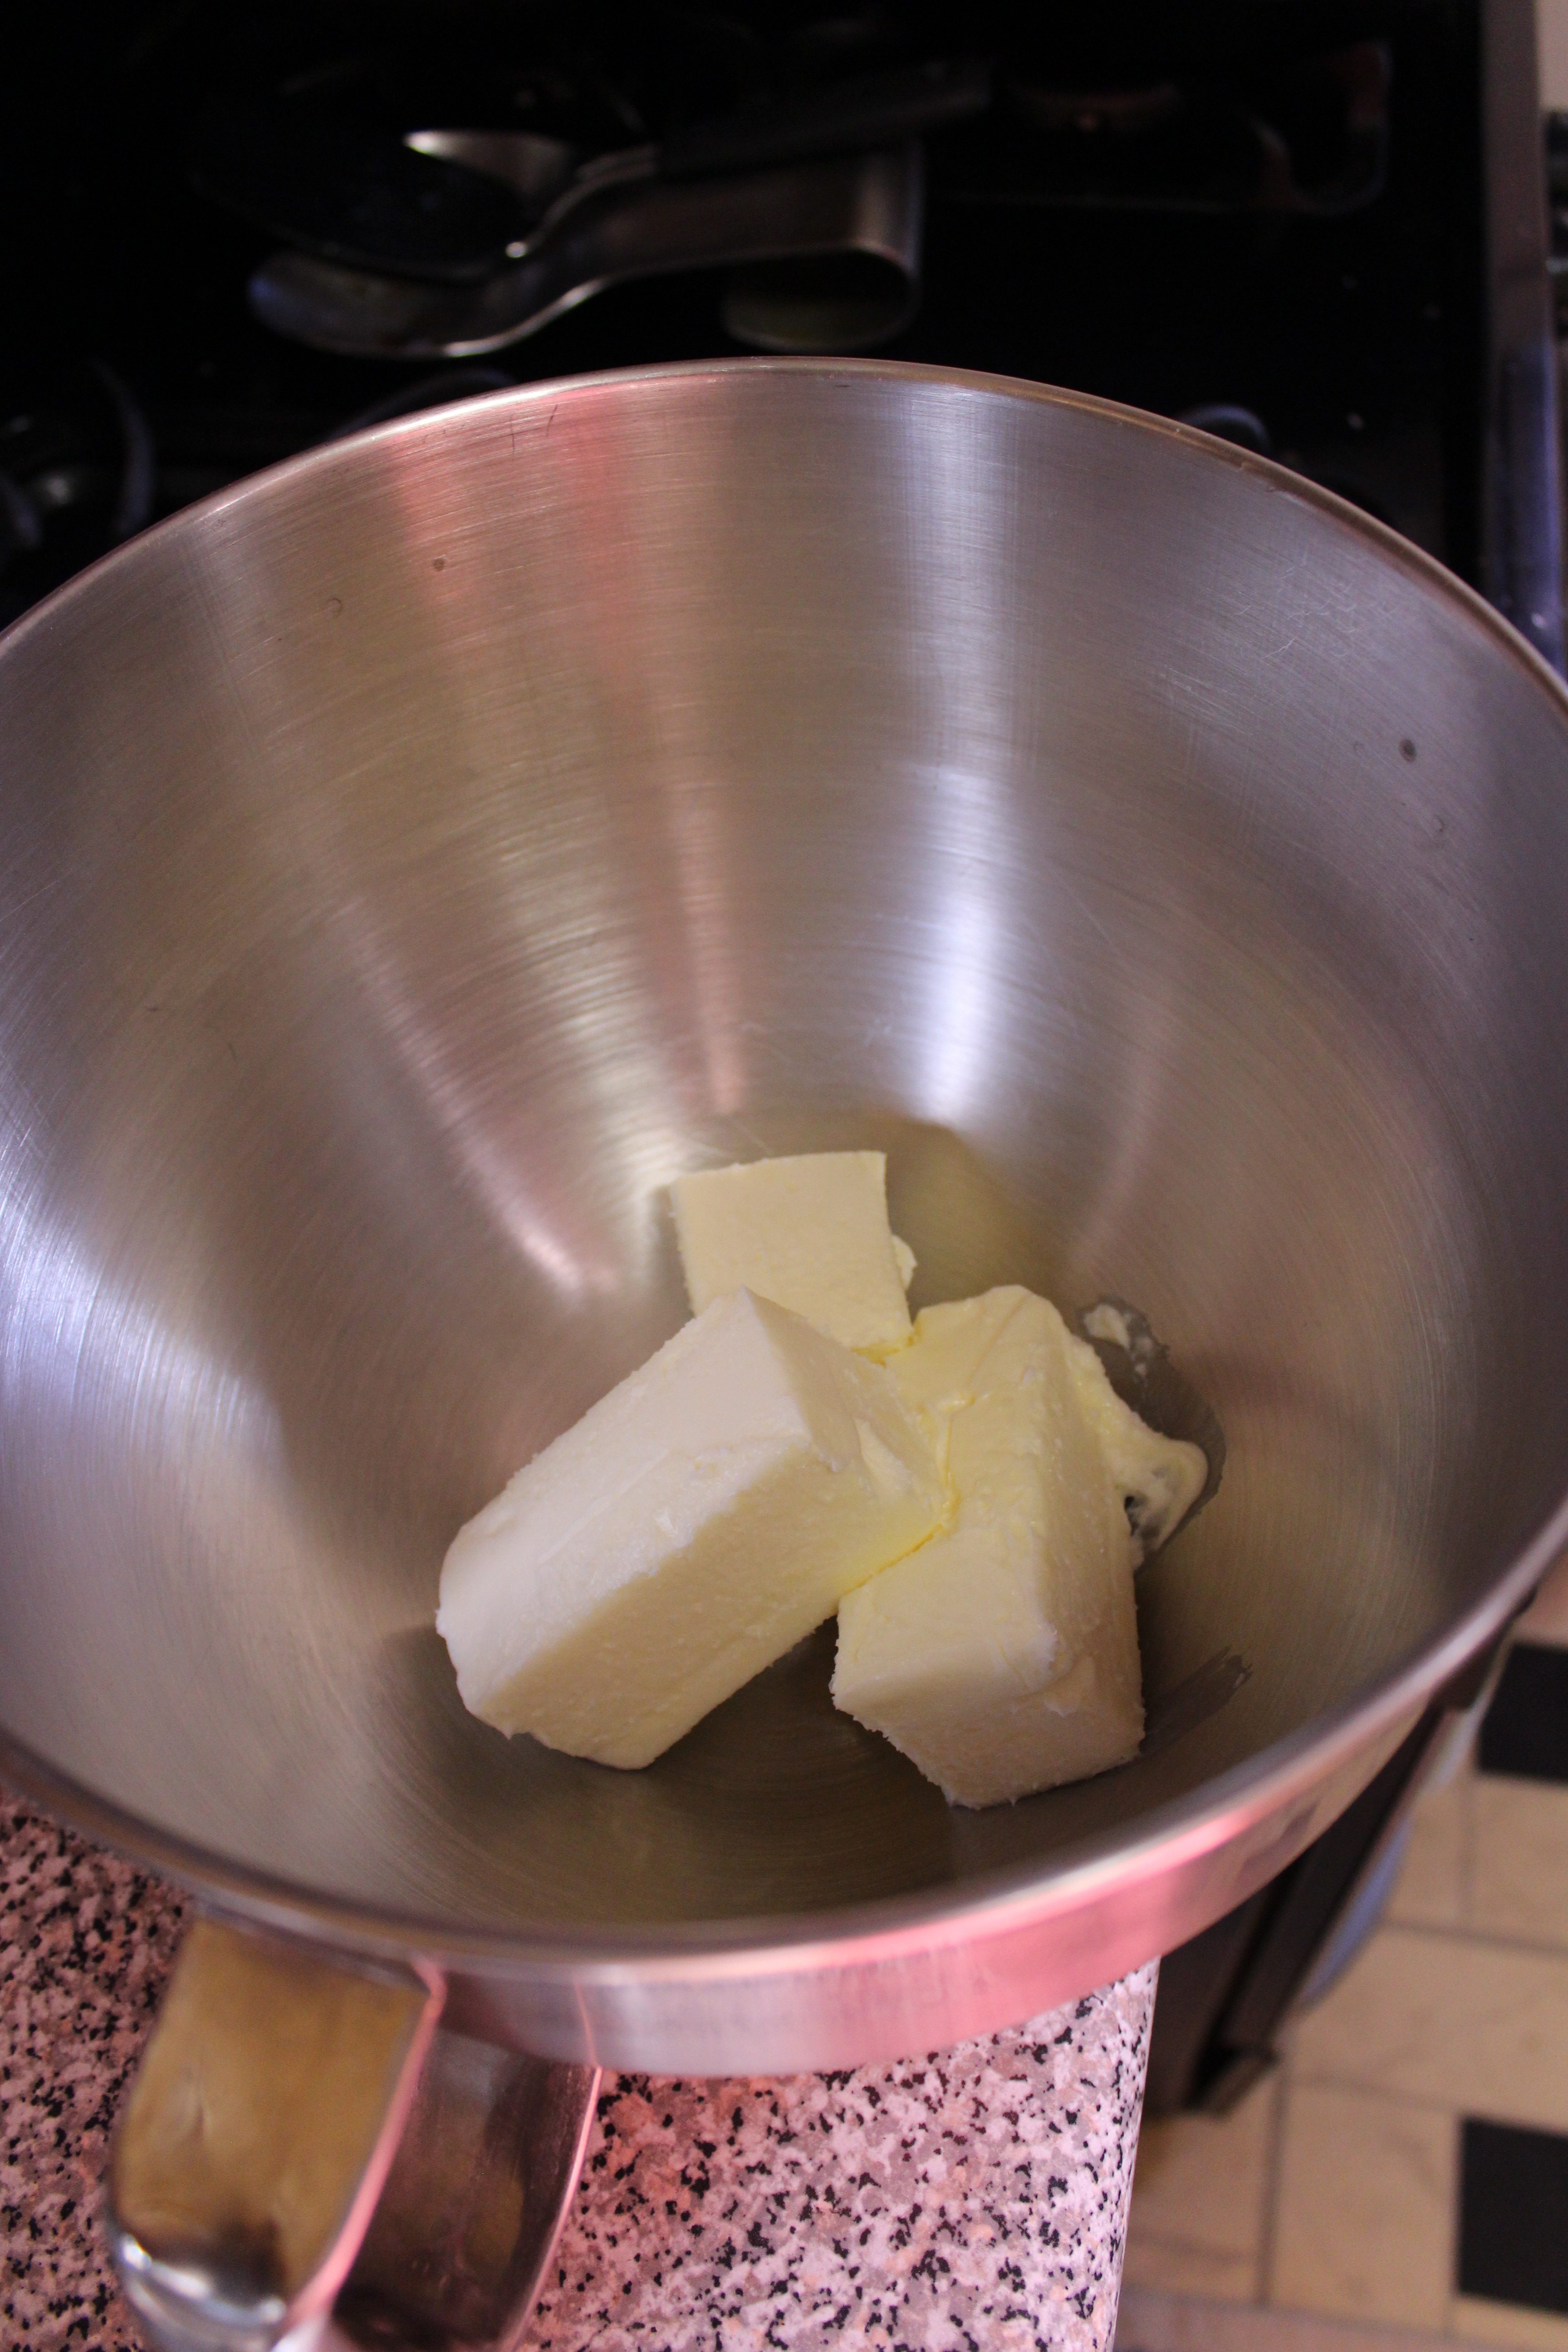
Just kidding, Muslims don’t do tombstones.
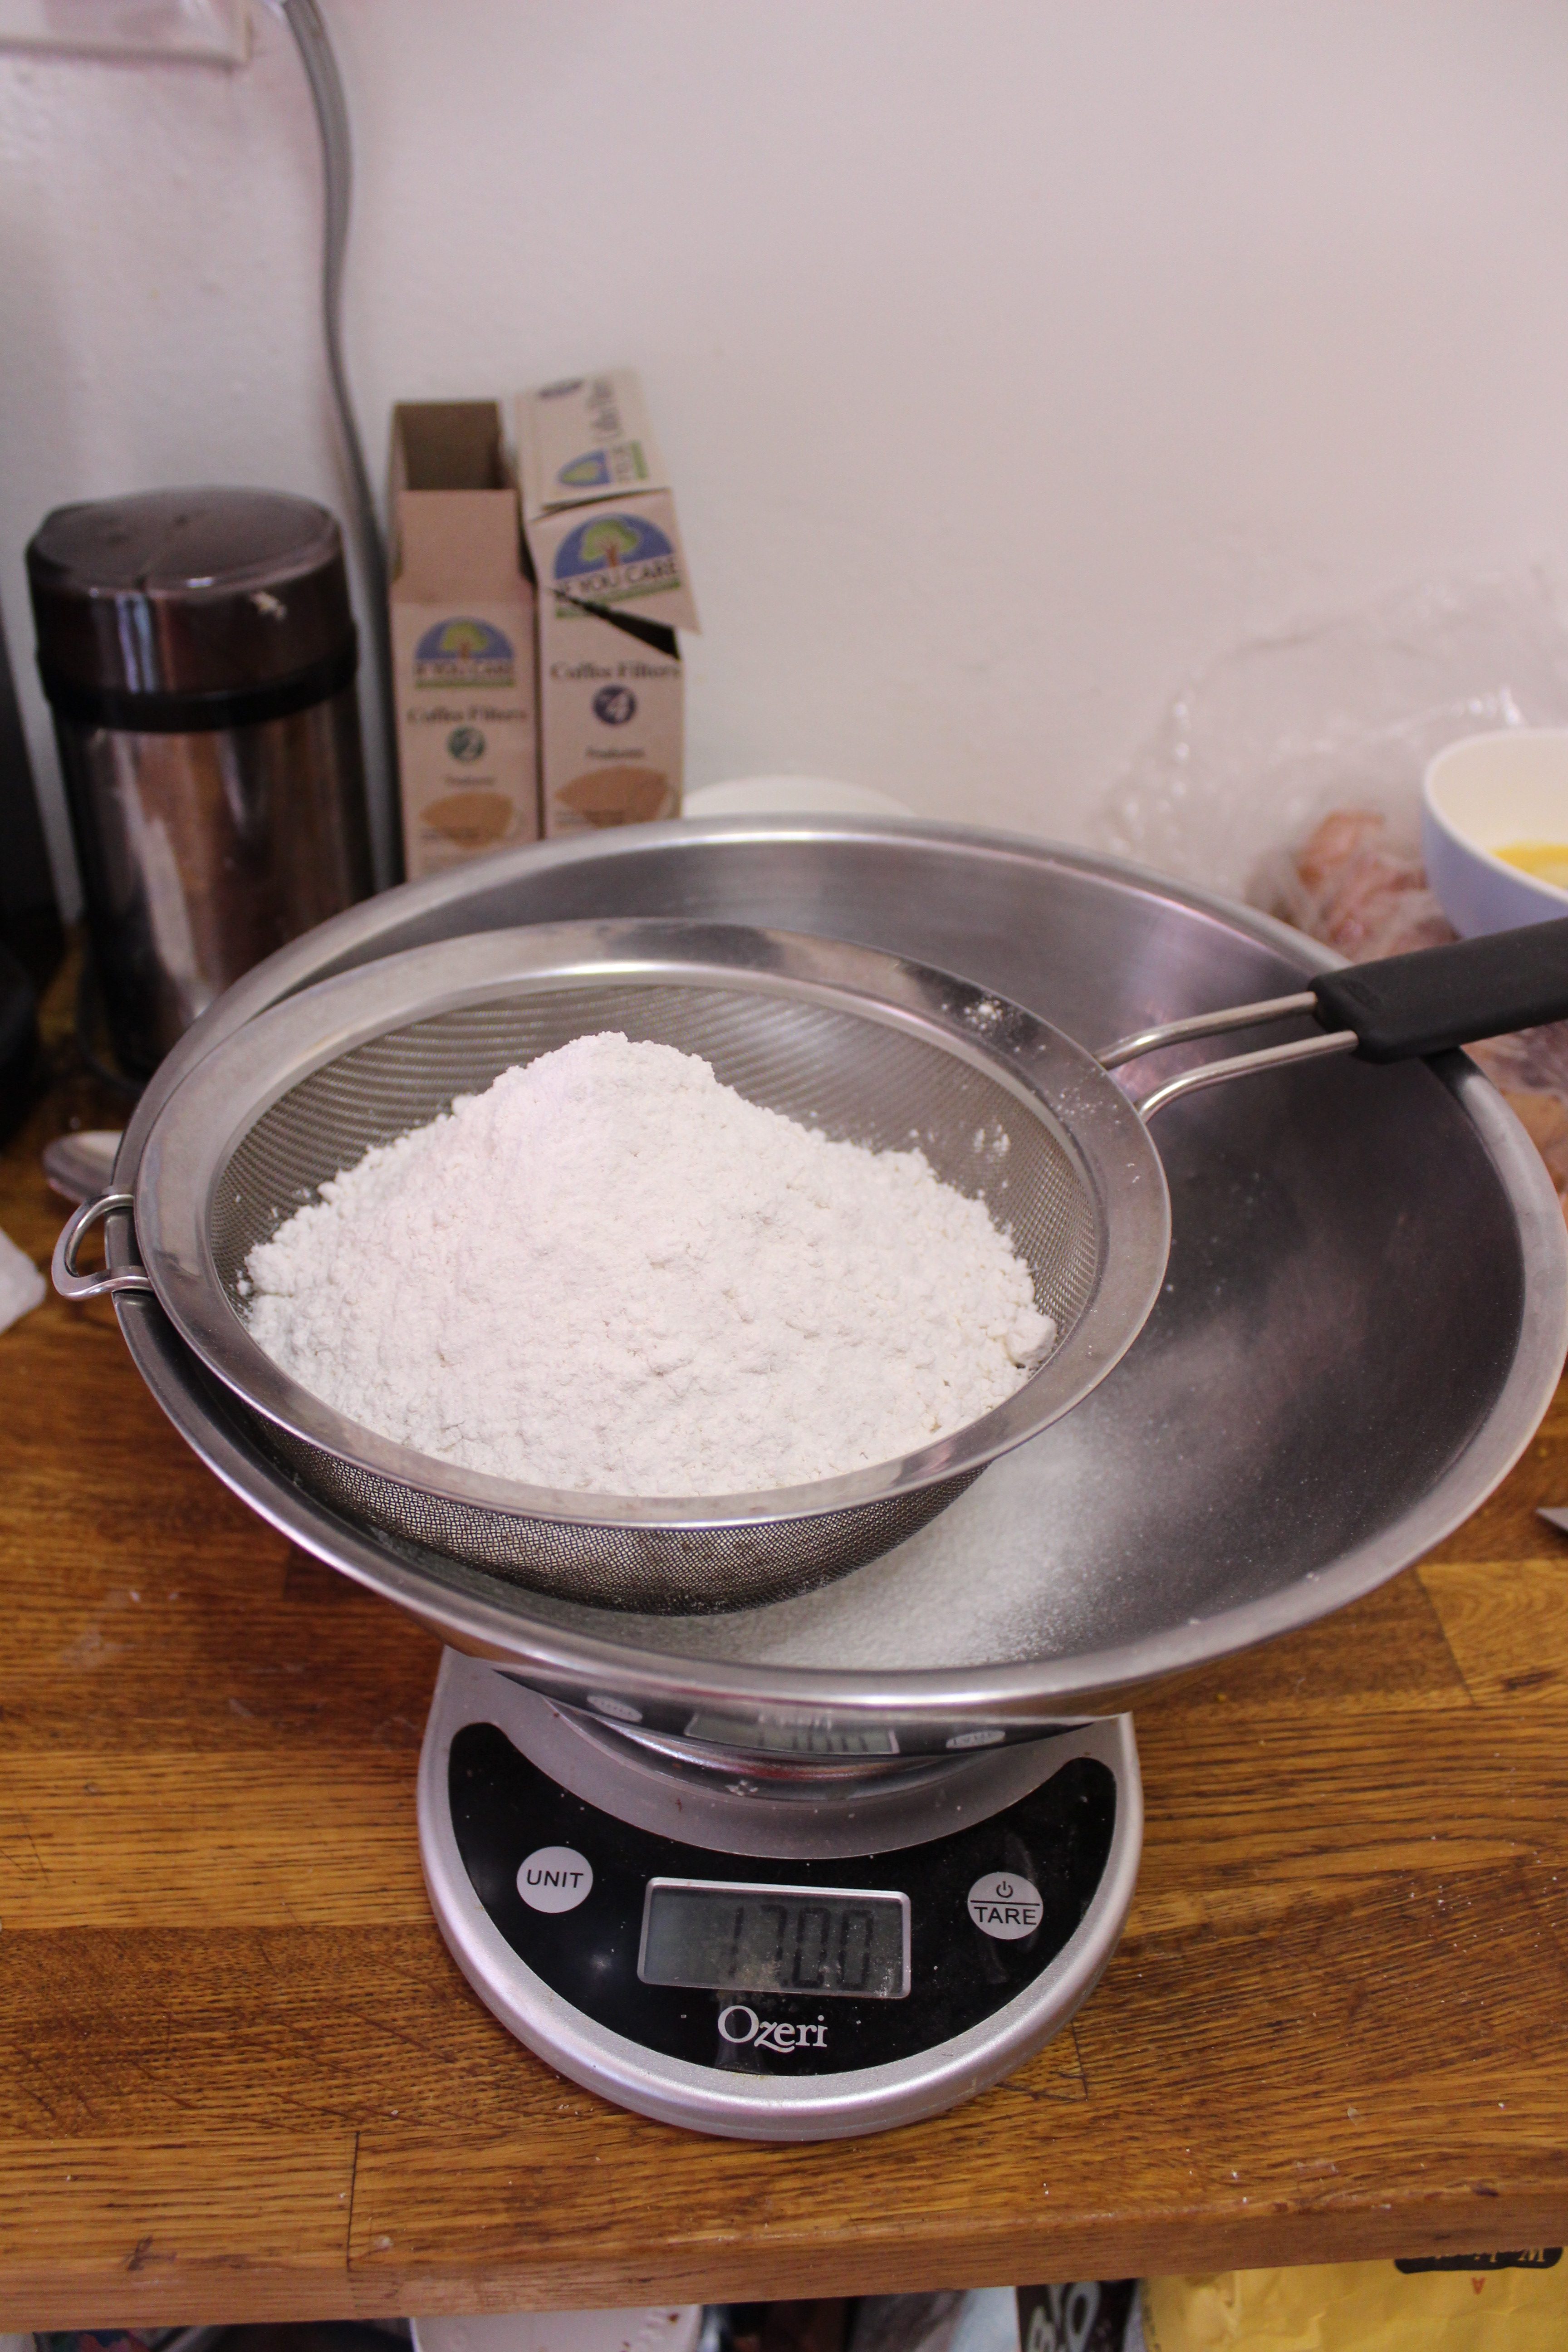
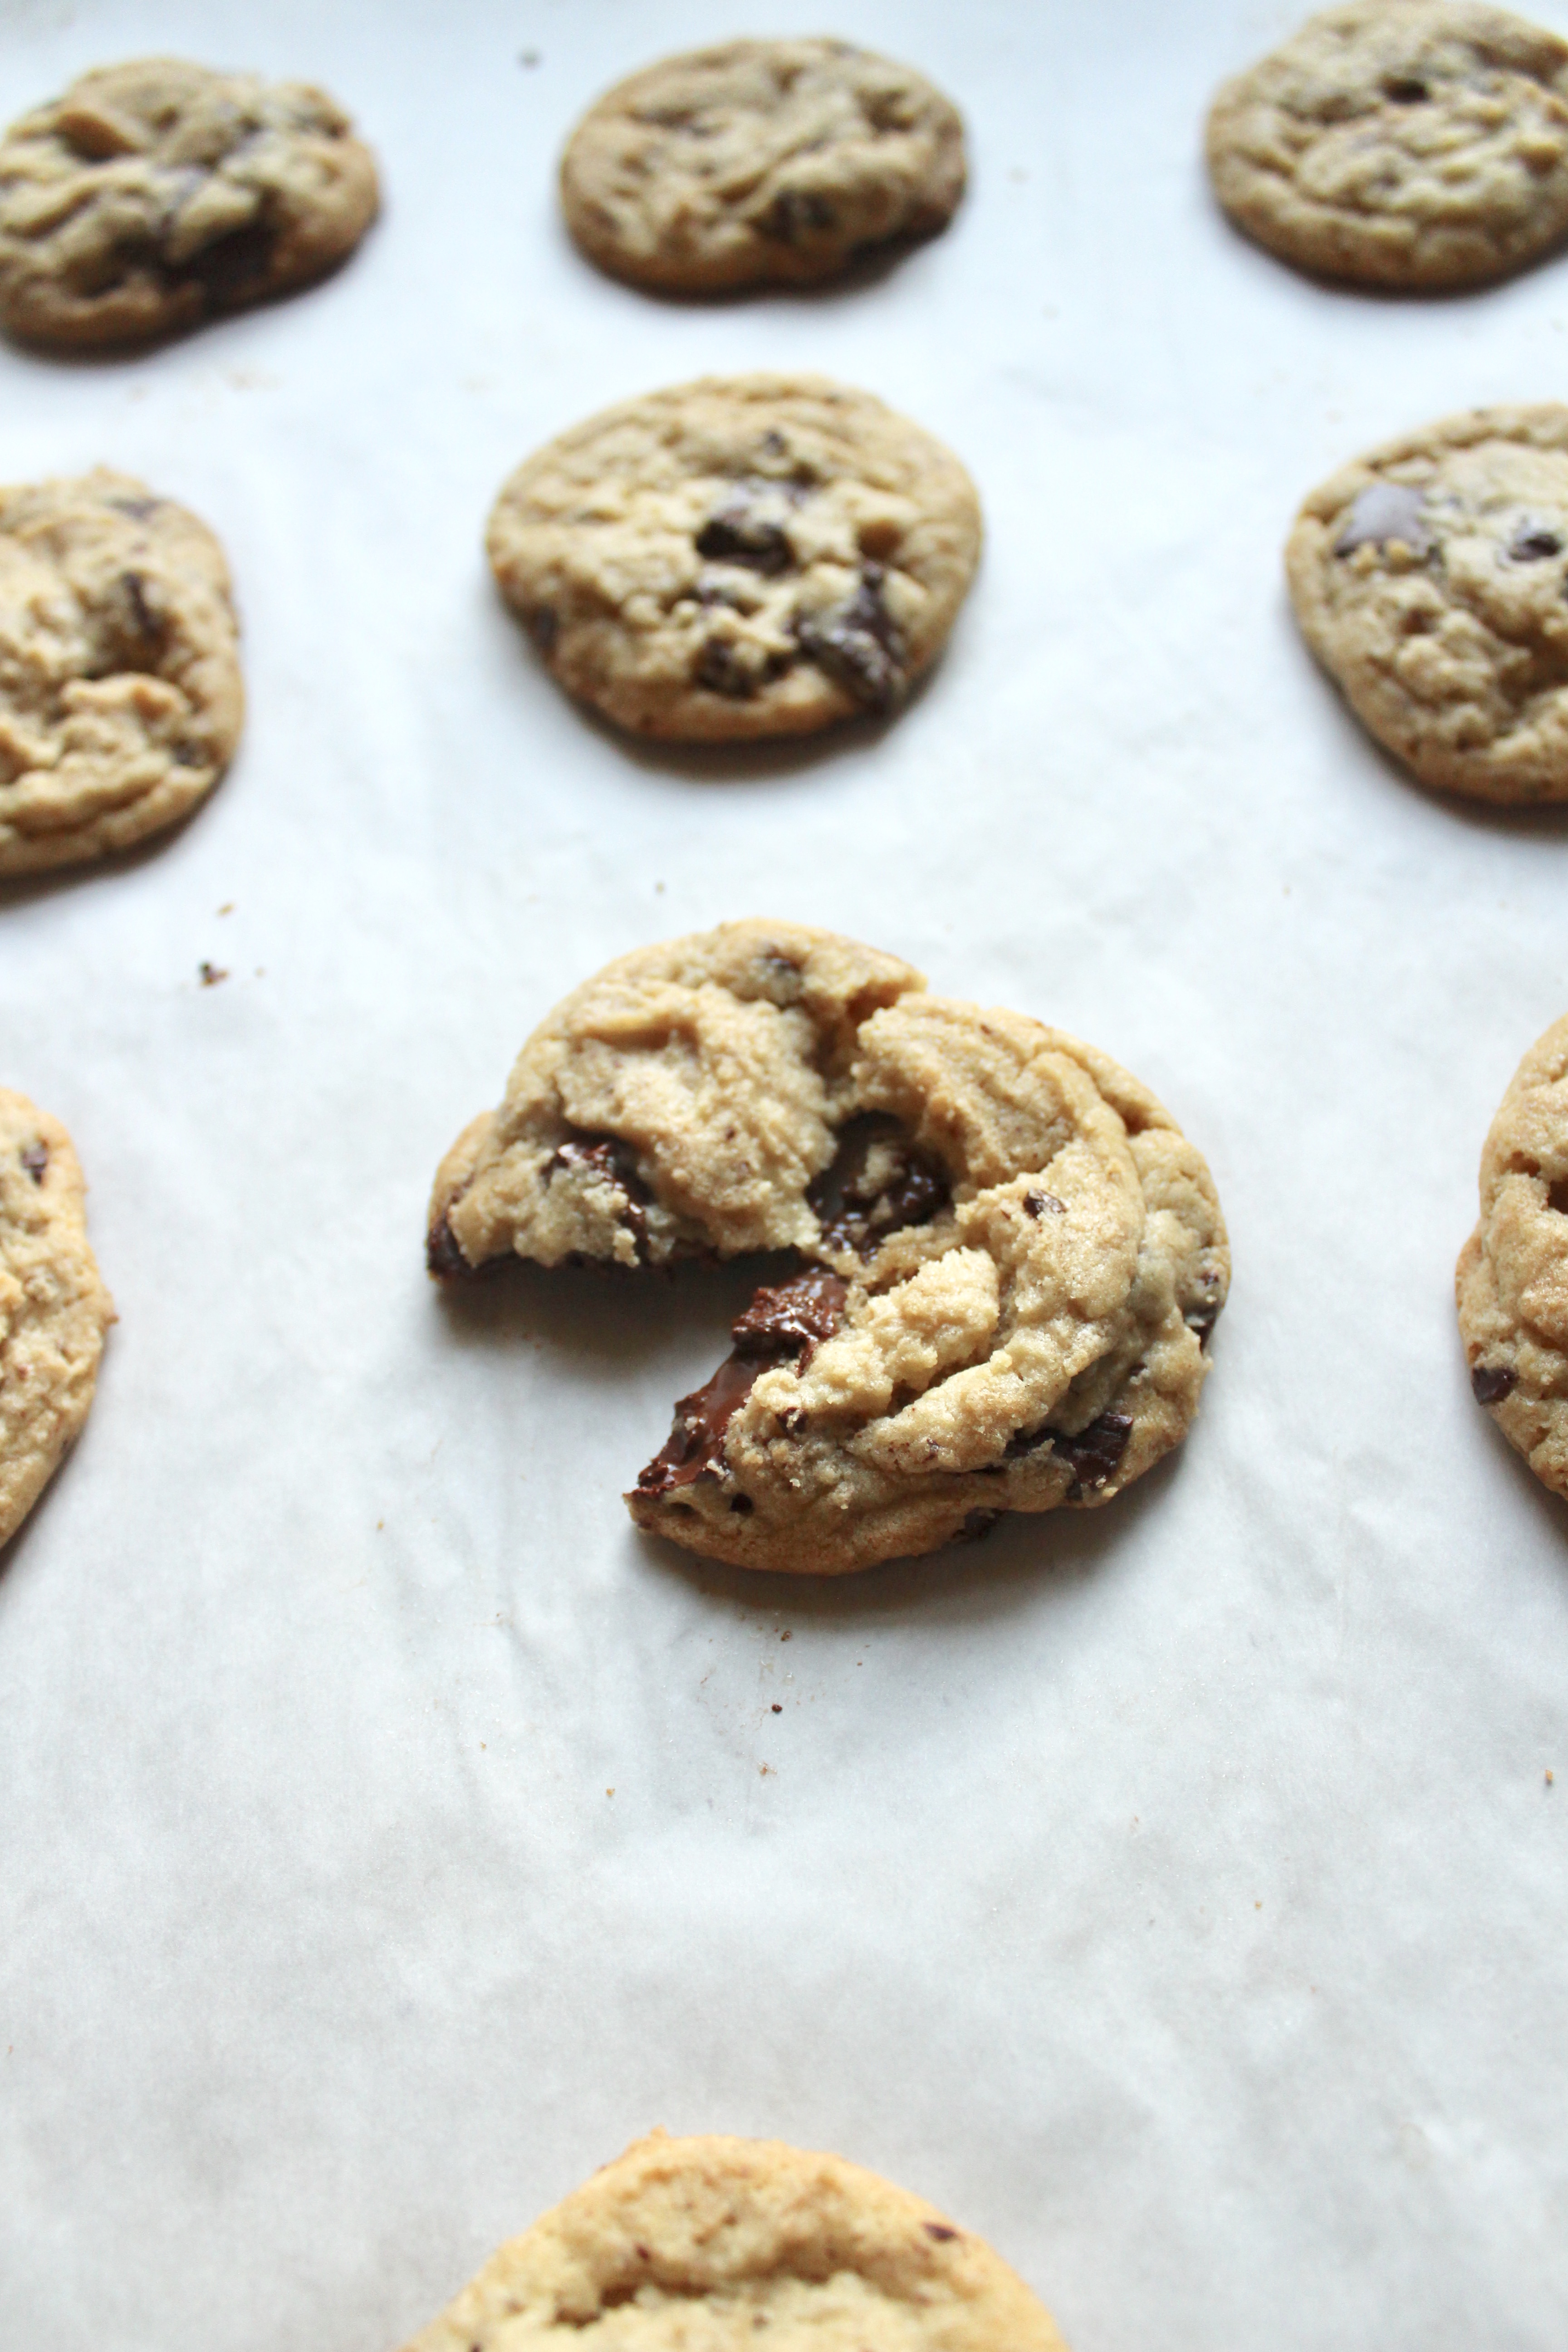
But this really is the cookie I’ve been searching for all my life. Free of all the silly things people add to chocolate chip cookies (CCC’s from here on out) to one up their game like extra SALT on top or TAHINI or the worst of all, NUTS. I don’t understand the need to muck up the most brilliant baking invention of all time with things that are not chocolate, flour, sugar, butter, leaveners, salt or vanilla. The original Nestle Toll House recipe, as brilliant as is, is missing a little complexity, and little texture.
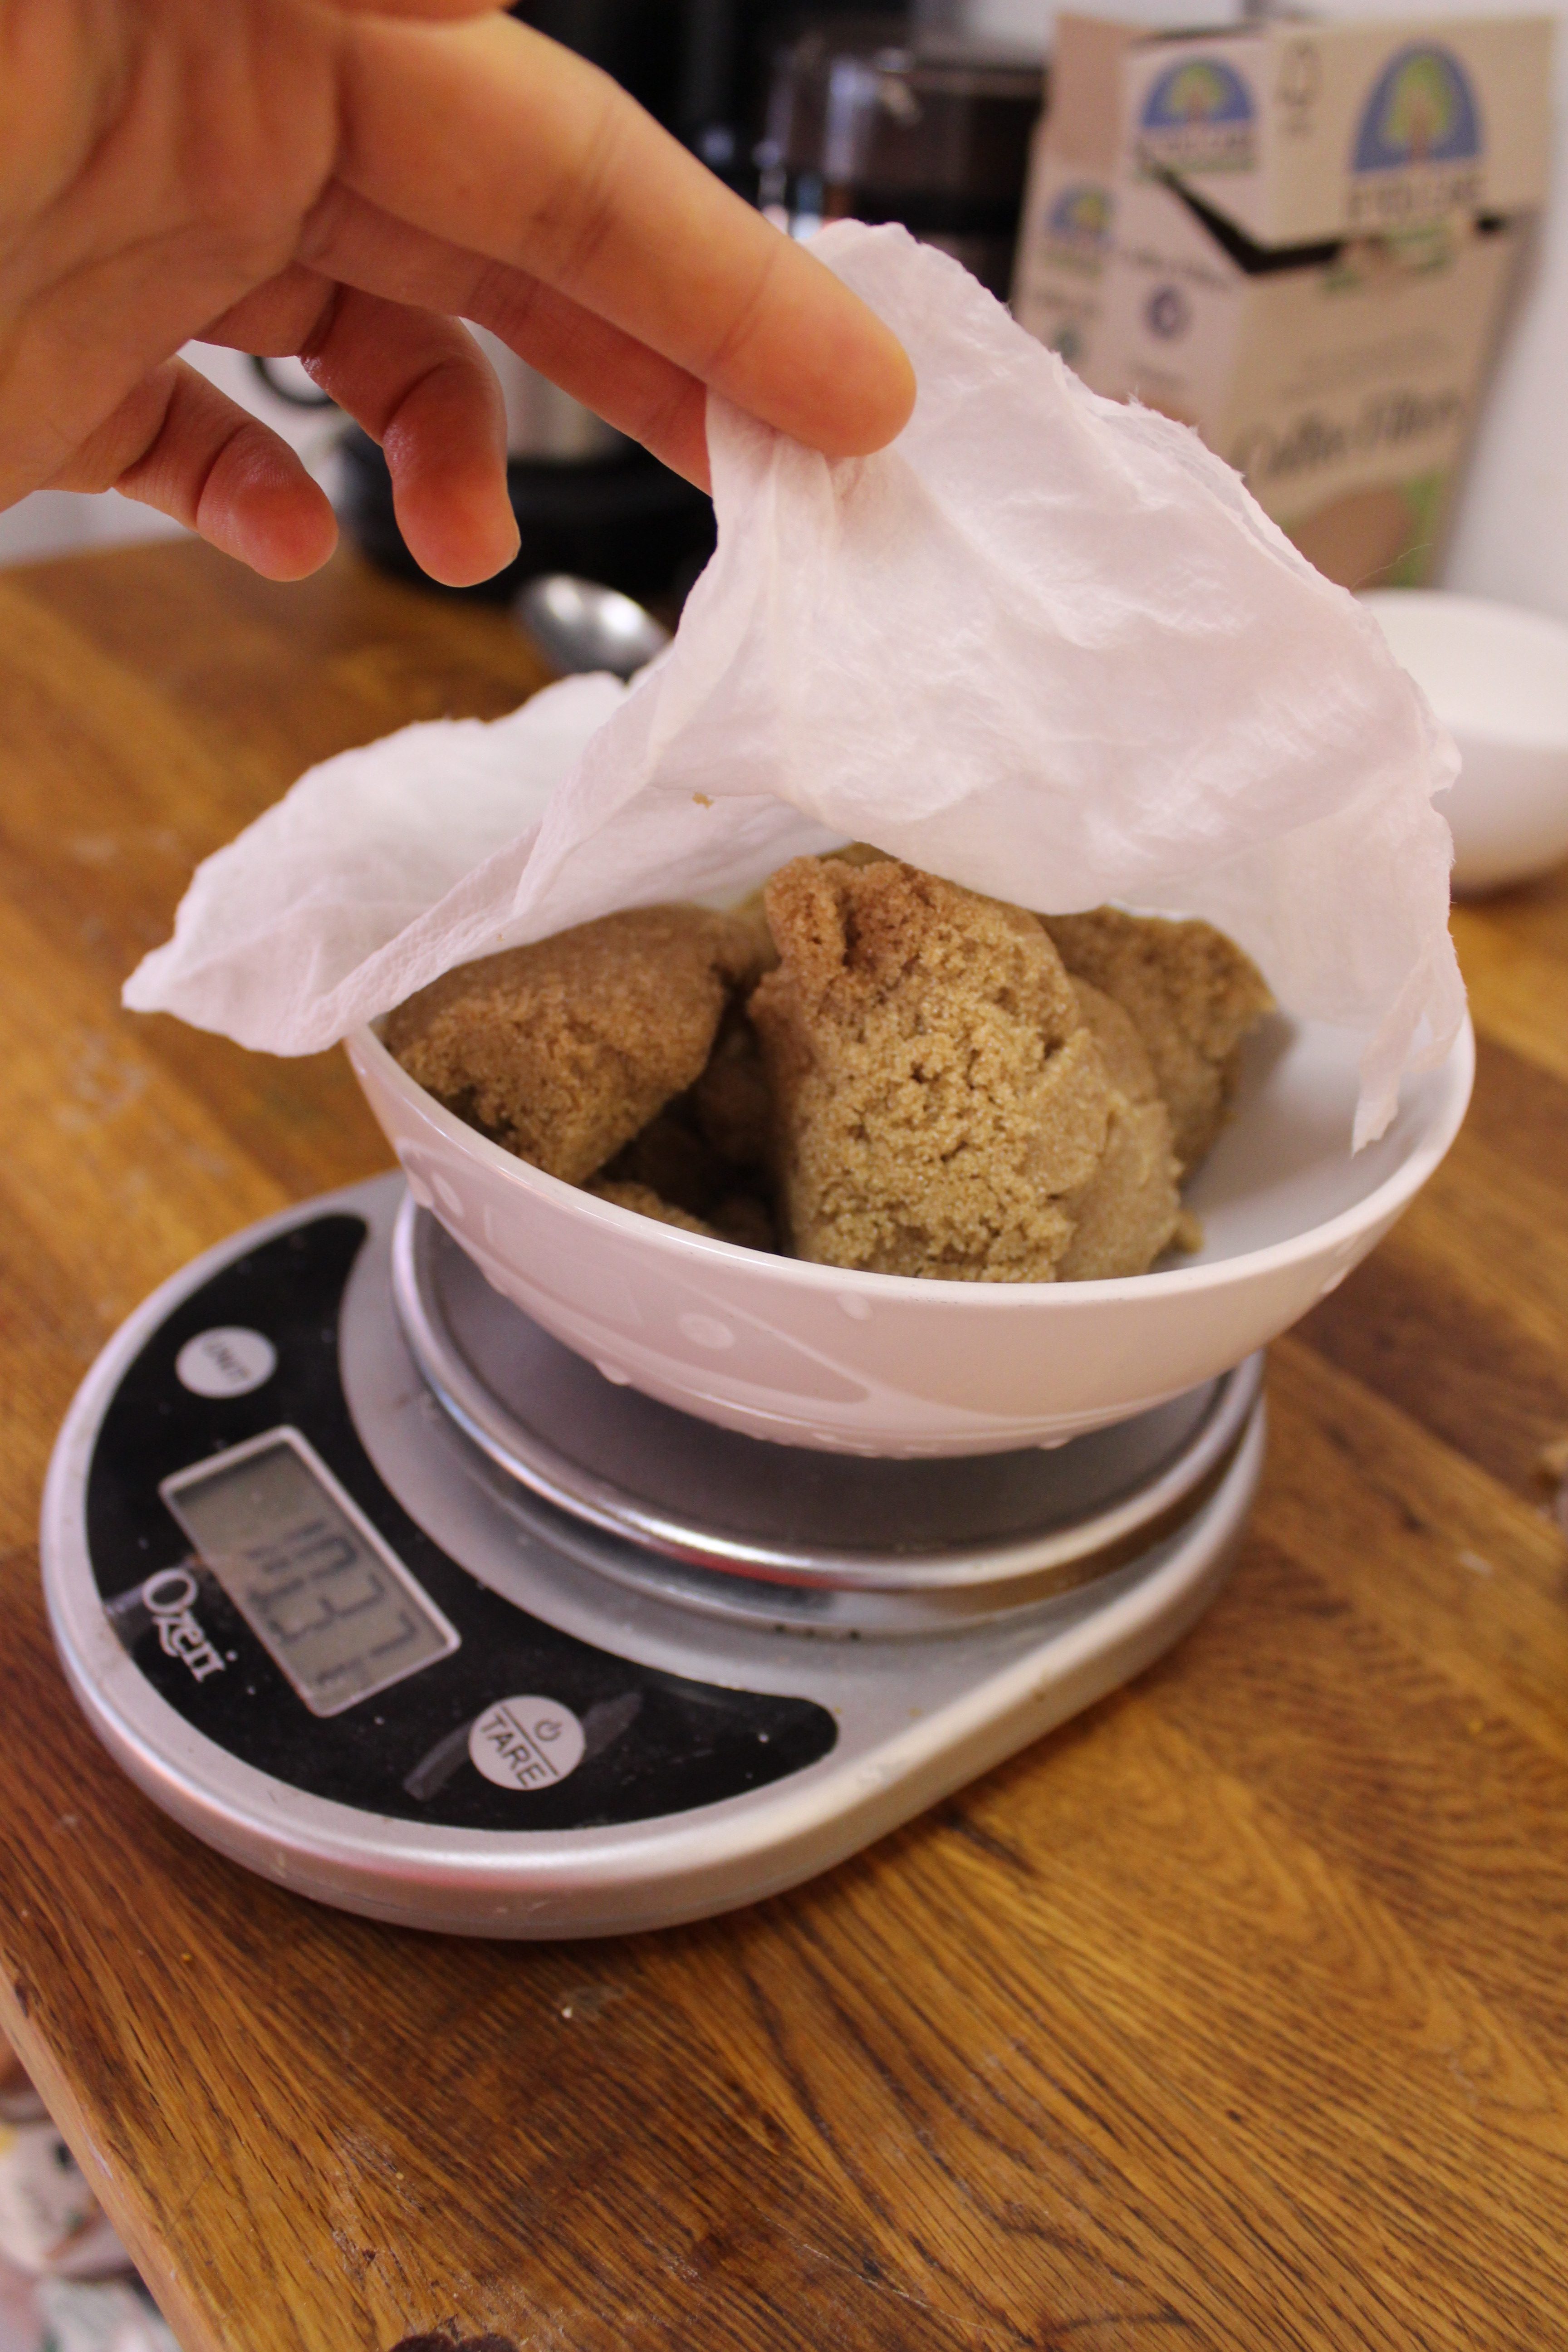
I’ve tried SO many CCC recipes. Bang on a Pan. The Chewy. The Thin. Something from Buzzfeed. Tahini. Nestle. America’s Test Kitchen. And they all have their redeeming qualities. But for me, the NY Times recipe by David Leite is the closest I’ve come to perfection: a combination of cake flour and bread flour, one makes it tender, the other adds a chewy texture. A full 2 tsp vanilla for extra flavor. Refrigerating the dough to let the gluten relax.
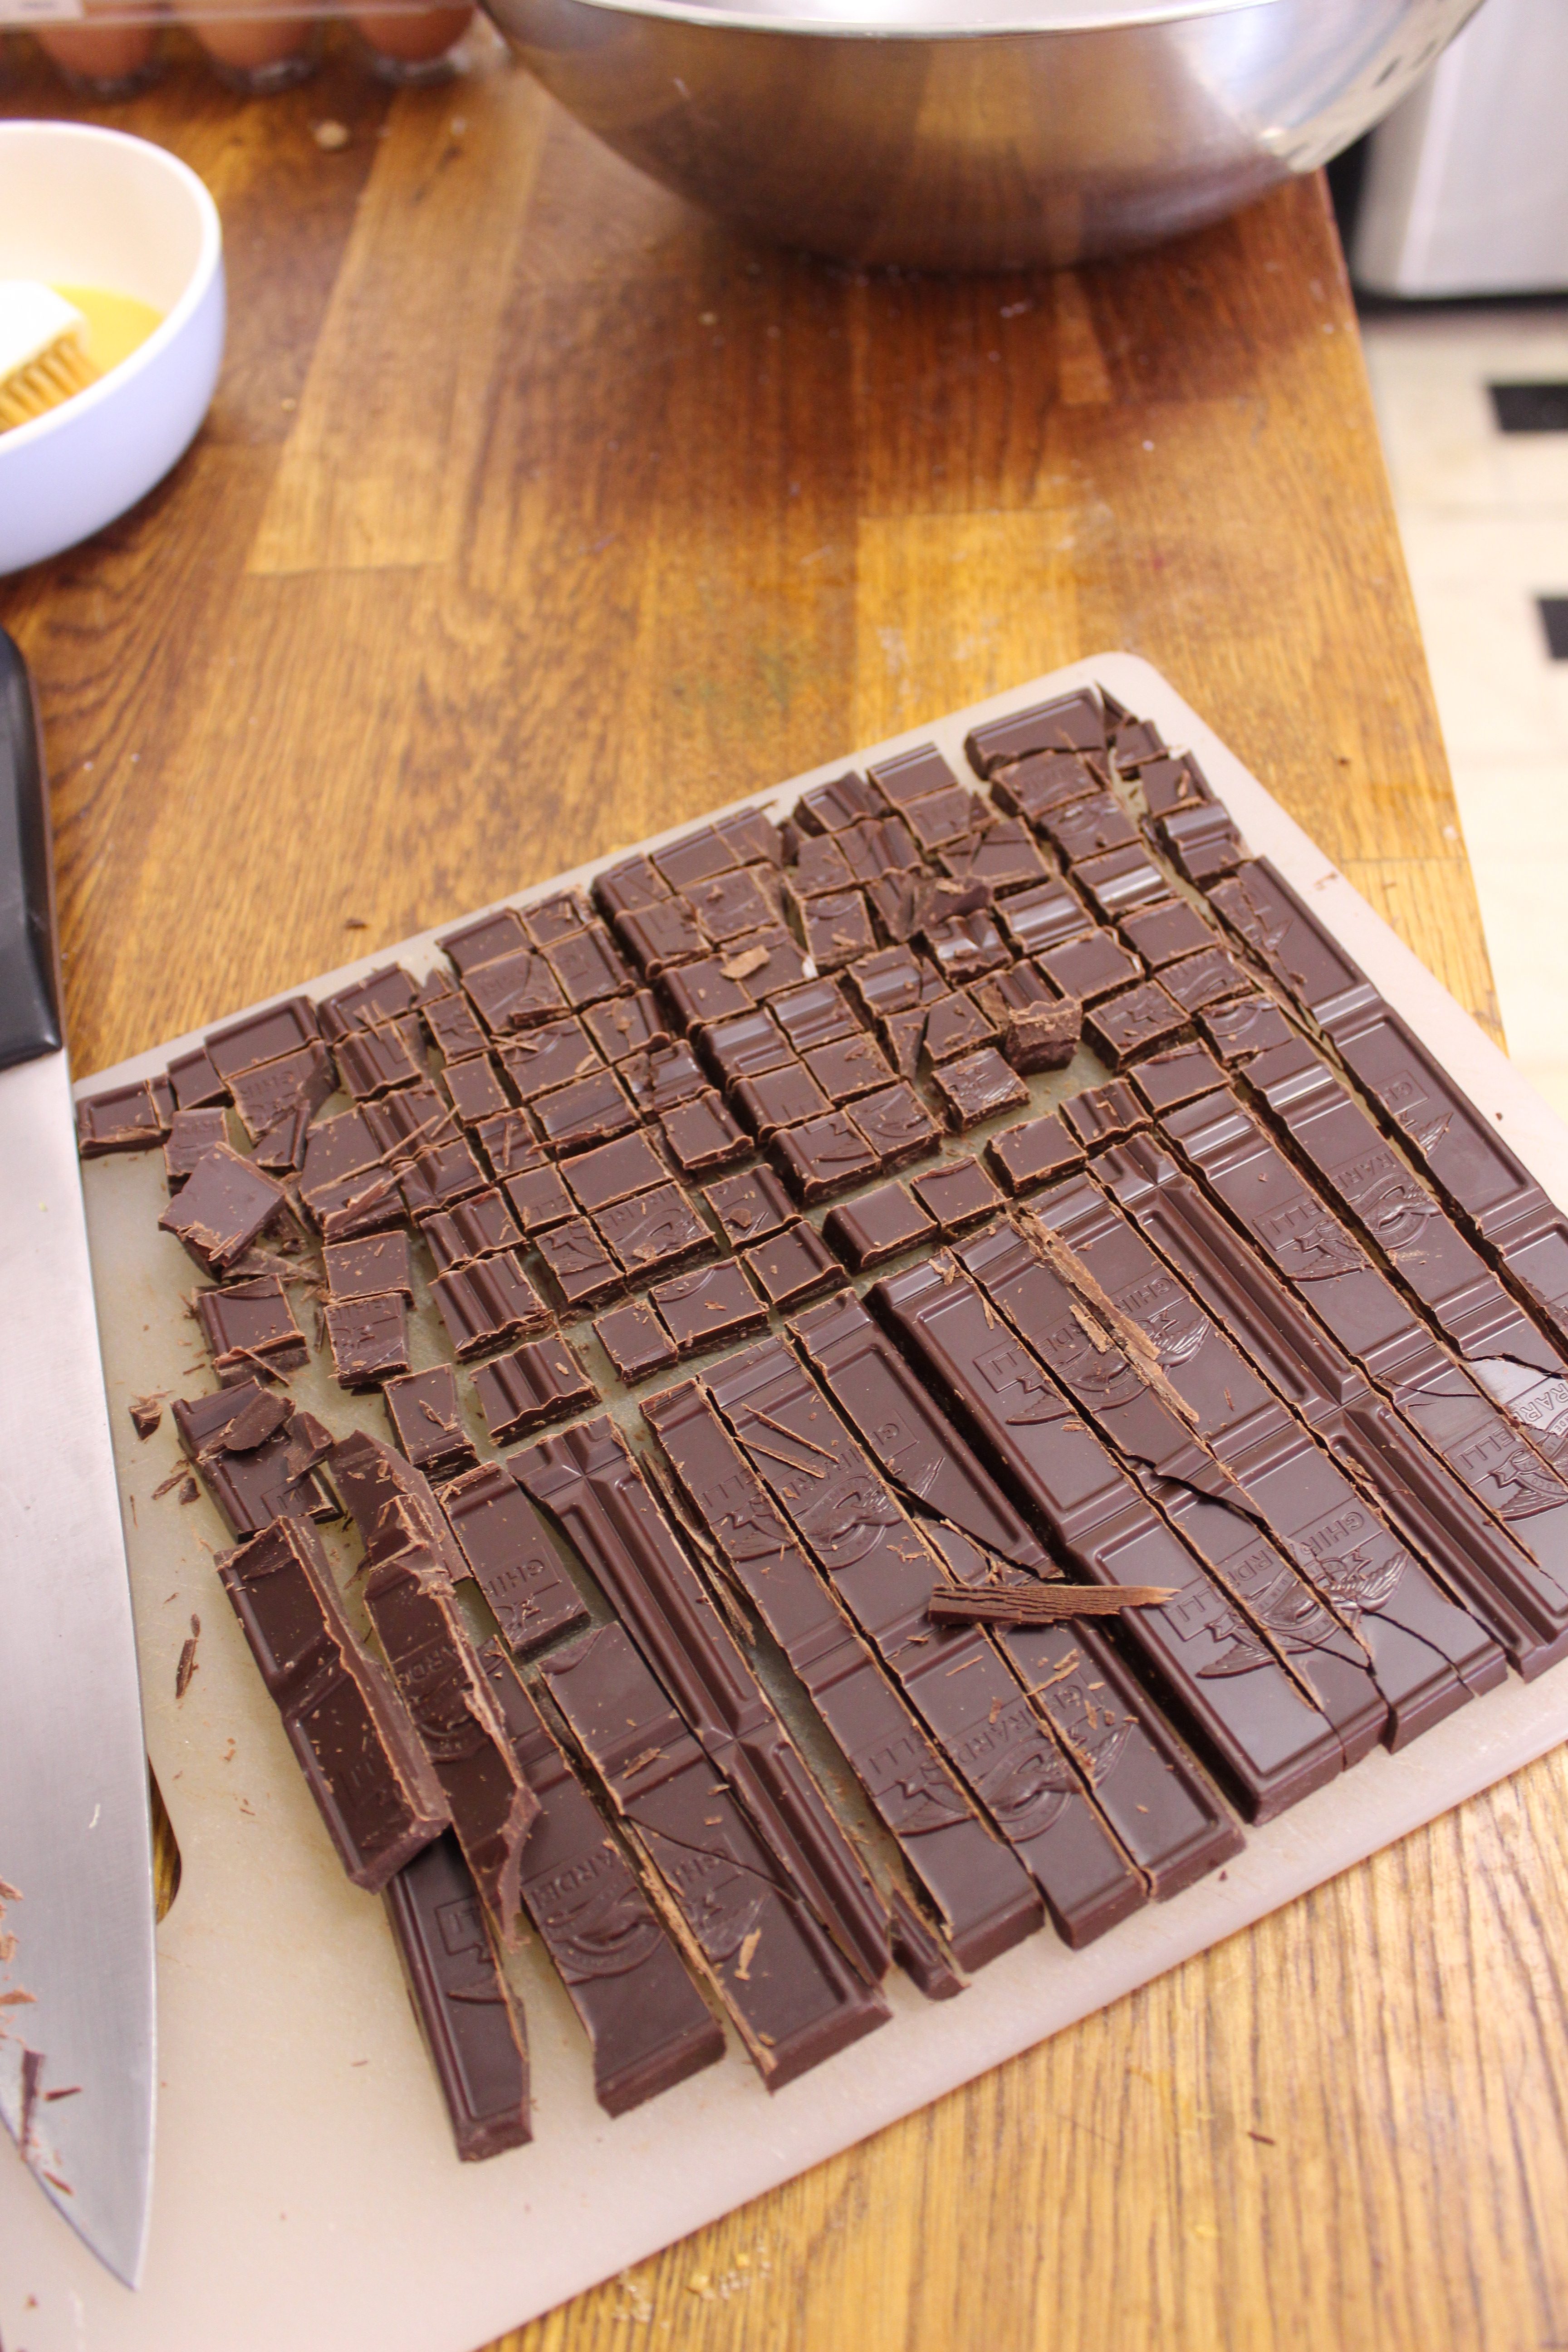
I did need to tweak it to my tastes. I use my trusty OXO medium cookie scoop for perfect sizing. I use chocolate chunks in lieu of chocolate disks/feves/chips and I reduce the amount of chocolate from the original recipe. I know I make fun of my husband a lot for his critiquing the amount of chocolate in the original recipe, but he’s kind of right. The 16oz that I have here gives you a generous amount of chocolate (use good quality!) while allowing you to taste the nutty, buttery, chewy cookie.
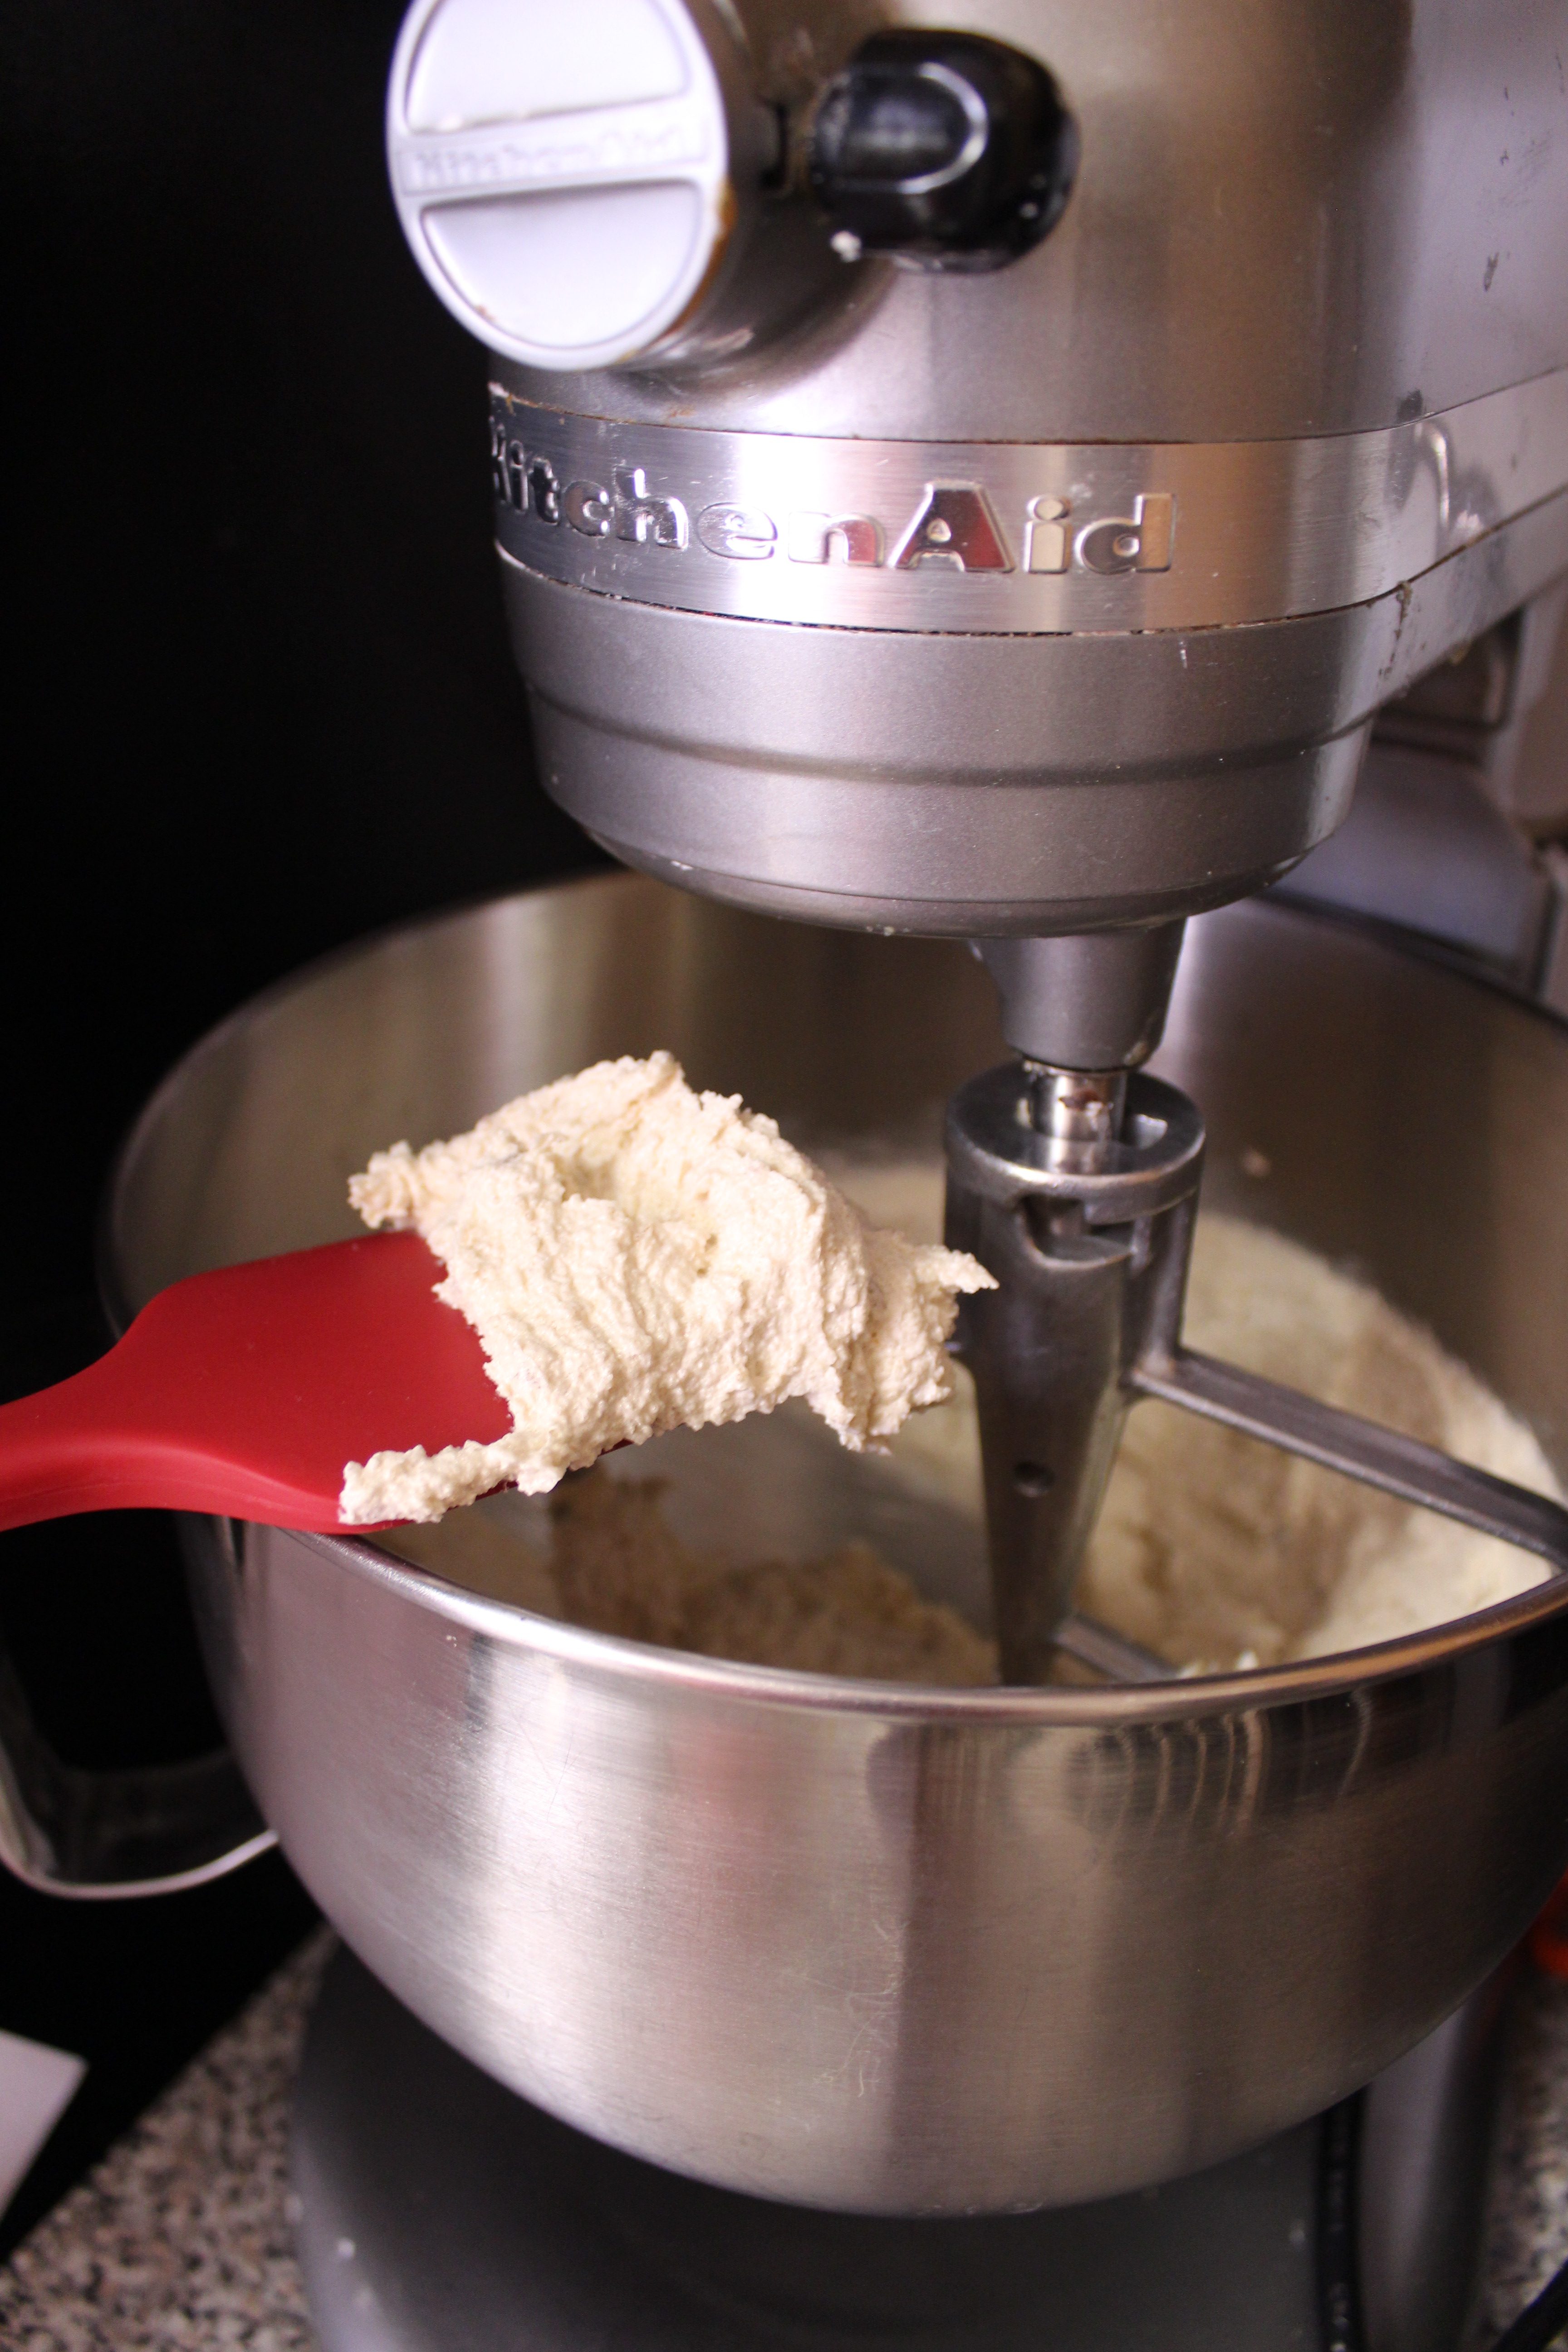
This is the only recipe I use my scale for, mainly because the measurements are so fussy otherwise, with so many cup measures, plus or minus tablespoons. But this recipe is worth the fuss. Think of every delectable high quality CCC you’ve had at the best bakery – this one is it. Everything from the size (it’s big enough so the centers are chewy, the edges are crispy), to the proportions, to the wait time – it’s sheer perfection.
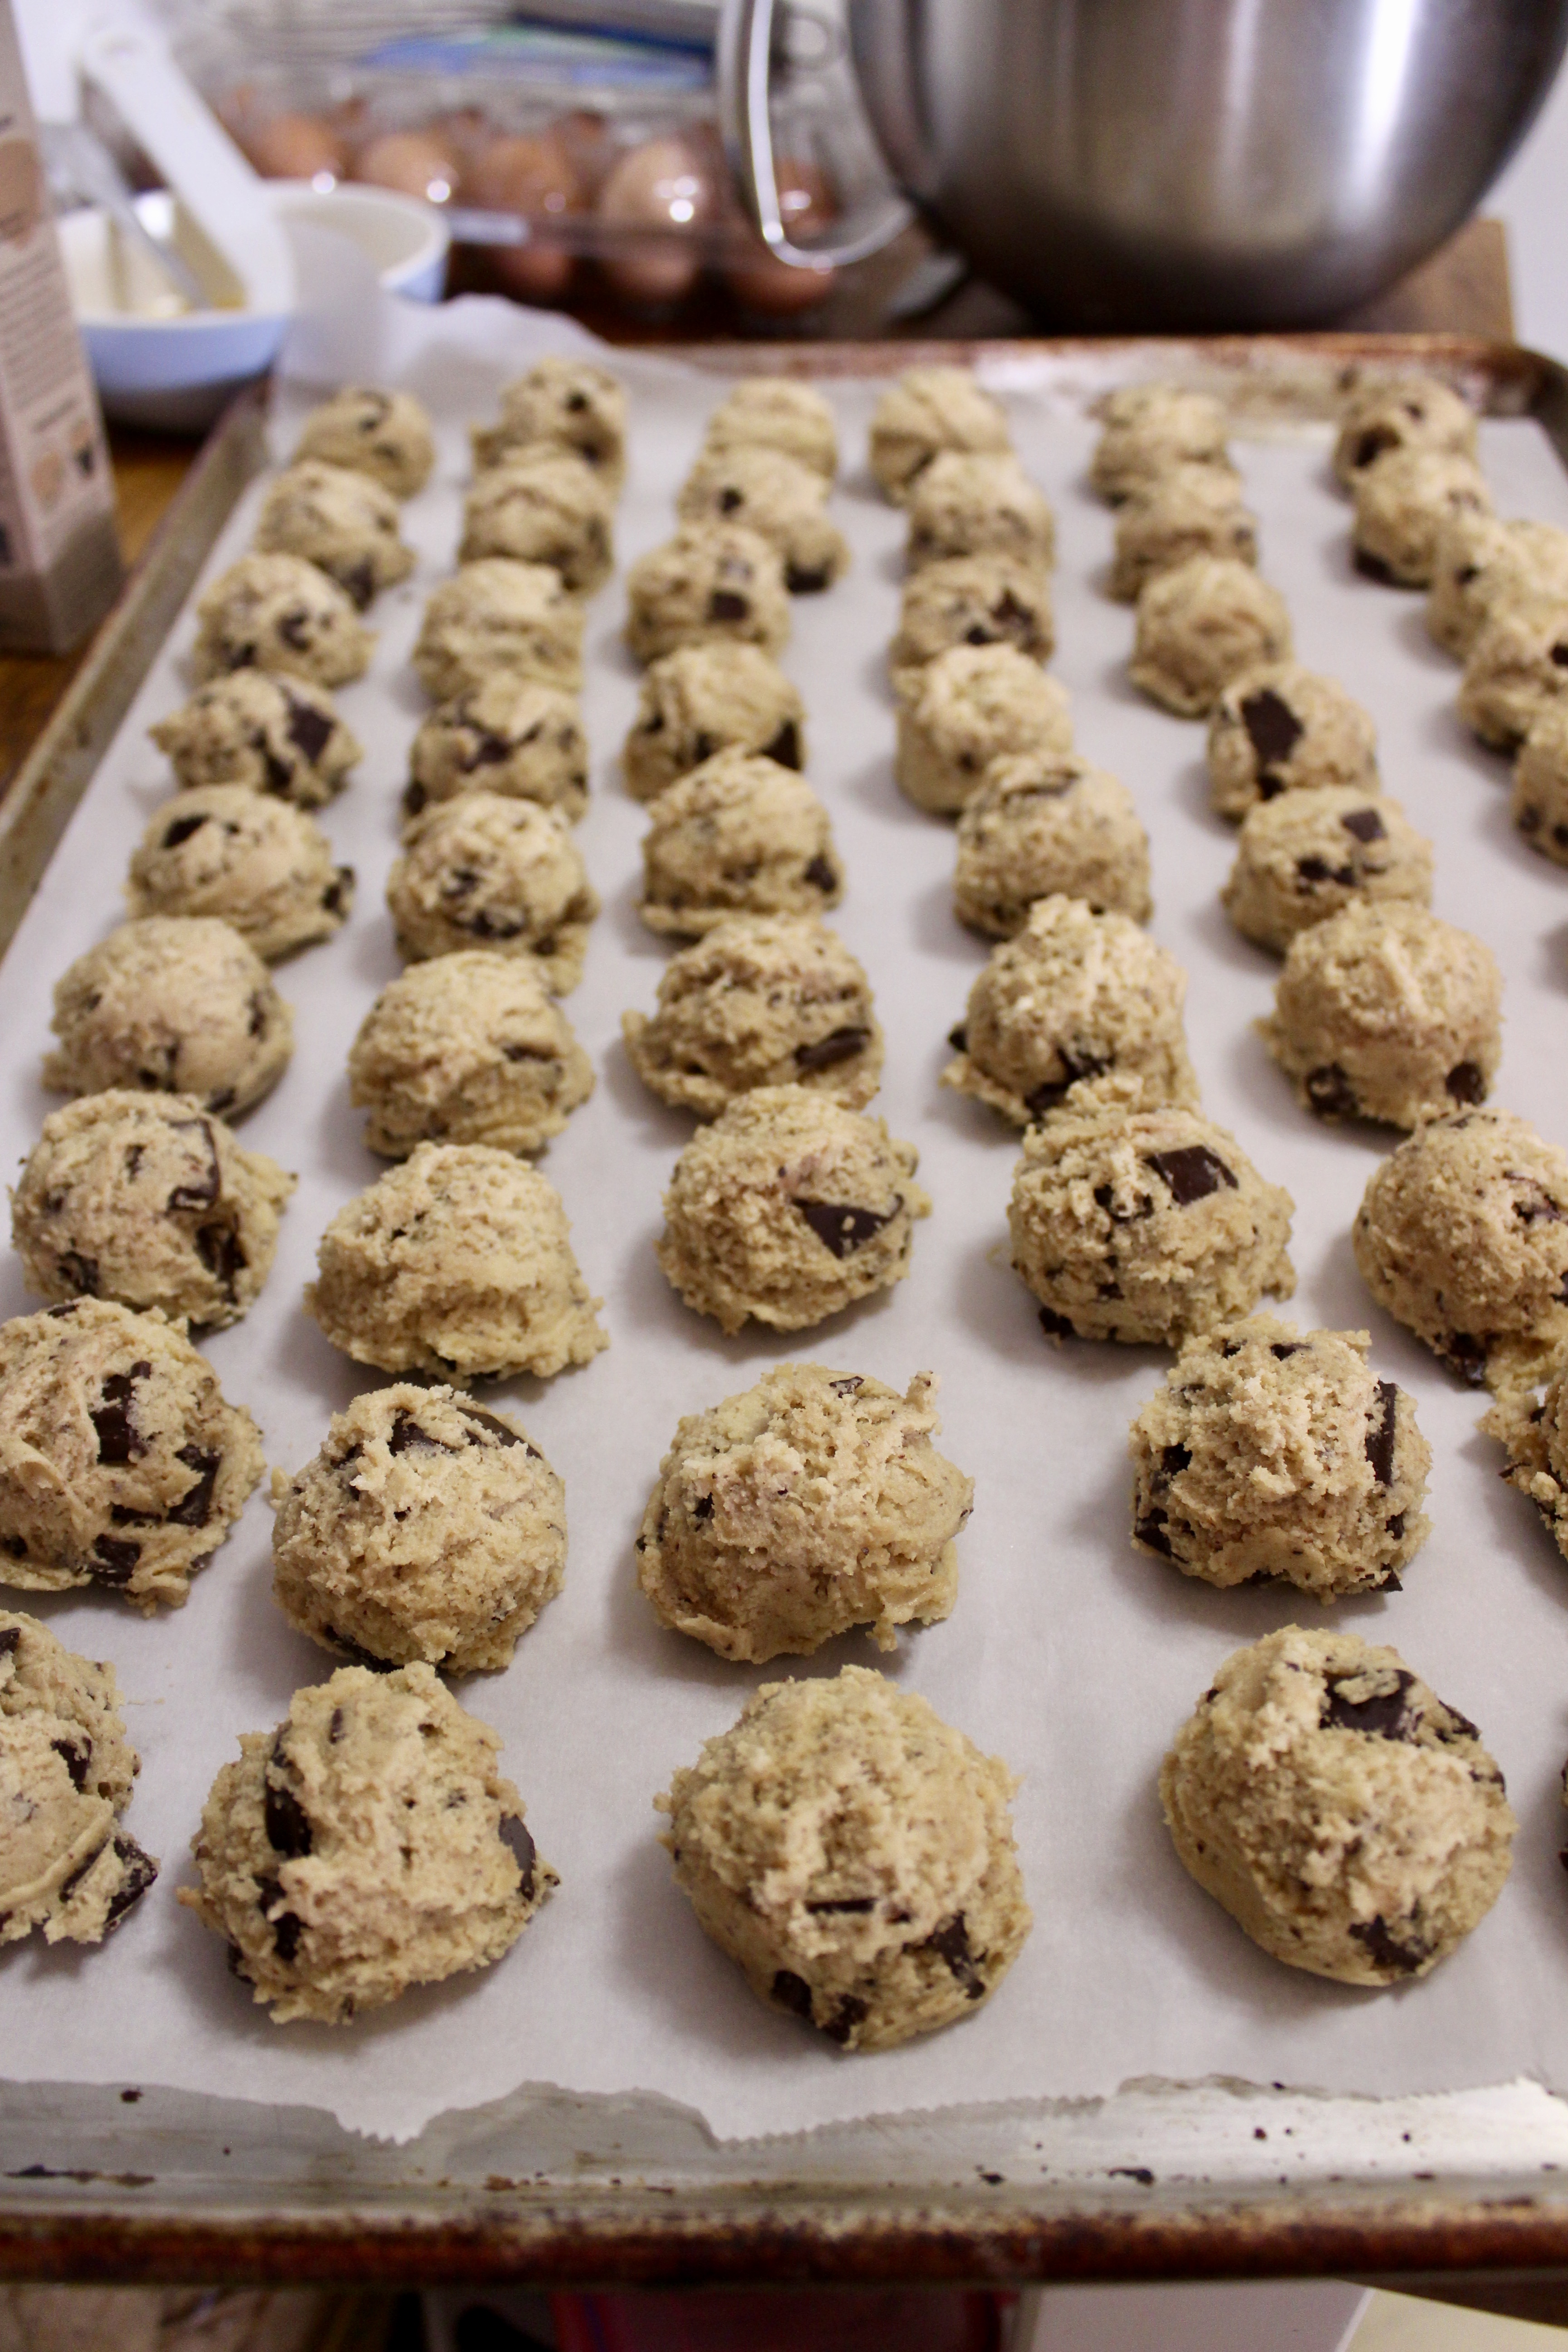
Pro tip – if your brown sugar hardens, don’t toss it! Place in a microwave safe bowl, cover with a damp paper towel and microwave at 30 second intervals at medium power until softened.
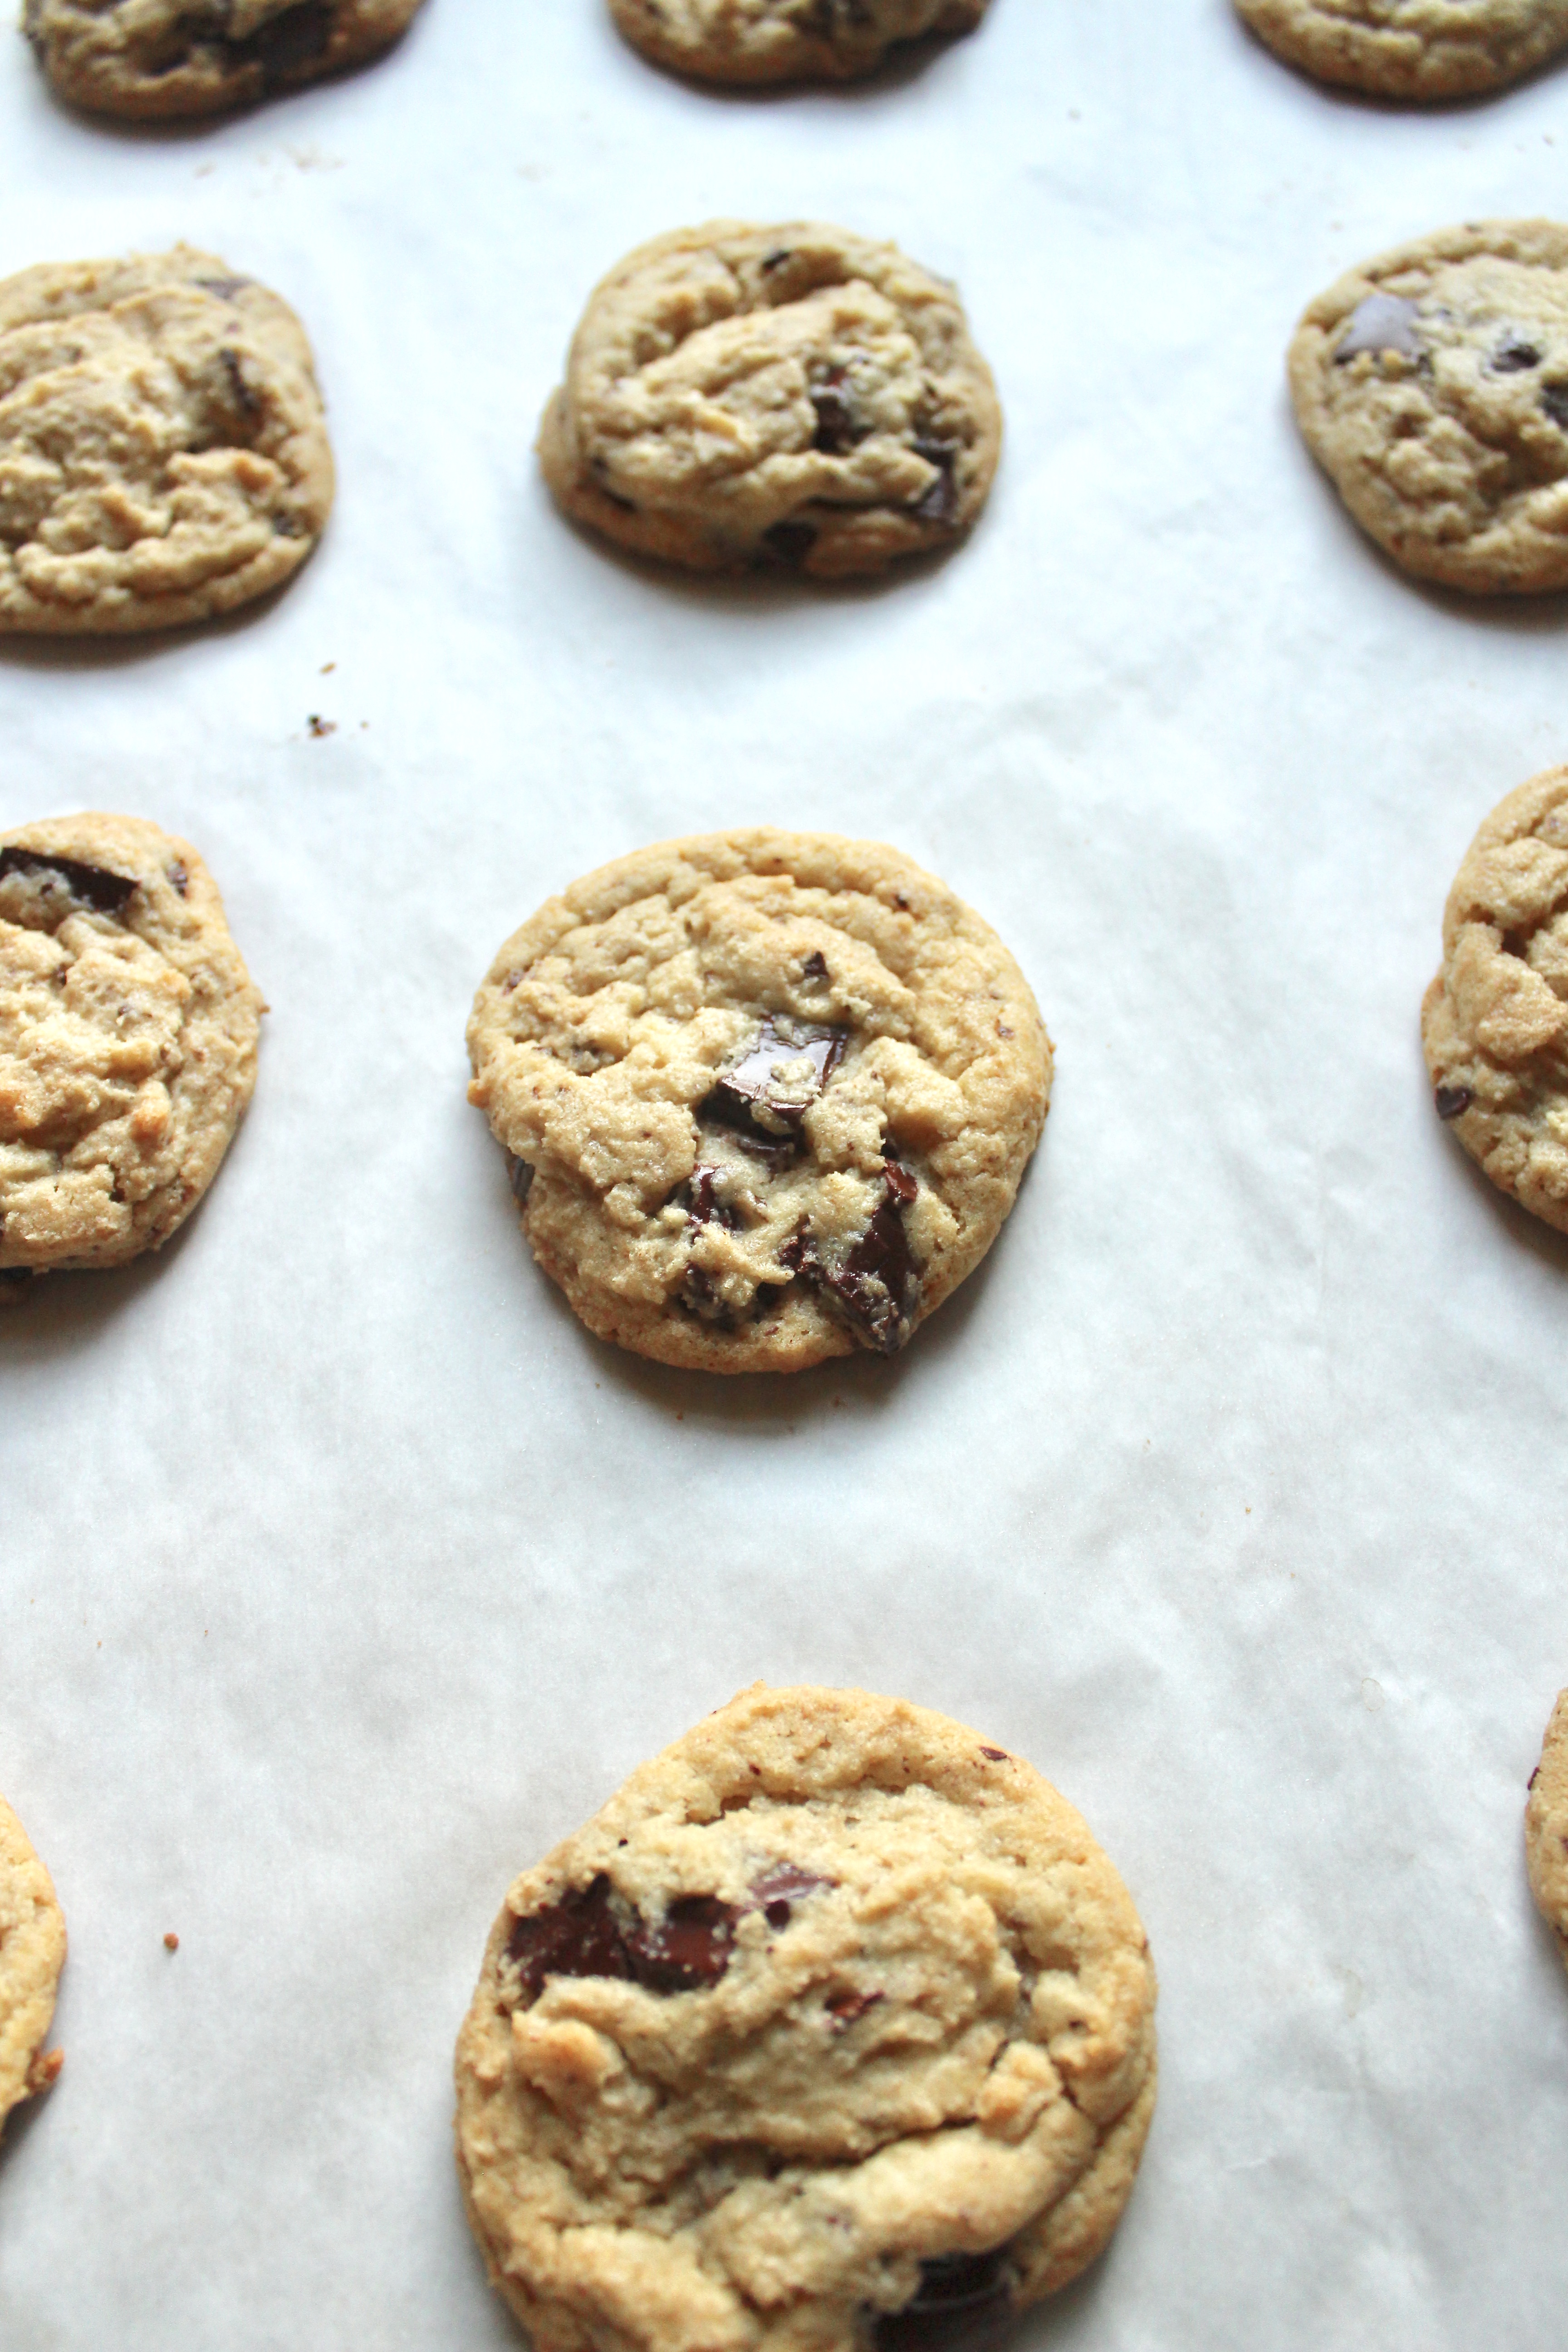
Final tip, I don’t know about your sieve, but salt doesn’t go through mine. So I usually sift the flours and leaveners together, then add the salt. Whisking to combine. Don’t let the butter get too soft, and that’s it. Happy baking!
Ingredients
- 2 cups minus 2tbsp cake flour (8 1/2oz)
- 1 2/3 cup flour bread flour (8 1/2oz)
- 1 1/4 tsp baking soda
- 1 1/2 tsp baking powder
- 1 1/2 tsp kosher salt
- 2 1/2 sticks (1 1/4 cups) unsalted butter
- 1 1/4 cups (10oz) light brown sugar
- 1 cup plust 2 tbsp (8oz) granulated sugar
- 2 large eggs
- 2 tsp vanilla
- 16 oz chopped bittersweet or semisweet chocolate, or a combination of both
Directions
- In a large bowl, sift together the flours, baking soda, baking powder and salt. Set aside.
- In the bowl of your stand mixer or in a large bowl using an electric hand mixer cream the butter and sugars together at medium speed for 5 minutes. It should be light and fluffy. Add one egg at a time. Stop to scrape down the bowl before turning on mixer again. Add vanilla. Then, with the mixer on low add the dry ingredients, stopping occasionally to scrape down the bowl. Finally, add the chopped chocolate and stir with the mixer if it can handle it, if not, use a wooden spoon.
- Line a large baking sheet with parchment paper. Using a 1 3/4in cookie dough scoop (I use the OXO medium scoop), scoop out balls of dough until sheet is full. Flash freeze for 30 minutes. Take out then plop them into large ziploc bags or plastic containers. I recommend sticking them in the fridge to let the dough rest and the gluten to relax, as well as the flours to absorb some of the flavors/moisture. Refrigerate between 24 and 72 hours or freeze them if you’d like to bake them a week or two later*.
- When ready to bake, preheat oven to 350 degrees F. Place on a parchment paper or silpat lined baking sheet with plenty of space between each. Bake in preheated oven for 12-14 minutes, at least 15 if taking directly out of freezer. Bottoms should be caramelized, nutty brown. Tops may look underdone but that’s ok as it continues to cook on the pan, even after taking out from the oven. After they cool completely, store in an airtight container and consume within 2 days.**
*I know I can’t help but bake some off right away, so please go ahead and do so (after the 30 minute freeze), but do save some for baking later so you can taste the difference!
**It loses freshness after that, but probably still edible dipped in milk.
Linzer Cookies
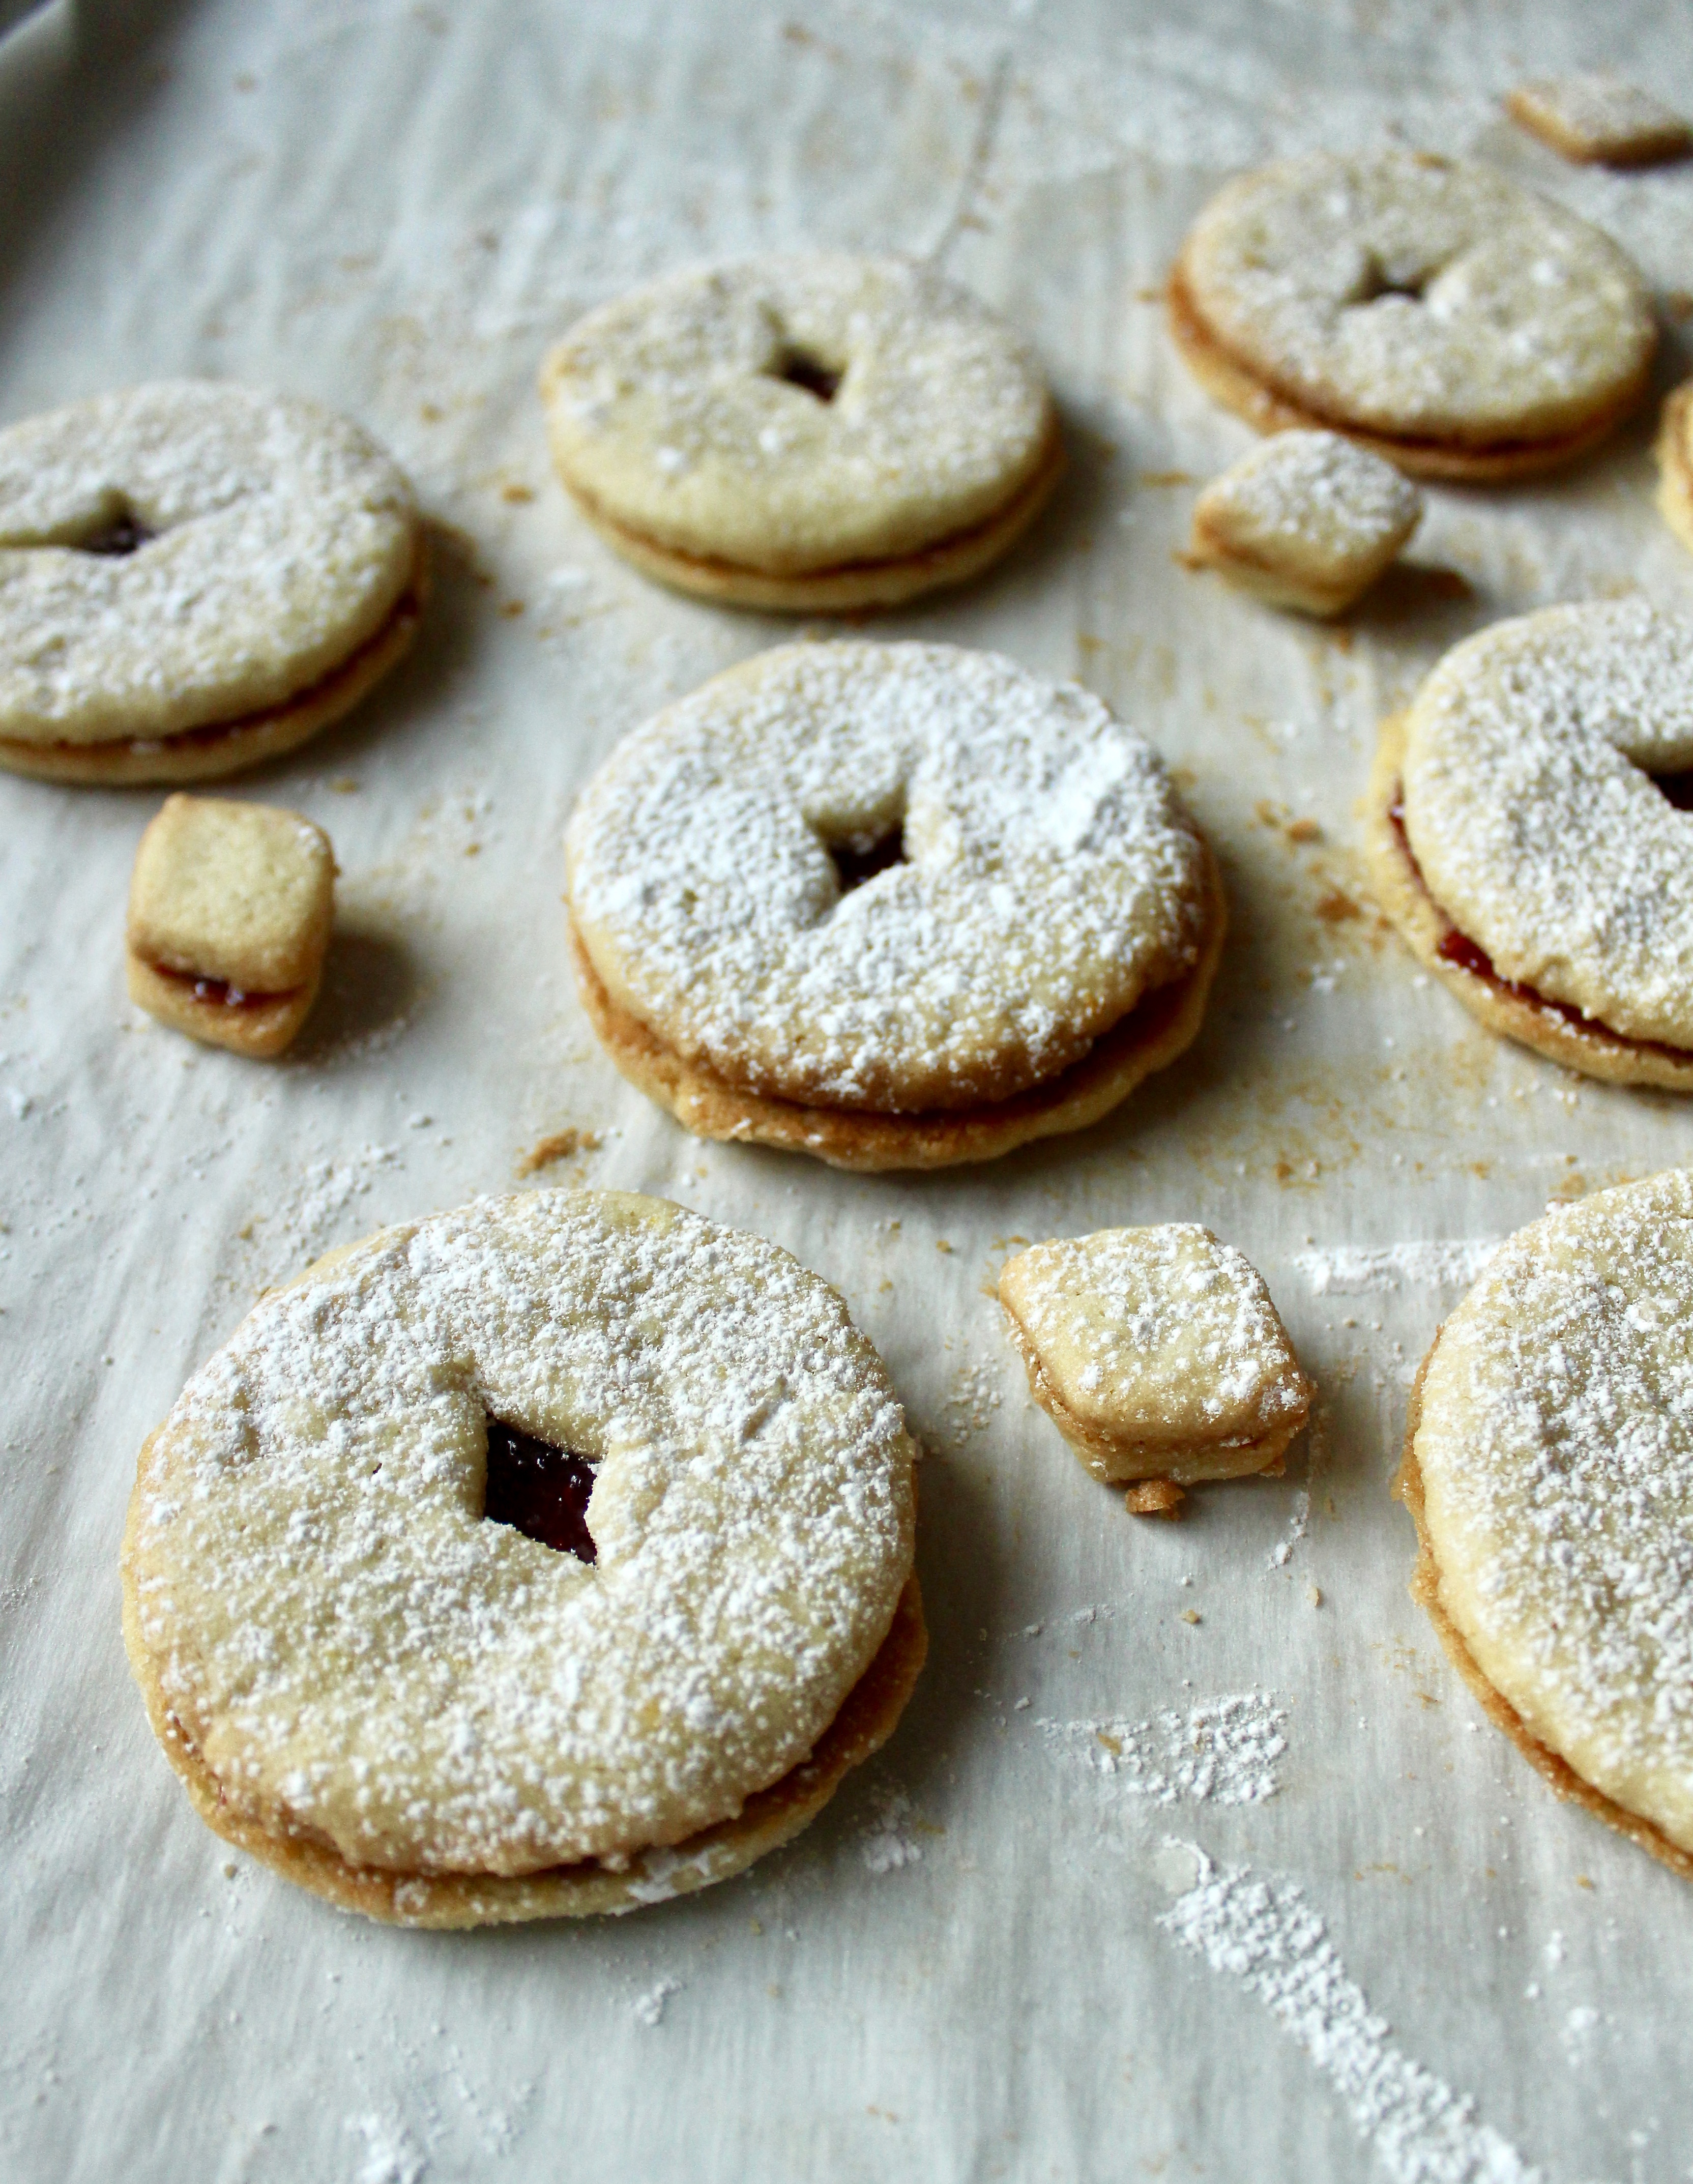
I don’t know why I became obsessed with Linzer cookies this week. I probably saw one or two in my Instagram feed because of the holiday baking season, got lured in by the jewel like centers and fluffy snow-like confectioners sugar topping. So the research ensued, and I learned they are an Austrian/Hungarian cookie, traditionally made with some nut flour (almond or hazelnut) and filled with raspberry jam. I saw a few recipes that looked true to form, but when I saw my beloved Ina Garten had her version, and it was no frills, I thought I’d go that route. Big. Mistake.
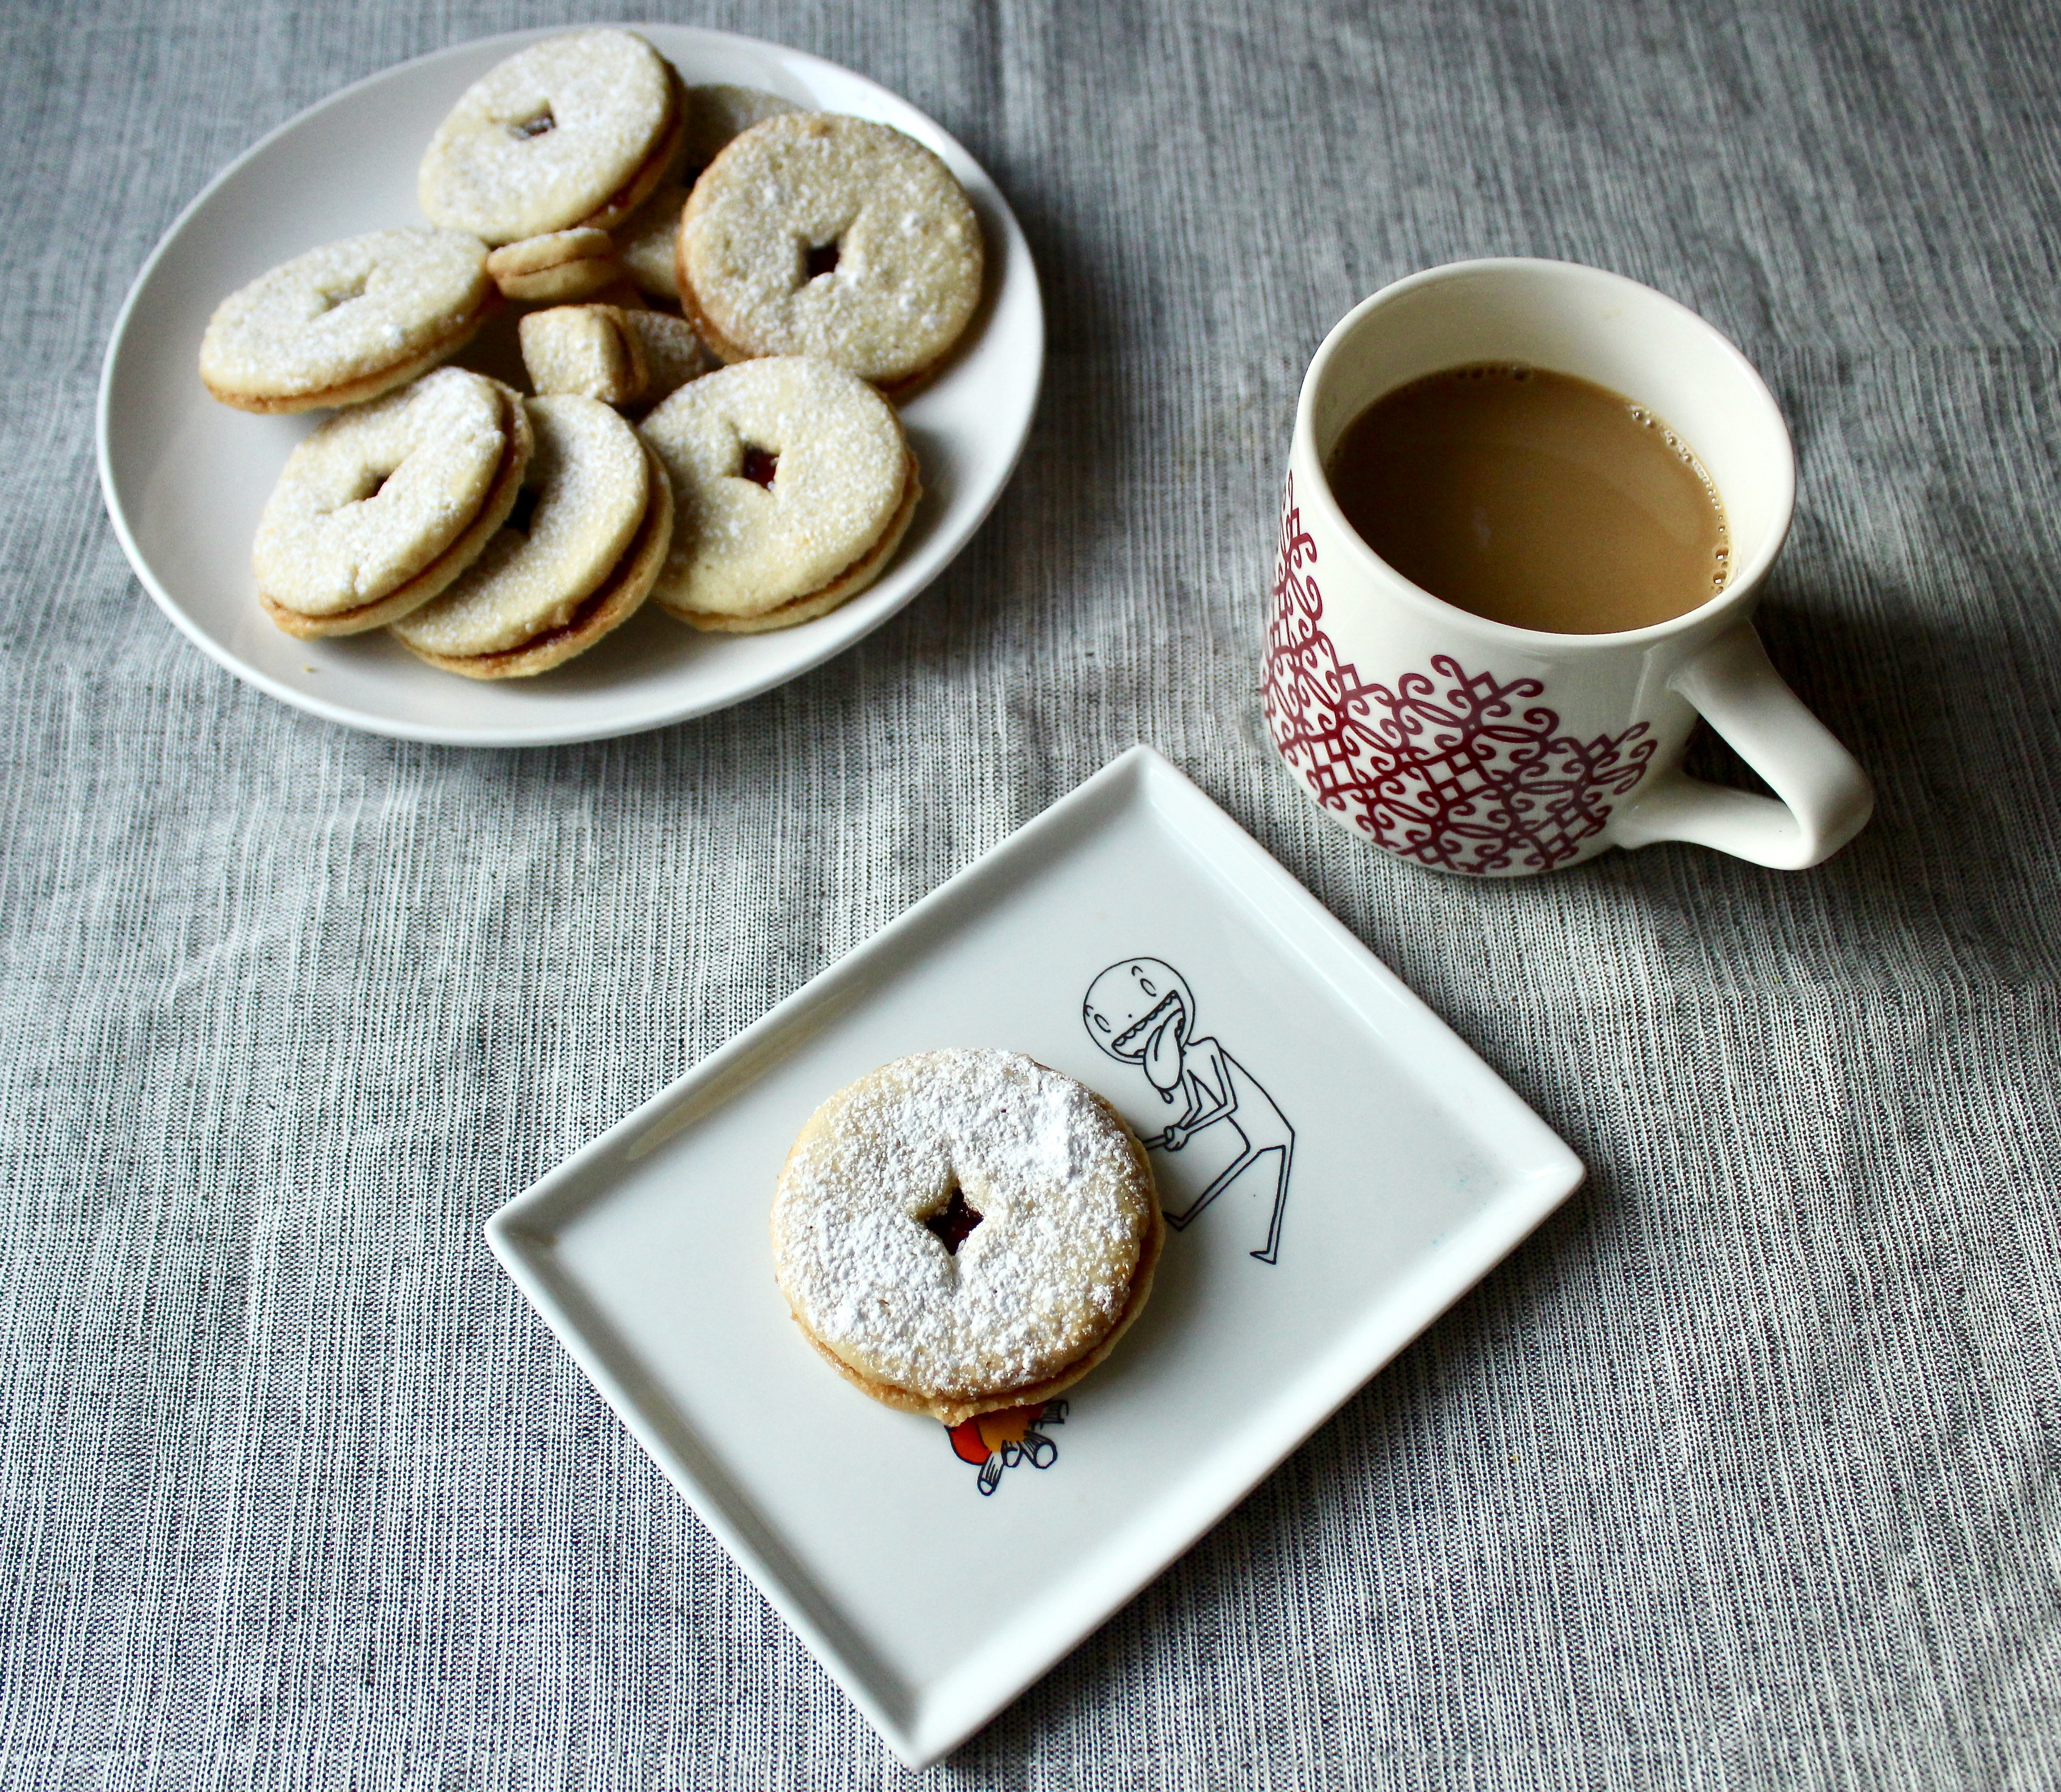
Very minimally flavored and sweetened shortbread dough – OK. That’s fine. It will get sweetness and flavor from the raspberry jam and confectioner’s sugar. No almond flour, or flavorings besides vanilla – all OK to try. But what I couldn’t believe was the bake time. 20-25 minutes?! Of course, in following these instructions, I way over baked my first batch. So I went back to the recipe and watched the video in which she made them…in the video she declares a bake time of 10-15 minutes! How has no one caught such a glaring mistake?! After re-rolling the scraps and baking a second batch (for 10-12 min) the results were much better, but I still had an itch I needed to scratch. I had to try the traditional version – with almond flour and lemon zest.
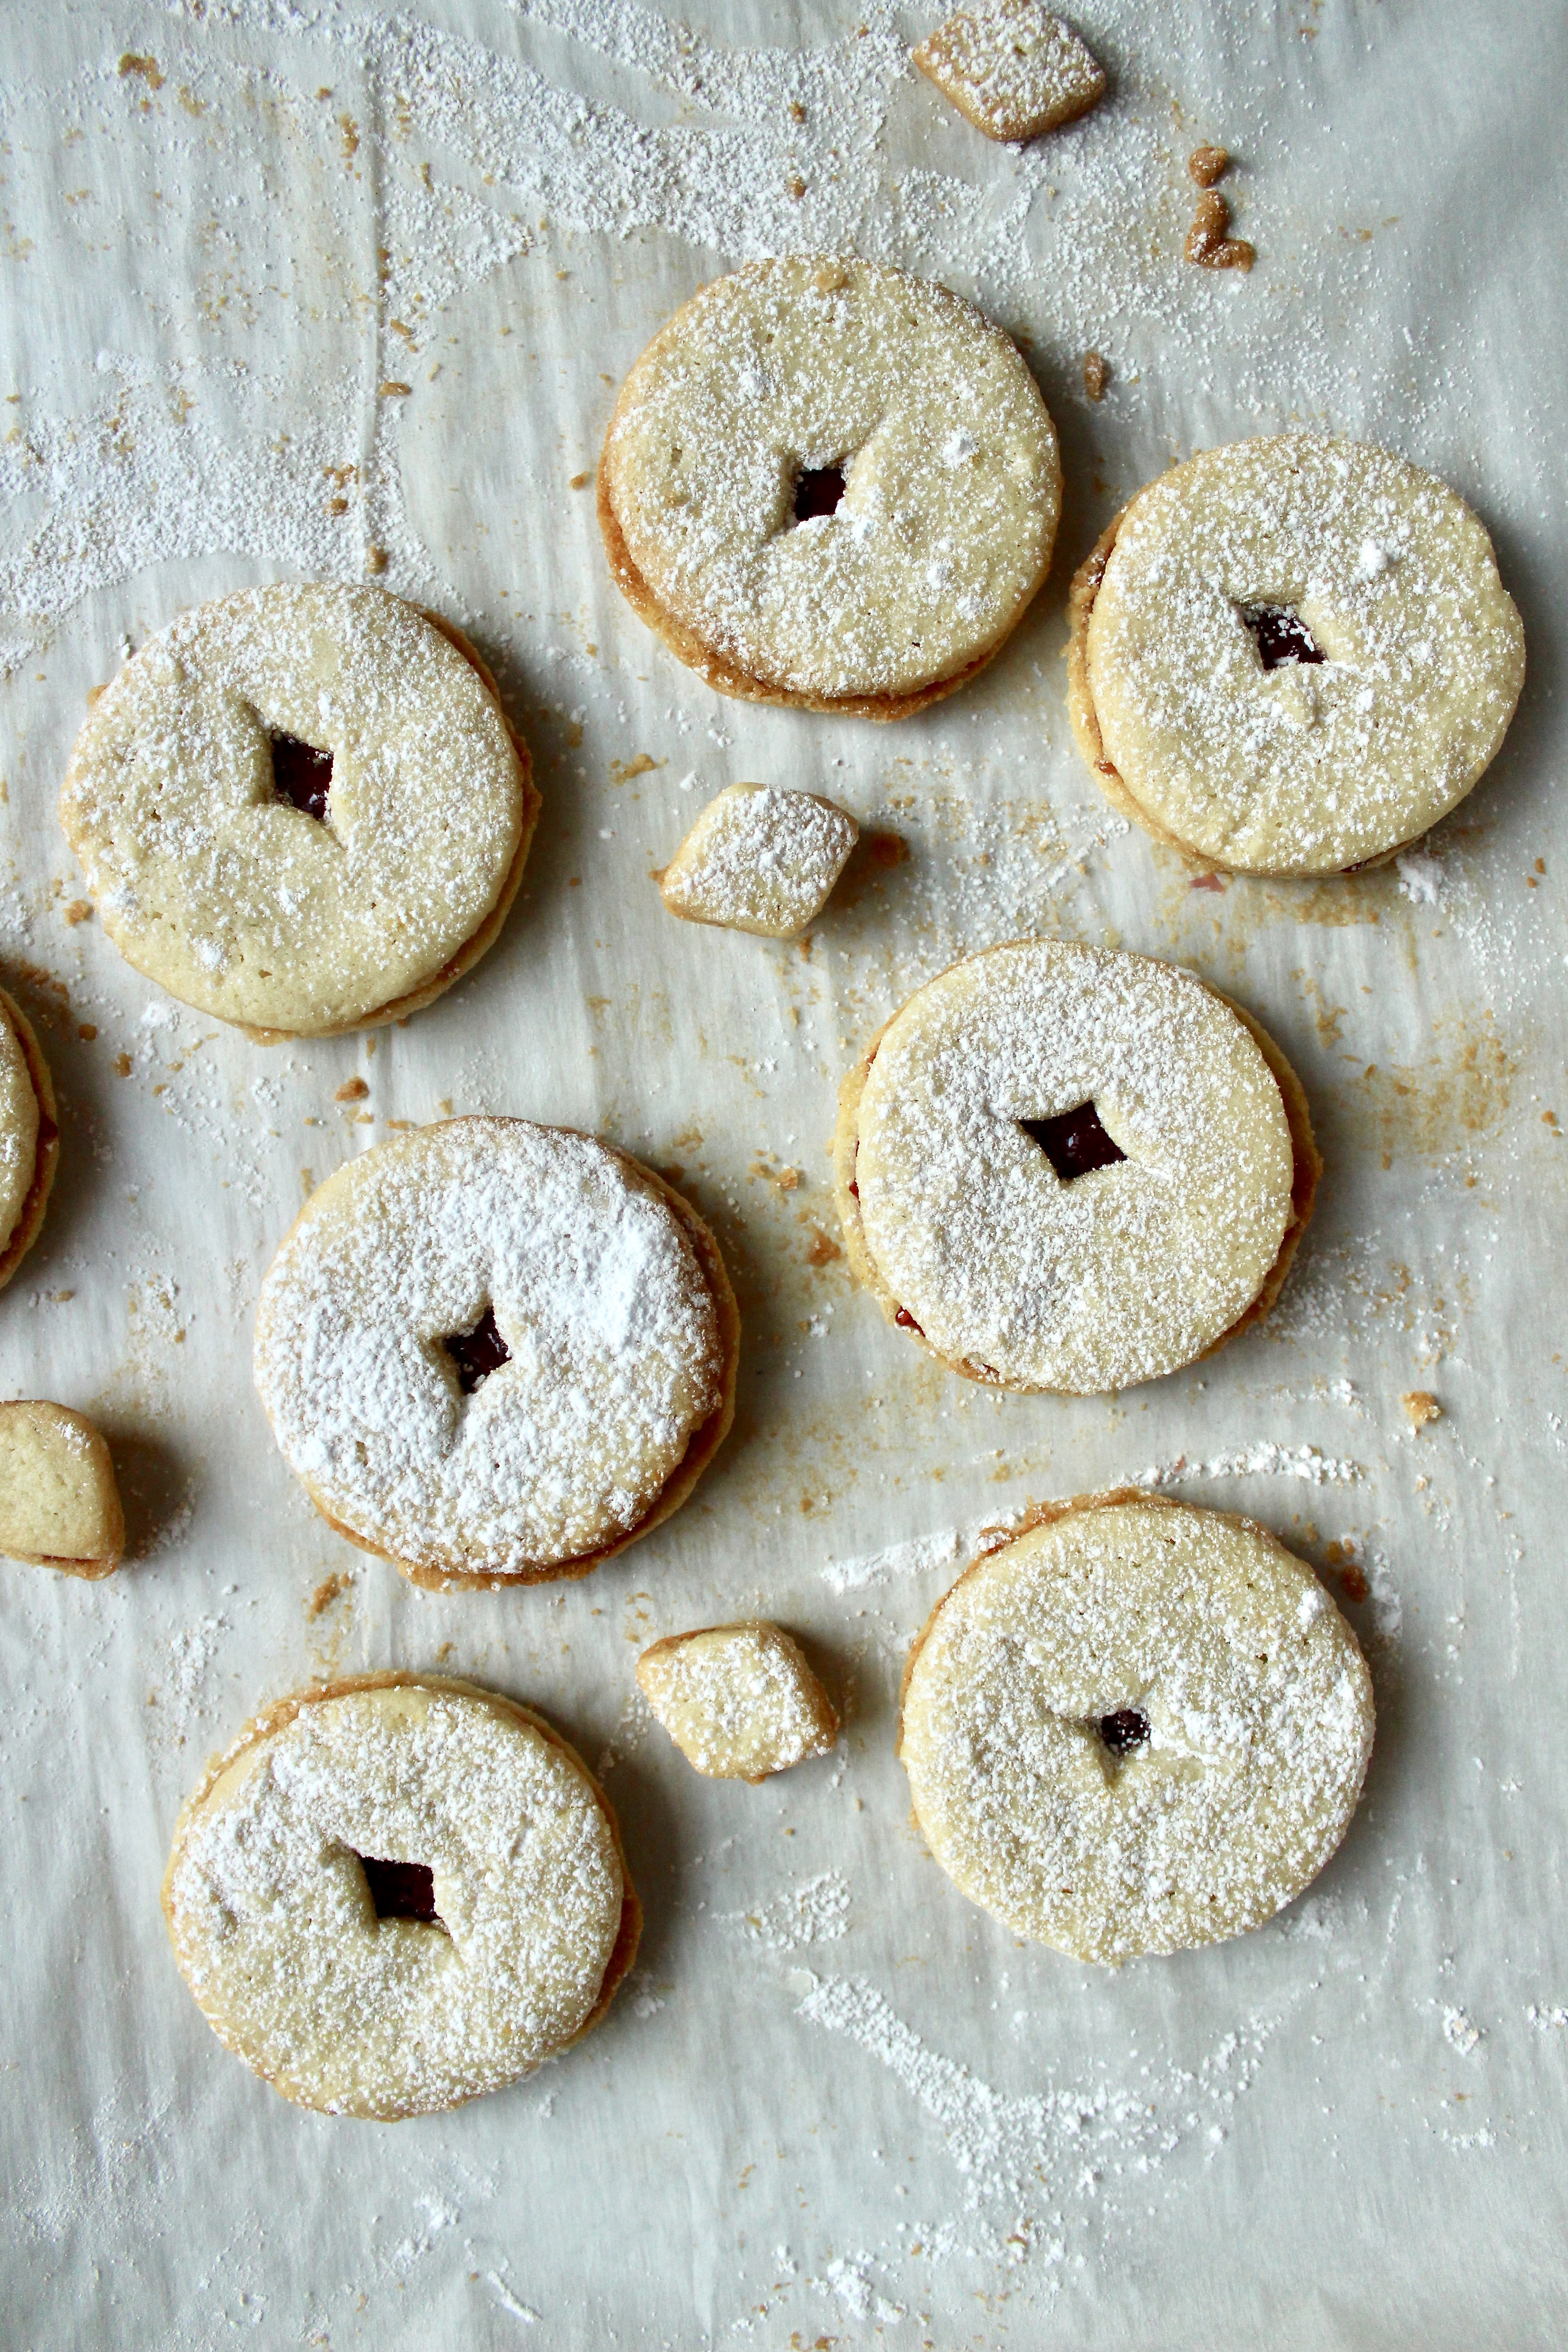
But thank you, internet, for your recommendations. The King Arthur Recipe was the way to go. And although it was a little difficult to handle, the final product was worth it. Delicate cookies with a zesty lemon flavor, crumbly almond texture. It was a cookie to match the aesthetic.
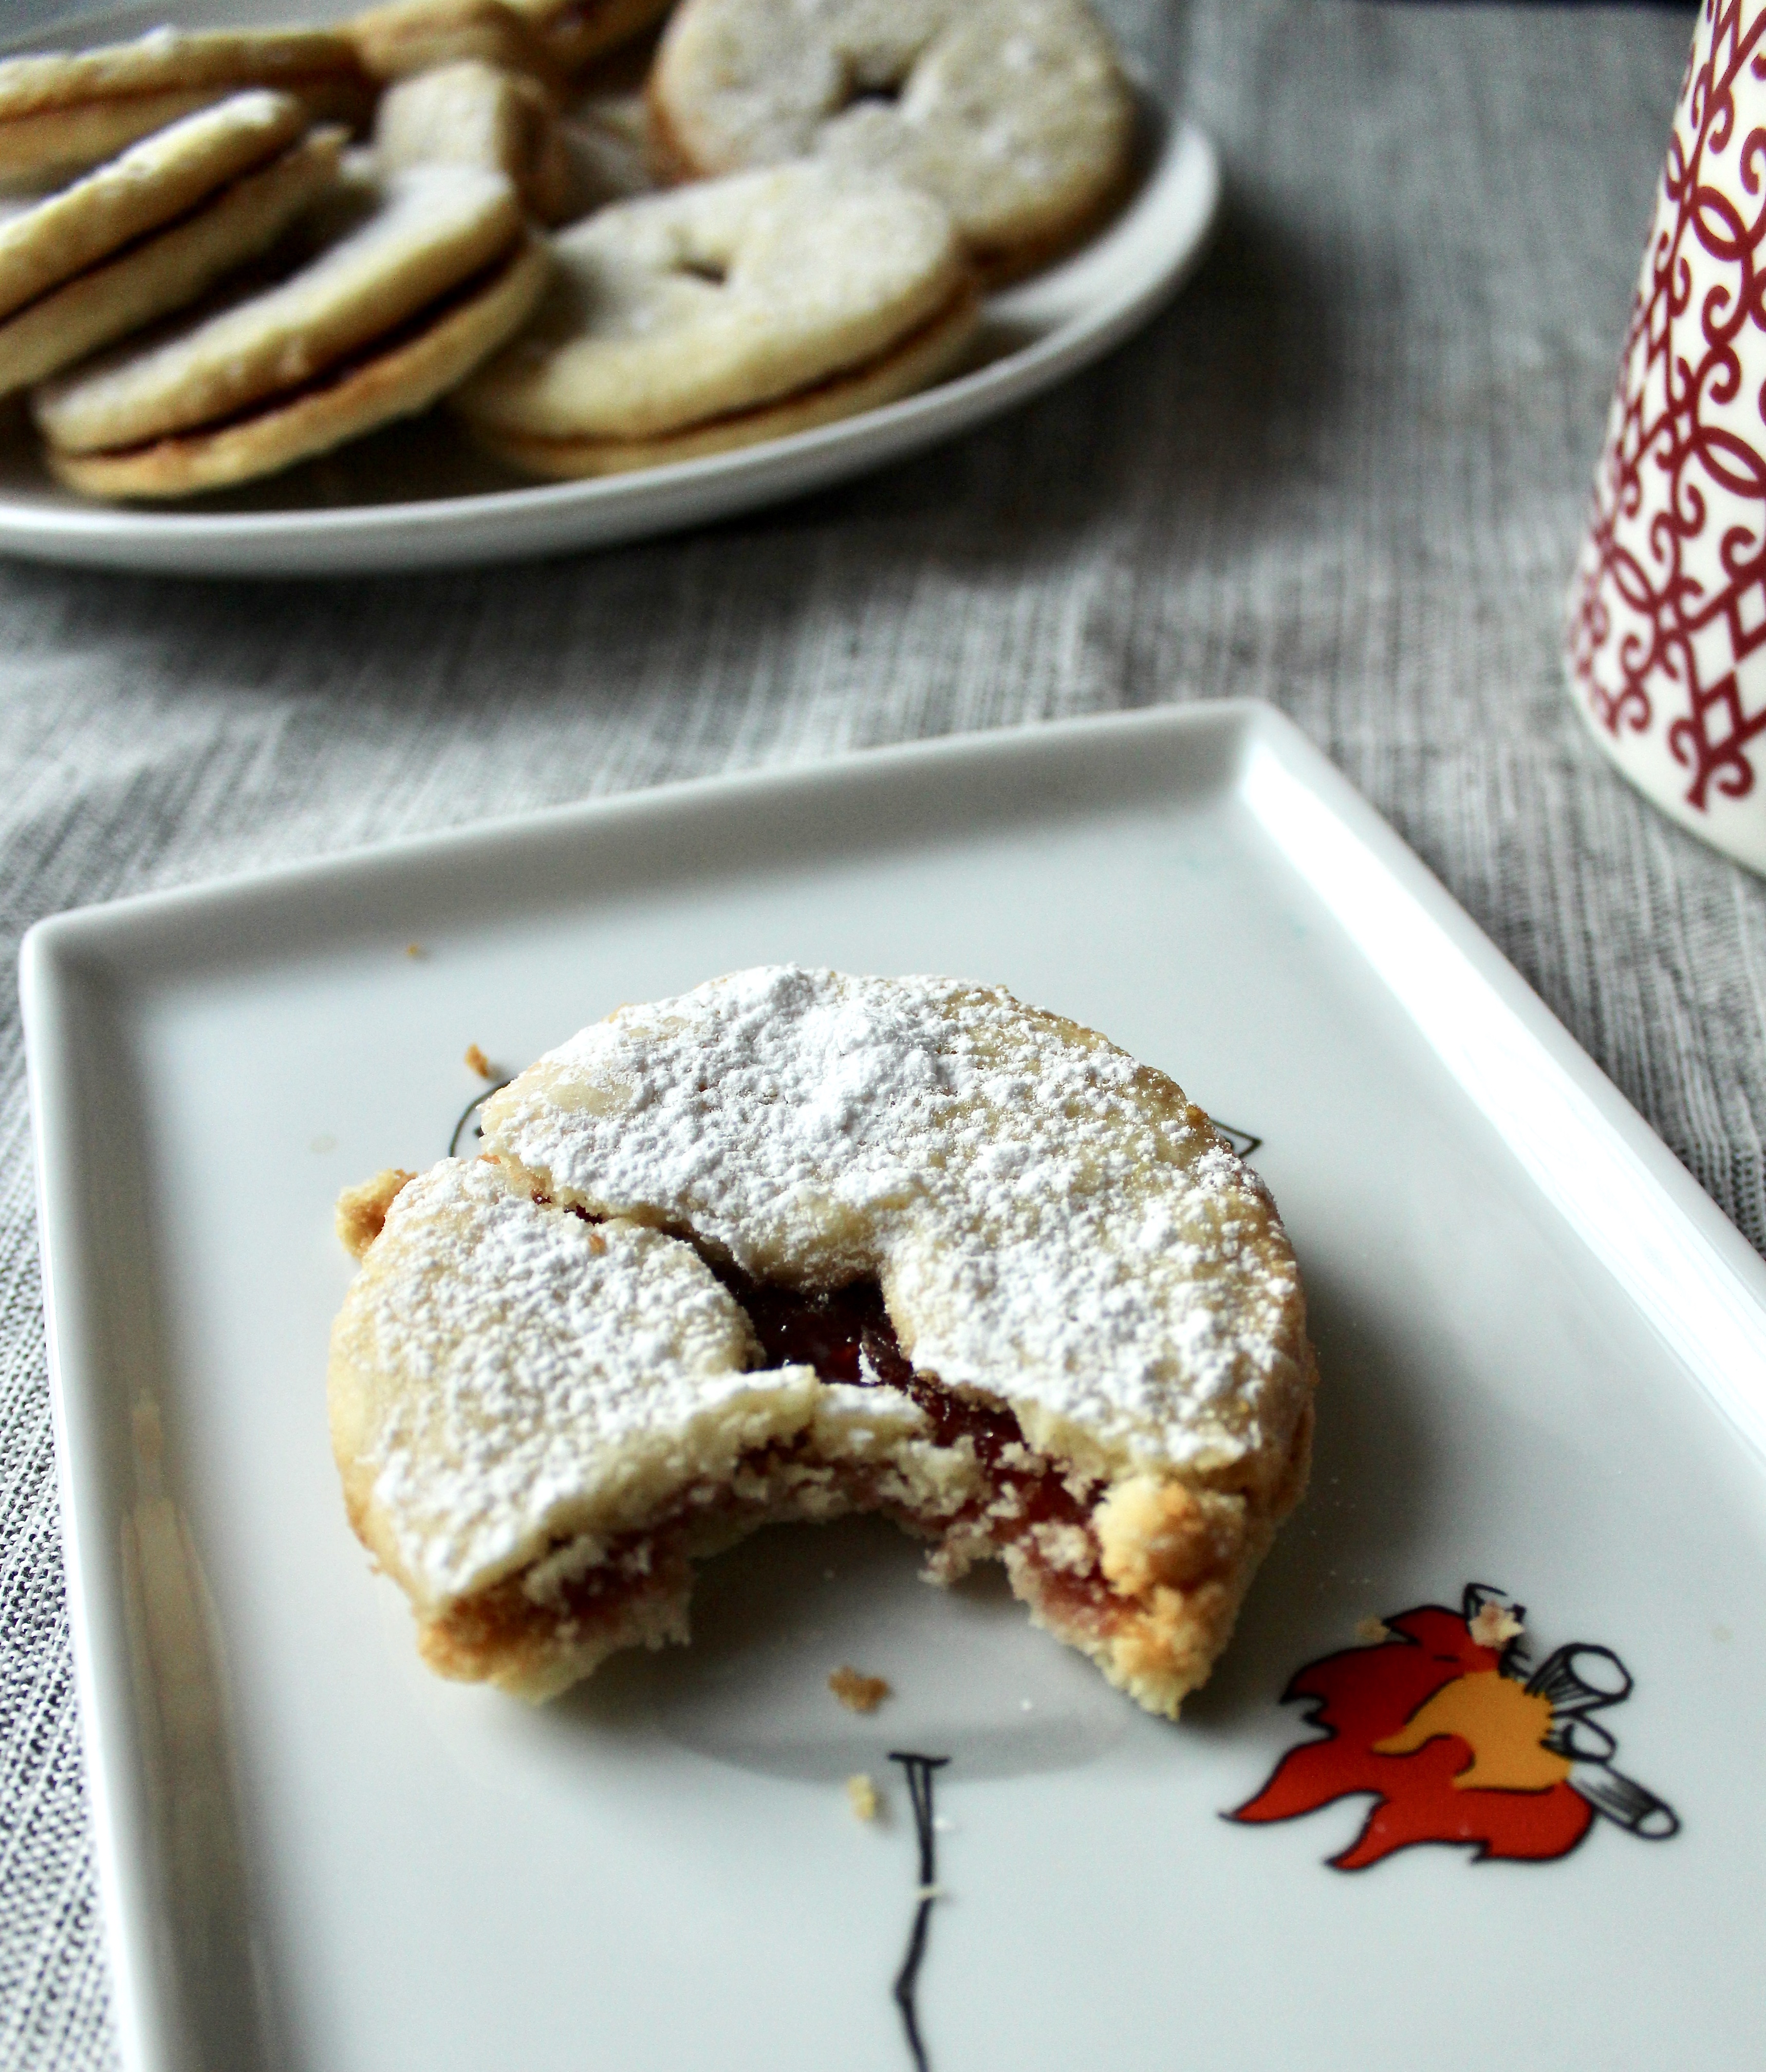
I hope you enjoy these cookies during this holiday season and beyond! Wishing everyone a joyous holiday, whatever you’re celebrating, and a happy happy new year!
Recipe from King Arthur Flour.
Ingredients
- 3/4 cup unsalted butter
- 1/2 cup granulated sugar
- zest of 1 lemon
- 1 large egg yolk
- 1 tsp vanilla extract
- 1 cup all purpose flour
- 3/4 cup almond flour
- 1/4 tsp fine sea salt
- raspberry jam for filling
- confectioner’s sugar for dusting
Directions
- Beat butter and sugar together in the bowl of a stand mixer, or in a large bowl using a handheld electric mixer, until well combined and light and fluffy, about 3 minutes at low to medium speed. Add egg yolk, then vanilla. Stop the mixer, scrape down the sides of the bowl, and beat until just combined. Turn mixer off.
- Combine flours and salt in a bowl. Whisk to combined. With the mixer on low, slowly add the flour, stopping to scrape down the bowl occasionally. Stop the mixer when all the dry ingredients have been incorporated. Dump onto a large piece of plastic wrap and flatten into a disk.* Refrigerate for 30 minutes or until well chilled.
- Remove dough from fridge, unwrap and place on a large piece of parchment paper. Place another large piece of parchment on top and roll out with a large (I use a French) rolling pin to spread dough to 1/4in thickness. Cut out rounds, about 2in diameter, and use a small heart or diamond cutter to cut out the center of half of them.** Slide the parchment paper and dough onto your baking sheet, and refrigerate the whole thing for 30 minutes.
- Preheat oven to 350 degrees F. Remove sheet pan and use a small spatula or butterknife to remove scraps and center shapes. Set scraps aside to reuse later and leave center shapes on the pan. Bake for 8-10 minutes in preheated oven until edges just start to brown. Remove from oven, allow to cool, then spread flat side of full circle cookies with jam. Place a cookie with a cutout middle on top. Continue with the rest, including the small shape cookies, and dust the tops with confectioners sugar through a sieve.
*If you have a large 16x22in sheet pan like I do, do this in one batch. If you have anything smaller, like a quarter or half sheet pan, separate into two pieces, refrigerate and roll out separately.
**If you don’t have small shaped cutters, use a small paring knife to cut out a simple shape, like a diamond.
Chocolate Wafer Cookies
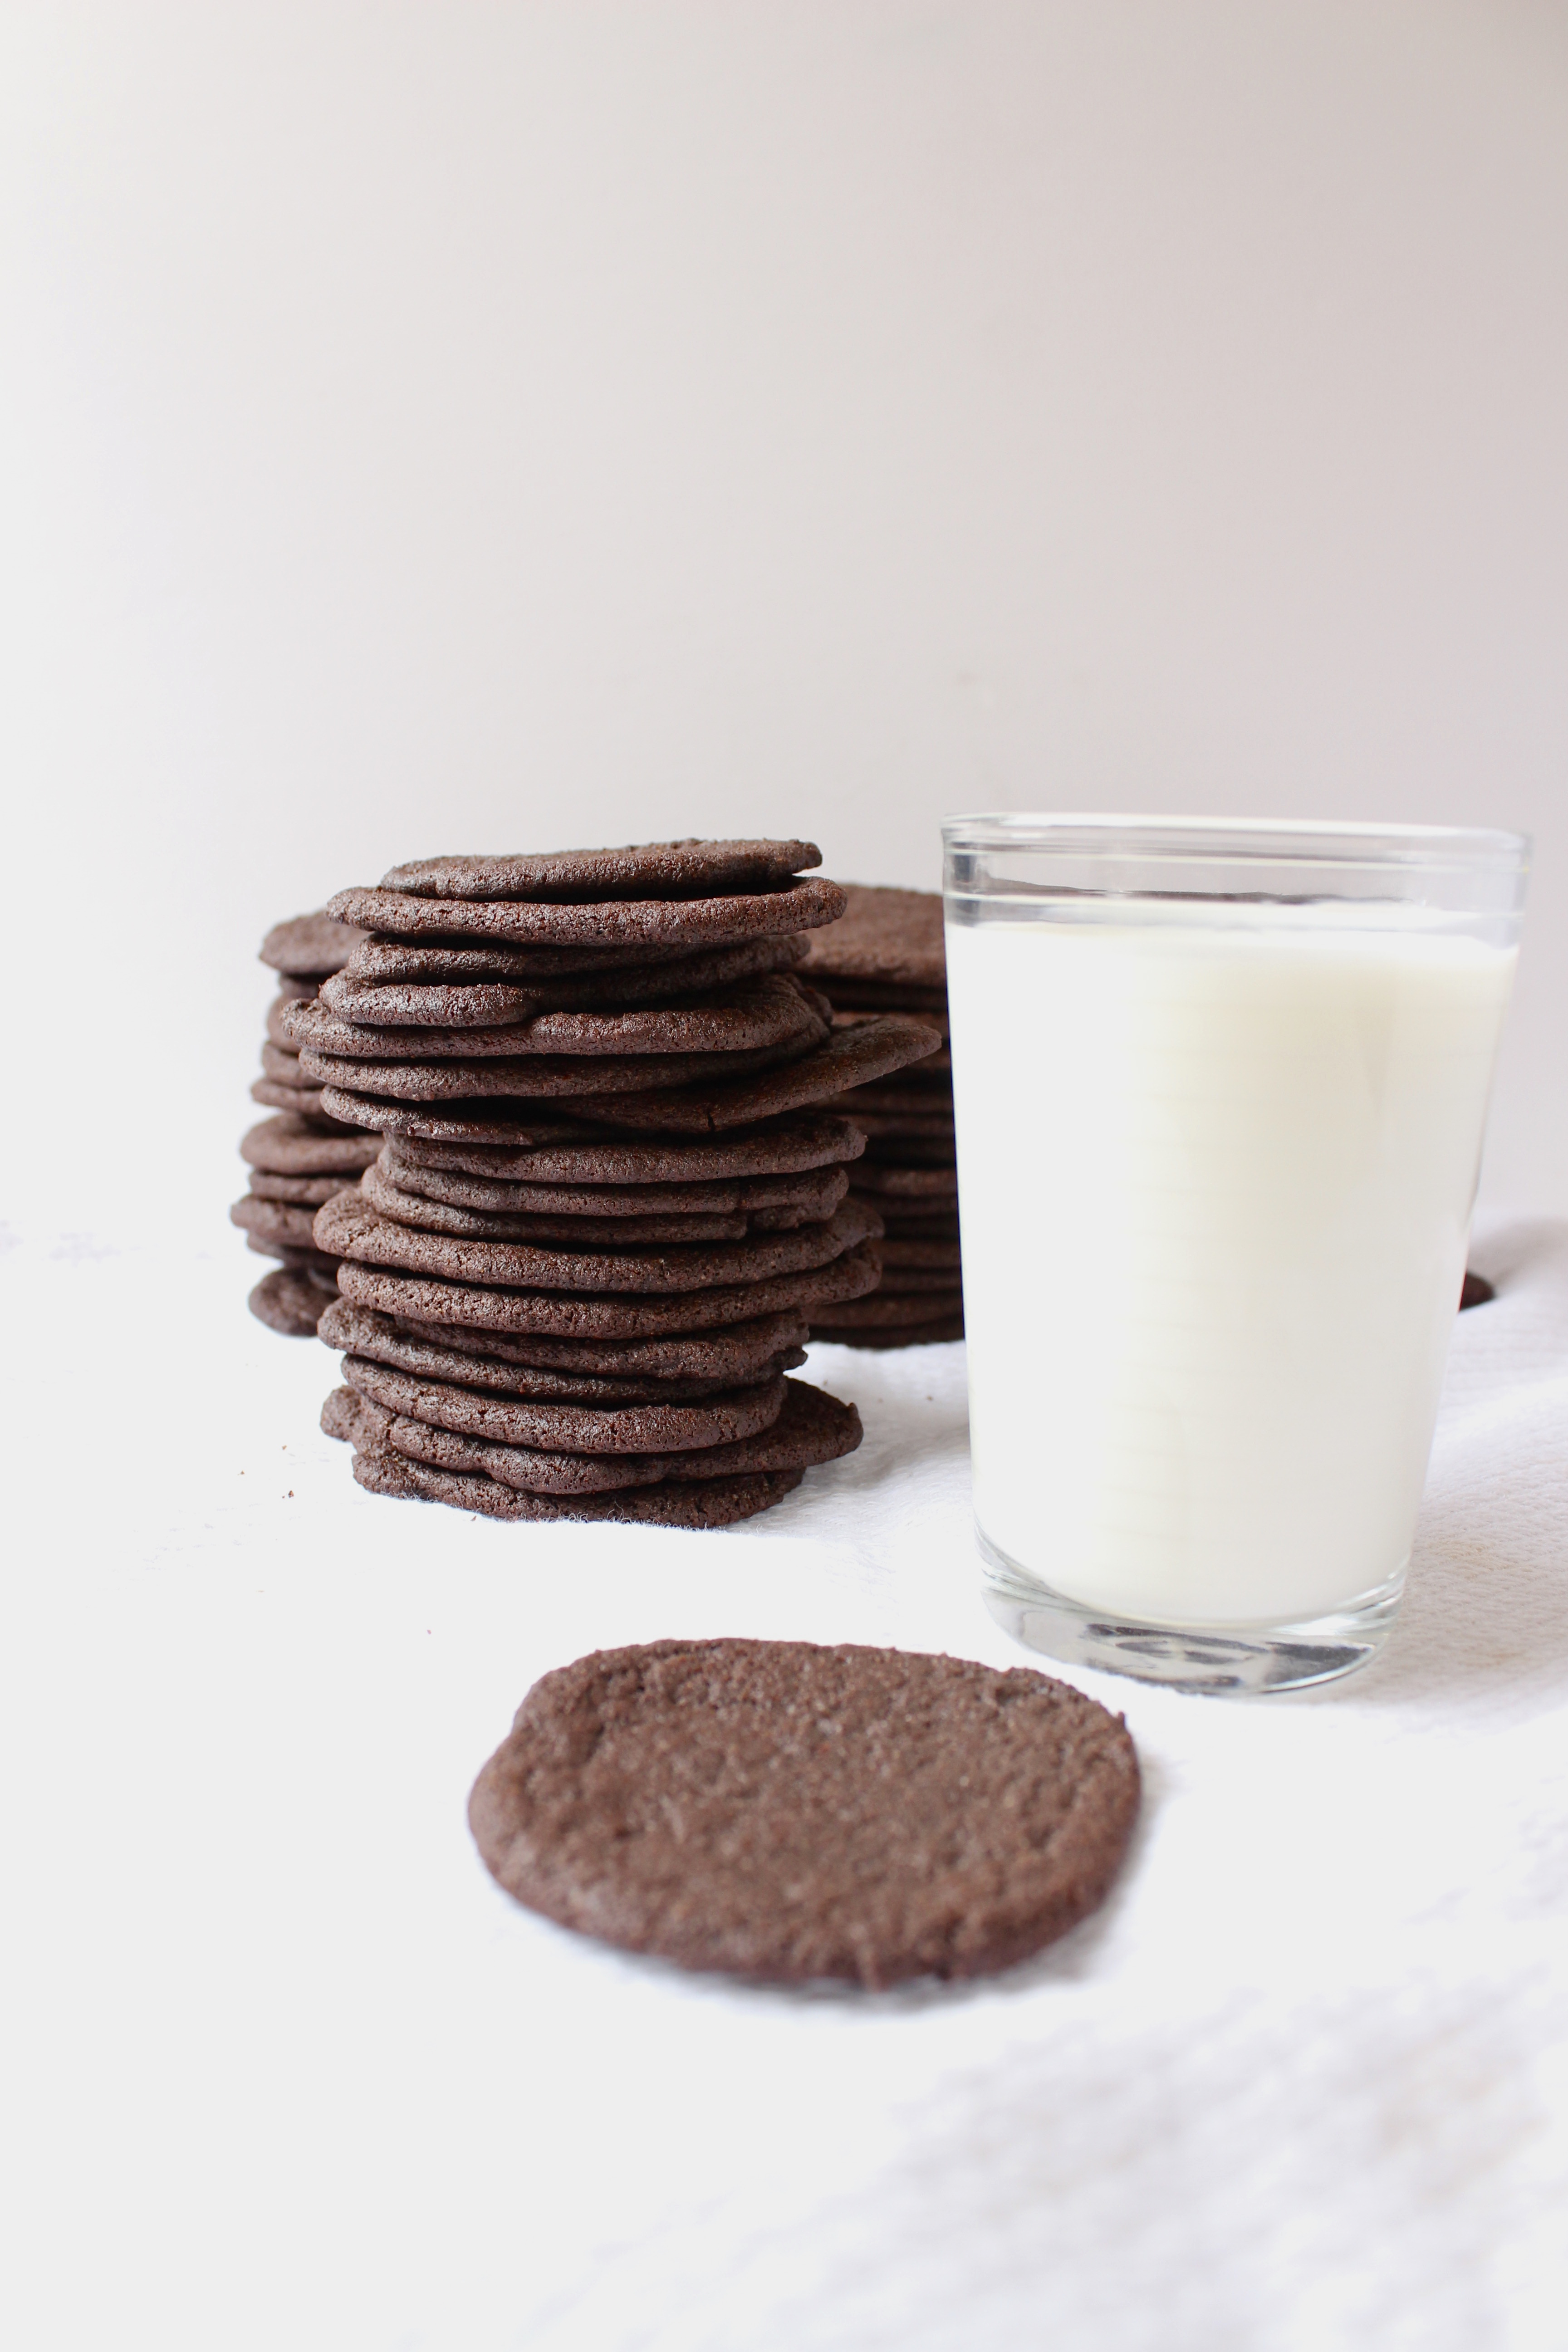
If ever you’ve craved a cookie so intensely chocolately, with little to meddle with it pure chocolate flavor (no nuts, no eggs, and a high cocoa to flour ratio), then this cookie is it.
I first made these about 1 year ago when I made my first ice box cake…for 50 people. I must have made 4 batches. Probably could have made less if I hadn’t been snacking on them along the way.
These cookies mimic the famous Nabisco Chocolate Wafers that most icebox cake recipes call for. For some reason, they’ve been discontinued in store, and are only available online. Every time I attempt to purchase some, that little voice in my head goes “hydrogenated oils…preservatives” then I head to the kitchen to make my own. They are easy to make, hard to mess up, and I always have the ingredients on hand.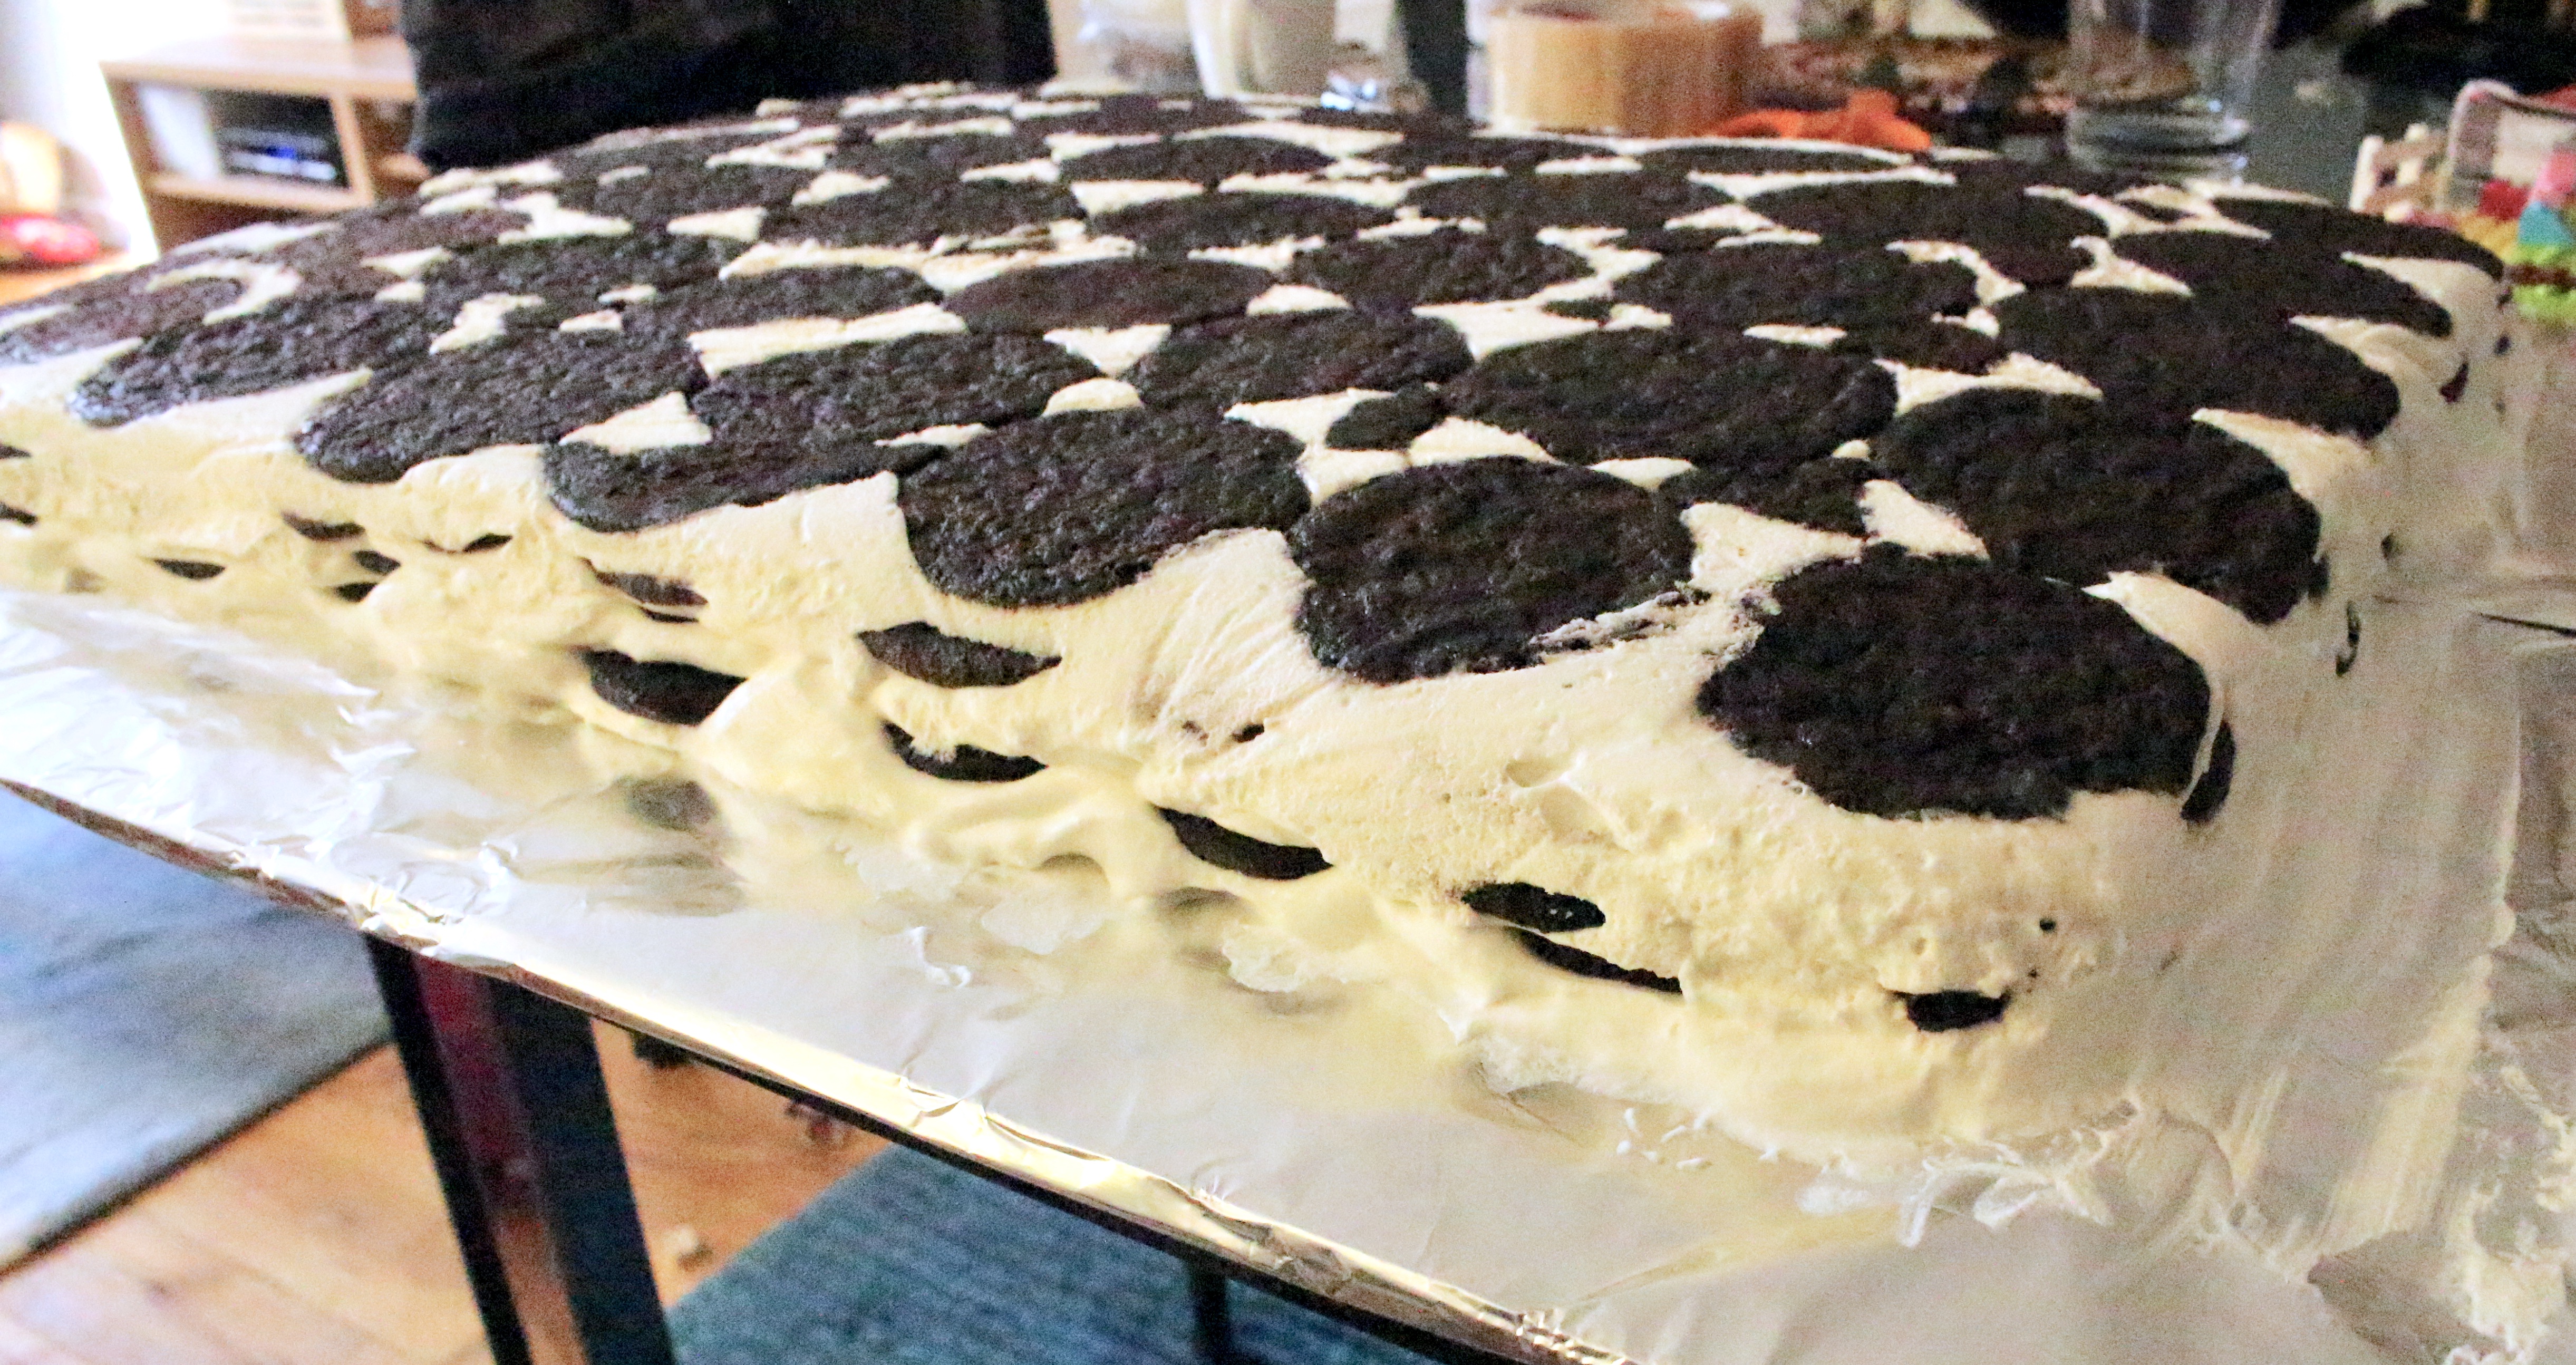
It’s hard to tell when these cookies are done, since they are so dark. I usually just go by 10 minutes, as the recipe indicates. Since the cocoa is the predominant flavor, quality really matters. And unfortunately, it is one of those slightly fussy recipes in that it requires dutch-processed cocoa (cocoa powder that’s been alkalized, making it less acidic than natural cocoa powder). You could try to use a natural cocoa powder, such as Ghirardelli (I wouldn’t recommend Hershey’s for these), but you may need to increase the baking soda. I haven’t tried it yet, but if you do, please let me know!
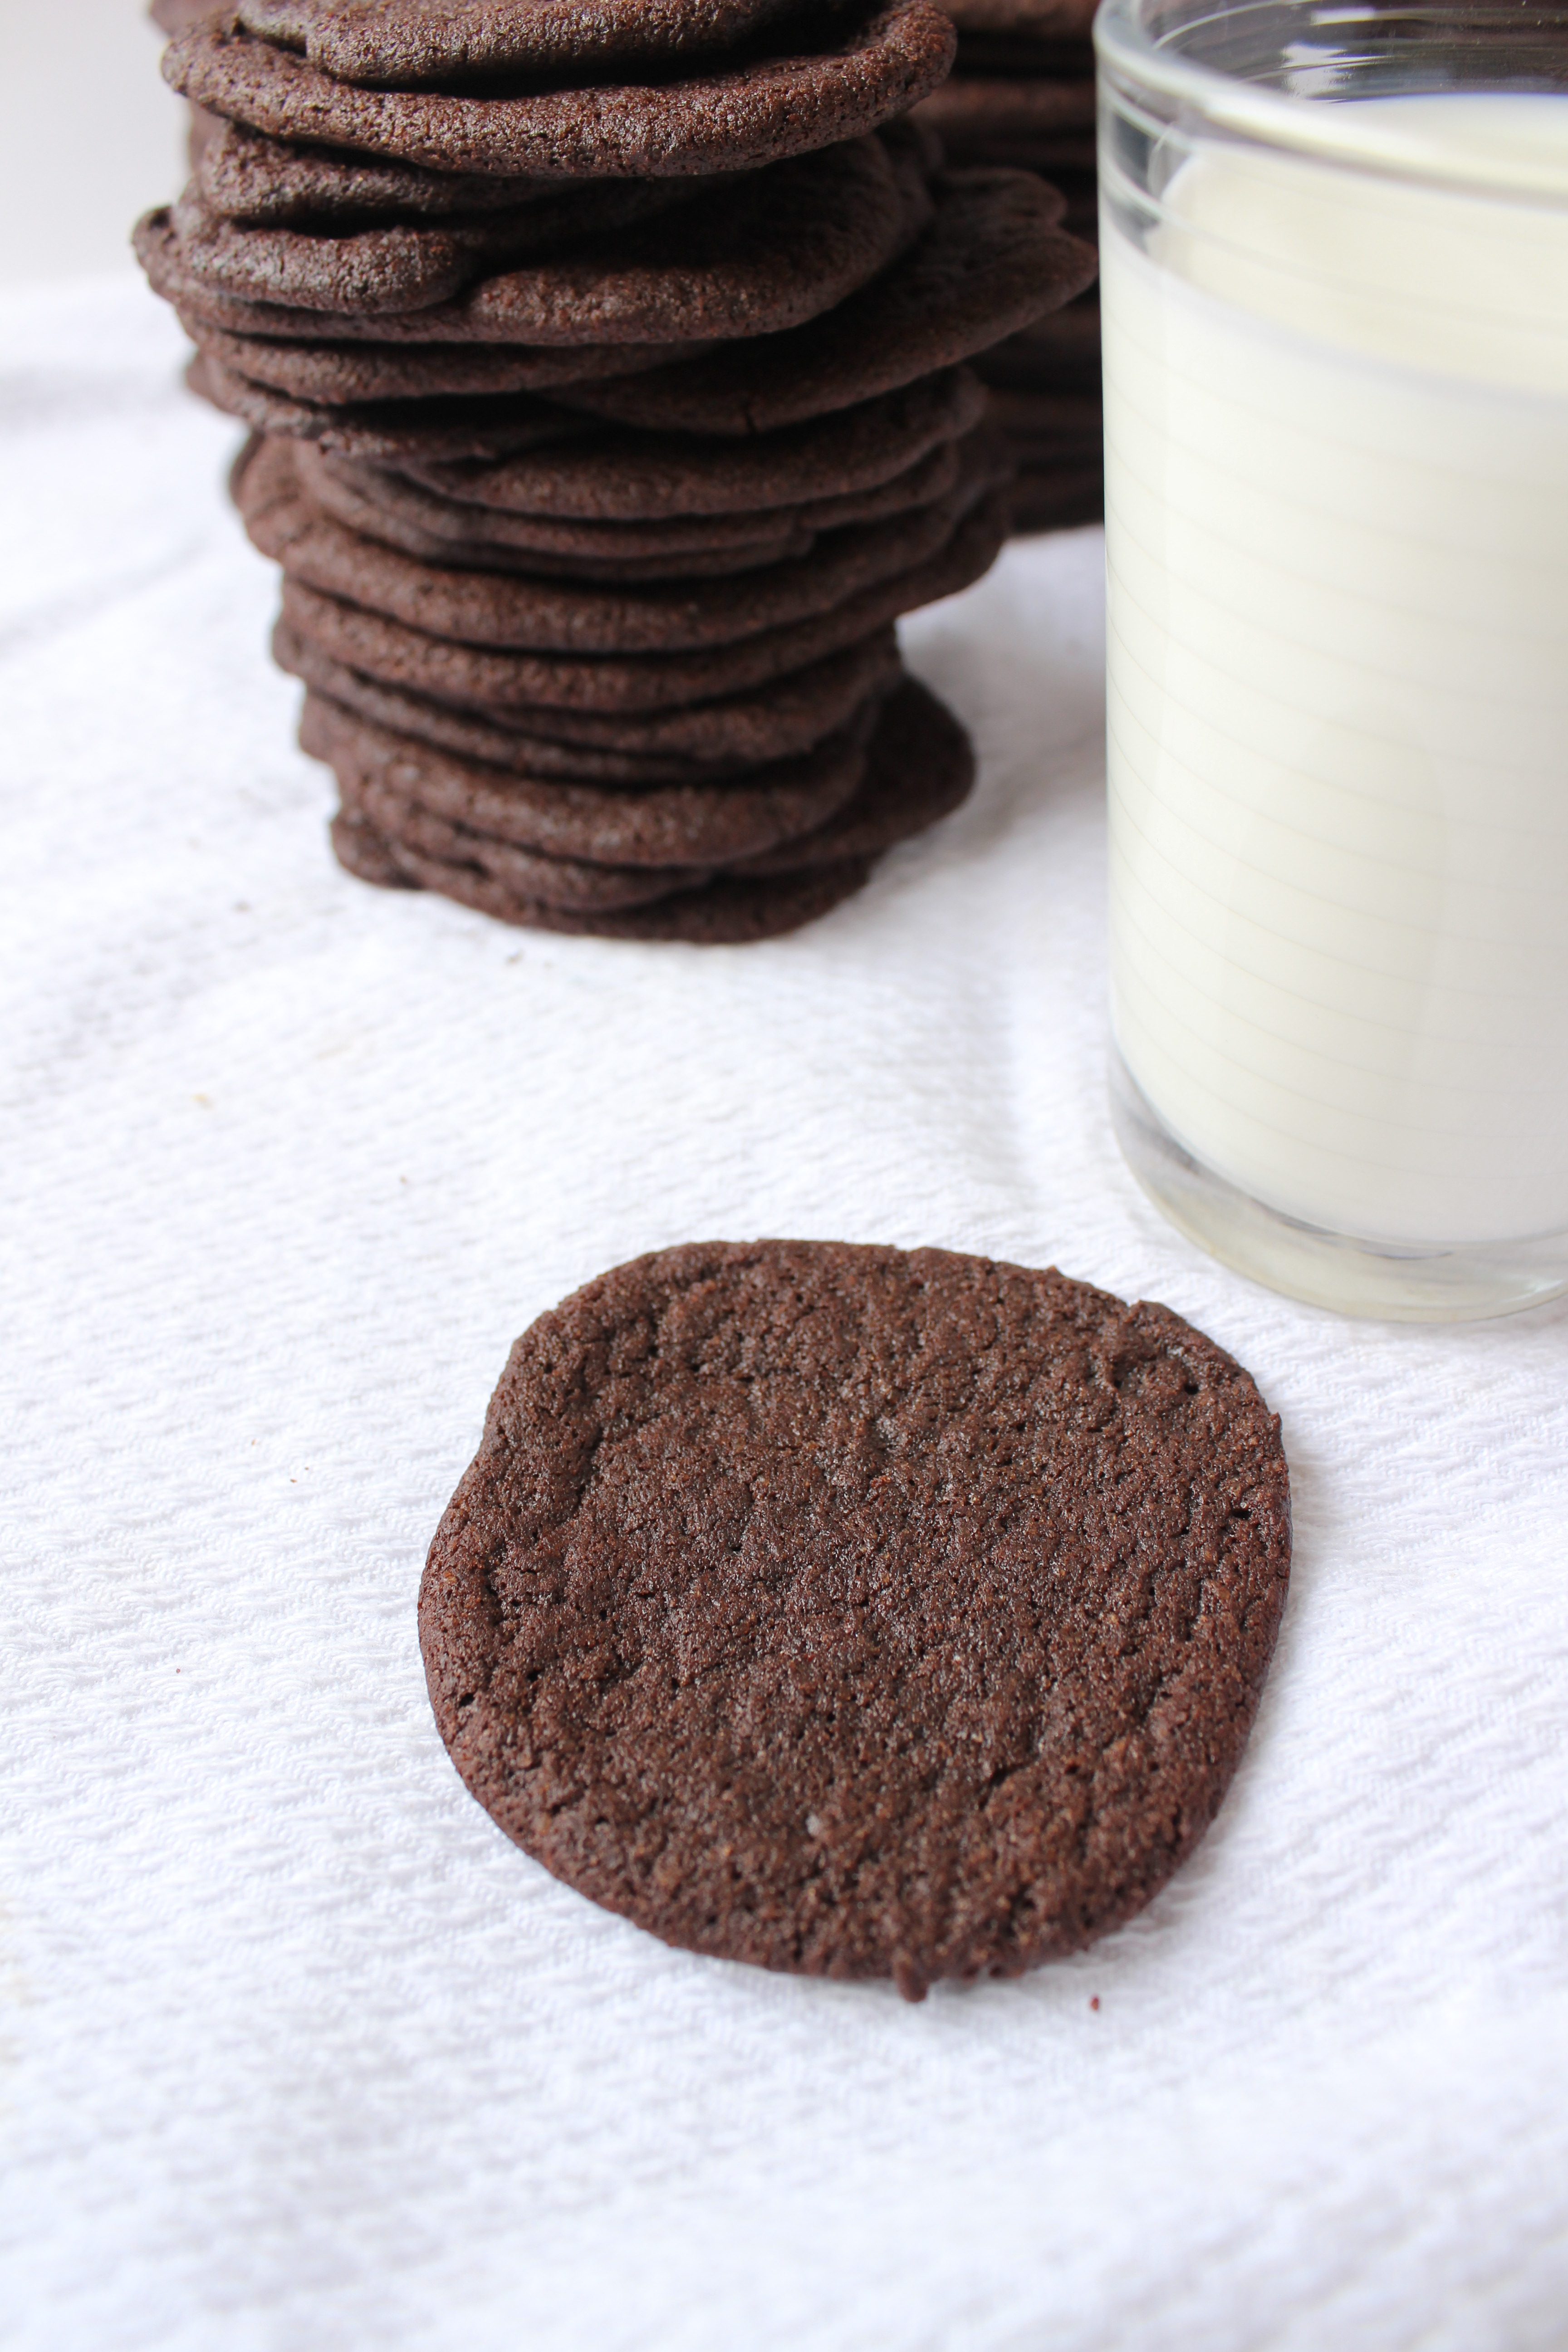
As these cookies cool, they become crisp, which is why they work so well in icebox cakes, and in this week’s case, ice cream cake. More on that coming soon!
They absorb the moisture from the surrounding medium without getting too soggy. They aren’t as heavy as say a brownie or a chocolate chip cookie, so you can satisfy your chocolate craving with a fraction of the guilt.
Recipe from Cooking Channel.
Ingredients
- 1/2 cup or 1 stick unsalted butter
- 3/4 cup granulated sugar
- 1/2 cup dark brown sugar*
- 1 tsp vanilla
- 1 cup flour
- 3/4 cup Dutch processed cocoa (such as Rodelle)
- 1/2 tsp baking soda
- 1/4 tsp salt
- 1/4 cup whole milk
Directions
- In the bowl of your stand mixer, or in a large bowl using a handheld electric mixer, cream together the butter and both sugars for 2 minutes at medium speed. Add vanilla and beat until combined.
- In a medium bowl, sift the flour, cocoa, baking soda. Add salt and stir to combine.
With the mixer running on low, slowly add the dry ingredients to the butter/sugar mixture. Stop to scrape down the sides of the bowl occasionally. Once all the flour’s been added, add the milk and mix until combined. - Lay a piece of plastic wrap on a flat surface. Dump cookie dough directly onto the plastic wrap, in a log-like shape. Wrap up the dough with the plastic wrap and continue to shape into an even-width log. Refrigerate for at least 1 hour.
- Preheat oven to 350 degrees F. Score cookie dough with a ruler 1/4in apart. Slice the log into 1/4in thick disks and place disks on a cookie sheet lined with parchment paper. Bake for 7 to 8 minutes. Refrigerate the remaining cookie dough. Then rotate baking sheet and bake for 2 minutes more. Allow to cool for a few minutes before transferring to a wire rack to cool completely.
- Continue with remaining cookie dough. Wrap well and store at room temperature.
*I only had light brown sugar in stock, so I added half a tablespoon of molasses to substitute for the dark brown sugar.
Royal Icing

I just started decorating with royal icing after all these years. Why have I been torturing myself all these years with confectioner’s sugar/milk concoctions that thin too easily, and pipe too painfully?!
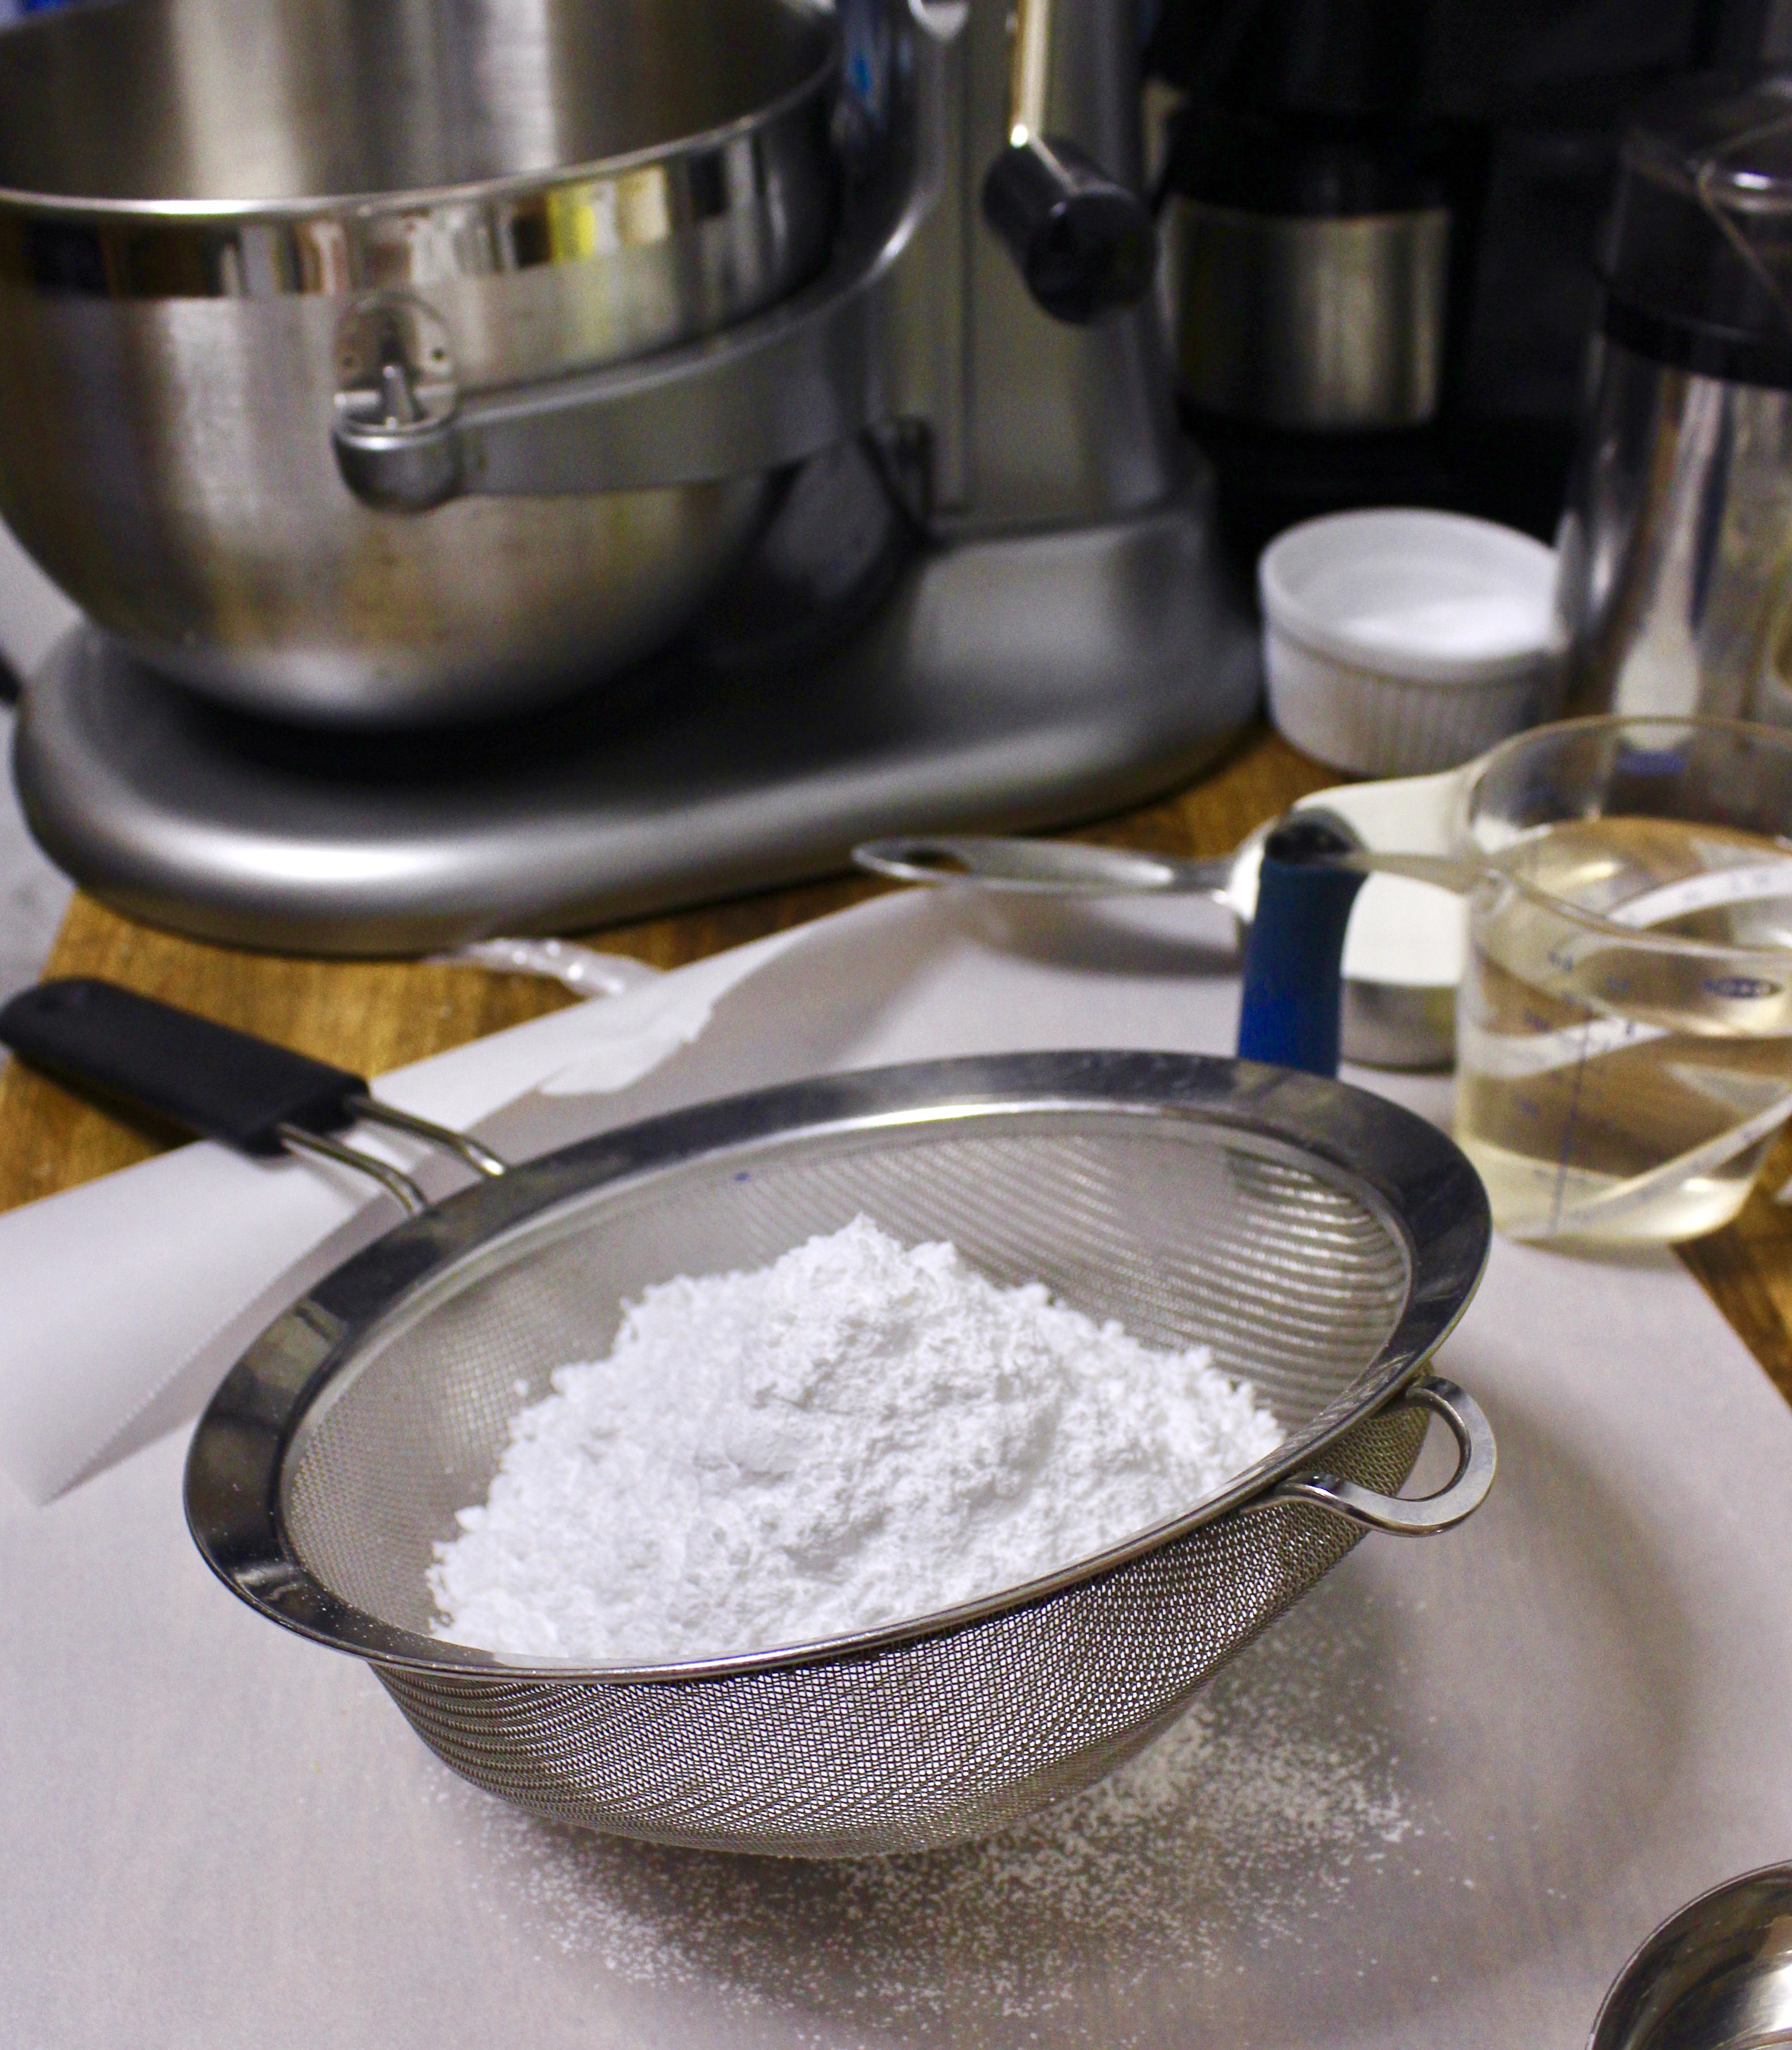
Since royal icing is made with egg whites (I use meringue powder so I don’t have to deal with leftover egg yolks), it has a lot of structure from the protein. Pipes wonderfully for borders and outlines and thins easily for flooding.
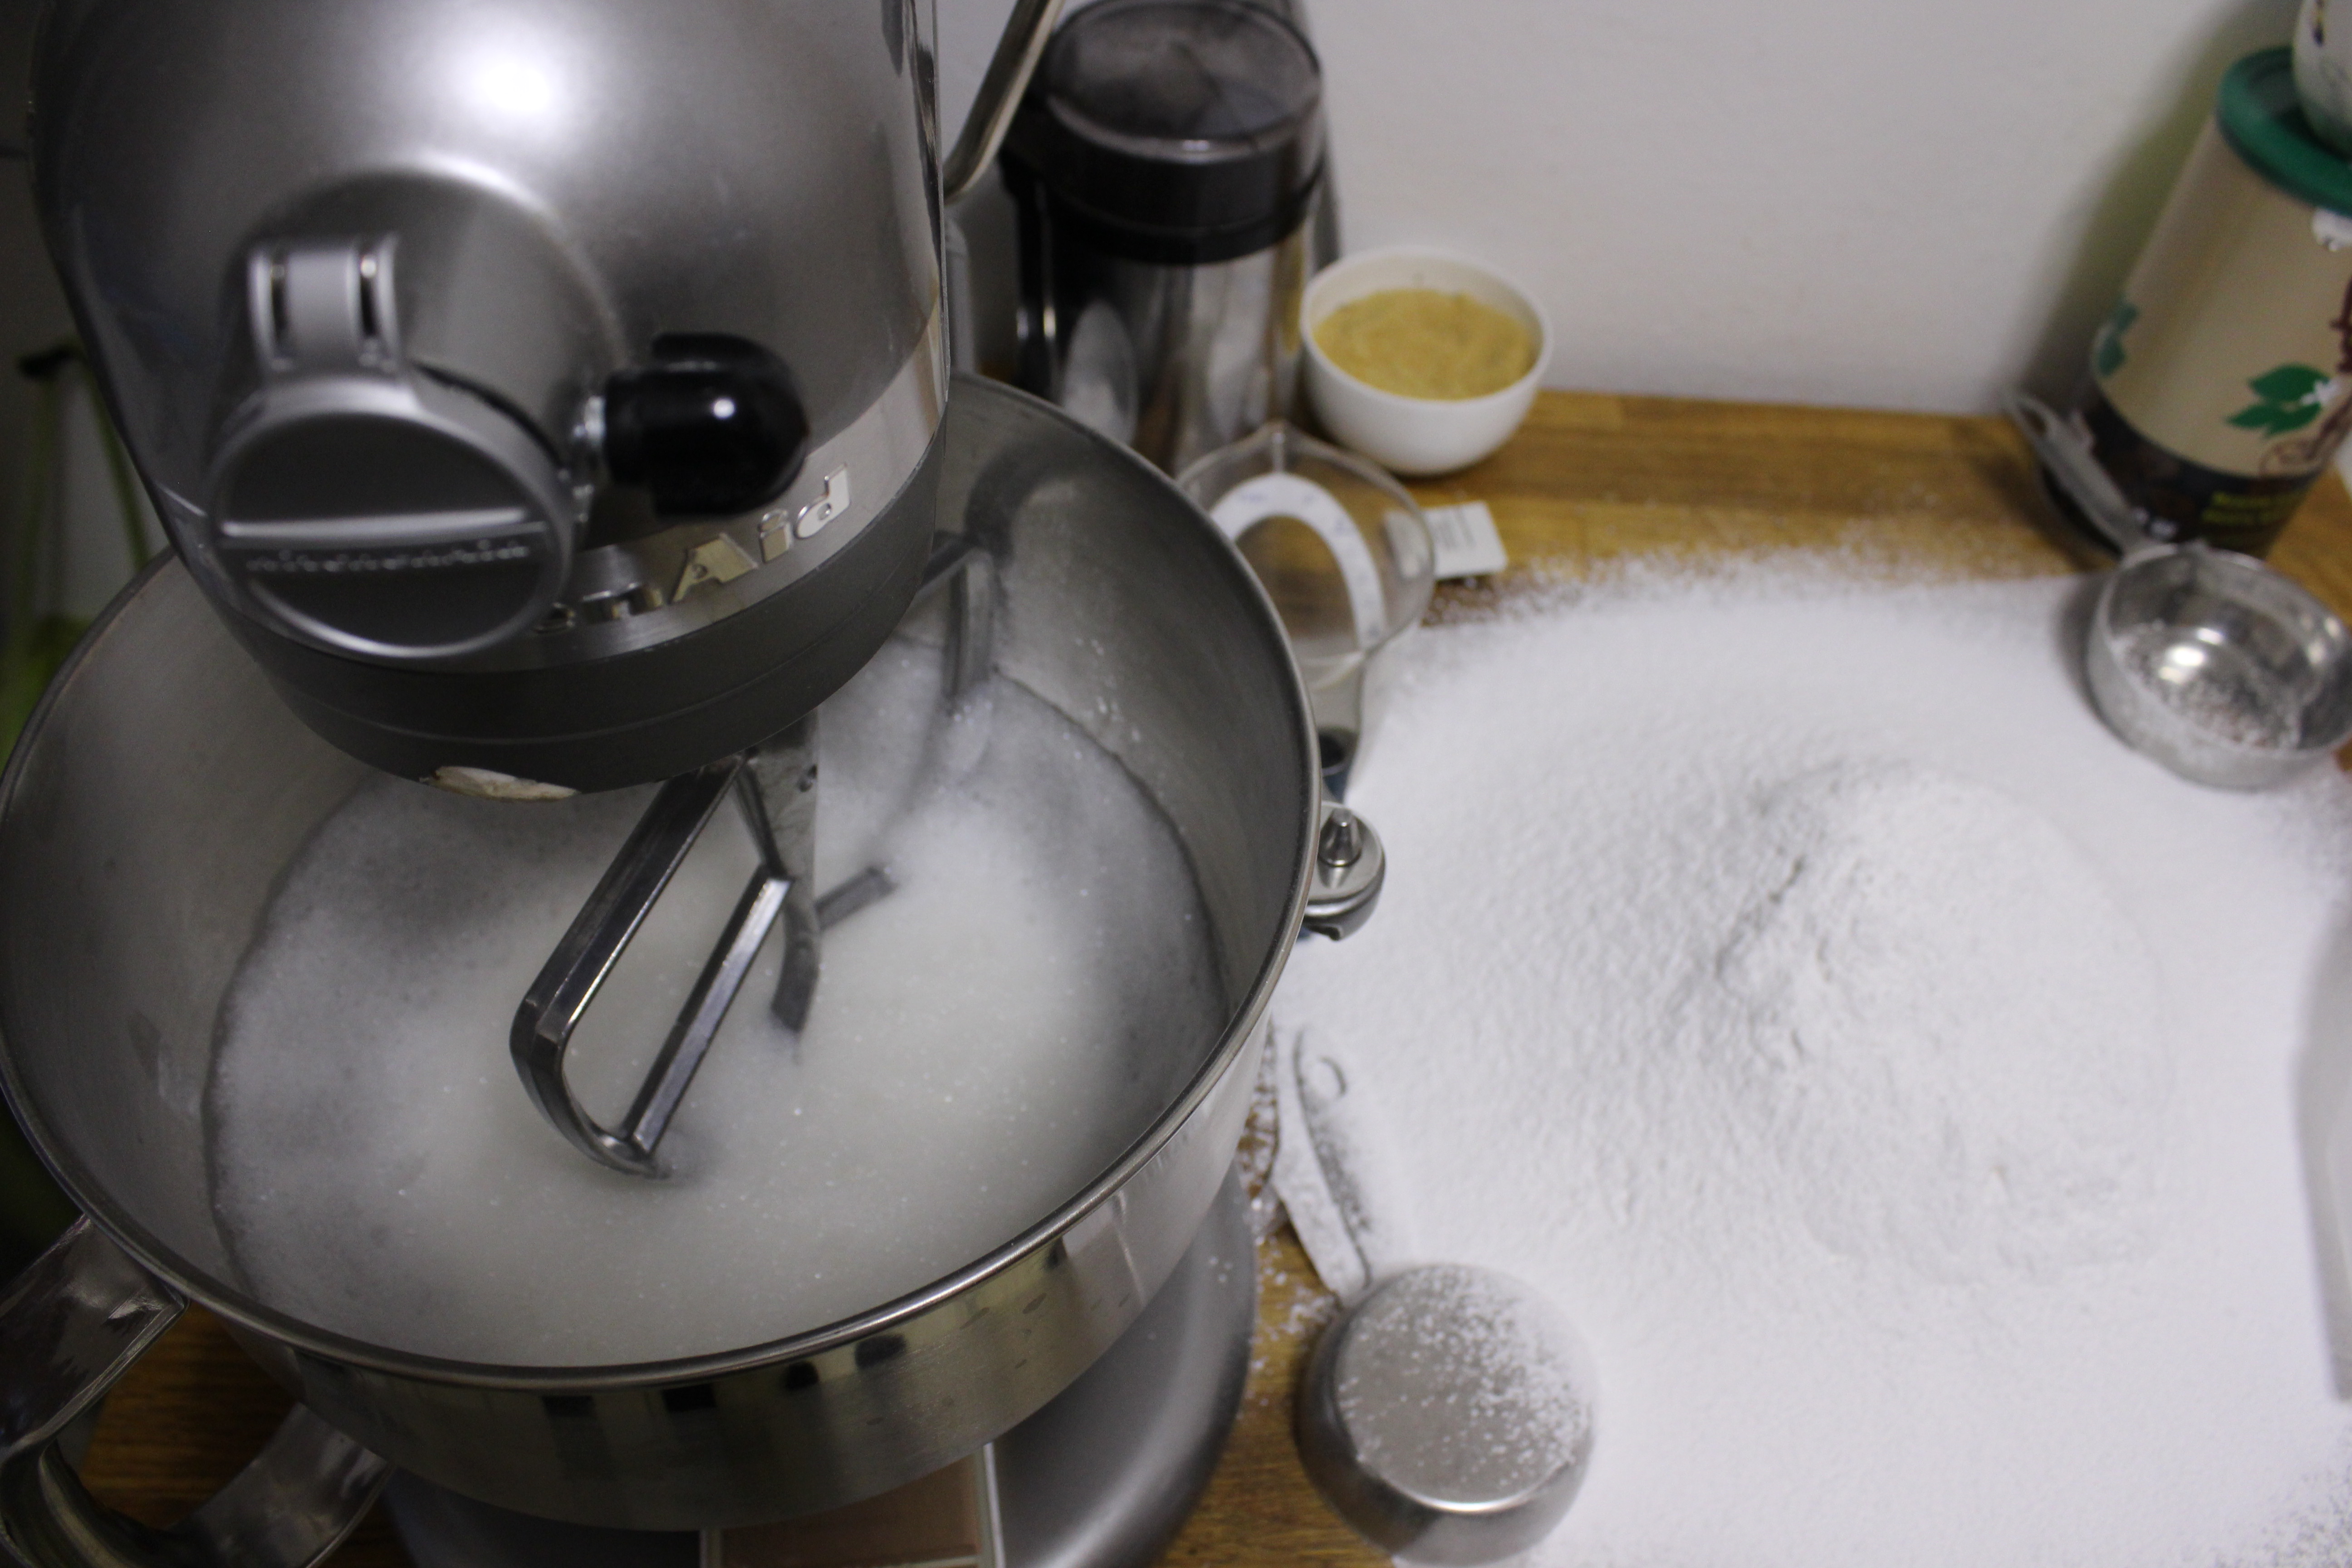
I have been a fan of Sana Sodawalla of SugarBase_ for a while now. Her gorgeous marbled cookies, whimsical cakes, and informative videos are something to aspire to. Since I’ve started baking and cake decorating more, I’ve been creating more content tailored to Instagram. I like how the platforms caters to creatives, offering a very visual space to share our content, with lots of real estate for pictures, and just enough for explanatory text.
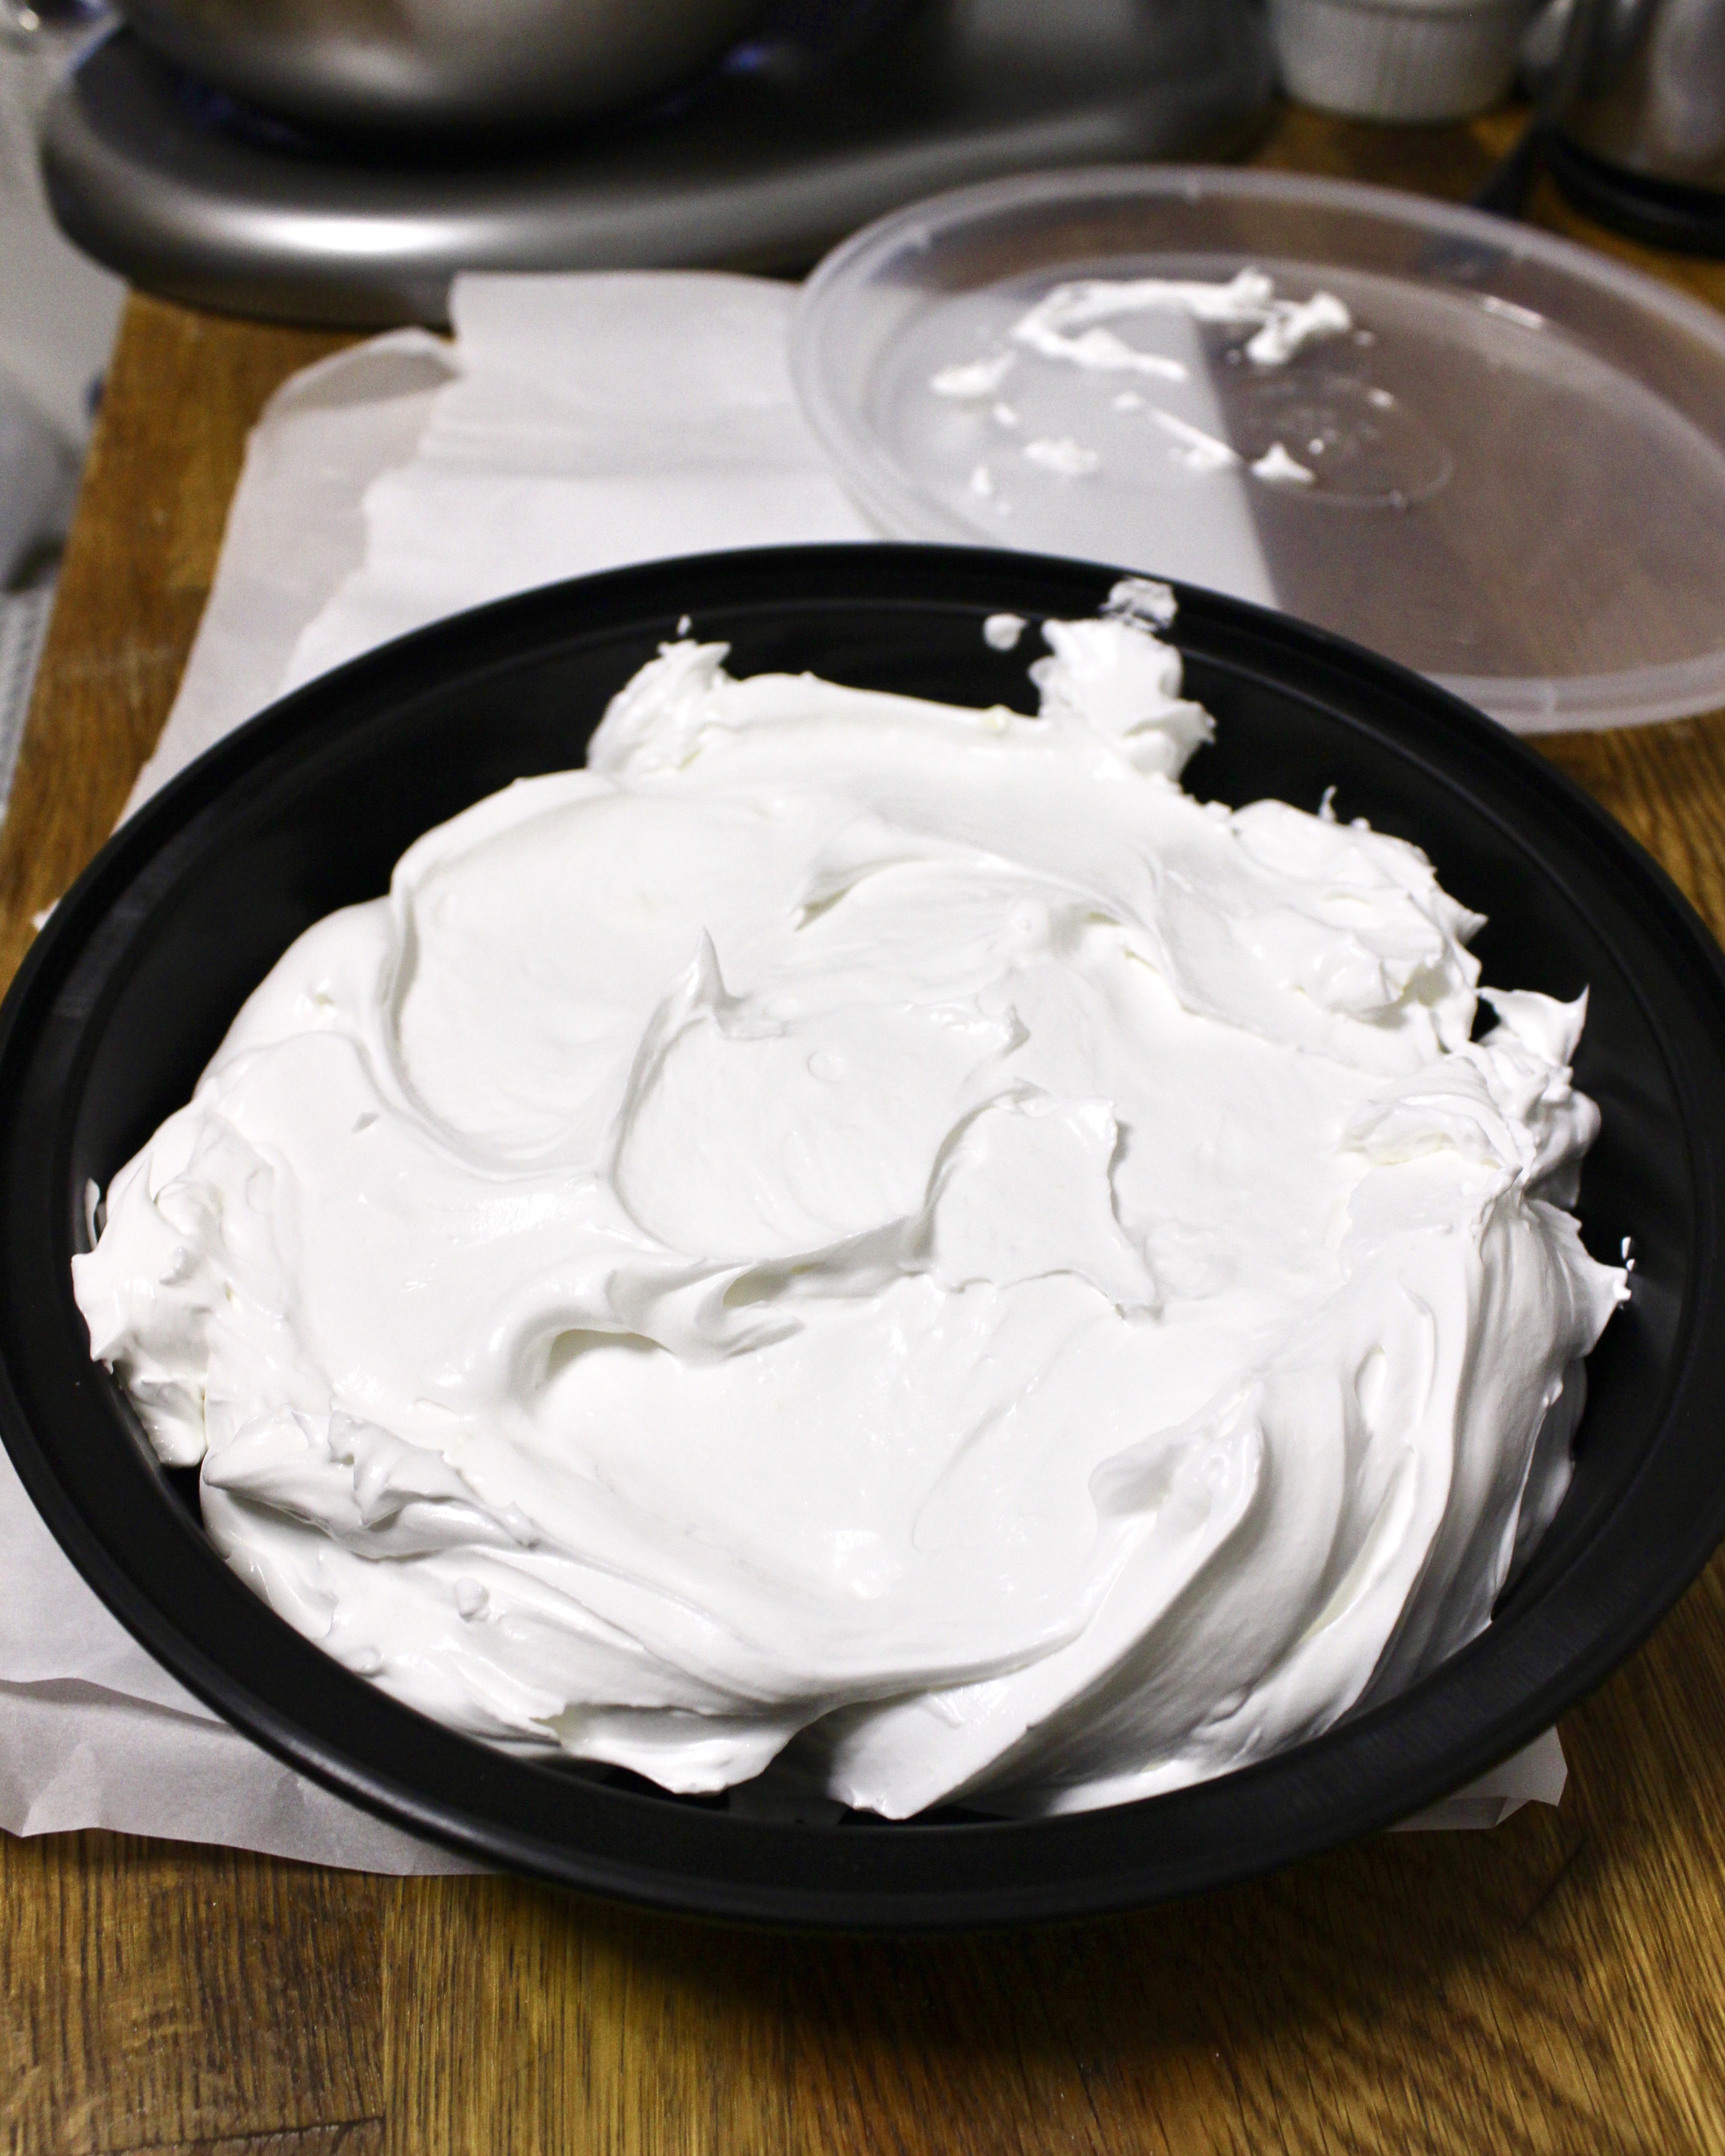
I’ve created these cookies after watching her technique on marbling sugar cookies. I got the idea for gold splatter after taking a wonderful mommy and me art class I took with a talented local artist on paper collages.

I don’t know if I’ve done justice to Sana’s beautiful cookies, but I hope you try your own version at home. My go to recipe for royal frosting below.
Recipe courtesy of Toba Garrett of ICE.
Ingredients
- 1/4 cup meringue powder
- 1/2 cup water
- 1 pound confectioner’s sugar, sifted
- 1/2 tsp lemon juice or extract*
Directions
- In the bowl of a stand mixer, or in a large bowl using a hand held electric mixer, use the paddle attachment to combine meringue powder and water at low speed until combined. Increase speed to medium and beat until soft peaks form, about 3 minutes.
- Reduce the speed to low and start to add the sugar, one cup at a time, until all of the sugar has been added. Turn the mixer off, scrape down the paddle and sides of the bowl and turn mixer back on to a low speed. Add the lemon juice/extract and increase speed to medium high. Beat for 5 to 7 minutes until you reached the desired level of stiffness. Keep well covered until ready to use. Can be piped, or thinned with small of amounts of water at a time to use for flooding. Will keep for 1 day at room temperature, or 3 days, covered in the refrigerator.
*I prefer lemon extract since the lemon flavor is a lot more pronounced.
Cutout Sugar Cookies

I’ve learned a lot of things the hard way. Like how filling in eyebrows is not for everyone/every situation. Or that low-rise jeans are super impractical for pretty much every situation, especially picking up your backpack from the ground. Or that frosting should not go on a cake you JUST TOOK OUT OF THE OVEN.

This extends to cut out sugar cookies. So many ill formed, mutilated cookies from the process of transferring from the rolling out surface to the cookie sheet. WHY OH WHY didn’t someone tell me earlier to just roll them out on a parchment paper and then just remove the scraps from around the shapes?! Would’ve saved so much grief.
So even if you have a great cutout sugar cookie recipe. Even if you already knew to chill the dough before rolling it out. if you take away nothing else from this post, I hope this tip will save you some heartache during this holiday cookie baking season. Happy holidays!!
Recipe from Better Homes & Garden 2010 special issue.
Ingredients
- 3/4 cup butter at room temperature (that’s 1 1/2 sticks)
- 1 cup granulated sguar
- 1 tsp baking powder
- 1/4 tsp salt
- 2 eggs
- 1 tsp vanilla
- 2 1/2 cups all-purpose flour
Directions
- In the bowl of your stand mixer, or in a large bowl using a handheld electric mixer, beat butter on medium speed for 30 seconds. Reduce speed and add the sugar, baking powder and salt. When it’s all combined, turn off the mixer, scrape the sides and bottom of the bowl, and turn the mixer on again, this time to low. Add the eggs, one at a time, then the vanilla. Gradually add the flour, stopping the mixer every once in a while to scrape down the sides.
- Once the dough has come together, divide in two, place each half on some plastic wrap on a flat surface. Wrap well with the plastic wrap and flatten into disks. Refrigerate for at least 1 hour, preferably 4 hours to let the gluten relax (this makes the cookies tender).
- When ready to bake the cookies, preheat the oven to 350 degree F. Roll out parchment paper to the size of your baking sheet. Lightly flour the surface, your hands, and the rolling pin. Roll out the cookie dough from the center, outwards, not back and forth like bread dough. Roll until the dough is 1/4 in thick. Then using your favorite cutters, cut out shapes about 1 in apart. Use a small offset spatula or butterknife to remove the scraps of dough. Save for next batch.
- Bake in preheated oven for 7 to 9 minutes. The bottoms should only be very lightly browned. Let cool on sheet for a few minutes before transferring to wire rack to cool completely.
Almond Lace Cookies with Earl Grey Ganache
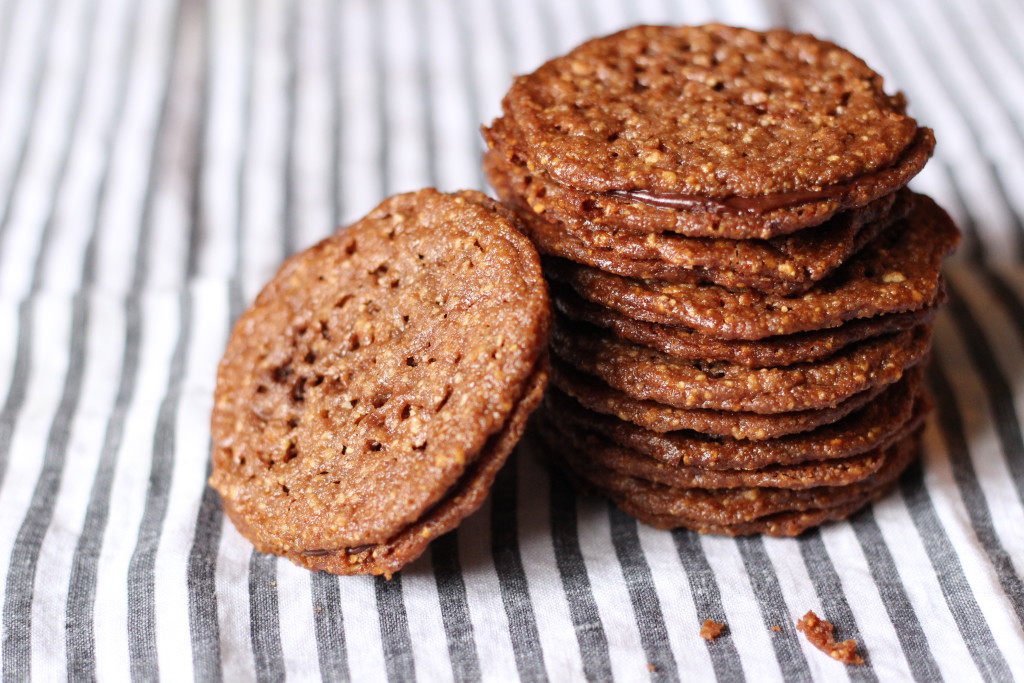 Oh no – I was supposed to kick off the new year with a healthy-ish recipe, right?? Gah – you’ll have to forgive me. Next post, I promise, something green. In the meantime, enjoy Kitchen3N 3.0! Now with creepy side picture so you can imagine I’m watching you as your read (and salivate at) my material.
 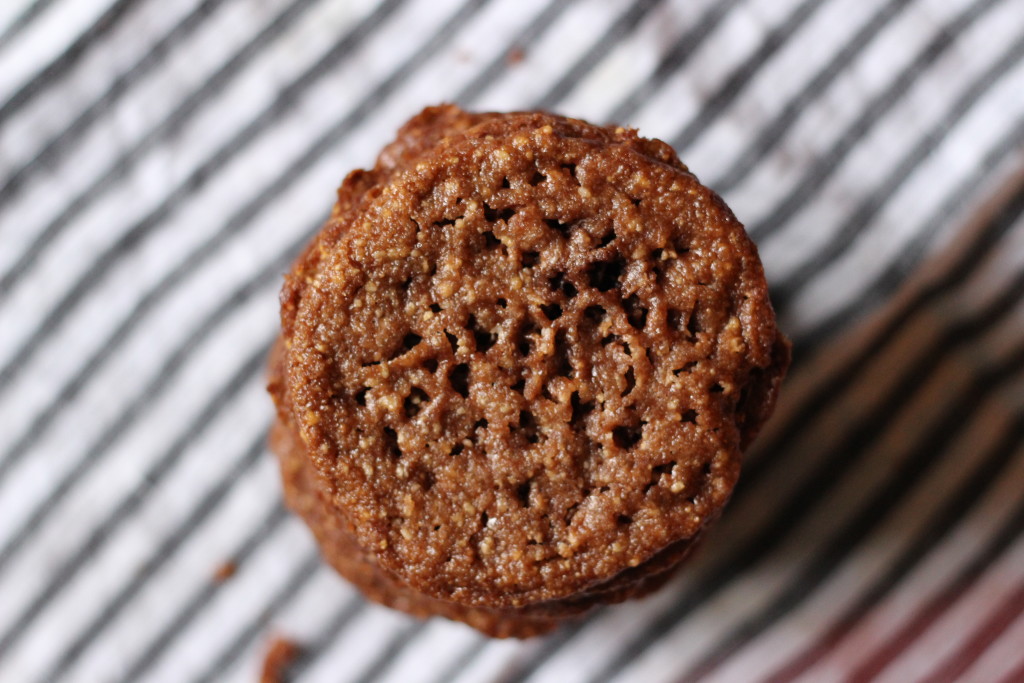 These cookies have many names: almond lace cookies (you can find similar ones at Trader Joe’s, except instead of sandwiching them, you’ll find them as single cookies dipped in chocolate), bocca di nonna (literally, mouth of grandma but I suppose grandma’s kisses sound better), and that’s it really. Sorry. They have wonderfully sweet, caramelly, toasty notes and the earl grey ganache just makes ya go, “hmm what IS that?!”. Throwback to Rachel Ray and every instance of her adding nutmeg to a cream sauce.
Recipe from BH&G Jan 2010
Ingredients
- 2/3 cup all-purpose flour
- 2 tbsp unsweetened dutch-processed cocoa powder
- 3/4 cup butter, softened
- 1 cup sugar
- 3/4 teaspoon, vanilla
- 1 1/2 cups finely ground almonds (I ground up slivered almonds in the food processor)
- 1/3 cup heavy cream
- 4 earl grey tea bags
- 4 oz semi sweet chocolate, chopped
Directions
- Combine flour and cocoa powder in a small bowl. Whisk to combine and set aside.
- In your stand mixer (or in a bowl using a handheld electric mixer) cream butter at medium speed for 30 seconds. Slowly add sugar and vanilla extract. Beat until light and fluffy (3 to 4 minutes). Scrape down sides of bowl occasionally. Add ground almonds, then flour and cocoa mixture. Using a rubber spatula, scrap down the sides and bottom, give it a final mix, and dump onto a large piece of saran wrap. Wrap tightly and refrigerate for 1 hour.
- Preheat oven to 350 degrees F. Line a baking sheet with parchment paper. Using a cookie scoop, scoop out 1 inch balls onto prepared cookie sheet, 2 inches apart. Press down lightly to flatten.
- Bake for 12 to 15 minutes or until centers are firm. Let cool a few minutes on baking sheet, then move to wire rack to cool completely. Continue with the remaining dough.
- While they cool, make the ganache: bring the cream to just before boiling (you’ll see bubbles around the perimeter). Remove from heat. Add the 4 tea bags, cover and let steep for 15 minutes. After 15 minutes, uncover, squeeze the liquid out of the bags and discard. Heat the cream once again to just barely a boil. Add the chopped chocolate and stir until mixture is homogenous and shiny.
- Assemble: Spread half a teaspoon of ganache onto the flat side of one cookie. Place the flat side down of another cookie directly on the ganache. Continue with the rest of the cookies.
Kitchen Sink Cookies
 Not the most appetizing name for a cookie, I know. But take one bite, and who? wha? What’s in a name? These are actually based off the kitchen sink cookies from a certain famous/infamous bakery that has taken Queens by storm (Martha’s, if you must). Why the duality? You either love it or you hate it. Their chocolate mousse and rainbow cookies: perfection. Their cheesecakes and gelato: leave something to be desired. Pretty much everything else is lukewarm, considering it opened shop in a city that is overrun with foodies, michelin award winning pastry chefs and french macarons that are flown in from Paris daily. Enough about their kitchen sink cookies. Mine have a tad fewer ingredients (nix the white chocolate and toffee bits) and satisfy a craving for chocolate chip cookies that have just a little extra something. The addition of coconut made them appealing even for all the South Asian mouths I have to feed around here. And obviously the oats make them a healthy and nutritious snack so when your toddler stuffs her face with them you’re not thinking “I’m a terrible parent” rather “just look at all that fiber she’s getting”. Lastly, after baking chocolate chip cookies for the past 15 years, I will leave you with some things I’ve realized:
- You don’t need to wait around for your eggs and butter to come to room temperature before baking. Just melt the butter in the microwave or saucepan! The cookies come out just as good. But if you insist on being old school, cube up the butter so it warms up faster.
- The original recipe says to use quick cooking oats but I used old fashioned and it came out just fine.
- Make sure your leavener isn’t too old. For years I thought baking soda was just an inferior cousin of baking powder because the first time I made CC cookies I used an out of date baking soda and my cookies just went SPLAT all over the baking sheet. So, after one year, I’d say get a new one.
- For a long time I under baked my cookies (325 or 350 degrees for no more than 10 minutes) but these days, I bake at a higher temp (375) for ten minutes and it just toasts up the butter in the cookies and they get that magical nuttiness to them.
- Finally, I’ve started using raw sugar instead of white sugar and there’s no difference in taste or texture as far as I can tell.
 Adapted from Allrecipes.com
Ingredients
- 1 cup butter softened (or melted)
- 1 cup brown sugar, firmly packed
- 1/2 cup sugar
- 2 large eggs
- 2 tsps vanilla extract
- 1 1/4 cups all purpose flour
- 1/2 tsp baking soda
- 1 tsp salt
- 3 cups old fashioned or quick cooking oats
- 1 cup chopped walnuts (optional)
- 1 cup semisweet chocolate chips
- 1 cup sweetened coconut flakes
Directions
- Preheat the oven to 375 degrees F. Line a baking sheet with parchment paper.
- In a large bowl, cream together the butter, brown sugar, and white sugar until smooth. Beat in eggs one at a time, then stir in vanilla. In a separate bowl, sift together the flour, baking soda, and salt; stir into the creamed mixture until just blended. Mix in the oats, walnuts, chocolate chips and coconut flakes. Drop by heaping spoonfuls onto ungreased baking sheets.
- Bake for 10 minutes in the preheated oven. Allow cookies to cool on baking sheet for 5 minutes before transferring to a wire rack to cool completely.