Kitchen3N

Recipes and food fun from Apt 3N

  • About
  • Gallery
  • Recipes

Royal Icing

December 29, 2016

fullsizeoutput_4712
I just started decorating with royal icing after all these years. Why have I been torturing myself all these years with confectioner’s sugar/milk concoctions that thin too easily, and pipe too painfully?!
fullsizeoutput_4718
Since royal icing is made with egg whites (I use meringue powder so I don’t have to deal with leftover egg yolks), it has a lot of structure from the protein. Pipes wonderfully for borders and outlines and thins easily for flooding.
img_8357
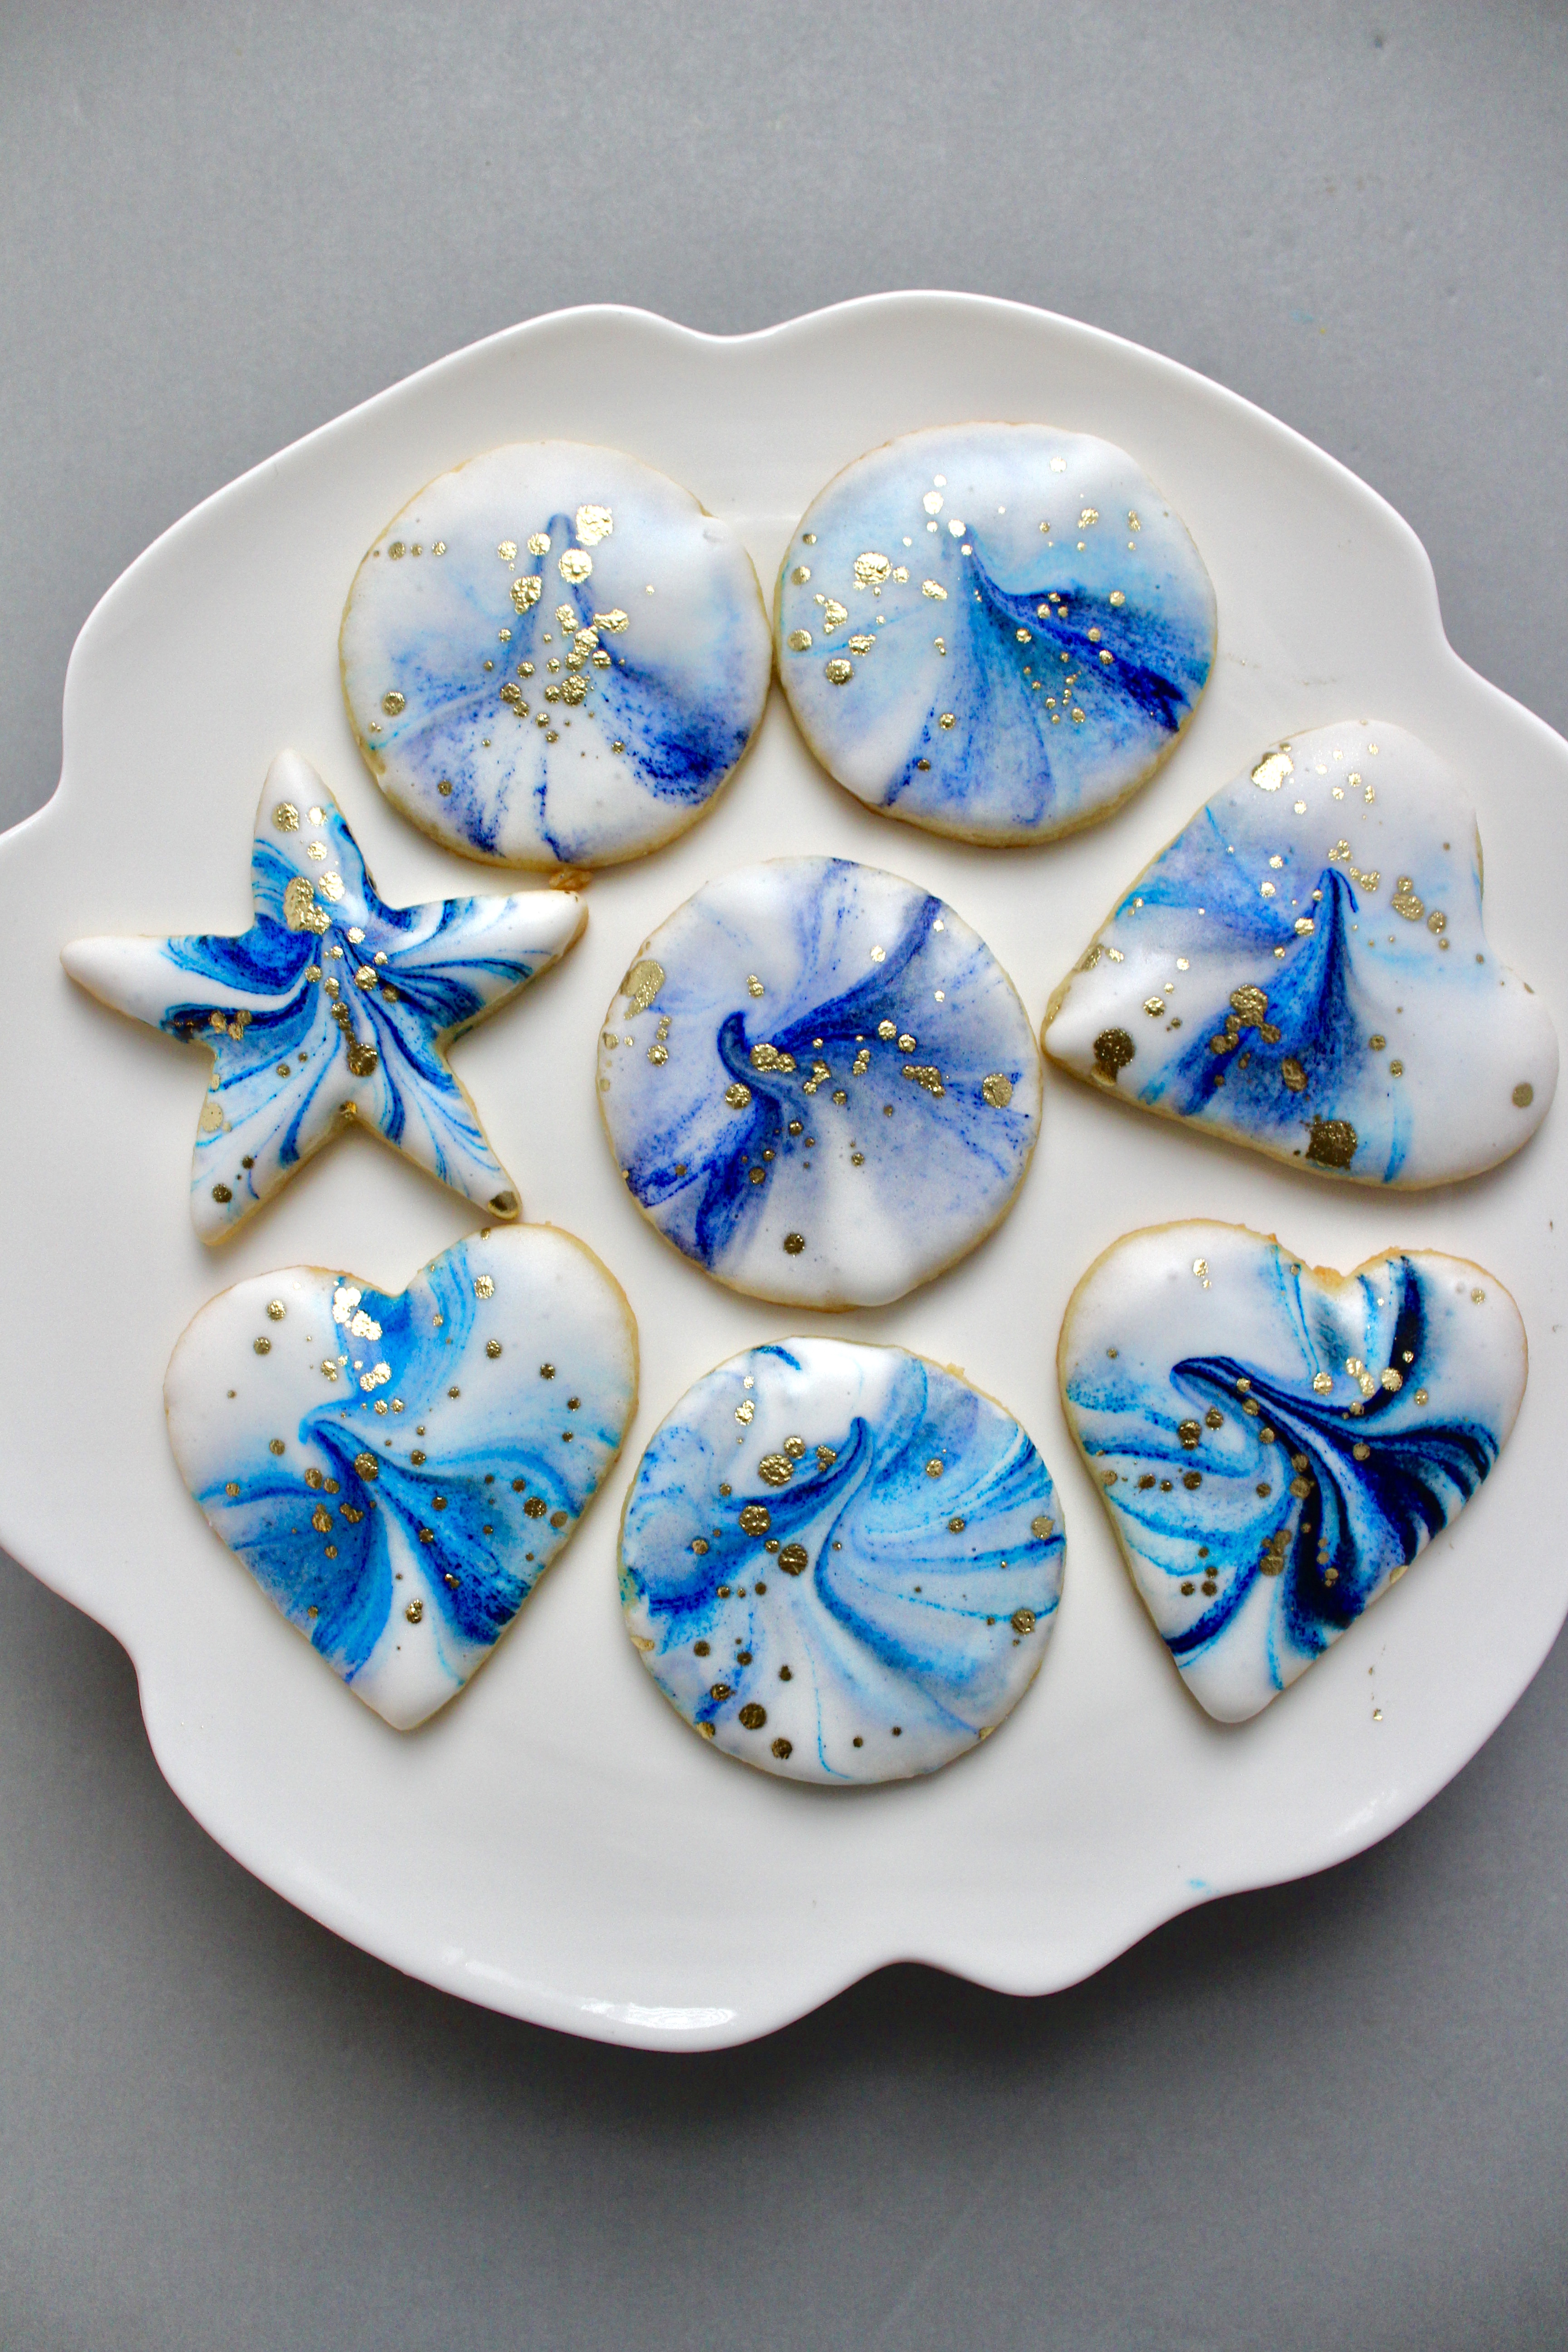
I have been a fan of Sana Sodawalla of SugarBase_ for a while now. Her gorgeous marbled cookies, whimsical cakes, and informative videos are something to aspire to. Since I’ve started baking and cake decorating more, I’ve been creating more content tailored to Instagram. I like how the platforms caters to creatives, offering a very visual space to share our content, with lots of real estate for pictures, and just enough for explanatory text.
fullsizeoutput_4713
I’ve created these cookies after watching her technique on marbling sugar cookies. I got the idea for gold splatter after taking a wonderful mommy and me art class I took with a talented local artist on paper collages.
fullsizeoutput_4711
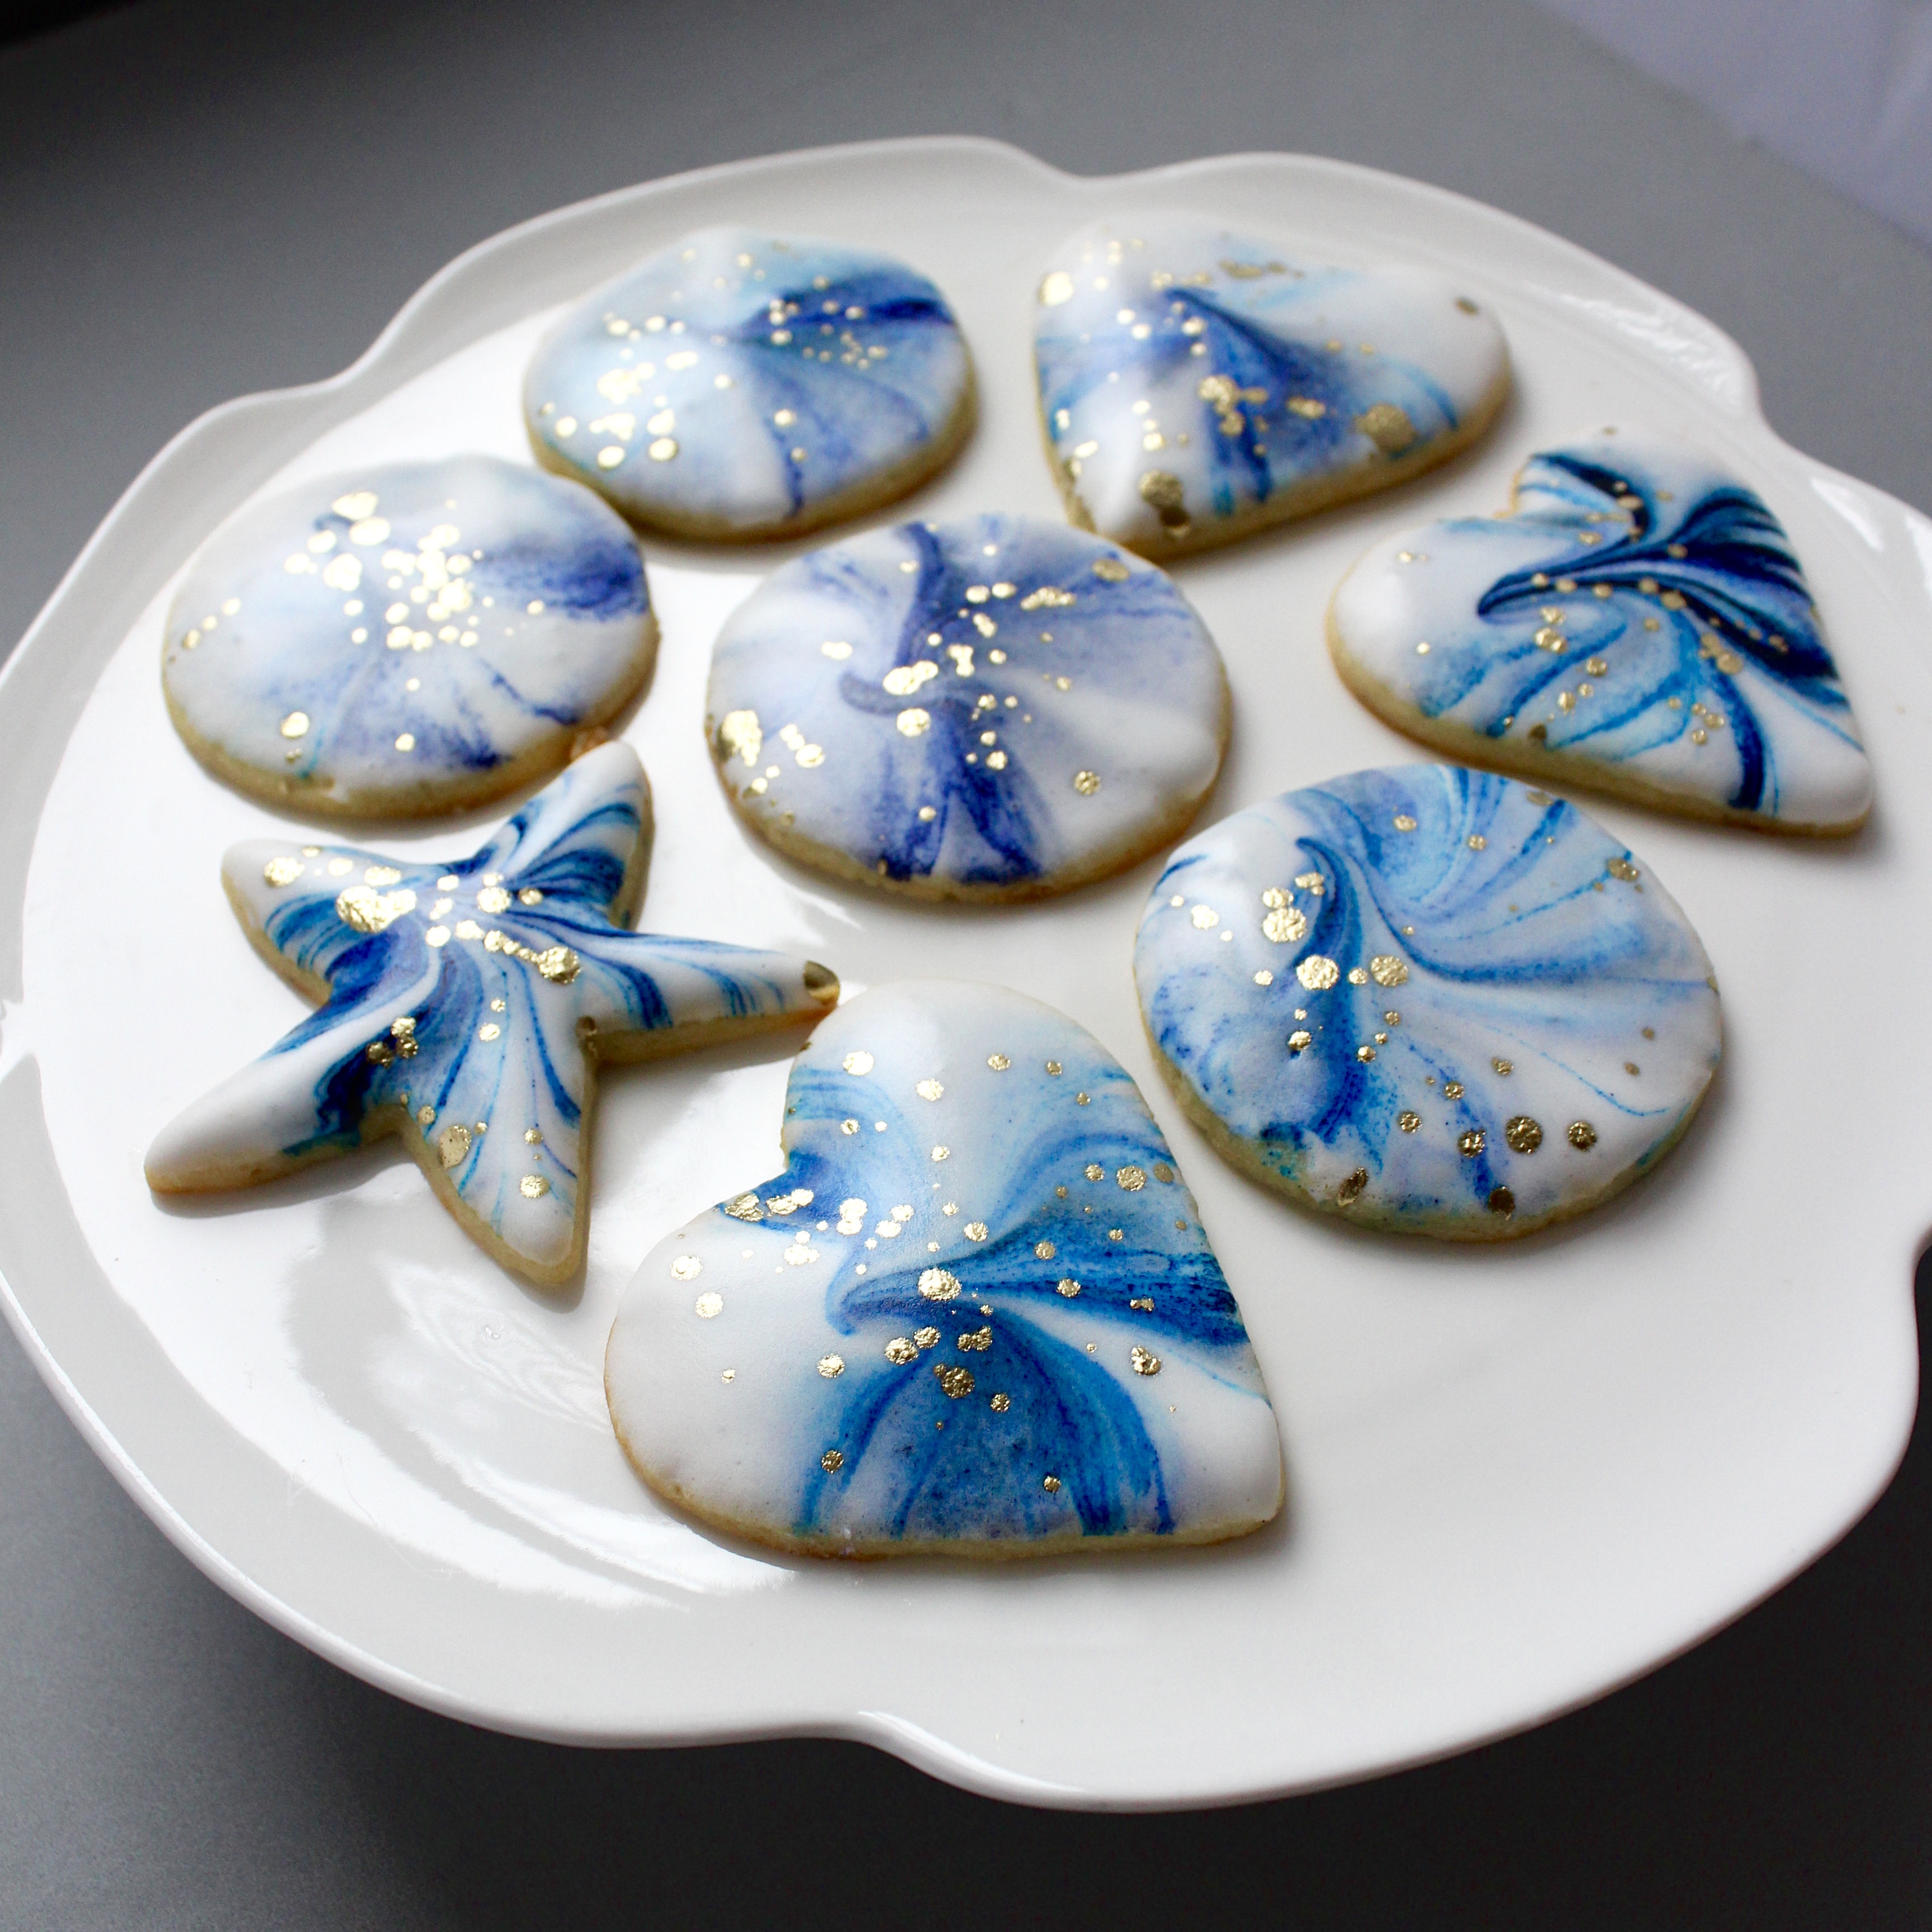
I don’t know if I’ve done justice to Sana’s beautiful cookies, but I hope you try your own version at home. My go to recipe for royal frosting below.

Recipe courtesy of Toba Garrett of ICE.

Ingredients

  • 1/4 cup meringue powder
  • 1/2 cup water
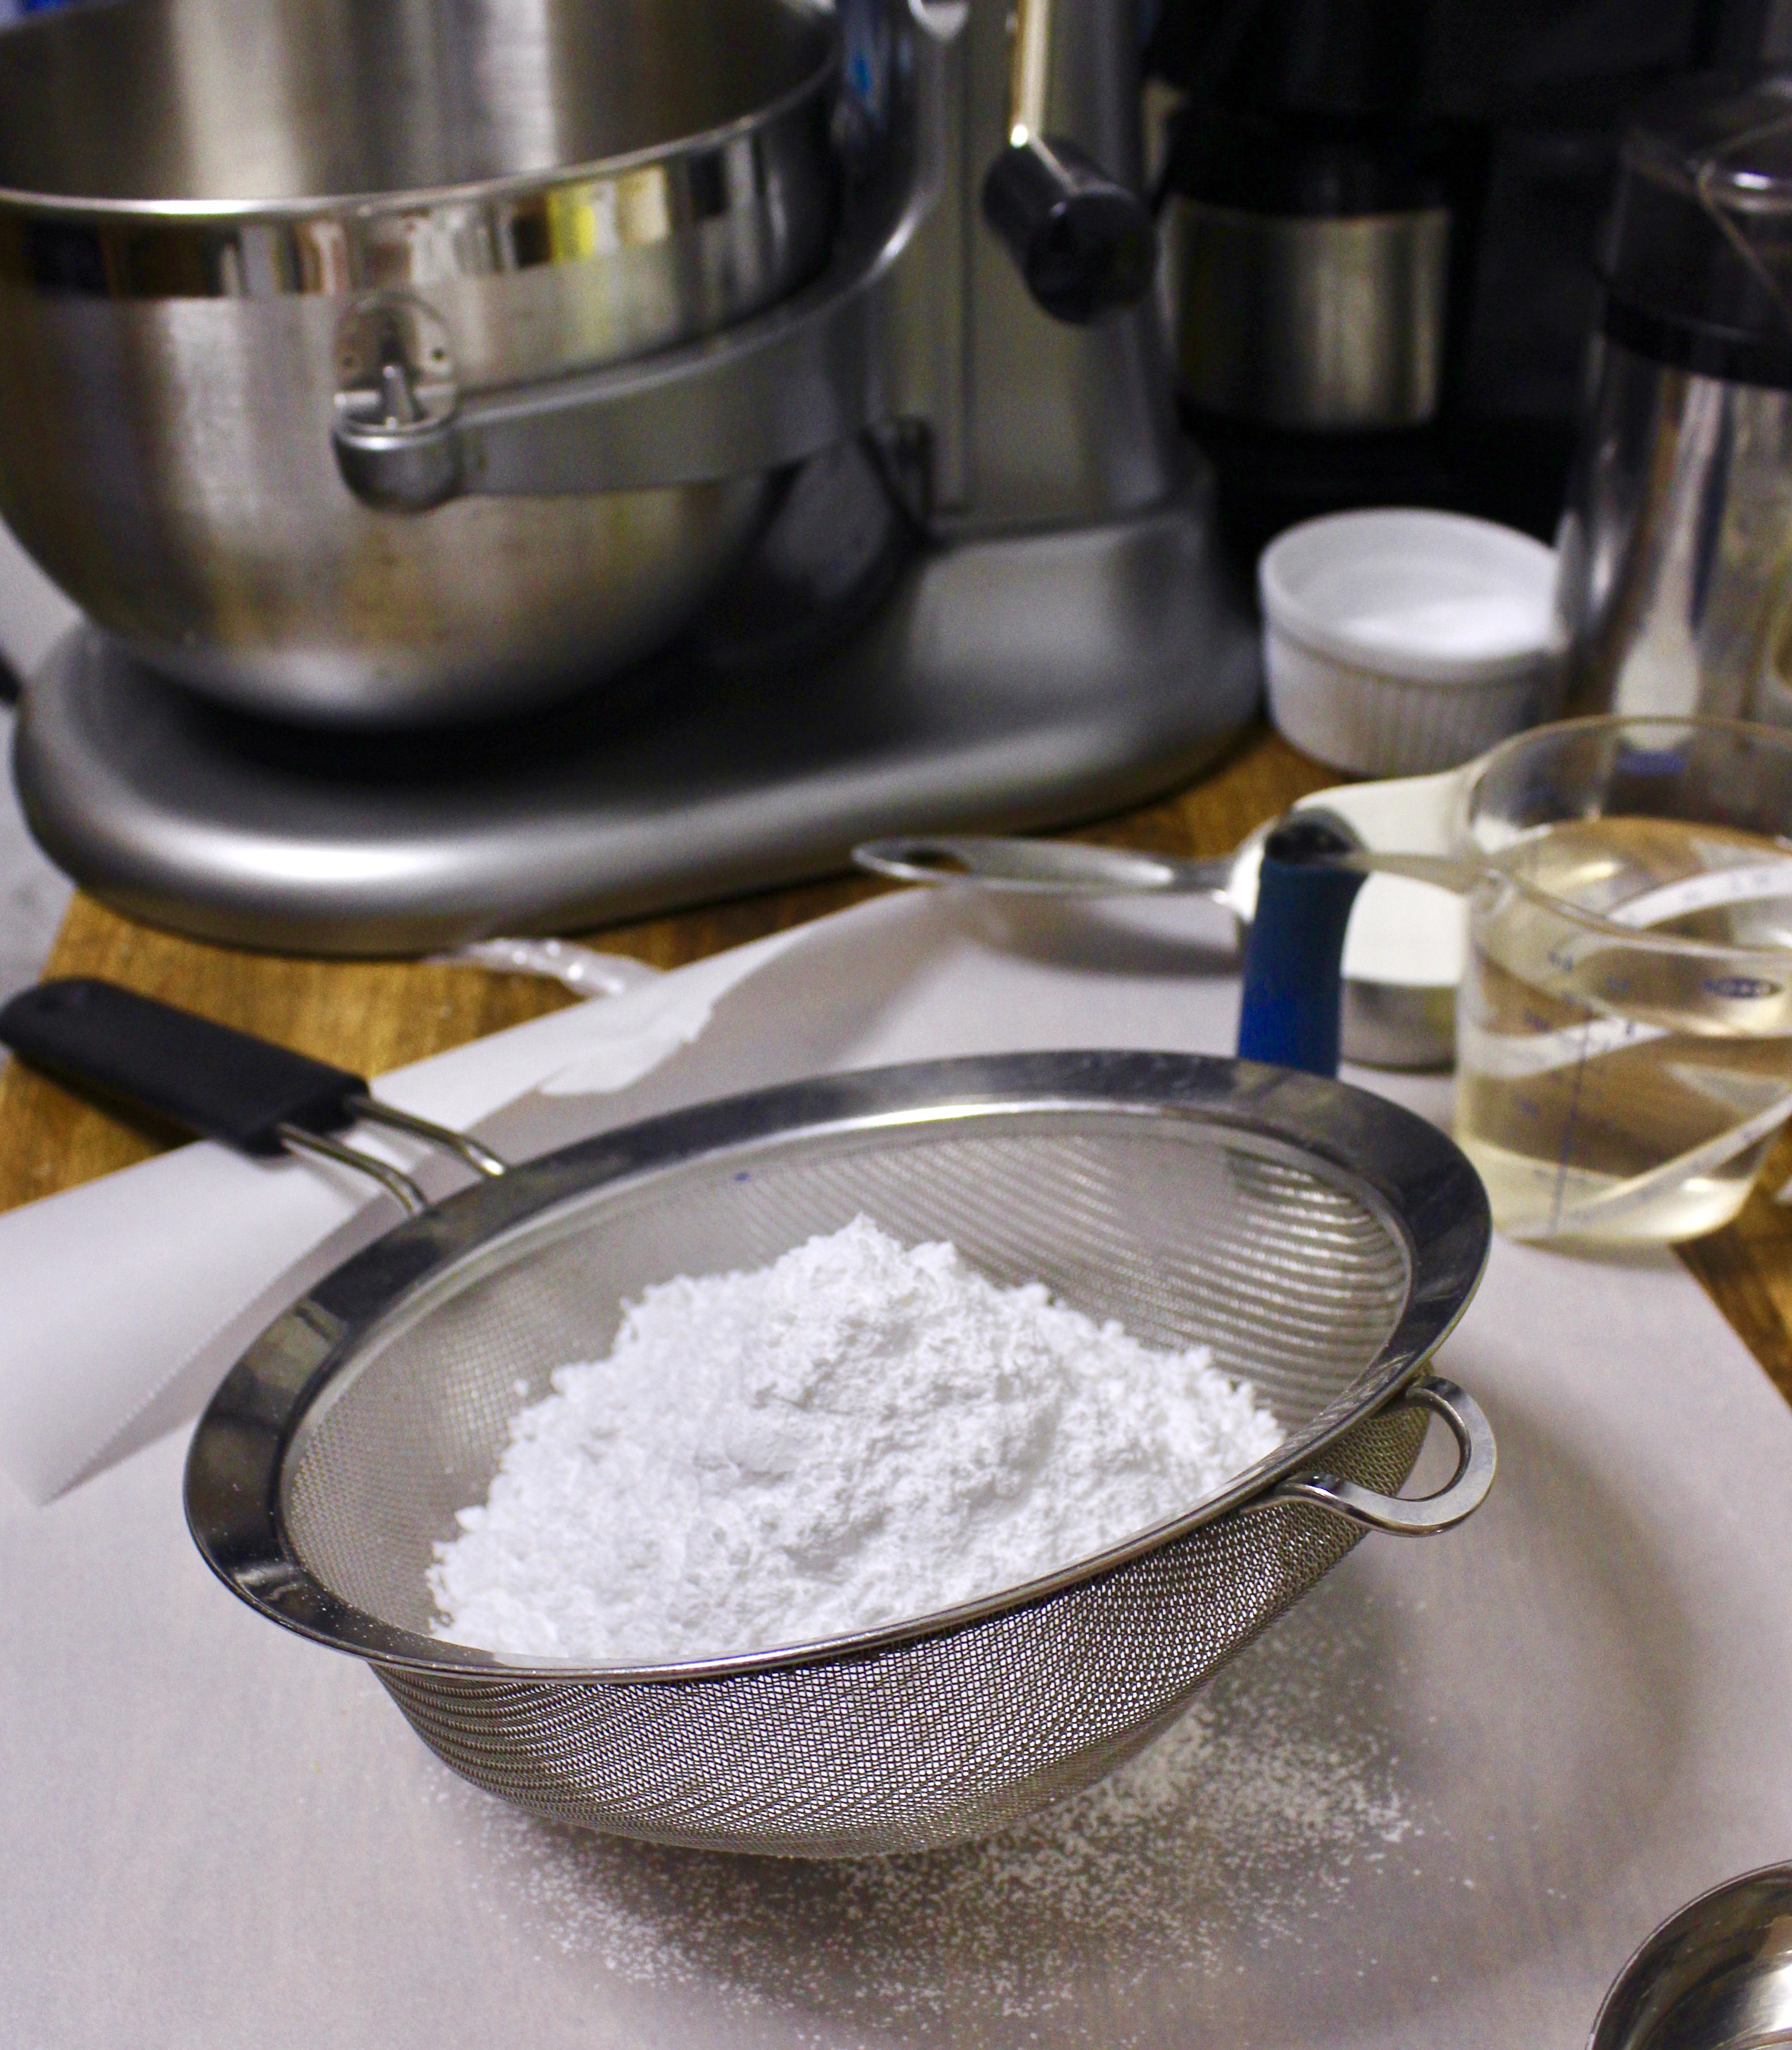
  • 1 pound confectioner’s sugar, sifted
  • 1/2 tsp lemon juice or extract*

Directions

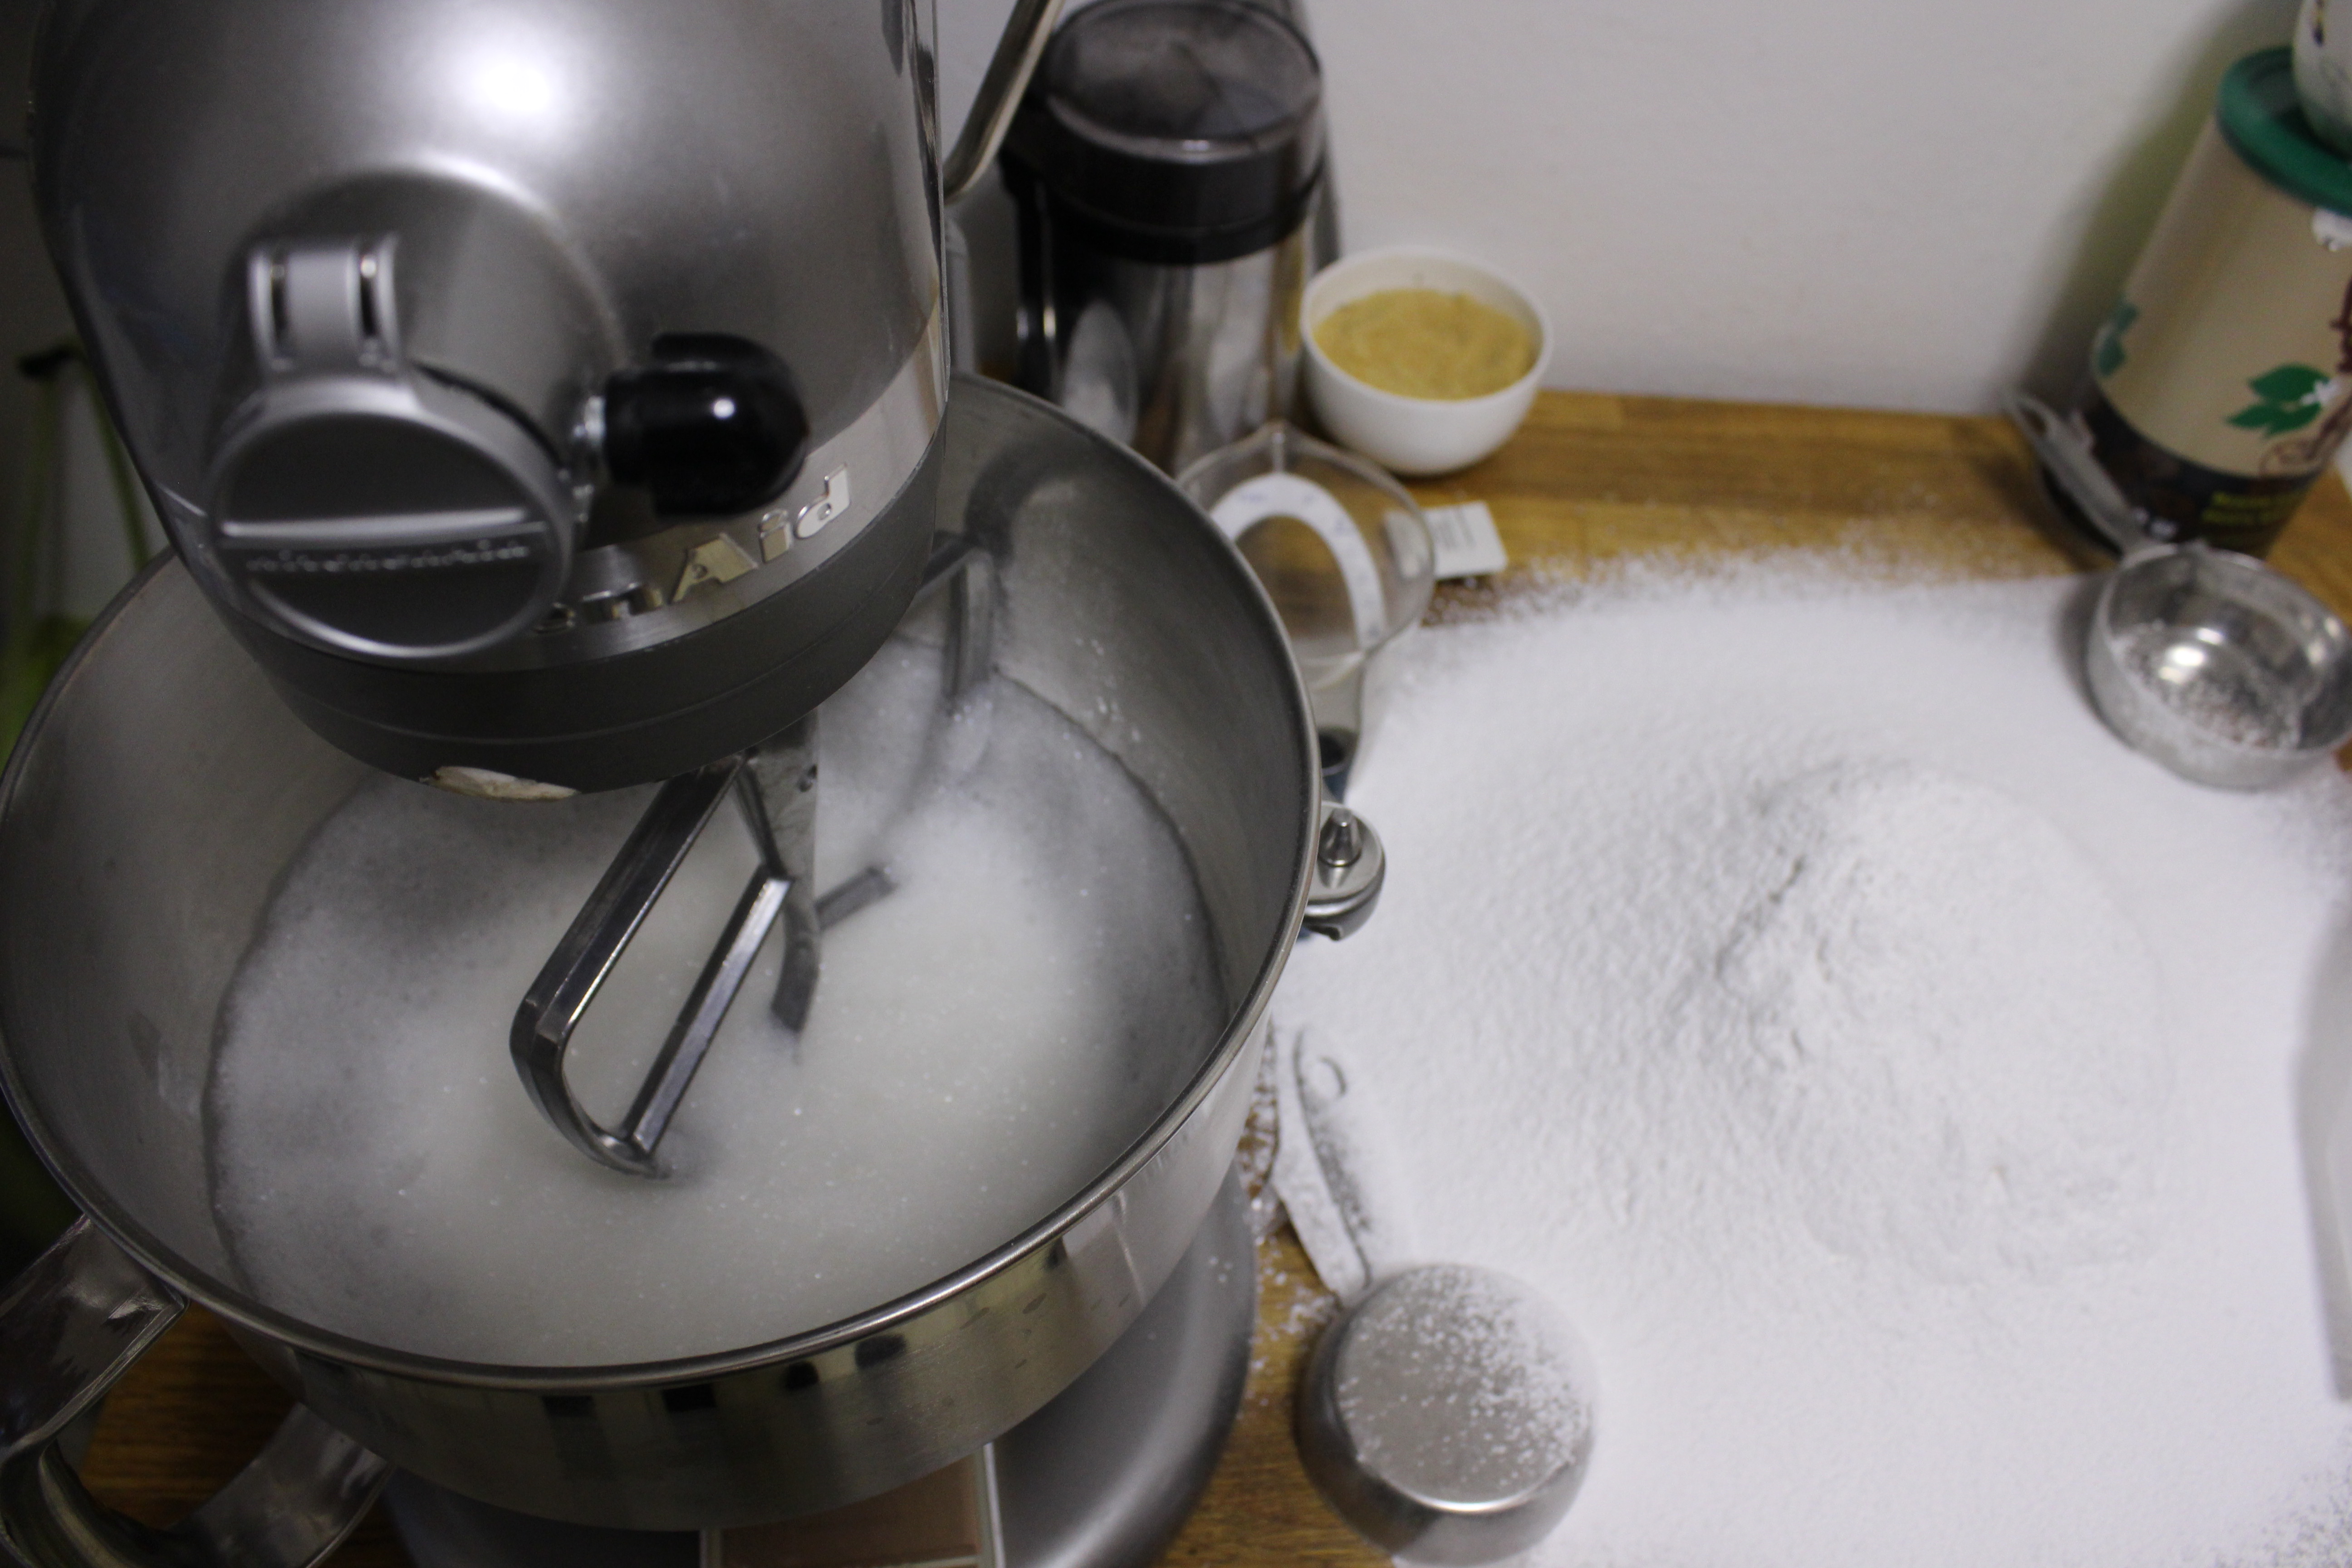
  1. In the bowl of a stand mixer, or in a large bowl using a hand held electric mixer, use the paddle attachment to combine meringue powder and water at low speed until combined. Increase speed to medium and beat until soft peaks form, about 3 minutes.
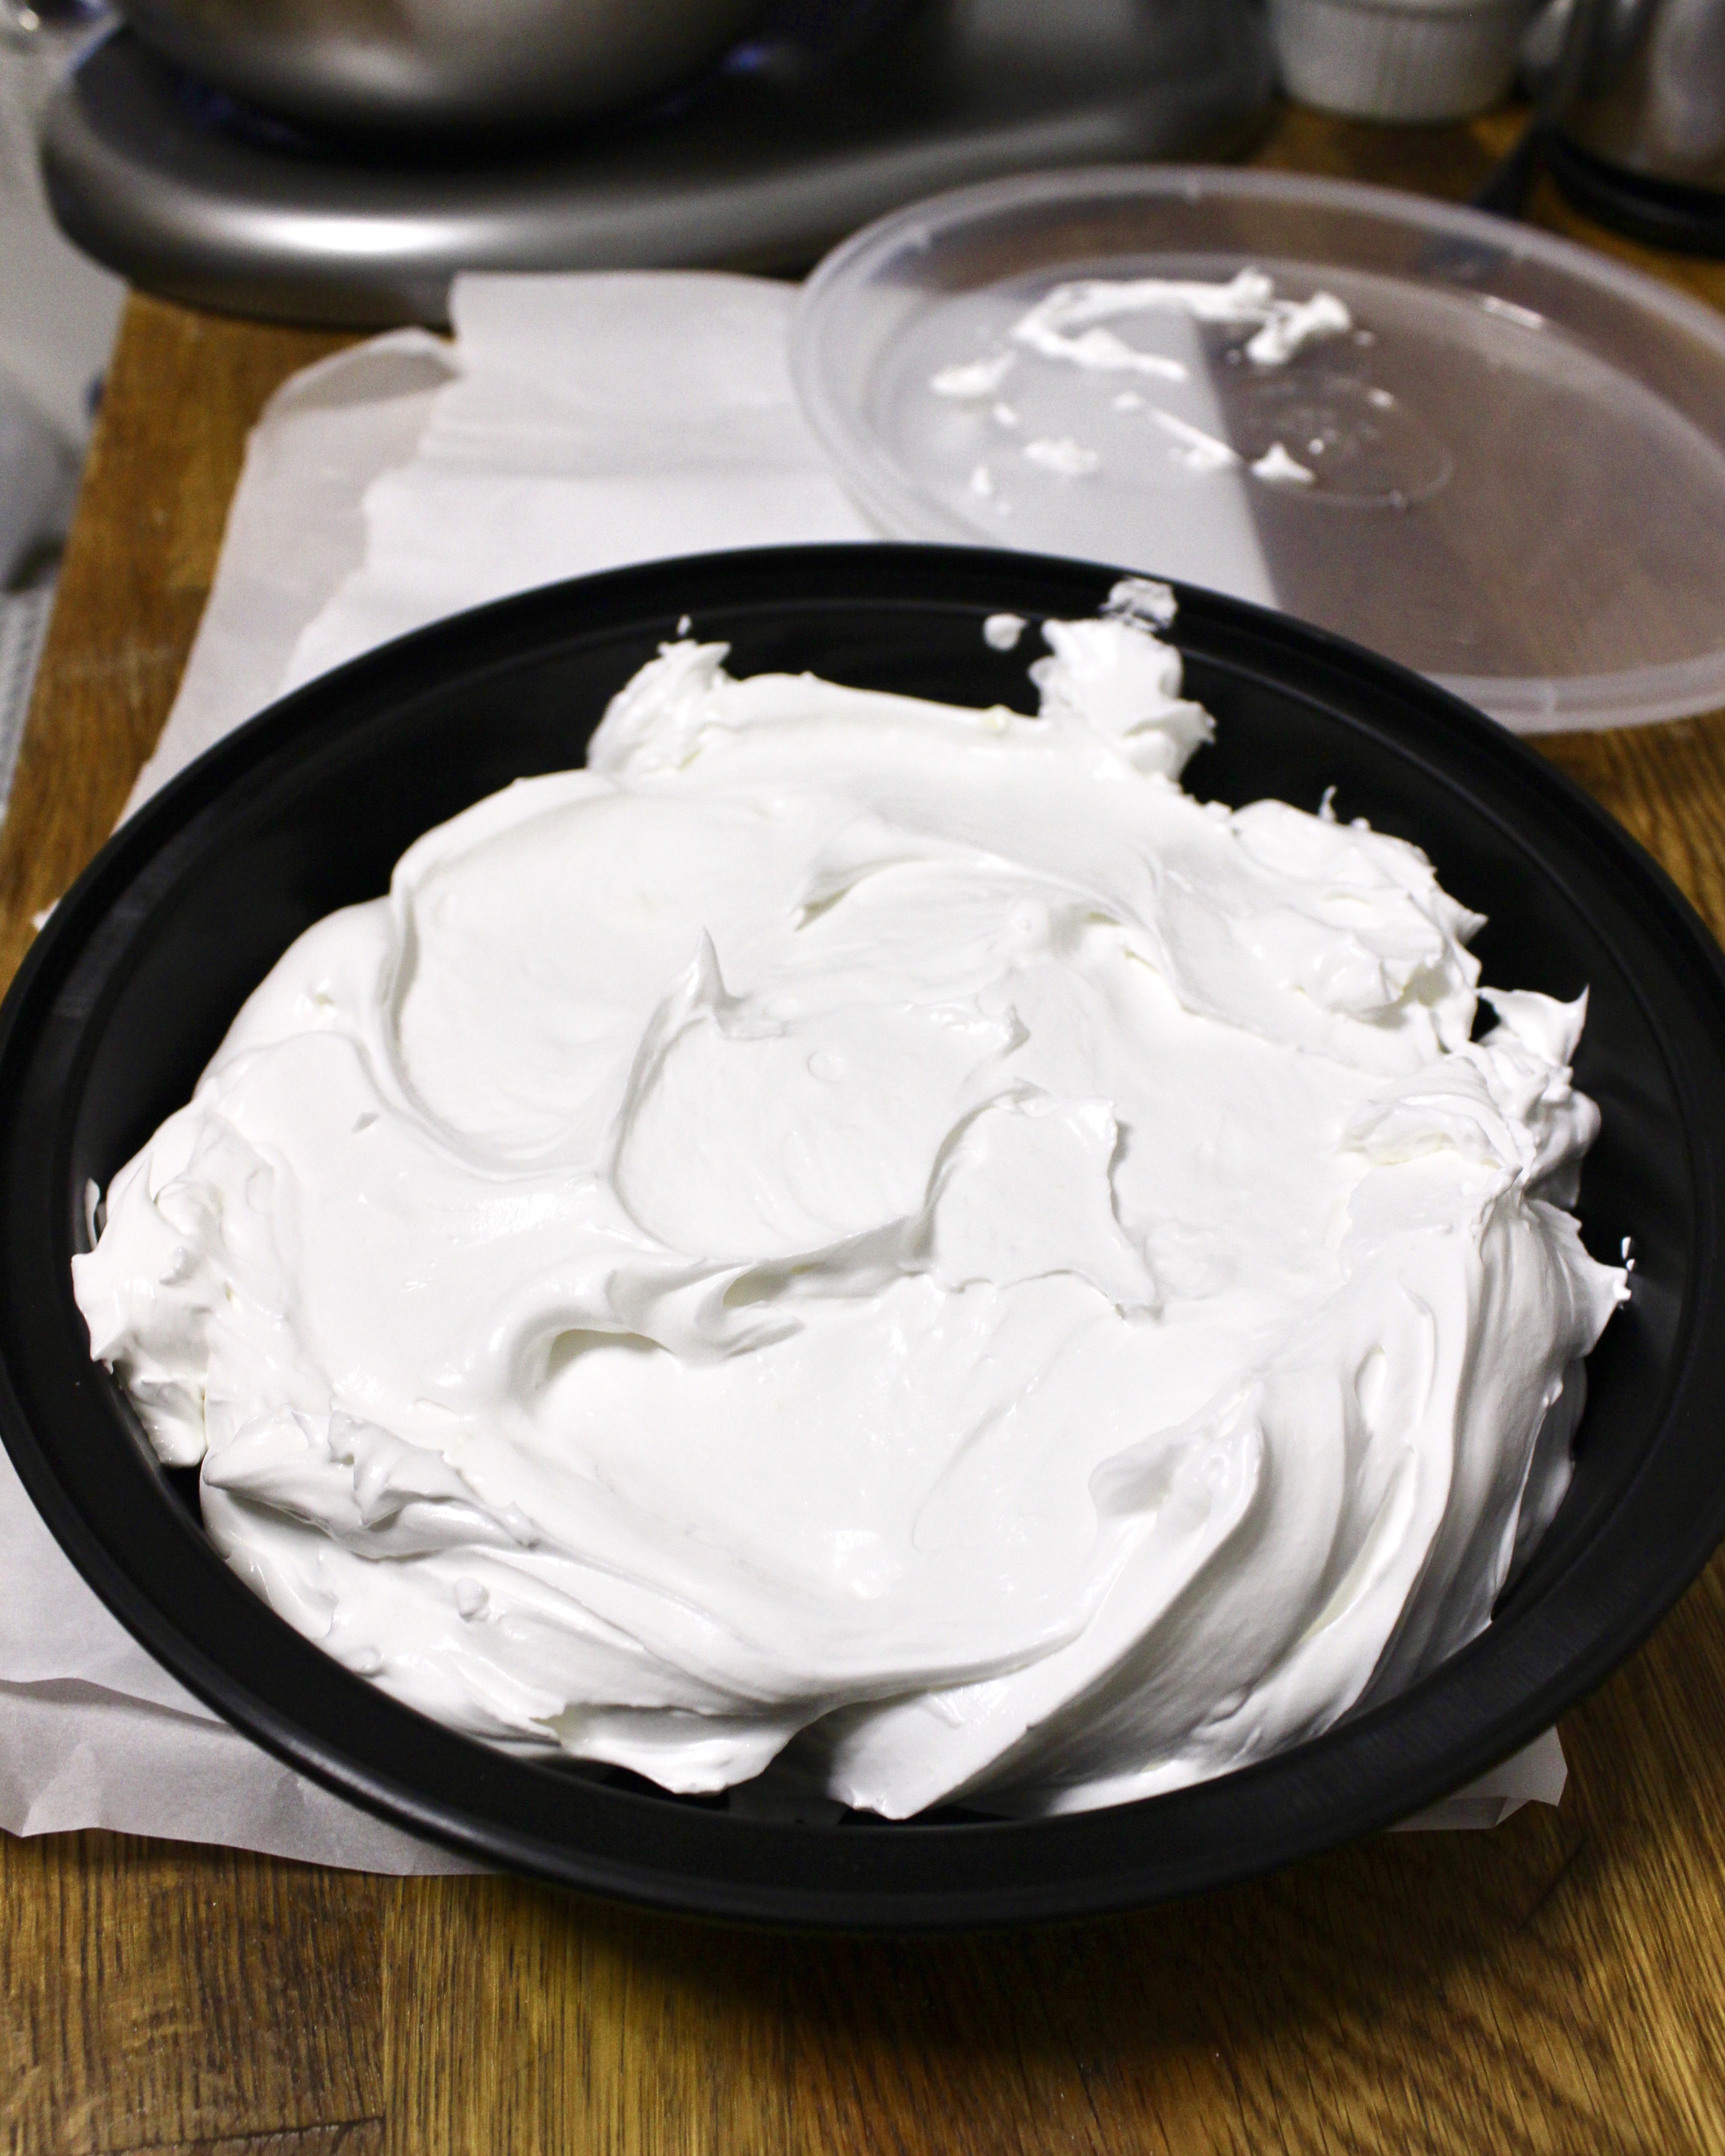
  2. Reduce the speed to low and start to add the sugar, one cup at a time, until all of the sugar has been added. Turn the mixer off, scrape down the paddle and sides of the bowl and turn mixer back on to a low speed. Add the lemon juice/extract and increase speed to medium high. Beat for 5 to 7 minutes until you reached the desired level of stiffness. Keep well covered until ready to use. Can be piped, or thinned with small of amounts of water at a time to use for flooding. Will keep for 1 day at room temperature, or 3 days, covered in the refrigerator.

*I prefer lemon extract since the lemon flavor is a lot more pronounced.

Leave a Comment · Labels: American/Mediterranean, Carb, Dessert, Food Fun, Uncategorized Tagged: cookie decorating, cookies, decorating, frosting, icing, royal icing

Chocolate Swiss Meringue Buttercream

March 20, 2016

IMG_9692
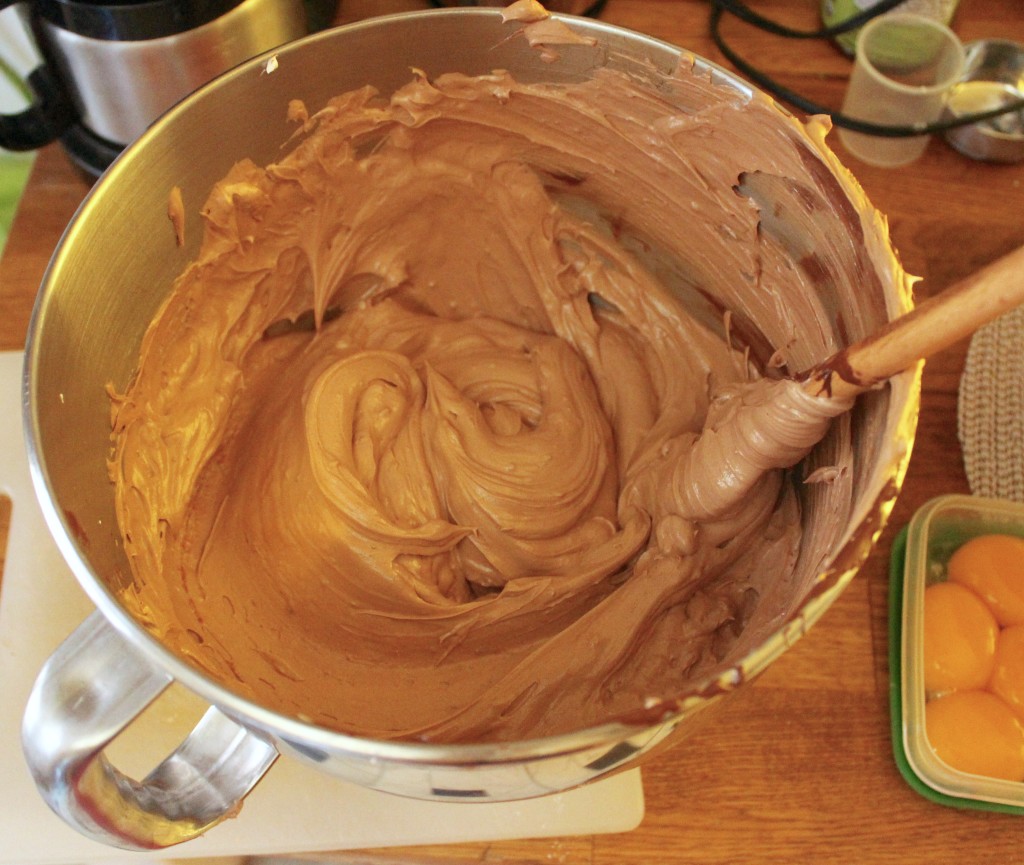
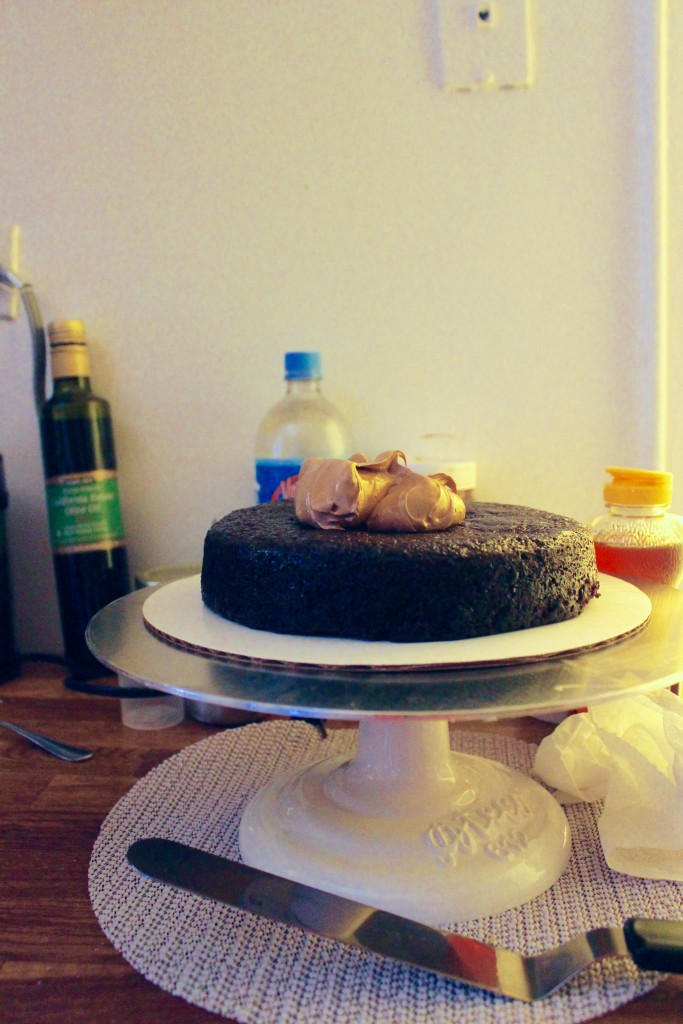
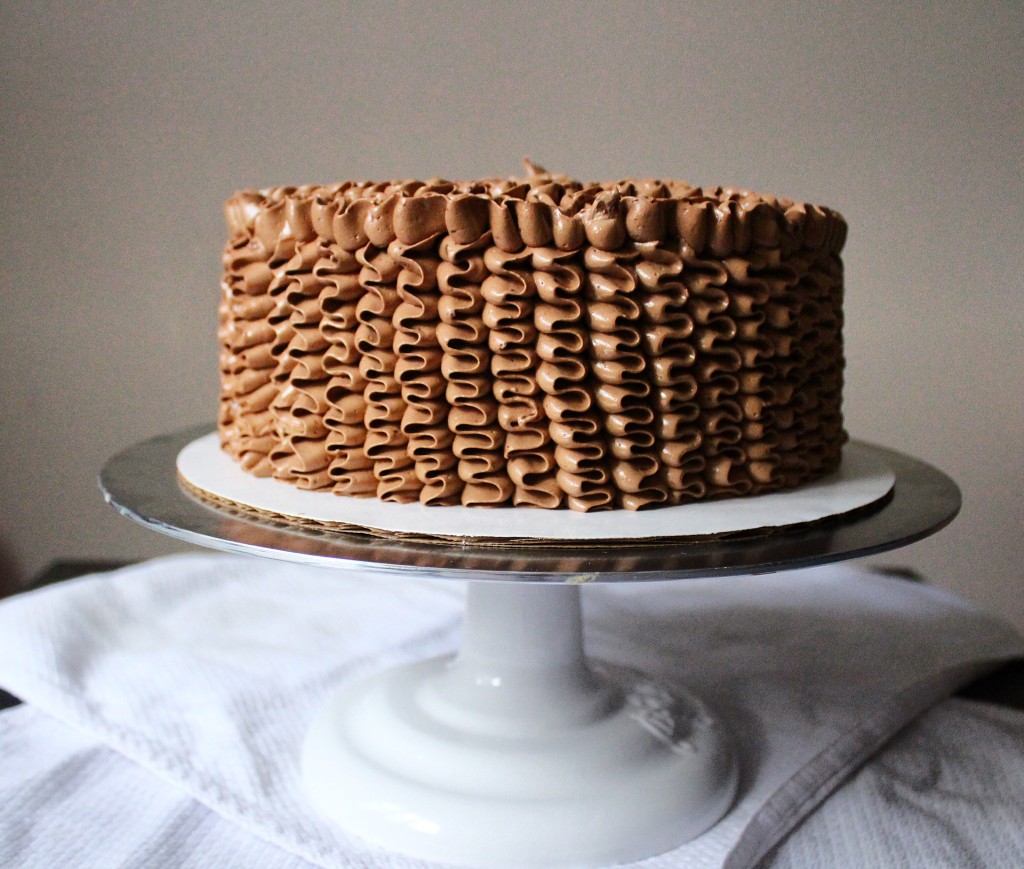
Swiss meringue buttercream is a cake decorator’s dream. If you’ve ever tried to get a really smooth looking cake from a traditional American buttercream, you’ve probably noticed it’s very very difficult to do so. Mainly because of air bubbles. American buttercream relies on the aerating of butter and sugar to achieve the desired volume and consistency. So between the air bubbles and stickiness from the sugar, it’s hard to get it super smooth!
IMG_5774
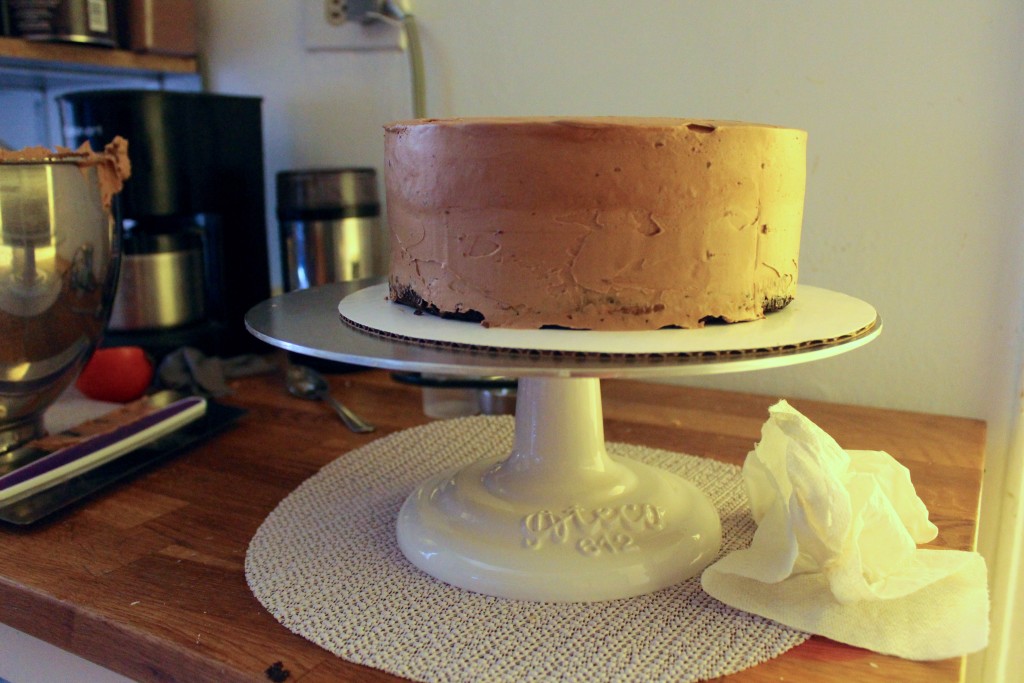
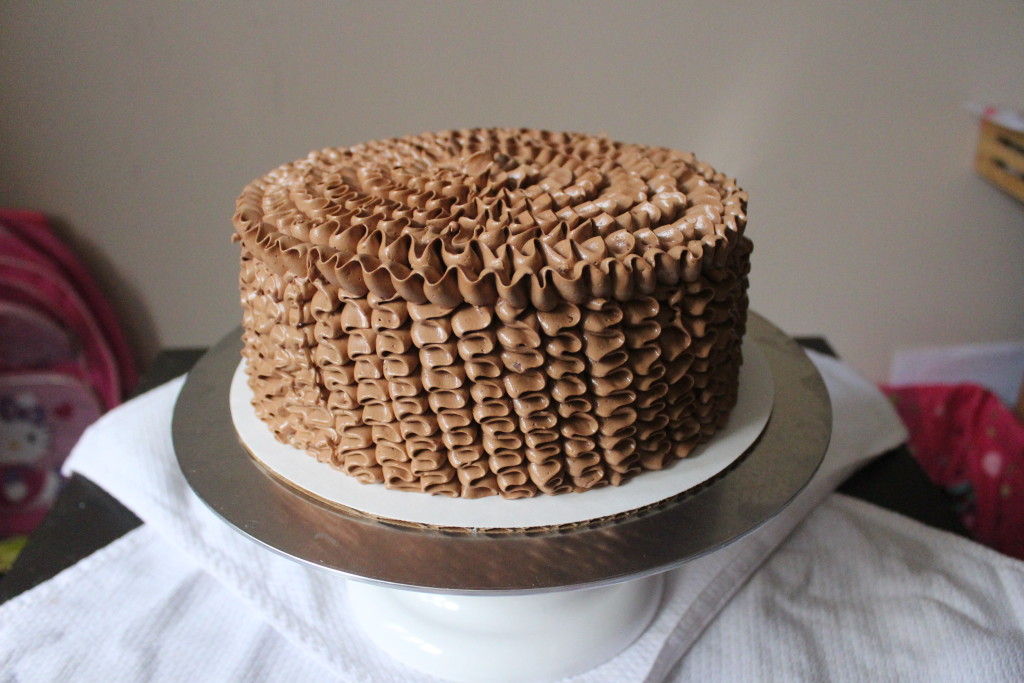
Swiss meringue buttercream, however, is light years beyond in terms of texture. There is a bit of a learning curve the first couple of times you make it, but once you have it down right, it is so smooth, tints so well, it really takes your cakes from home style to bakery quality.

To start, you combine egg whites and sugar, and heat it over a double boiler until it’s hot to the touch (160 degrees on a candy thermometer to get the egg whites to a safe temperature). You whisk the whole time, until the mixture reaches a milky appearance. Once that’s done, you move on over to a stand mixer where you beat beat beat the egg whites until you get a beautiful, glossy meringue.

When the meringue is thick, glossy and ROOM TEMPERATURE, add the room temperature butter, one pad at a time. At this point, it might look like a gloopy mess, but stick with it and keep beating until the buttercream comes together. It should look like stiff whipped cream at this point.

IMG_5783

Add the vanilla, then melted and cooled chocolate. This is one of the few points of departure from my beloved Ina Garten. She has a recipe for chocolate swiss meringue buttercream but there’s SO much liquid in it (vanilla, kahlua, rum, more chocolate), that it broke when I tried to make it. I’m sure it tastes wonderful, but mine does too, while still holding up to piping =)Use a spatula to wipe down the sides and bottom to ensure all the chocolate and buttercream are fully incorporated. Final step is to try to not eat it all out of the bowl. It is delicious and the added sugar from the chocolate makes it the perfect sweetness – whereas plain vanilla buttercreams are barely sweet. Enjoy!!

IMG_5787IMG_5790IMG_5796

Recipe adapted from smitten kitchen.

Ingredients

  • 4 egg whites
  • 1 cup sugar
  • 26 tbsp (3 sticks plus 2 tbsp) unsalted room temperature butter
  • 1 tsp vanilla
  • 1 lb plus 8 oz* semi sweet chocolate, chopped small**

Directions

  1. Melt chocolate in the microwave in a heat proof, non metal bowl at 30 second intervals, stirring in between intervals, OR over a double boiler (in a bowl set over simmering water, ensuring the water doesn’t touch the bottom of the bowl). Set aside to cool.
  2. Whisk together the egg whites and sugar in the bowl of the stand mixer. Place over double boiler, ensuring the water doesn’t touch the bottom of the bowl. Keep whisking until the sugar is dissolved AND the water is hot to the touch (if you dip your finger in, should be too uncomfortable to keep there). Or you can insert a candy thermometer and whisk until the temperature registers 160 degrees F. Then remove from double boiler, wipe the water that has condensed on the bottom of the bowl and place in the stand mixer. Insert the whisk attachment and set the speed on medium to whip up the egg whites.
  3. When the egg whites have thickened, and the temperature has cooled to room temperature, add the butter, one pad at a time (1-2 tbsps) until all the butter is incorporated. The mixture might look soupy at this point. Turn the mixer on high and keep whisking until thick. This can take 3 to 15 minutes, depending on the size of your batch. Reduce the speed to low and add vanilla and melted chocolate. Mix until thoroughly combined.***

*One pound plus 4 oz of chocolate makes a luscious, chocolately buttercream. If I need to pipe something like ruffles, I would leave it at 1 pound chocolate. If I’m just filling/frosting, I would go the full 1lb 4 oz.
**I wouldn’t recommend using chocolate chips in lieu of chopped baking chocolate or chocolate bars. The waxy coating or whatever is on them keeps them from blending in uniformly with the buttercream.

***Enough to frost, fill and decorate an 8 inch 2 layer cake. Enough to frost and fill a 9 in 2 layer cake.

Leave a Comment · Labels: American/Mediterranean, Dessert Tagged: cake decorating, chocolate, chocolate cake, chocolate frosting, egg whites, frosting, sugar, swiss meringue buttercream

A Red Velvet and A Double Chocolate Cake

June 7, 2015

IMG_4601IMG_4548Marriage is a most beautiful thing. Take for example the marriage of a hot dog to its bun. Mustard to a knish. Or in this case, the best cake recipe with the most glorious frosting.IMG_4549Oh, you thought I was referring to the marriage between two people? No, no, no – that’s a completely different story. It’s tumultuous. A dichotomy of opposing egos – it’s as generous as it is demanding. Like a cake studded with ghost peppers. You can figure out ways to maneuver around them, develop techniques over the years to handle them, but you’re inevitably going to chomp down one and when you do, you might find yourself questioning the decision to go for that slice of cake.IMG_4556But you go on anyway, running around with your head ablaze because darn it you committed to this slice of cake! And the heat dies down and you’re left with a smear of frosting on your plate that you scoop up and wonder, “Gosh this is so delightful, whatever was all that fuss about?”. That’s married life for ya.

IMG_4558 IMG_4559

People go bananas for red velvet, and personally, I’ve never understood why. Always made with a smidge of chocolate – the base cake isn’t strongly flavored enough. I opted for a recipe that has more cocoa than the usual red velvet recipe (3 tbsp vs 1 tsp) but not so much that it’s more of a chocolate cake (one recipe called for 1/3 cup cocoa!). It’s often topped with a tangy/sweet cream cheese frosting, though delicious, is better served with a sweeter cake, like banana or carrot cake. I feel like it’s striking, contrasting colors that people fall for. Also, a very tender cake made by the addition of buttermilk AND vinegar.

I wanted to try the original cooked milk/flour frosting recipe that accompanies red velvet. But as my hectic week dwindled down, all I had the energy for was whipping up two bars of Philly with a healthy stick of butter and calling it a day. I also experimented with the food coloring – since I used a gel food coloring, which is typically more pigmented than the usual food coloring. I used a rounded teaspoon rather than the tablespoon of food coloring that the recipe called for. In hindsight, I probably could have used more to offset the cocoa. Taste-wise – no complaints. IMG_4564

The second cake was for an acquaintance’s farewell party. I used my all time favorite chocolate cake recipe (Beatty’s) but with a no fuss frosting (Hershey’s perfectly chocolate frosting). I came upon this particular frosting recipe after looking for an alternative to the buttercream Ina Garten uses to accompany this cake (it has a raw egg yolk and I have two young’ns). What I love about this recipe is

  1. It uses cocoa powder rather than chocolate baking bars. Those can be so fussy. Semi-sweet vs bittersweet. Melt, then cool. Ugh.
  2. It’s made in a saucepan on a stovetop, with just a whisk. No fancy equipment necessary.
  3. It’s got a glossy sheen like that of a ganache.

That being said, it is a bit high maintenance in one respect: you’ve got to use it right away, and do not dilly dally with the application. It dries fairly quickly and as soon as it does, it becomes difficult to spread. Unlike buttercream which you can spread and tweak all the livelong day.IMG_4569 IMG_4573 IMG_4587

IMG_4590IMG_4593IMG_4591

It’s also reminiscent of the Entenmann’s chocolate fudge cake I used to have as an afterschool snack – pretty much every day of my childhood. Yup. Silky texture, rich chocolate flavor. If you’re making dessert for chocoholics, there’s no going wrong with this combo.IMG_4595 IMG_4597  IMG_4604

For the decorations I stuck to my handy dandy ziploc bags with a hole cut at the end. Really fancy equipment over here at Kitchen3N!

Red Velvet Cake recipe barely adapted from NYT Cooking.

Ingredients

  • 1/2 cup (1 stick) butter, softened
  • 3 tbsp cocoa powder (I used natural cocoa powder since it’s more acidic and would react well with the buttermilk/vinegar)
  • 1 1/2 cups sugar
  • 2 eggs
  • 2 tsp vanilla extract
  • 1 1/2 tsp red food coloring (if using the gel, traditional food coloring use 2 tbsps)
  • 1 tsp salt
  • 1 tsp baking soda
  • 2 1/2 cups flour
  • 1 cup buttermilk
  • 1 tbsp white vinegar
  • 2 8 oz packages cream cheese at room temperature
  • 1/2 cup (1 stick) softened butter
  • 1 tsp vanilla extract
  • 5 cups confectioners sugar

Directions

  1. Preheat oven to 350 degrees F. Butter and flour, or butter and apply parchment paper to two 9 in round cake pans. Set aside.
  2. Sift flour, cocoa, salt and baking soda into a bowl.
  3. Beat butter with the paddle attachment of your stand mixer for about 2 minutes on medium-low speed. Add sugar and beat for 1 minute more. Scrape down the sides of the bowl with a spatula. Reduce speed on mixer to low and add eggs, one at a time, then vanilla extract and food coloring. Next add 1/3 of the dry ingredients. Then add 1/2 cup buttermilk. Add another 1/3 of the dry ingredients. Then add vinegar to the buttermilk and add to the batter. Add final 1/3 of dry ingredients. Use a spatula to give it one final mix.
  4. Divide evenly between the two cake pans and cook until a toothpick inserted into the center comes out clean (20 to 25 min).
  5. After taking it out of the oven, let it cool until the pans are ready to handle. Loosen the sides with a spatula or knife, going under the cake a bit on all sides to loosen. Then place one hand on top of the cake, flip it out onto your hand, then set it down on the wire rack to cool completely (one of my first baking follies as a kid was to apply frosting to a cake I just pulled out of the oven…). Remove parchment paper.
  6. Make the frosting: whip cream cheese and butter on medium speed until light and fluffy (3 to 5 minutes). Add vanilla. Decrease speed to low and add confectioners sugar one at time. Taste for desired sweetness/flavor. Adjust as necessary.

Leave a Comment · Labels: American/Mediterranean, Dessert, Recipes Tagged: cacao di pernigotti, cake, chocolate, chocolate icing, cream cheese icing, dessert, double chocolate, ermine icing, frosting, fudge, hersheys, layer cake, red velvet

American, Bangladeshi. Savory, sweet. I don't discriminate and neither should you.

Most recently…

Load More...
Follow on Instagram

Social

Subscribe to Blog via Email

Enter your email address to subscribe to this blog and receive notifications of new posts by email.

Tags

appetizer beef bengali breakfast butter cake caramel chicken chocolate chocolate chips cilantro clean eating coconut comfort food cookies dessert dinner entertaining fall fruit ganache gluten free halal healthy homemade honest chops honest creations iftar italian pasta pastry pistachio quick and easy dinner ramadan recipe side side dish south asian spinach vegan vegetables vegetarian weeknight dinner weeknight meal whipped cream

Theme by 17th Avenue · Powered by WordPress & Genesis