Kitchen3N

Recipes and food fun from Apt 3N

  • About
  • Gallery
  • Recipes

Green Tea Wafer Cake

January 25, 2018

img_0799
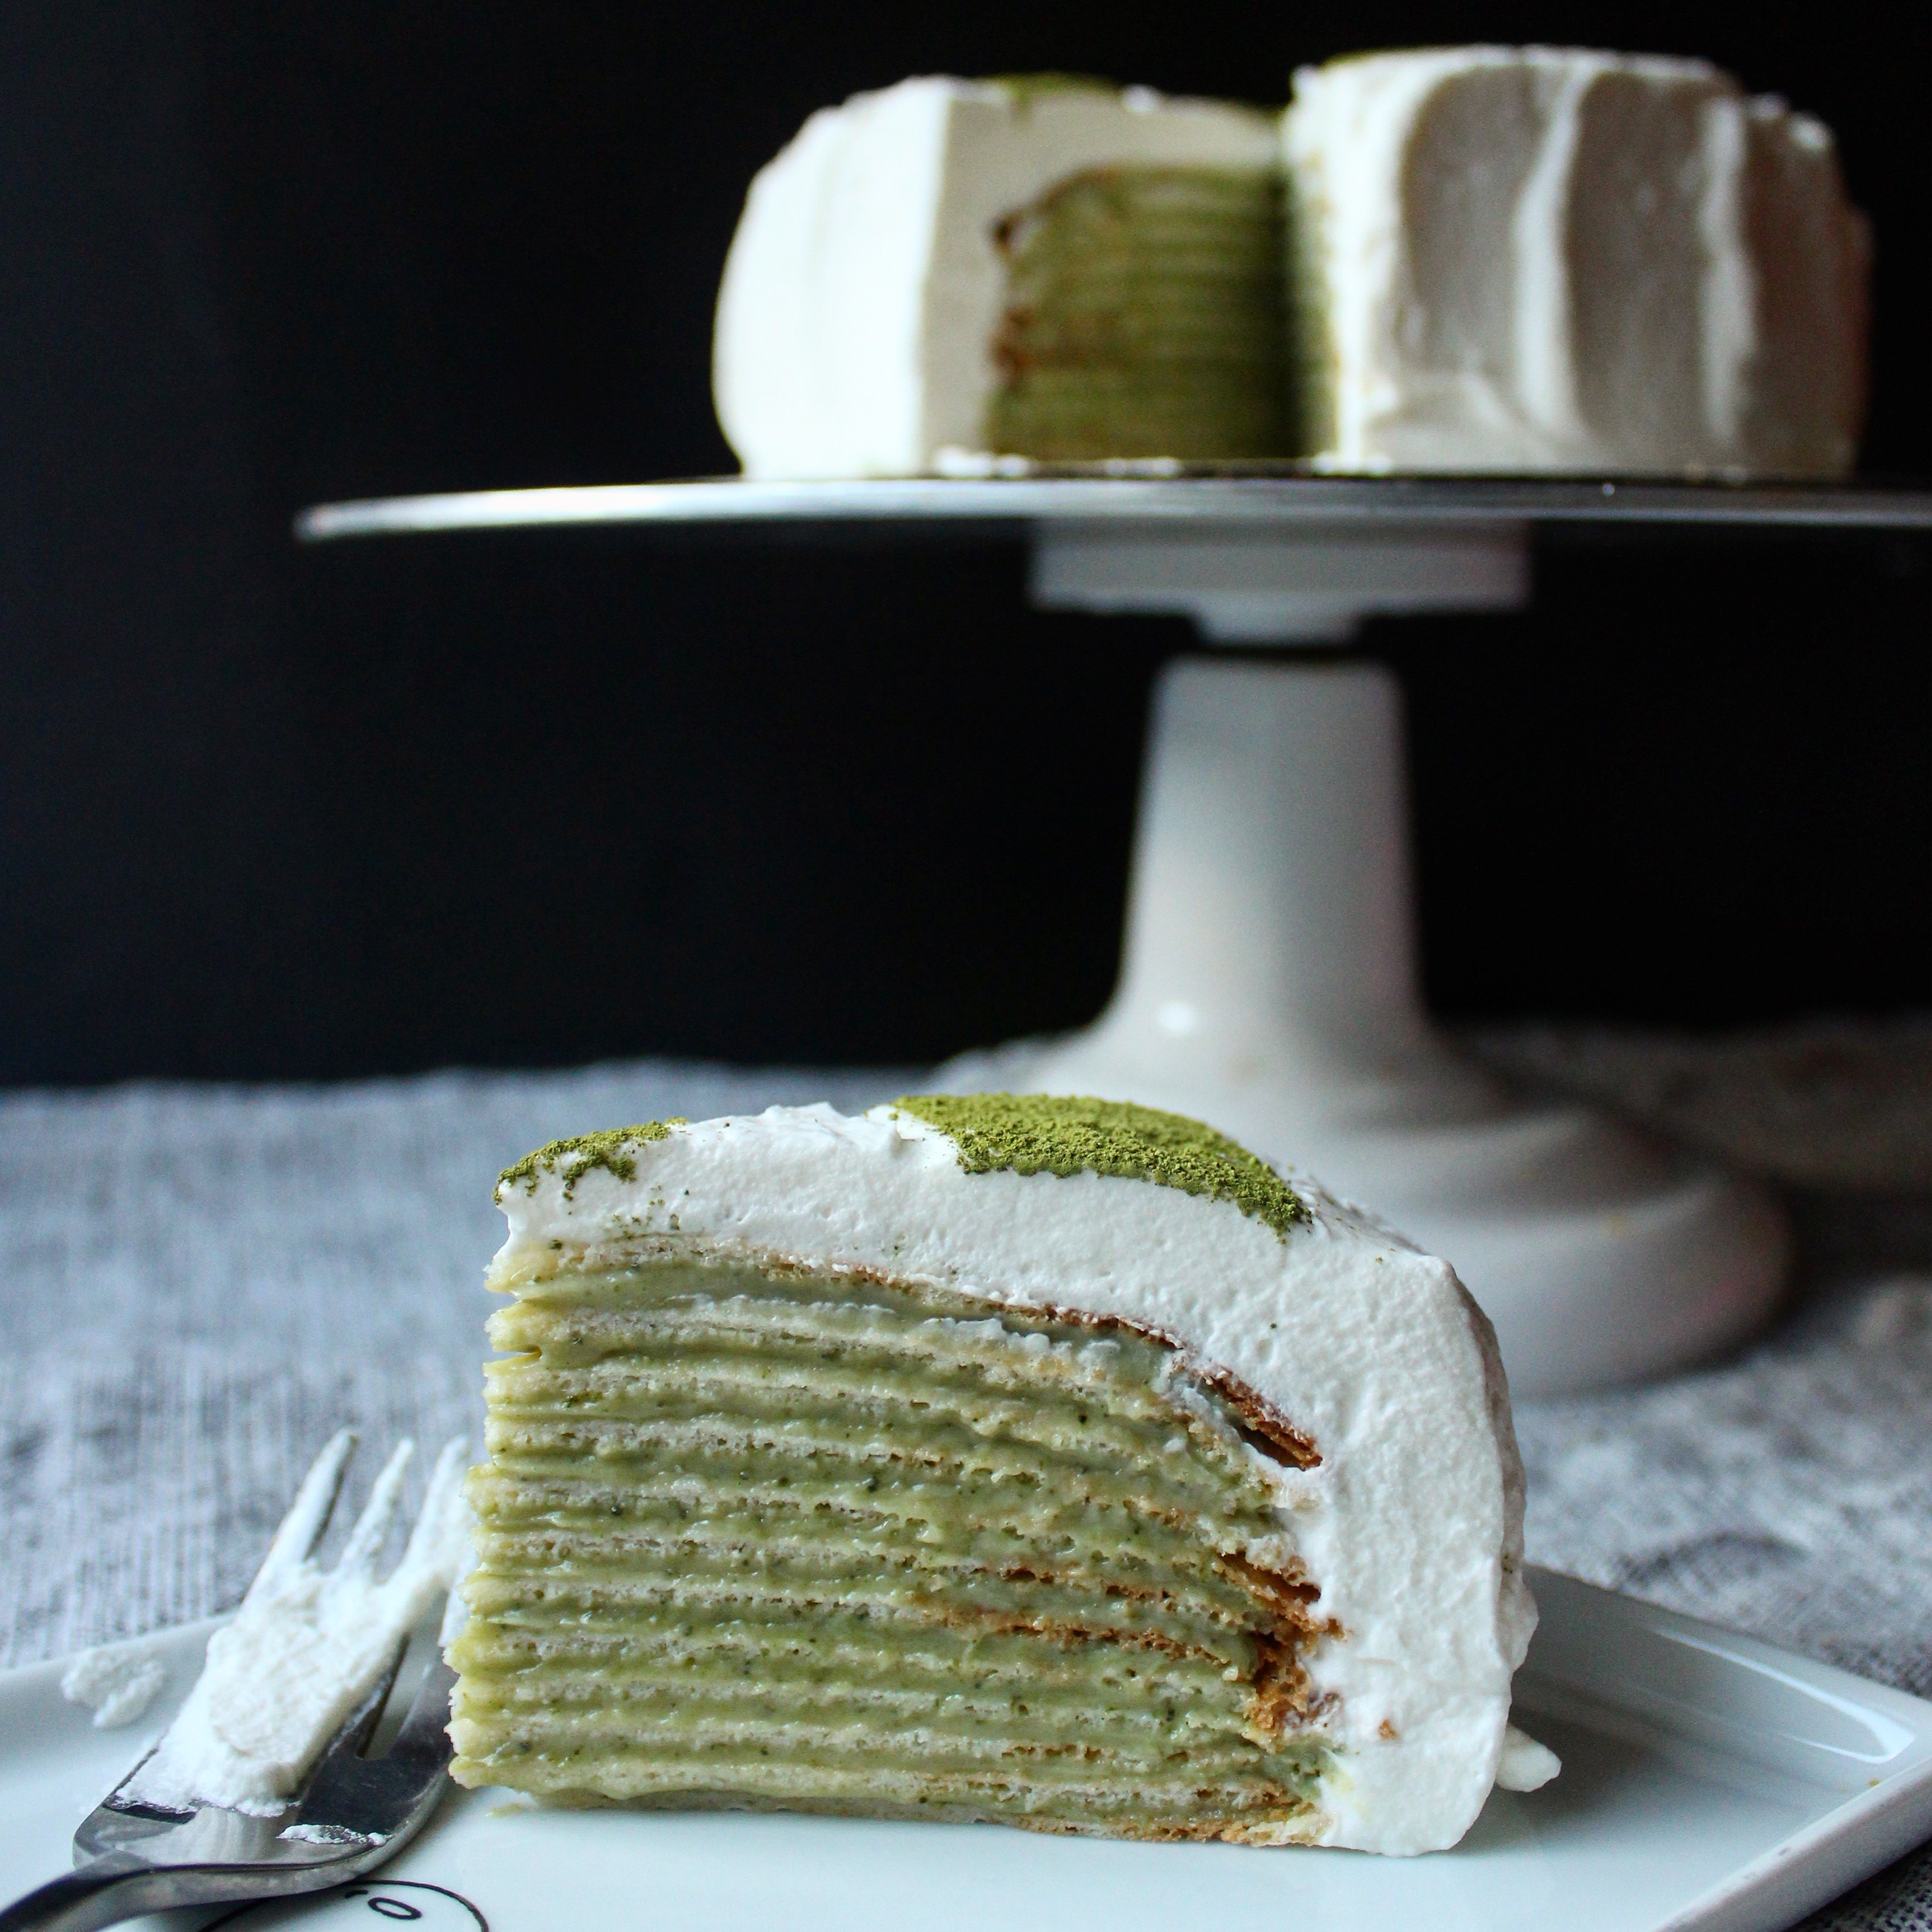
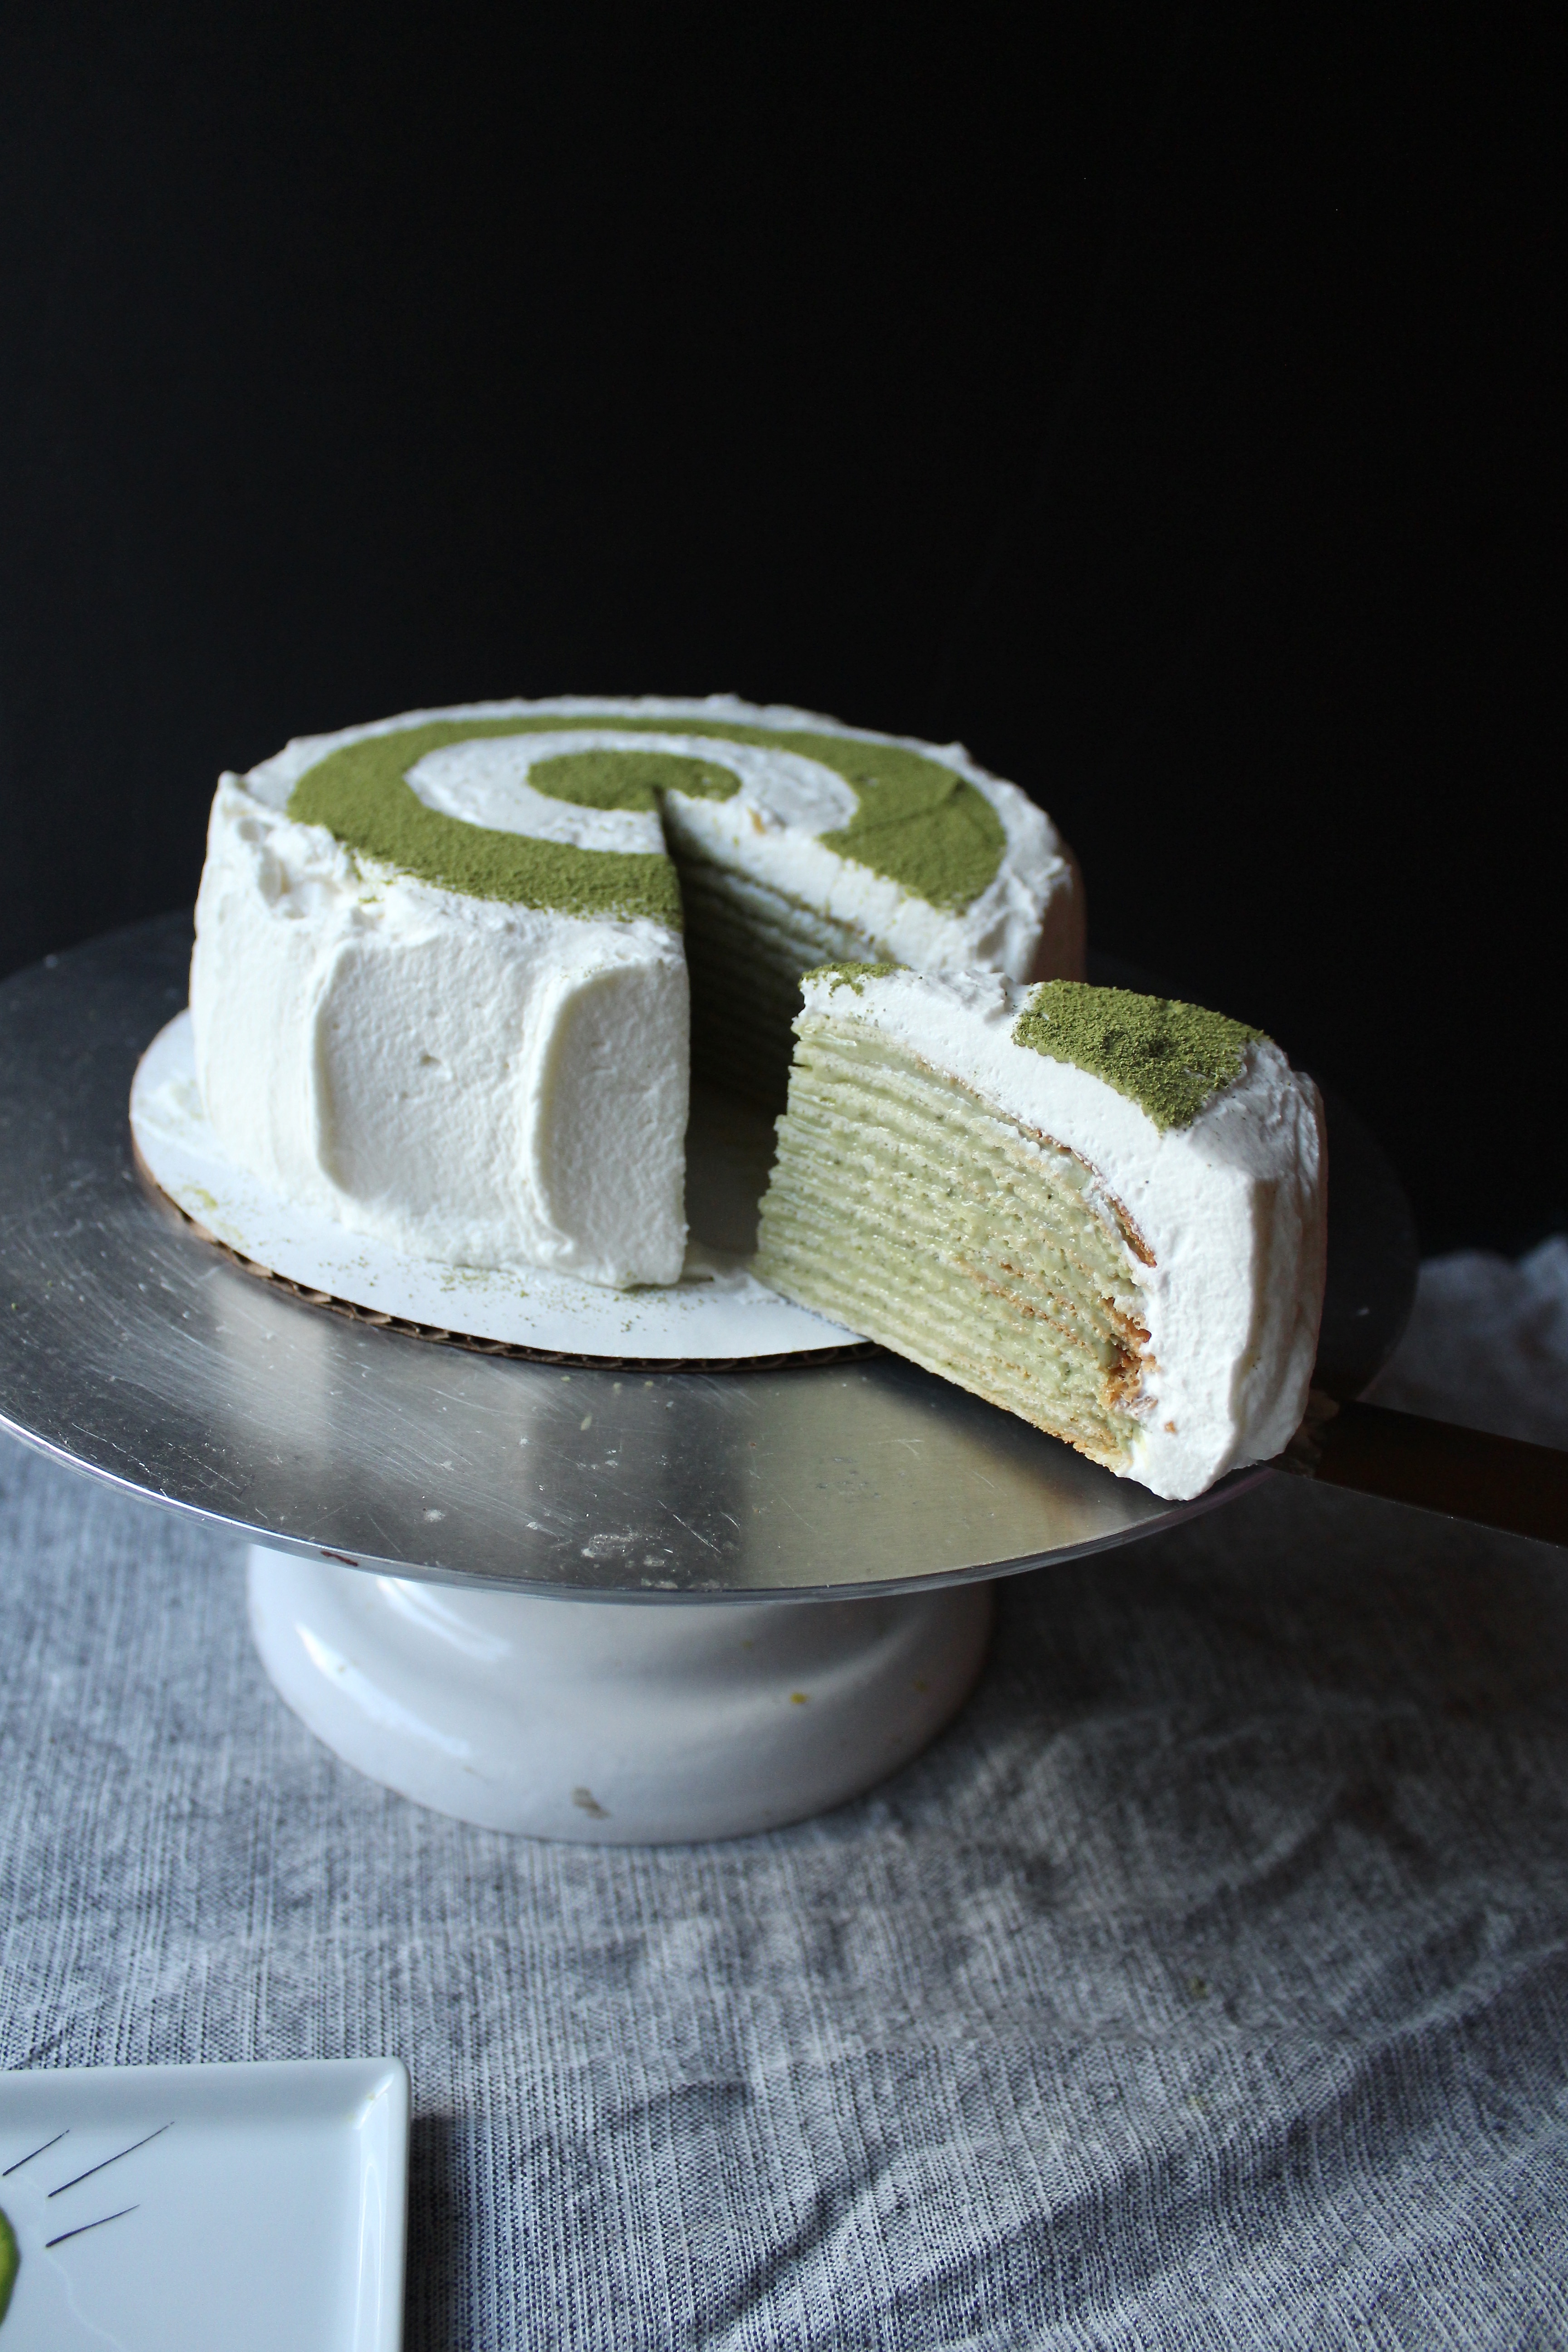
If it looks like a green tea crepe cake, it smells like a green tea crepe cake, and tastes like a green tea cake, it still may not be a green tea crepe cake.
img_1527
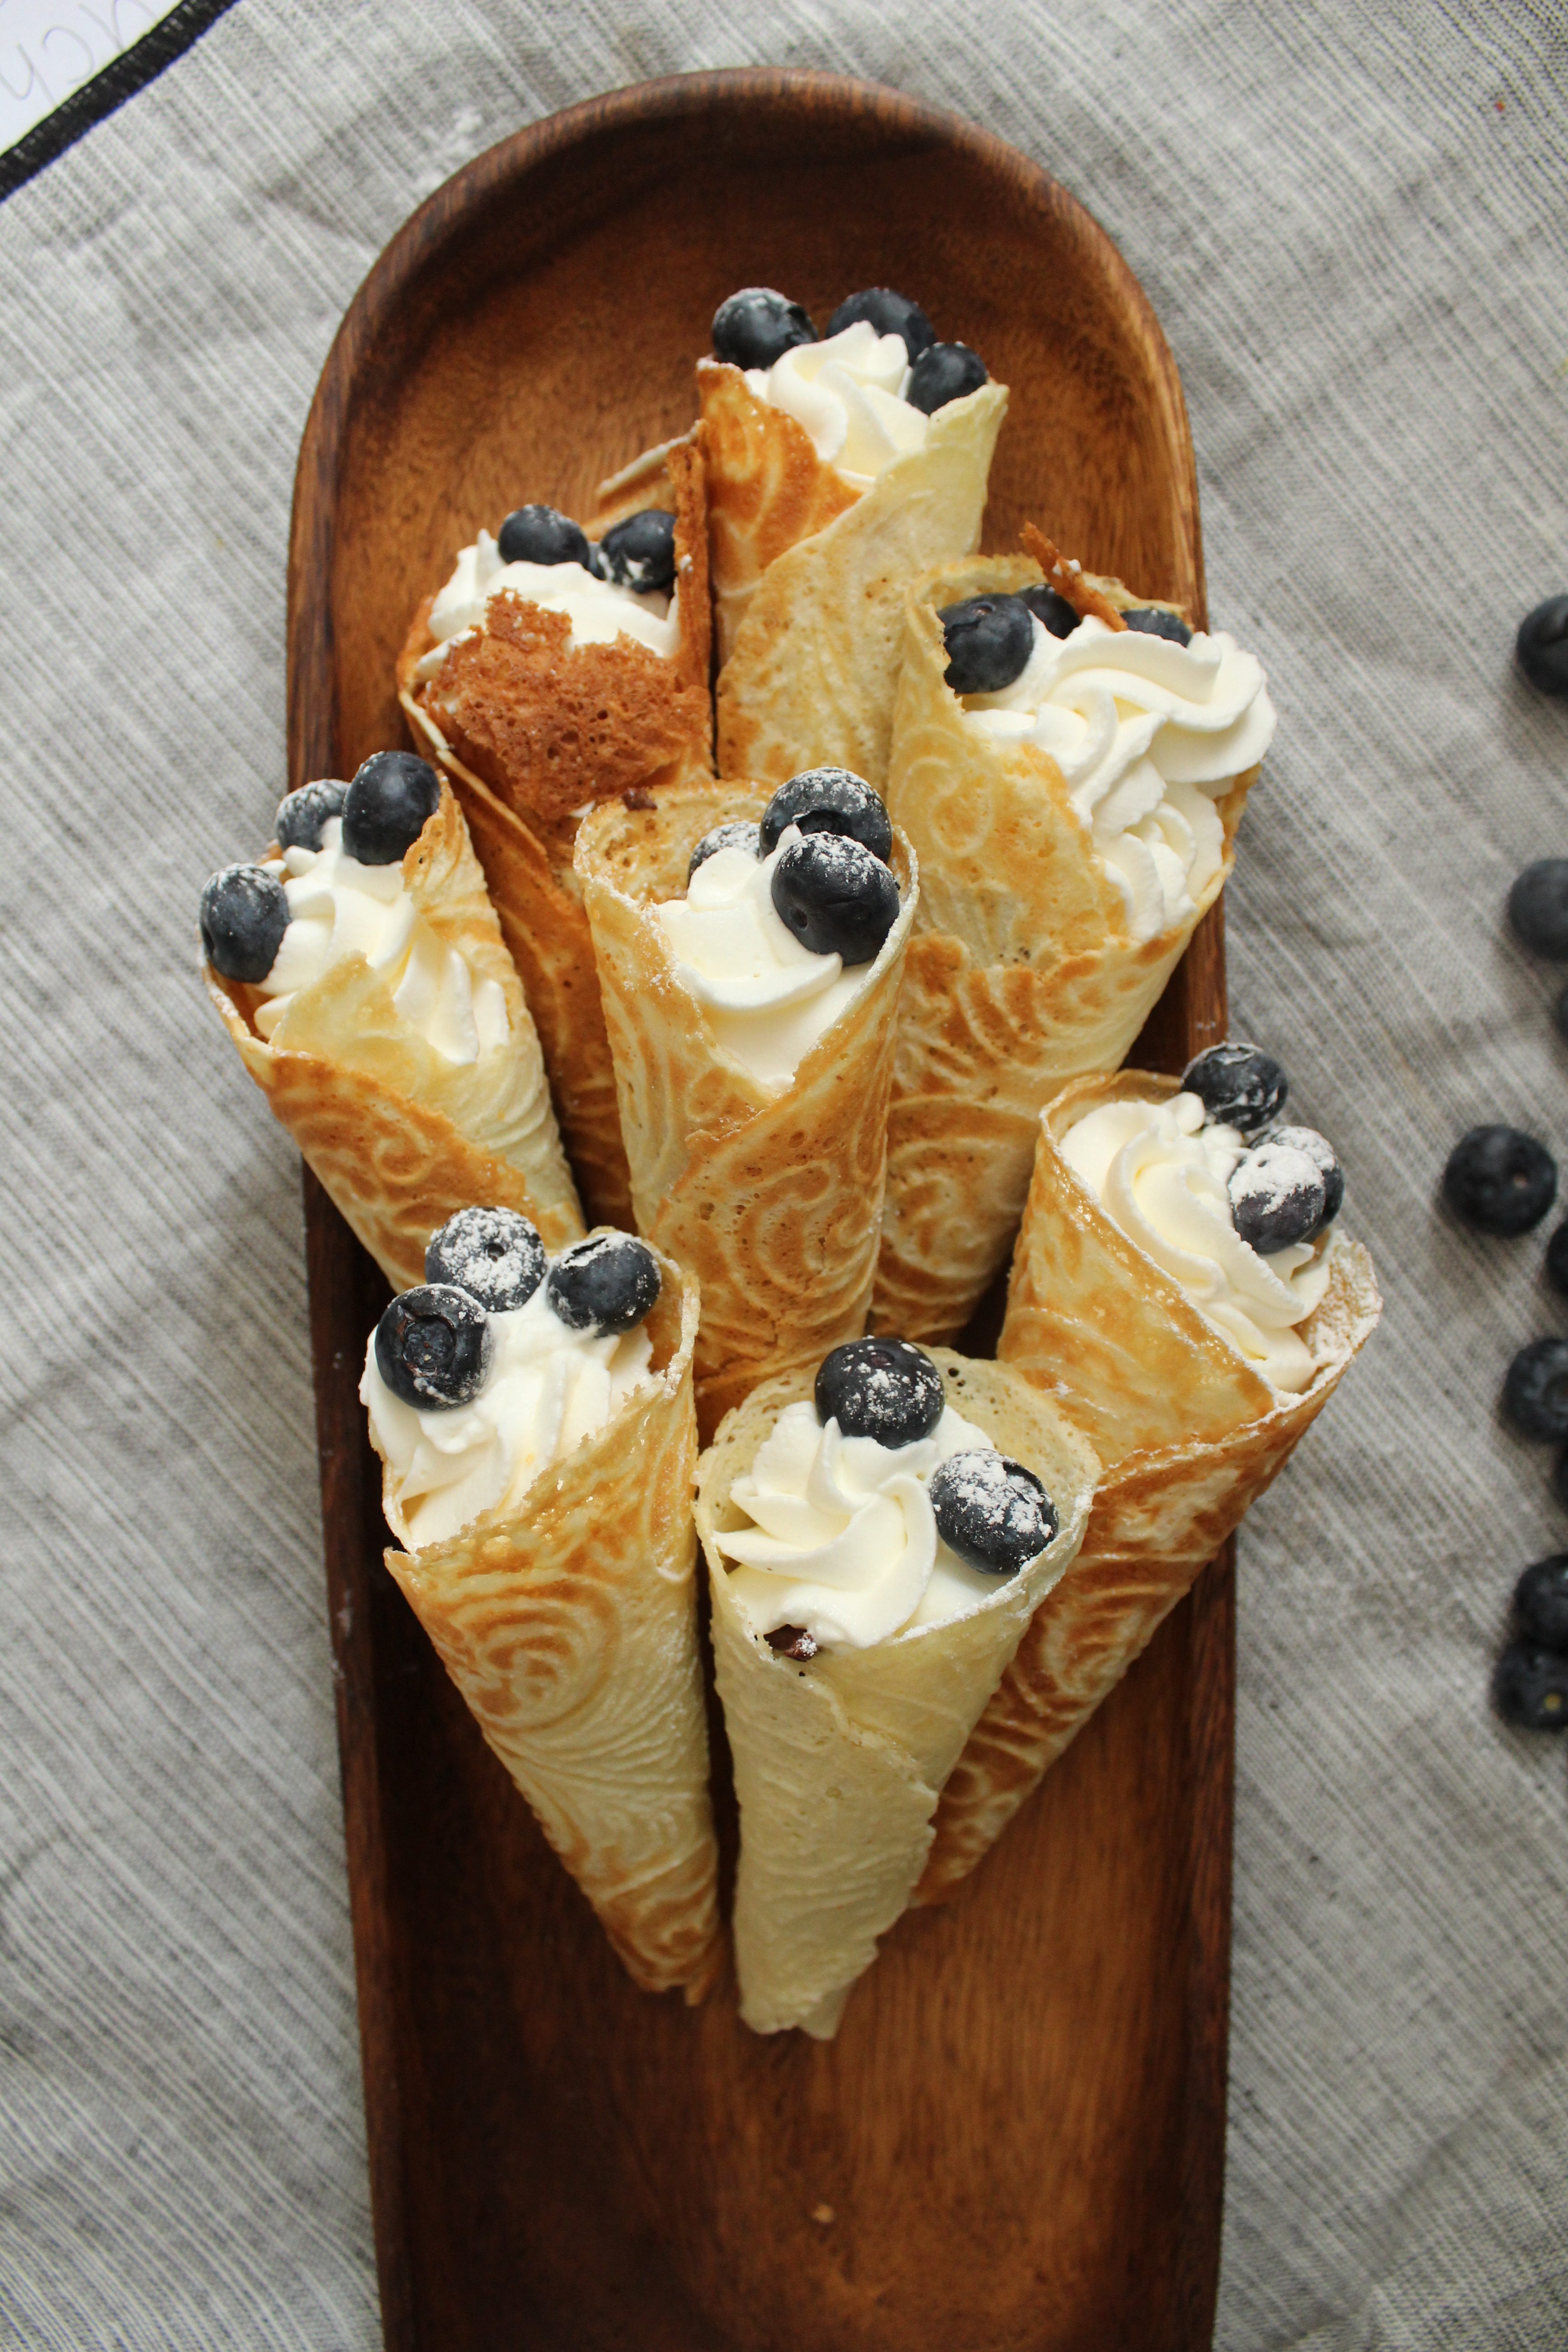
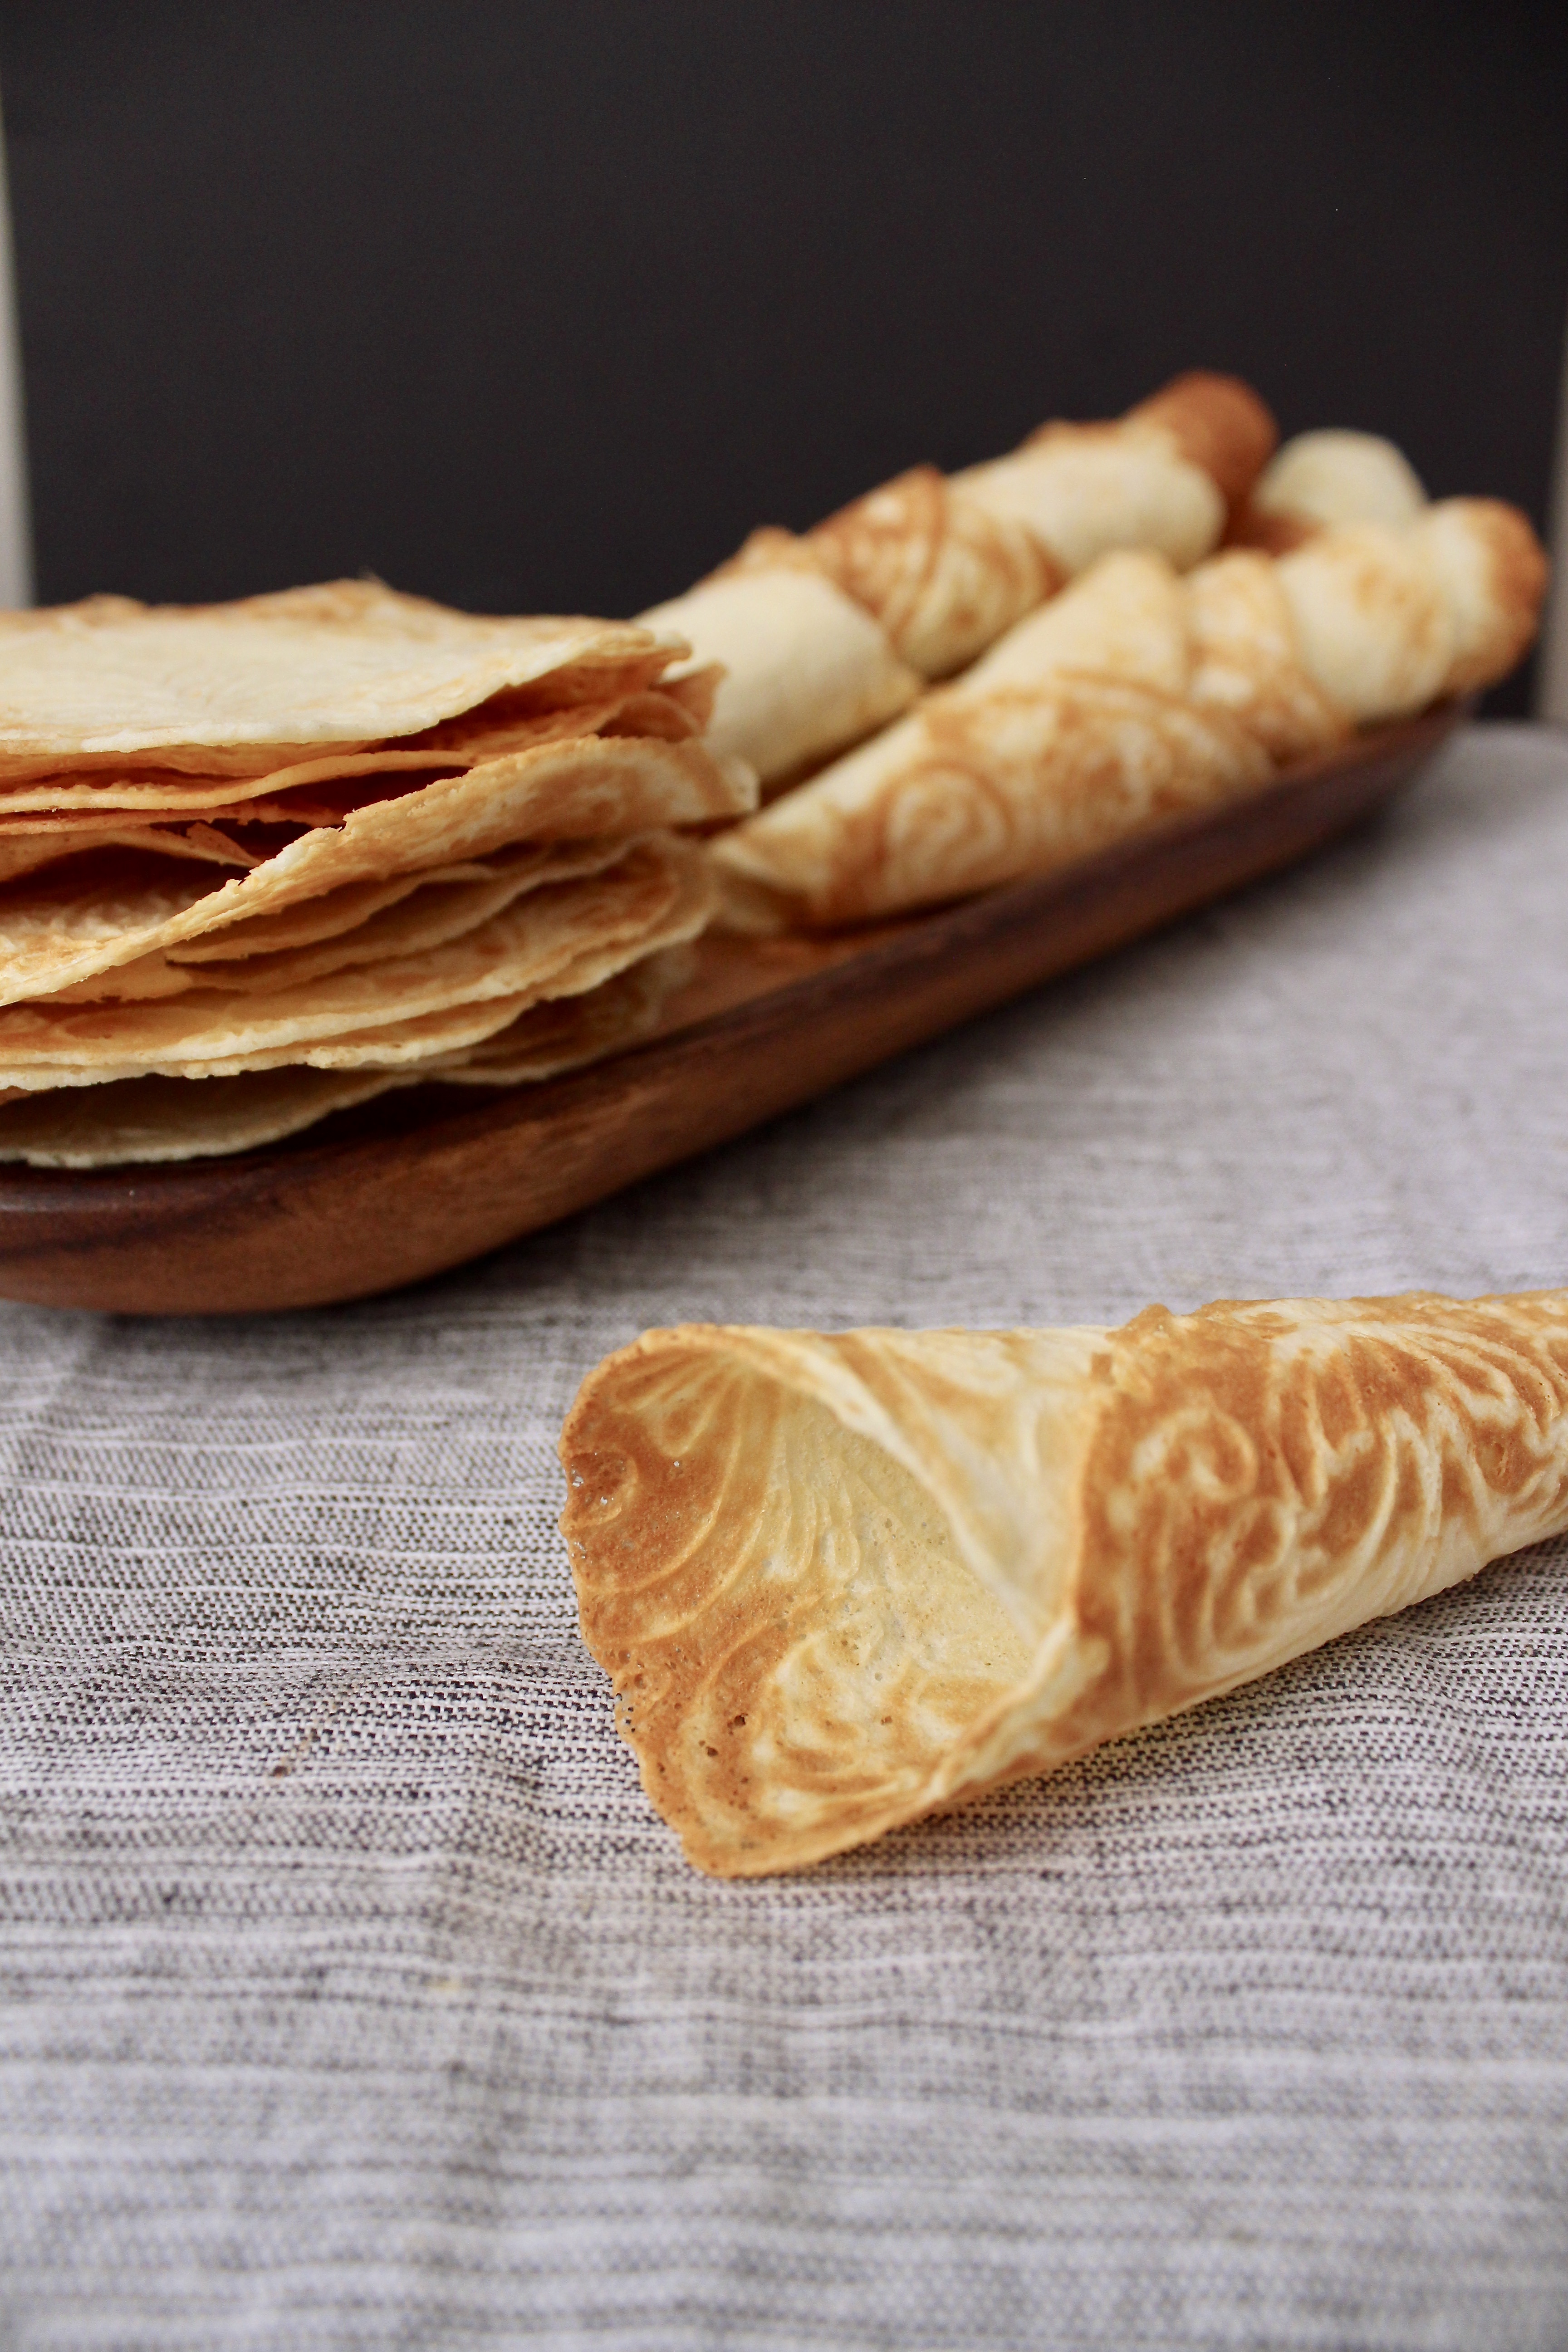
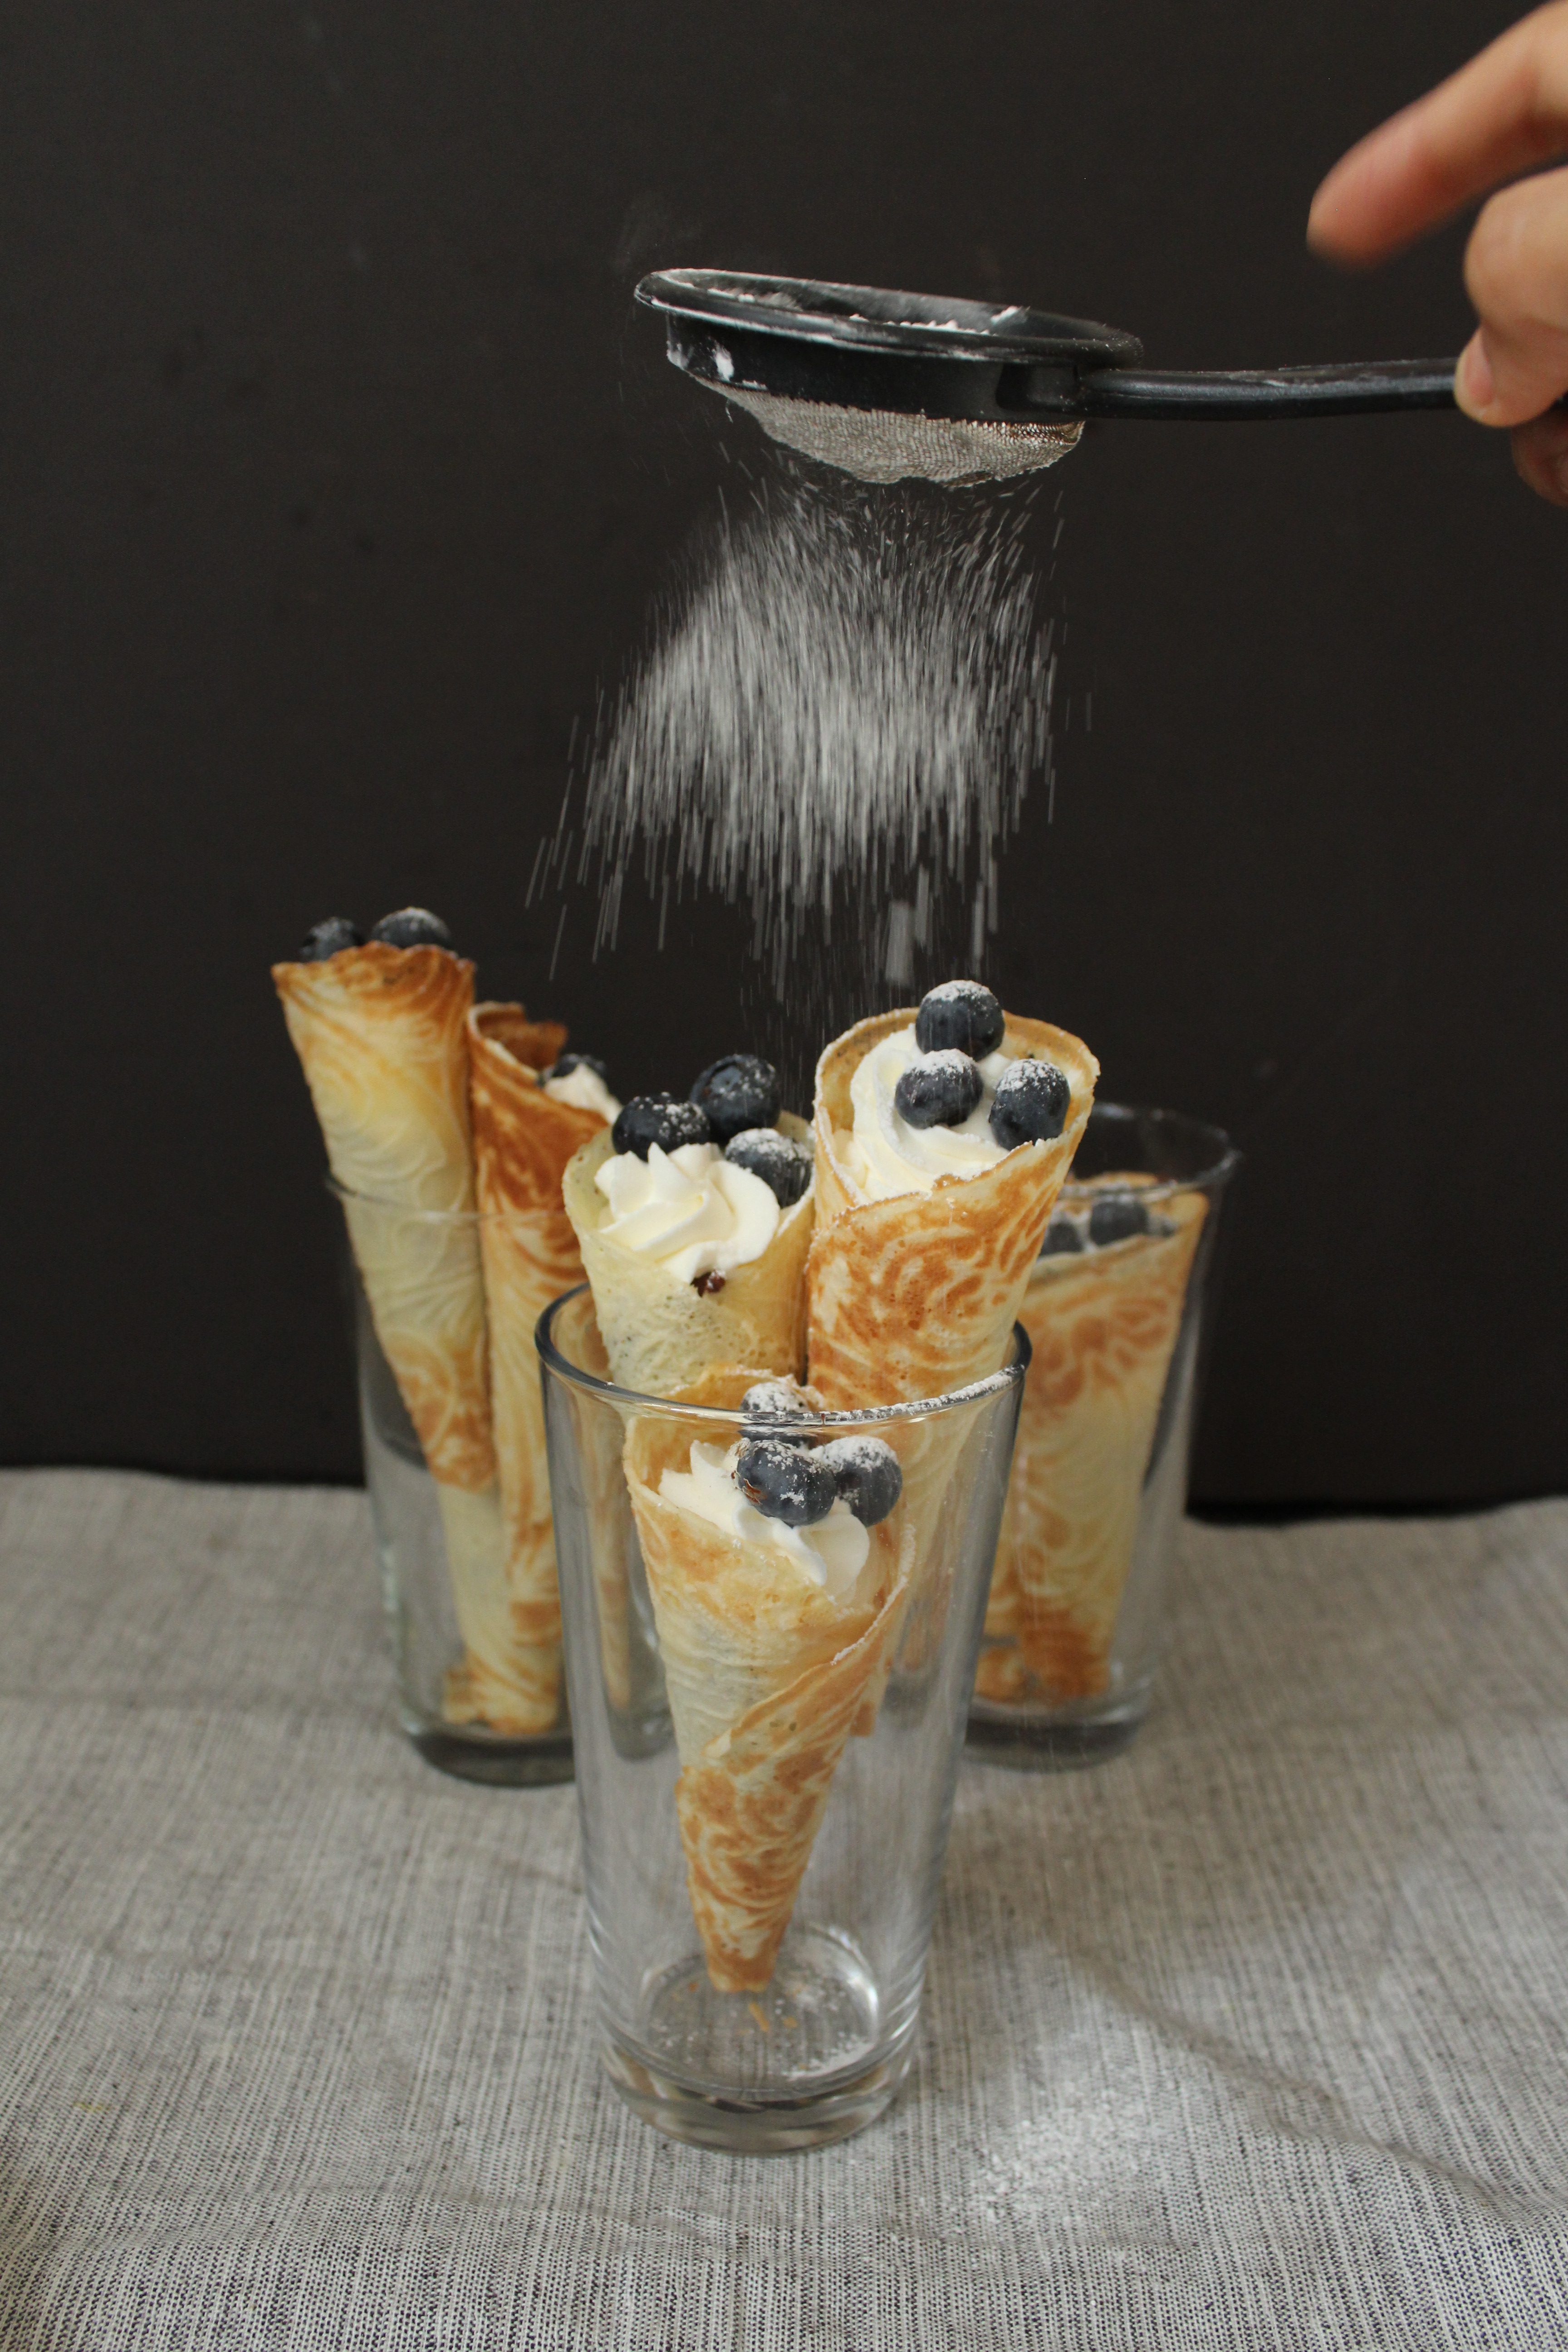
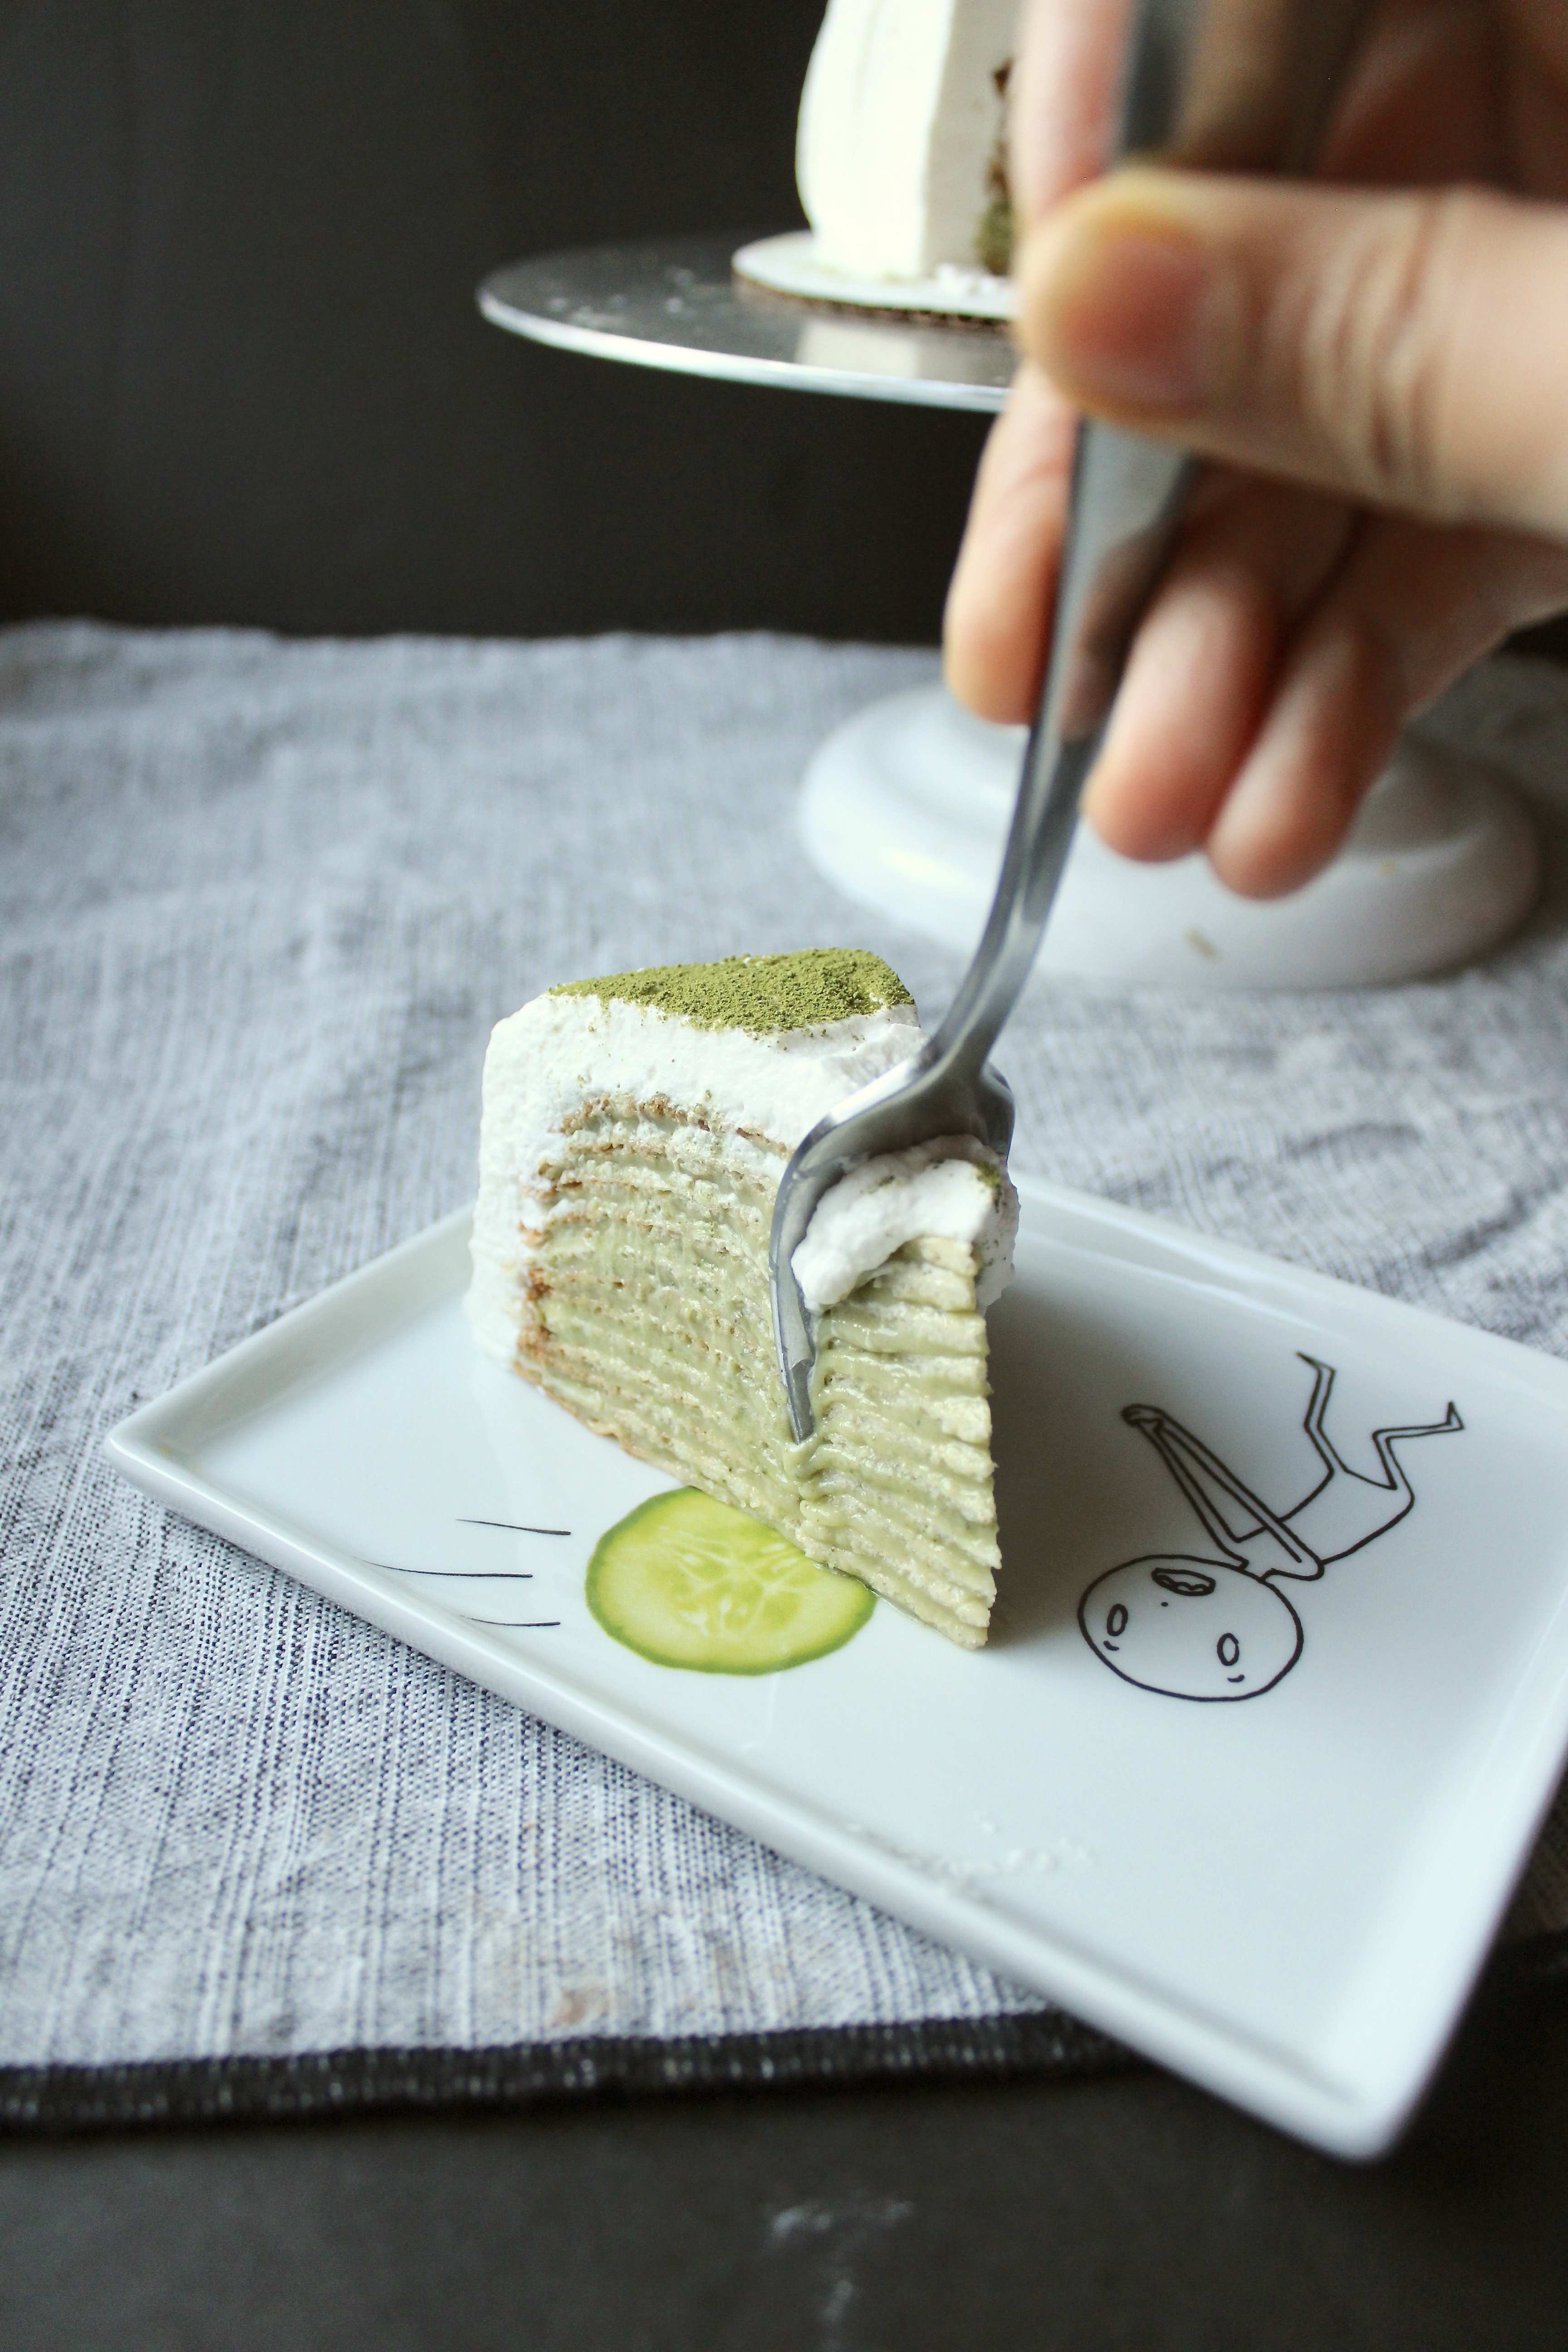
Truth is, I’ve never had a green tea crepe cake. And even though this looks like the famous Lady M green tea crepe cake, there are no crepes here. Just crisp wafers made with my trusty krumkake maker, matcha pastry cream and whipped cream.
fullsizeoutput_7078
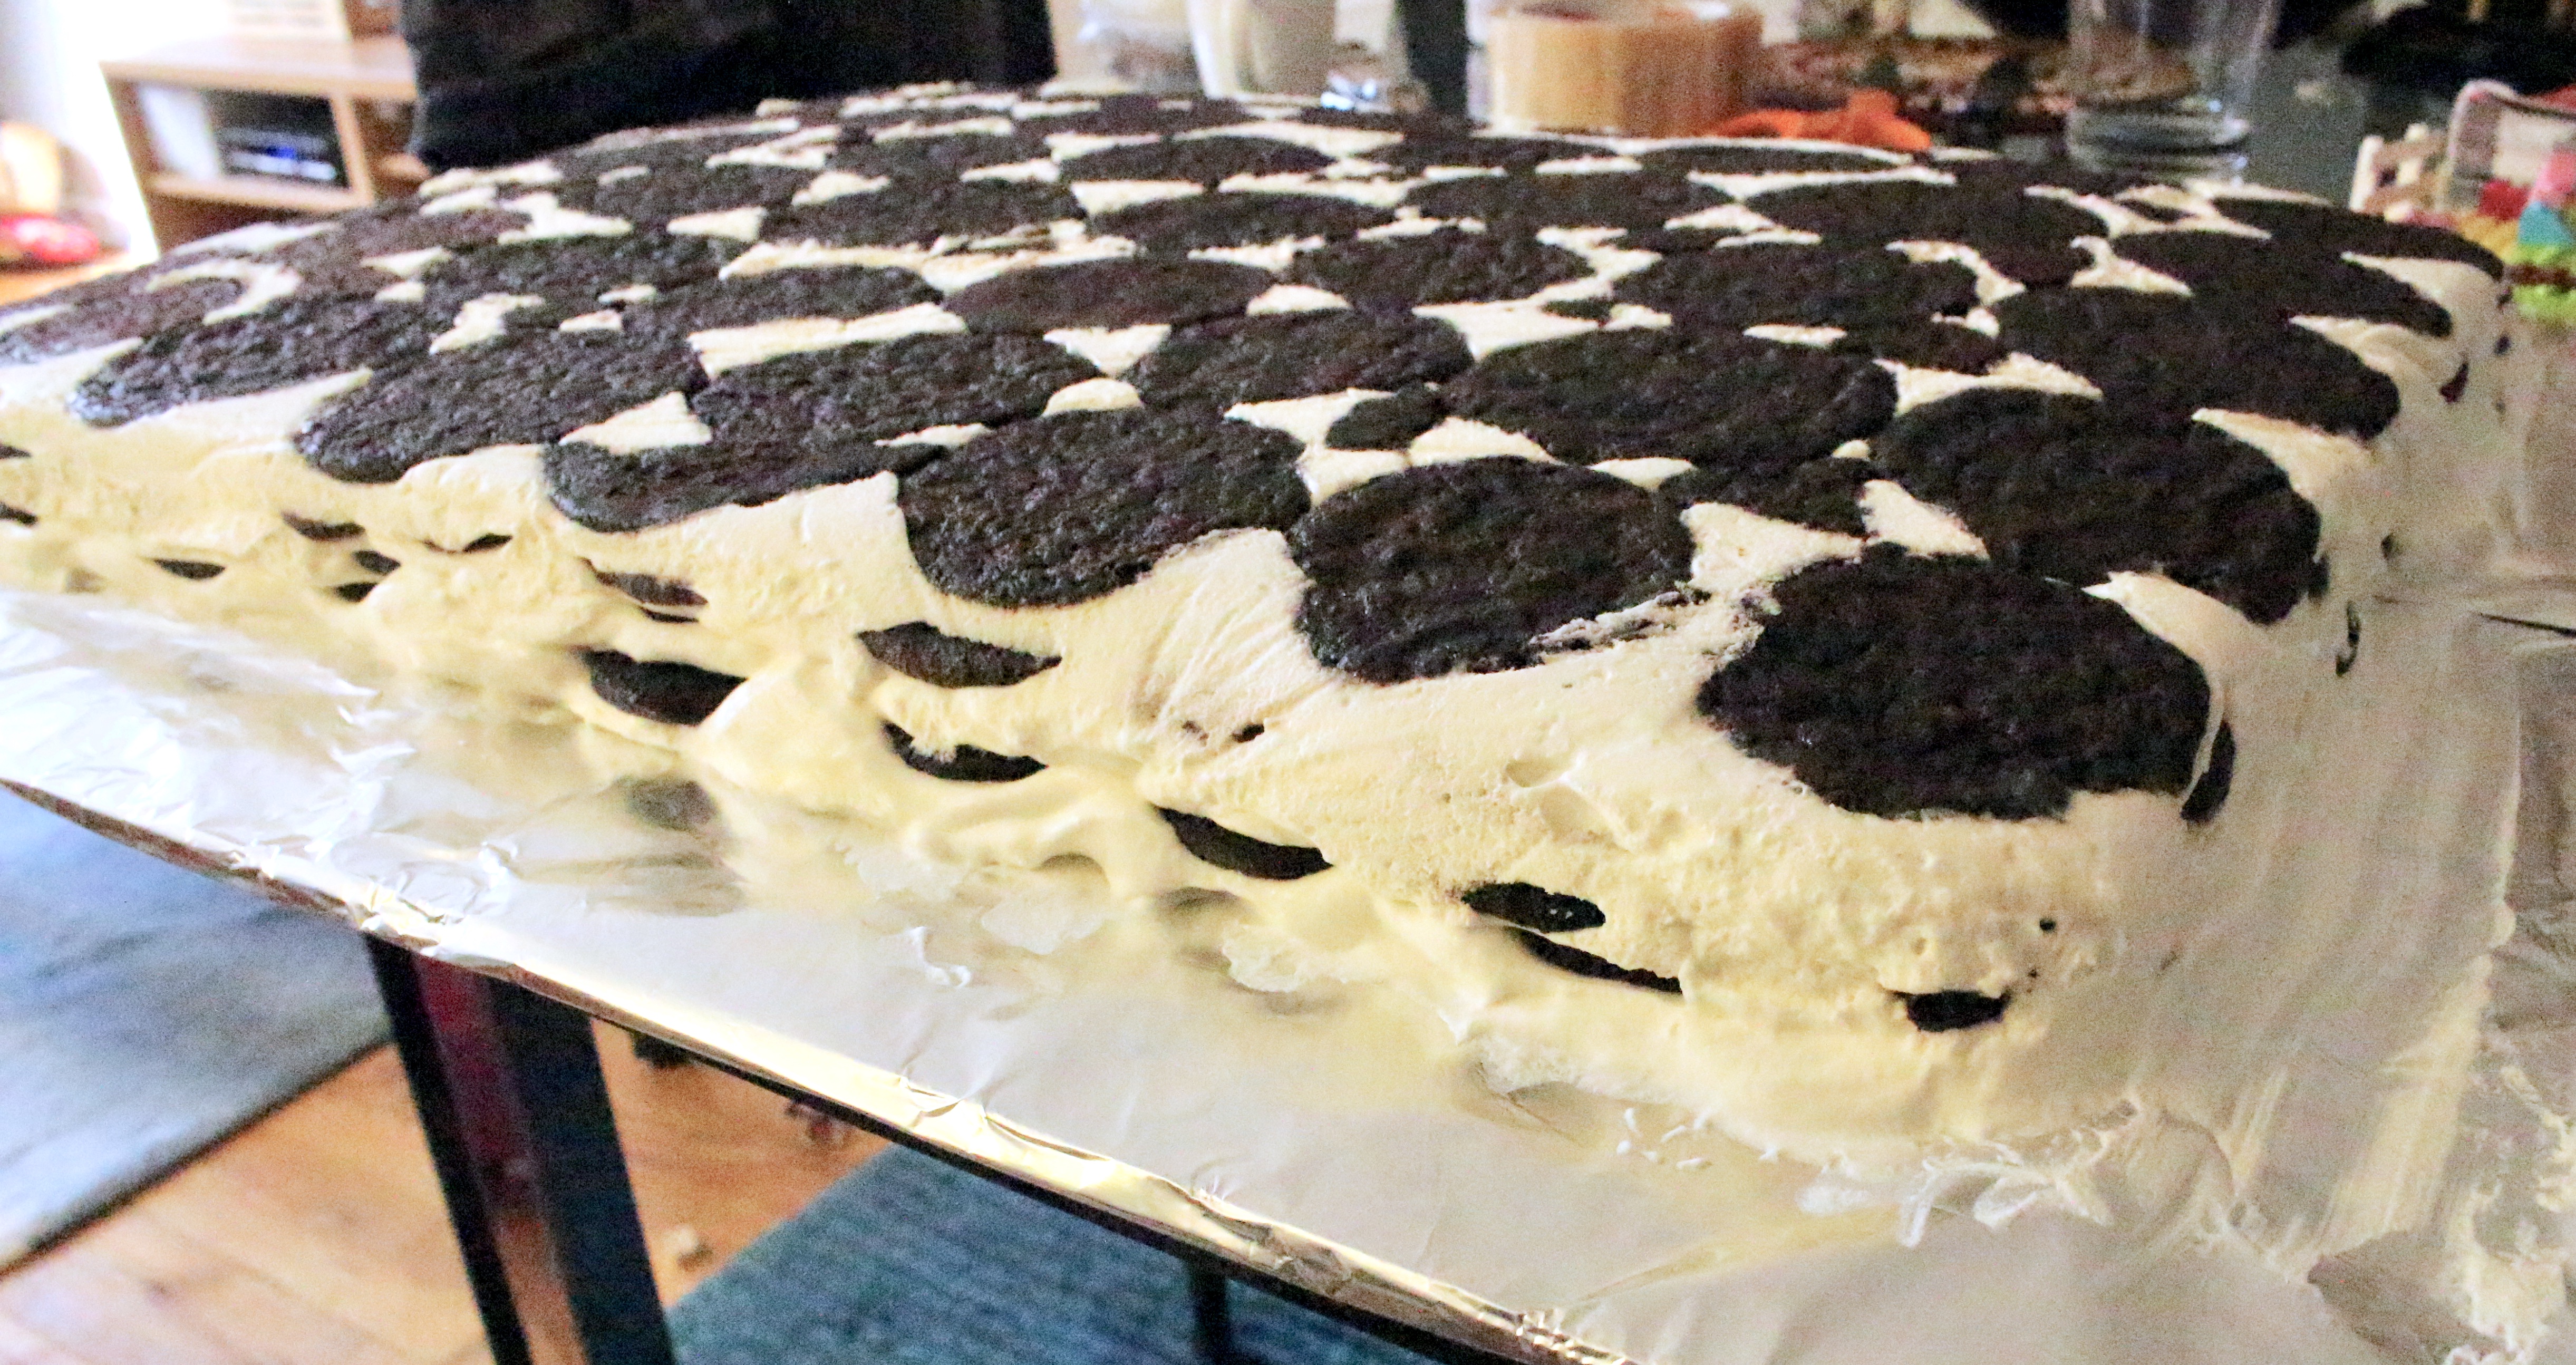
I didn’t use any one recipe for this – I kind of threw things together that I thought might work. And while this worked out beautifully (though I did have a near disaster when the whole thing almost slid off as I was transferring it to the fridge! Pastry cream is slick, yo), I’m already dreaming up alternate versions of this: nutella swiss meringue buttercream filling? Salted caramel mousse?
fullsizeoutput_7077
Matcha used to be difficult to find – now you can find it at costco! I don’t use it that frequently so I’m still working off of the batch I bought a while ago.
fullsizeoutput_7075
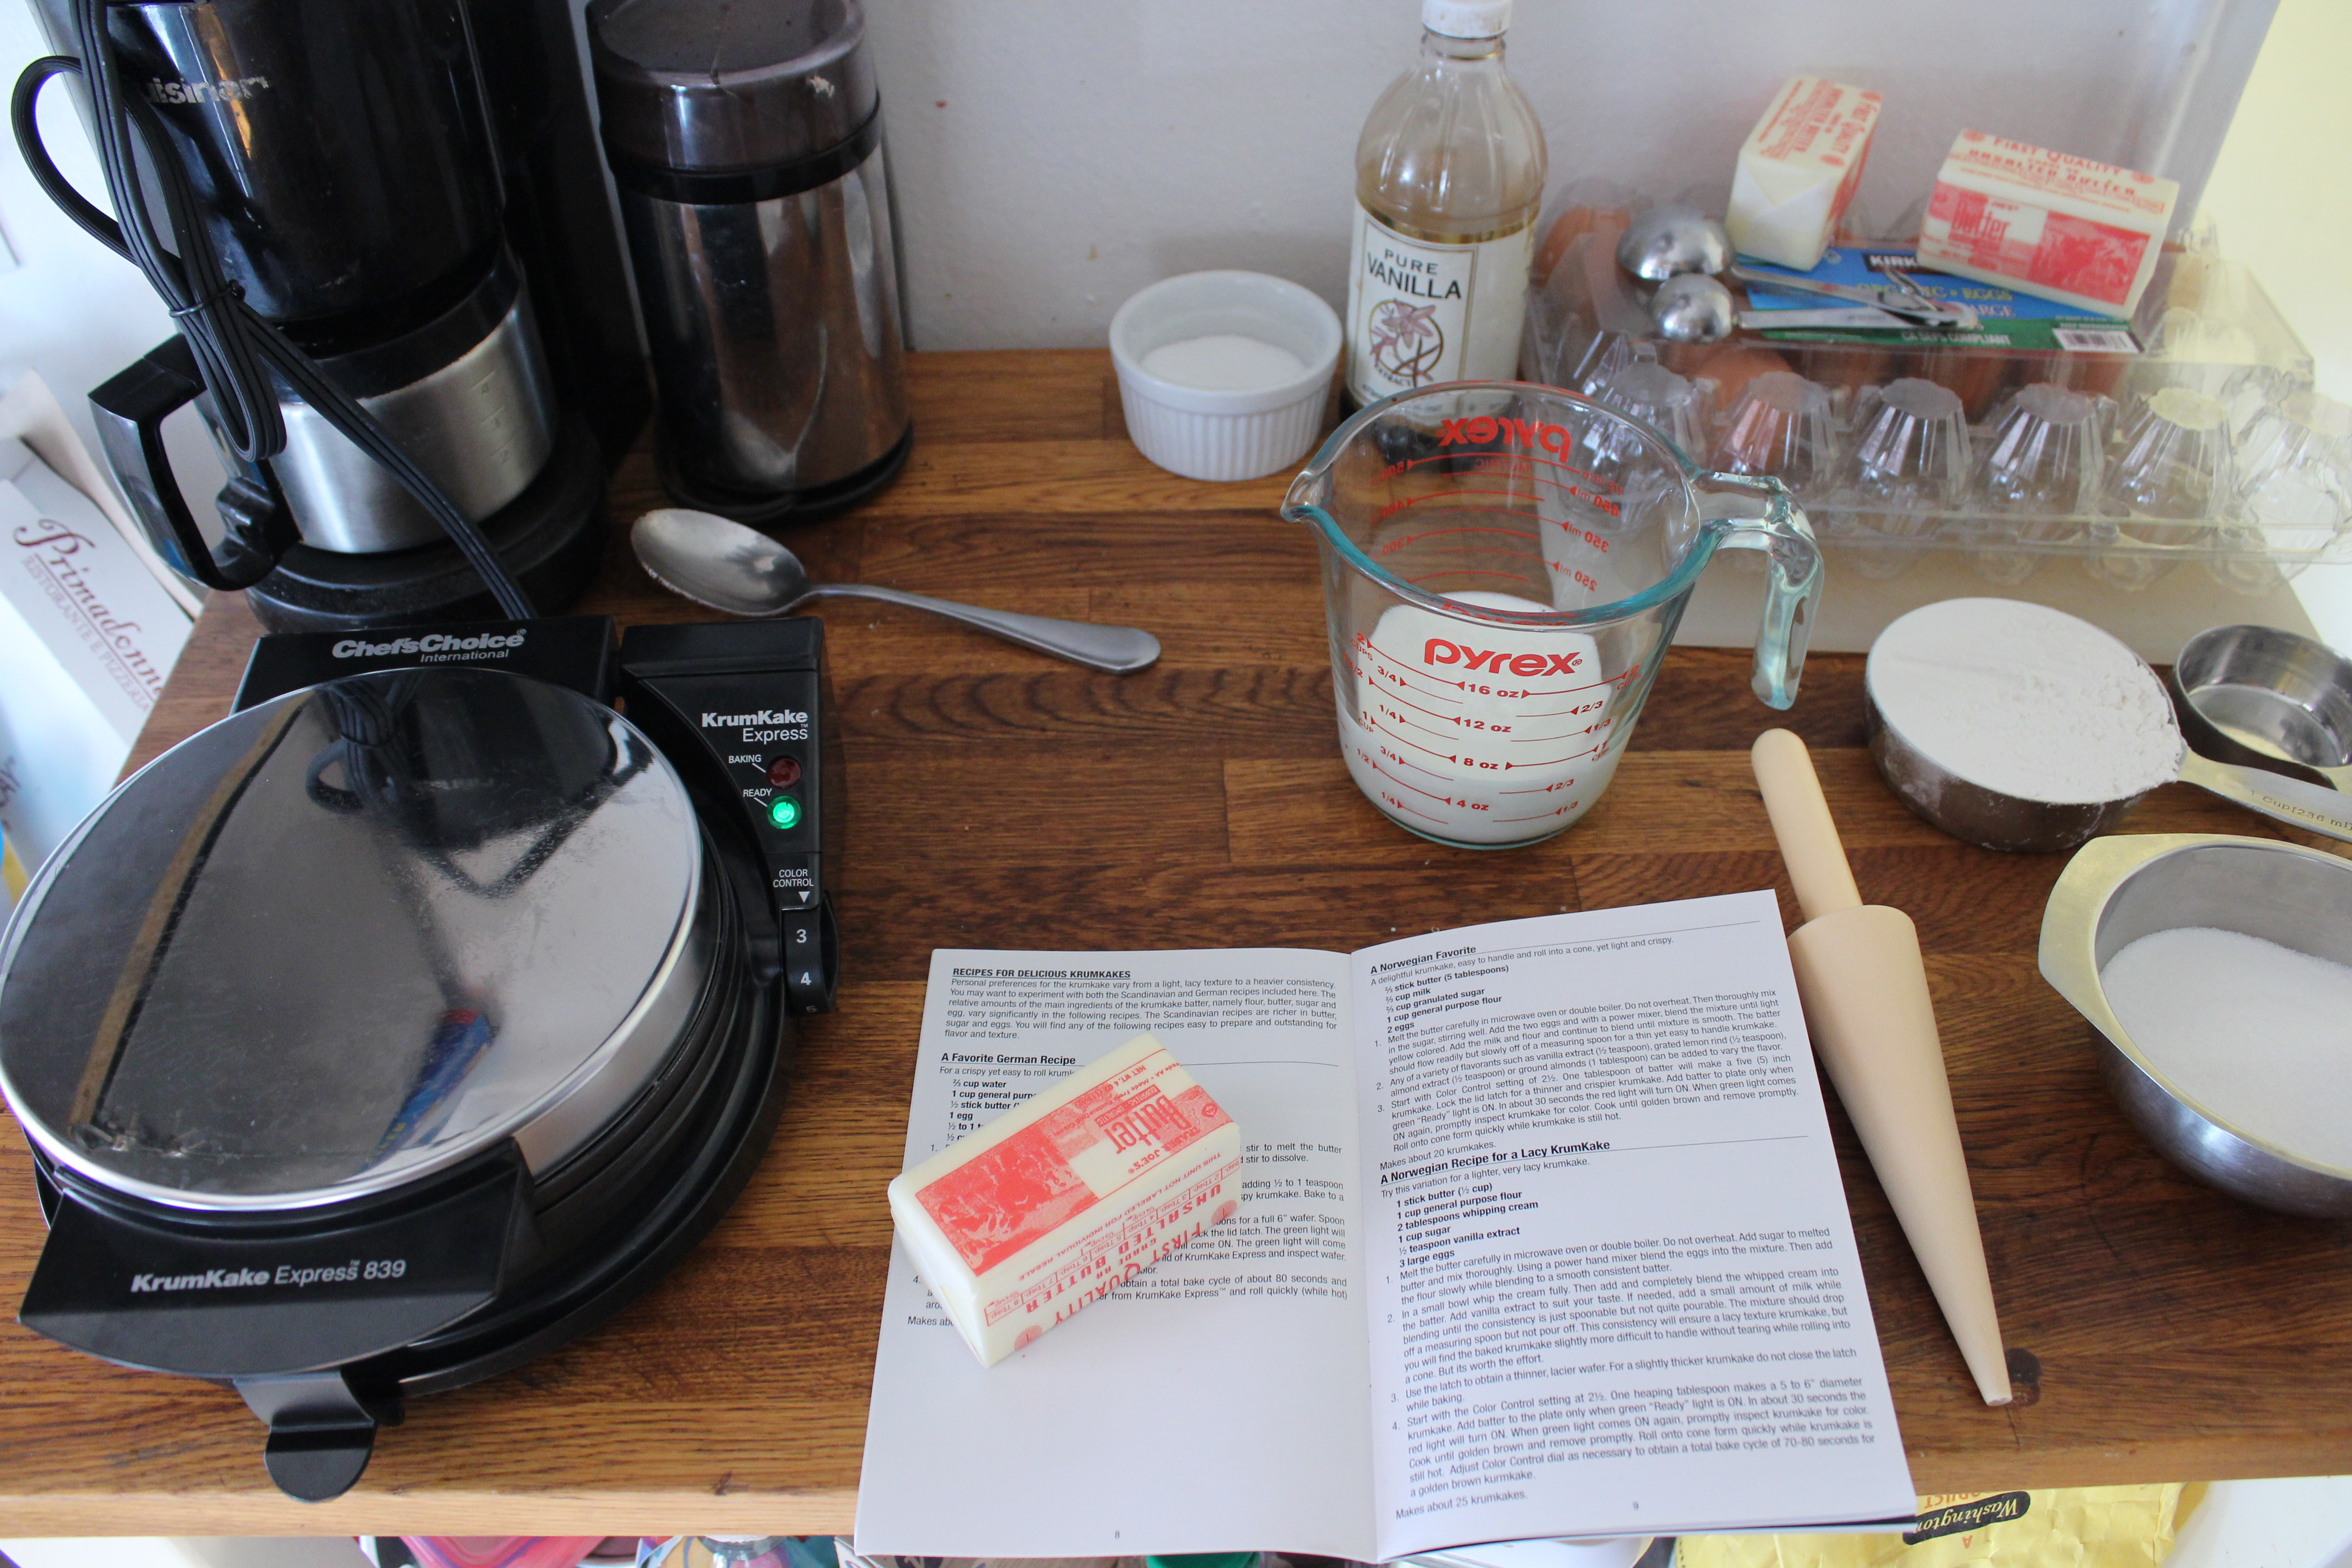
Hope you enjoy! And if you don’t have a krumkake maker and don’t feel like buying one and make it with crepes instead, please let me know!

Pastry cream recipe adapted from King Arthur Flour.

Ingredients

  • 12-14 6in round wafers
  • 3 cups whole milk
  • 3/4 cup sugar plus 3 tbsp
  • 1/4 tsp salt
  • 2 tsps vanilla extract, divided
  • 1/4 cup cornstarch
  • 1 tbsp all purpose flour
  • 4 egg yolks
  • 4 tbsp unsalted butter
  • 1 1/2 cups heavy cream
  • 1 tbsp matcha plus extra for garnish

Directions

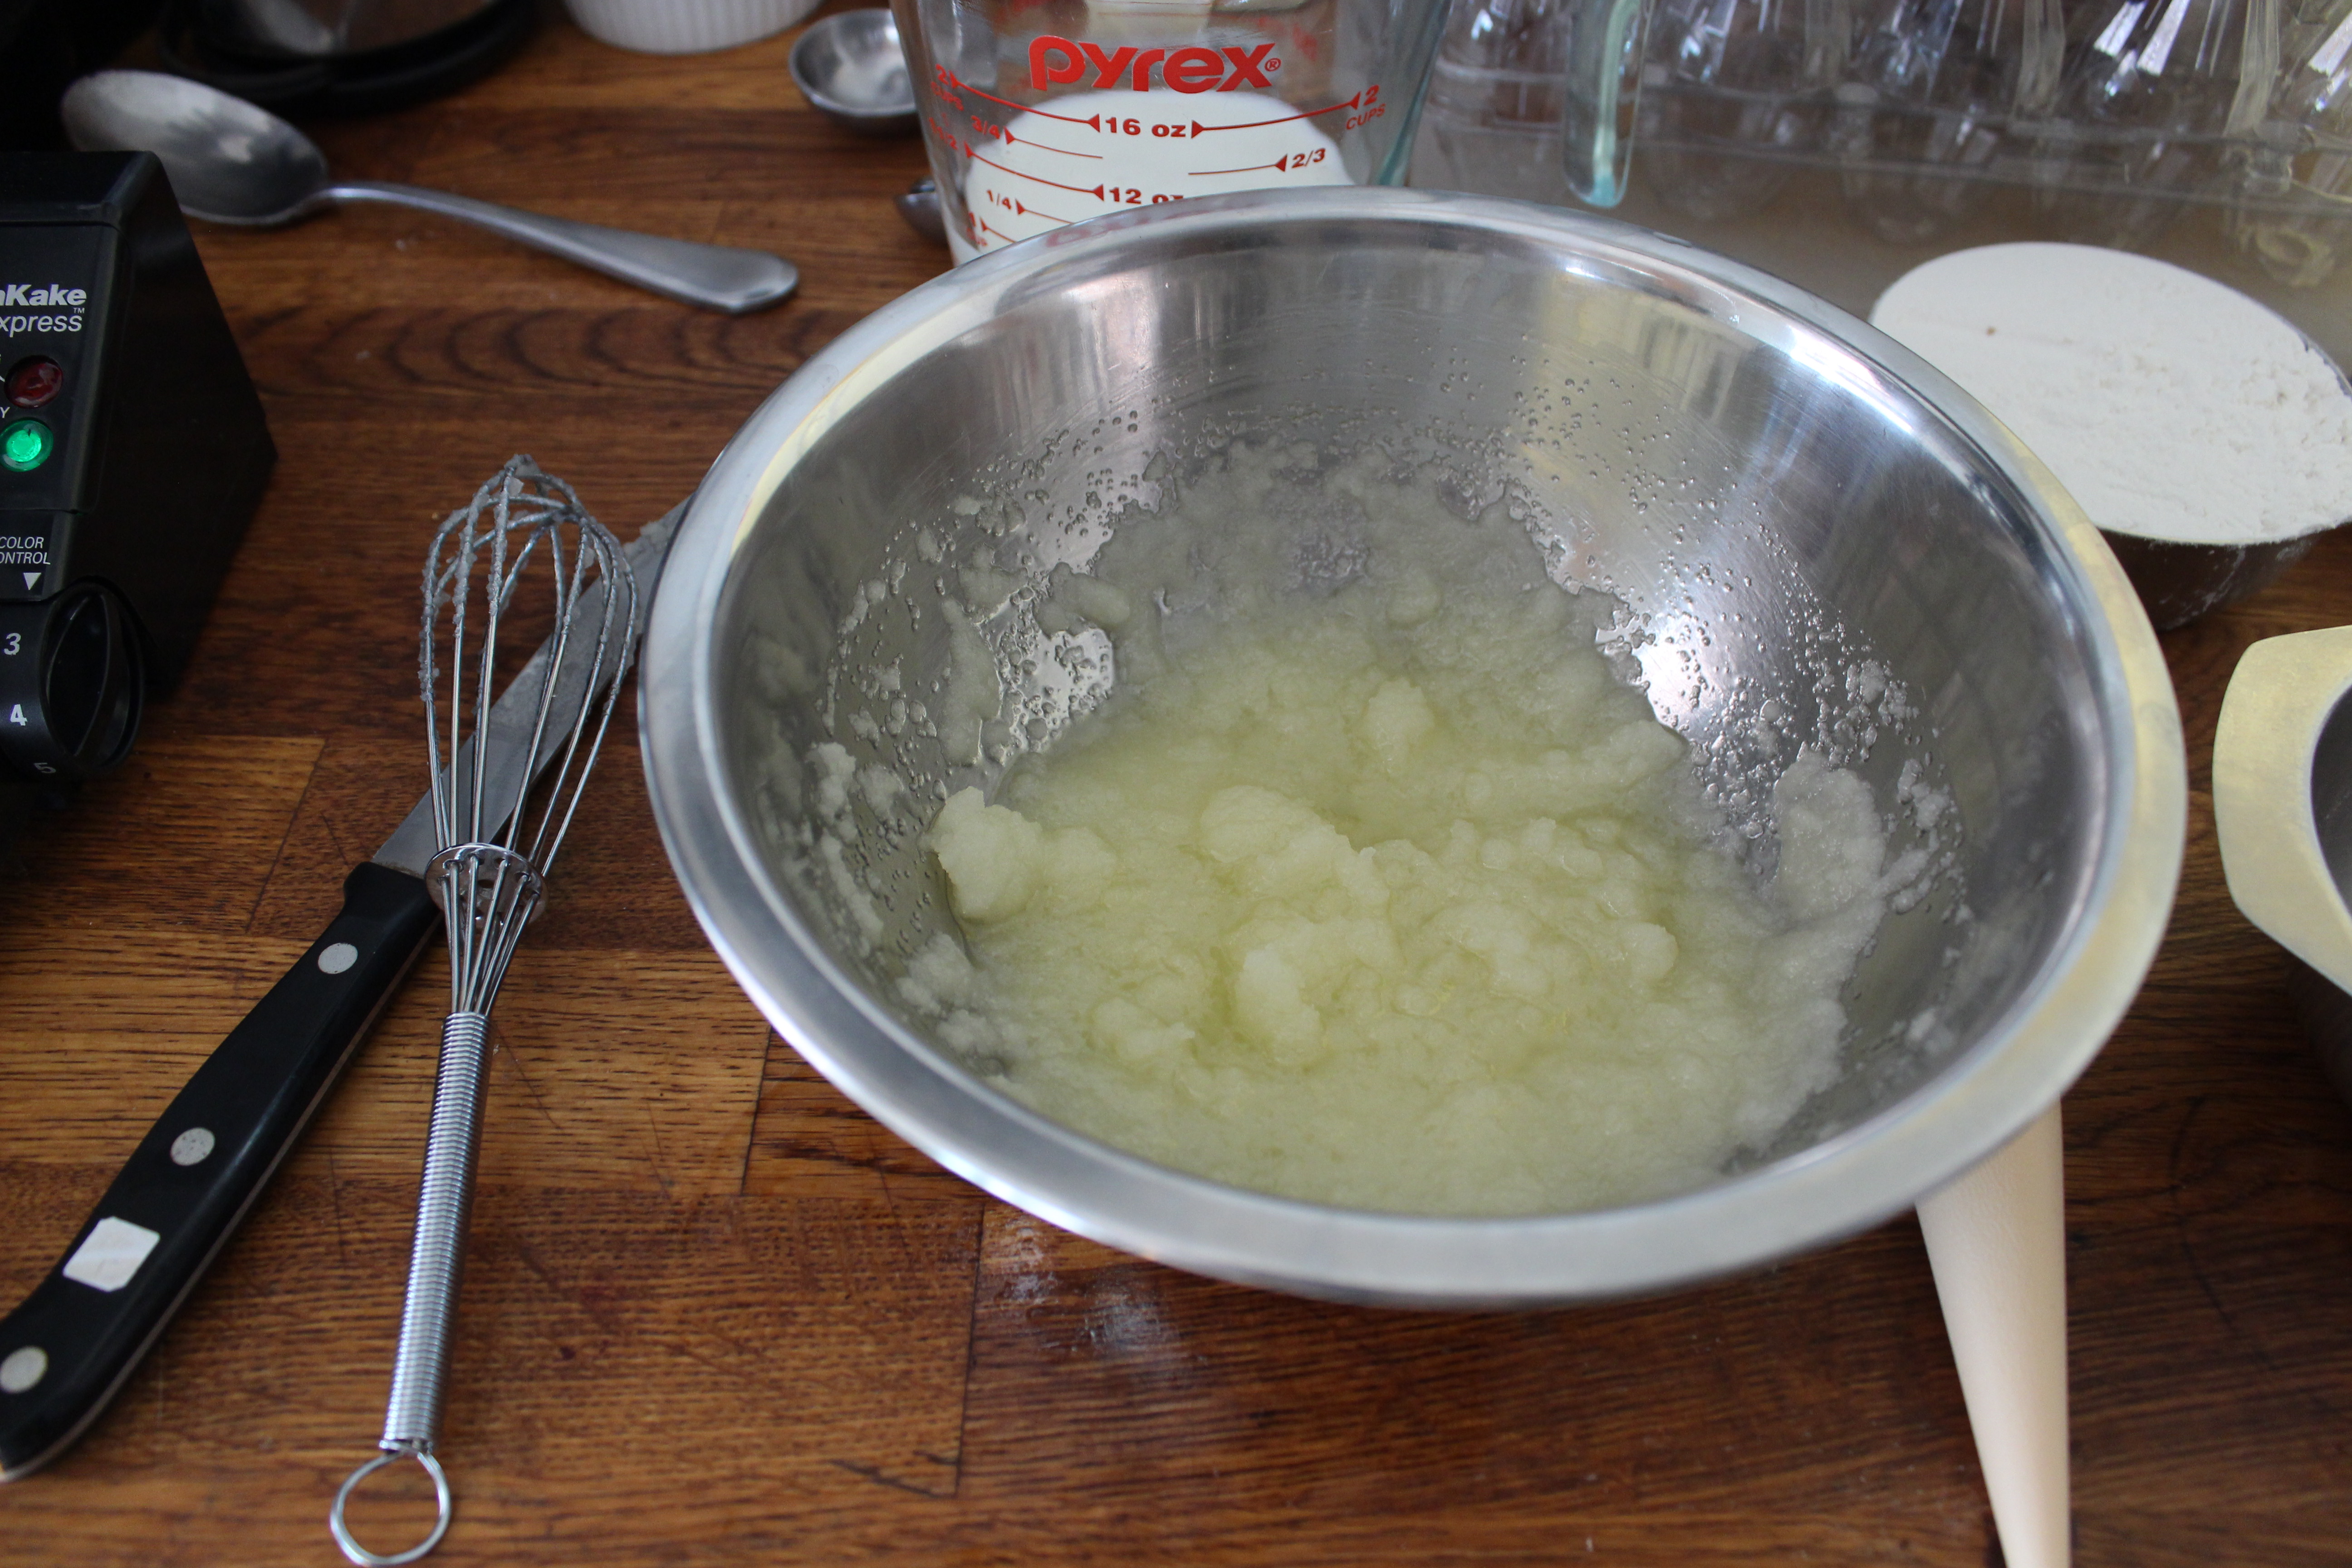
1. Make the pastry cream: heat 2 1/2 cups milk, 3/4 cup sugar and salt in a medium saucepan over medium heat. Stir occasionally until sugar’s dissolved. In a medium bowl, whisk together 1/2 cup milk, egg yolks, corn starch and flour. When the milk is hot and sugar is dissolved, slowly add about a cup of the hot milk mixture to the egg mixture, whisking constantly. Add the tempered egg mixture back to the saucepan. Whisk constantly over medium heat until it starts to thicken. Remove from heat, continue stirring, and add the butter one tablespoon at a time. Add the vanilla and one tablespoon of matcha, sifted. Pour into a heat proof bowl, place a piece of plastic wrap over the surface, touching the cream so it doesn’t form a skin. Refrigerate until cool and set, several hours or overnight.
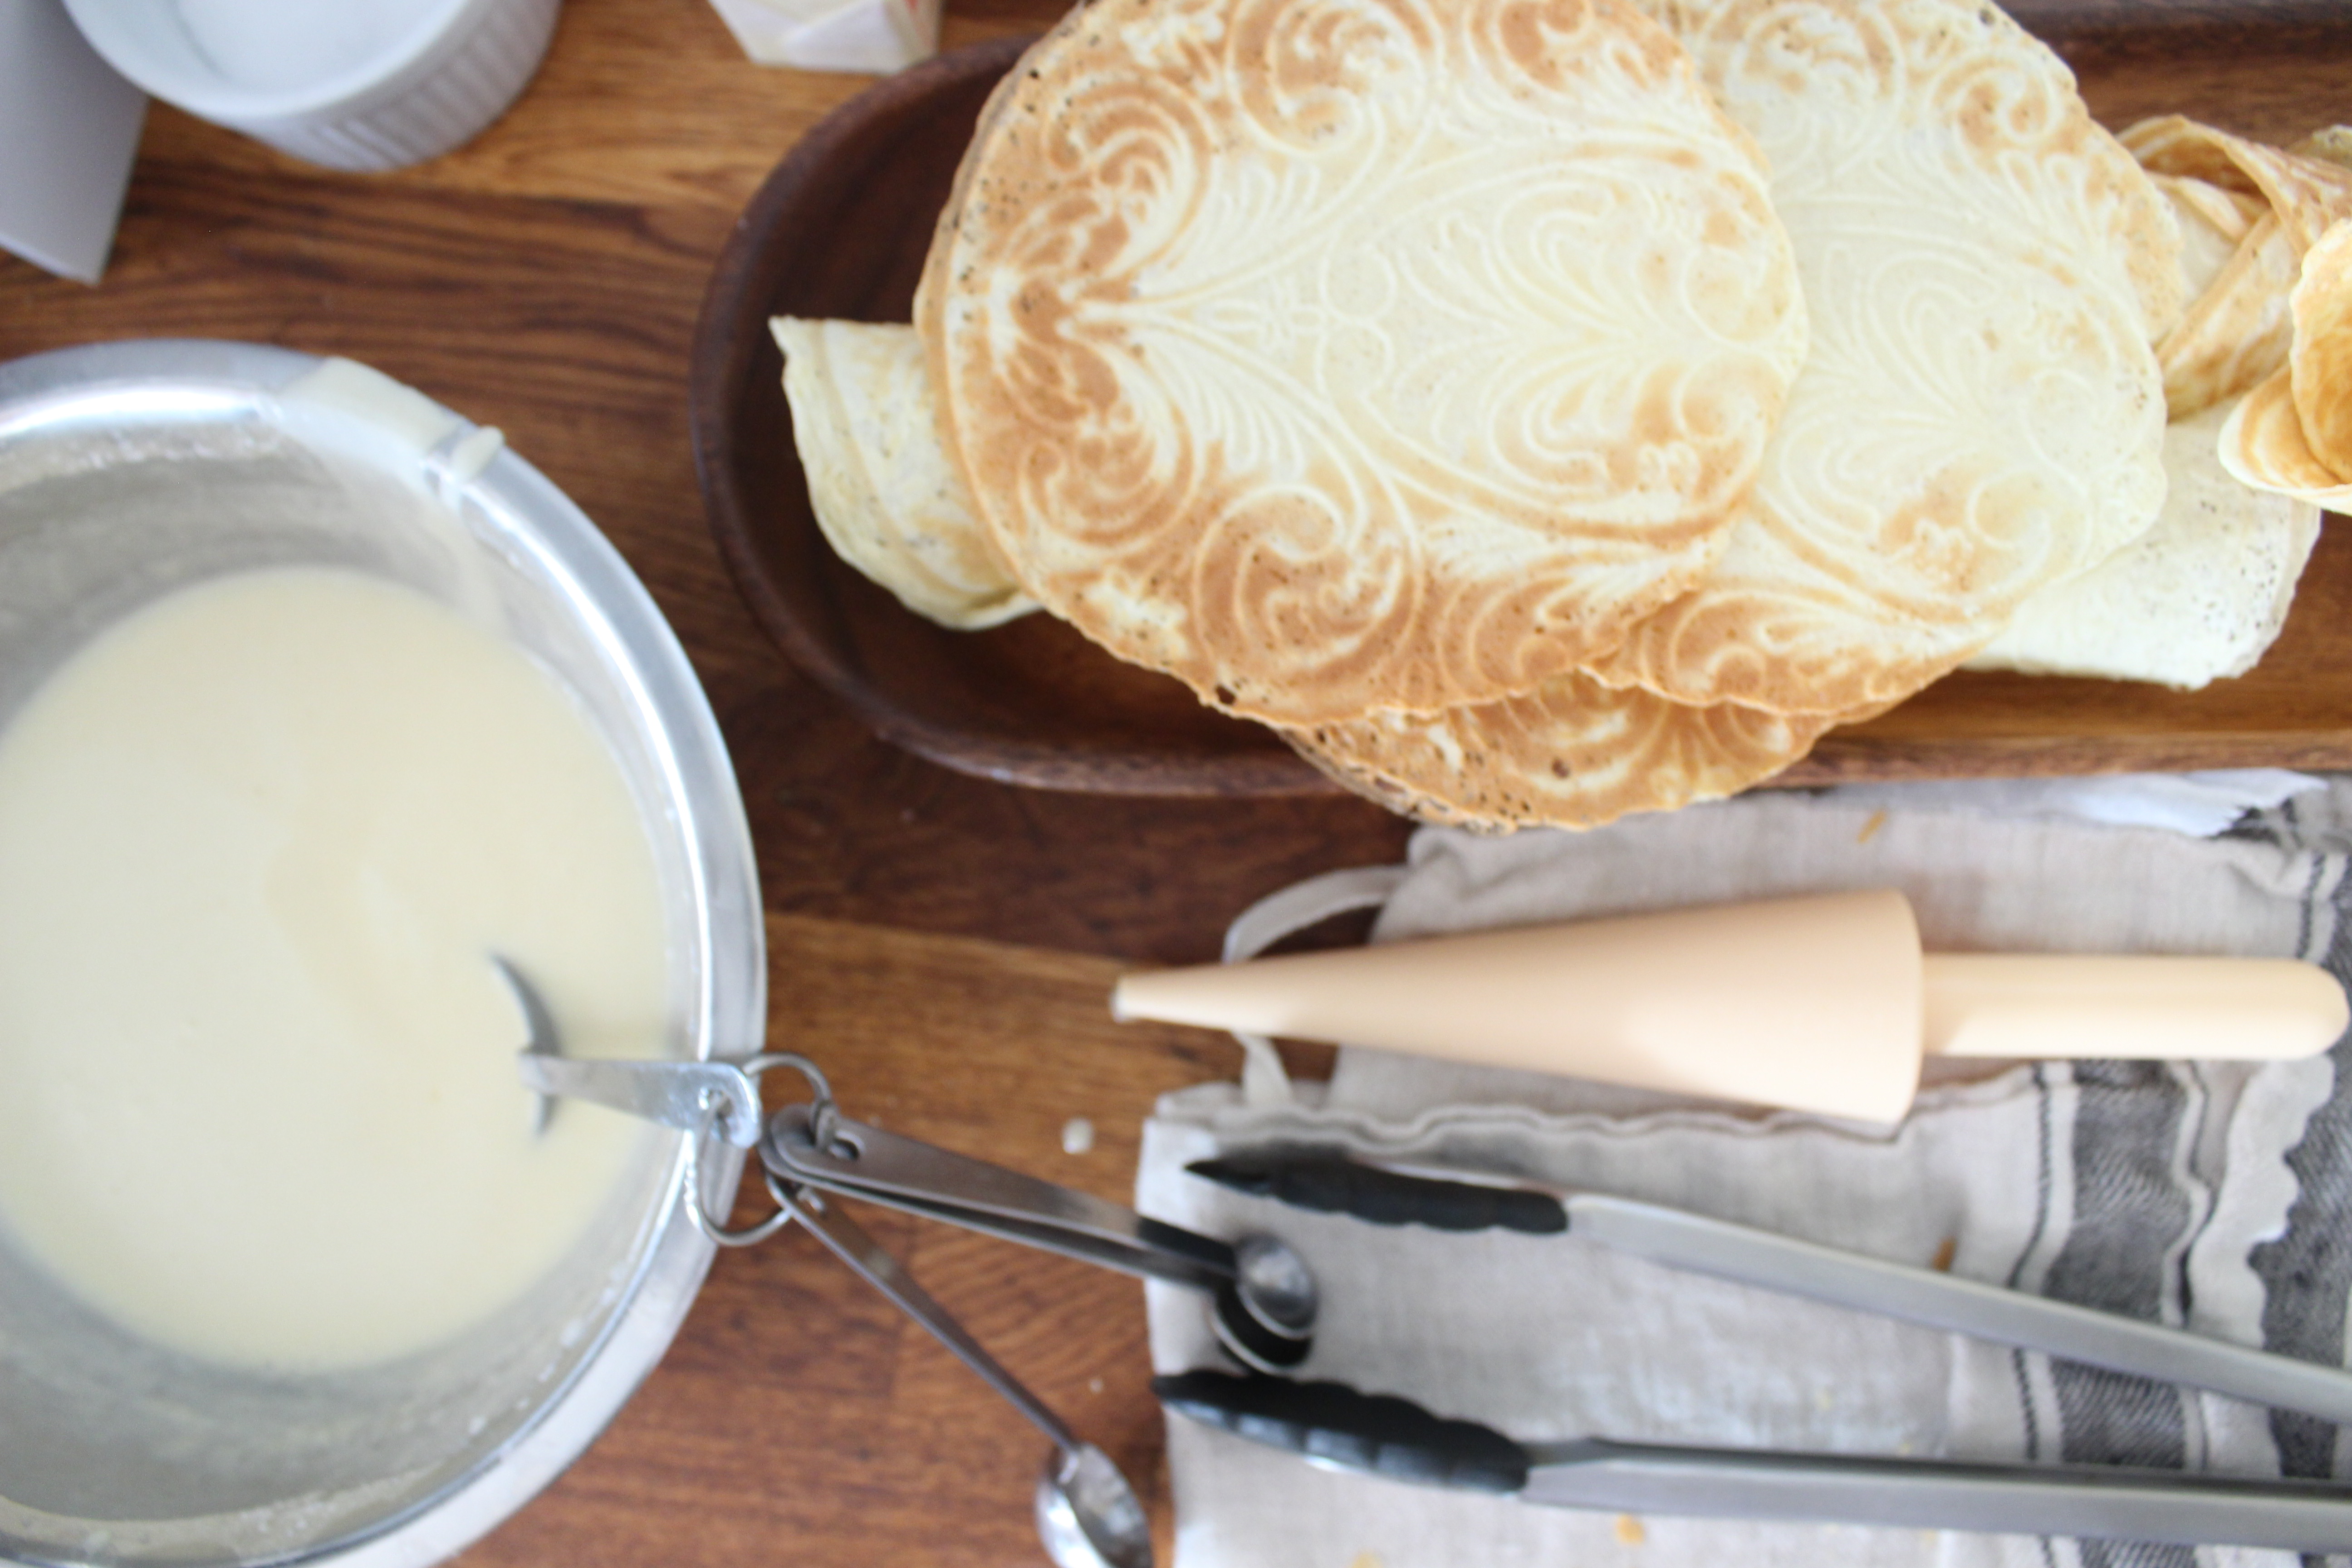
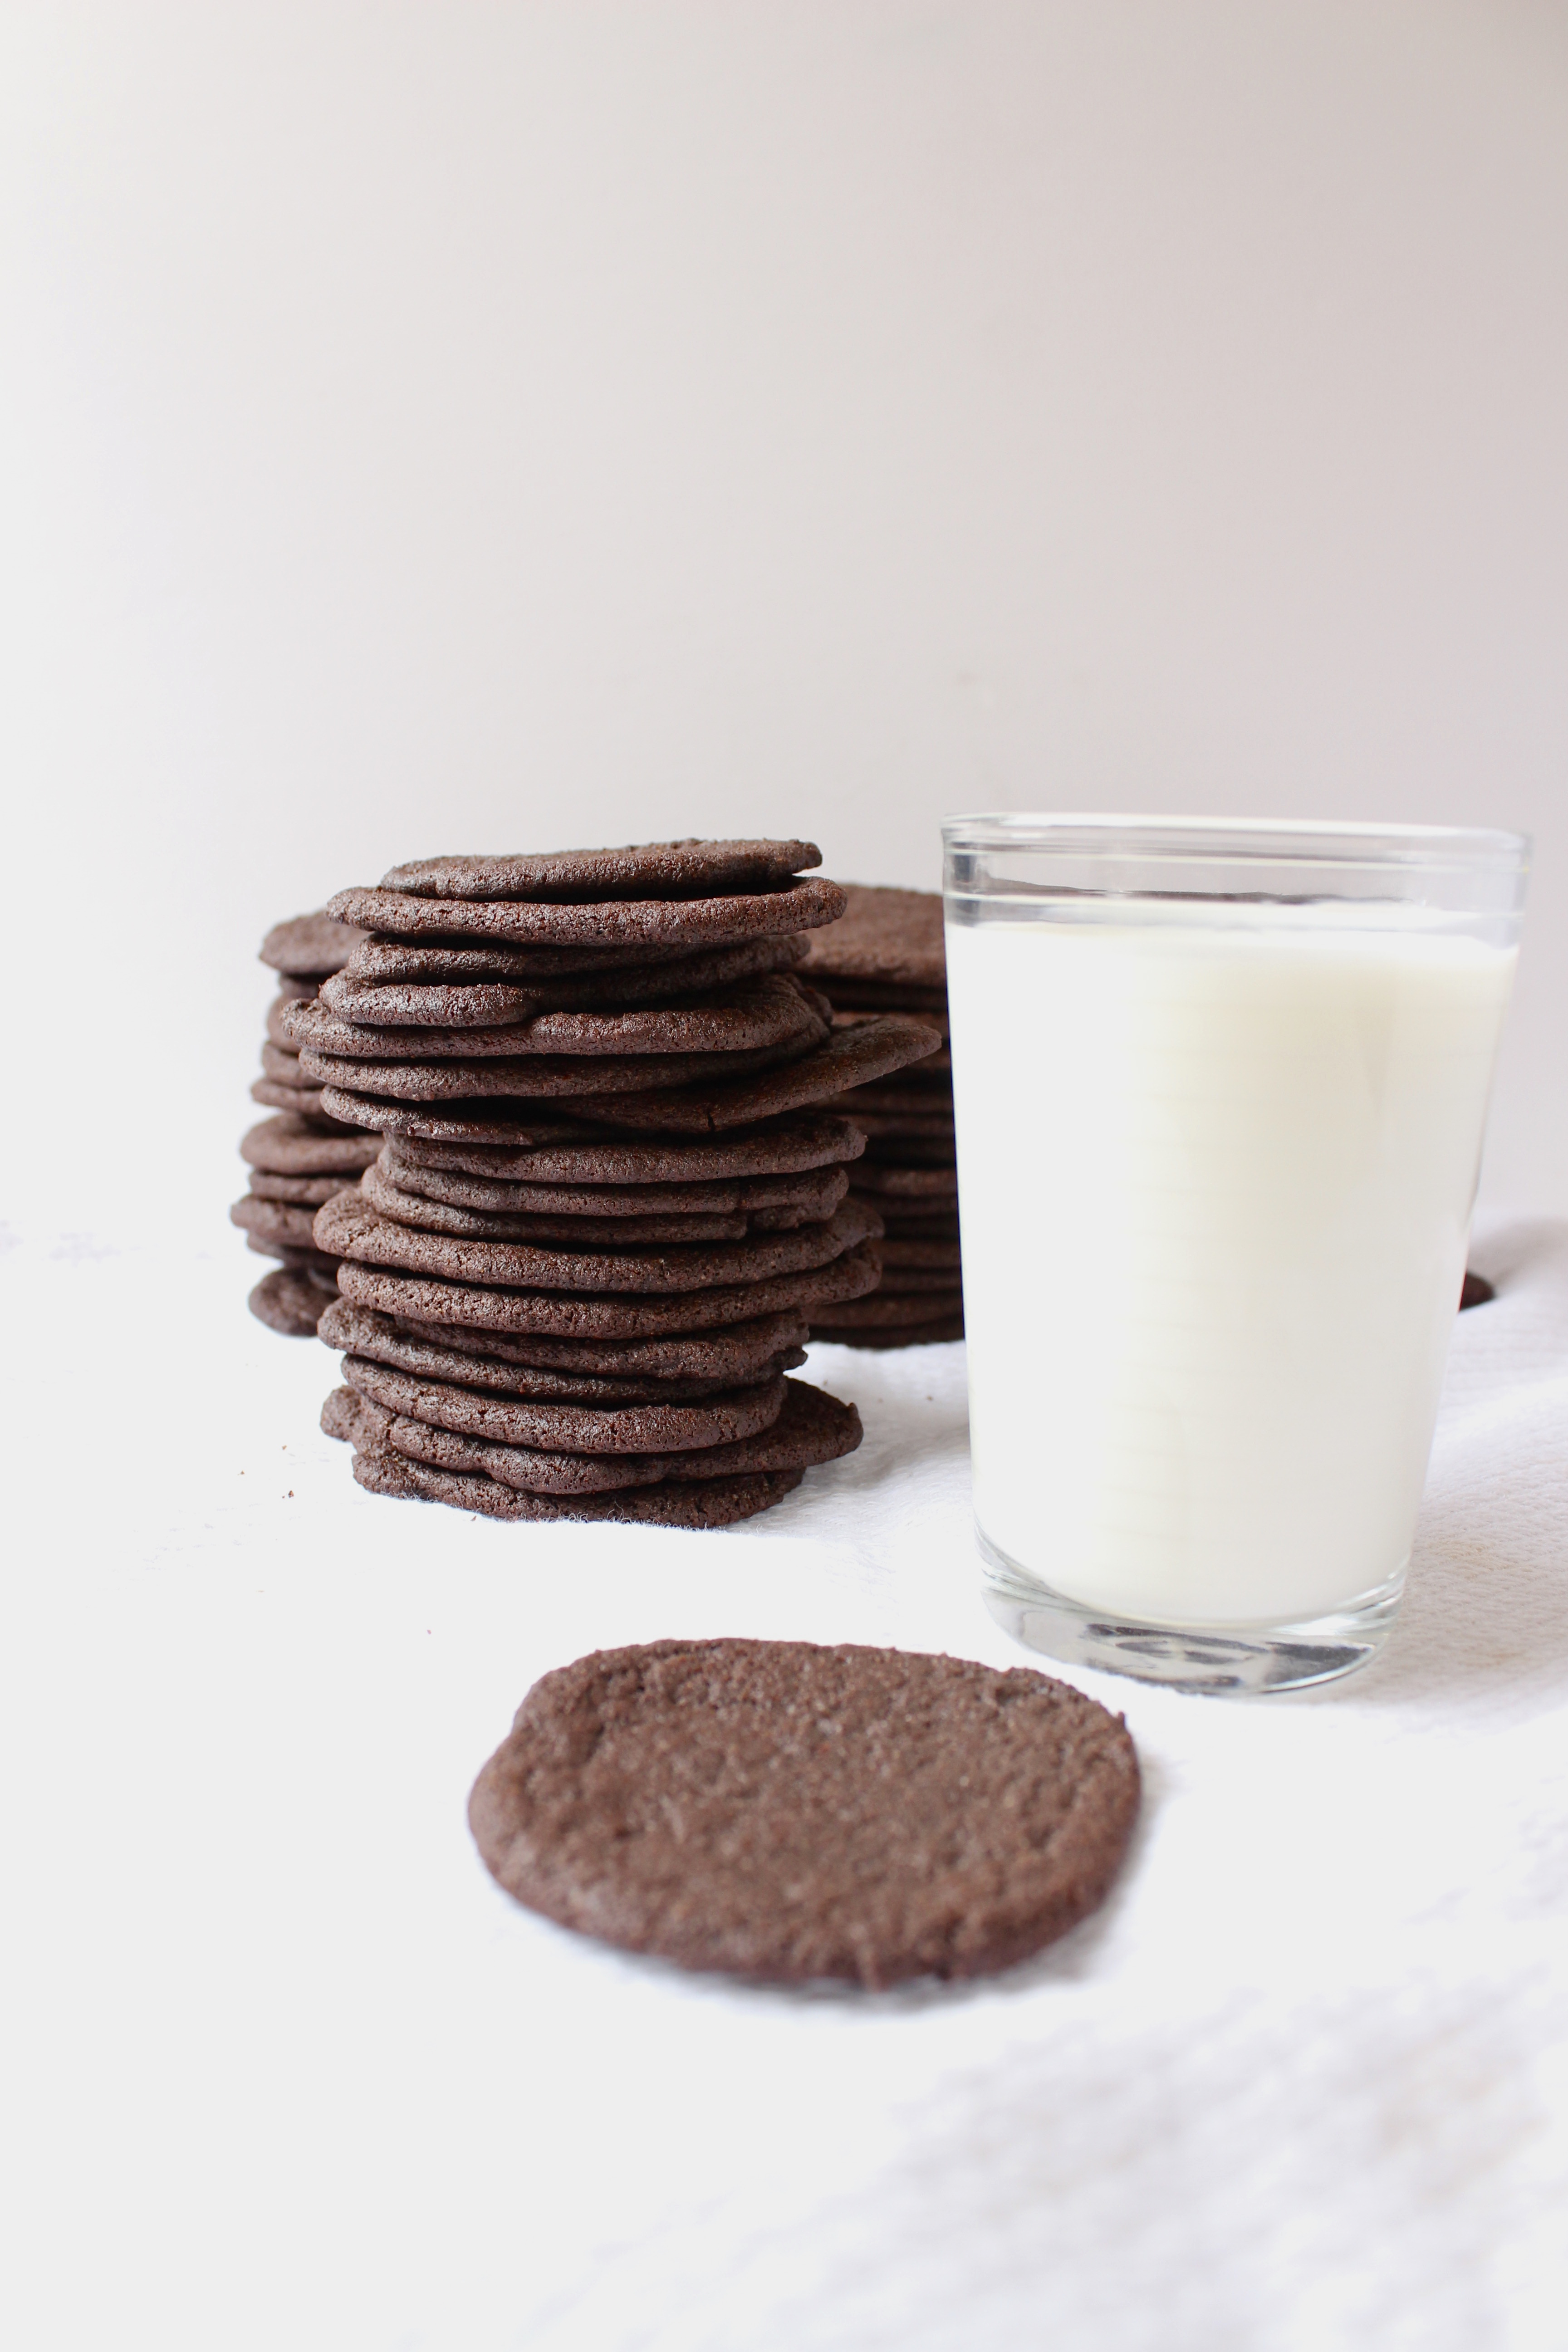
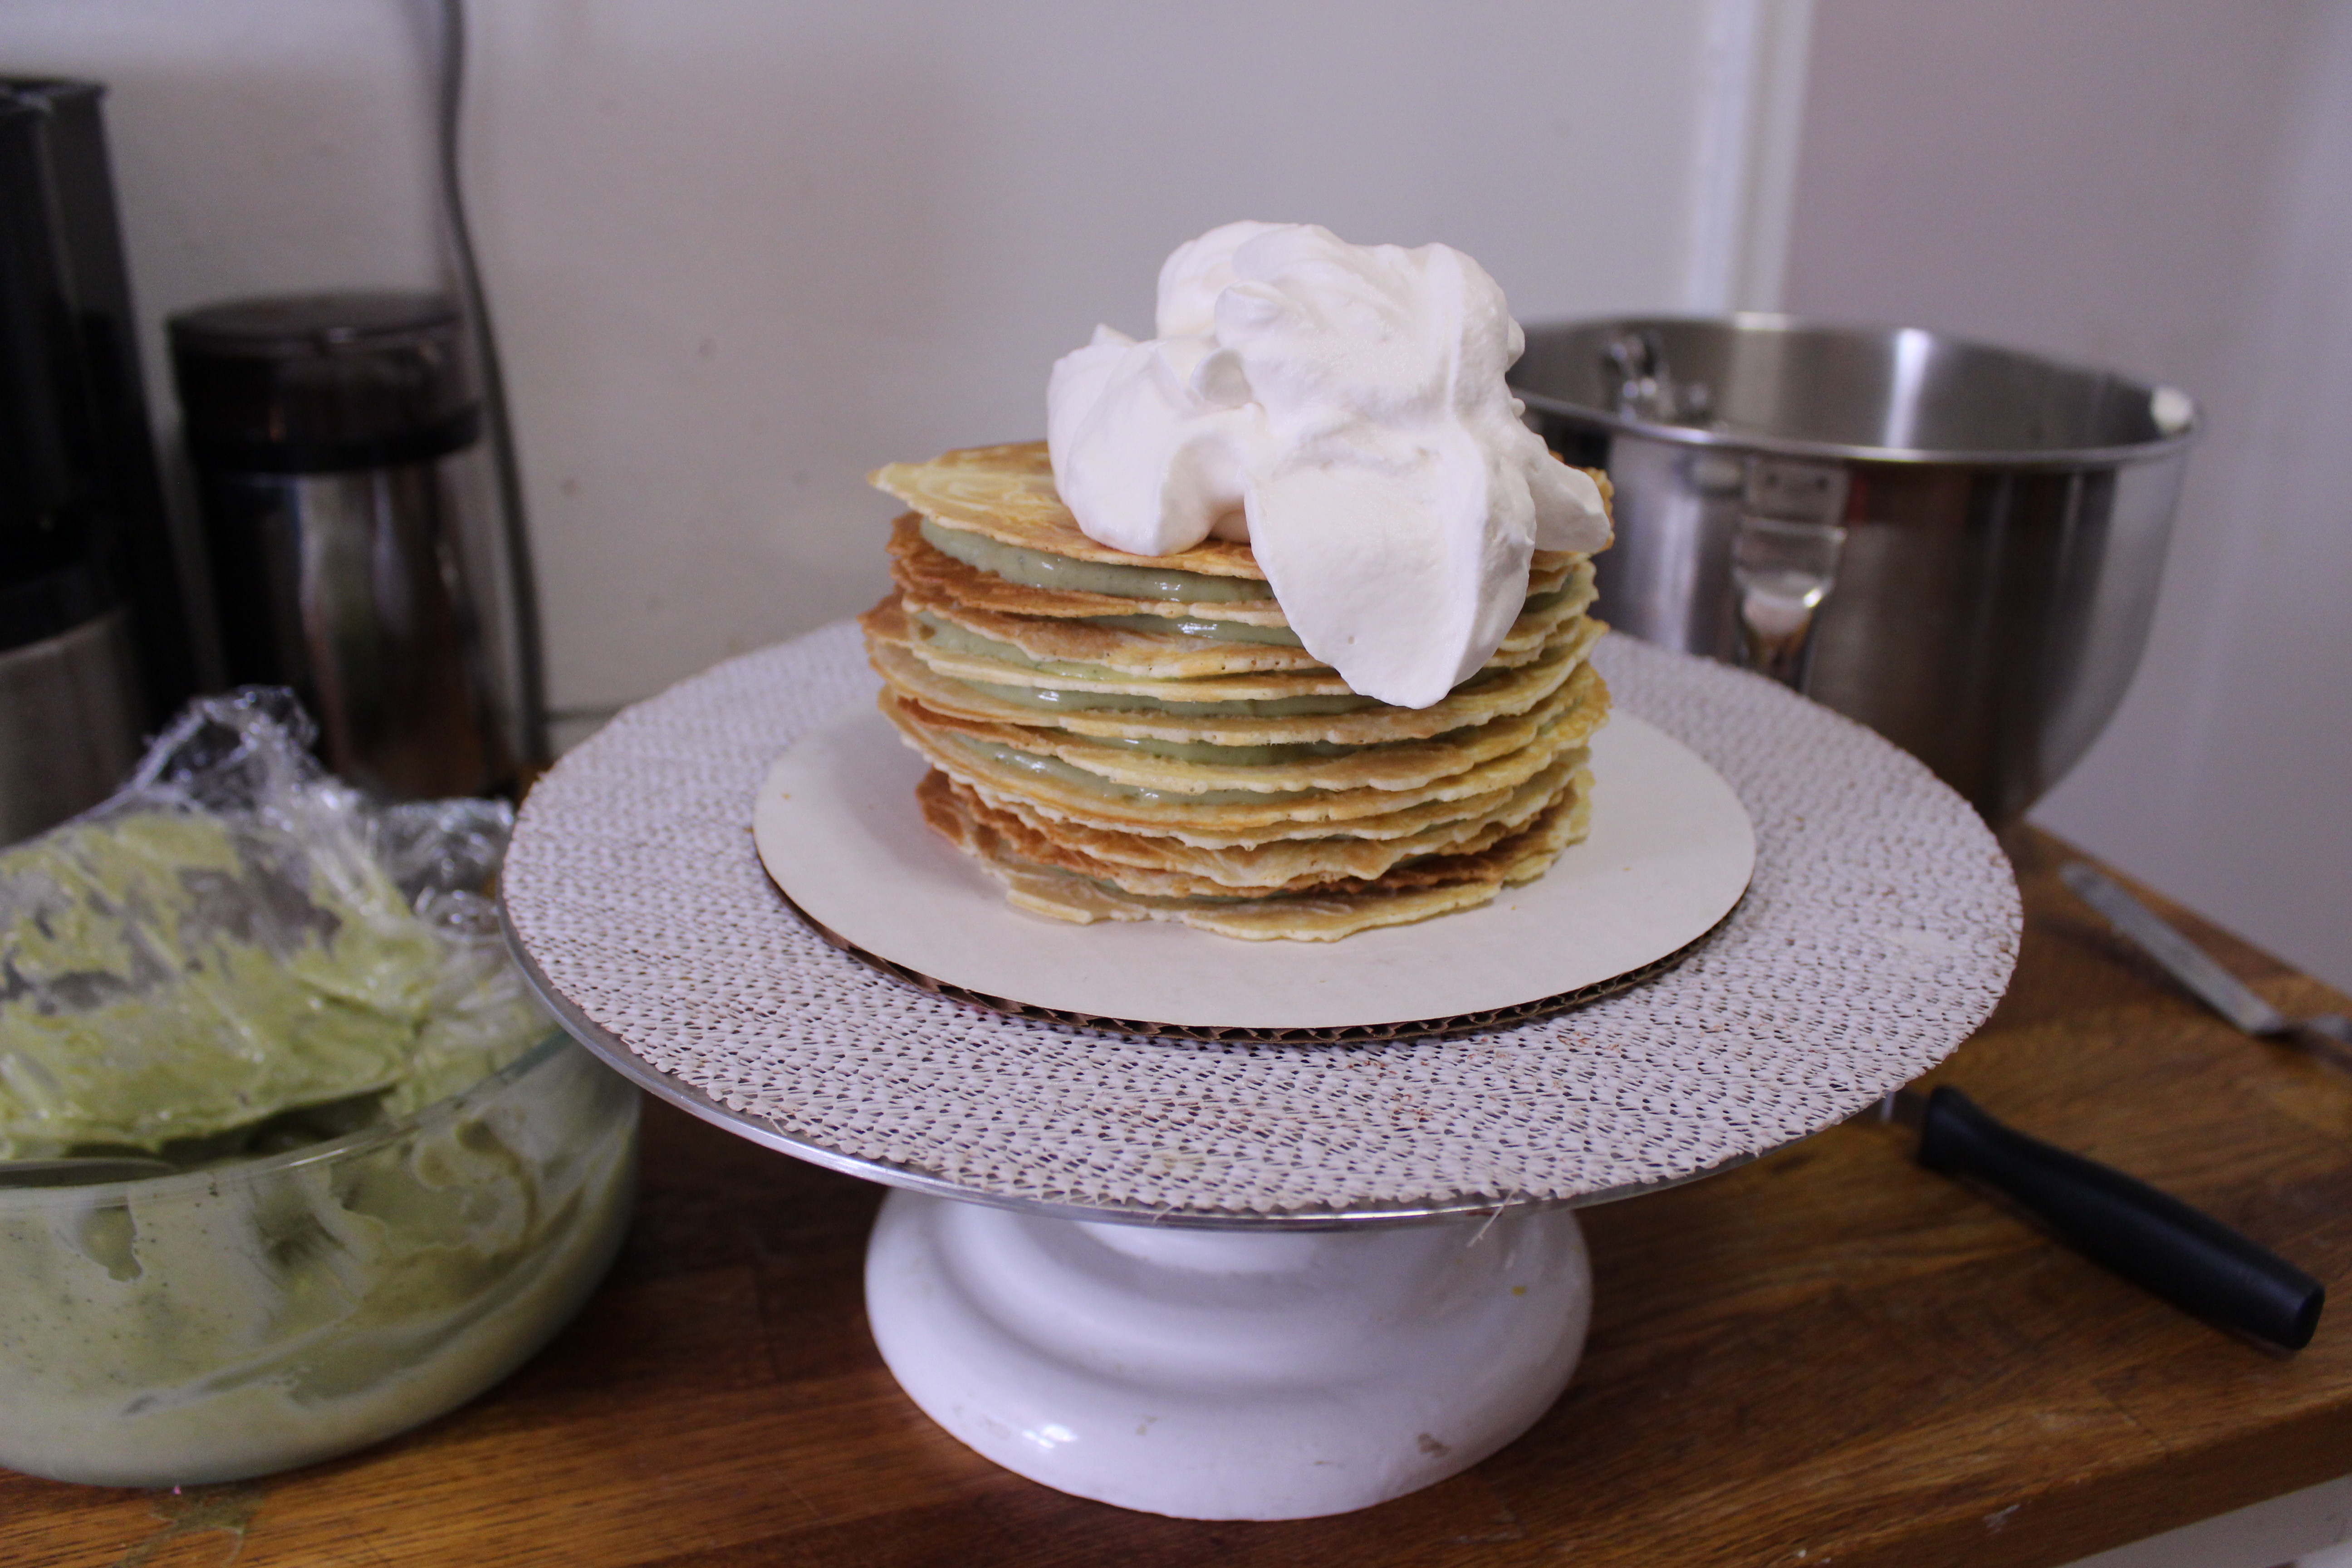
2. Make the wafers but instead of rolling into a cone shape, leave flat.
3. On an 8in cake board, place a small amount of cream and spread it thin. Place one wafer on the board, then one tablespoon of the pastry cream and spread it across. Repeat until all the pastry cream is used up. Carefully transfer to refrigerator and chill until set – at least 2 hours.
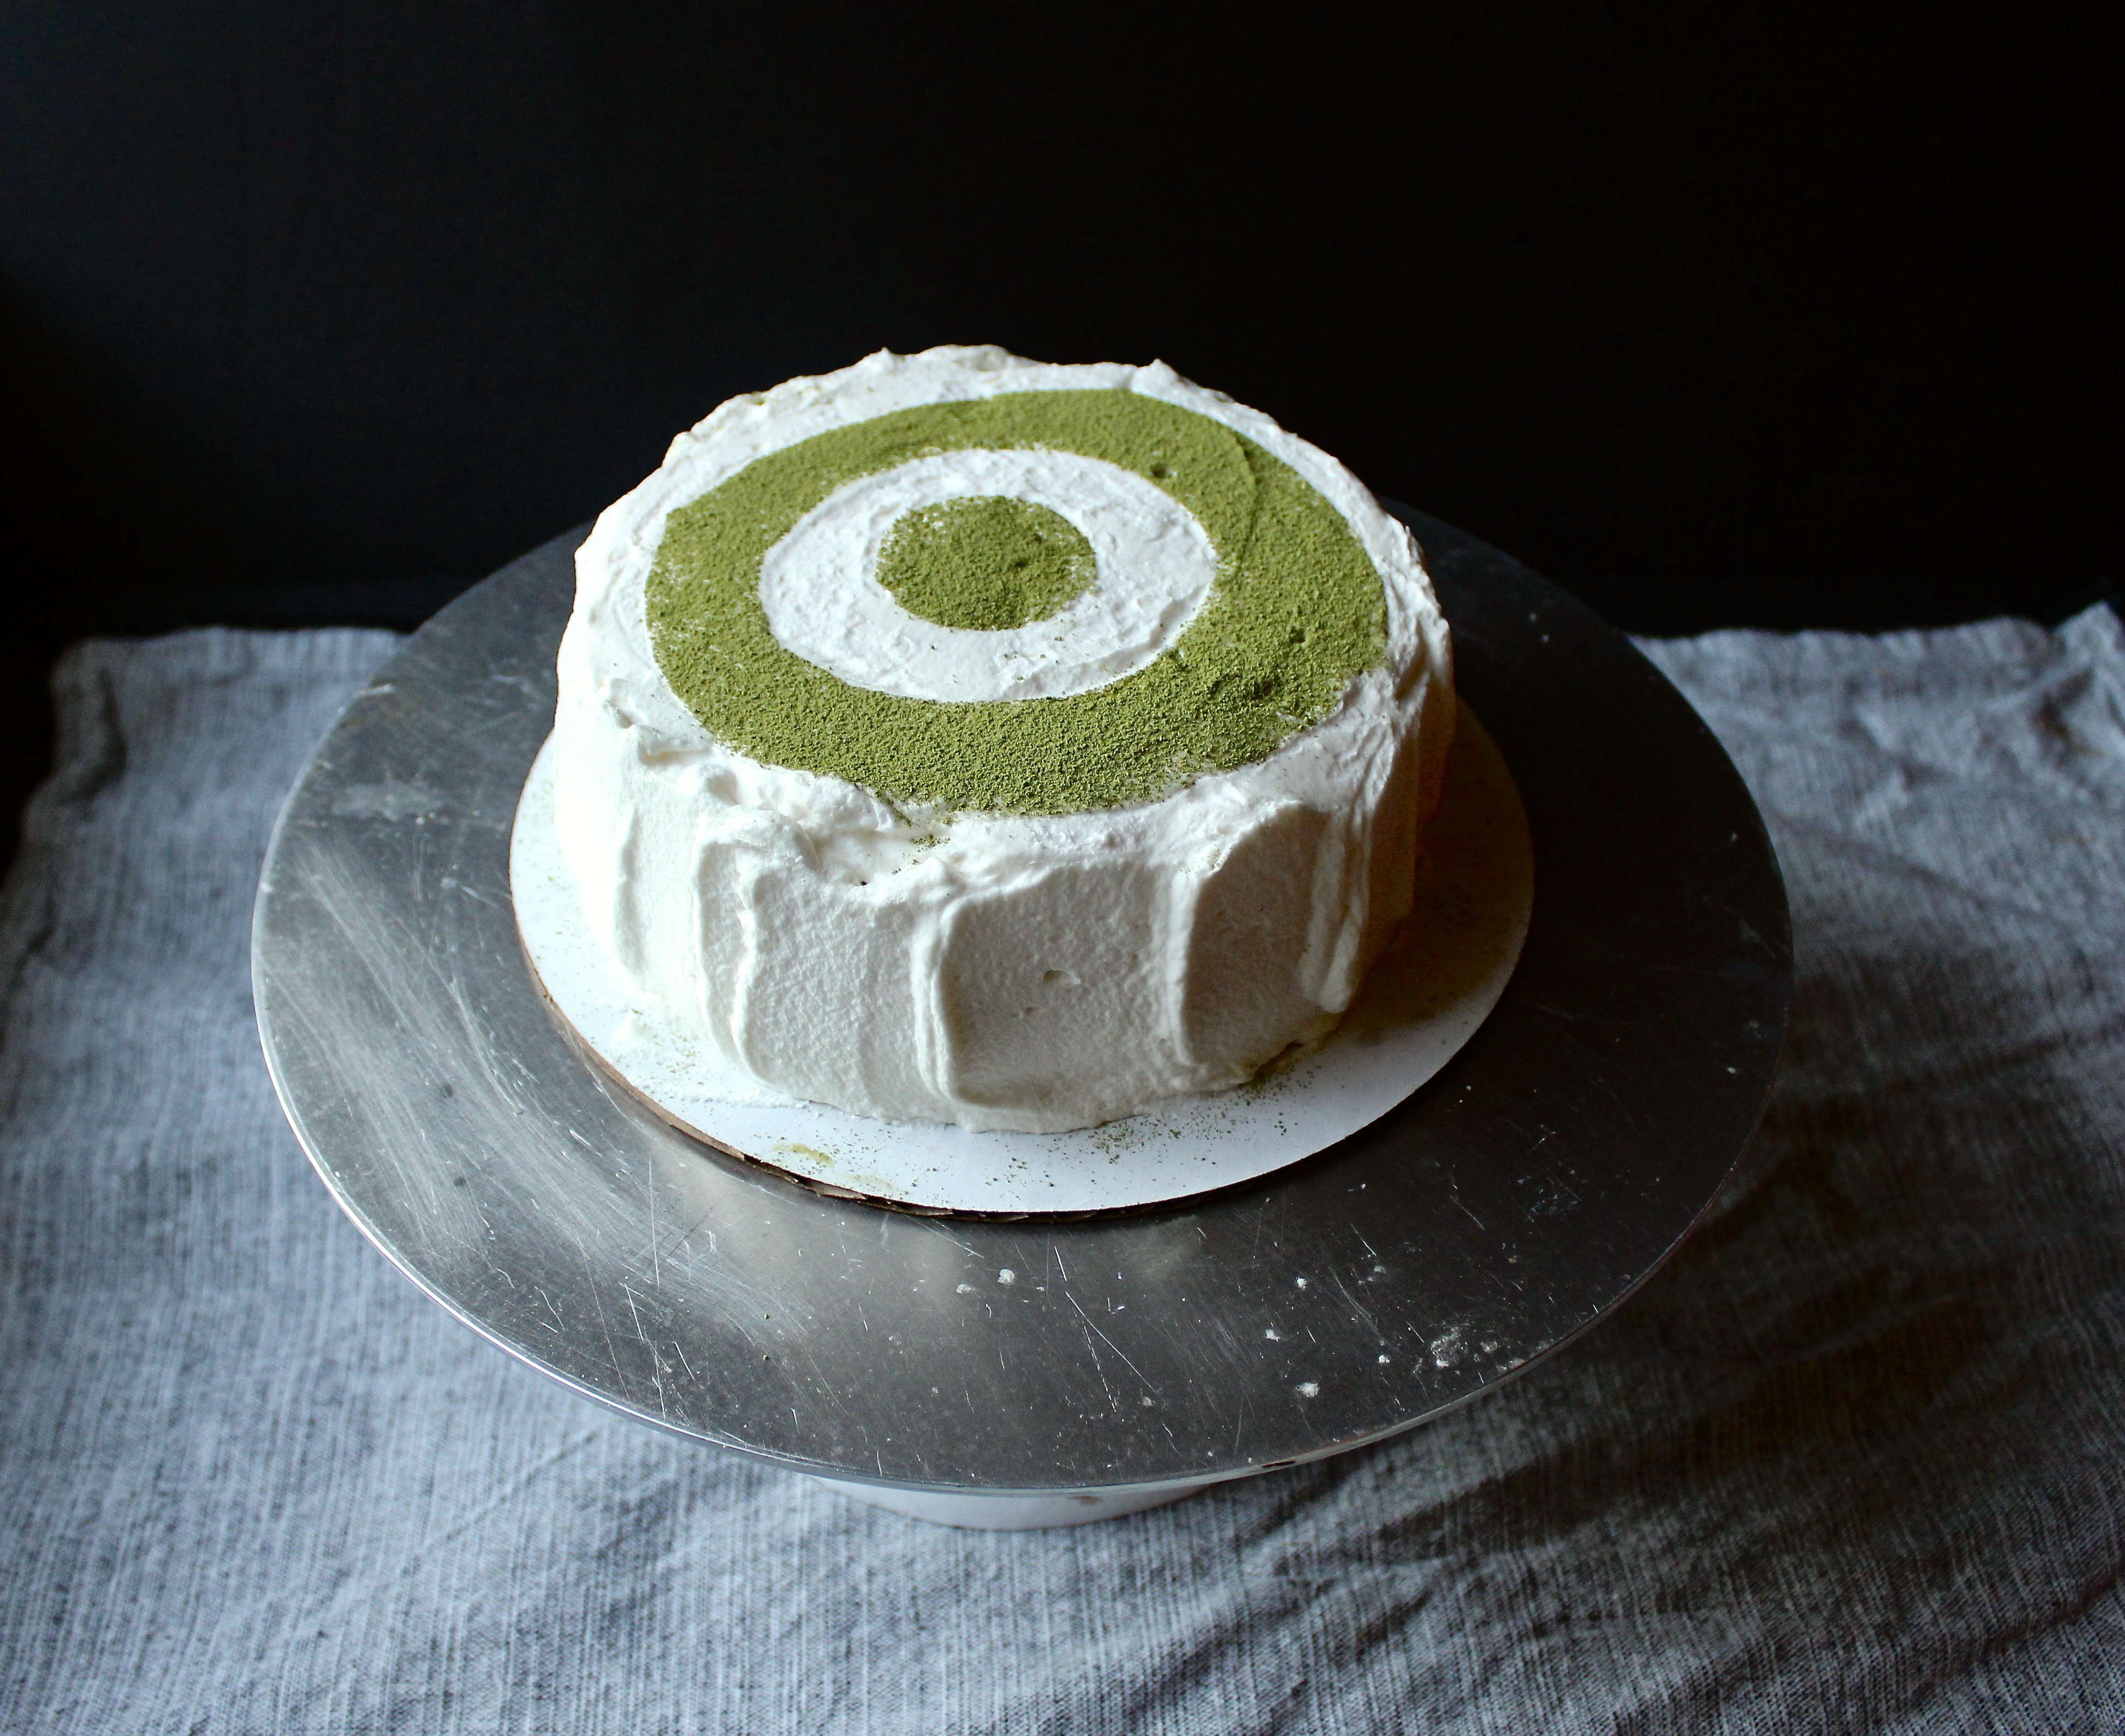
4. In a large bowl whip cream with 3 tbsp sugar until soft peaks form. Add vanilla and whip until combined. Take out cake from refrigerator and dollop generously on cake, spread to the edges, adding more onto the sides until it’s all covered. Garnish with the extra matcha. Cut out concentric circles out of parchment and place atop cake to get the pattern pictured above.

Leave a Comment · Labels: American/Mediterranean, Dessert Tagged: crepe cake, dessert, green tea, green tea cake, krumkake, lady m, matcha, pastry cream, wafers, whipped cream

Krumkake

January 12, 2018

img_1189
If you’ve been following along on social media (esp Instagram!) you’ll know I’ve had an exciting week: my little girl turned 7, my favorite fashion blogger of all time (Aimee Song!) showed my IG some love, and I discovered a classic Norwegian dessert called Krumkake.
img_1103
In anticipation of my daughter’s birthday, I got to thinking what kind of cake should I make for her? Chocolate and vanilla can get tiresome when you make them almost every day. I thought, what about a Kit Kat cake? What would I need?
img_1104
Chocolate, wafers, and more chocolate. I did some research on the filling of KitKat – apparently it’s some trade secret! Rumor has it the filling is made up of crushed KitKat?? That’s kind of dark. Like, candy cannibalism.
img_1112
Anywho, that’s what got me started on my wafer journey. Looked up a wafer recipe, said recipe directed me to various presses. Instead of a waffle press, I went with this Norwegian Krumkake press, with it’s beautiful design, I couldn’t resist!
fullsizeoutput_6d4a
The simplest batter of butter, flour, eggs, sugar and milk gives you excellent wafers. The only thing is you need like 1 hour in the kitchen, baking each one for about 30 seconds each, and rolling them around the cone that the press comes with, or leaving flat if you want to stack them for a cake.
img_1172
You can fill them with pretty much anything you like! Whipped cream, pastry cream, fresh fruit, ice cream. I opted for a dark chocolate ganache, whipped cream, blueberries and powdered sugar. They are delicious on their own, as well!

/wp-content/uploads/2018/01/Krumkake.mp4

They are delicate, so take care handling them after they’ve dried. I found it easier to fill and decorate by placing them in tall glasses. Serve on a nice wooden platter and enjoy immediately!

Ingredients

  • 2/3 stick (5 tbsp) unsalted butter
  • 2/3 cup granulated sugar
  • pinch salt
  • 2 eggs
  • 2/3 cup milk
  • 1 cup all purpose flour
  • 1/2 tsp vanilla extract
  • chocolate ganache (optional)
  • whipped cream (optional)
  • blueberries (optional)

Directions

  1. Melt the butter in a double boiler (a heat proof bowl set over a saucepan of simmering water, not allowing the water to touch the bottom of the bowl), careful not to let it brown or get too hot. Add sugar + salt and beat on high speed with a handheld electric mixer until well combined. Add eggs one at a time and blend until mixture is a pale yellow color. Add milk, alternating with flour until all ingredients are combined. Add vanilla. Batter should be thick but drip off the spoon easily.
  2. Plug in your krumkake maker and set the color number to 4. Set out a kitchen towel and rolling cone. Spray the inside with non stick cooking spray. The red “baking” light will turn on. When the light changes to green (“ready”), drop 1tbsp of batter in the center. Close the lid and snap the latch shut. The light will switch back to red and when done, green again. Use tongs to carefully remove the krumkake and place over the cone, aligning the center of the krumkake along the length of the cone. Roll to form a cone and allow to set while working on the next one.
  3. Repeat (no need to spray additional spray) and remove previous krumkake from shaping cone. Adjust the color if you prefer a lighter krumkake*.
  4. When all the krumkakes have dried and keep their shape, place in tall glasses to fill. Fill with puddings, whipped cream, chocolate ganache and/or fresh fruit for a delicate, wonderful and tasty dessert.

*My manual suggests a setting of 2.5 but I was getting zero color at that setting.

· Labels: Dessert, Recipes Tagged: biscuits, blueberries, chocolate, chocolate ganache, christmas, cones, confectioners sugar, cookies, crisps, dessert, ganache, kromkake, krumkake, norwegian, sugar cones, wafers, whipped cream

Chocolate Wafer Cookies

January 5, 2017

fullsizeoutput_47ec
If ever you’ve craved a cookie so intensely chocolately, with little to meddle with it pure chocolate flavor (no nuts, no eggs, and a high cocoa to flour ratio), then this cookie is it.

I first made these about 1 year ago when I made my first ice box cake…for 50 people. I must have made 4 batches. Probably could have made less if I hadn’t been snacking on them along the way.

These cookies mimic the famous Nabisco Chocolate Wafers that most icebox cake recipes call for. For some reason, they’ve been discontinued in store, and are only available online. Every time I attempt to purchase some, that little voice in my head goes “hydrogenated oils…preservatives” then I head to the kitchen to make my own. They are easy to make, hard to mess up, and I always have the ingredients on hand.fullsizeoutput_480c
It’s hard to tell when these cookies are done, since they are so dark. I usually just go by 10 minutes, as the recipe indicates. Since the cocoa is the predominant flavor, quality really matters. And unfortunately, it is one of those slightly fussy recipes in that it requires dutch-processed cocoa (cocoa powder that’s been alkalized, making it less acidic than natural cocoa powder). You could try to use a natural cocoa powder, such as Ghirardelli (I wouldn’t recommend Hershey’s for these), but you may need to increase the baking soda. I haven’t tried it yet, but if you do, please let me know!
img_8480
As these cookies cool, they become crisp, which is why they work so well in icebox cakes, and in this week’s case, ice cream cake. More on that coming soon!

They absorb the moisture from the surrounding medium without getting too soggy. They aren’t as heavy as say a brownie or a chocolate chip cookie, so you can satisfy your chocolate craving with a fraction of the guilt.

Recipe from Cooking Channel.

Ingredients

  • 1/2 cup or 1 stick unsalted butter
  • 3/4 cup granulated sugar
  • 1/2 cup dark brown sugar*
  • 1 tsp vanilla
  • 1 cup flour
  • 3/4 cup Dutch processed cocoa (such as Rodelle)
  • 1/2 tsp baking soda
  • 1/4 tsp salt
  • 1/4 cup whole milk

Directions

  1. In the bowl of your stand mixer, or in a large bowl using a handheld electric mixer, cream together the butter and both sugars for 2 minutes at medium speed. Add vanilla and beat until combined.
  2. In a medium bowl, sift the flour, cocoa, baking soda. Add salt and stir to combine.
    With the mixer running on low, slowly add the dry ingredients to the butter/sugar mixture. Stop to scrape down the sides of the bowl occasionally. Once all the flour’s been added, add the milk and mix until combined.
  3. Lay a piece of plastic wrap on a flat surface. Dump cookie dough directly onto the plastic wrap, in a log-like shape. Wrap up the dough with the plastic wrap and continue to shape into an even-width log. Refrigerate for at least 1 hour.
  4. Preheat oven to 350 degrees F. Score cookie dough with a ruler 1/4in apart. Slice the log into 1/4in thick disks and place disks on a cookie sheet lined with parchment paper. Bake for 7 to 8 minutes. Refrigerate the remaining cookie dough. Then rotate baking sheet and bake for 2 minutes more. Allow to cool for a few minutes before transferring to a wire rack to cool completely.
  5. Continue with remaining cookie dough. Wrap well and store at room temperature.

*I only had light brown sugar in stock, so I added half a tablespoon of molasses to substitute for the dark brown sugar.

Leave a Comment · Labels: American/Mediterranean, Dessert, Recipes Tagged: chocolate, cookie crumbles, cookies, dark chocolate, dessert, easy, egg free, ice cream cake, icebox cake, wafers

American, Bangladeshi. Savory, sweet. I don't discriminate and neither should you.

Most recently…

Load More...
Follow on Instagram

Social

Subscribe to Blog via Email

Enter your email address to subscribe to this blog and receive notifications of new posts by email.

Tags

appetizer beef bengali breakfast butter cake caramel chicken chocolate chocolate chips cilantro clean eating coconut comfort food cookies dessert dinner entertaining fall fruit ganache gluten free halal healthy homemade honest chops honest creations iftar italian pasta pastry pistachio quick and easy dinner ramadan recipe side side dish south asian spinach vegan vegetables vegetarian weeknight dinner weeknight meal whipped cream

Theme by 17th Avenue · Powered by WordPress & Genesis