If you’ve been following along on social media (esp Instagram!) you’ll know I’ve had an exciting week: my little girl turned 7, my favorite fashion blogger of all time (Aimee Song!) showed my IG some love, and I discovered a classic Norwegian dessert called Krumkake.

In anticipation of my daughter’s birthday, I got to thinking what kind of cake should I make for her? Chocolate and vanilla can get tiresome when you make them almost every day. I thought, what about a Kit Kat cake? What would I need?

Chocolate, wafers, and more chocolate. I did some research on the filling of KitKat – apparently it’s some trade secret! Rumor has it the filling is made up of crushed KitKat?? That’s kind of dark. Like, candy cannibalism.

Anywho, that’s what got me started on my wafer journey. Looked up a wafer recipe, said recipe directed me to various presses. Instead of a waffle press, I went with this Norwegian Krumkake press, with it’s beautiful design, I couldn’t resist!
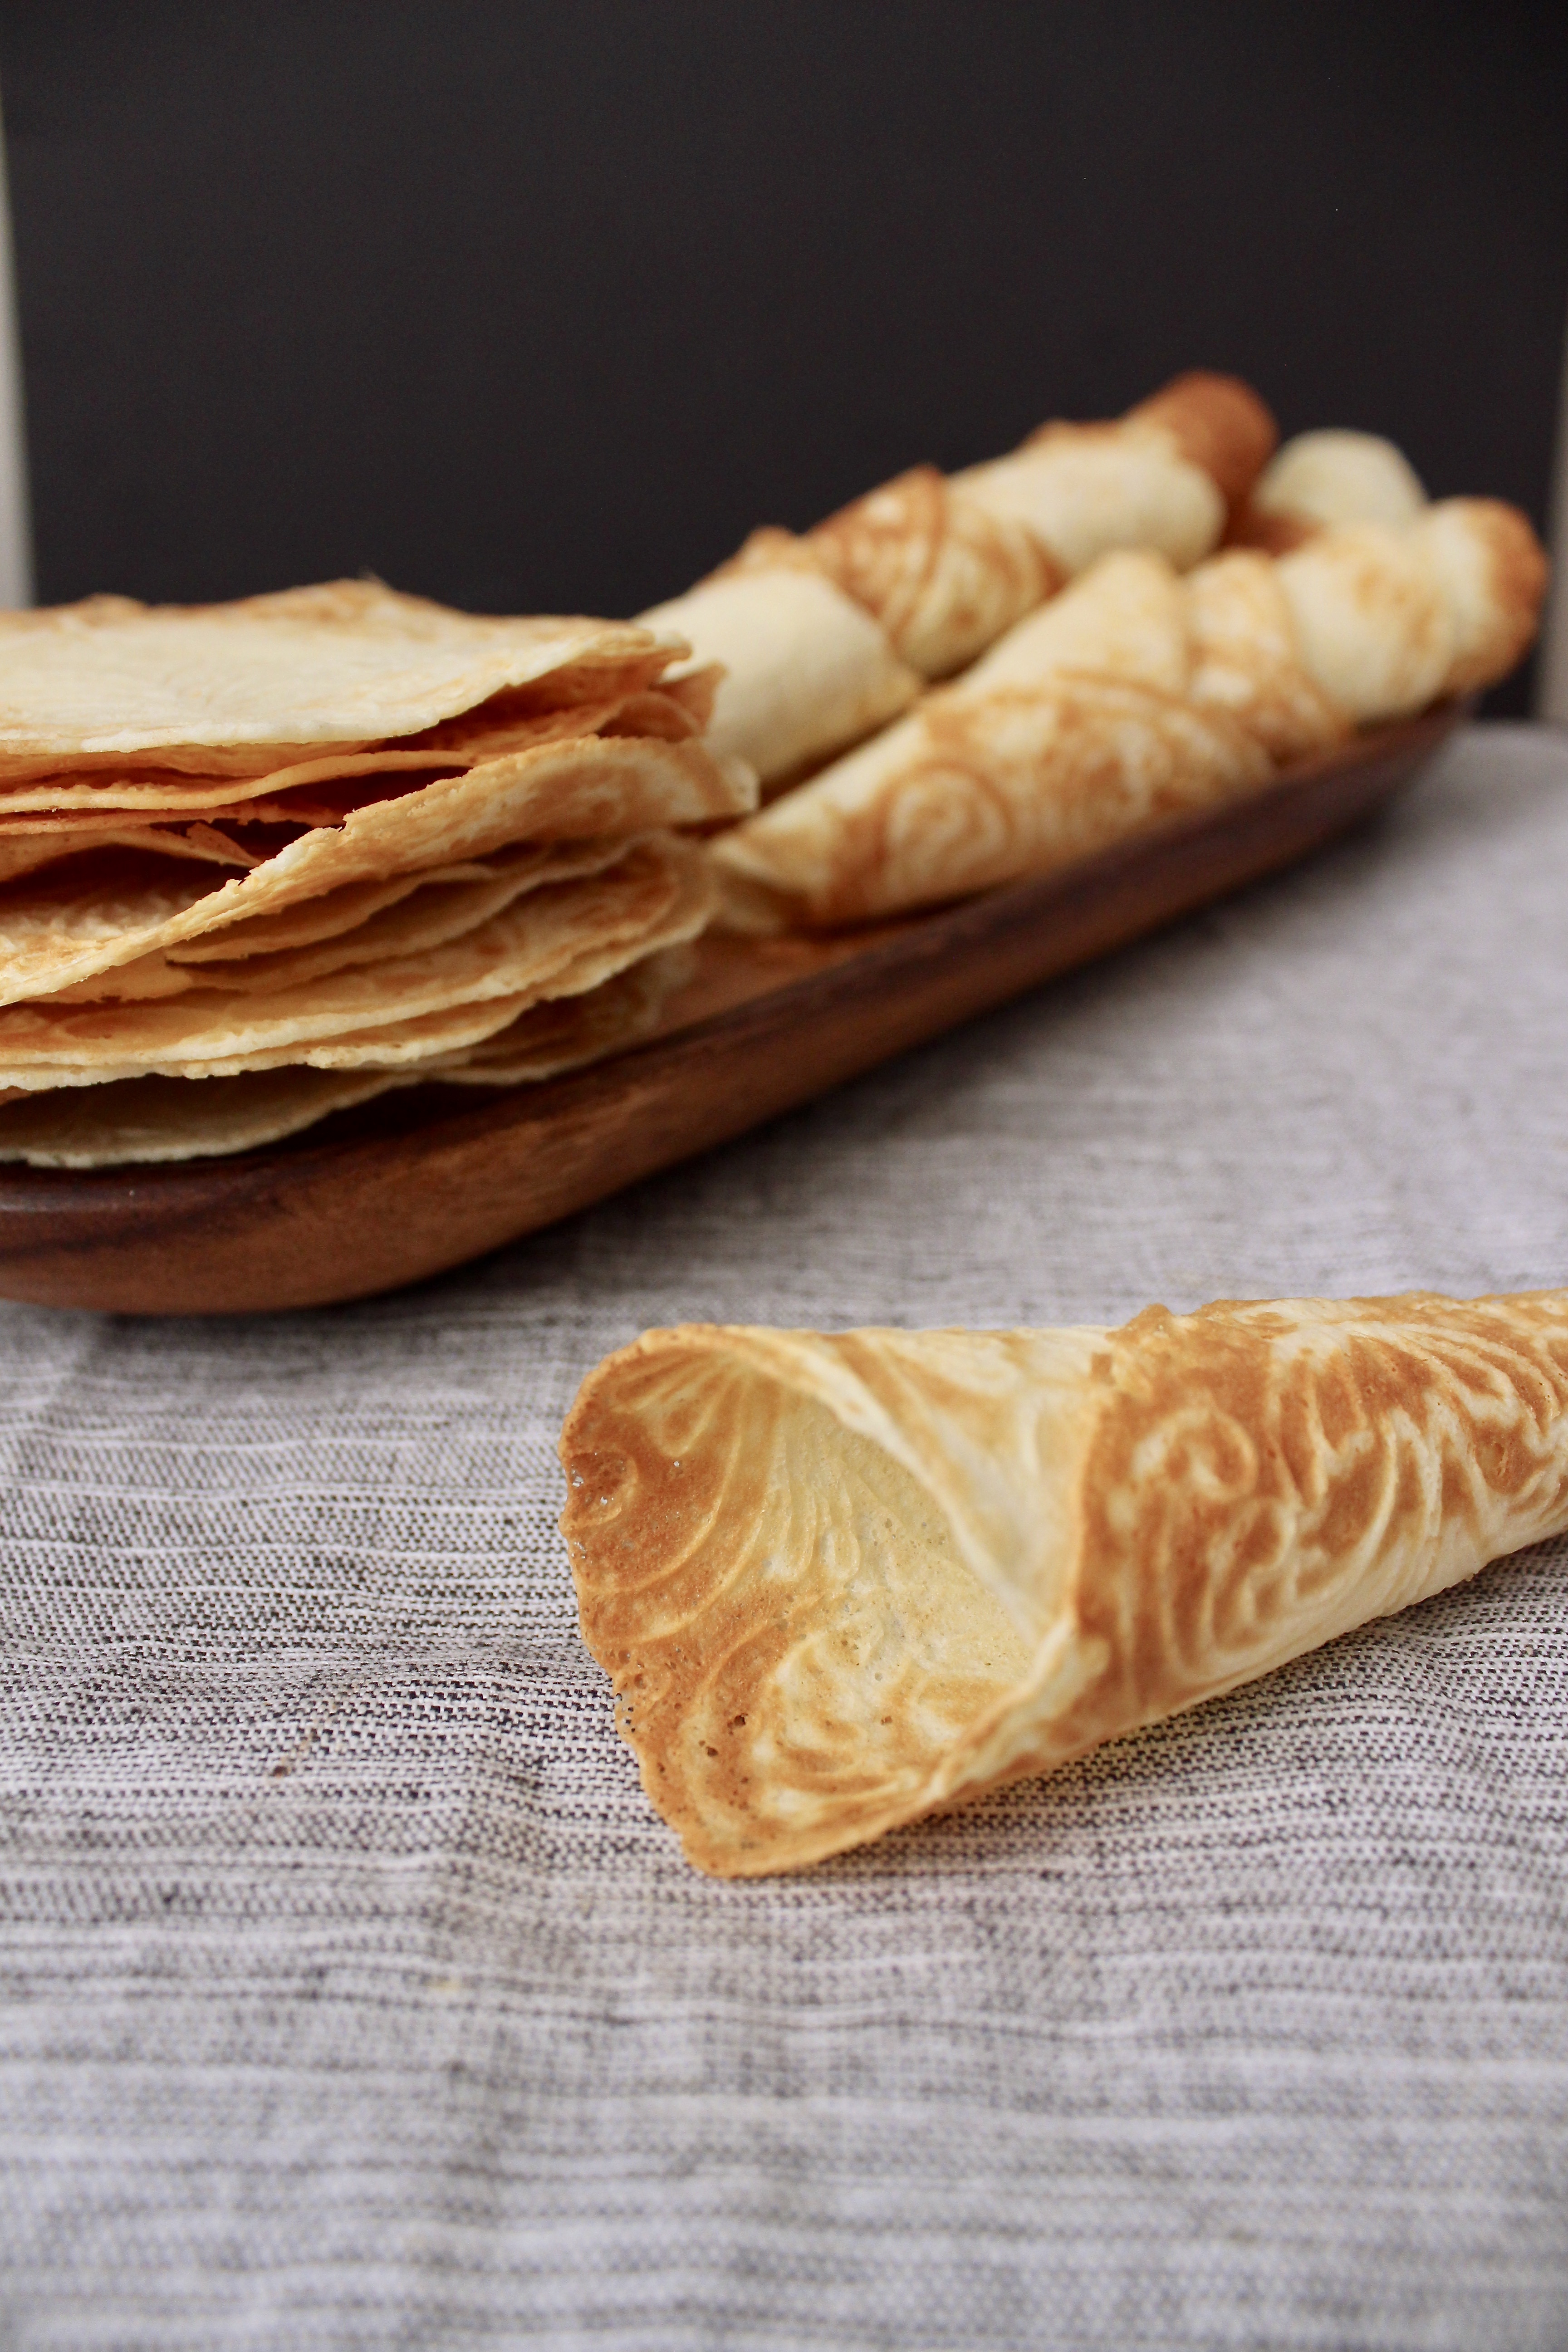
The simplest batter of butter, flour, eggs, sugar and milk gives you excellent wafers. The only thing is you need like 1 hour in the kitchen, baking each one for about 30 seconds each, and rolling them around the cone that the press comes with, or leaving flat if you want to stack them for a cake.
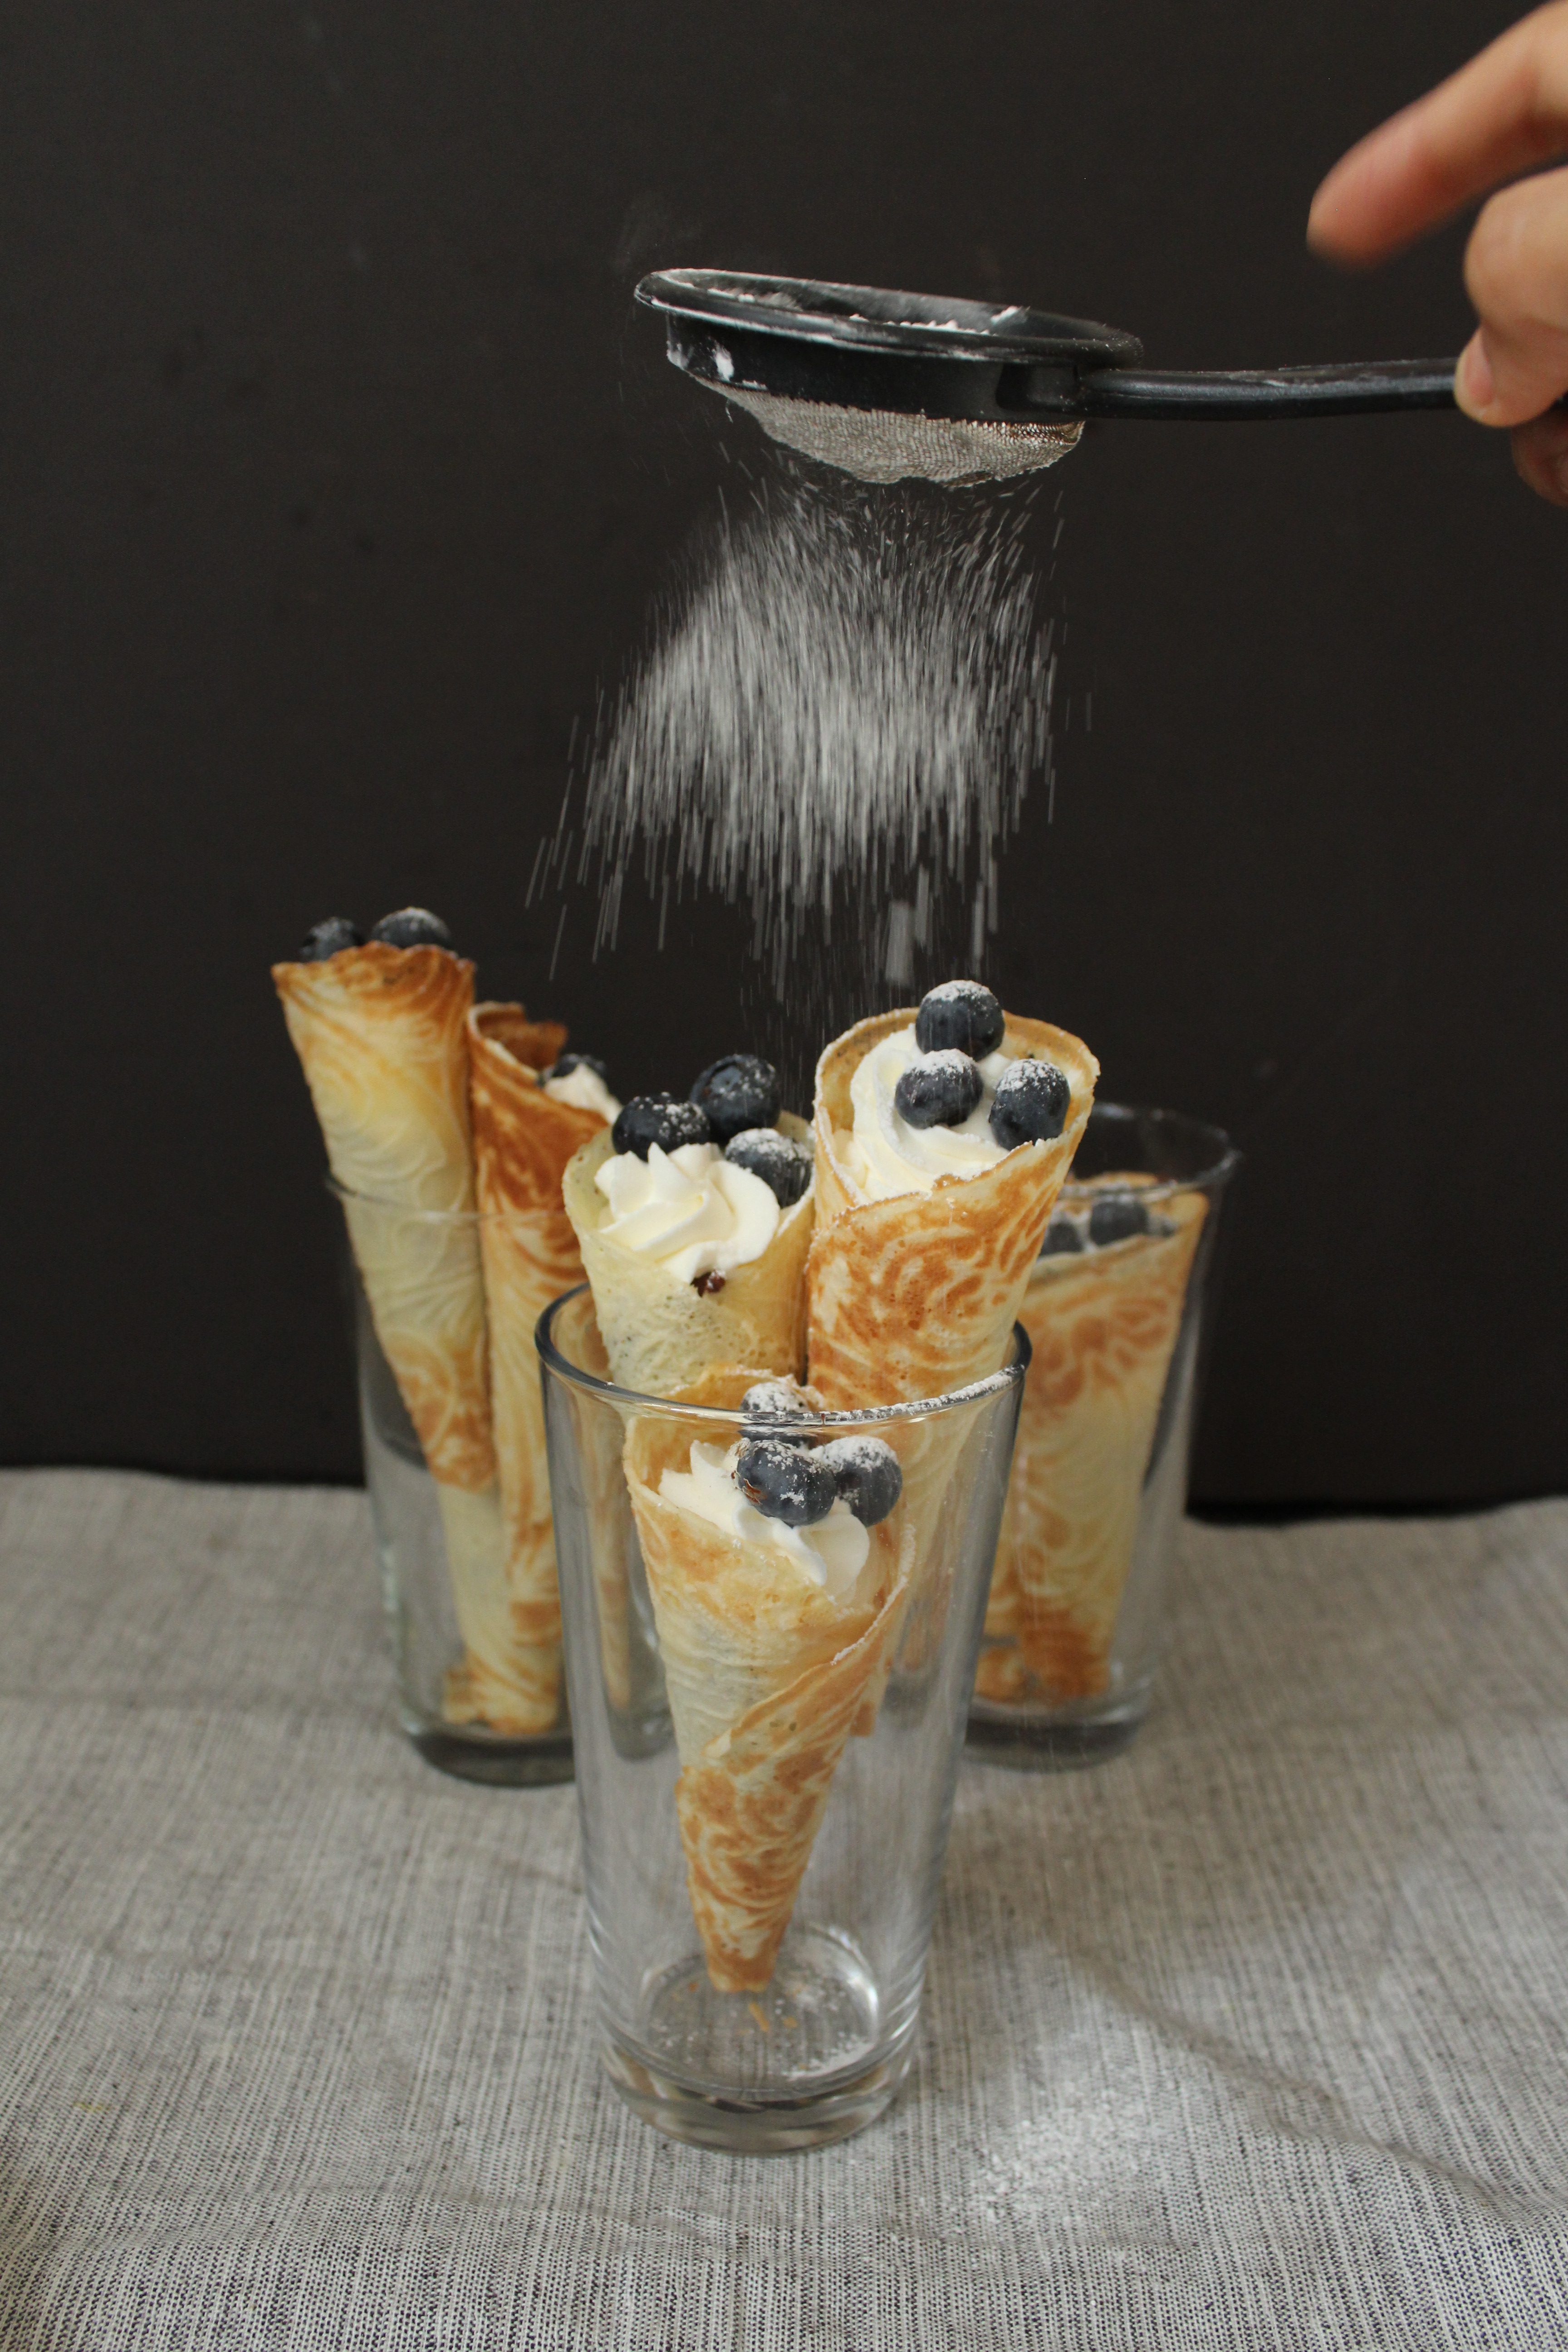
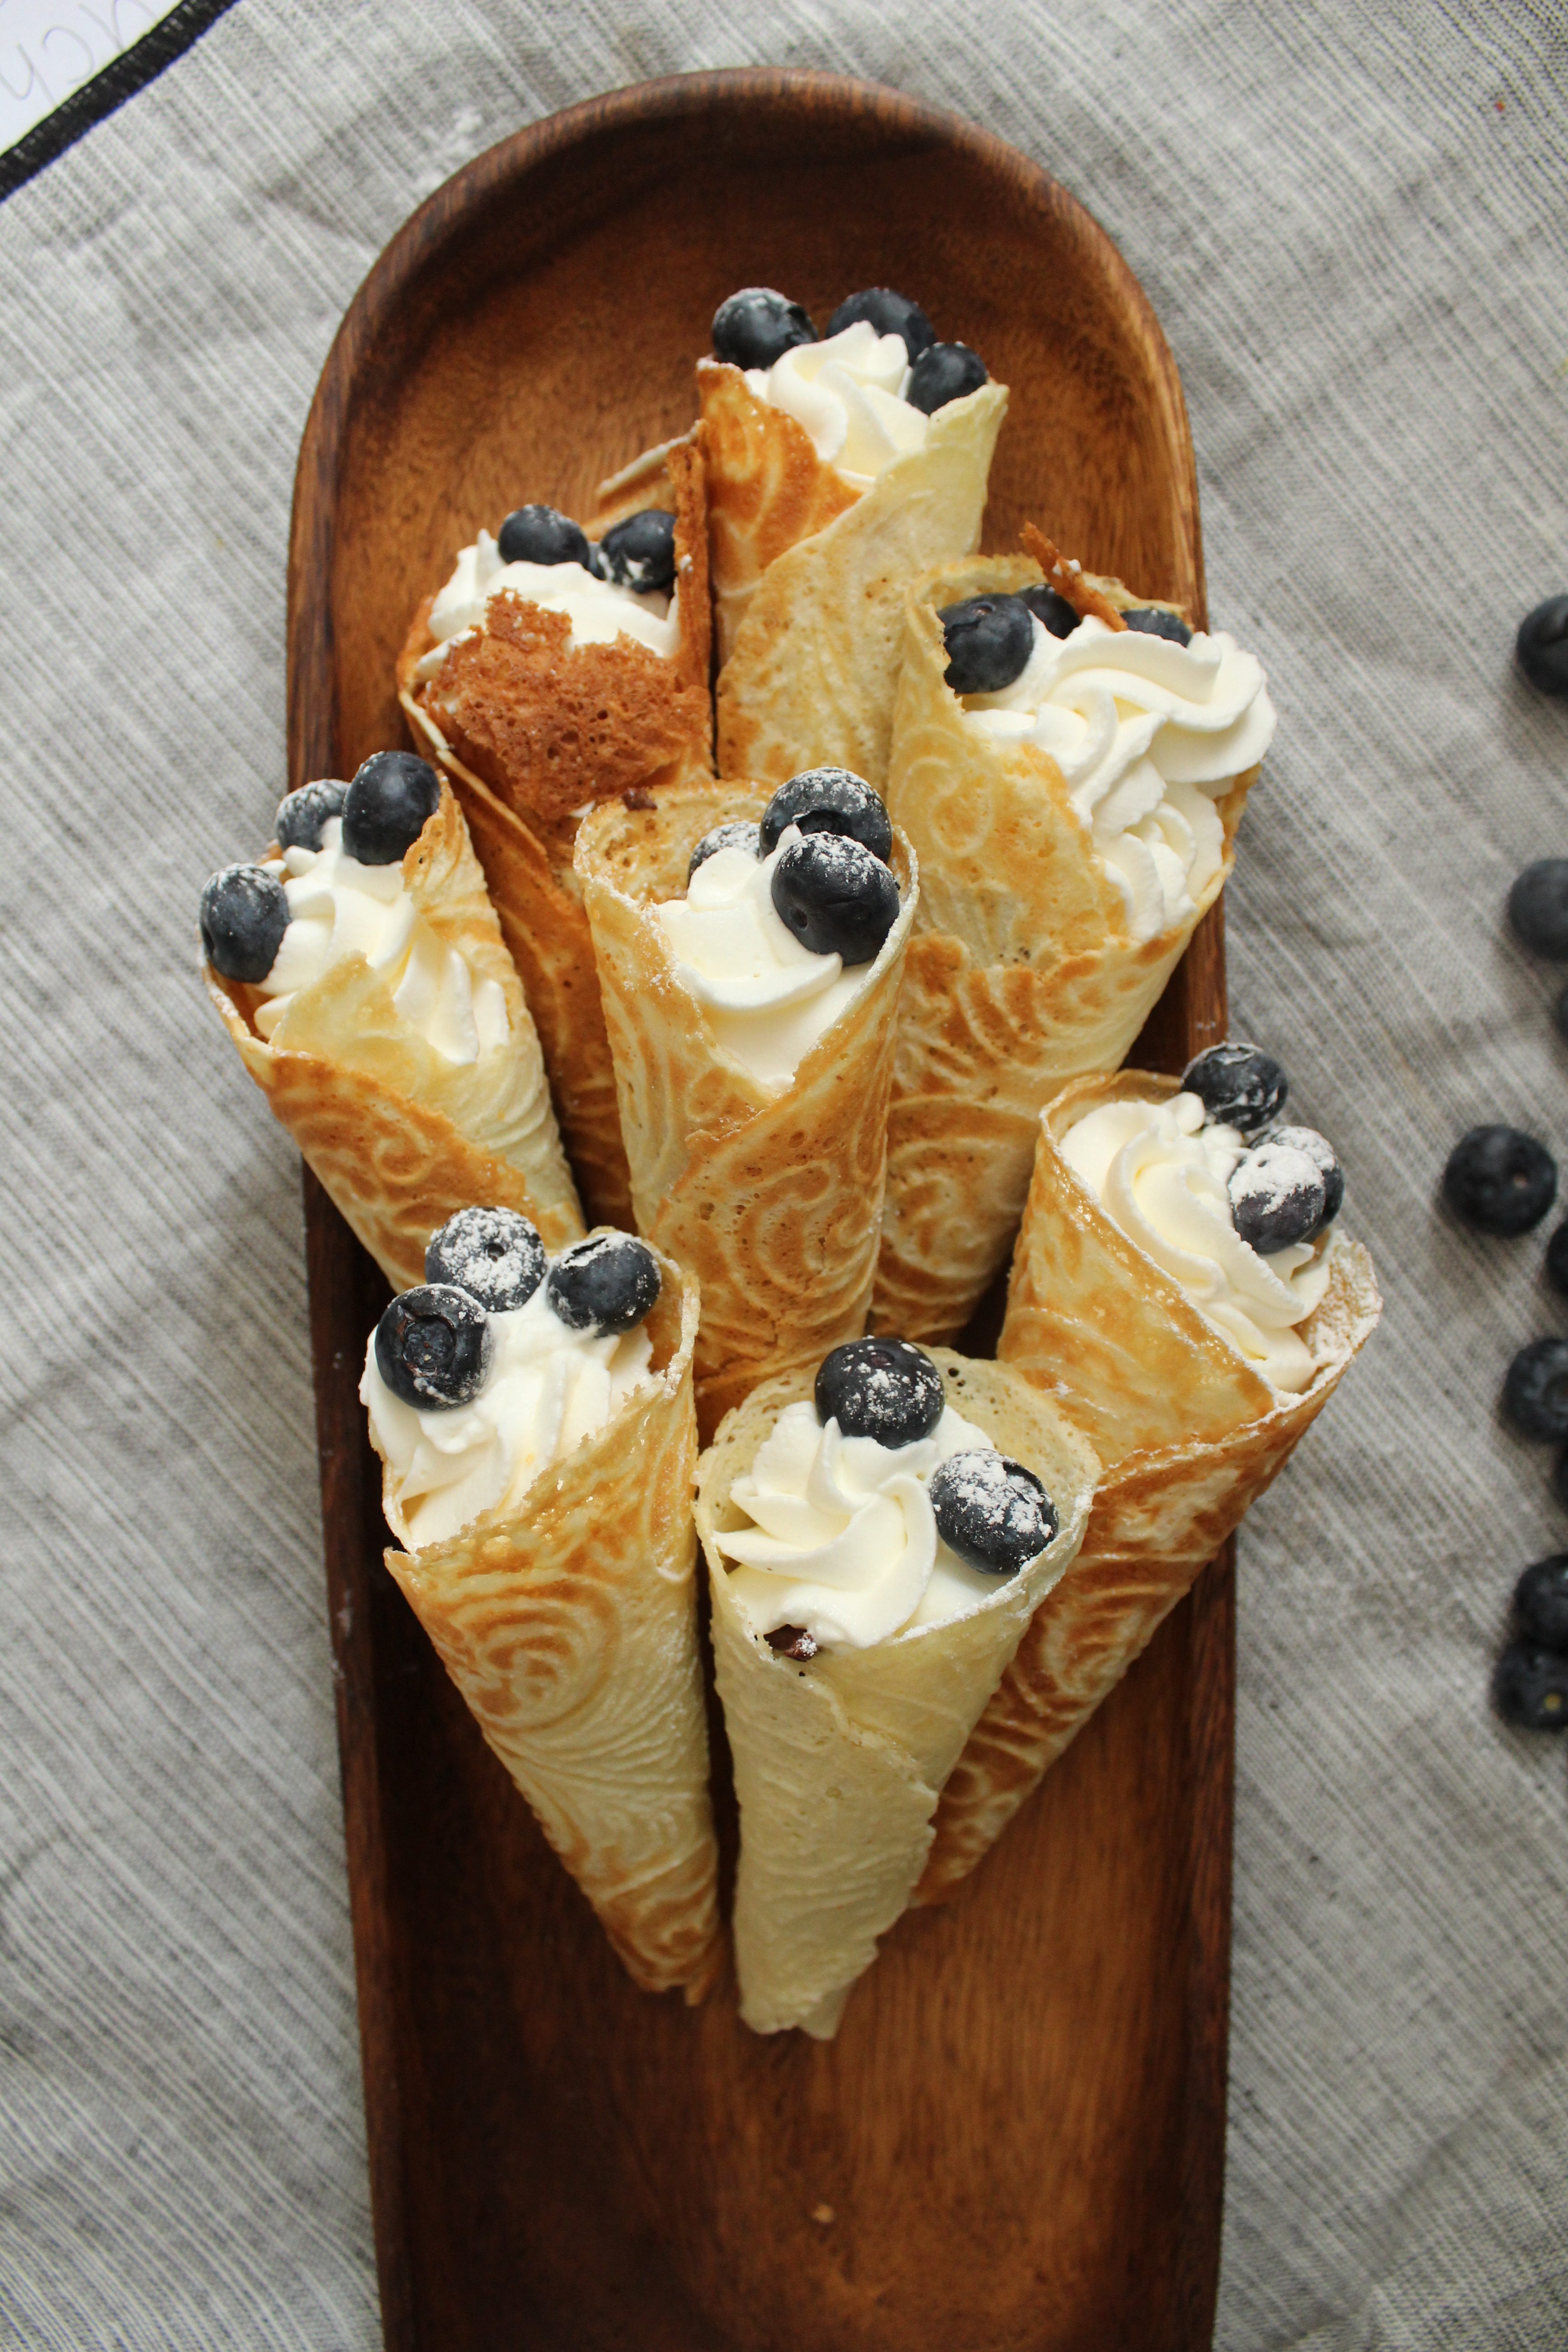
You can fill them with pretty much anything you like! Whipped cream, pastry cream, fresh fruit, ice cream. I opted for a dark chocolate ganache, whipped cream, blueberries and powdered sugar. They are delicious on their own, as well!
They are delicate, so take care handling them after they’ve dried. I found it easier to fill and decorate by placing them in tall glasses. Serve on a nice wooden platter and enjoy immediately!
Ingredients
- 2/3 stick (5 tbsp) unsalted butter
- 2/3 cup granulated sugar
- pinch salt
- 2 eggs
- 2/3 cup milk
- 1 cup all purpose flour
- 1/2 tsp vanilla extract
- chocolate ganache (optional)
- whipped cream (optional)
- blueberries (optional)
Directions
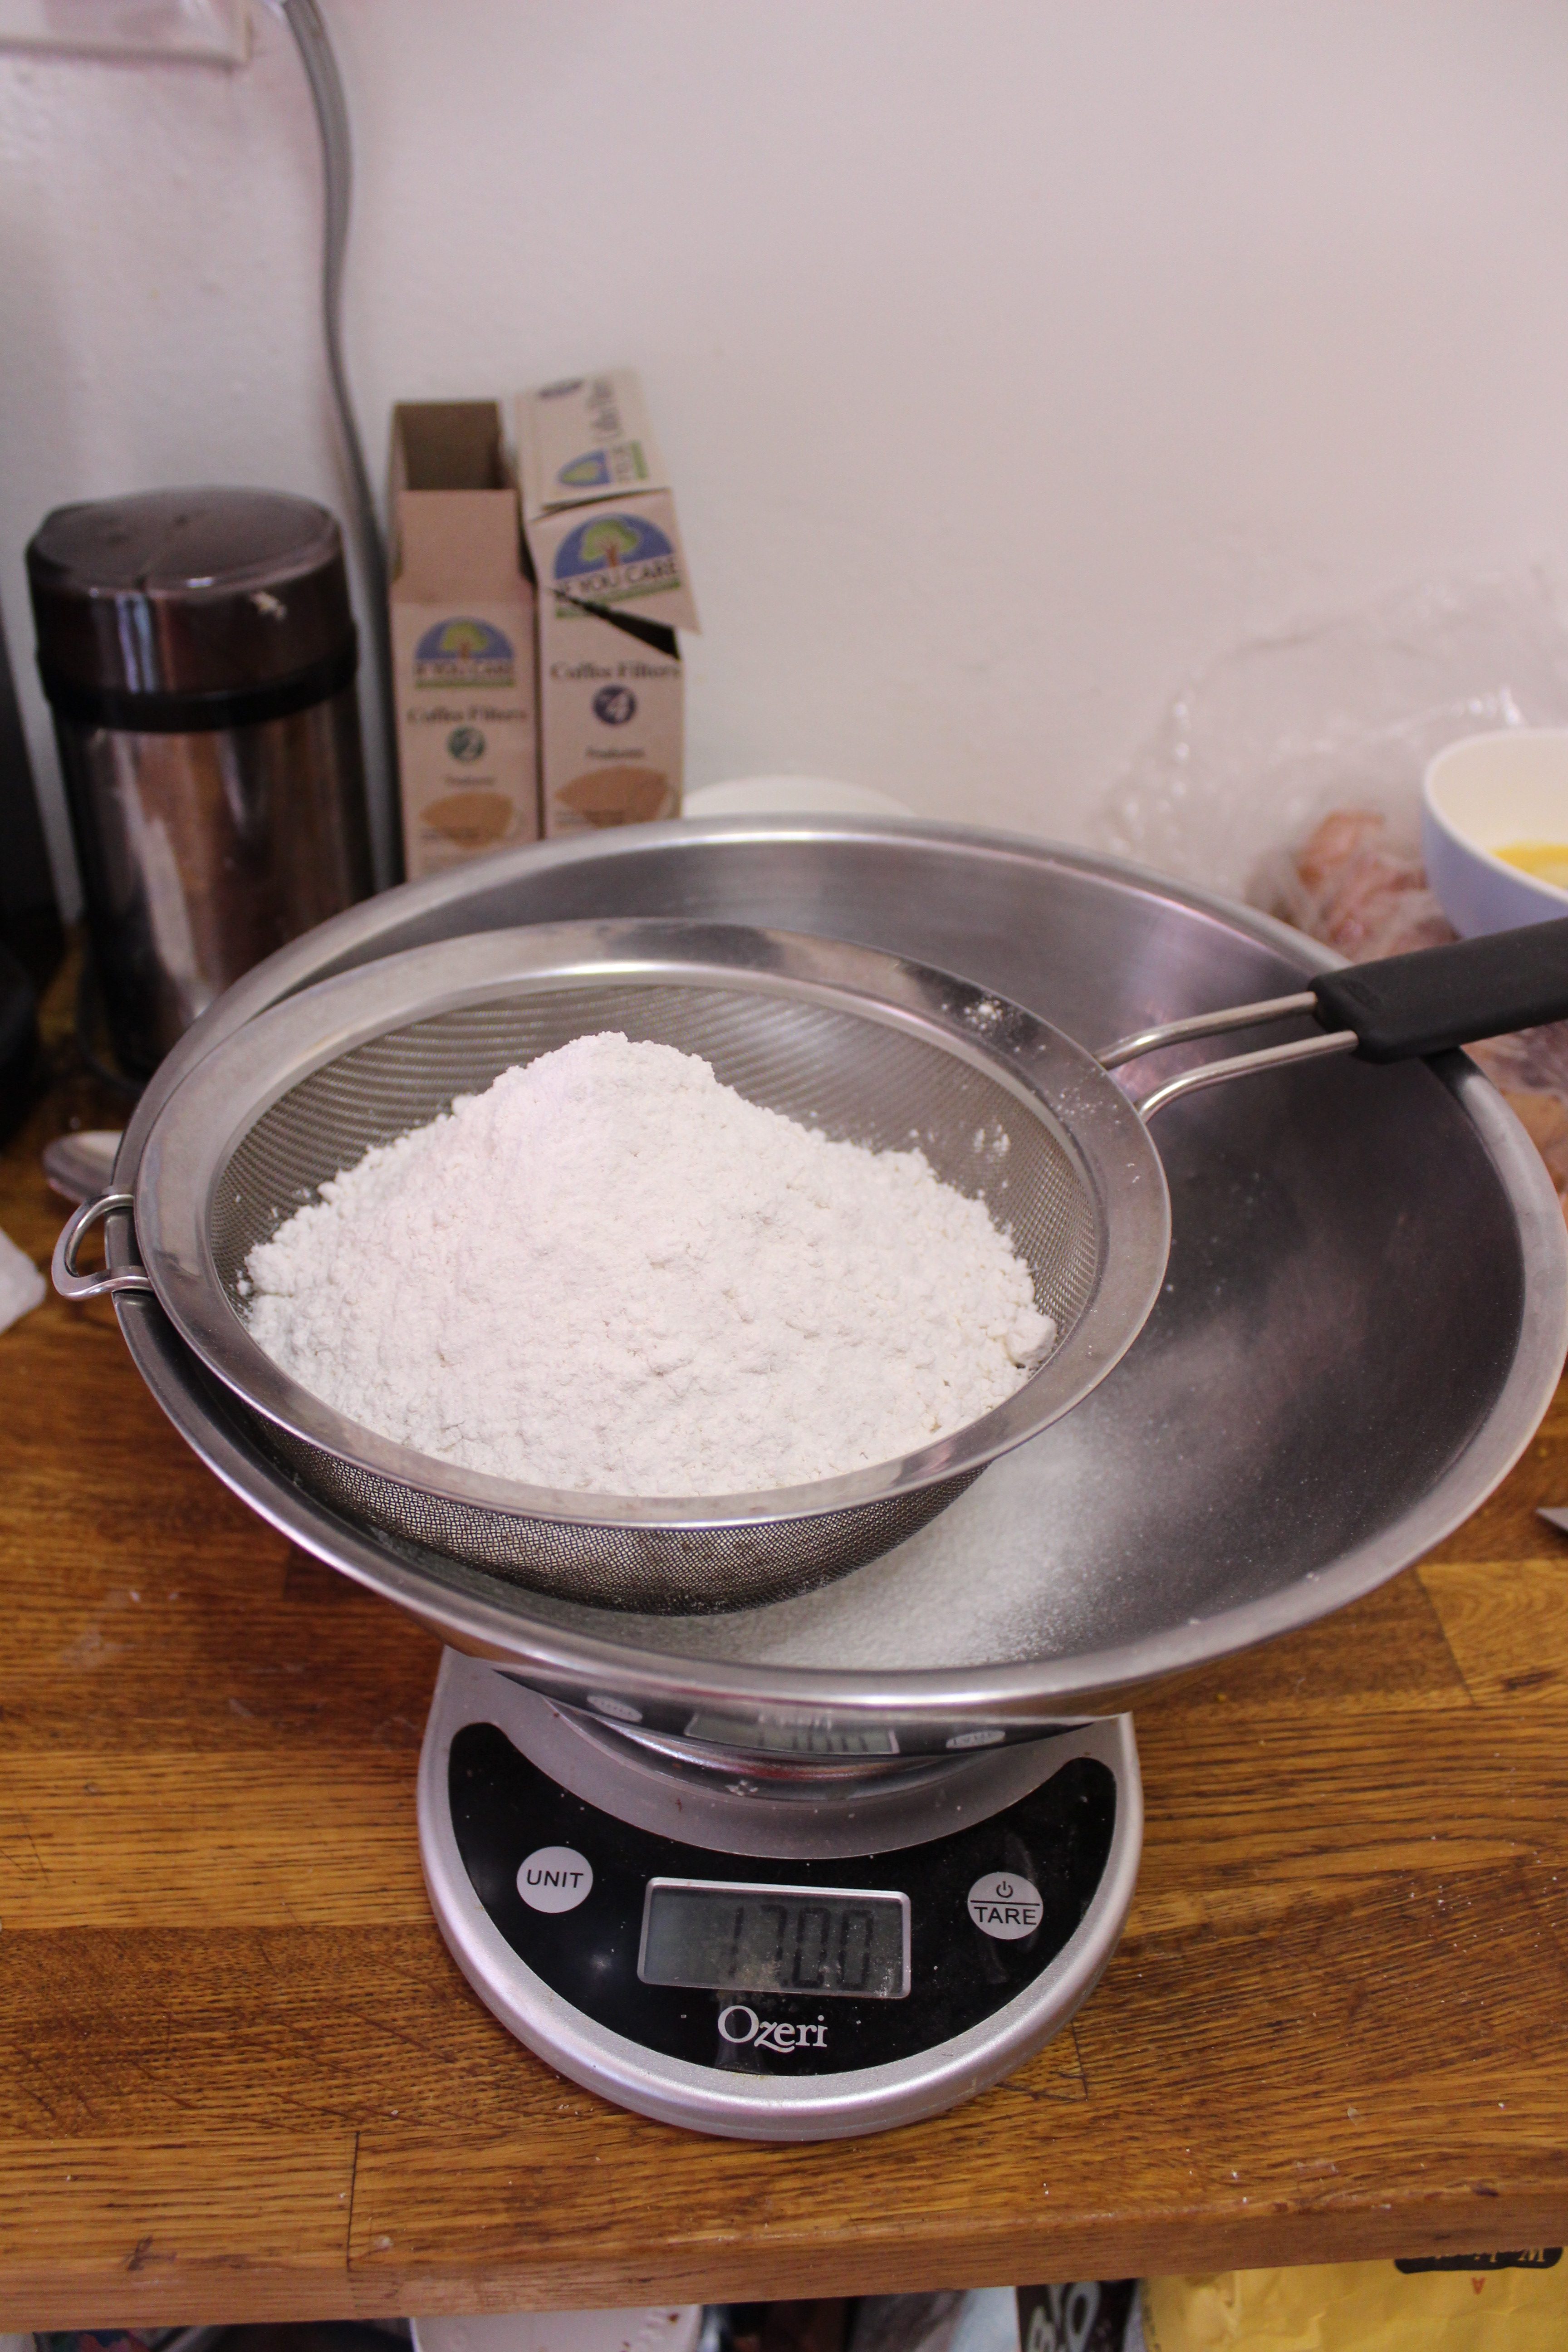
- Melt the butter in a double boiler (a heat proof bowl set over a saucepan of simmering water, not allowing the water to touch the bottom of the bowl), careful not to let it brown or get too hot. Add sugar + salt and beat on high speed with a handheld electric mixer until well combined. Add eggs one at a time and blend until mixture is a pale yellow color. Add milk, alternating with flour until all ingredients are combined. Add vanilla. Batter should be thick but drip off the spoon easily.
- Plug in your krumkake maker and set the color number to 4. Set out a kitchen towel and rolling cone. Spray the inside with non stick cooking spray. The red “baking” light will turn on. When the light changes to green (“ready”), drop 1tbsp of batter in the center. Close the lid and snap the latch shut. The light will switch back to red and when done, green again. Use tongs to carefully remove the krumkake and place over the cone, aligning the center of the krumkake along the length of the cone. Roll to form a cone and allow to set while working on the next one.
- Repeat (no need to spray additional spray) and remove previous krumkake from shaping cone. Adjust the color if you prefer a lighter krumkake*.
- When all the krumkakes have dried and keep their shape, place in tall glasses to fill. Fill with puddings, whipped cream, chocolate ganache and/or fresh fruit for a delicate, wonderful and tasty dessert.
*My manual suggests a setting of 2.5 but I was getting zero color at that setting.






 My husband was there for support. Isn’t he cute? OK you can stop looking now.

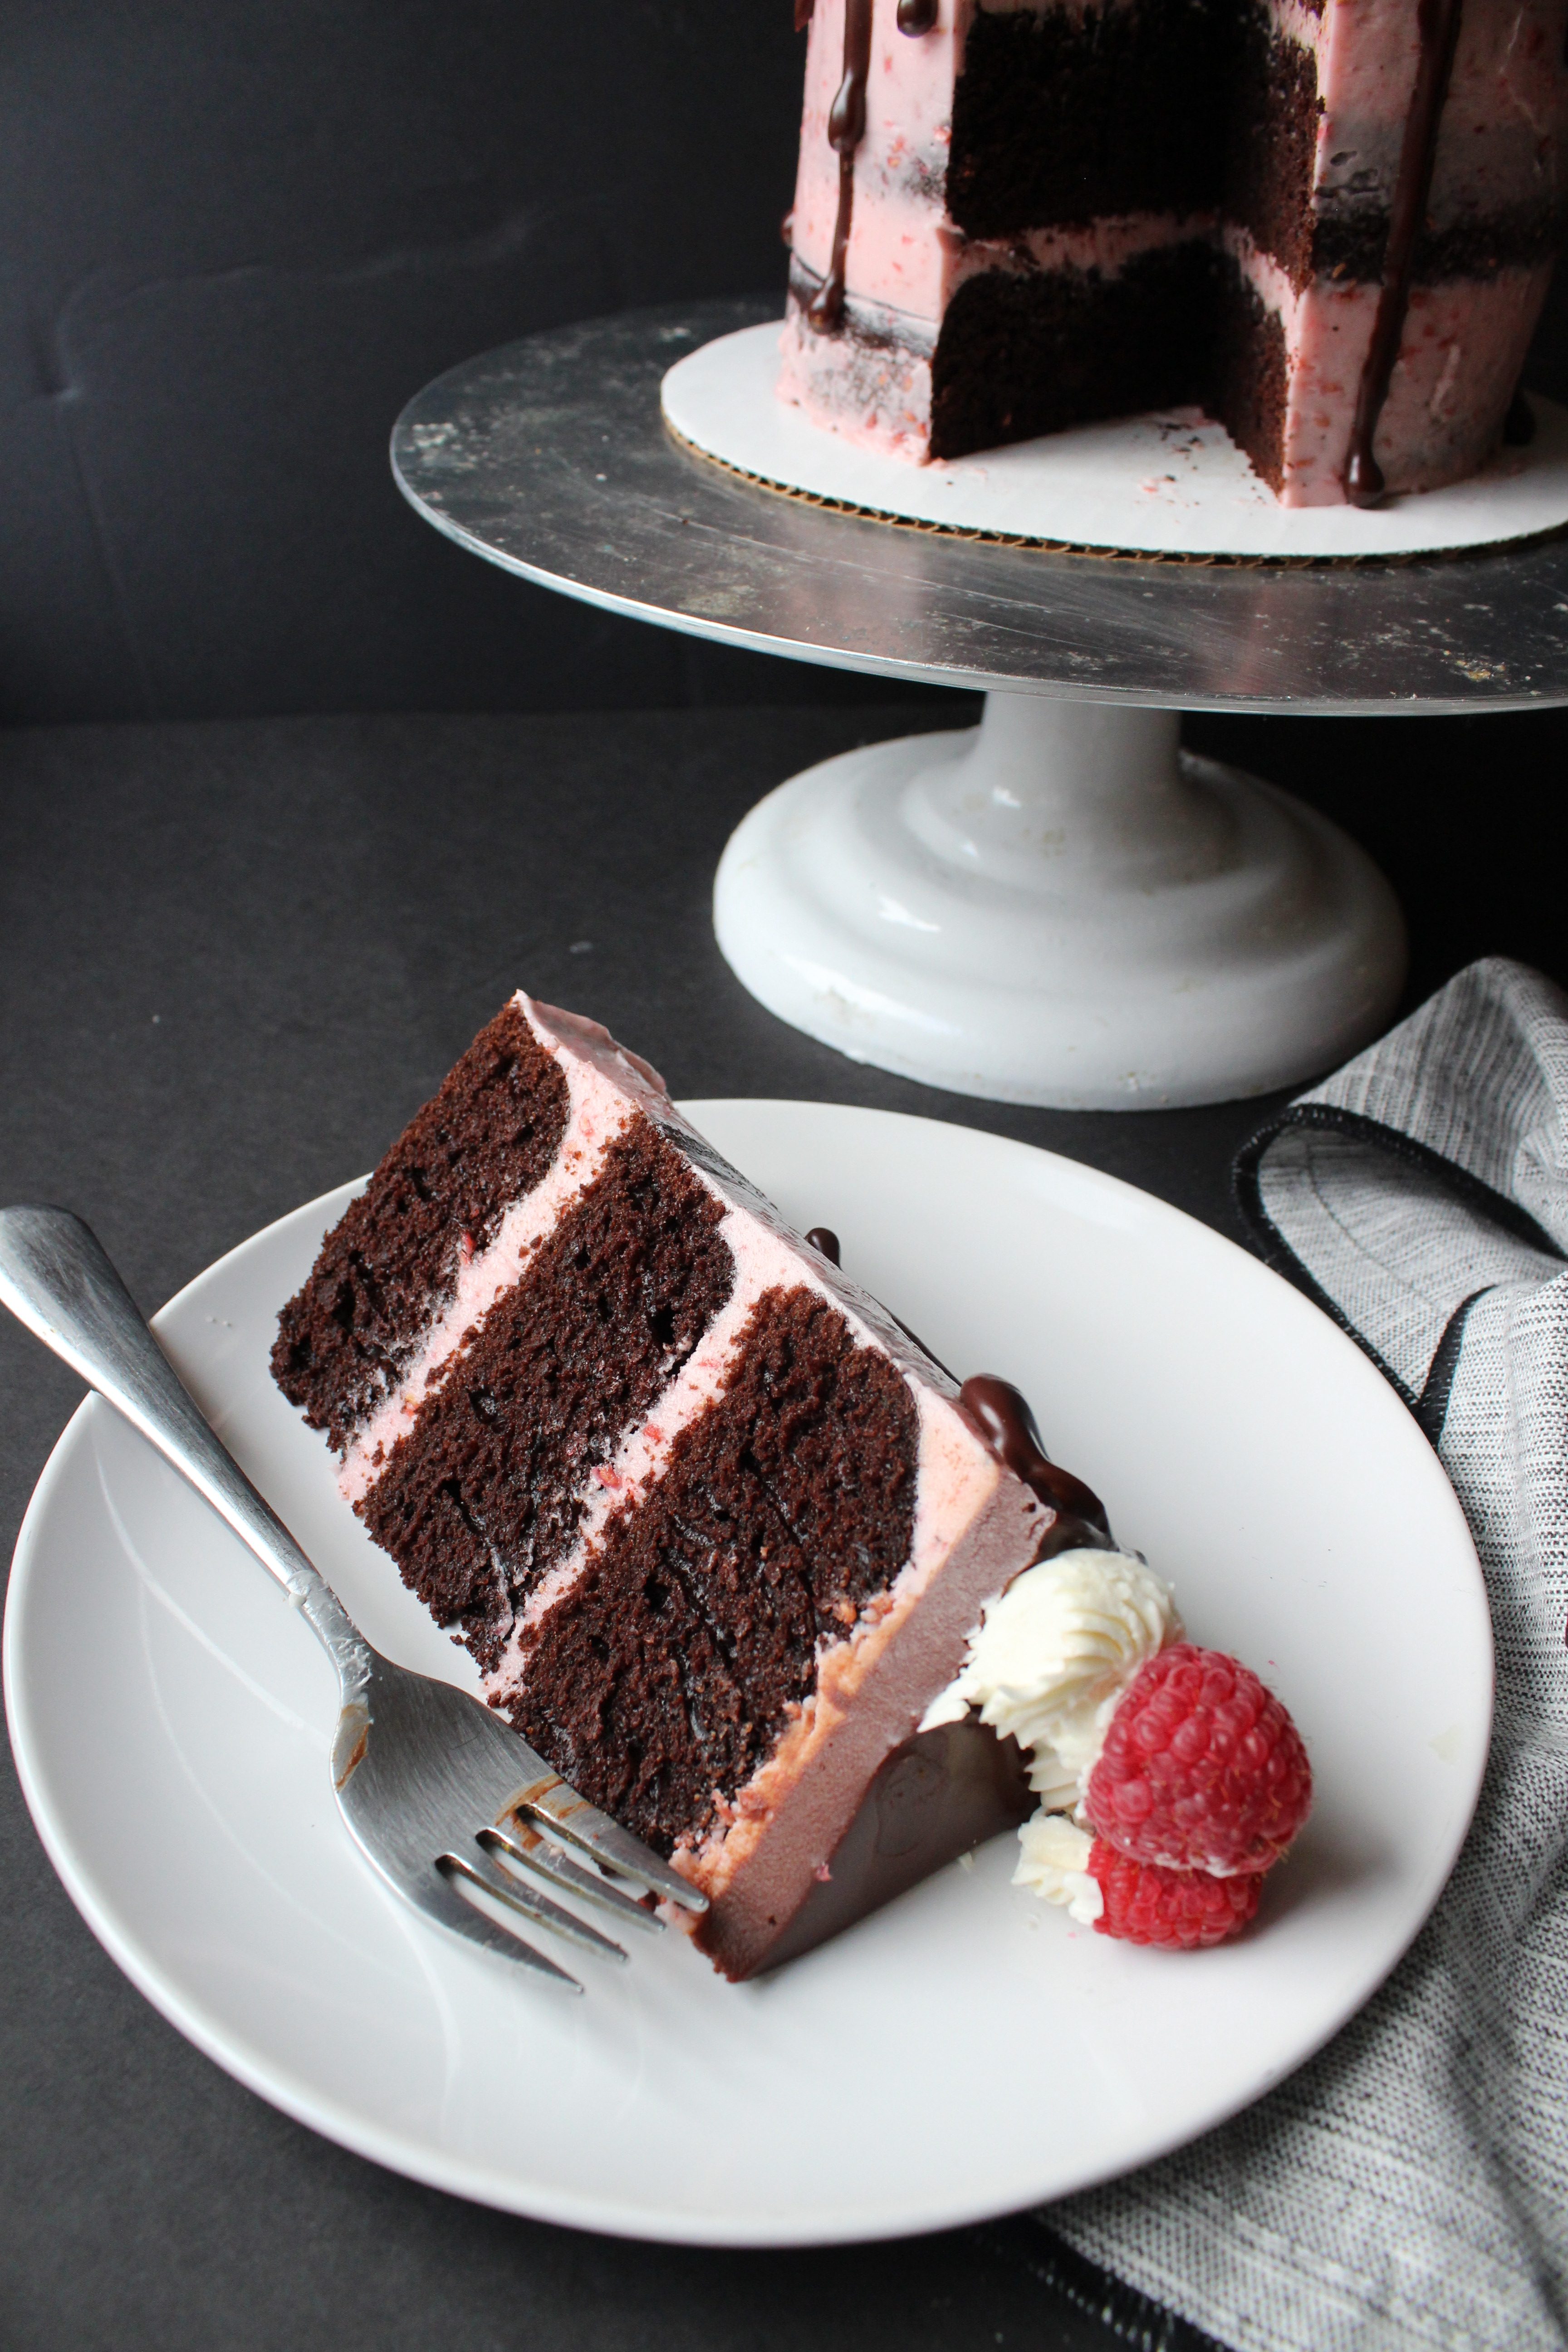
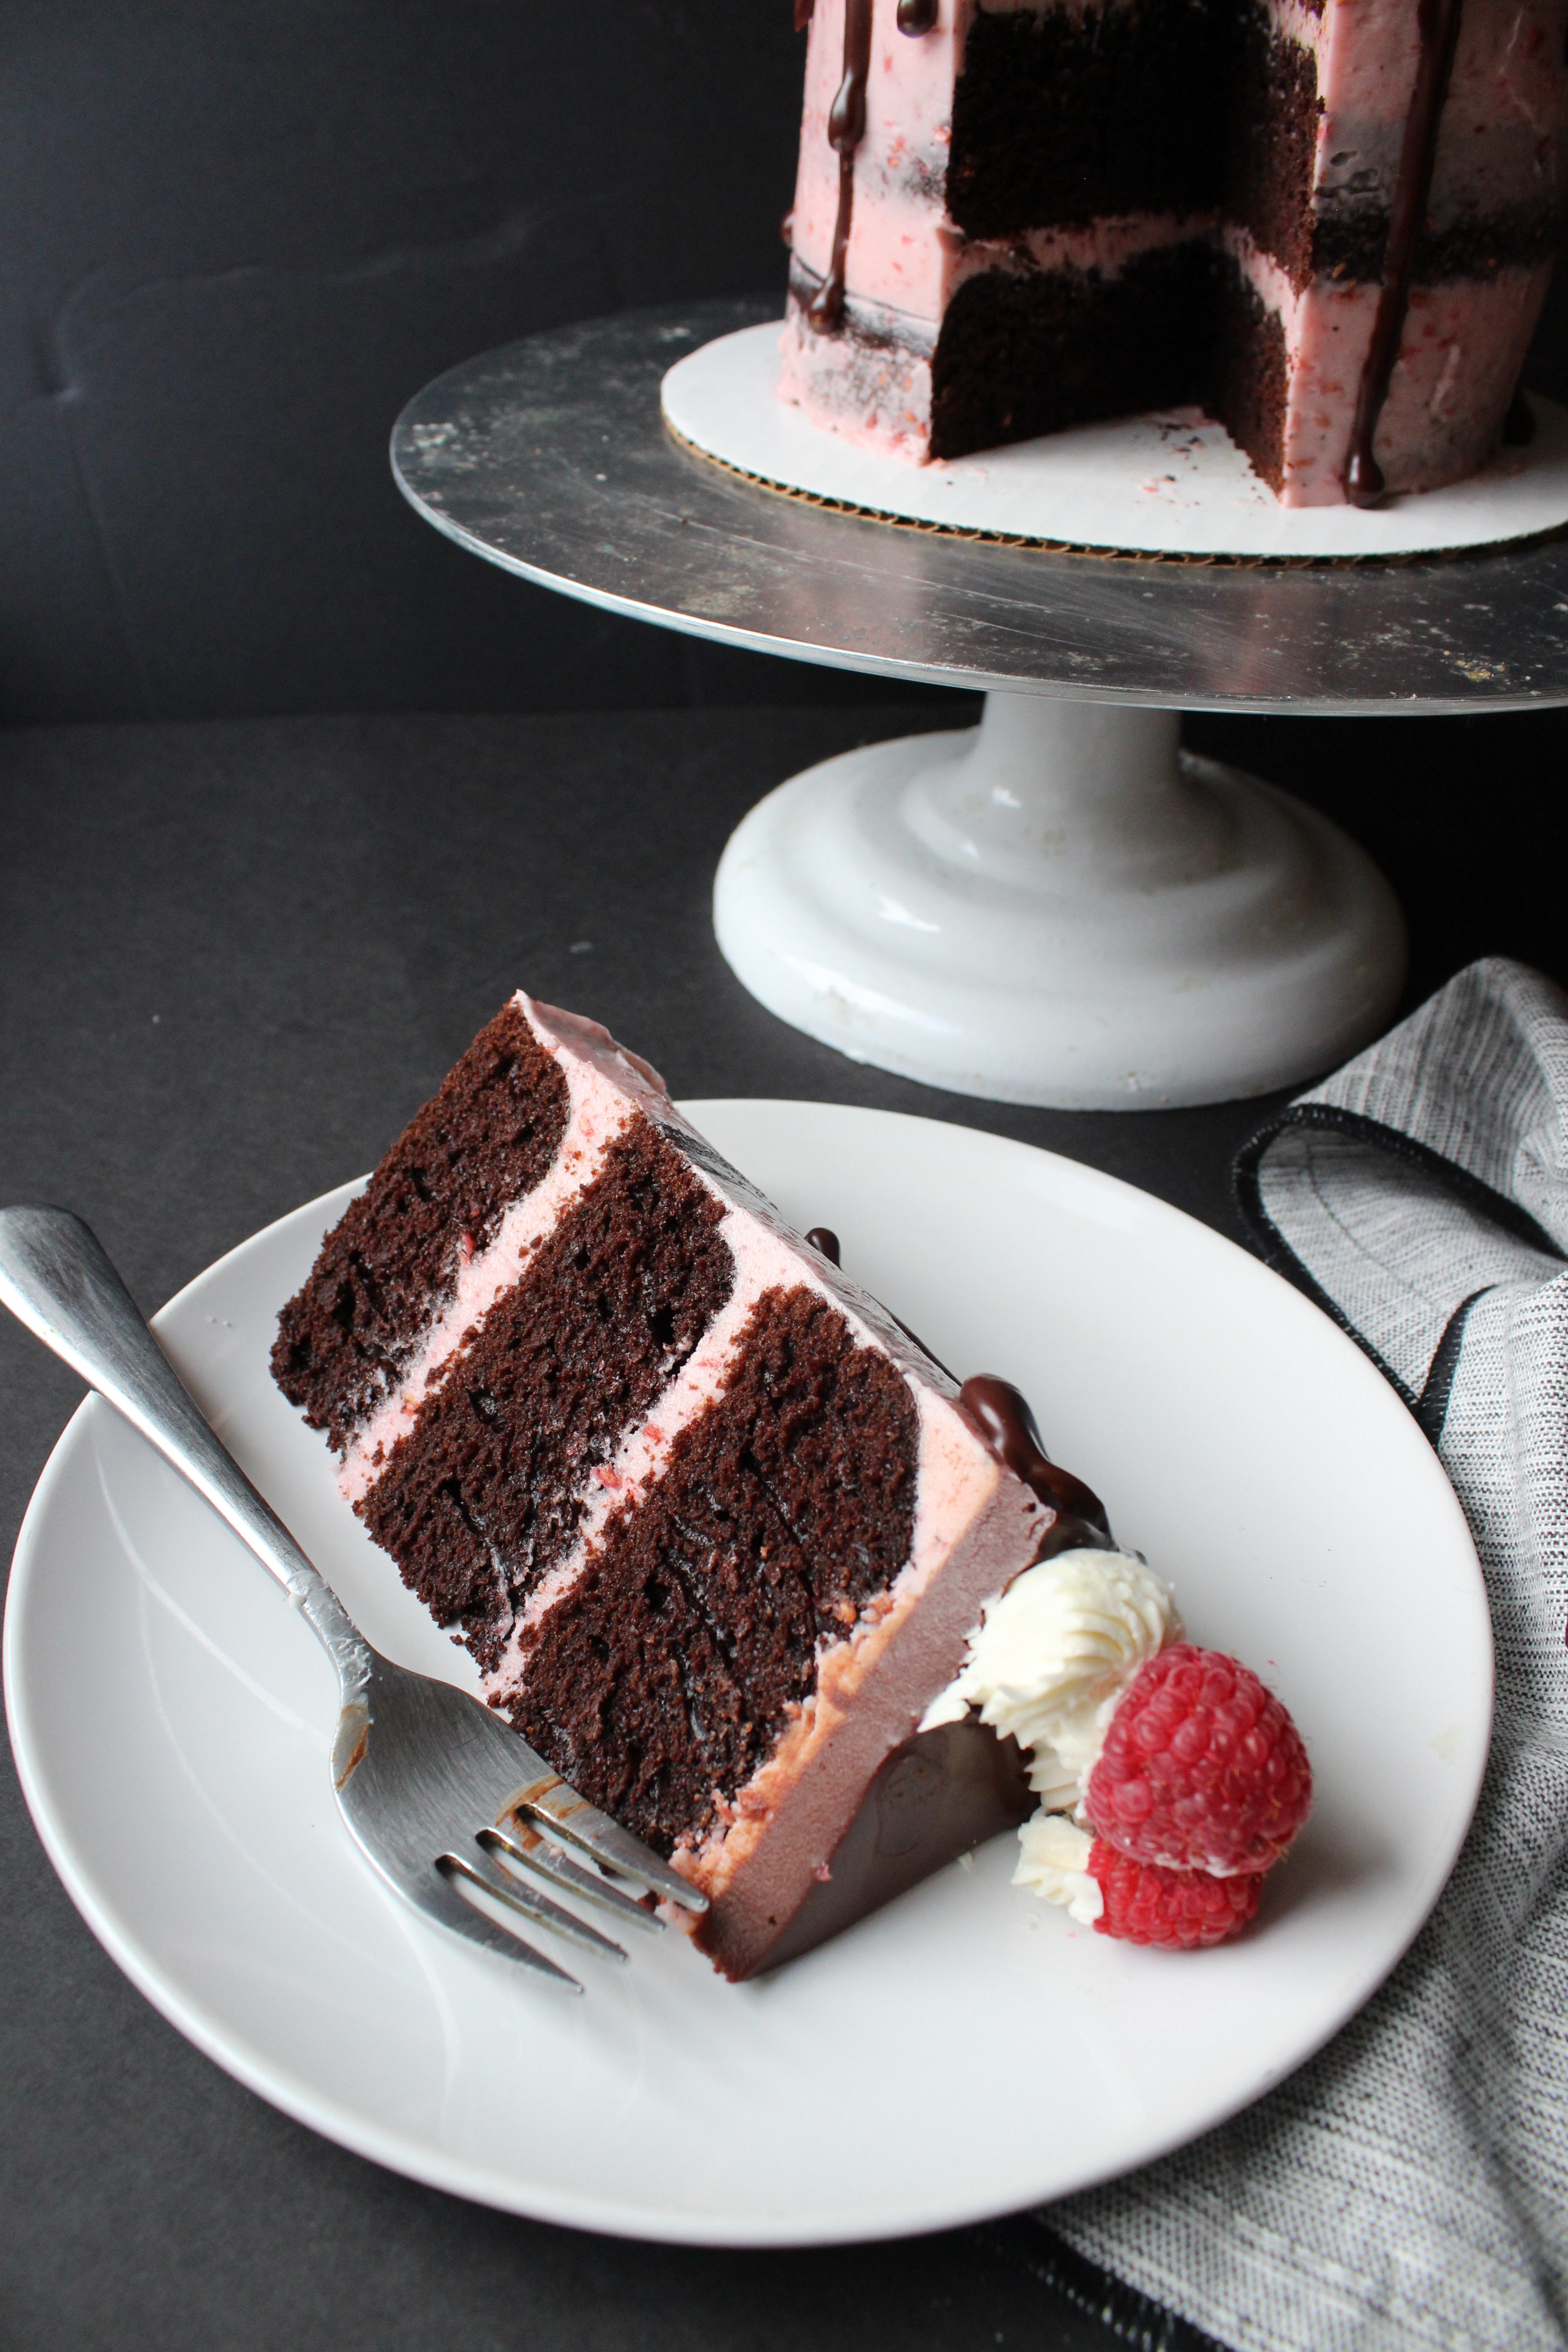 I recall as a kid, I would get visibly angry if upon cutting into a cake at someone’s birthday party, the interior revealed a pale cake with fruit wedged between the layers. I mean c’mon! Save the fruits for the healthy afterschool snack. If I’m dressing up and buying you a present, the least you can do is serve up some decadent chocolately goodness. I mean as I kid I wasn’t on the hunt for swiss chocolate or anything, heck I’d be happy if they served the Entenmann’s double chocolate cake over any of those cakes from my childhood. The one exception I make: raspberries. But only when smothered in chocolate, no less. Chocolate and raspberry will forever be one of my favorite flavor combinations.
 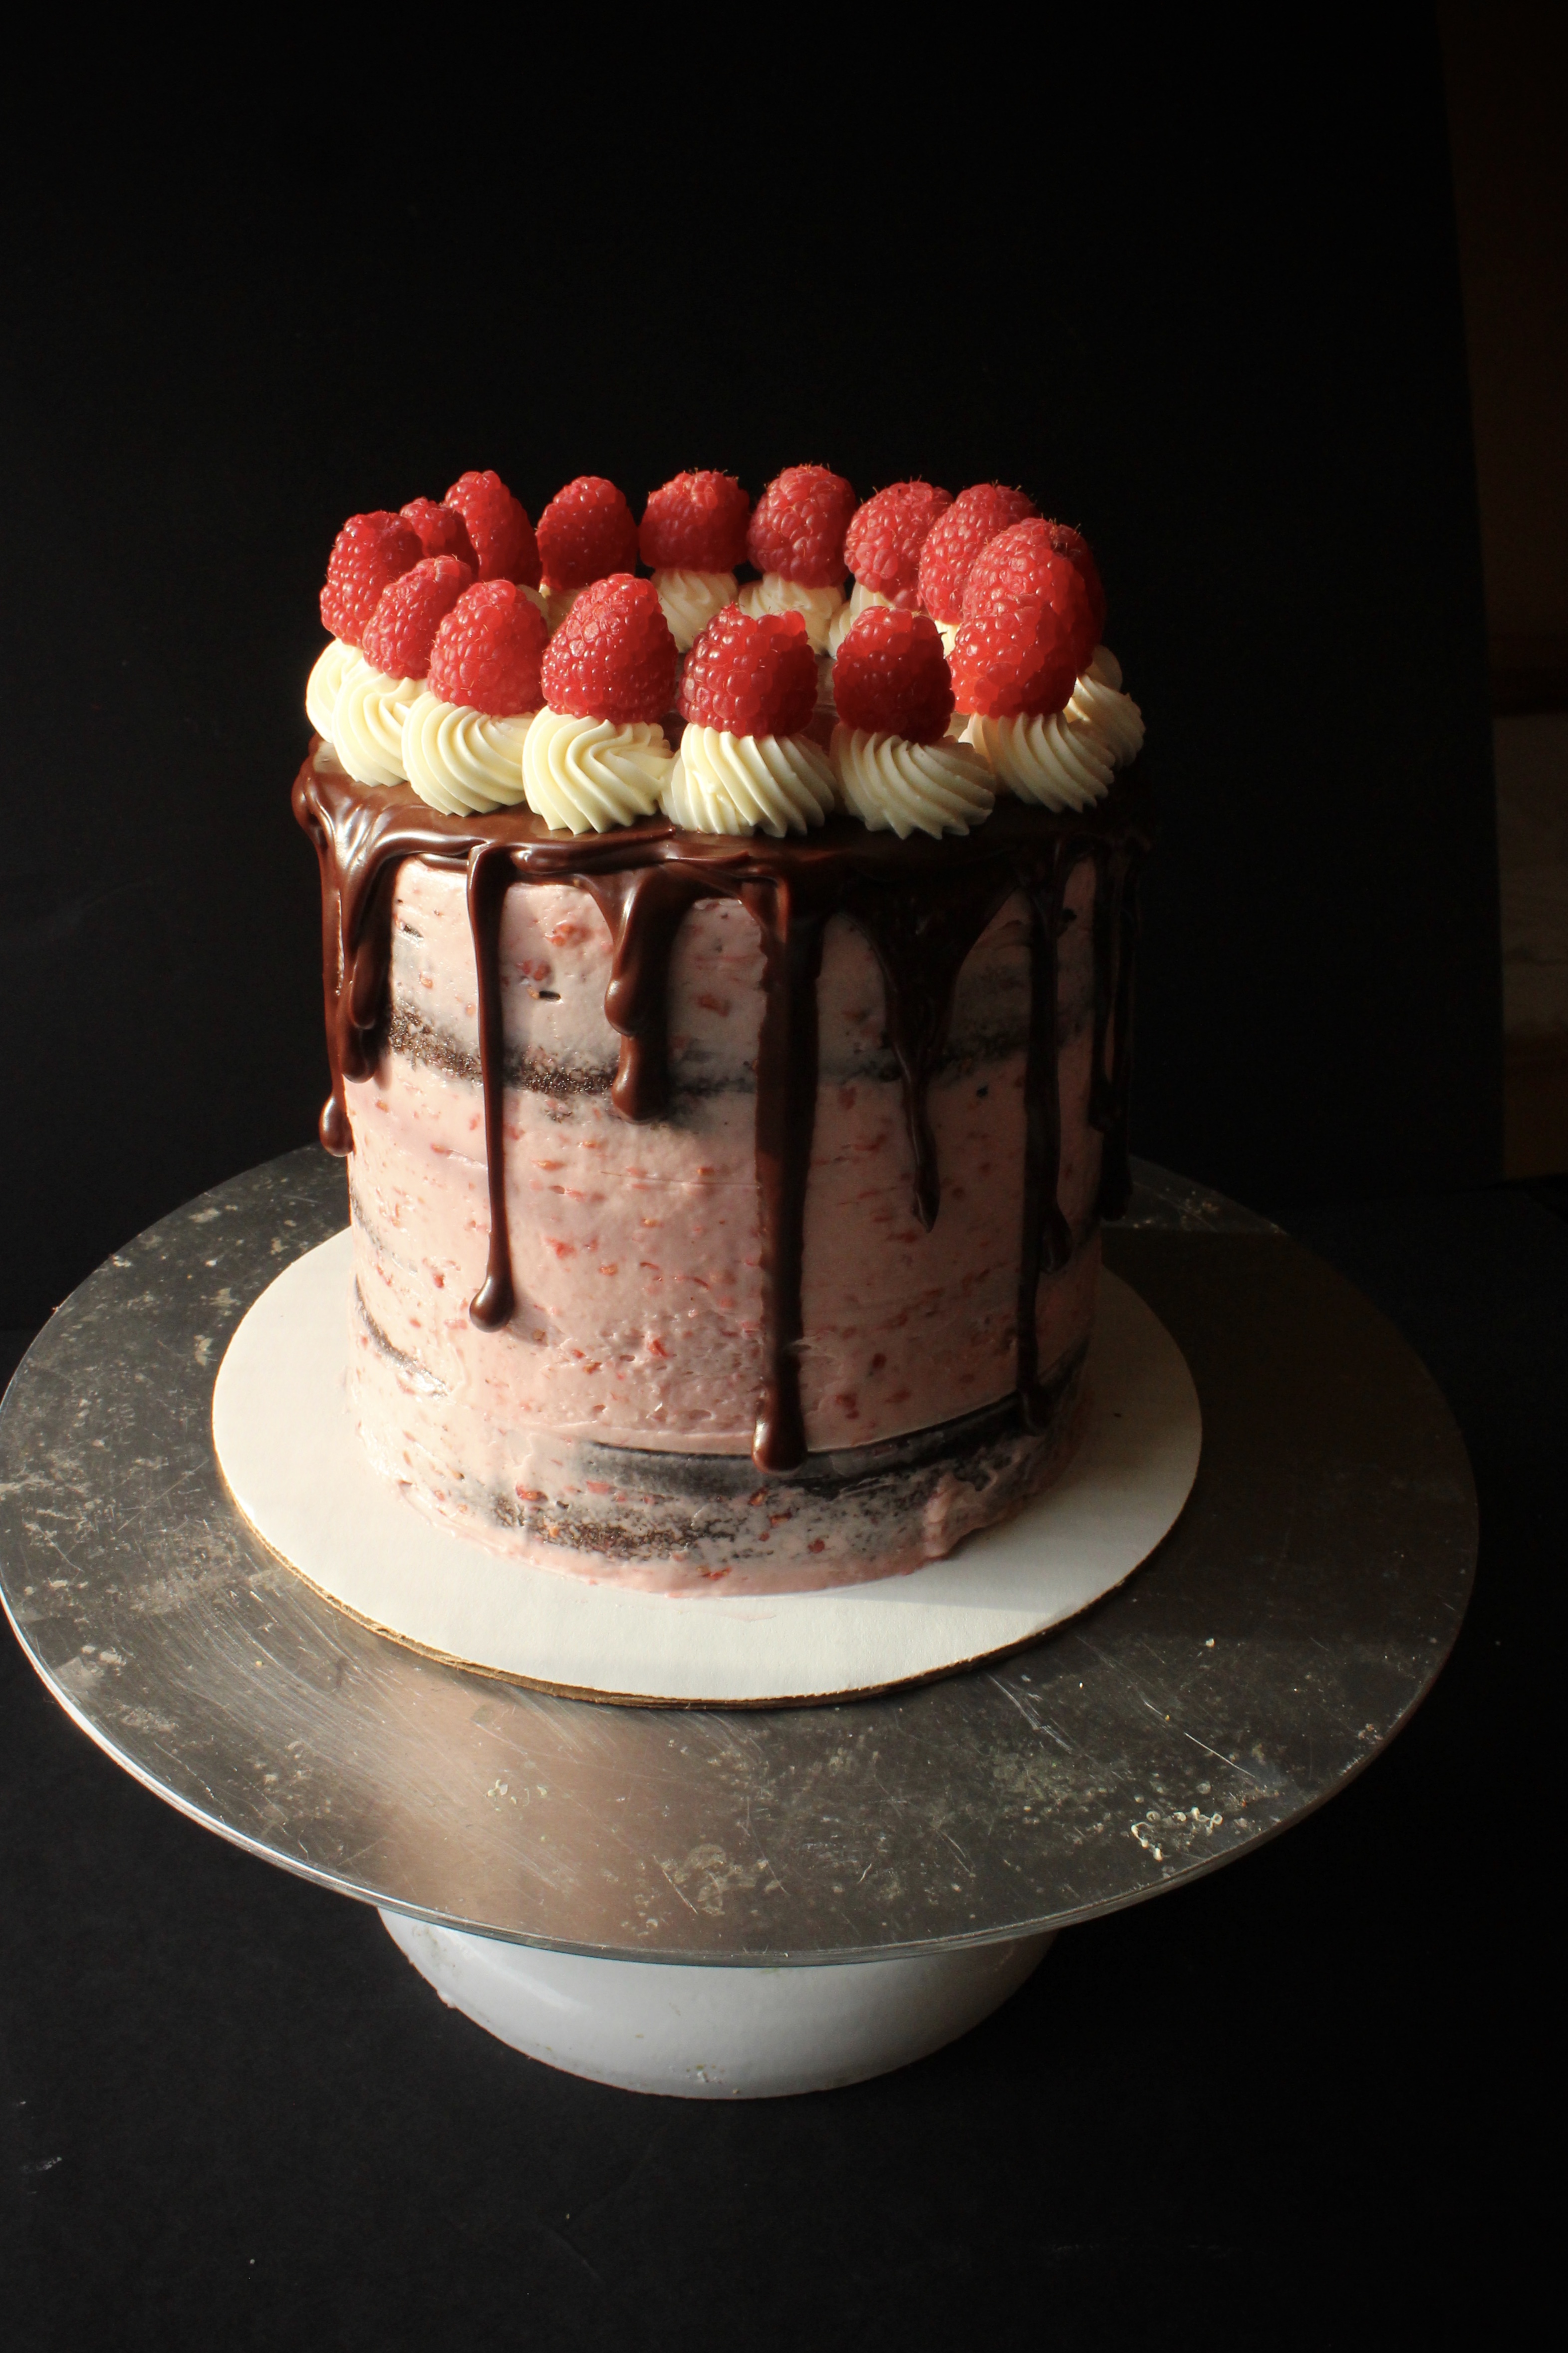 The chocolate/raspberry mousse cake from my local bakery was a long time favorite of mine, until my palette changed and only my homemade chocolate cake will do. So I created this homemade version, using swiss meringue buttercream instead of mousse as they are similar in texture and sweetness. In traditional Naureen style this is chocolate ganache dripping all over the cake, the perfect accent to the raspberry and chocolate layers underneath.