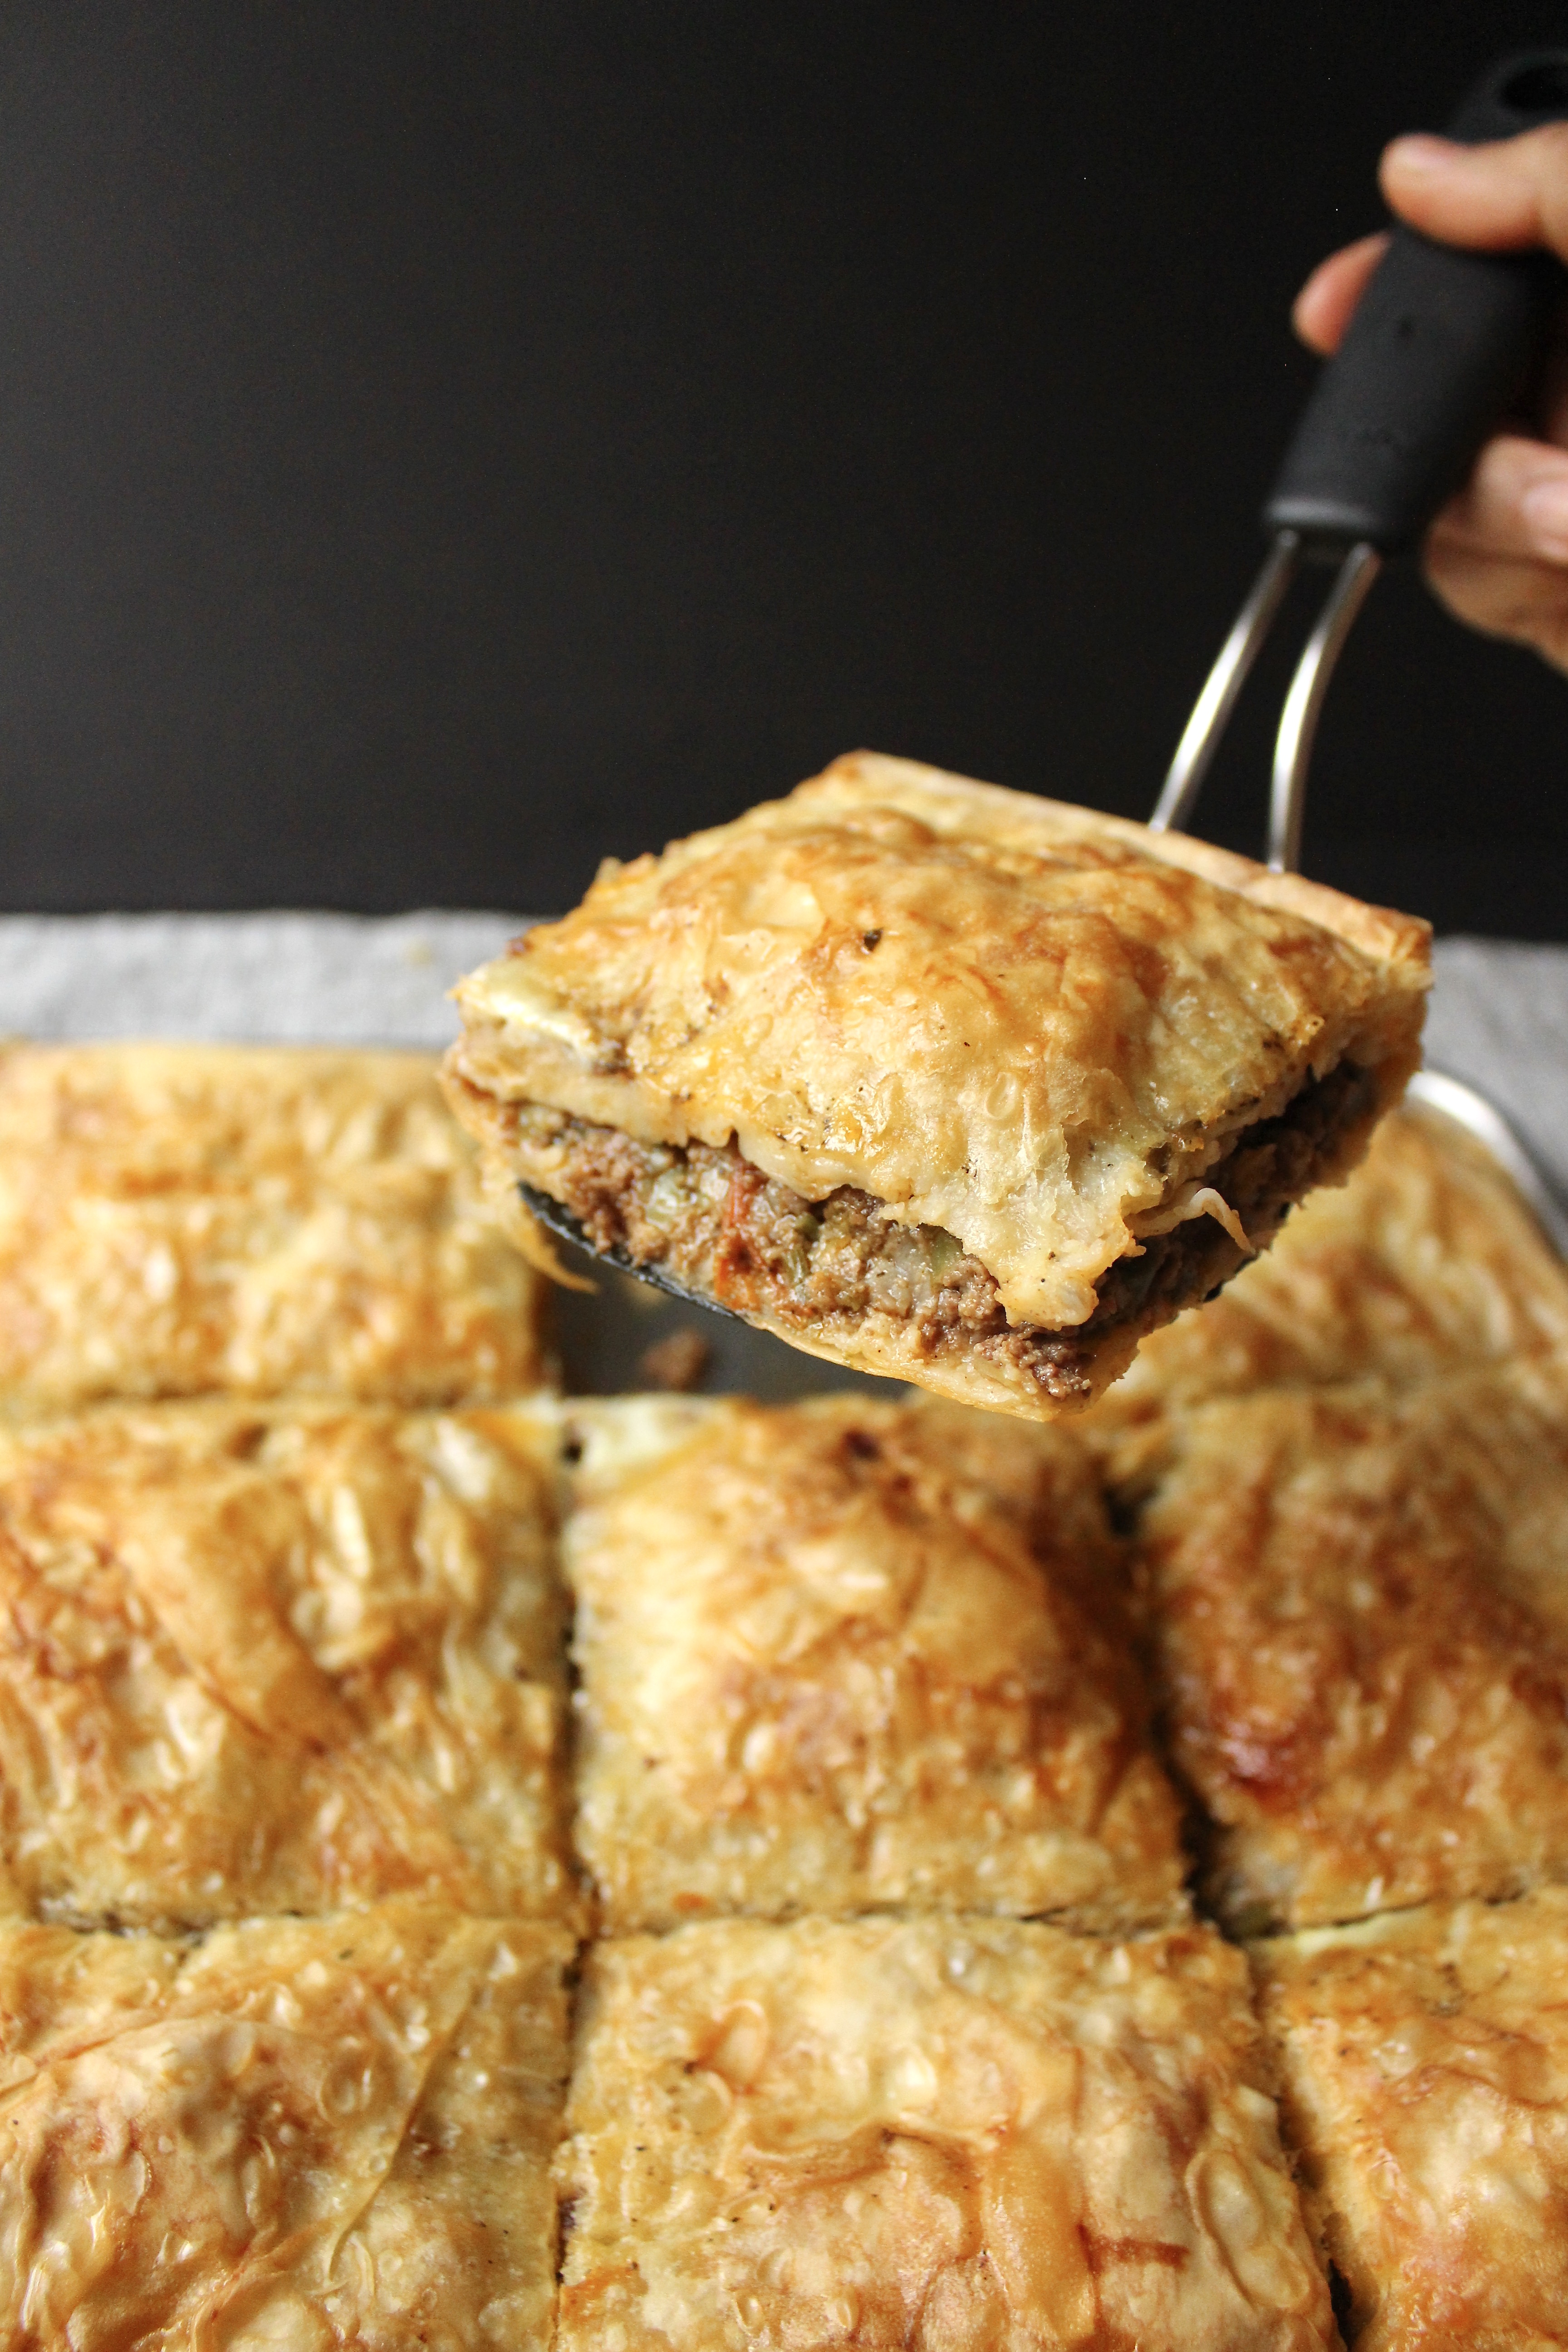
This is the story of how a typo turned into an entree. In Whatsapp group of fellow moms, coordinating the dishes of a potluck, someone offered up a Samoa cake. Misreading that for “Samosa Cake” many of the moms jumped at the prospect: “Samosa cake?! What’s a Samosa Cake?! I want to try it!!”. After clarifying the mix up, some ideas were thrown around as to what a samosa cake would look like. I immediately thought of layers of phyllo dough stacked with a samosa meat mixture, baked and cut in slices. When I looked up for recipes that would meet these requirements, I pulled together elements from a Borek recipe (Turkish layered meat pastry), an Egyptian meat pie, and the filling from a Yemeni Samboosa. There are cubanelle or italian frying peppers here for flavor, often seen in Turkish recipes. There’s tomato paste from the samboosa recipe, an ingredient that is necessary for any red meat dish, in my humble opinion. And the whole layering and baking technique pulls from Egyptian meat pie recipe.
Turkey Korma
I woke up the morning after Thanksgiving like I imagine a runner feels the morning after a race: like I got hit by a truck.
A whole week of groceries, prep, planning culminating in an evening with loved ones and good food. It was EXHAUSTING and I was happy to do it.
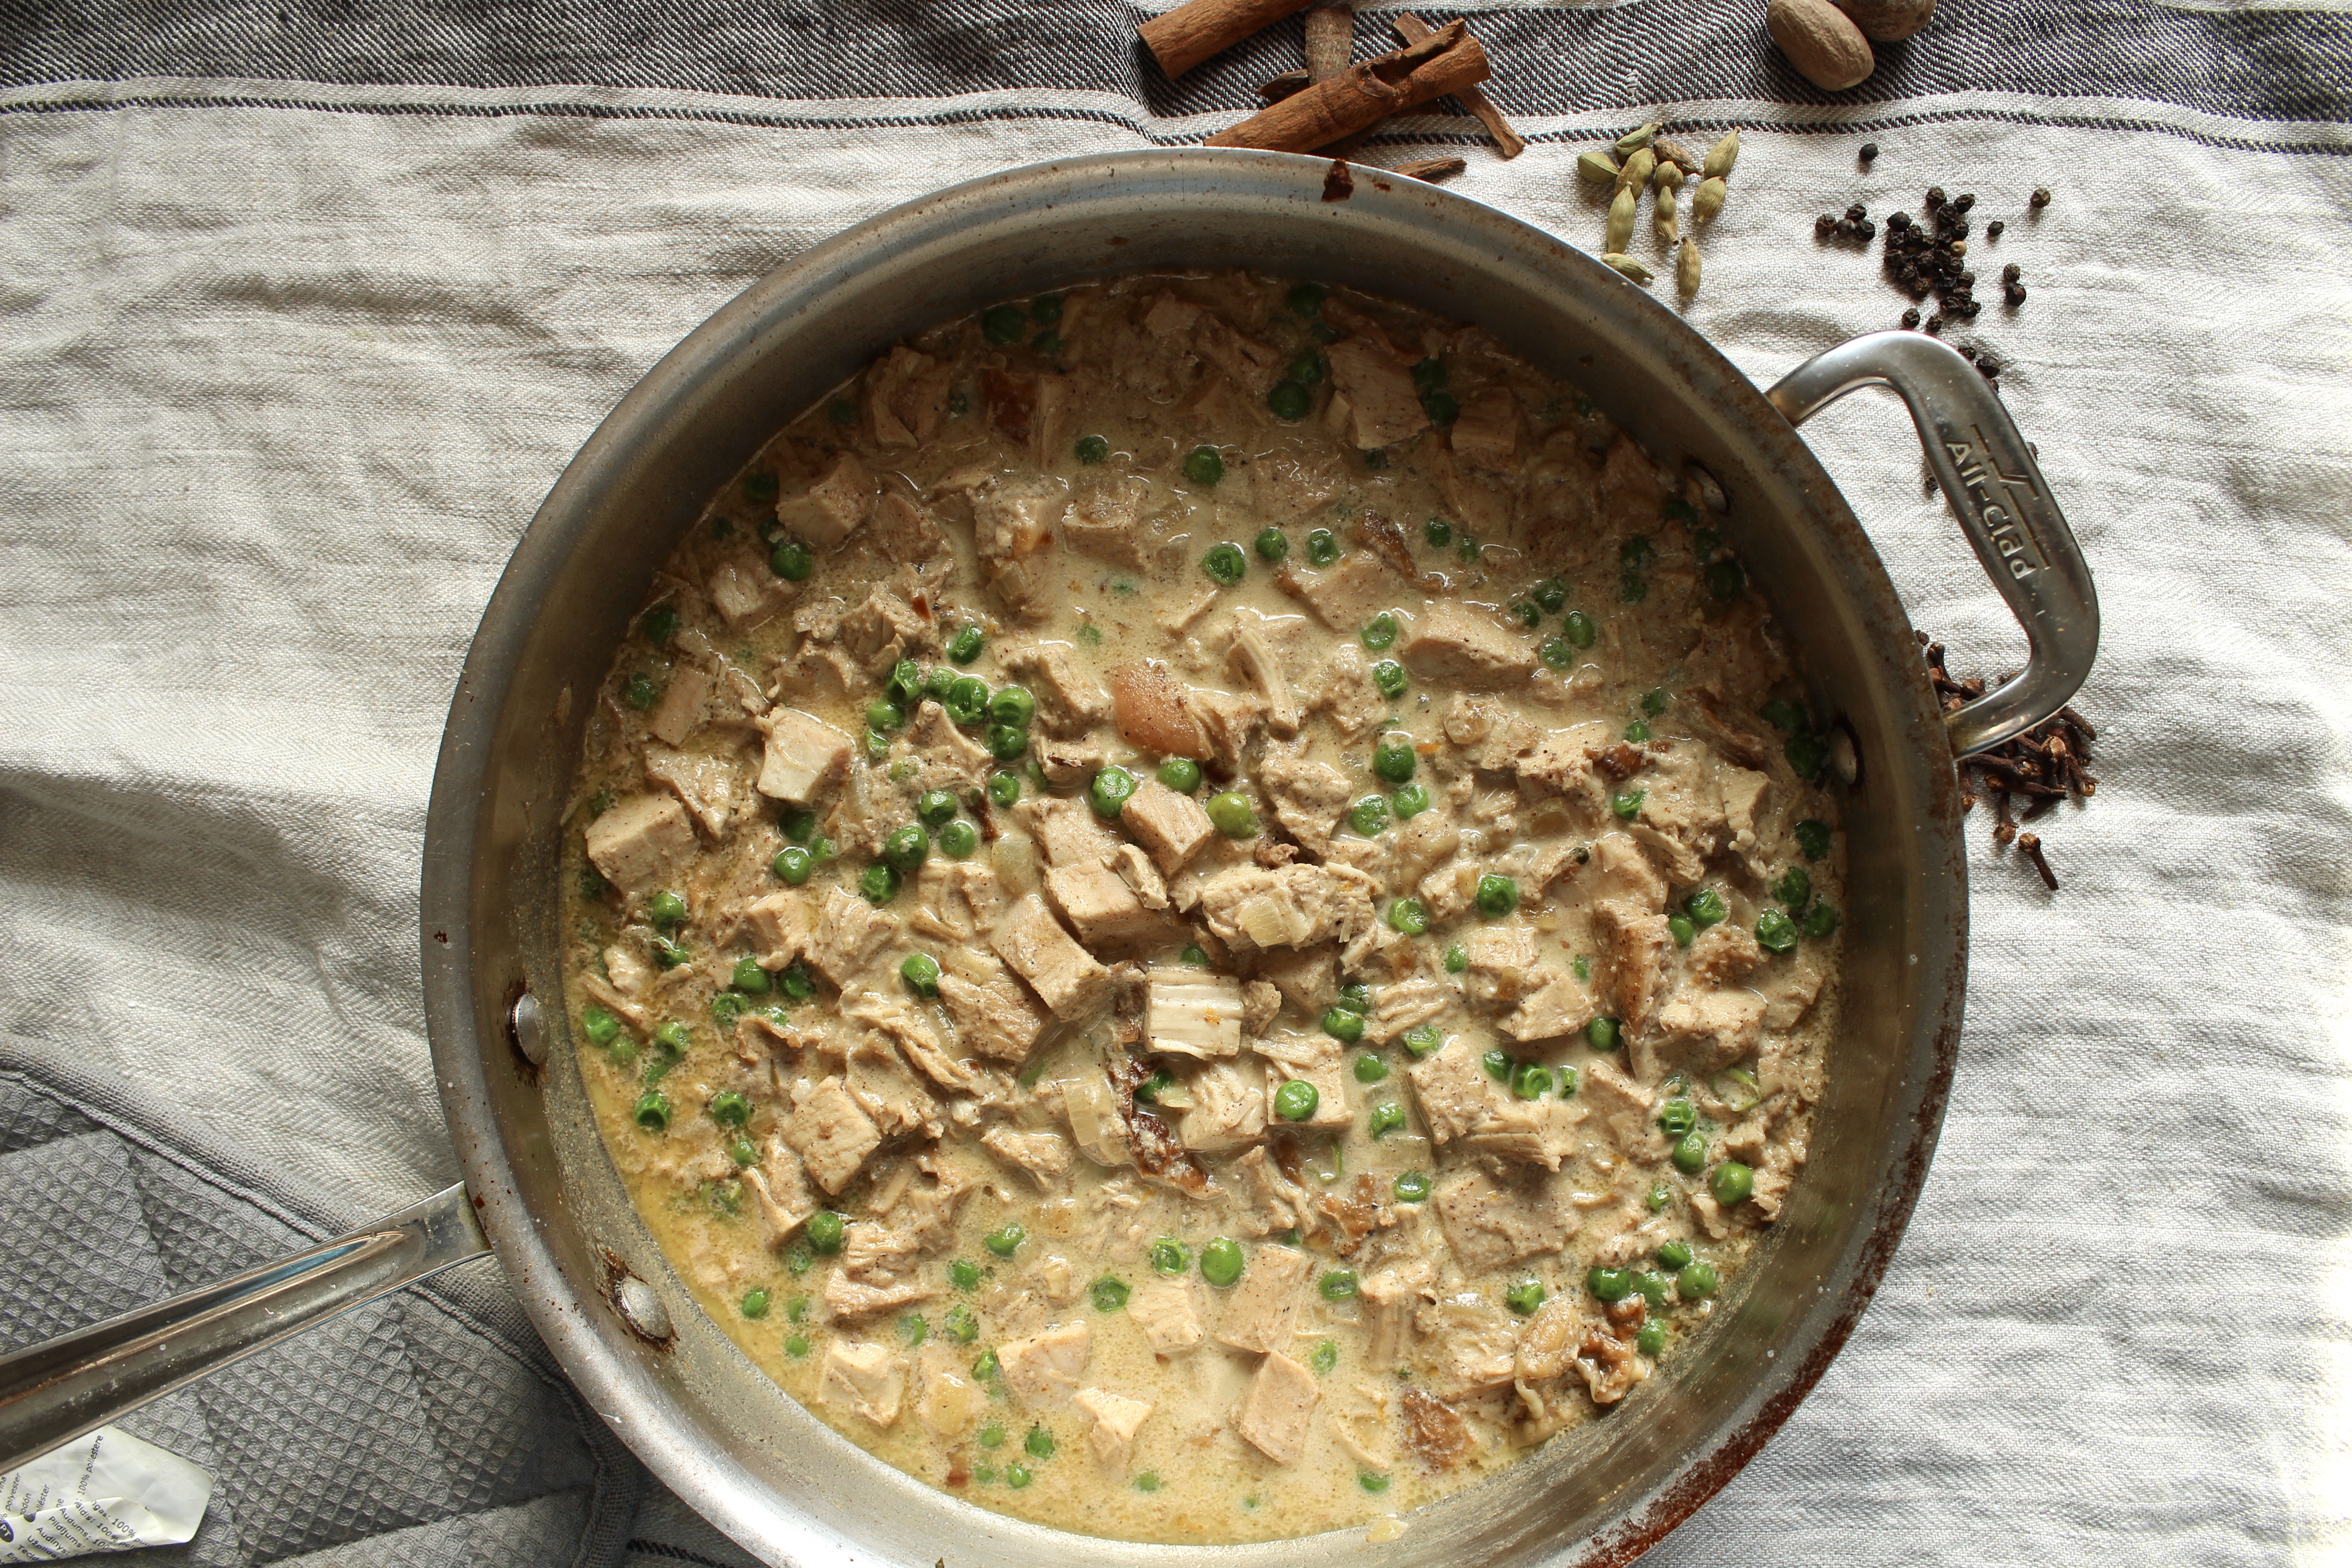
But even after the last doggy bag was packed, we had quite a bit of turkey left over. It’s been our breakfast, lunch and dinner. Then last night, I recalled my friend Biny of #binyskitchen saying how she’d use her leftovers for turkey pot pies. Now, pot pies don’t fly here, but South Asian flavors do. I thought I’d cook some of the leftover turkey in a cream sauce with spices and frozen peas (to make it the slightest bit healthy) and the gang inhaled it!
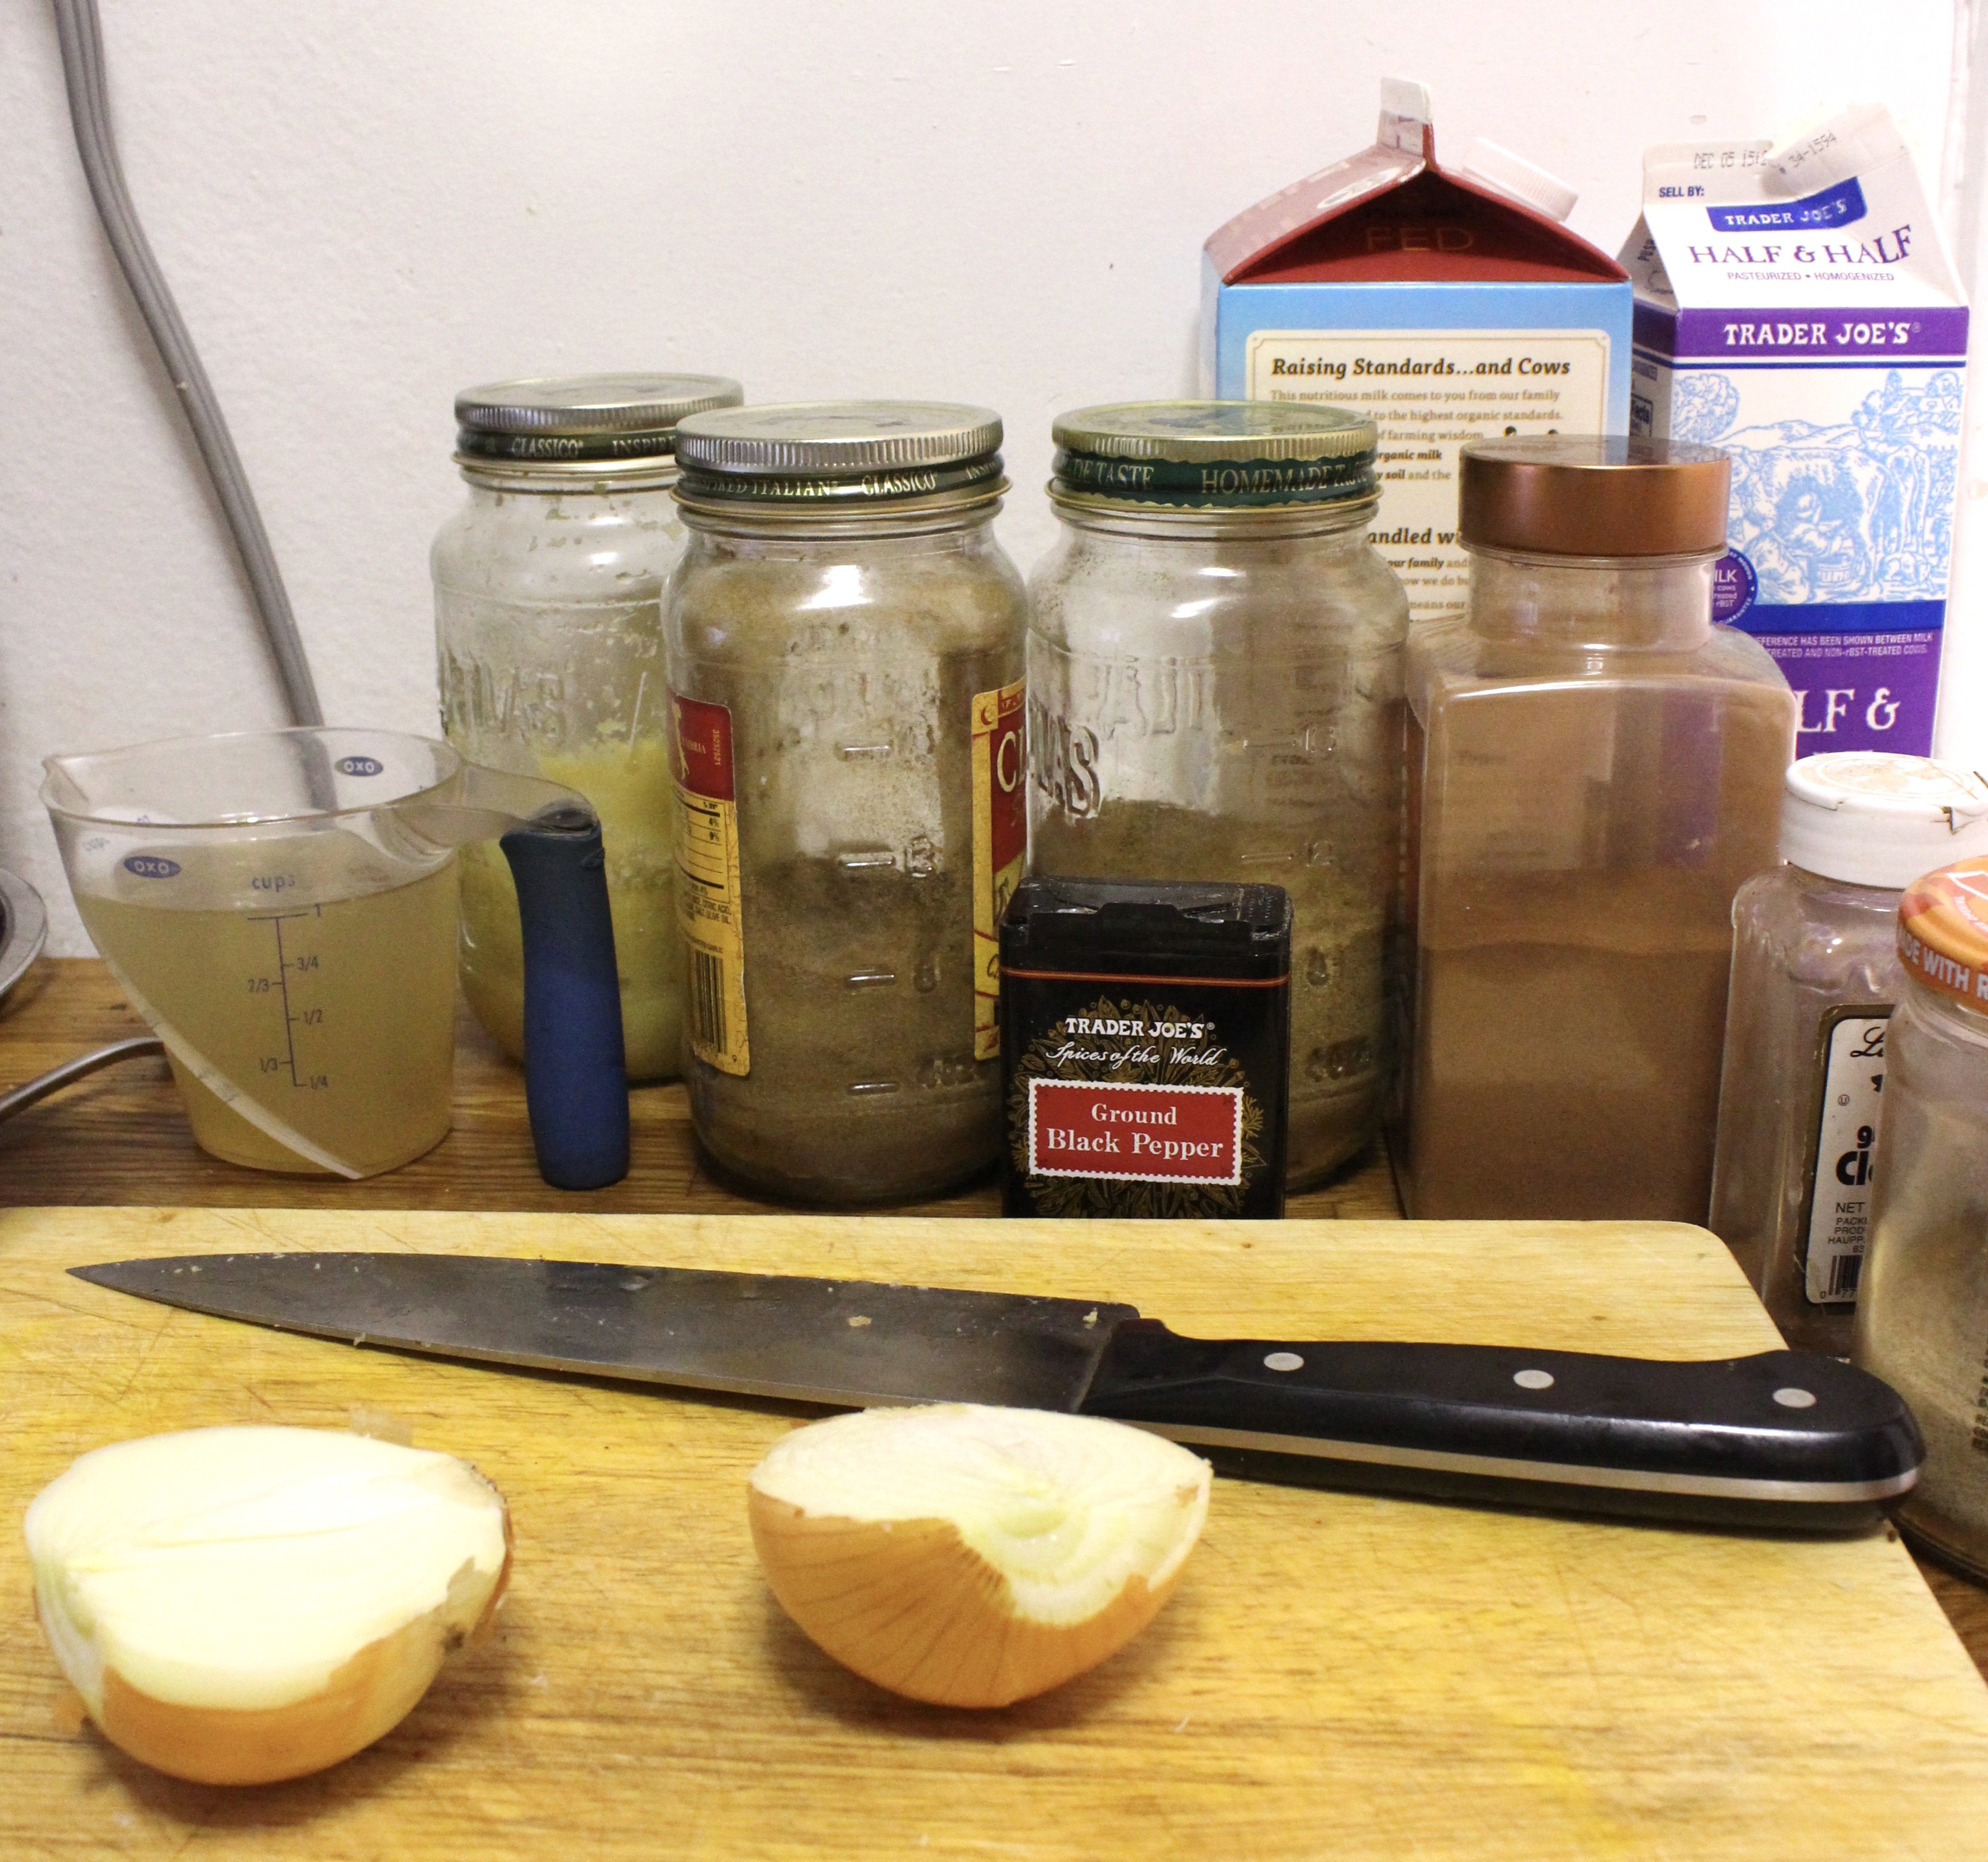
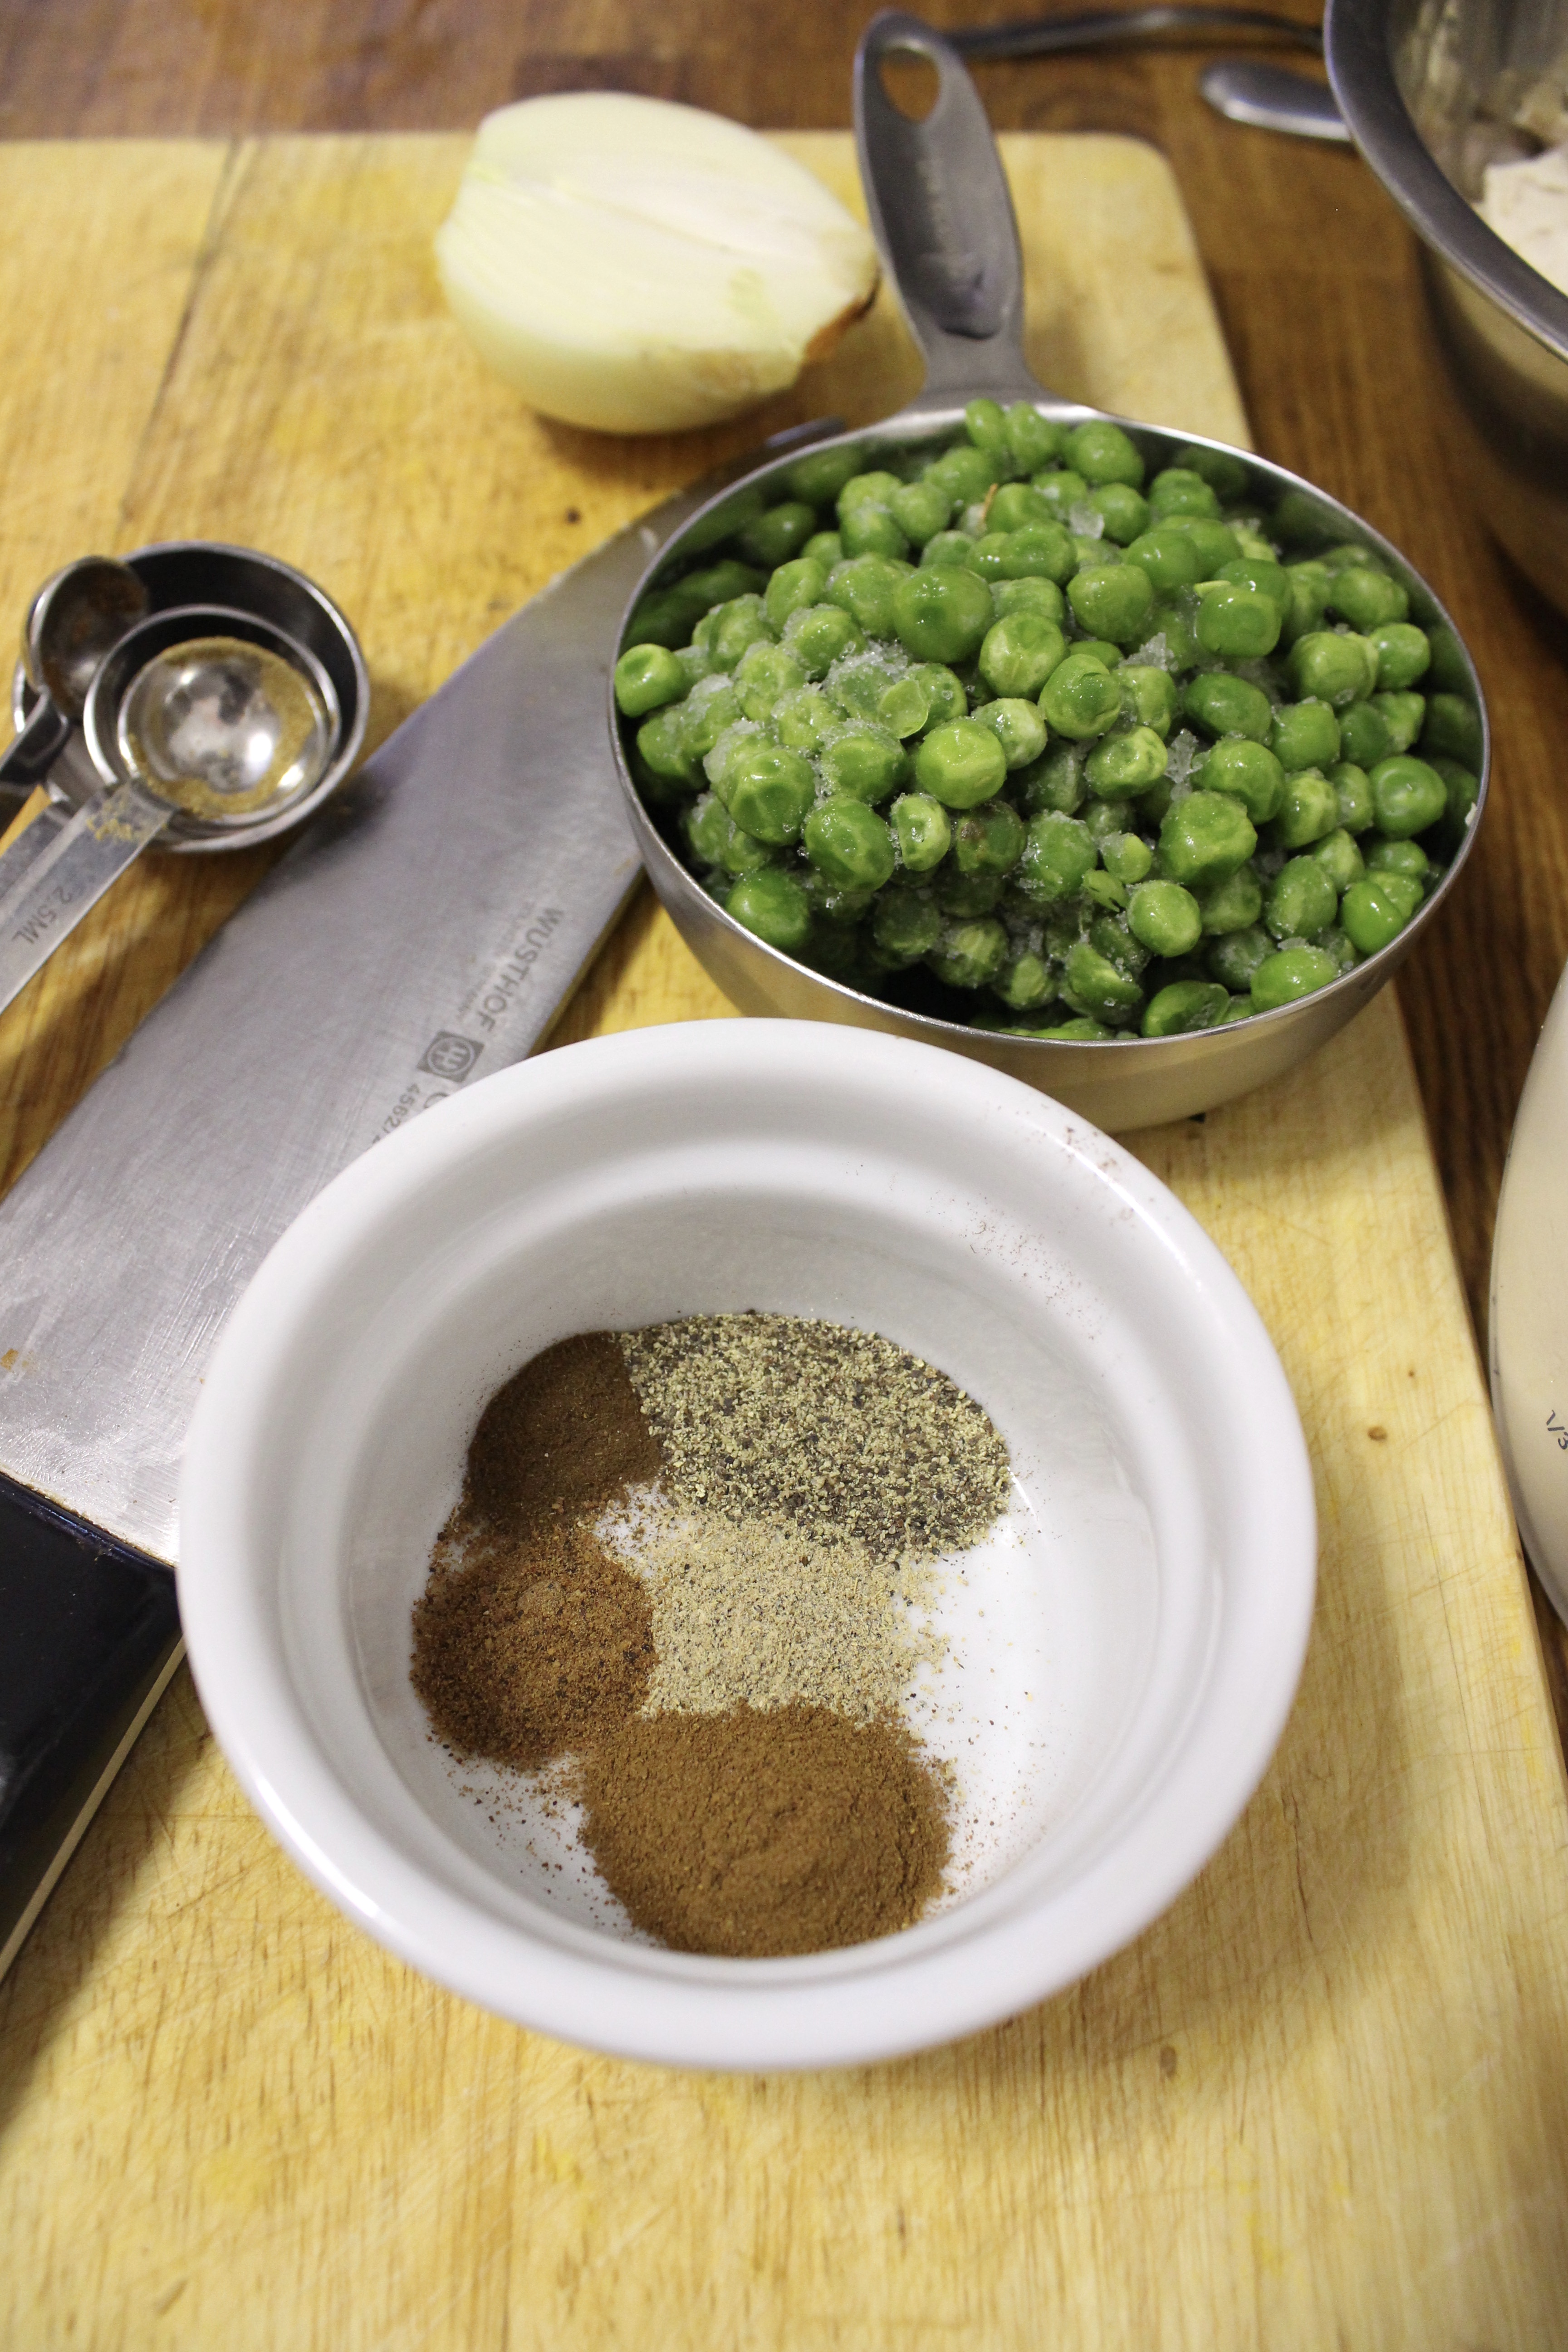
So here’s how I created it. Don’t be intimidated by the long list of ingredients. If you ever want to make South Asian food at home, you need these in stock. Fine to use a “garam masala” mix if you don’t have the last 5 spices. I wouldn’t use a curry powder to sub the first few spices, as that has turmeric and chili powder and would change the flavor of the korma.
What is korma? Any meat/seafood/veggie dish cooked in a cream or yogurt or nut paste sauce. Simmered with warm spices (not the spicy spices) and slightly sweet. Chicken korma was my favorite dish growing up, but only reserved for special occasions, like Eid or birthdays.
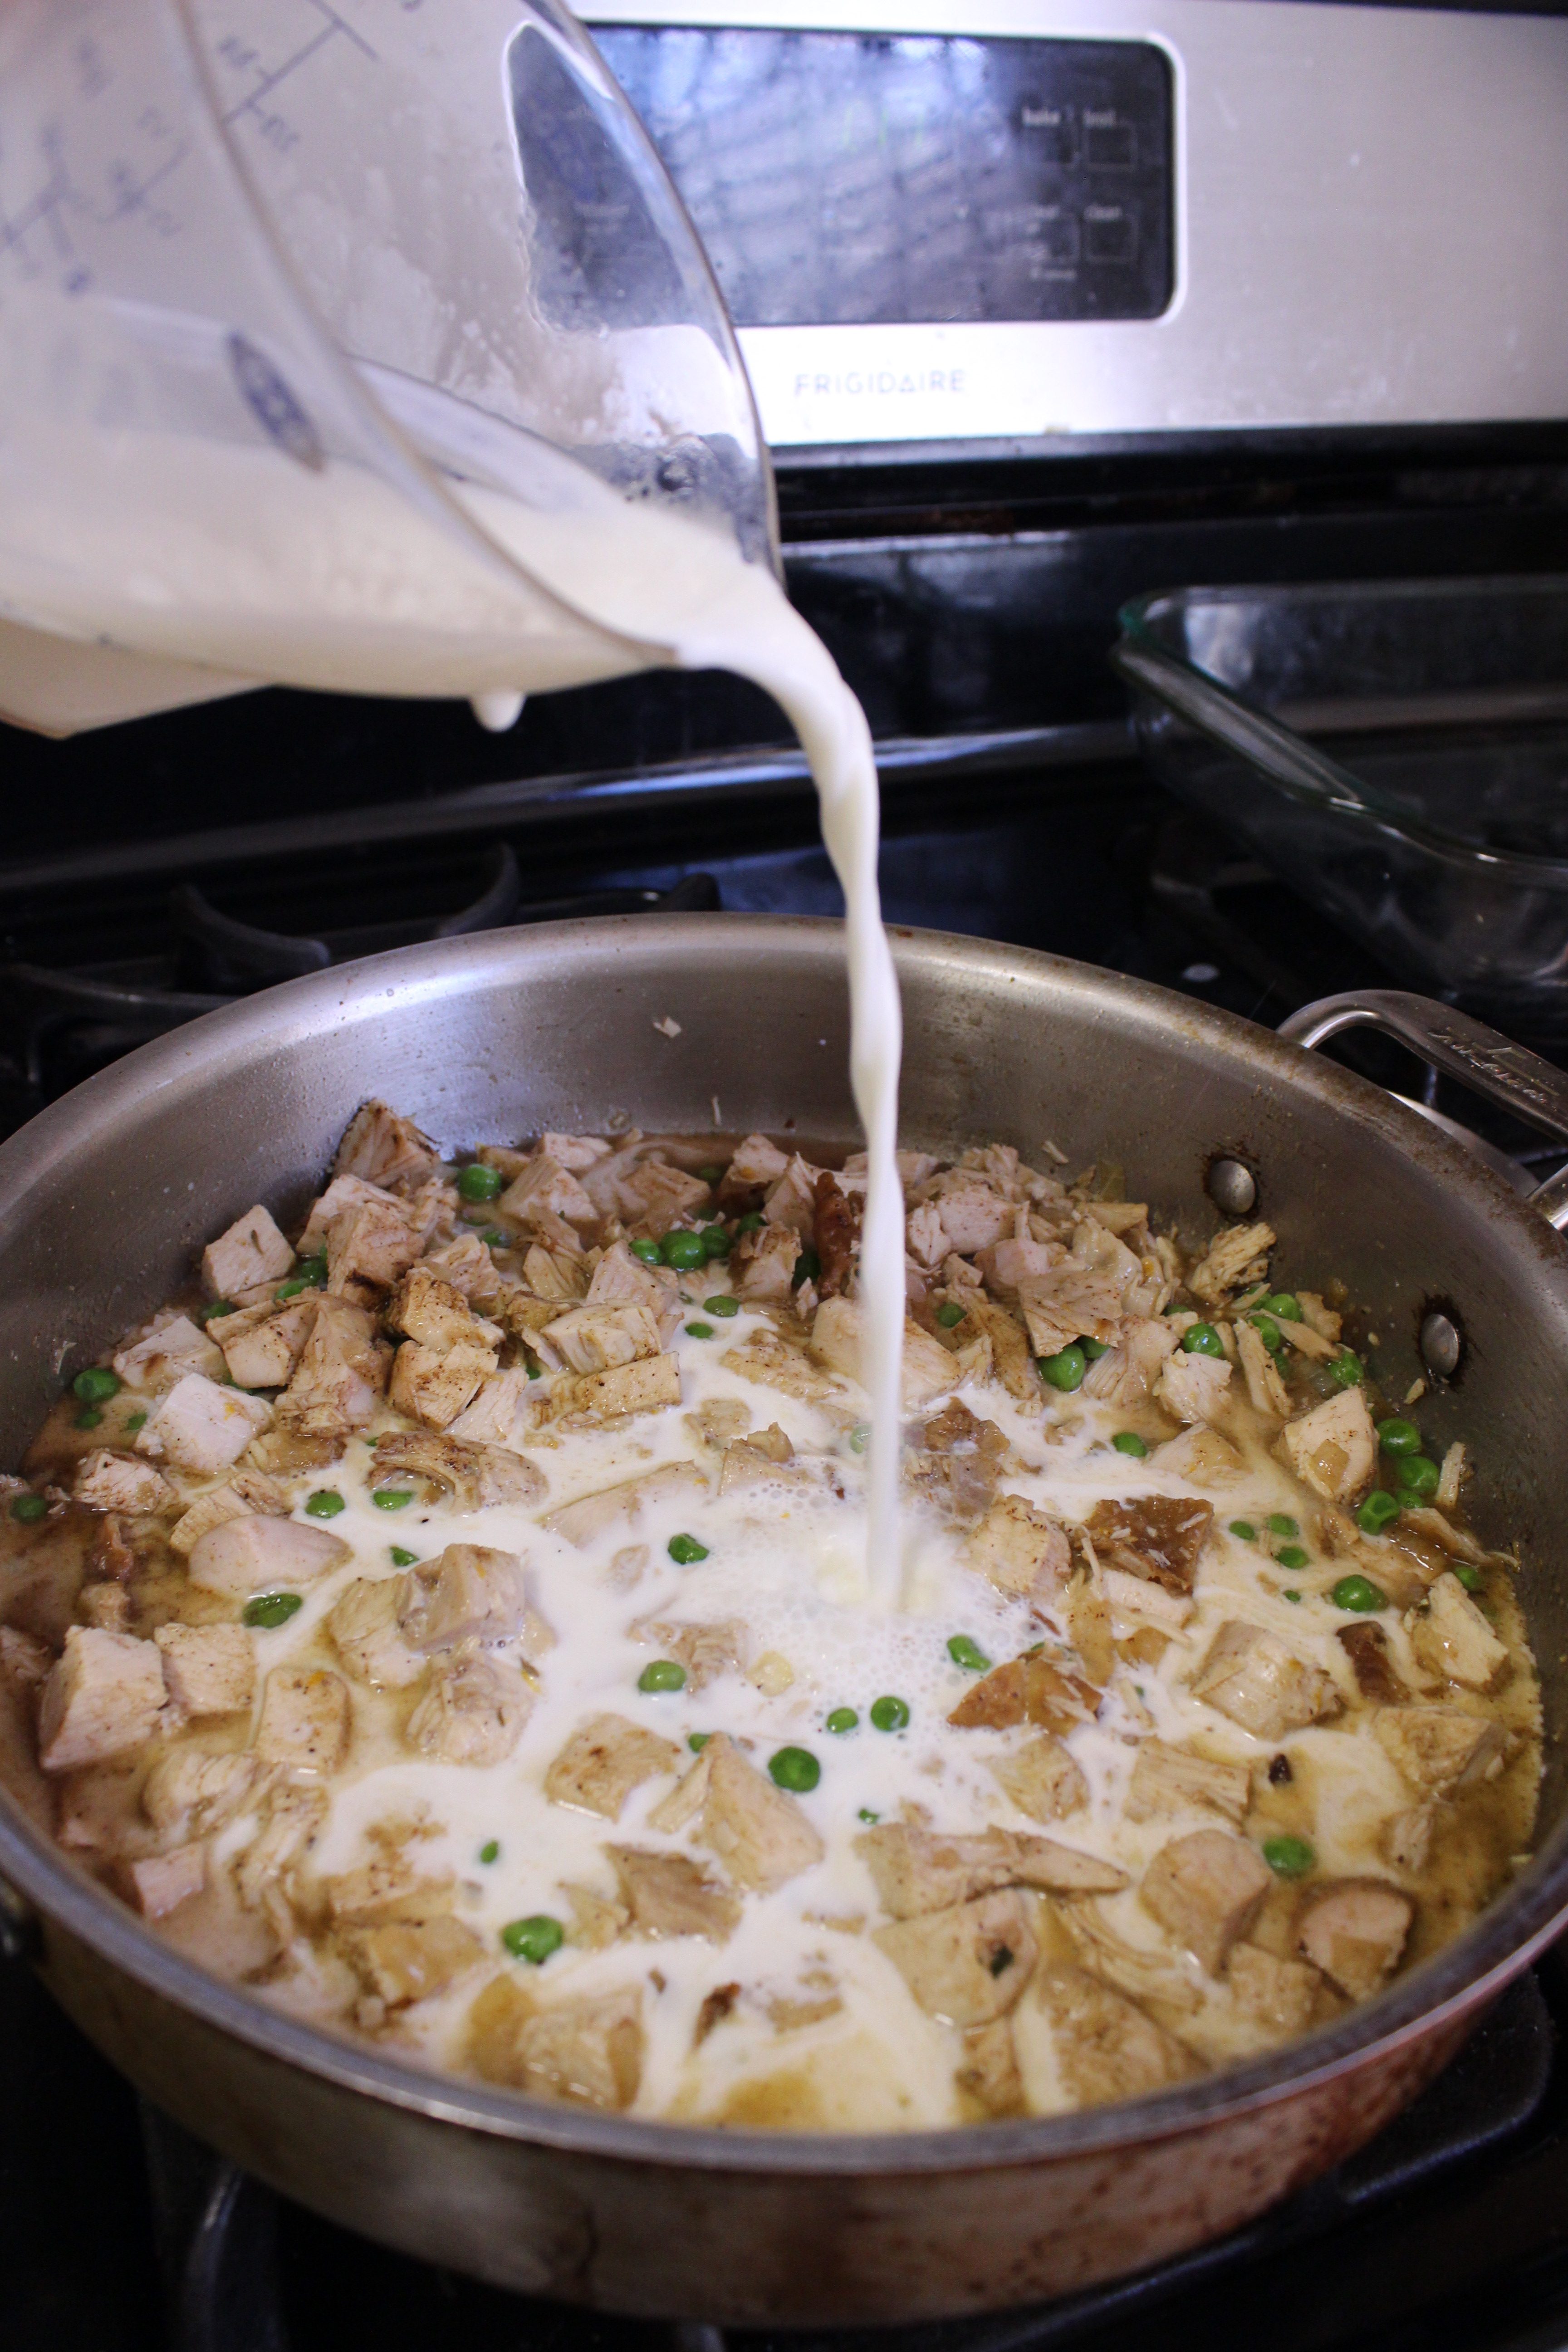
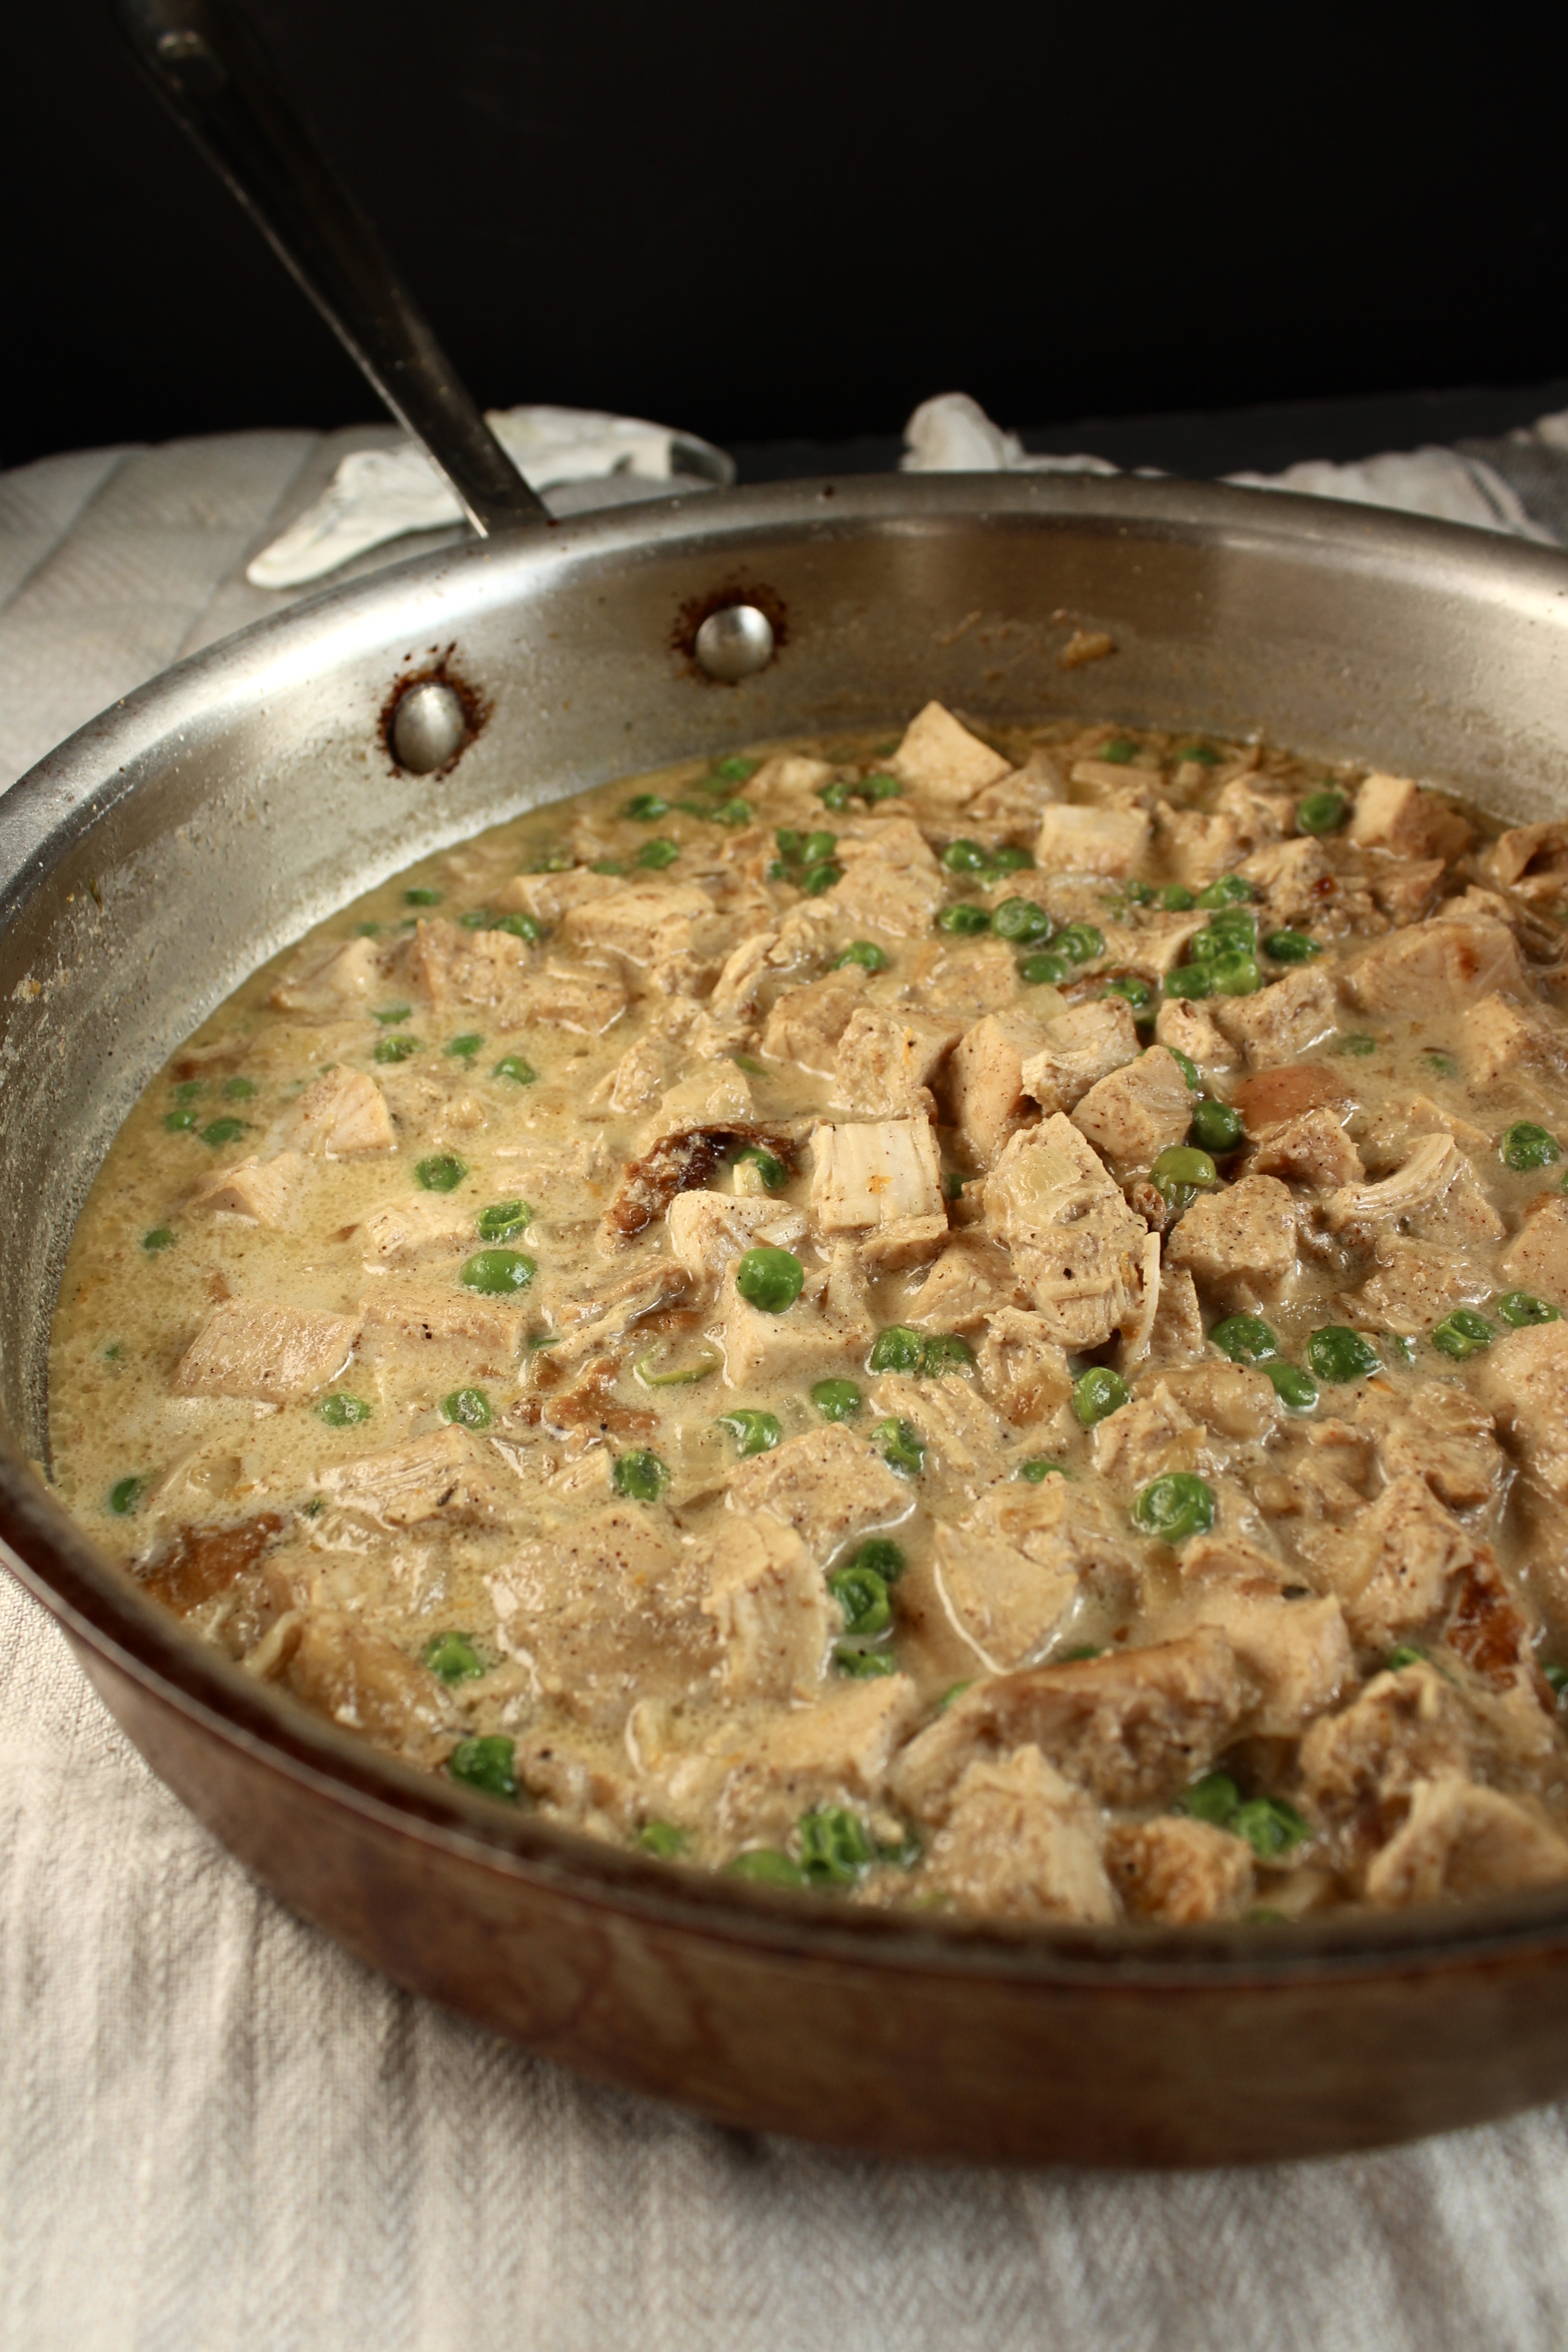
Hope you enjoy this recipe!
Ingredients
- 1/2 onion, diced
- 1 tbsp ghee or butter
- 1/2 tsp ground cumin
- 1/2 tsp ground coriander
- 1 tsp garlic/ginger paste*
- 1 cup turkey/chicken broth or water
- 2-3 cups cubed turkey breast
- 1 cup frozen peas
- 1/8 tsp nutmeg
- 1/8 tsp clove
- 1/8 tsp cardamom
- 1/4 tsp cinnamon
- 1/4 tsp black pepper
- 1/2 tsp sugar
- 1/2 tsp salt
- 3/4 cup milk
- 1/4 cup half & half
Directions
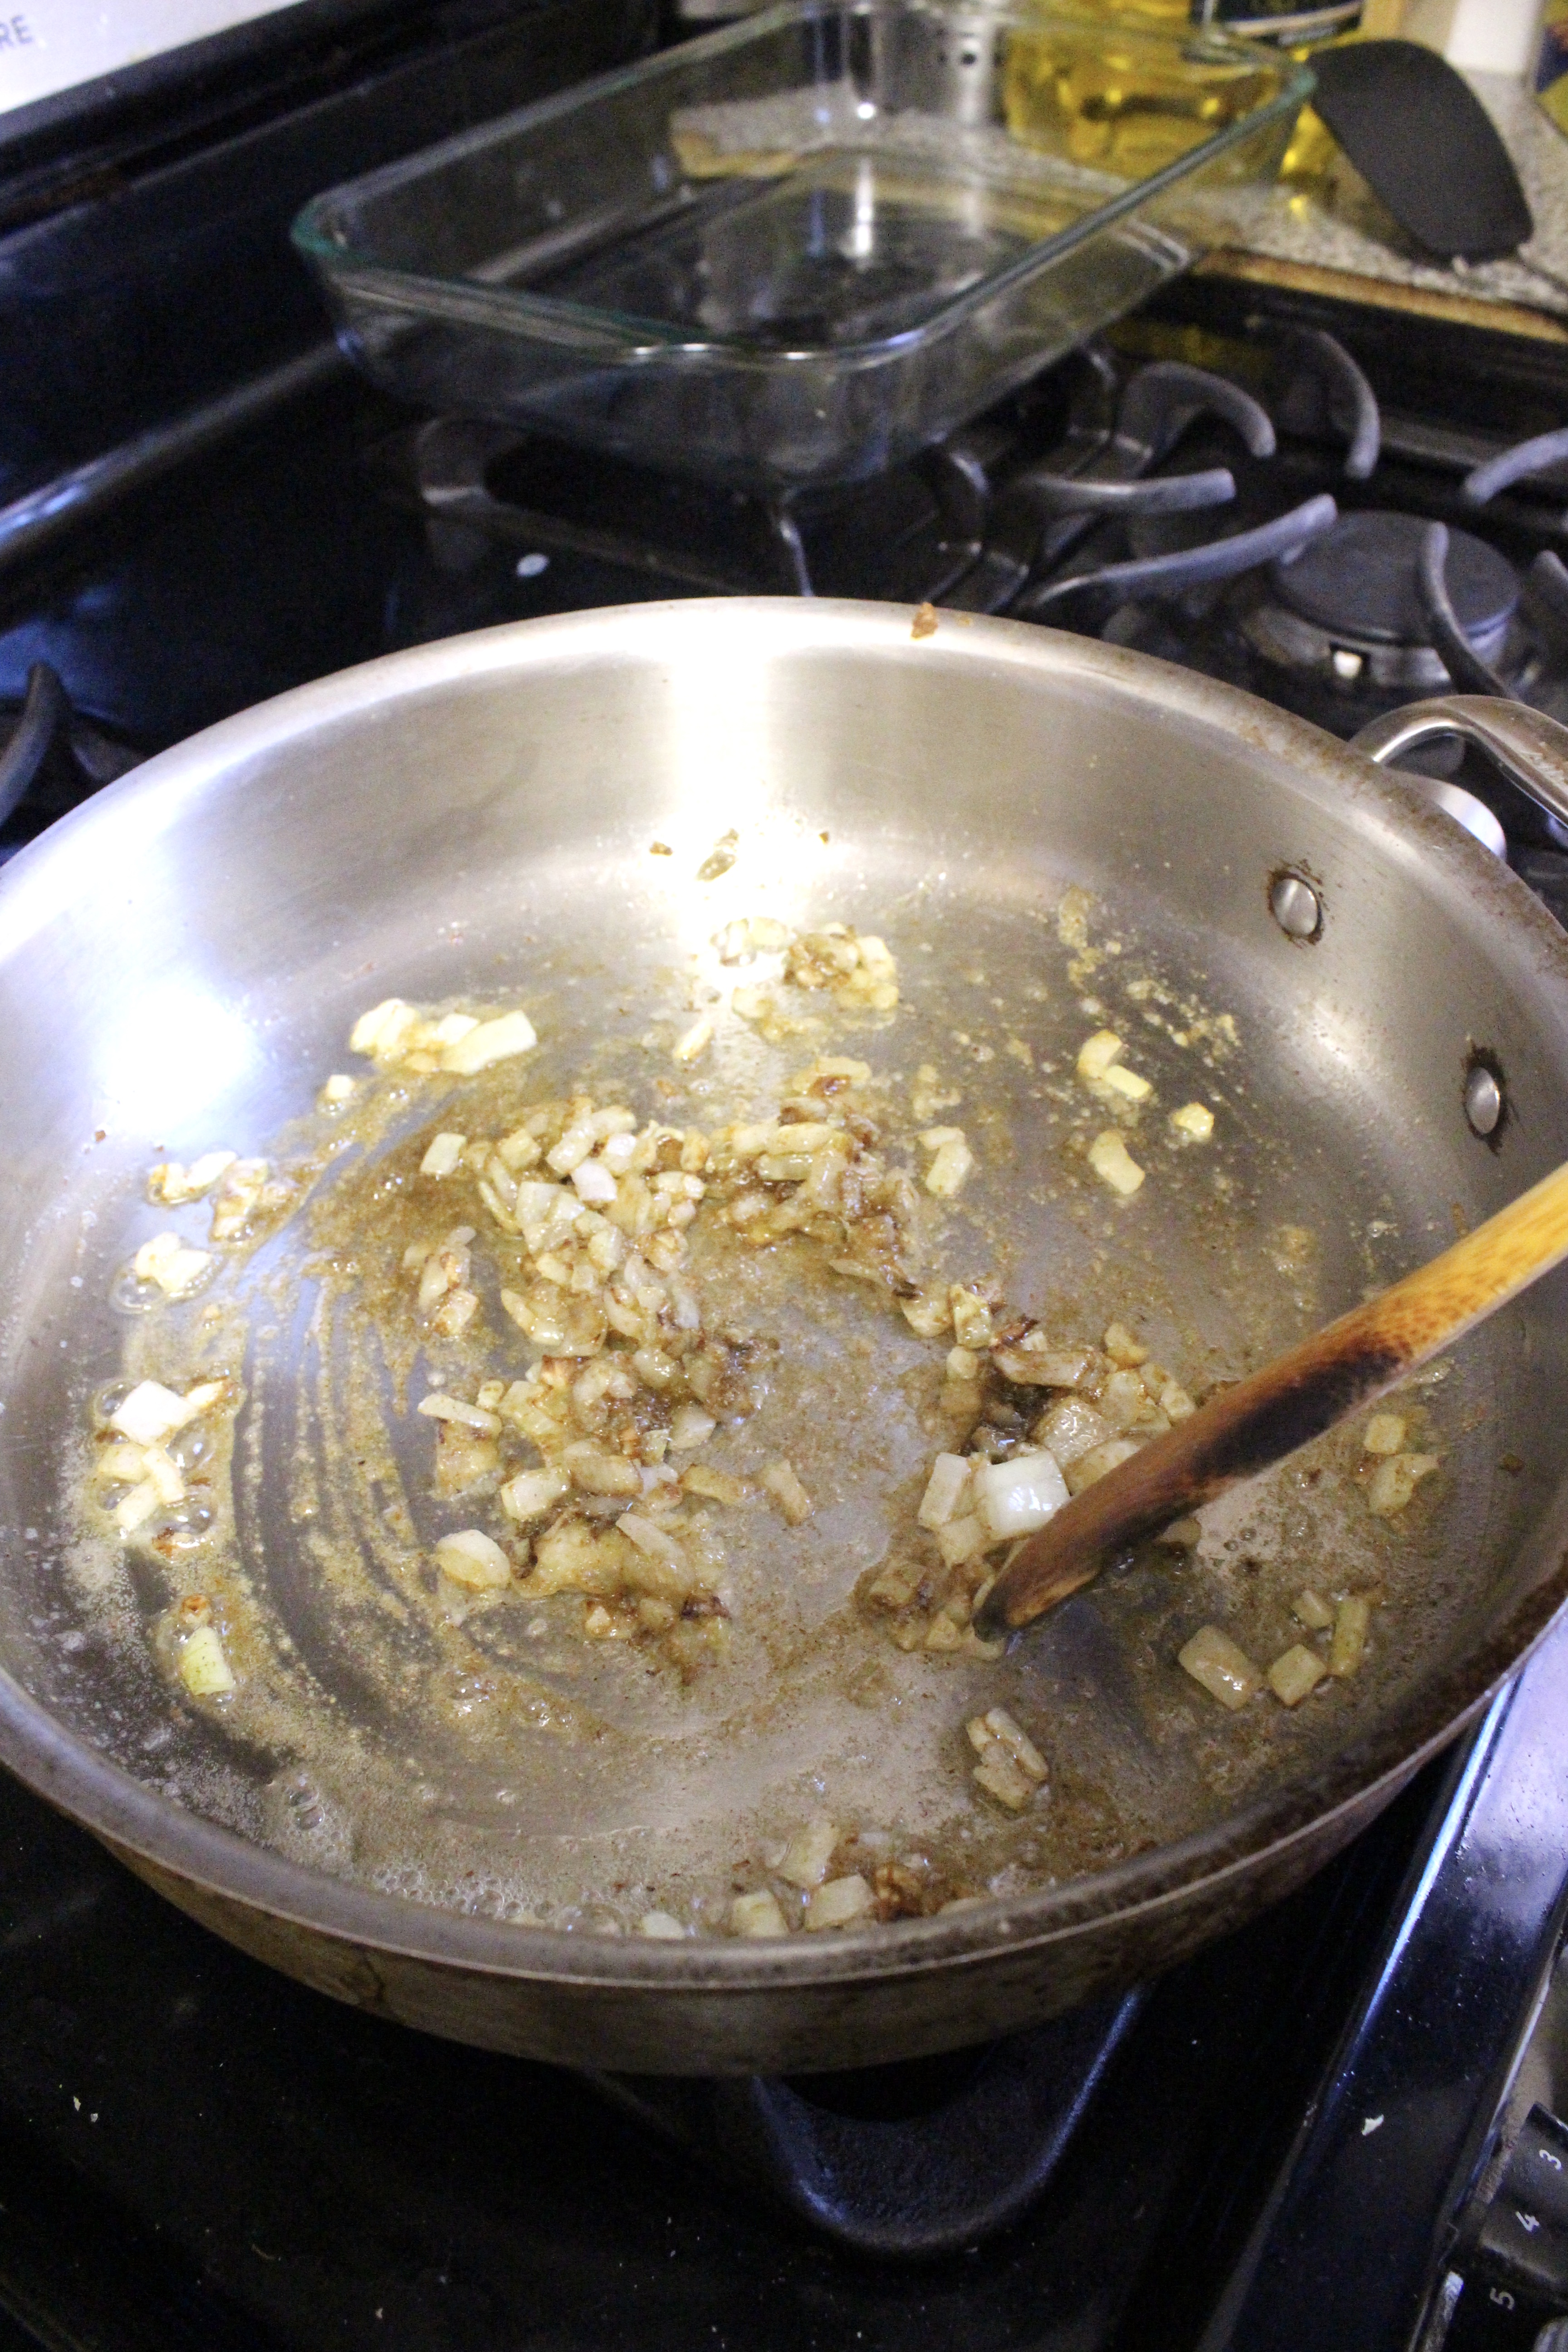
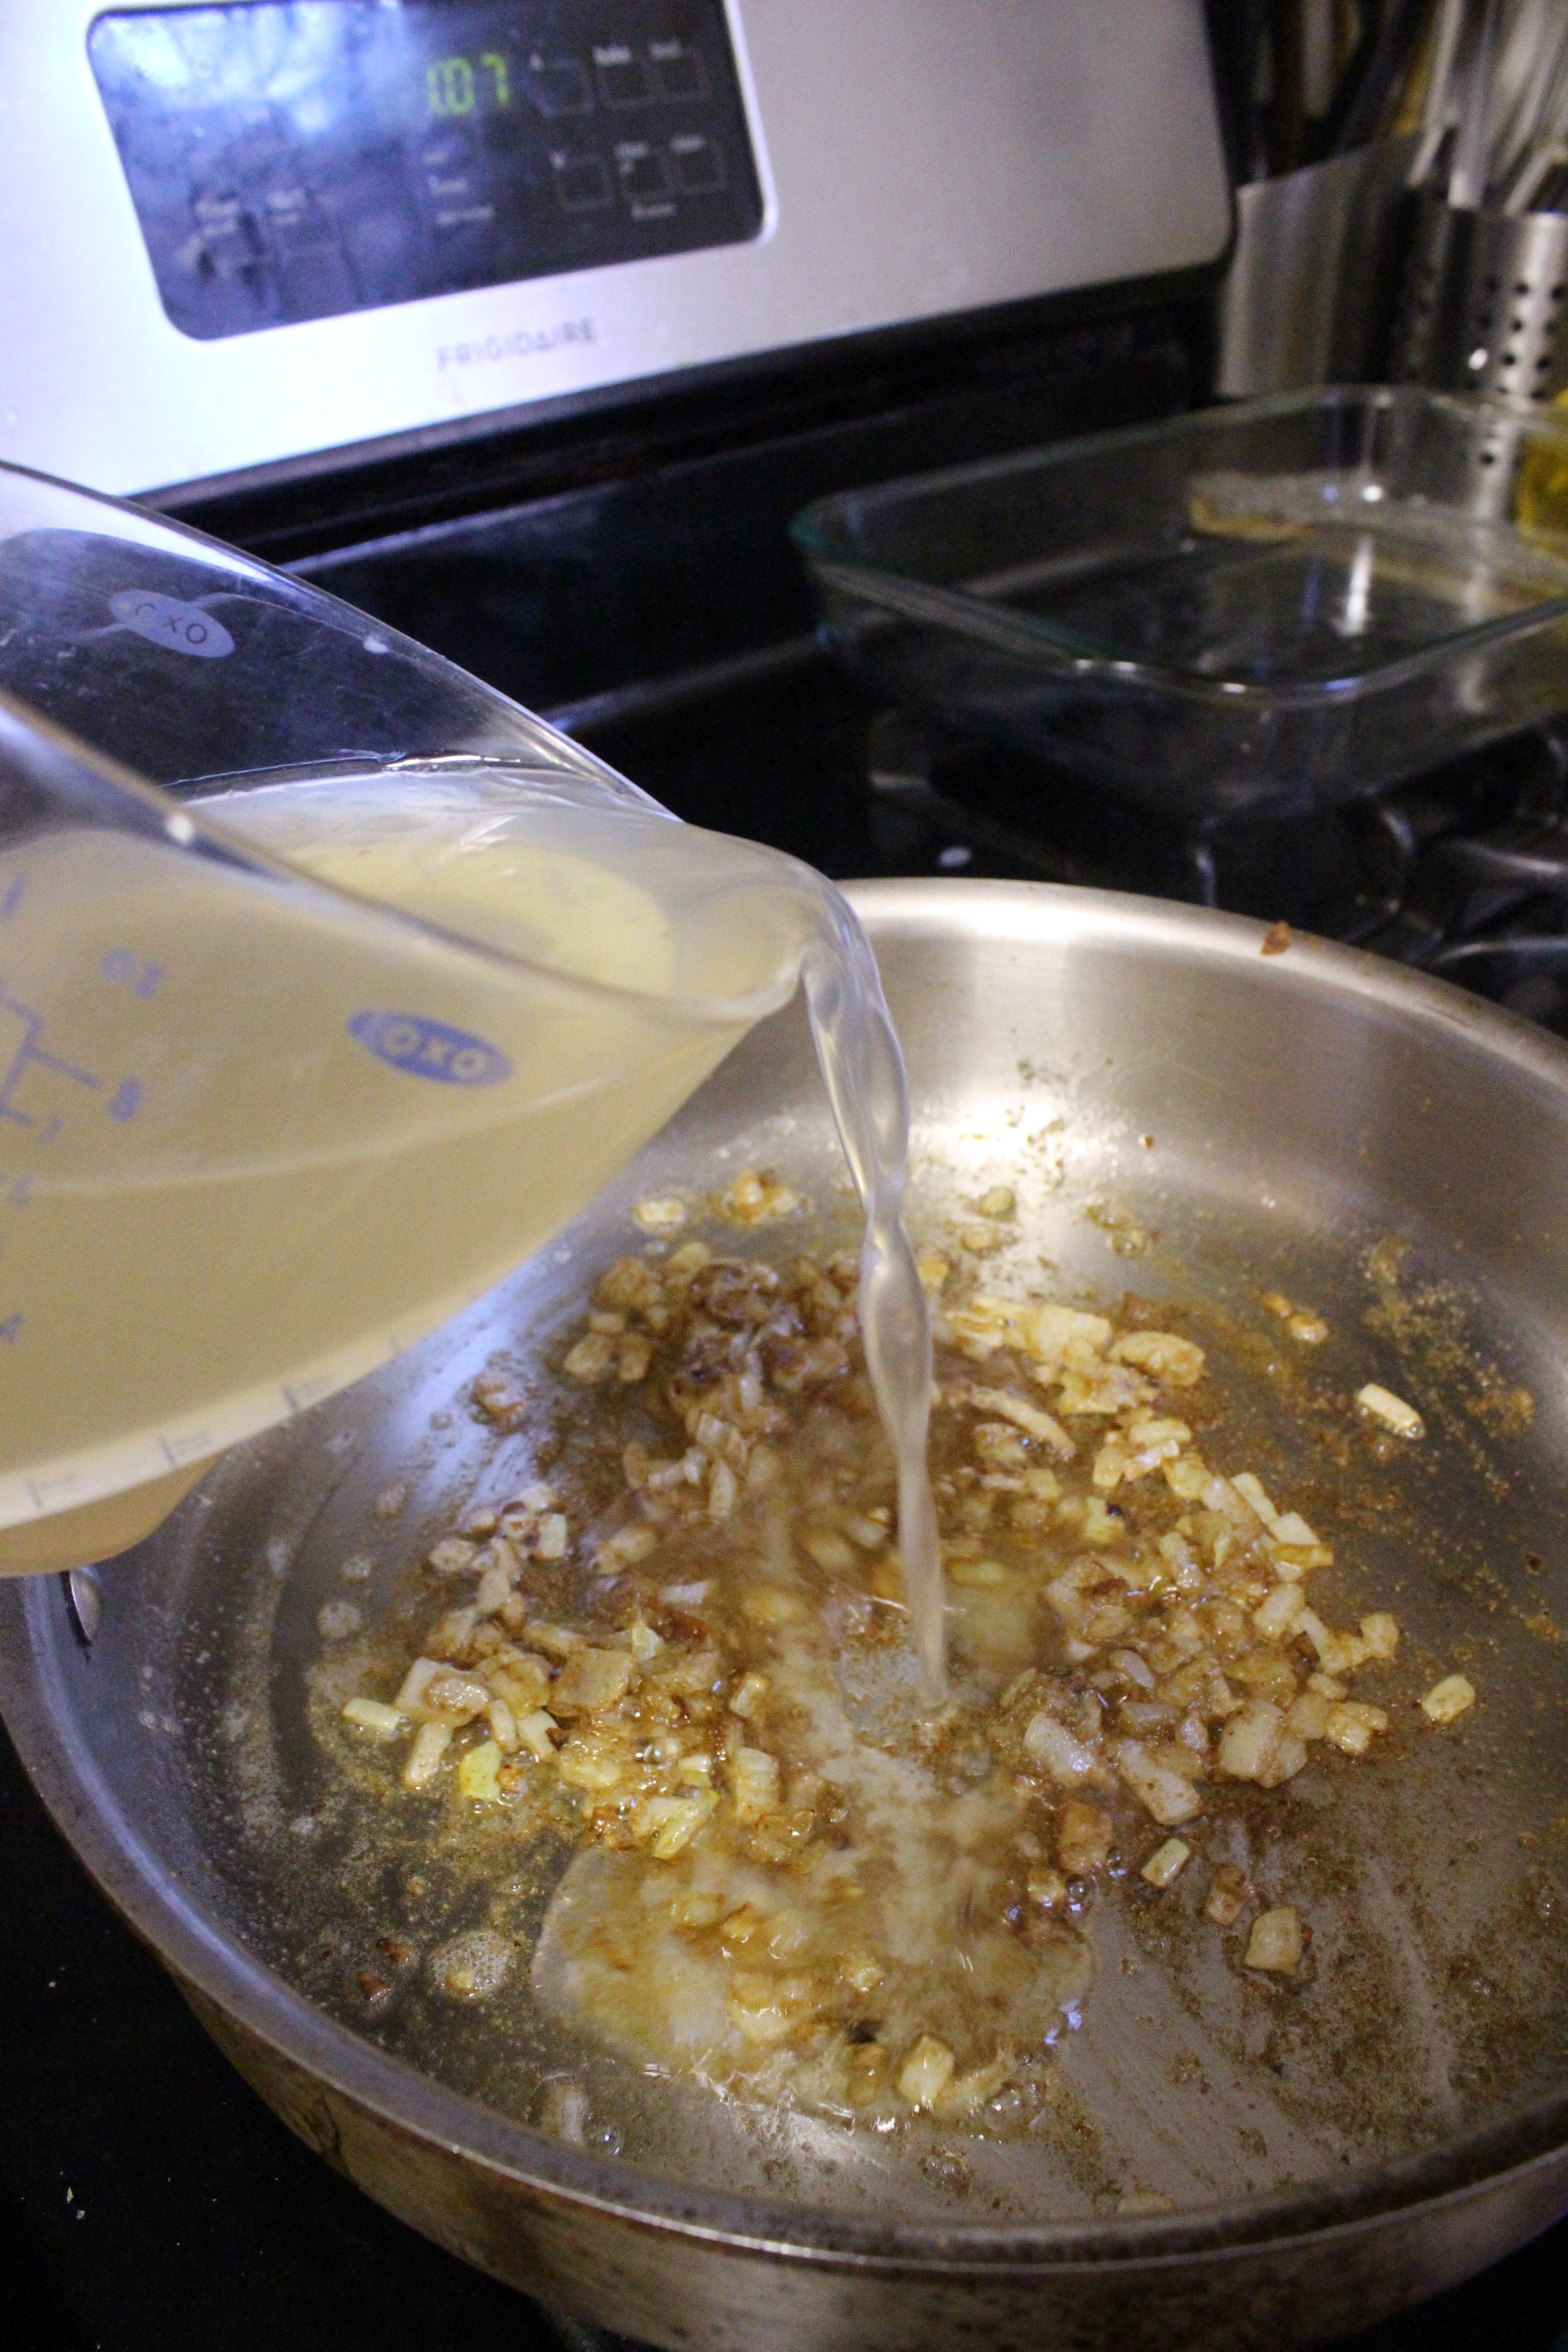
- In a large saute pan, heat ghee or butter over medium high heat and add onions. Cook until onions are translucent and lightly browned around the edges. Add the cumin, coriander and garlic/ginger paste. Stir, then slowly add the broth or water. Scrape all the browned bits from the bottom of the pan and allow mixture to simmer for 2-3 minutes.
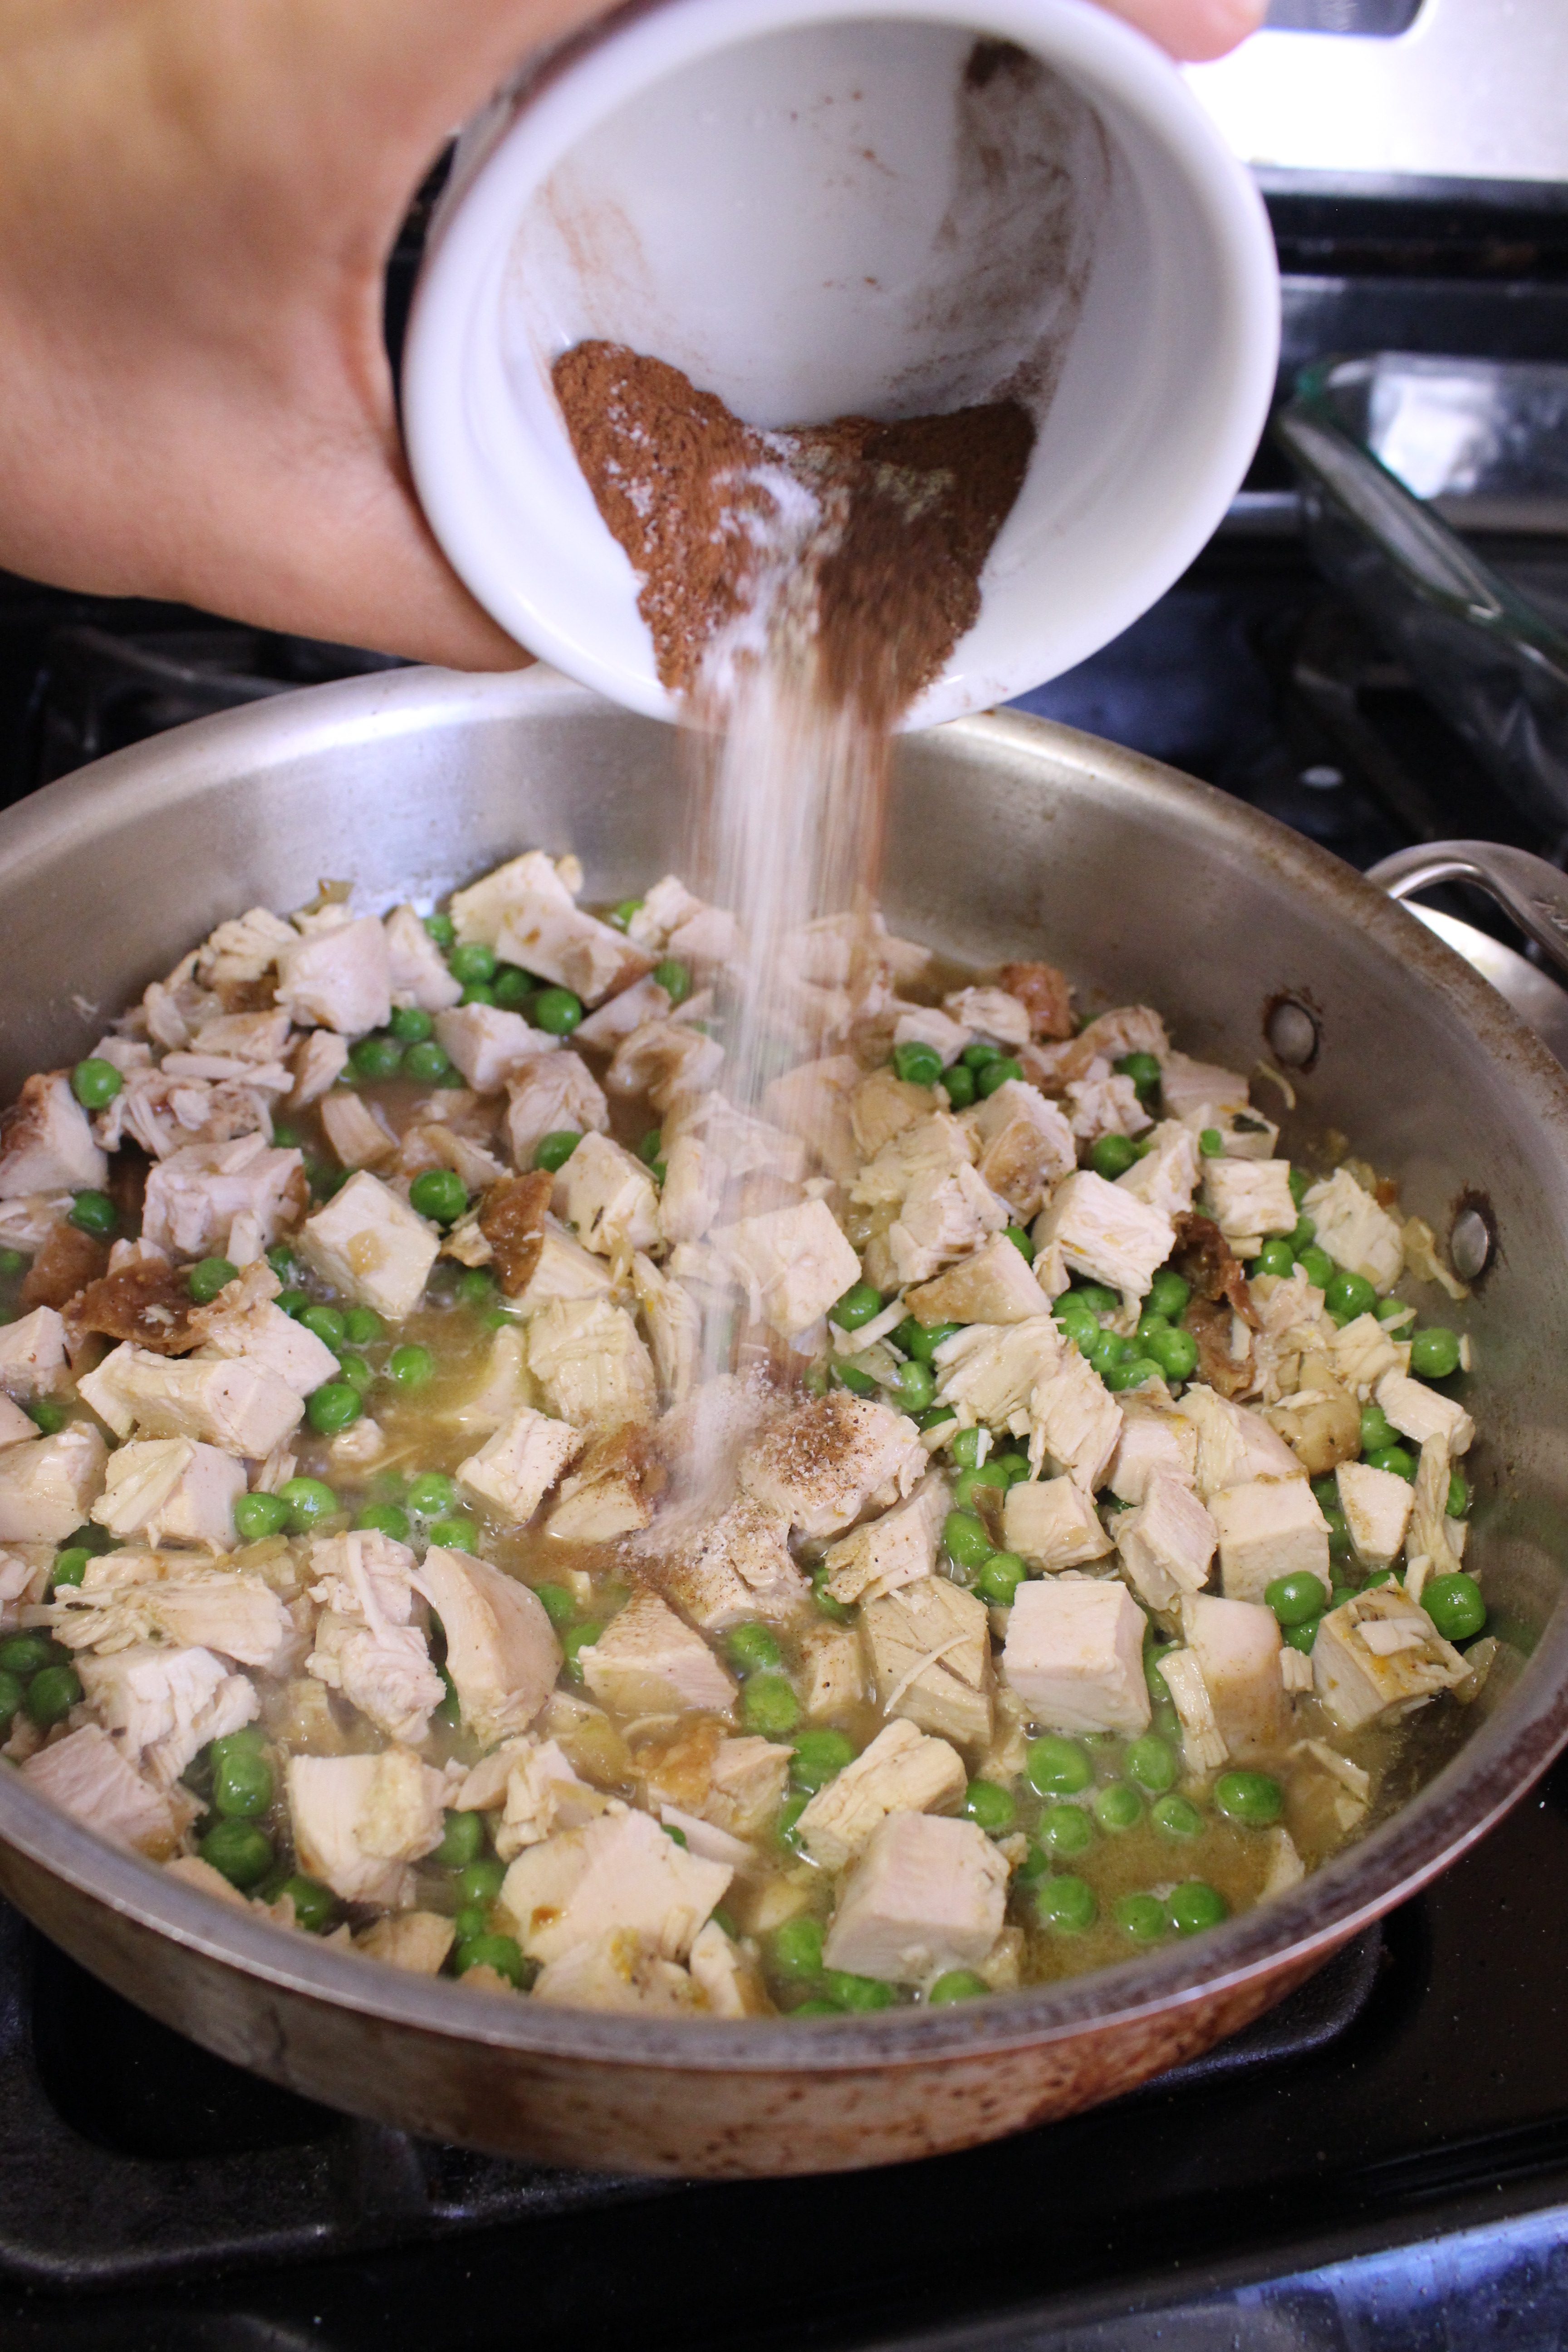
- Add the turkey, peas and remaining spices. Stir to combine then add the milk and half and half. Let simmer for 5 minutes.
- Remove from heat and serve with rice or quinoa.
*You can sub garlic/ginger paste with 1 clove of garlic AND a small (maybe 1/2inch) piece of ginger minced or pressed through a zester.
Cinnamon Honey Skillet Cornbread
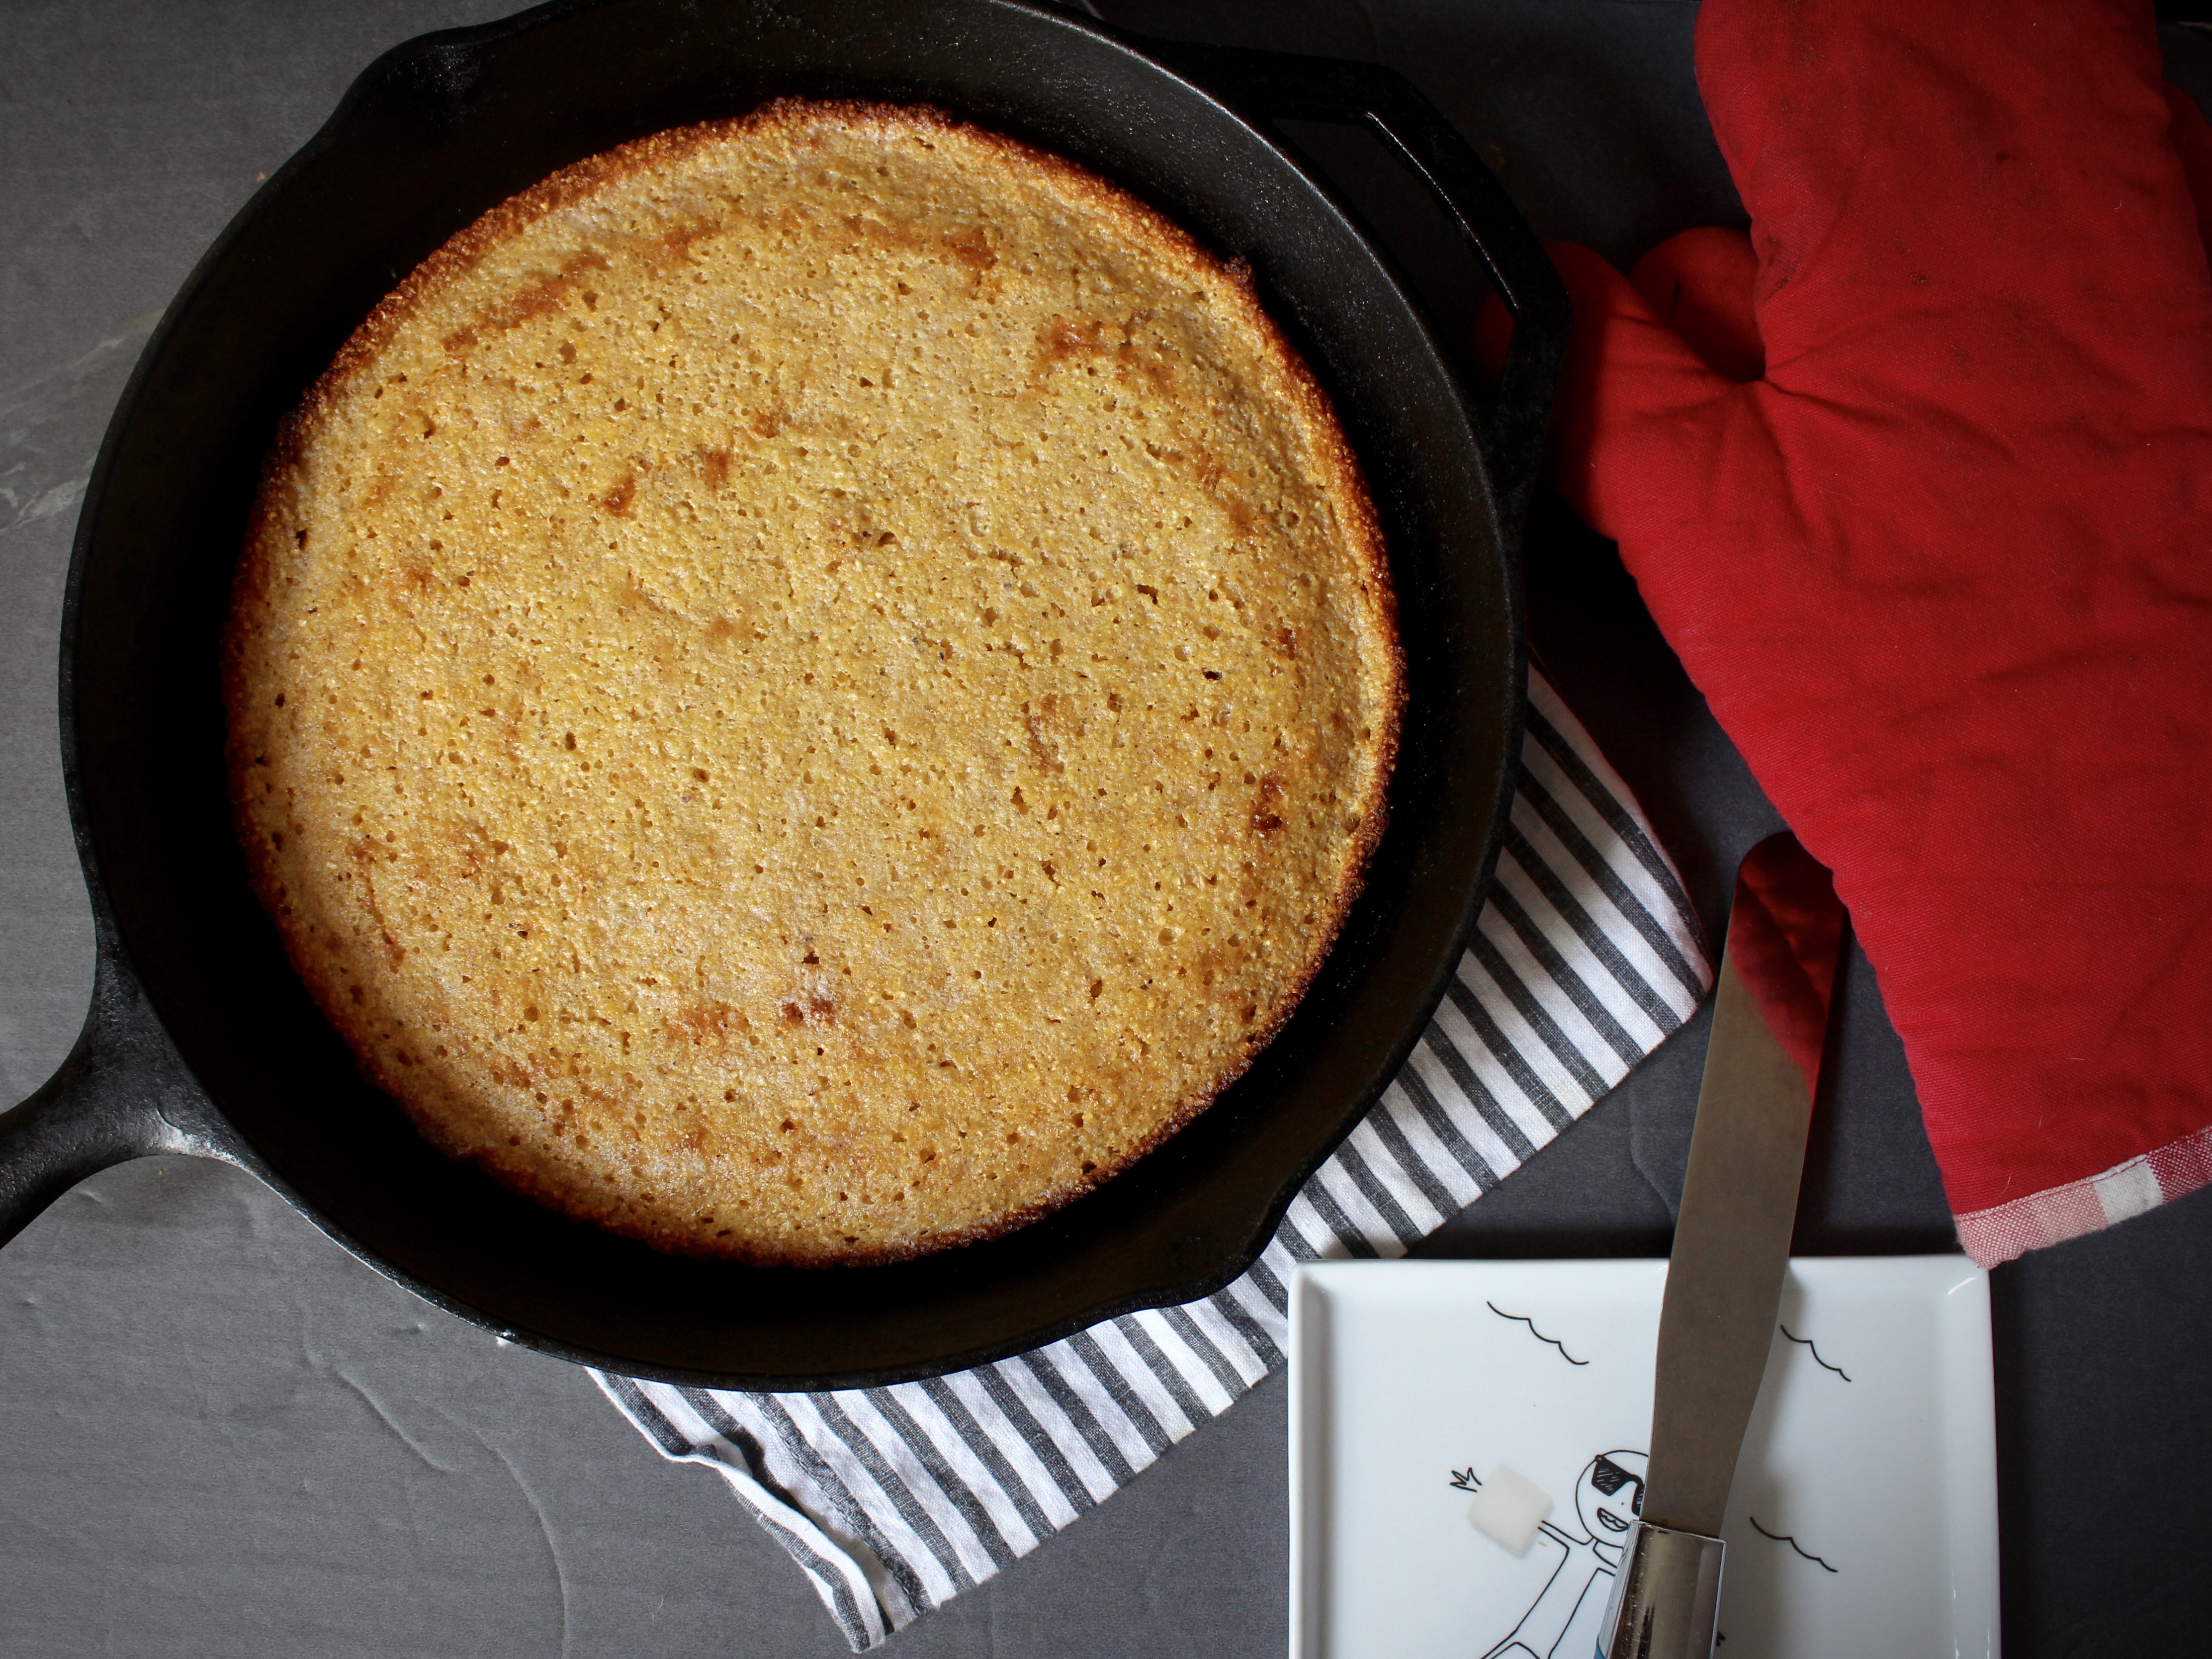
What’s the best gift you’ve ever received? Was it jewelry? A nice bag? Maybe those shoes you’ve been eyeing? For me, it was my engagement ring, hands down. BUT apart from the that, the best gift I continue to receive is from my mother. Every few months she gives me a jar of homemade ginger/garlic paste that is quintessential in Bengali cuisine. Sure, you can buy the jarred stuff from the desi grocery, but it’s just not the same. It’s fresh, preservative free, and it’s made with LOVE. Such a life saver on busy weeknights to not have to peel/chop fresh ginger and garlic.
This time though, she outdid herself. She brought me some homemade GHEE. Ghee, or clarified butter, is made exactly how the French make it. Warm up butter in a pot or saucepan until melted. Then let sit for an hour or two, until the milk solids fall to the bottom, while the fat comes to the top. When she brought it, I opened it up and OH MY NUTTYNESS it smelled good.
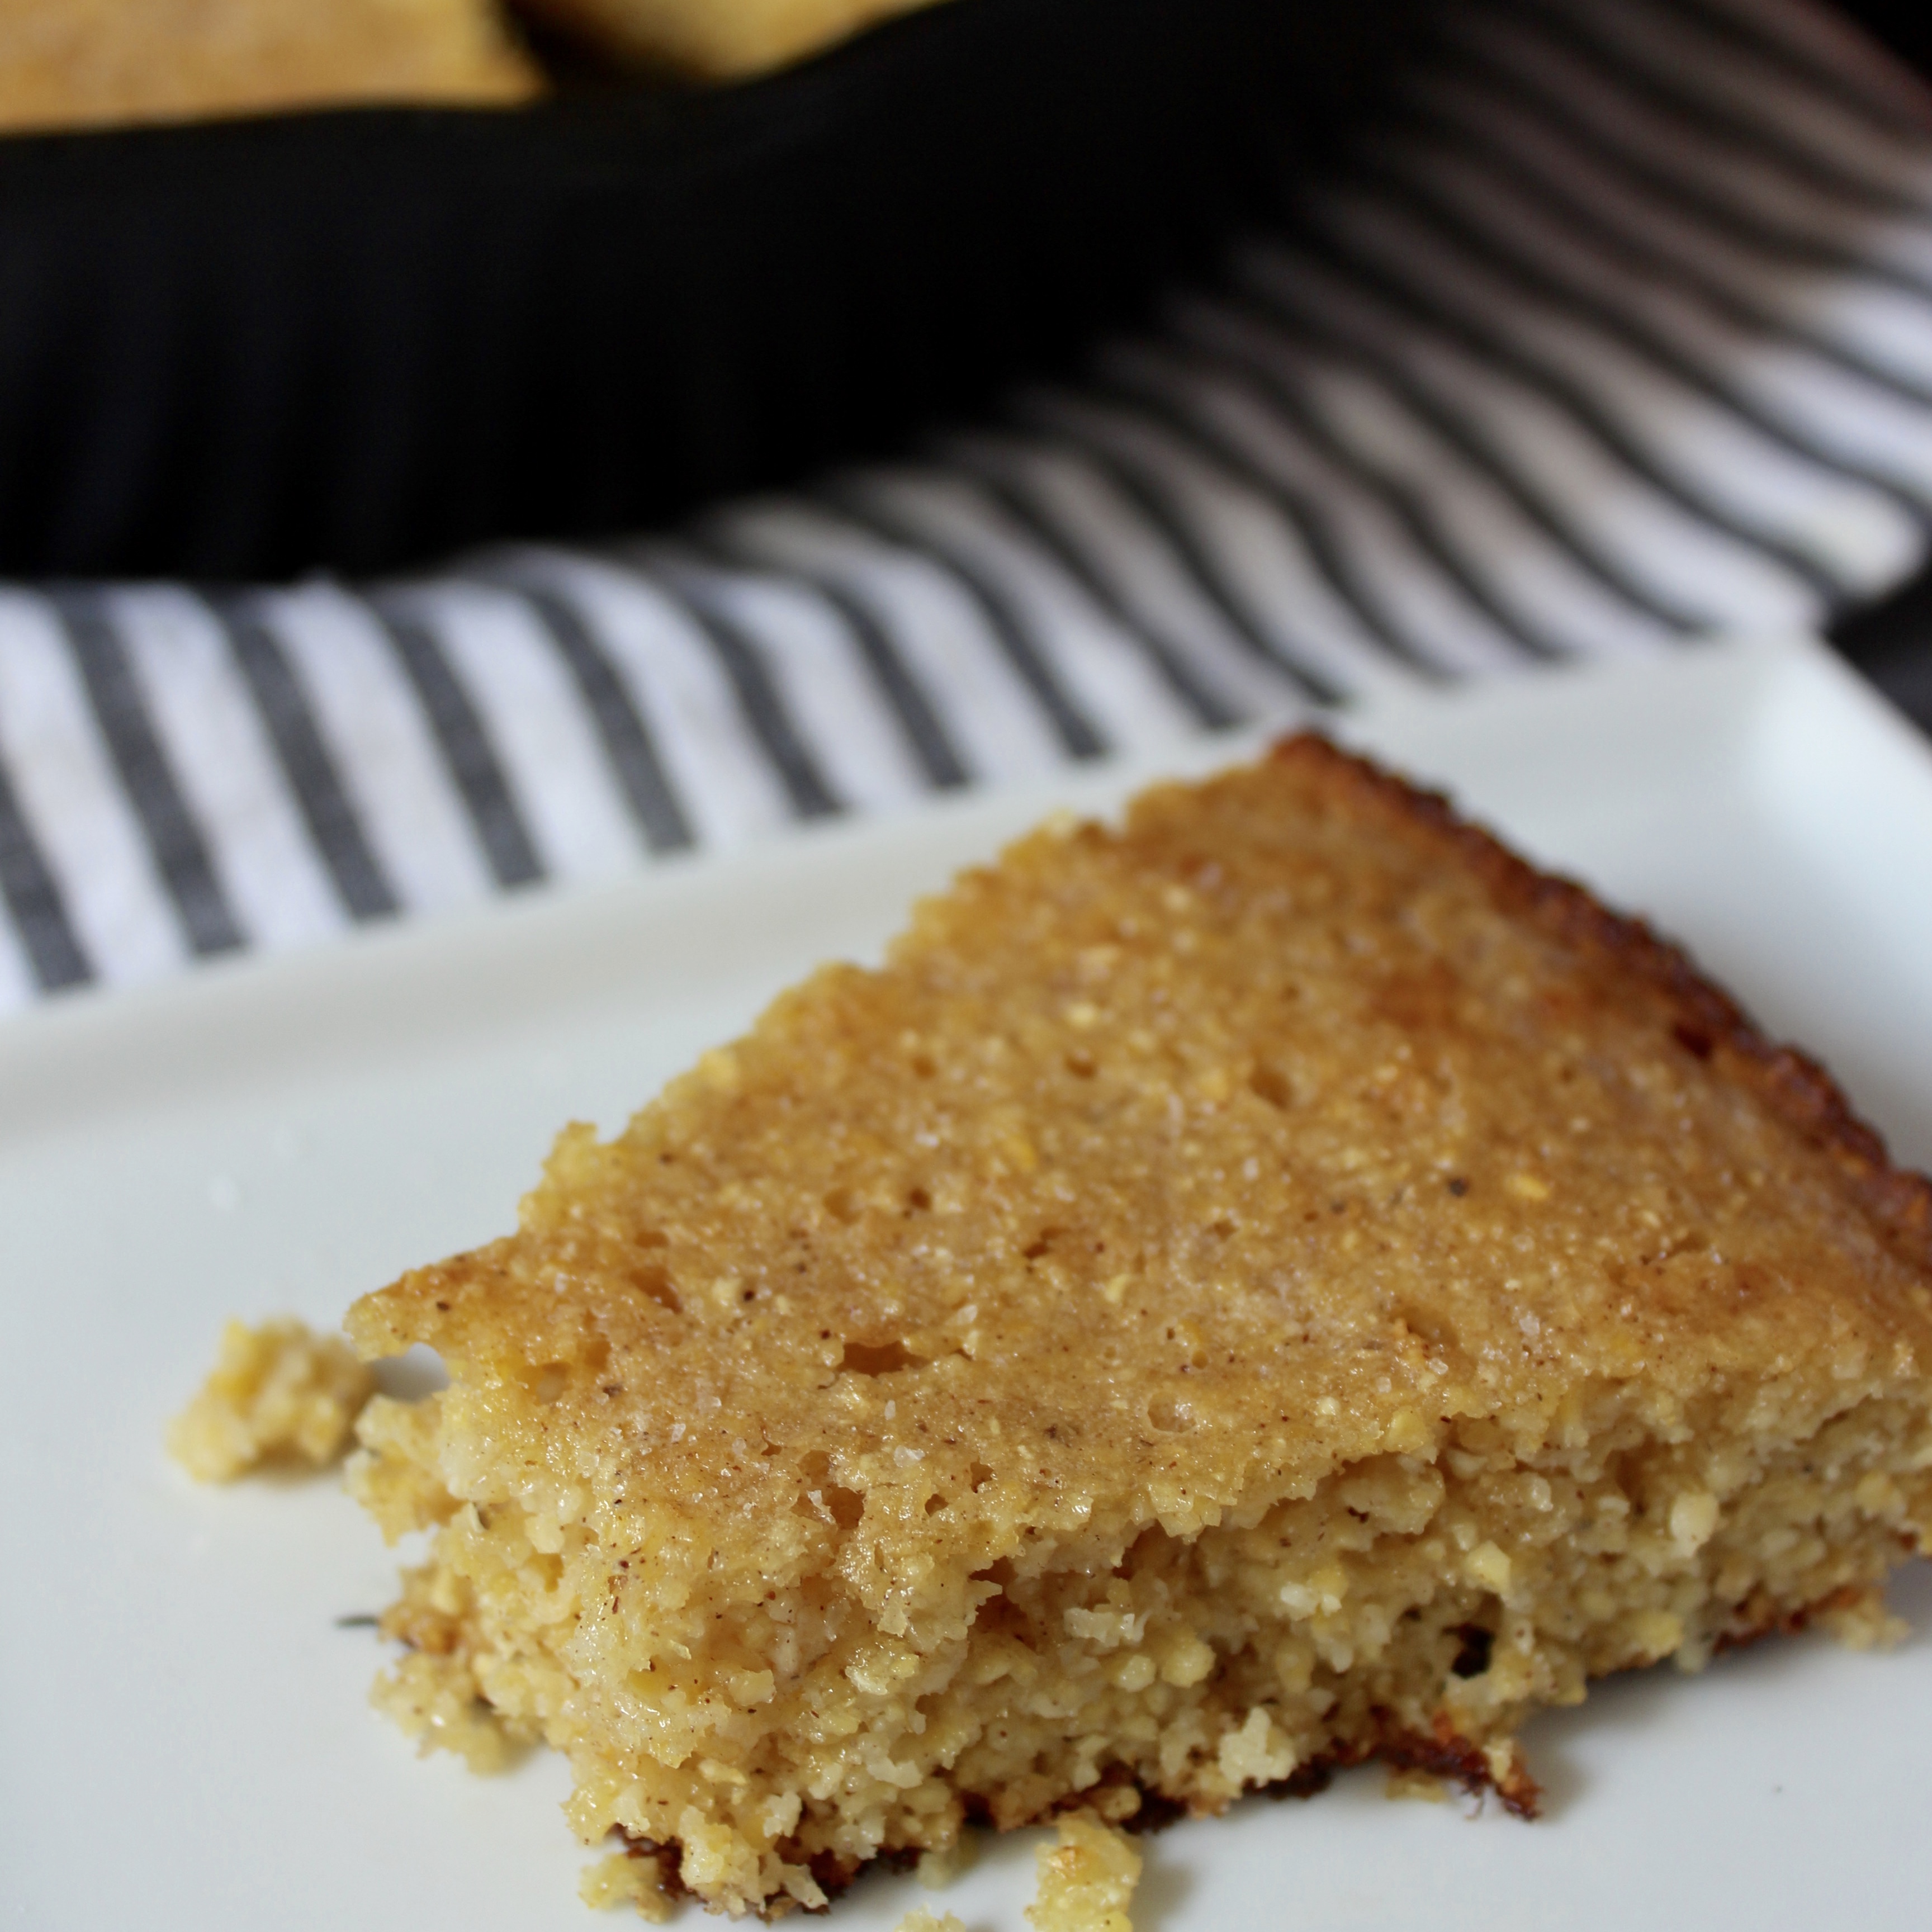
So, when I found the recipe for this cornbread in my Thanksgiving edition of Bon Appetit, I knew I wanted to sub the lard with ghee. It was perfect because I’ve had this coarse ground corn meal in my pantry for months, neglecting it because it was too coarse for muffins, but little did I know, perfect for this skillet cornbread. I added cinnamon and honey because I loved the cornbread croutons in Trader Joe’s Fall Harvest salad and I’m pretty sure they have a hint of both ingredients. I’m fairly certain this will be part of our Thanksgiving spread this year as cornnbread dressing. Mmmm.
Recipe adapted from Bon Appetit.
Ingredients
- 2 cups coarse ground cornmeal
- 1 tsp kosher salt
- 1/2 tsp baking powder
- 1/2 tsp baking soda
- 1/2 tsp cinnamon
- 1 large egg
- 1 1/2 cups buttermilk
- 2 tbsp honey
- 1 tbsp lard, veg oil or ghee
- 1 stick or 1/2 cup butter room temperature
- Fine sea salt for sprinkling
Directions
1. Place a rack in the middle of your oven and place a 9 to 10in cast iron skillet to preheat.
2. In a large bowl, combined corn meal, salt, baking powder, baking soda and cinnamon. In a separate bowl or mixing cup, combine buttermilk, egg and honey. Slowly add to dry ingredients, stirring with a wooden spoon to incorporate.
3. Wearing oven mitts, carefully remove the skillet from the oven. Melt the ghee/lard/oil and swirl around the skillet. Pour the batter into prepared pan and bake in the preheated oven for 15-20 minutes.
4. After removing from oven, add butter to the top of cornbread an allow to melt all over the top. Serve with an extra sprinkling of sea salt.
Roasted Acorn Squash with Quinoa Pilaf
When was the last time you embarrassed yourself? Like reeally really embarrassed yourself? Well this recipe is from one such incident.
Let me take it back a few steps – have you ever been to a South Asian wedding? There are kids running around, loud aunties and uncles in technicolor outfits fighting over placement on the buffet line and general disorganization/mayhem.
Now – have you ever been to an American wedding? A Northeastern, Catholic wedding? Civilized, subdued, tasteful. Bride is in white. The events more or less stick to schedule. Not so many kids running around.
As a Bengali, this cultural difference just went over my head when I was invited to a friend’s wedding a couple of years ago. Not only did we show up to the wedding with uninvited kids in tow, we entered the church after the bride made her entrance. Afterwards, at the reception, the mother of the bride said to me, “So, you brought the kids” and then it dawned on me.
Oh. Shit. There weren’t chairs for them, so they sat on our laps until the venue could manage some. The reception was way past their bedtime so they were pretty much on meltdown mode the entire time. By the time we wrapped up dinner at 9 they were SO cranky we had to run out of there before my favorite part of any wedding: the dancing!
Lesson learned. My husband and I attended another wedding this past summer, happy to report gaffe free.
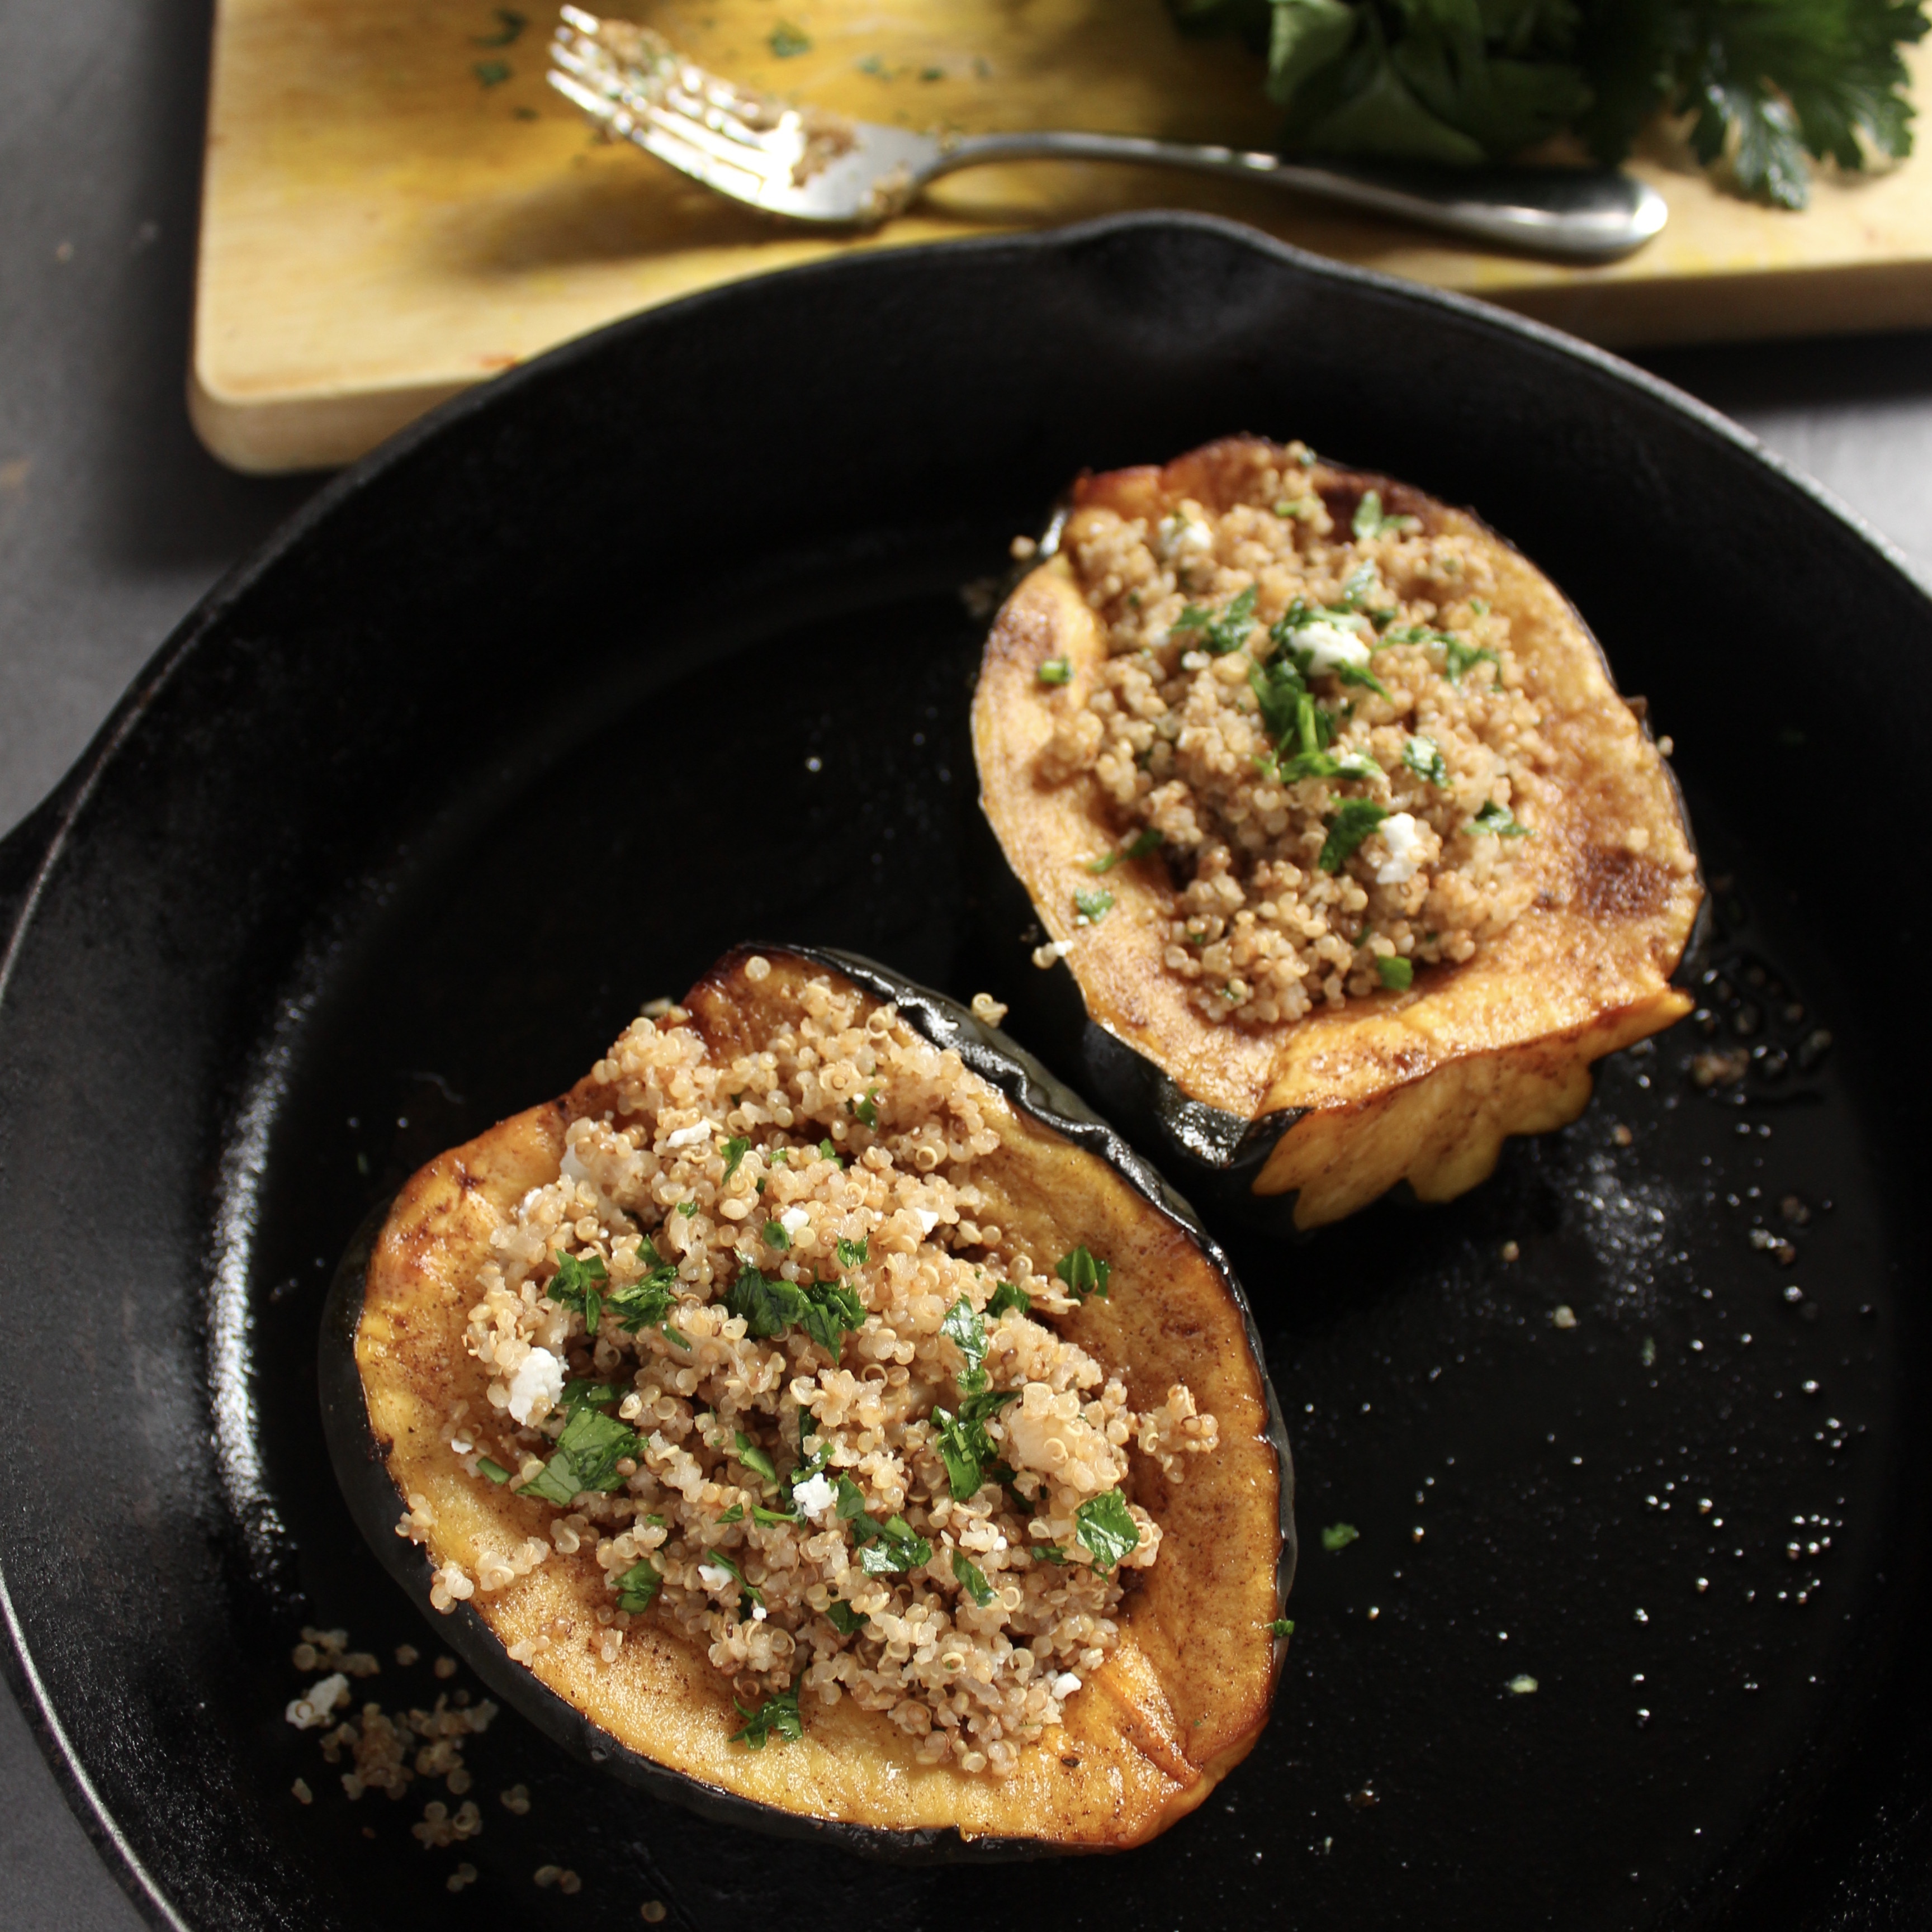
What does this story have to do with roasted acorn squash with quinoa pilaf? Just that we had it for dinner at said Northeastern wedding reception and it was surprisingly so good, I’m amazed it took me this long to recreate it.
The recipe for the quinoa pilaf is an adaptation of the America’s Test Kitchen version. It’s tasty on its own with the addition of a tablespoon of lemon juice.
Ingredients
For the roasted acorn squash
1 acorn squash, scrubbed and rinsed clean
1/2 tsp salt
1 tsp dark brown sugar
1/8 tsp nutmeg
1/4 tsp cinnamon
1/8 to 1/4 ground black pepper
olive oil
For the quinoa pilaf
1 cup washed quinoa
1 small onion
2 tbsp butter
3/4 tsp salt
1 3/4 cup water
3 tbsp fresh herbs
1 oz goat cheese (optional)
Directions
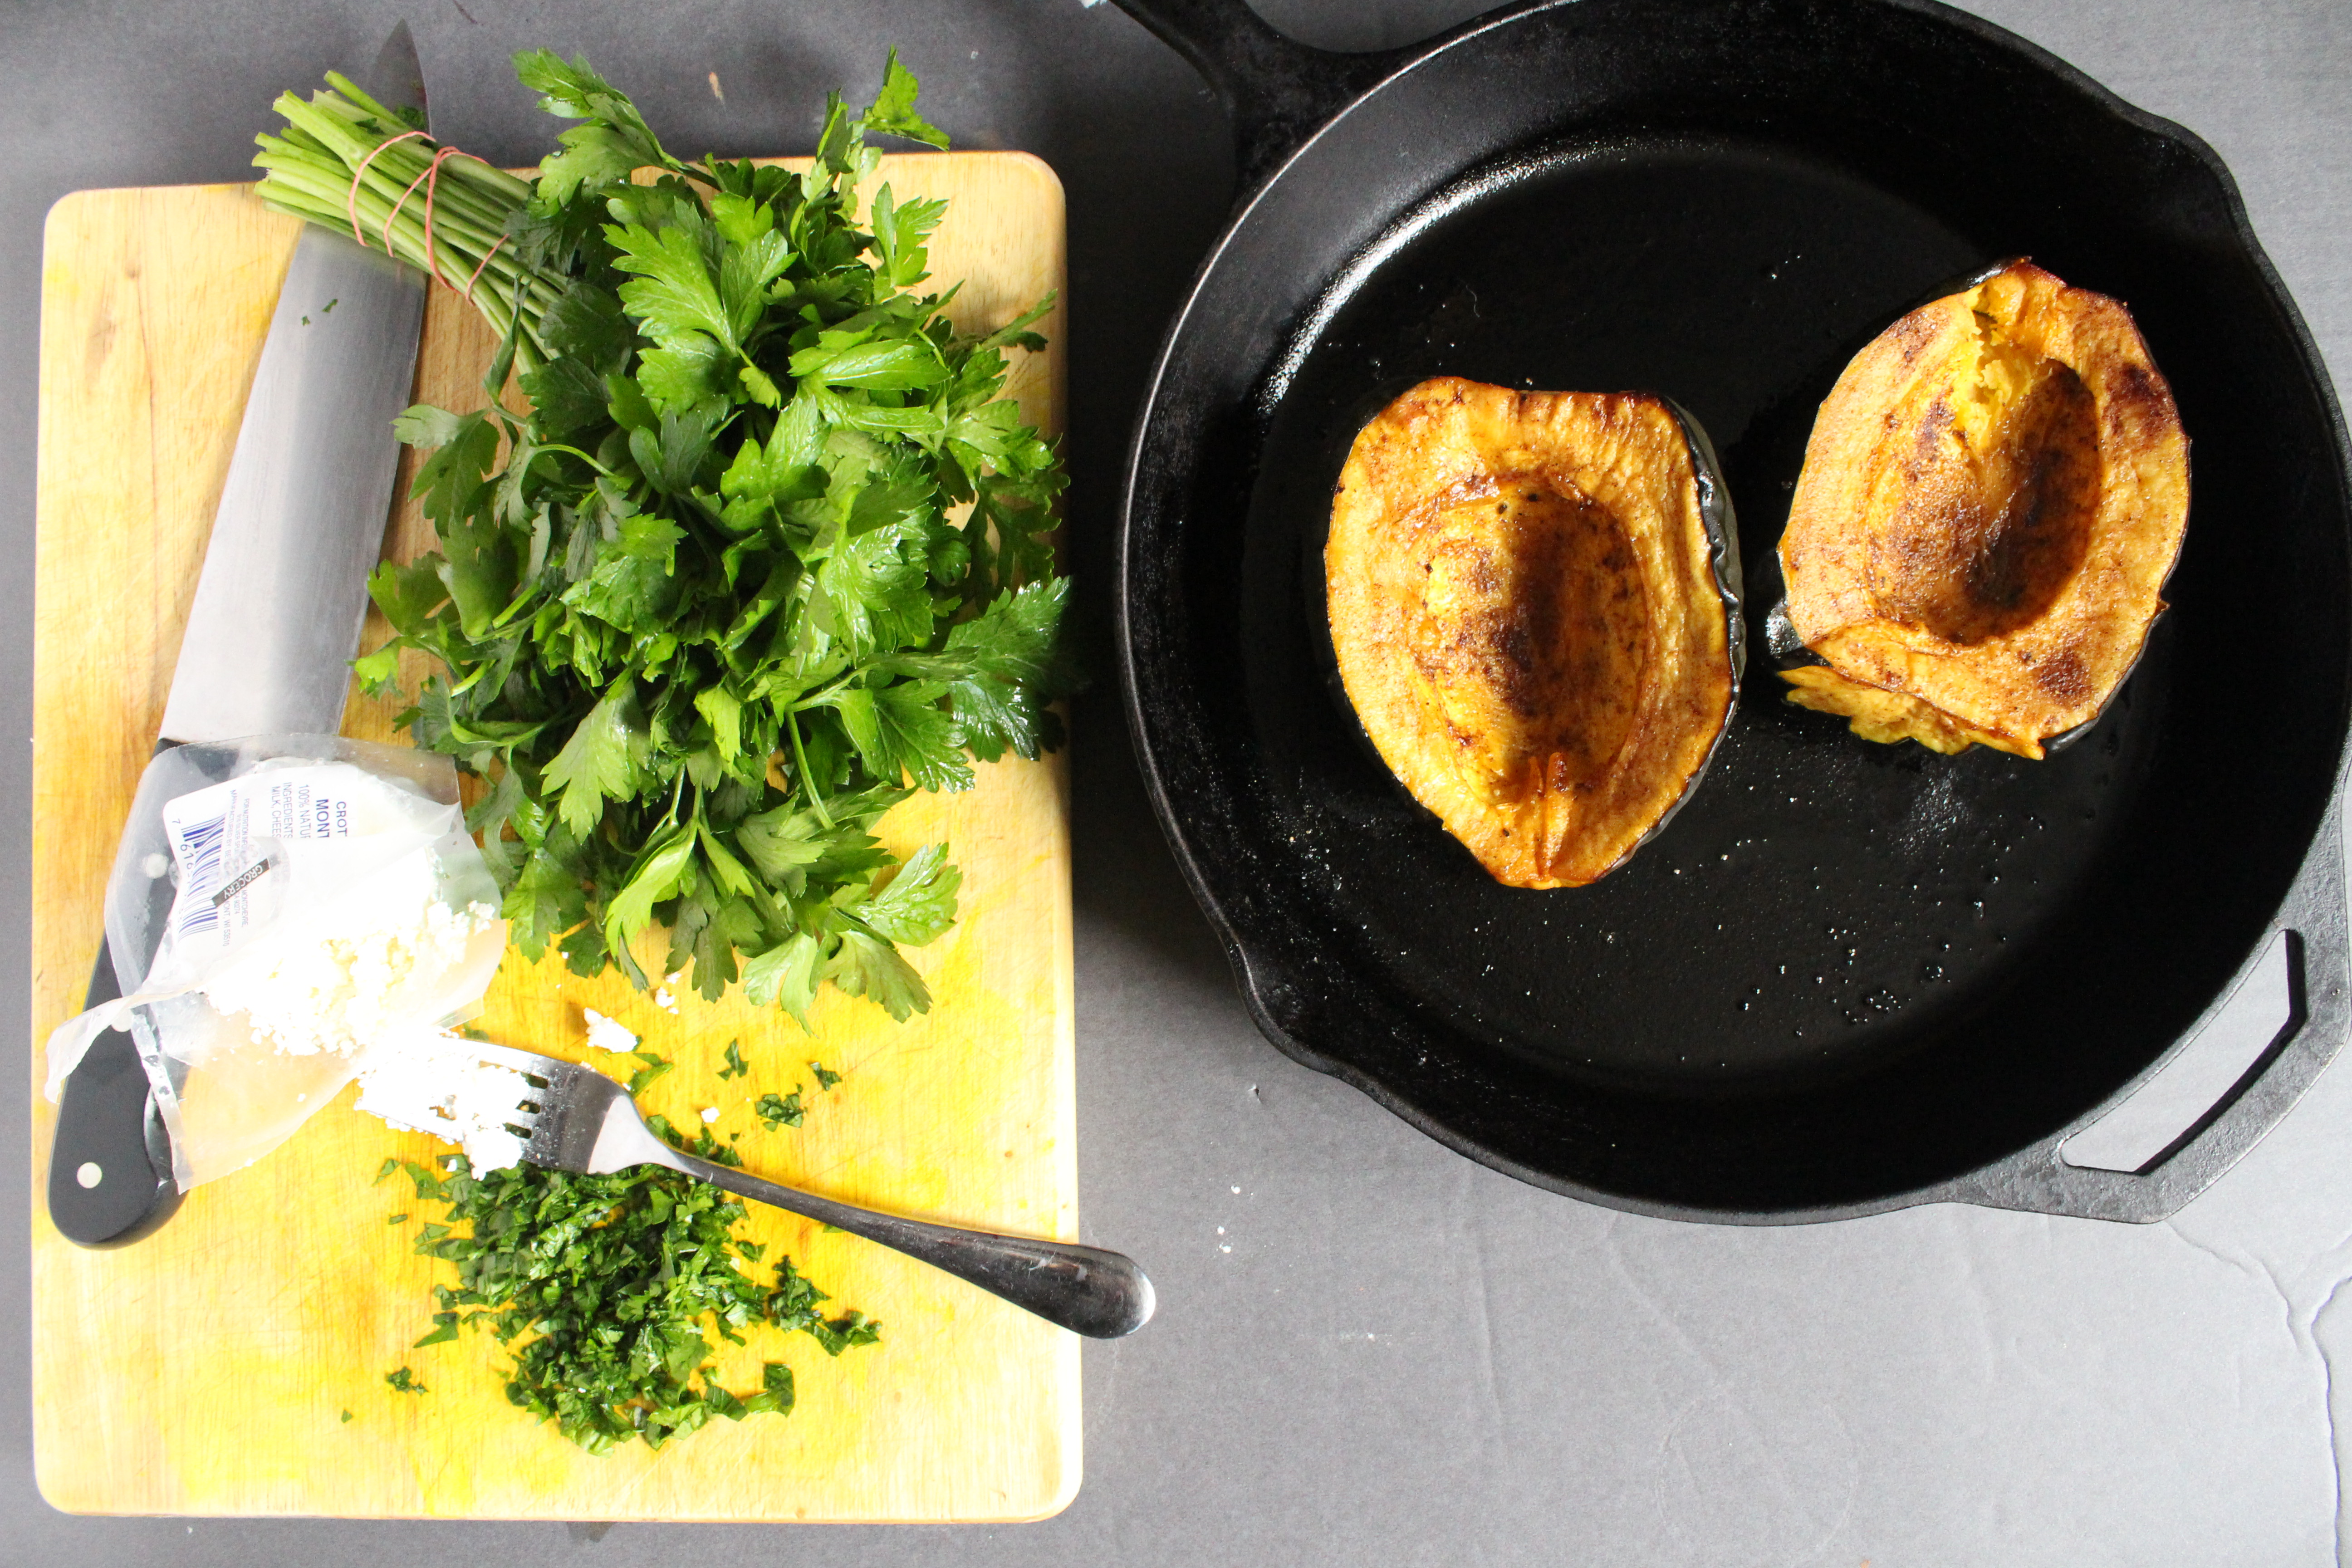
1. For the acorn squash: Preheat oven to 400 degrees Fahrenheit. Cut the acorn squash down the middle, scoop out the seeds and fibrous parts with a spoon and discard. Place both halves on a baking sheet cut side up. Season with salt and spices then drizzle with oil. Rub the oil and seasonings all over the flesh. Bake in preheated oven for about 1 hour.
2. For the quinoa pilaf: In a medium saucepan, toast the quinoa over medium high heat, stirring frequently until quinoa is light brown and makes a popping noise. This will take about 5 minutes. Transfer to a bowl and set aside.
3. In the same saucepan, melt butter over medium low heat. Add onion and salt and cook until onions soften, about 5 minutes. Add the quinoa, increase heat to high and add water. Allow to come to a boil, then cover, reduce heat to low and cook for 15 minutes. After 15 minutes, uncover and fluff with a fork. Add herbs and mix together. Put the lid back and allow to continue to steam.
4. To serve, place one of the acorn squash halves on a plate, spoon some quinoa pilaf into the cavity, and top with goat cheese if desired.
Ramadan Round Up
Ramadan is halfway over, but there’s still time to make some of my favorite recipes for this time of year! Going clockwise from the top left:
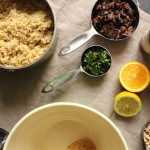
Citrus Quinoa Salad with Dates, Almonds and Mint – we consume a lot of dates during Ramadan. This recipe uses up any extra dates you may have in a salad you can feel good about eating at the end of a long fast!
Meyer Lemon Strawberry Lemonade – I know sugar is the devil. I know. But you have to try this lemonade. It is light years beyond any bottled strawberry lemonade you can find. Recipe adapted from Pioneer Woman.
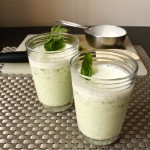
Basil Smoothie – a surprising staple in many homes I’ve introduced this smoothie to. Basil, yogurt, sugar and ice makes for an unexpectedly refreshing drink.
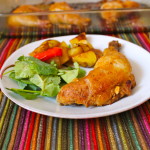
Tandoori Chicken – an easy, make ahead dish. When you’re fasting, you’re low on energy. So the less time you have to spend on your feet in the kitchen, the better. These chicken legs get a quick marinade of yogurt and spices. Then about 45 minutes before eating, pop them in a hot oven. That is all.
Mint Limeade – aka virgin mojitos. The refreshing flavors of lime and mint make this the perfect compliment to your break-fast meal.
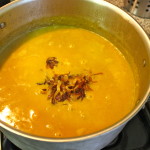
Haleem – a protein packed Ramadan must. It’s one stop, one pot iftar. Stewed meat, grains and lentils combine to make the most filling, comforting dish possible. Can probably make this in your slow cooker as well.
Fruit Chaat – refreshing and easy. Simply combine your favorite fruits – try to ensure varying textures and levels of sweetness. Try apples, grapes, kiwis. Or pineapple, cantelope, raspberries. Or mango, blueberry, nectarine. Leave the yogurt/chaat masala dressing on the side, or mixed in, for a variation of your favorite fruit salad.
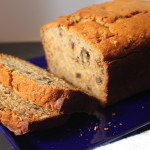
Banana Date Nut Bread – another healthy way to use up dates. The potassium from the bananas and dates combined with the fiber from the whole wheat make this bread great to have on hand when you’re short on time for your pre-dawn meal. Can bump up the fiber content with flax seeds, chia seeds, etc.
Aloo Chop (Fried Mashed Potato Balls) – not the healthiest thing on the list, but a comfort food must for many of us South Asians. Mashed potato balls stuffed with bits of hard boiled egg, breaded and fried. Yum!
Citrus Quinoa Salad With Dates, Almonds, and Mint
Ramadan is coming up! I figured I should add a few more Ramadan friendly recipes to the blog, for those of us who are looking to depart a bit from the usual fried foods iftars. During these long summer days when we’re denying ourselves food and liquid for 15 hours straight, we need to treat our bodies well! This is a dish you can feel good about eating, that’s not going to make you crash before the long night of ibadah (prayers) you have lined up.
This recipe is based on one from Dorie Greenspan’s Around My French Table. I know a quinoa salad is not the first thing you think of when you consider French cuisine, but she’s filled her cookbook with things she makes for her family, without strictly adhering to a particular cuisine. In our hyperconnected world, it’s kind of impossible to resist influences from other regions. She’s got a Moroccan Tagine and carrot salad, small plates from her American upbringing, French pastries and traditional stews from her current residence. And she’s kind of an authority when it comes to food so I trust her with my quinoa!
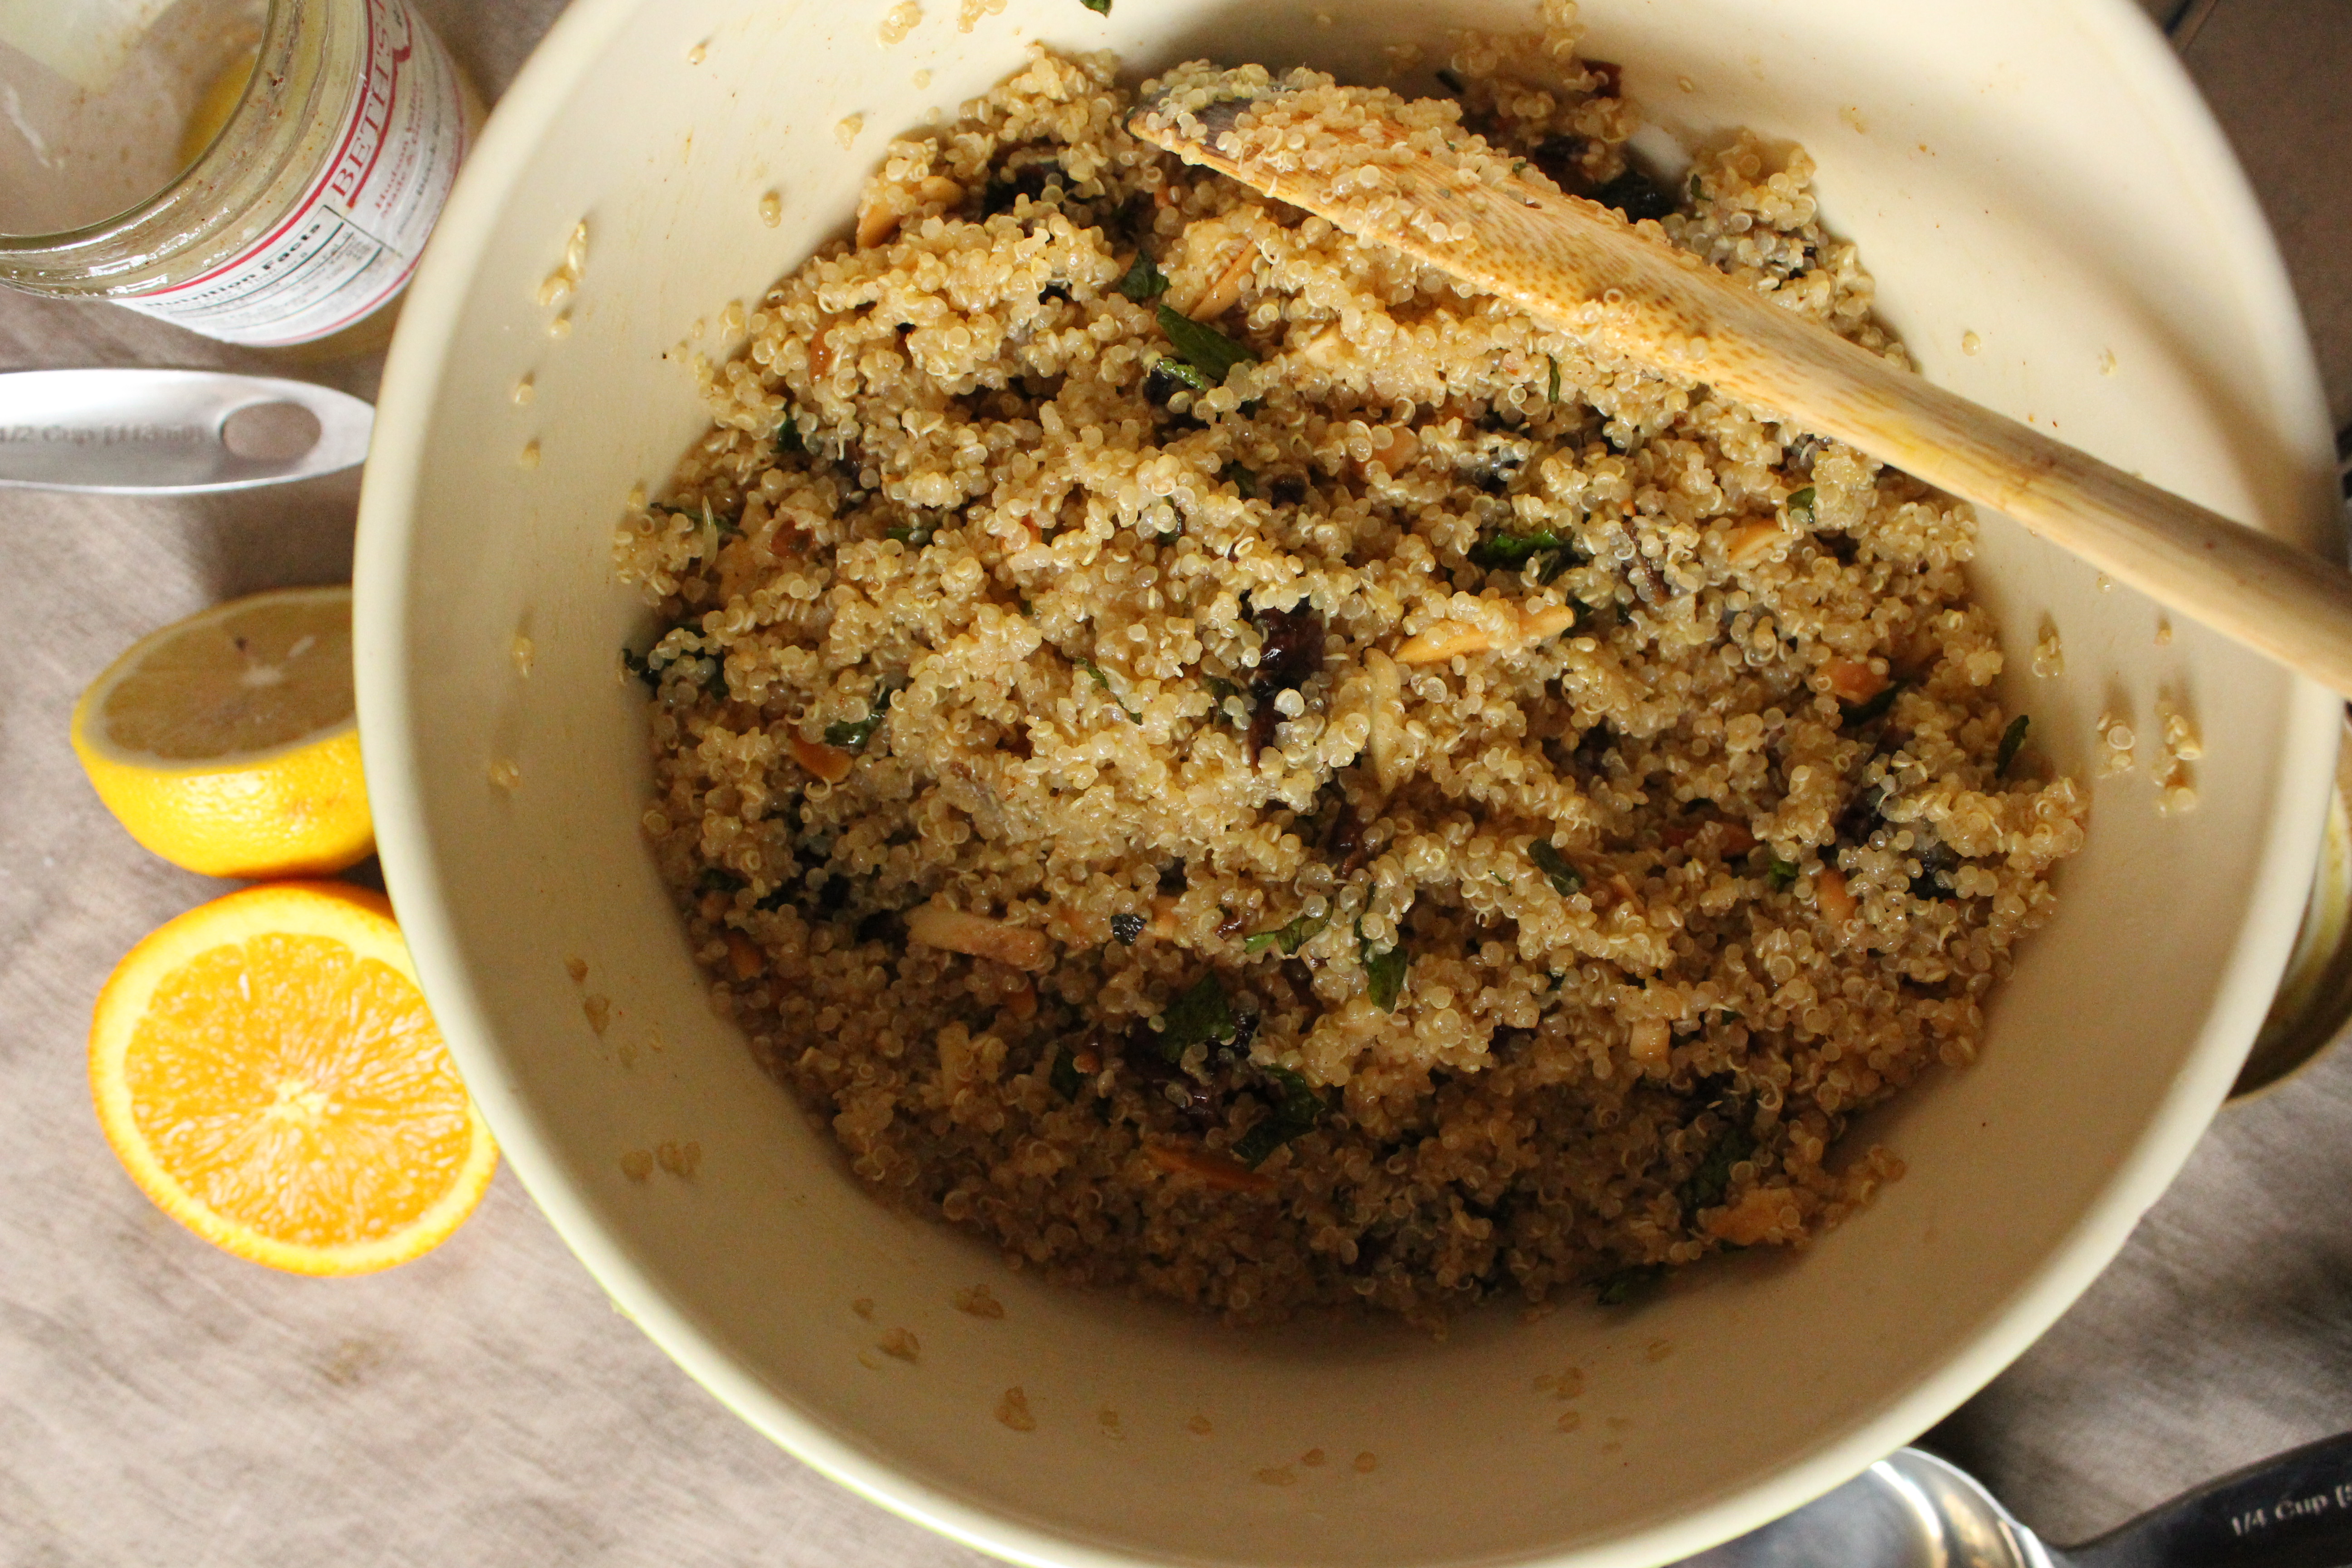
I’ve taken a lot of liberties with her recipe though. First was to change the prep method for the quinoa. For some reason the package directions always tell you to cook it covered over low heat for about 15 minutes. That always gave me soggy quinoa. My way gives perfectly cooked and fluffy quinoa every time. Second, I nixed the ginger powder for cinnamon since I hate ginger and thought cinnamon would compliment the citrus. Third, I increased the fruit to nut ratio for my sugar loving palette. She suggests using any kind of dried fruits, nuts and herbs. I combined the dried fruits, nuts and herbs I thought would work best (dates, almonds and mint). You could also do raisins, pine nut and parsley. Or apricot, walnut and cilantro. It’s a vibrant, tasty way to prepare your quinoa that uses up the plethora of dates we often have lying around during Ramadan.
Ingredients
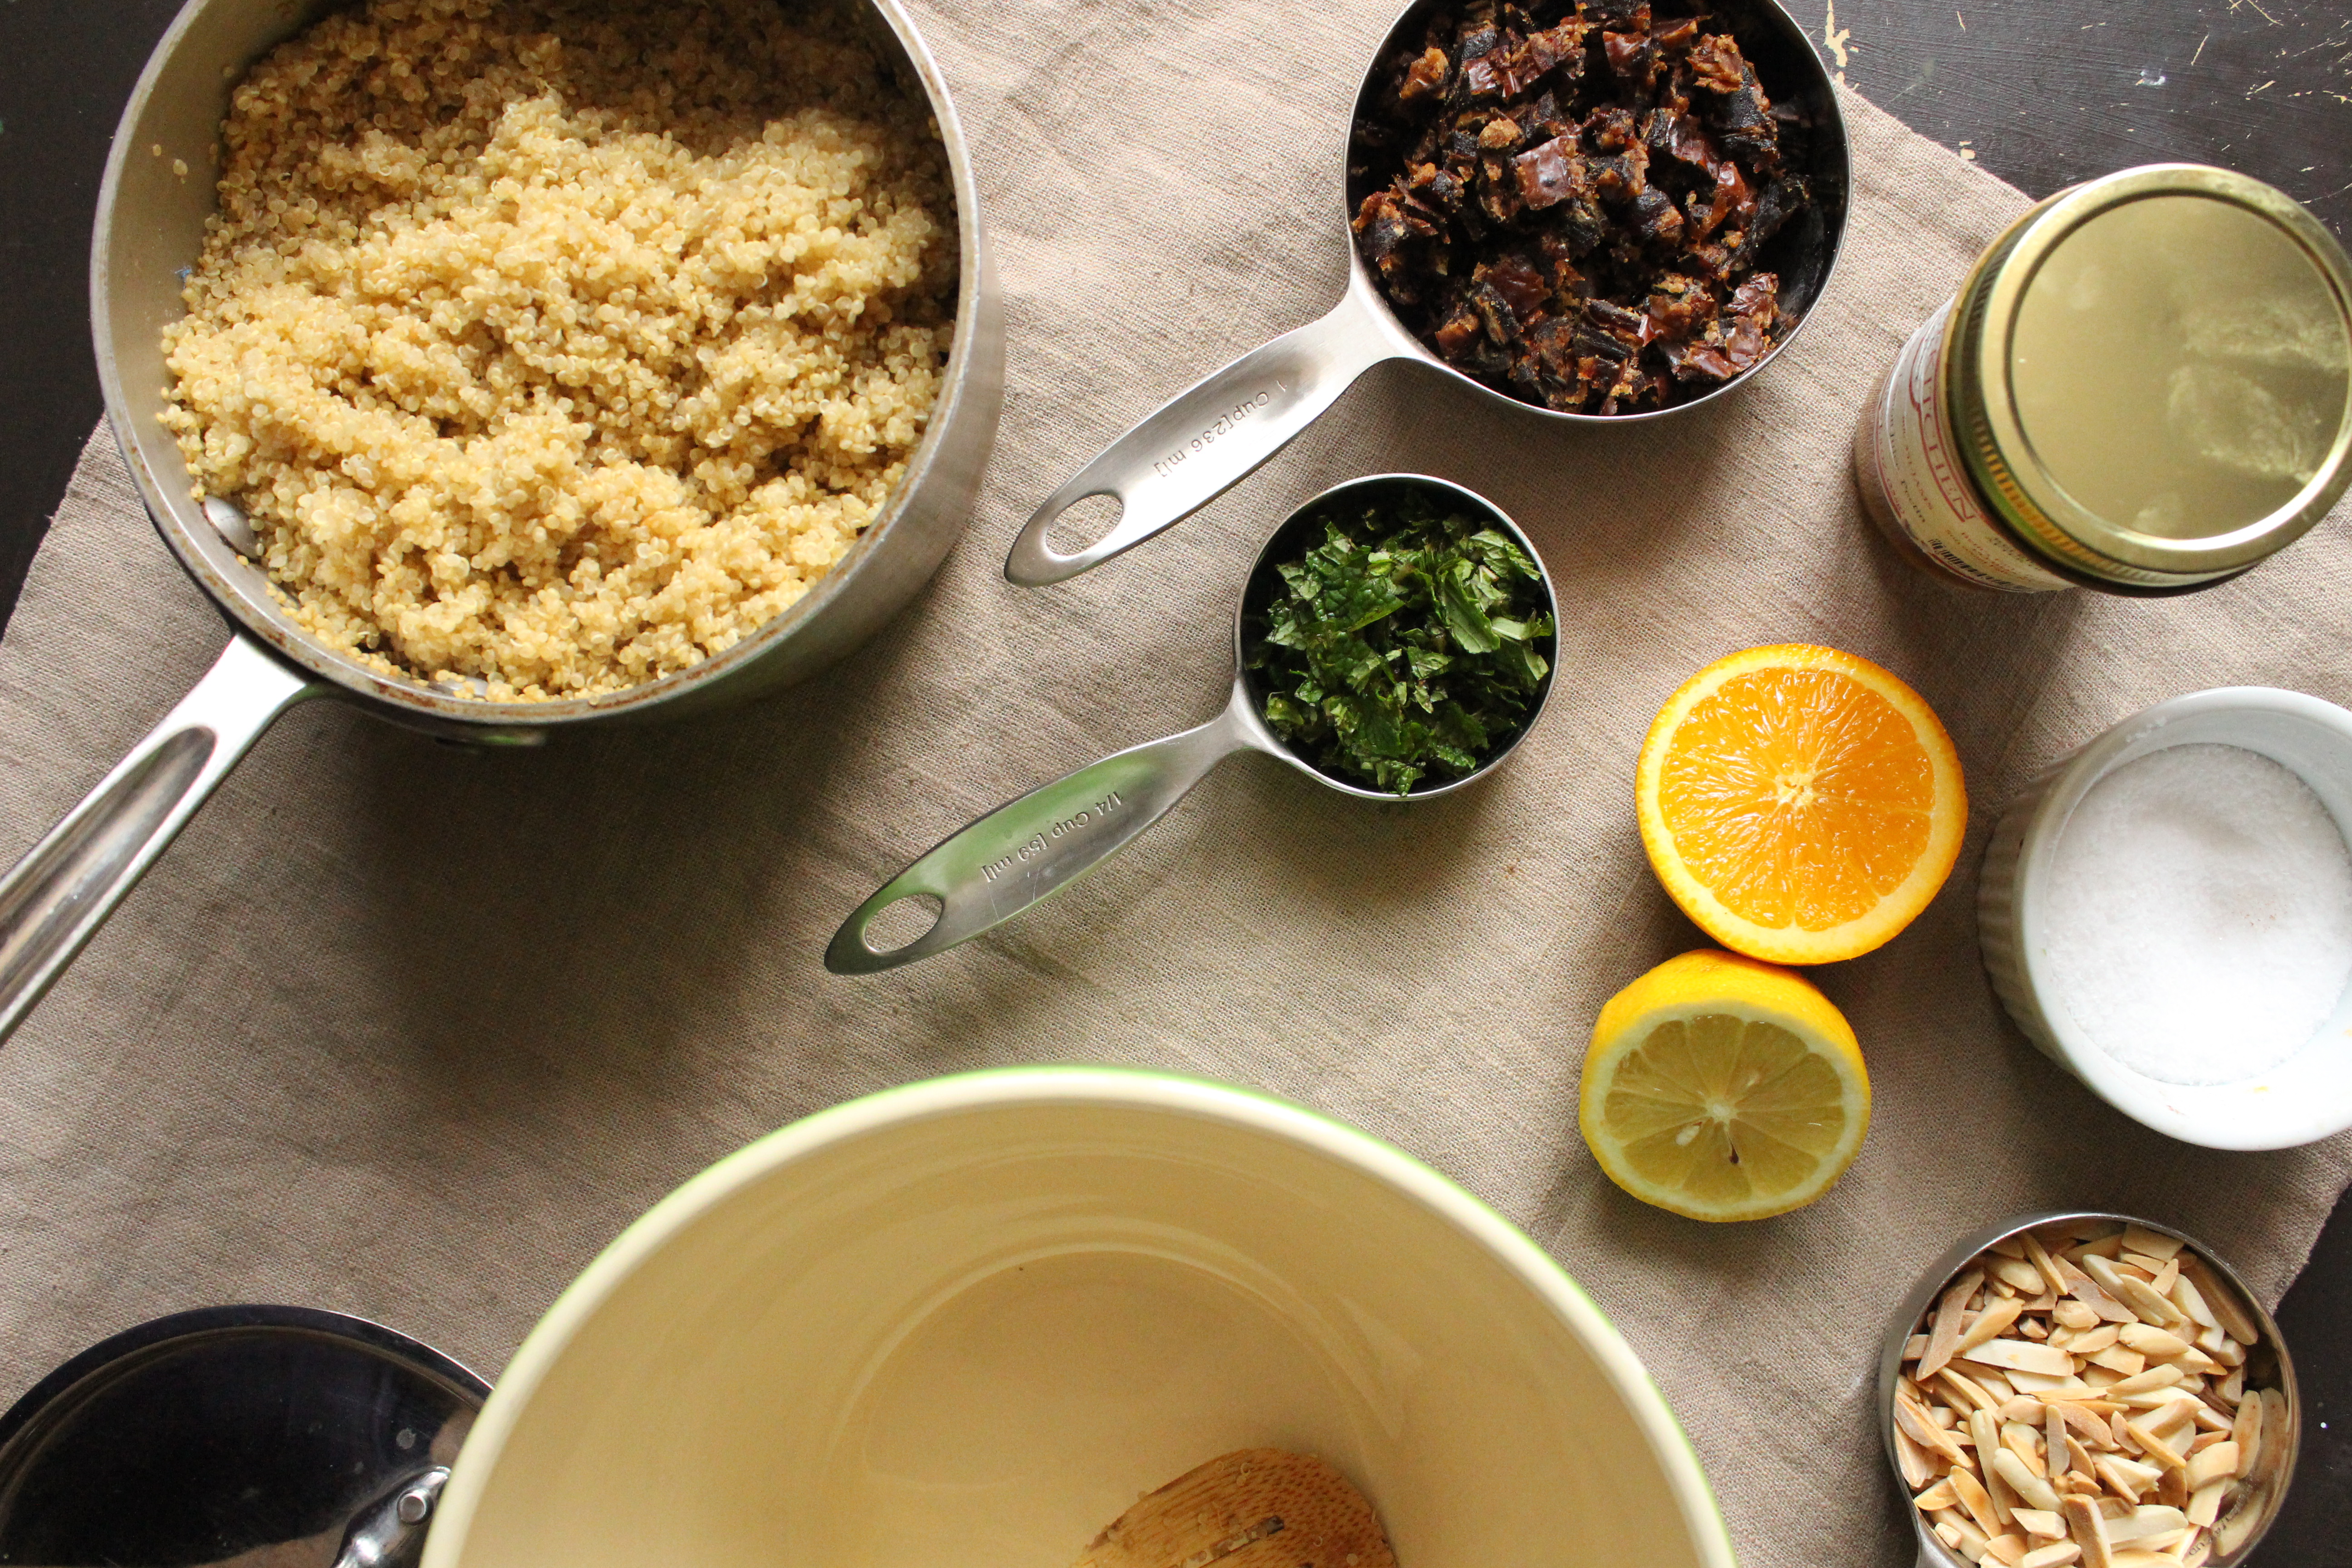
- 1 1/2 cups quinoa
- 1 cup medjool dates, pitted and diced small (about 7 dates)
- 1/2 cup slivered almonds
- 1/4 cup chopped fresh mint
- salt and pepper
- juice of 1 lemon
- juice of 1 orange
- 1/4 tsp ground cinnamon
- 1/4 cup extra virgin olive oil (recommended: Trader Joe’s California Estate EVOO)
Directions
- In a small saucepan, bring 3 cups of water to boil. Add quinoa and lower the heat to medium low. Cook for 12 minutes, uncovered, stirring occasionally. After the 12 min are up, turn off the heat and put the lid on. Let steam for 3 minutes, then fluff with a fork. Set aside.
- Toast the almonds on a dry skillet over medium heat. Stir occasionally. When the nuts are light brown and fragrant, take off the heat and let cool.
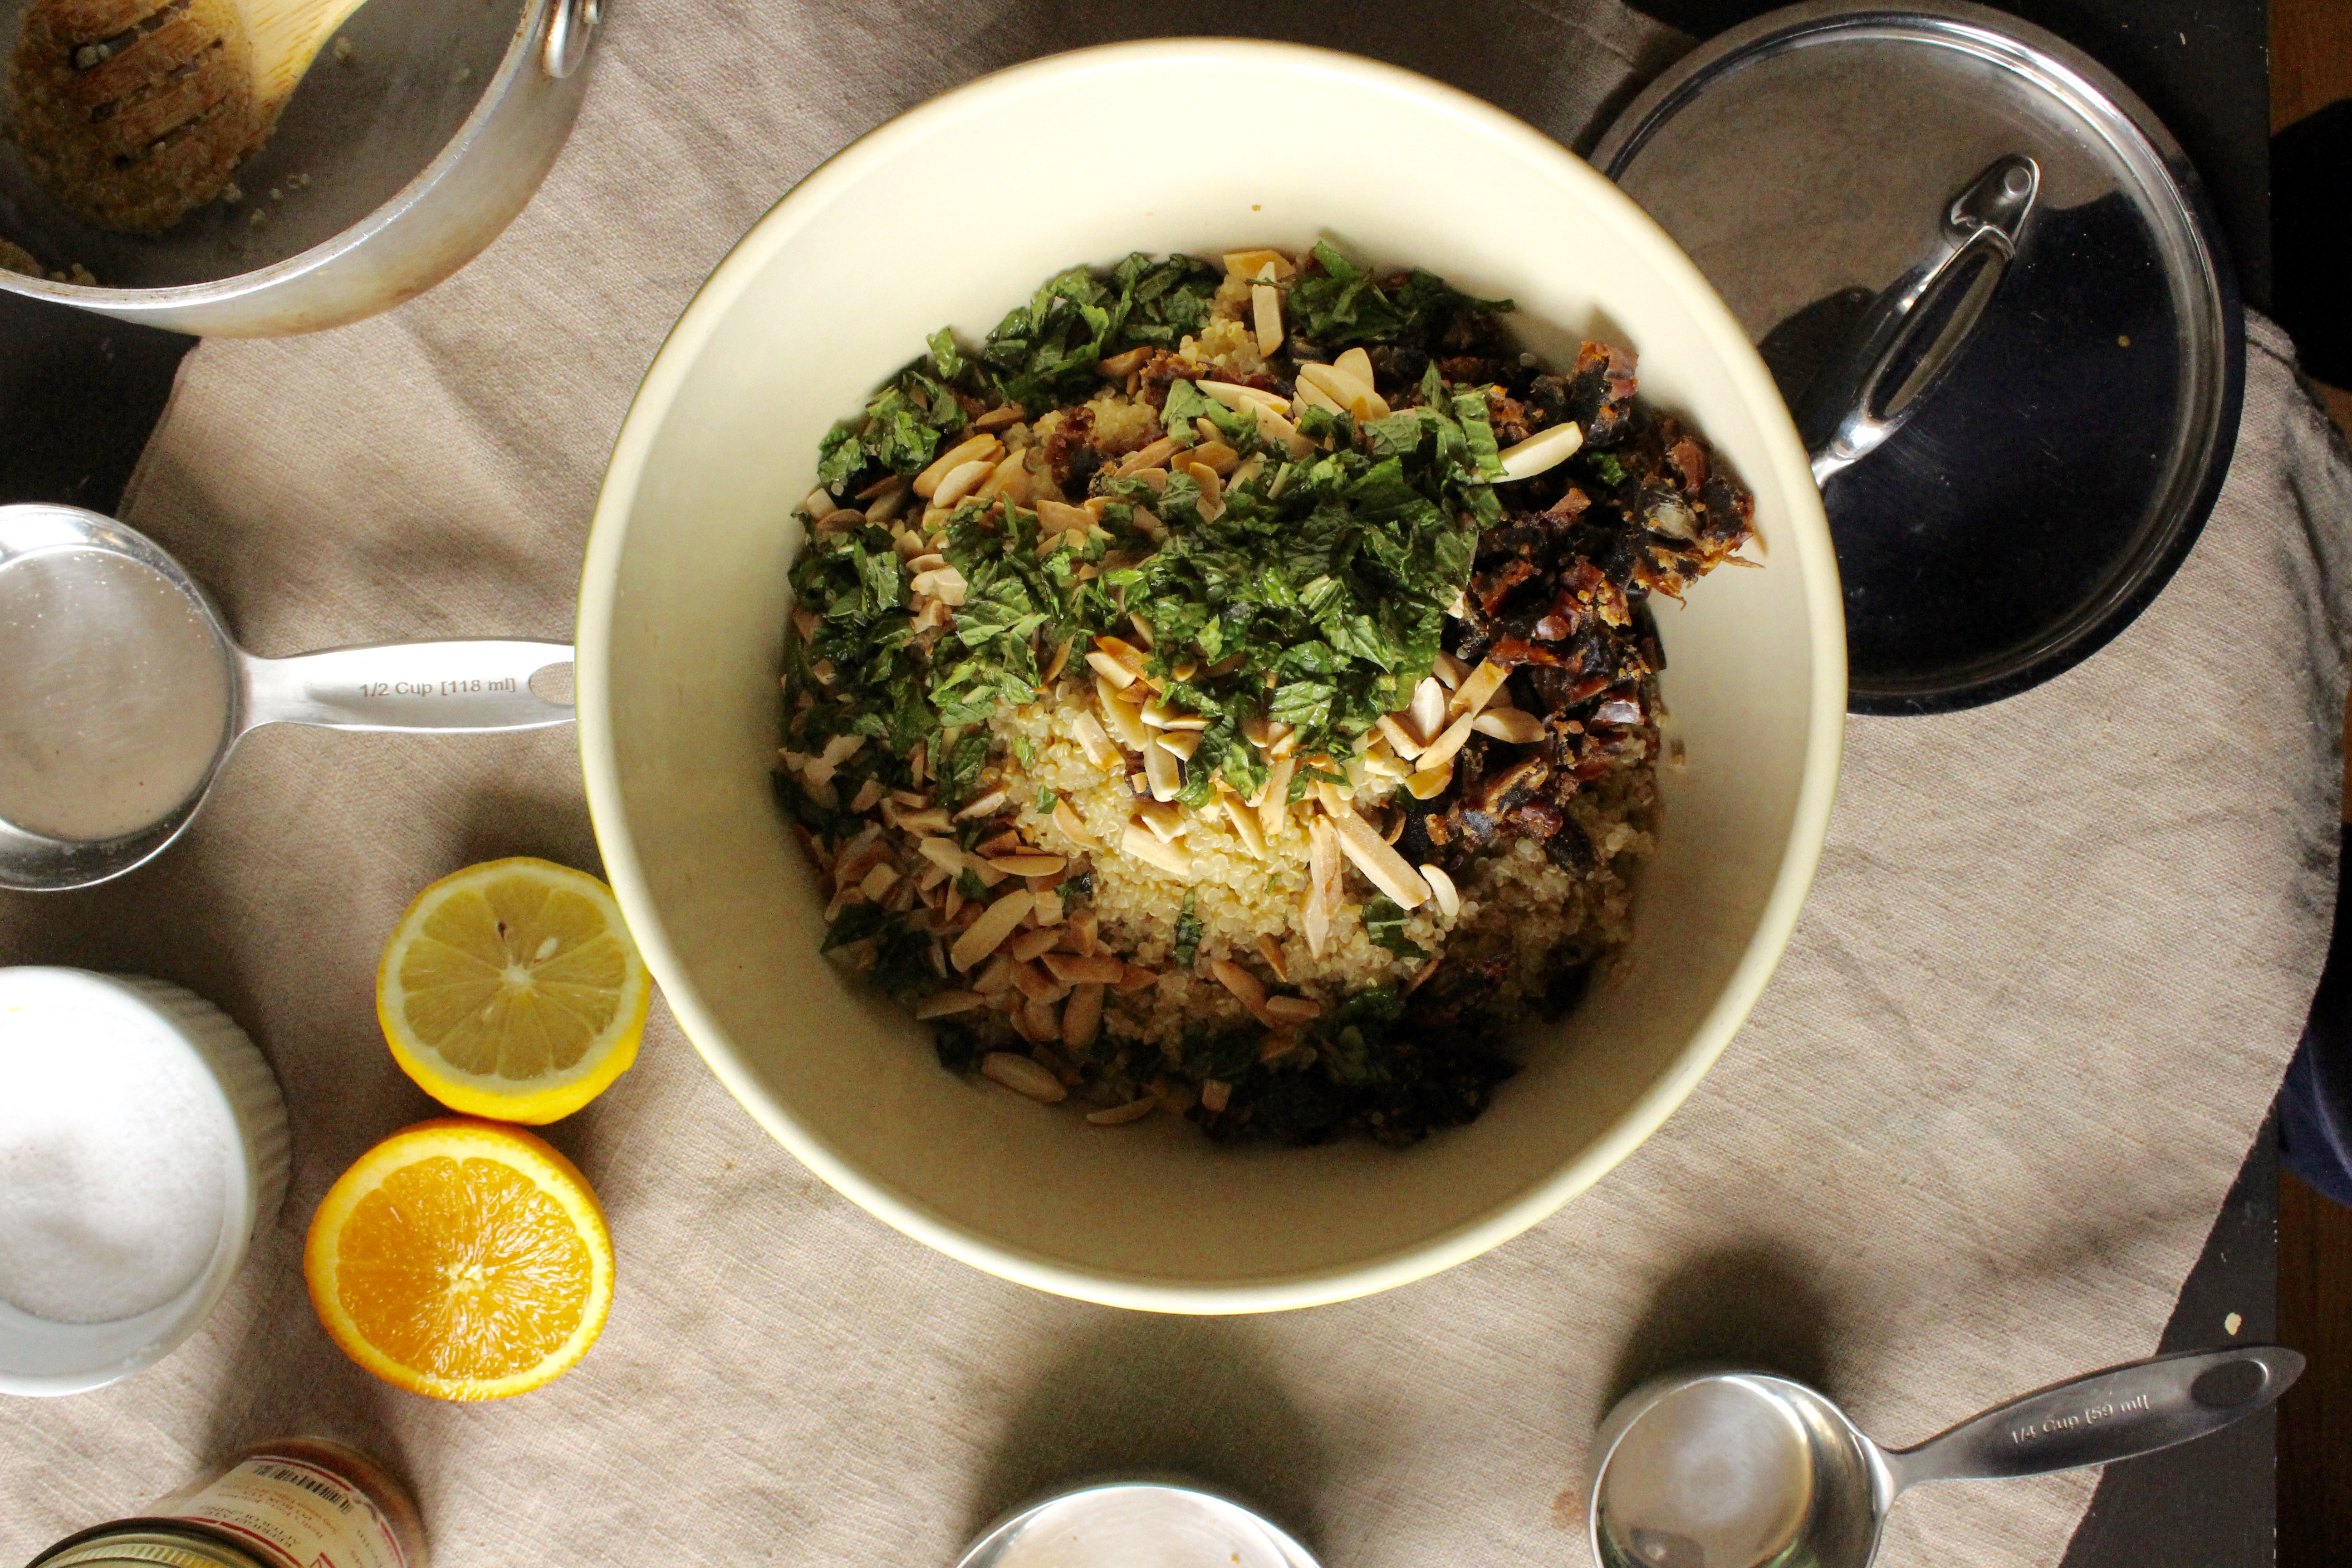
- Chop the mint and combine with the dates and nuts in a large bowl.
- Make the vinaigrette: combine the orange juice, lemon juice, cinnamon, 1 tsp salt, 1/4 tsp pepper and olive oil in a jar. Put the lid on and shake vigorously.
- Add the quinoa and vinaigrette to the large bowl. Combine everything and taste for seasoning. Add more salt and pepper as needed.
Mexican Chicken Noodle Soup

The first thing I do when someone sneezes in the house, is submerge a chicken in a pot of boiling water to make chicken stock for soup. That’s a normal, knee-jerk reaction, right?
Ok, perhaps I exaggerate. But there’s just something about the thought of clear, warming chicken noodle soup that makes me feel like it will banish all the ickiness of a cold away. And while the classic has a special place, this tomato paste and spice spiked version will carry you over from your sick days to your top o’ the mornin’, heel clickin’ days. Because for some reason, the weather is still dipping below freezing here in NYC in the middle of spring and the kids have caught strep throat while the hubby and I work our way through the common cold. Un-believable.
Back to the soup. It was the perfect dish for my crusty-bread obsessed husband to dip his baguette into. It was the only thing my preschool aged son has ever declared his love for, apart from trains and well, me. And it was one of the few items I did not have to struggle to finish from the fridge as a leftover.

If I make my own chicken stock, I usually boil away chicken with veggies (onion, garlic, carrot, celery), aromatics (parsley, dill, thyme, bay leaf) and seasoning (salt, whole peppercorns). However, unlike most, I take the chicken out about an hour into the process, strip the meat off the bones, and re-submerge the carcass. That way the bones continue to flavor the stock for about 2 more hours and I don’t have to waste the meat. Does that make me crazy?
If you are using store bought stock, it comes together SO fast. When I don’t have homemade on hand (which is quite often) I use Saffron Road Halal Artisan Chicken Stock. Awesome flavor and deep golden color. You can tell it’s not just one of those salt water in a box chicken stocks. And if you want to make this vegetarian, use vegetable stock and chickpeas in lieu of the chicken. The tomato paste and spices are magical in how they liven up pretty much anything.
Ingredients
- 2 tbsp olive oil
- 1 medium yellow onion, diced small
- 2 carrots, diced small
- 2 celery stalks, diced small
- 2 large garlic cloves, minced
- 1 tsp each of cumin, coriander and paprika
- 1 1/2 tsp salt plus more to taste
- 1/4 to 1/2 tsp crushed red chili flakes
- 14 oz crushed tomatoes (if you have a 15 oz can that’s fine)
- 8 cups chicken broth
- 1 cup shredded chicken
- 1/4 lb spaghetti or noodle of choice
- 1/2 cup chopped cilantro
Directions
- In a large pot, heat the olive oil over medium high heat. Add the onions, carrots and celery. Saute for 4-5 minutes, until the vegetables begin to soften. Add the garlic and spices (cumin, coriander, paprika, salt and pepper). Cook for 2 minutes more, allowing the vegetables to get more tender and the spices to toast up a bit.
- Add the tomatoes, broth, chicken and pasta. Cook for 9 to 10 minutes, depending on the package directions of your pasta.
- Add the cilantro and taste for seasoning.
My Go-To Bolognese
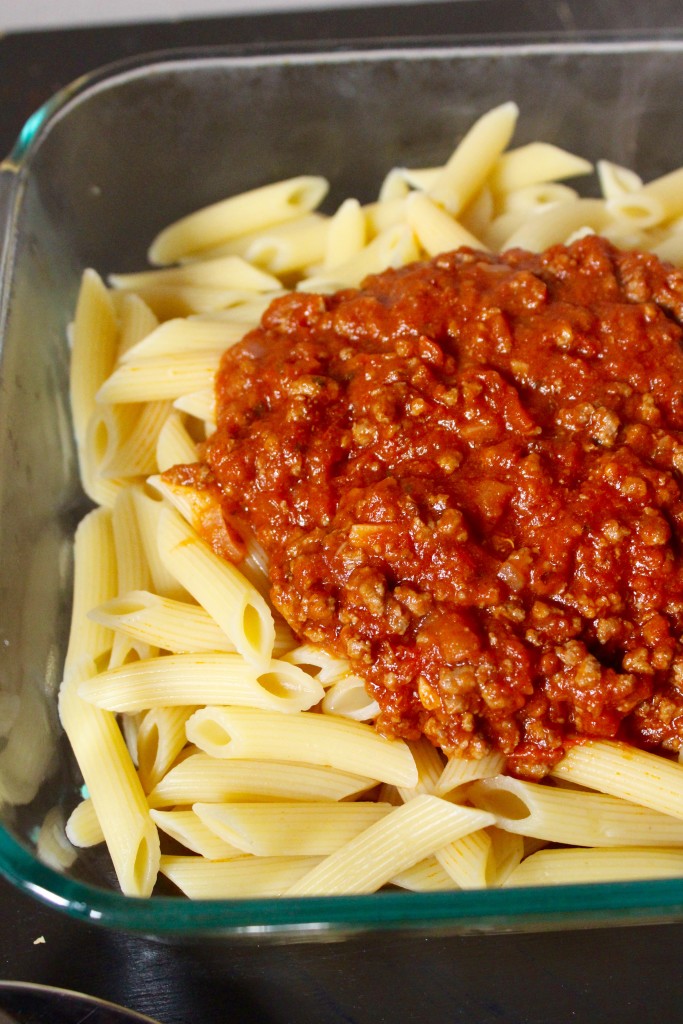
One of my first cookbooks ever was Giada De Laurentiis’s “Everyday Italian“. From it, I made my first pesto, marinara sauce, bolognese, vegetable bolognese, her fabulous balsamic roasted chicken, and many other Italian classics. For that reason, it will hold a special place in my bookshelf. One thing I noticed though, was that many of the tomato based sauces required celery, onion, and carrots as the base. While I always have onion on hand, the times I bought celery and carrot for those specific recipes, it was a pain to try to finish them off. I’m not a big celery-snacker. I might make a salad out of the celery and carrot (though I much prefer carrot and mushroom salad). So while I appreciate the flavors attributed to the classic mirepoix (sweet onion, sweet earthy carrots, licoricey celery), I needed one that suited my family’s needs and my grocery habits.
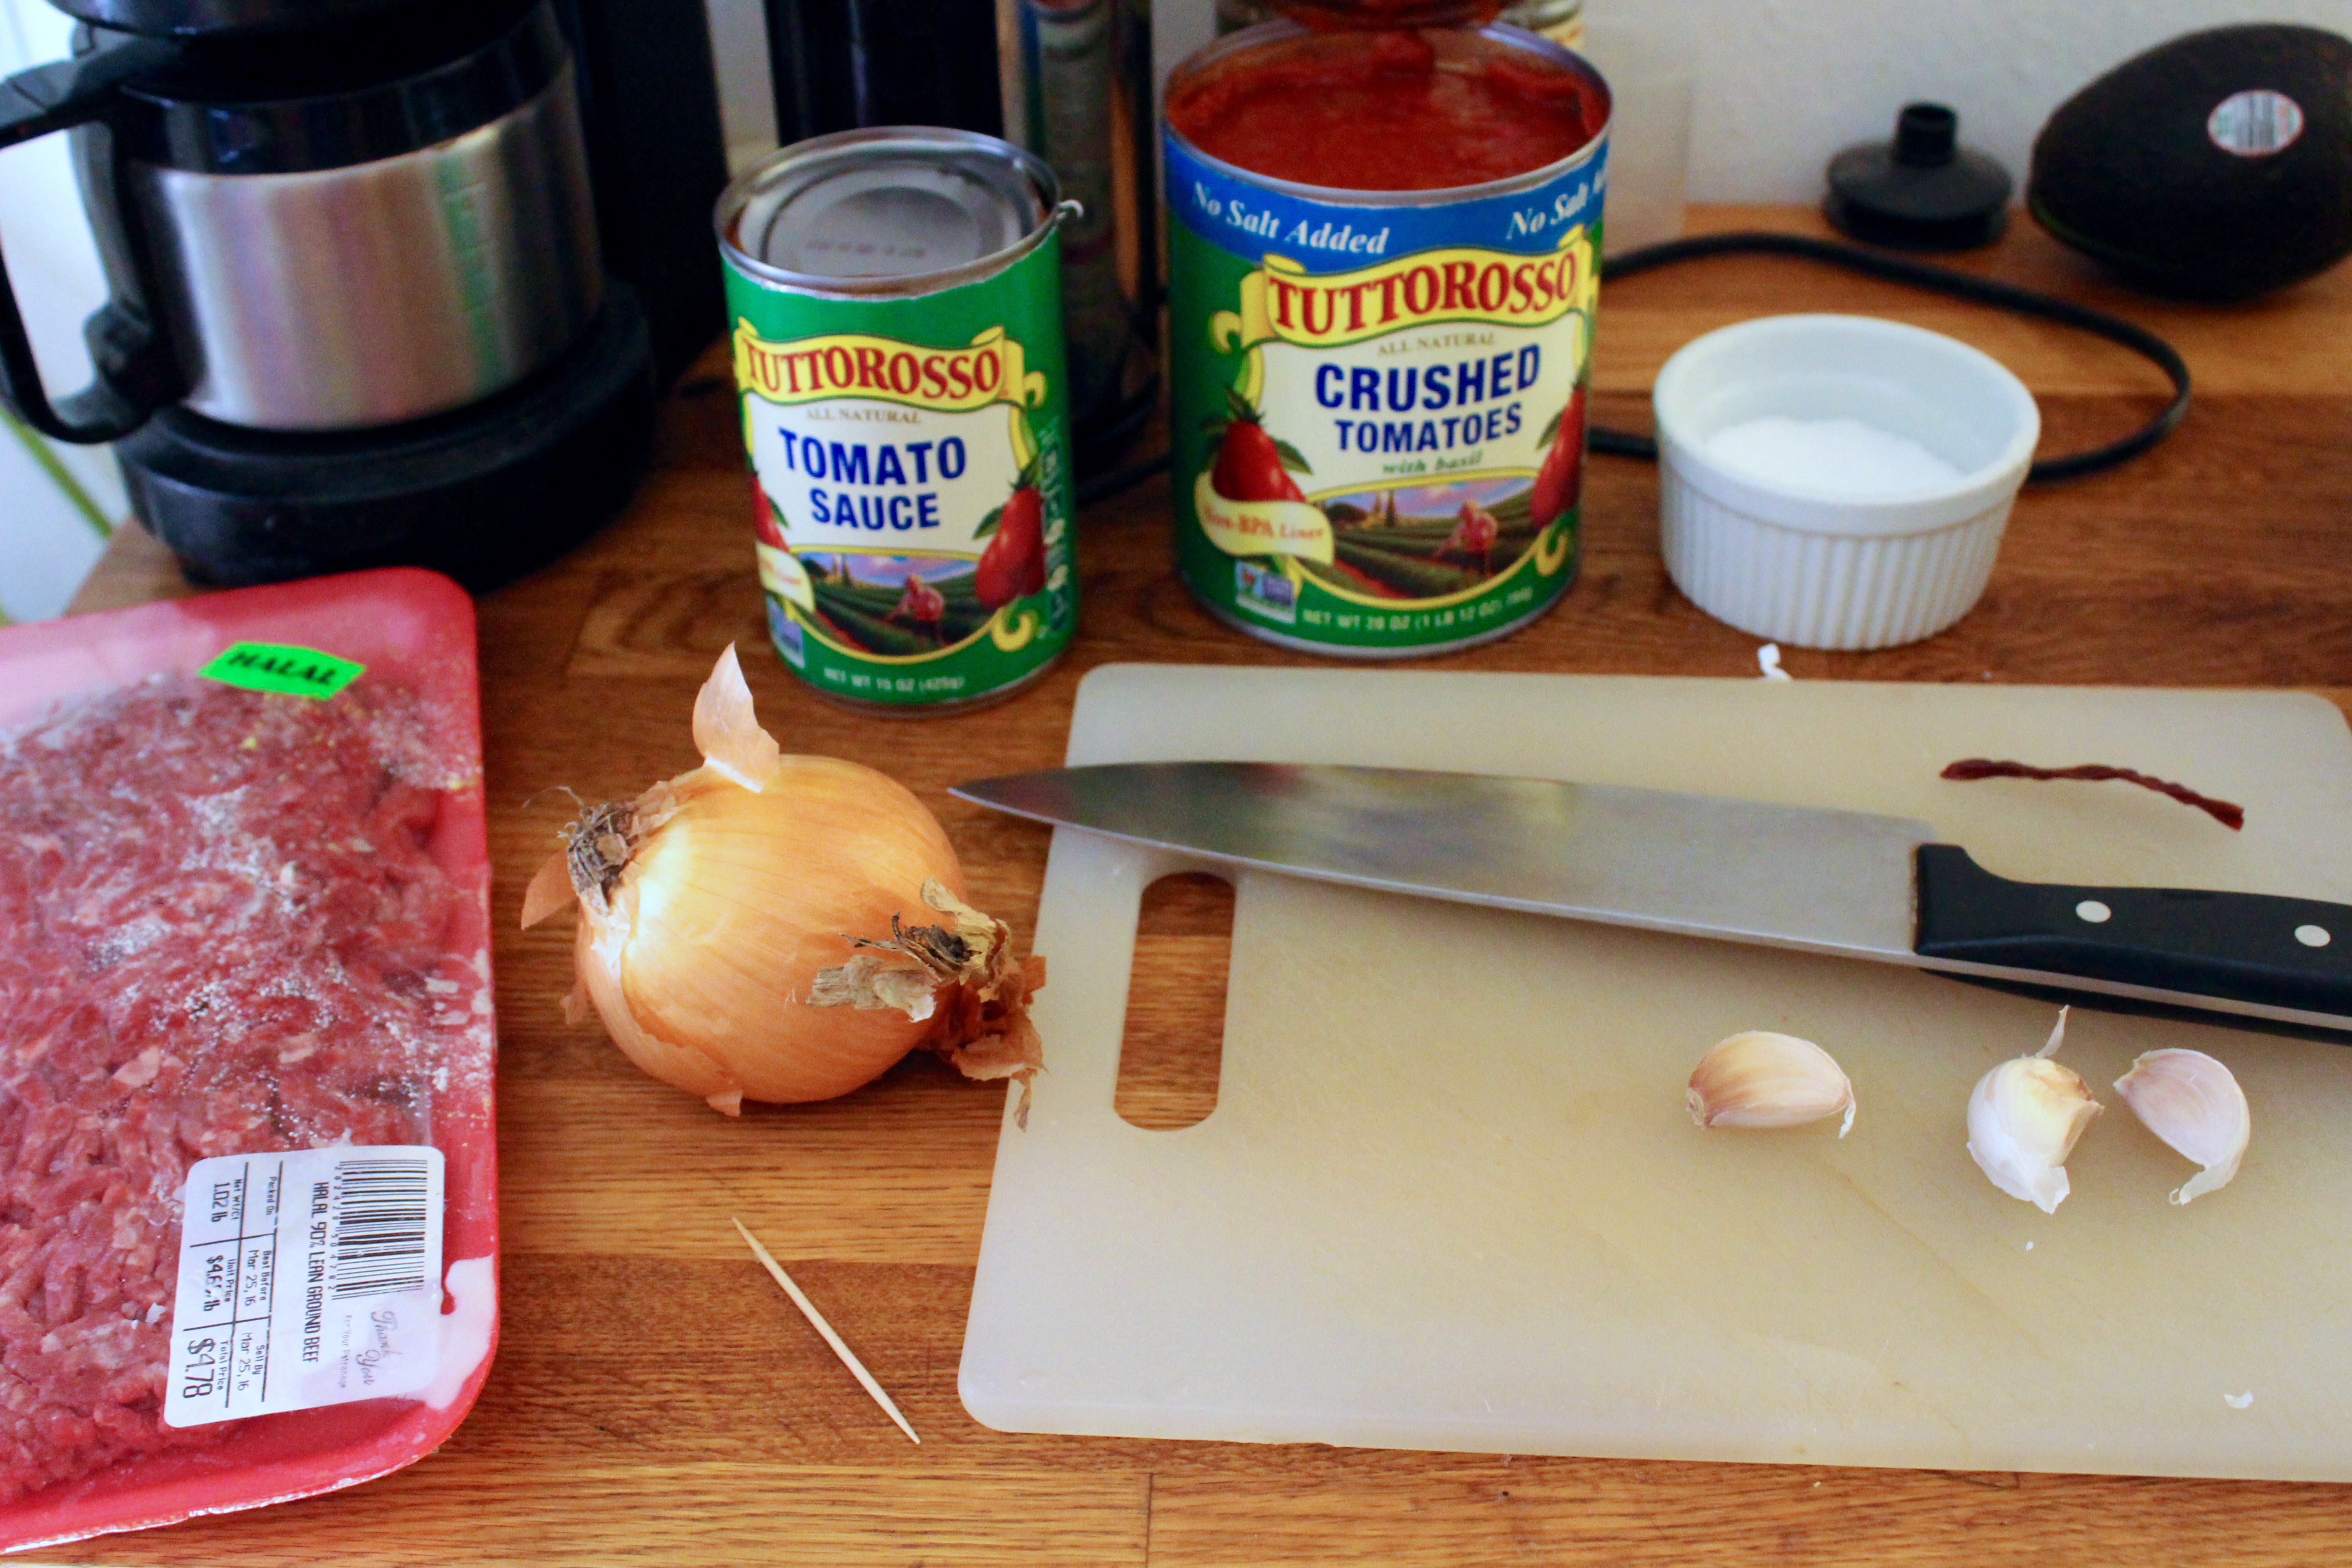
Enter My Go-To Bolognese. Olive oil. Onion. Garlic. Beef. Tomato. Seasonings. Almost all of these things I have on hand – I don’t even bother with the fresh herbs. Dried oregano. Basil already in the canned tomato. Done. Deal.
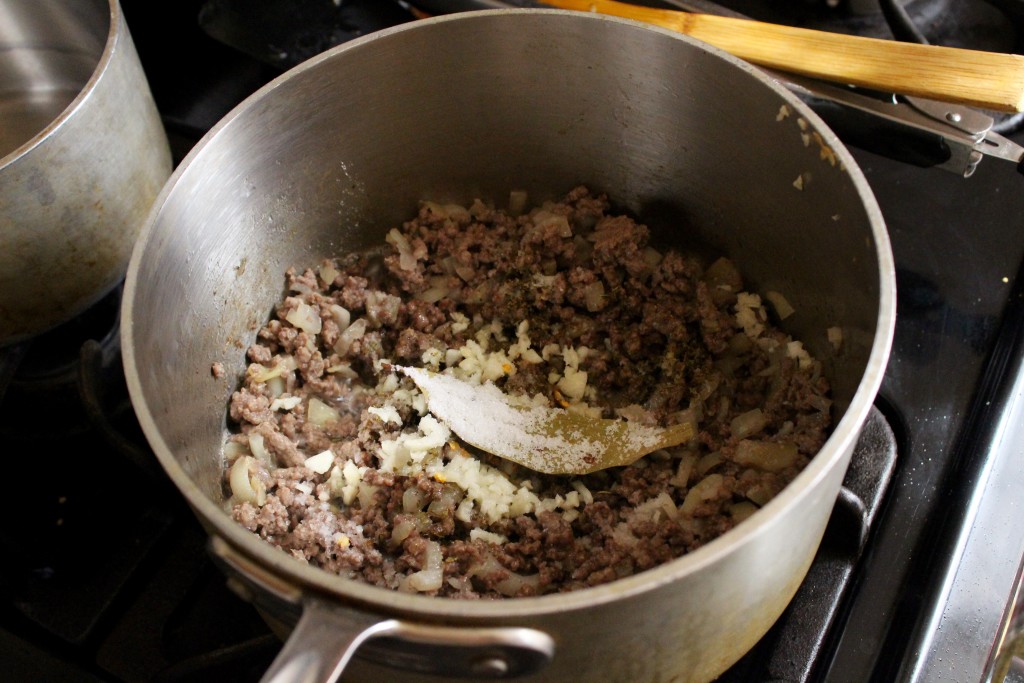
I amp up the flavor with crushed red pepper flakes. I add tomato sauce along with the crushed tomatoes – something I picked up from watching Pioneer Woman. It adds moisture and flavor to the sauce. And the best part is…
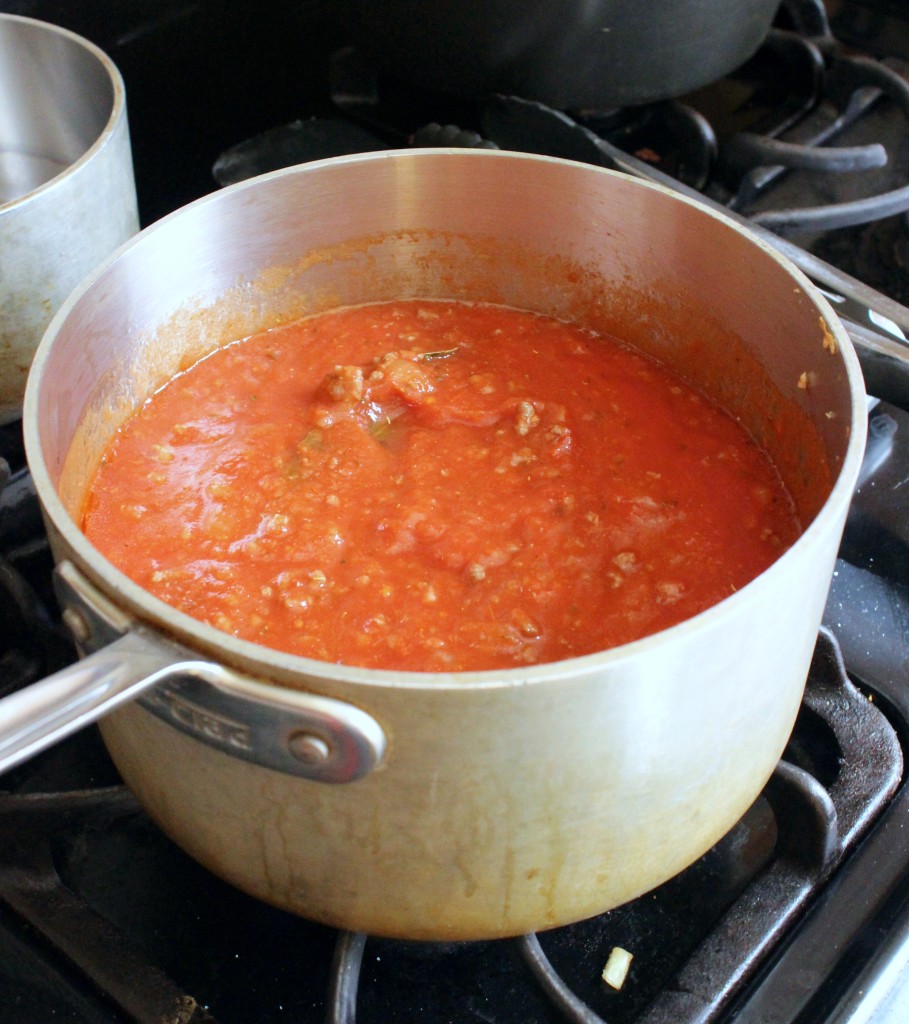
It gets better the longer it sits in the fridge. The first day you taste it, you’re like yeah, it’s good. But the second day you taste it and you’re like wow where did this meaty flavor come from?! And because my family is relatively small (both kids under 6), I can get away with freezing half and thawing it out later in the week when I’m knee deep in frosting for a cake order! One of the few things I don’t mind eating out of the freezer.
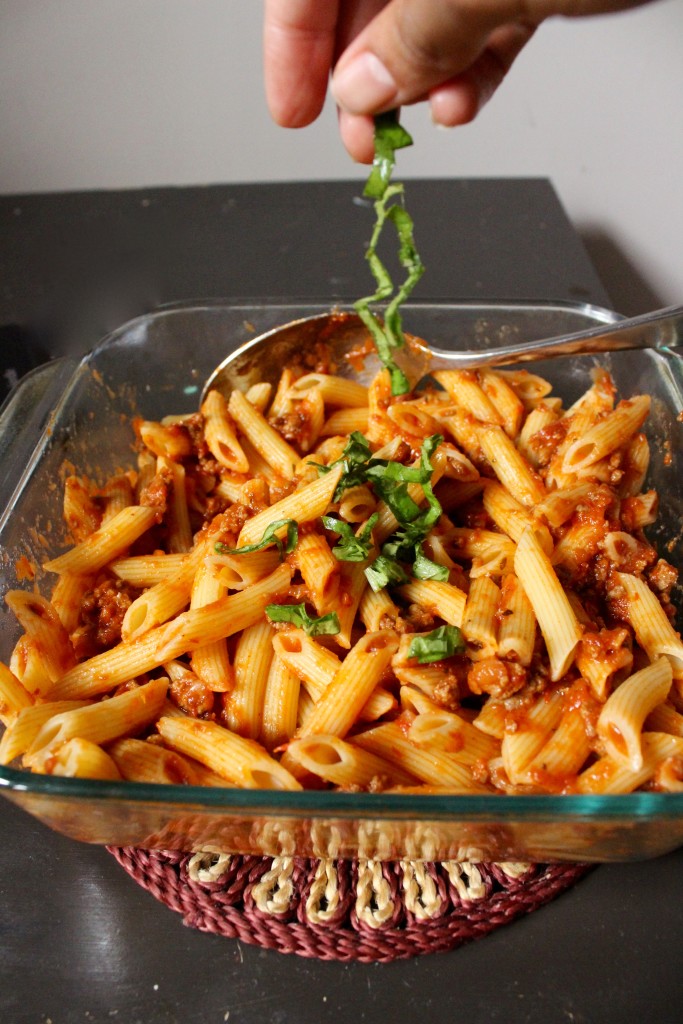
And the cinnamon! It’s my not-so-secret-anymore ingredient. Ever since I made Ina’s Pastitsio, I fell in love with the flavor combination. It makes you go “hmm what is that?!” – in the best possible way.
Ingredients
- 2 tbsp olive oil
- 1 medium yellow onion, diced small
- 1 pound lean ground beef
- 3 cloves garlic, minced
- 1/2 tsp dried oregano
- 1/2 tsp crushed red pepper flakes
- 1/2 tsp ground cinnamon
- 1 1/4 tsp salt plus more to taste
- 1/4 tsp ground black pepper
- 1 dried bay leaf
- 1 tsp sugar
- 1 28oz can crushed tomatoes
- 1 15oz can tomato sauce
Directions
- In a medium saucepan, warm olive oil over medium high heat. Add onion and ground beef. Cook, stirring frequently, until the onions are soft and the meat is no longer pink. Add the seasonings: garlic, oregano, salt, both peppers, cinnamon, sugar and bay leaf. Stir until fragrant – 30 seconds to 1 minute. Add the crushed tomatoes and tomato sauce. When the sauce comes to a boil, lower the heat to low and cover. Simmer, stirring occasionally for 30 to 45 minutes.
- Taste for seasoning and serve with pasta of choice and a grating of fresh parmesan.
Potato Leek Soup with Rosemary Garlic Oil
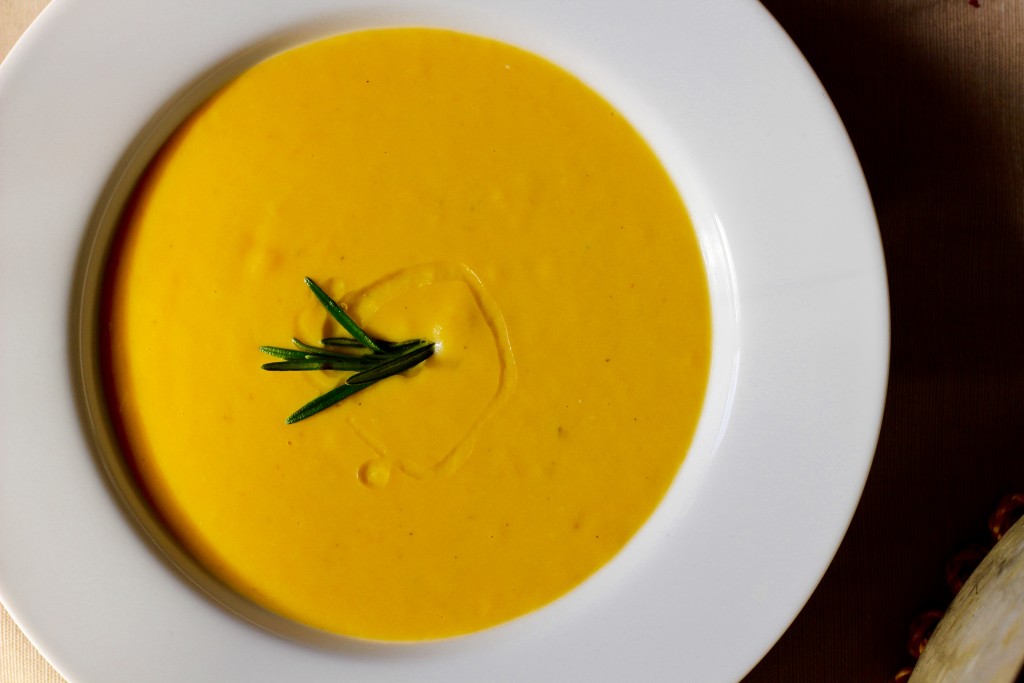 I had a hankering for warm, comforting American dishes the other day. Creamy tomato soup. Potato leek soup. Corn chowder. Pan seared scallops. Flat bread dotted with goat cheese and herbs. Just things I wouldn’t usually make since there isn’t a huge appetite for these things in our household. Take exhibit A: potato leek soup. Despite my daughter’s proclamation that she LOVED THIS SOUP and my husband’s accolade, “this soup’s good, Jaan!”, they each had just one serving. Just one. So guess who else had ALL the remaining servings?
 Yours, truly, of course. When I was a work study (undergraduate doing an on-campus job) at Columbia Business School, I would go down to the cafeteria and scope out what I could afford. Back then, a small soup with crackers cost about $4.75. With tax, it came out to almost $6. Which was a lot for me to fork over for lunch. But a girl’s gotta eat. Neither the $3.50 muffin nor the $12 sandwiches weren’t good alternatives.
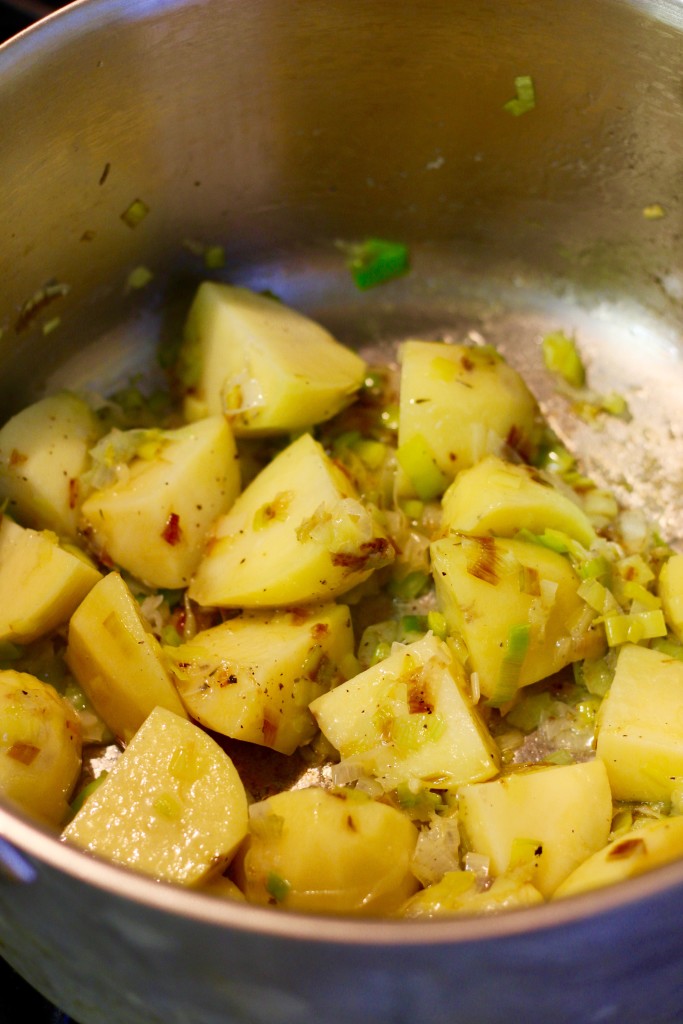
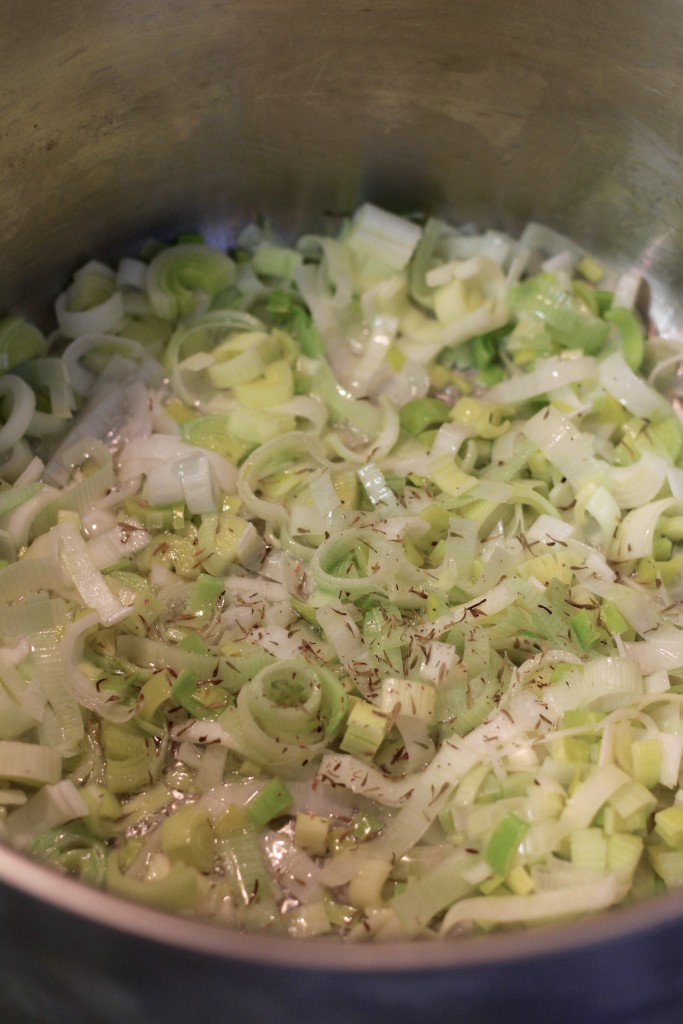
I looked at a bunch of different recipes before diving into this. I knew I wanted to caramelize the leeks a bit. I knew I didn’t have chicken stock on hand, and not even the full amount of vegetable stock needed for this amount. I knew despite all the different herbs I read people used, I wanted to use dry thyme (one of my favorite pantry items since it adds such a lovely aroma and flavor and I could sense my kids associating its scent with my cooking), and rosemary. Finally, I knew I didn’t want to have a big huge batch because something told me I’d be eating 90% of it. 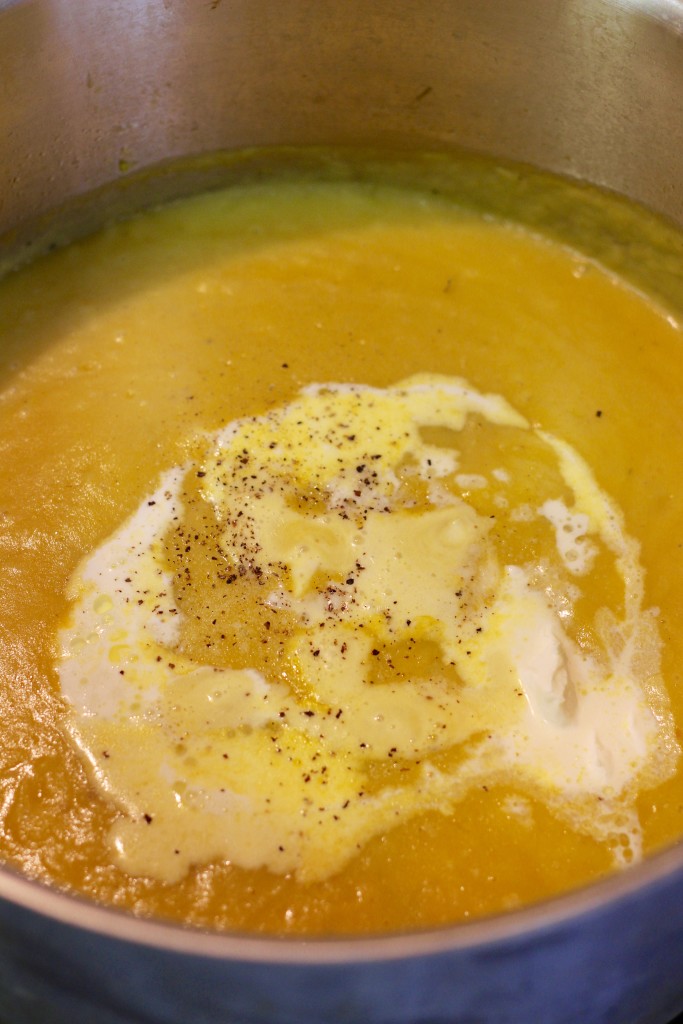
So I halved the amounts I read in other recipes, I sautéed the veggies a bit longer, and I used a combo of vegetable stock and water. Depending on the type of vegetable stock you use, your color will vary. Mine was the low sodium one from Trader Joe’s. Made from carrots, tomatoes, among other vegetables. Thus imparting an orange hue to a normally off-white soup. 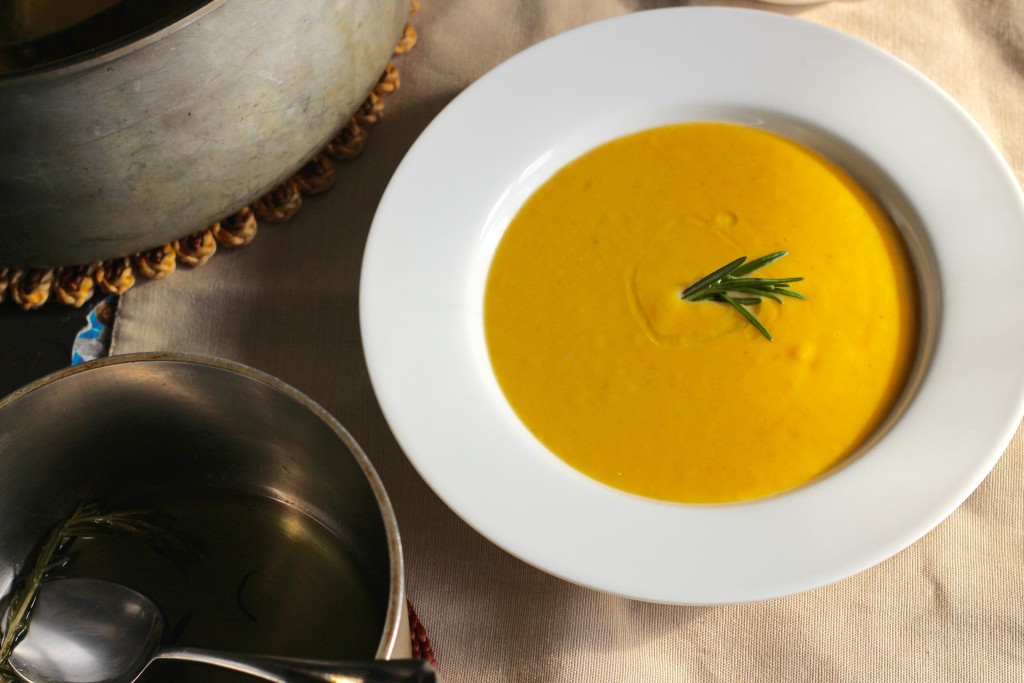 The type of vegetable stock you use will also affect the seasoning required, so make sure to add just enough salt and pepper until it’s really really tasty.
 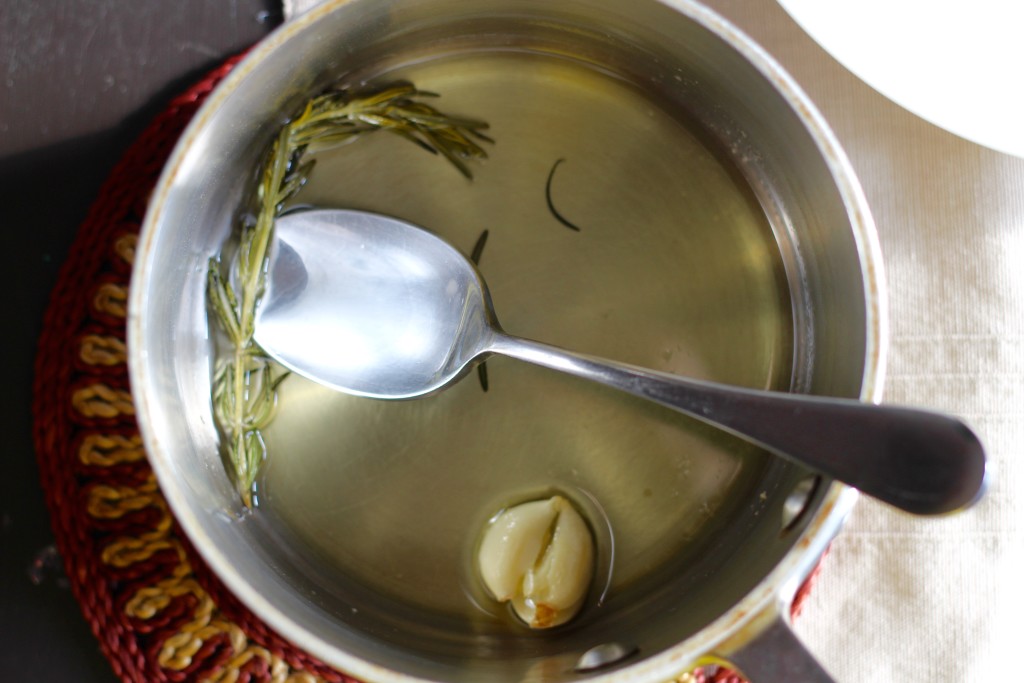 I didn’t put rosemary in the soup directly. I thought the presentation and flavor would be more pronounced with an infused oil added at the very end. Take that, winter.
Ingredients
- 2 tbsp olive oil
- 2 leeks, dark ends trimmed
- 4 Yukon gold potatoes (about 1 pound), diced into large chunks
- 1/2 tsp salt (plus more to taste)
- 1/2 tsp black pepper
- 1/2 tsp dried thyme
- 1 bay leaf
- 1 1/2 cups vegetable stock*
- 2 1/2 cups water
- 1 cup cream
- 1 tbsp creme fraiche (optional)
- 1/4 cup olive oil
- 1 clove garlic
- 1 sprig rosemary
Directions
- Slice ends off of leeks and slice down the middle lengthwise. Rinse well to get rid of the dirt in between all the layers. Thinly slice into about 1/4 strips. Heat oil in a large pot (stainless steel or enameled both work) over medium high heat. Add leeks and dried thyme. Sauté until leeks are softened (6 to 8 minutes). Add the potatoes, salt and pepper. Stir to coat all the vegetables in the seasonings. Add stock, water and bay leaf and bring to a boil. Lower the heat, put the lid on and cook for about 20 minutes, until potatoes are tender.
- Once the potatoes are tender, turn off heat and remove the bay leaf. Purée the mixture with an immersion blender, or in batches in a blender. Put the pot with the puree back on medium heat. Add the cream and creme fraiche if using. Stir. When mixture comes to a boil, stir and taste for seasoning. Add more seasoning as required and remove from heat.
- Make the rosemary garlic oil: in a small saucepan, combine olive oil, garlic clove (smashed with the palm of your hand or side of a knife) and rosemary. Cook over low heat, allowing the garlic and rosemary to gently infuse the oil. Remove from heat when fragrant, about 5 minutes.
- Ladle the soup in a shallow bowl. Drizzle with a bit of oil and a dollop of more creme fraiche, if desired.
*Can use chicken stock. Can nix the water and use all stock instead. One and half cups was how much I had on hand, so that’s what I used.
Creamy Less Cheesy Mac and Cheese
 Anyone else find themselves questioning their life choices? First world problems, right? I’ve got a roof over my head, food to eat, a wonderful family – so much to be grateful for. But I’m feeling sorry for myself because I haven’t “made it” yet or didn’t pursue one of the more conventional paths of engineering, medicine, or law (not that I have a litigating bone in my body). Of course this comes at a time when most of my high school and college classmates are receiving their secondary degrees and the grass is looking greener on the other side. But I’ve been trying to embody the saying I’ve read recently, “The grass is greener where you water it”. I love my family and would be so empty without them. But I need to reach my professional goals as well. Would love to grow this blog or my little side hustle (custom cakes) but I feel like I’m lacking some guidance. Is it my content? My outreach? Help me out, guys!! Granted I have two little ones, one who is isn’t in school yet, so my resources are limited.
  Speaking of little ones, for years I lamented that despite my efforts to make mac and cheese from scratch, my kids preferred the stuff from the blue box. Relieved, since dinner could be ready in a snap if I had the blue box on hand. Affronted, as well. So I sought a solution. The problem was the traditional mac and cheese recipes I followed were quite cheesy. Resulting in a strongly flavored and thick sauce.
 So, I thought I’d make a bechamel sauce, add in a little bit of cheese at a time until it had just enough thickness and was mildly flavored enough for my kiddos, and voila! I made something that my 3 1/2 year old would lick clean off the plate.
  This comes together so quickly, you’ll be like, blue box, who? Granted you have pre-shredded cheese. I use the Trader Joe’s blend of mozzarella, cheddar and jack cheese. It’s wonderful in omelettes, grilled cheese, etc.
  Throw in some frozen peas with the pasta during the last minute of cooking to make it a complete meal. Or shredded beef/chicken. The sky’s the limit. I just keep the chicken broth on hand in case it gets too thick.
 Make this once and you’ll never go back to Panera’s mac and cheese! Feel free to double the recipe if you have more mouths to feed!
Ingredients
- 2 tbsp butter
- 2 tbsp all purpose flour
- 2 cups whole milk
- 1/2 cup grated cheese (cheddar or I use a combo of mozzarella, cheddar and pepper jack)
- 3/4 tsp salt plus more to taste
- dash black pepper
- dash cayenne pepper
- 1/2 pound elbows or small shell pasta
Directions
- In a medium to large pot, heat about 4 quarts of water over high heat. Let it come to a boil while you prepare the other ingredients.
- When it comes to a boil, add a teaspoon of salt and the pasta to the water. Give it a stir and set the timer to 8 minutes (check the time on the box for shells since I used elbows).
- Melt the butter over medium heat. Add the flour and whisk together. Allow to cook for 1-2 minutes. Next, slowly pour in the milk, while whisking. Continue whisking, taking care to get all the bits of flour and butter from the bottom of the pan. Lower the heat to a simmer a let cook for 5 minutes. It won’t thicken fully at this point. Make sure the mixture is not boiling otherwise the cheese will curdle*. Turn off the heat (and the heat of the pasta if the timer is up). Add salt and pepper and stir to combine.** Add cheese and stir – now the sauce should be sufficiently thick to coat the pasta.
- Strain pasta and add it to the cheese sauce. Serve immediately.***
*I learned this the hard way after ruining two batches during our suite’s Thanksgiving potluck in college.
**Congratulations, you’ve just made bechamel sauce!
***To reheat, add a bit of chicken broth to a saucepan and warm over medium low heat until heated through.
