
Most of you are familiar with chai – a spiced tea drink, made with some kind of milk. Most Bengalis I know and grew up with, didn’t spice their tea, but steeped some strong black tea and cooked it down with milk, or evaporated milk, and sweetened to taste. This is called dood cha (translation: milk tea). My favorite childhood treat was dunking a piece of Wonder bread in my mother’s milk tea. This dessert, an adaptation of tres leches, rekindles that memory. A sponge cake that is soaked in a steeped black tea milk mixture, and topped with whipped cream, recreates that childhood favorite in dessert form. I made it on a whim at my in law’s place over the weekend so I don’t have many pictures. I tried recreating it with PG Tips pyramid tea bags – and although tasty, did not have a strong enough flavor. Will share more pictures when I recreate it – in the meantime I need to buy up some loose tea of my own, since the tea bags just won’t do in this recipe.
Coconut Layer Cake
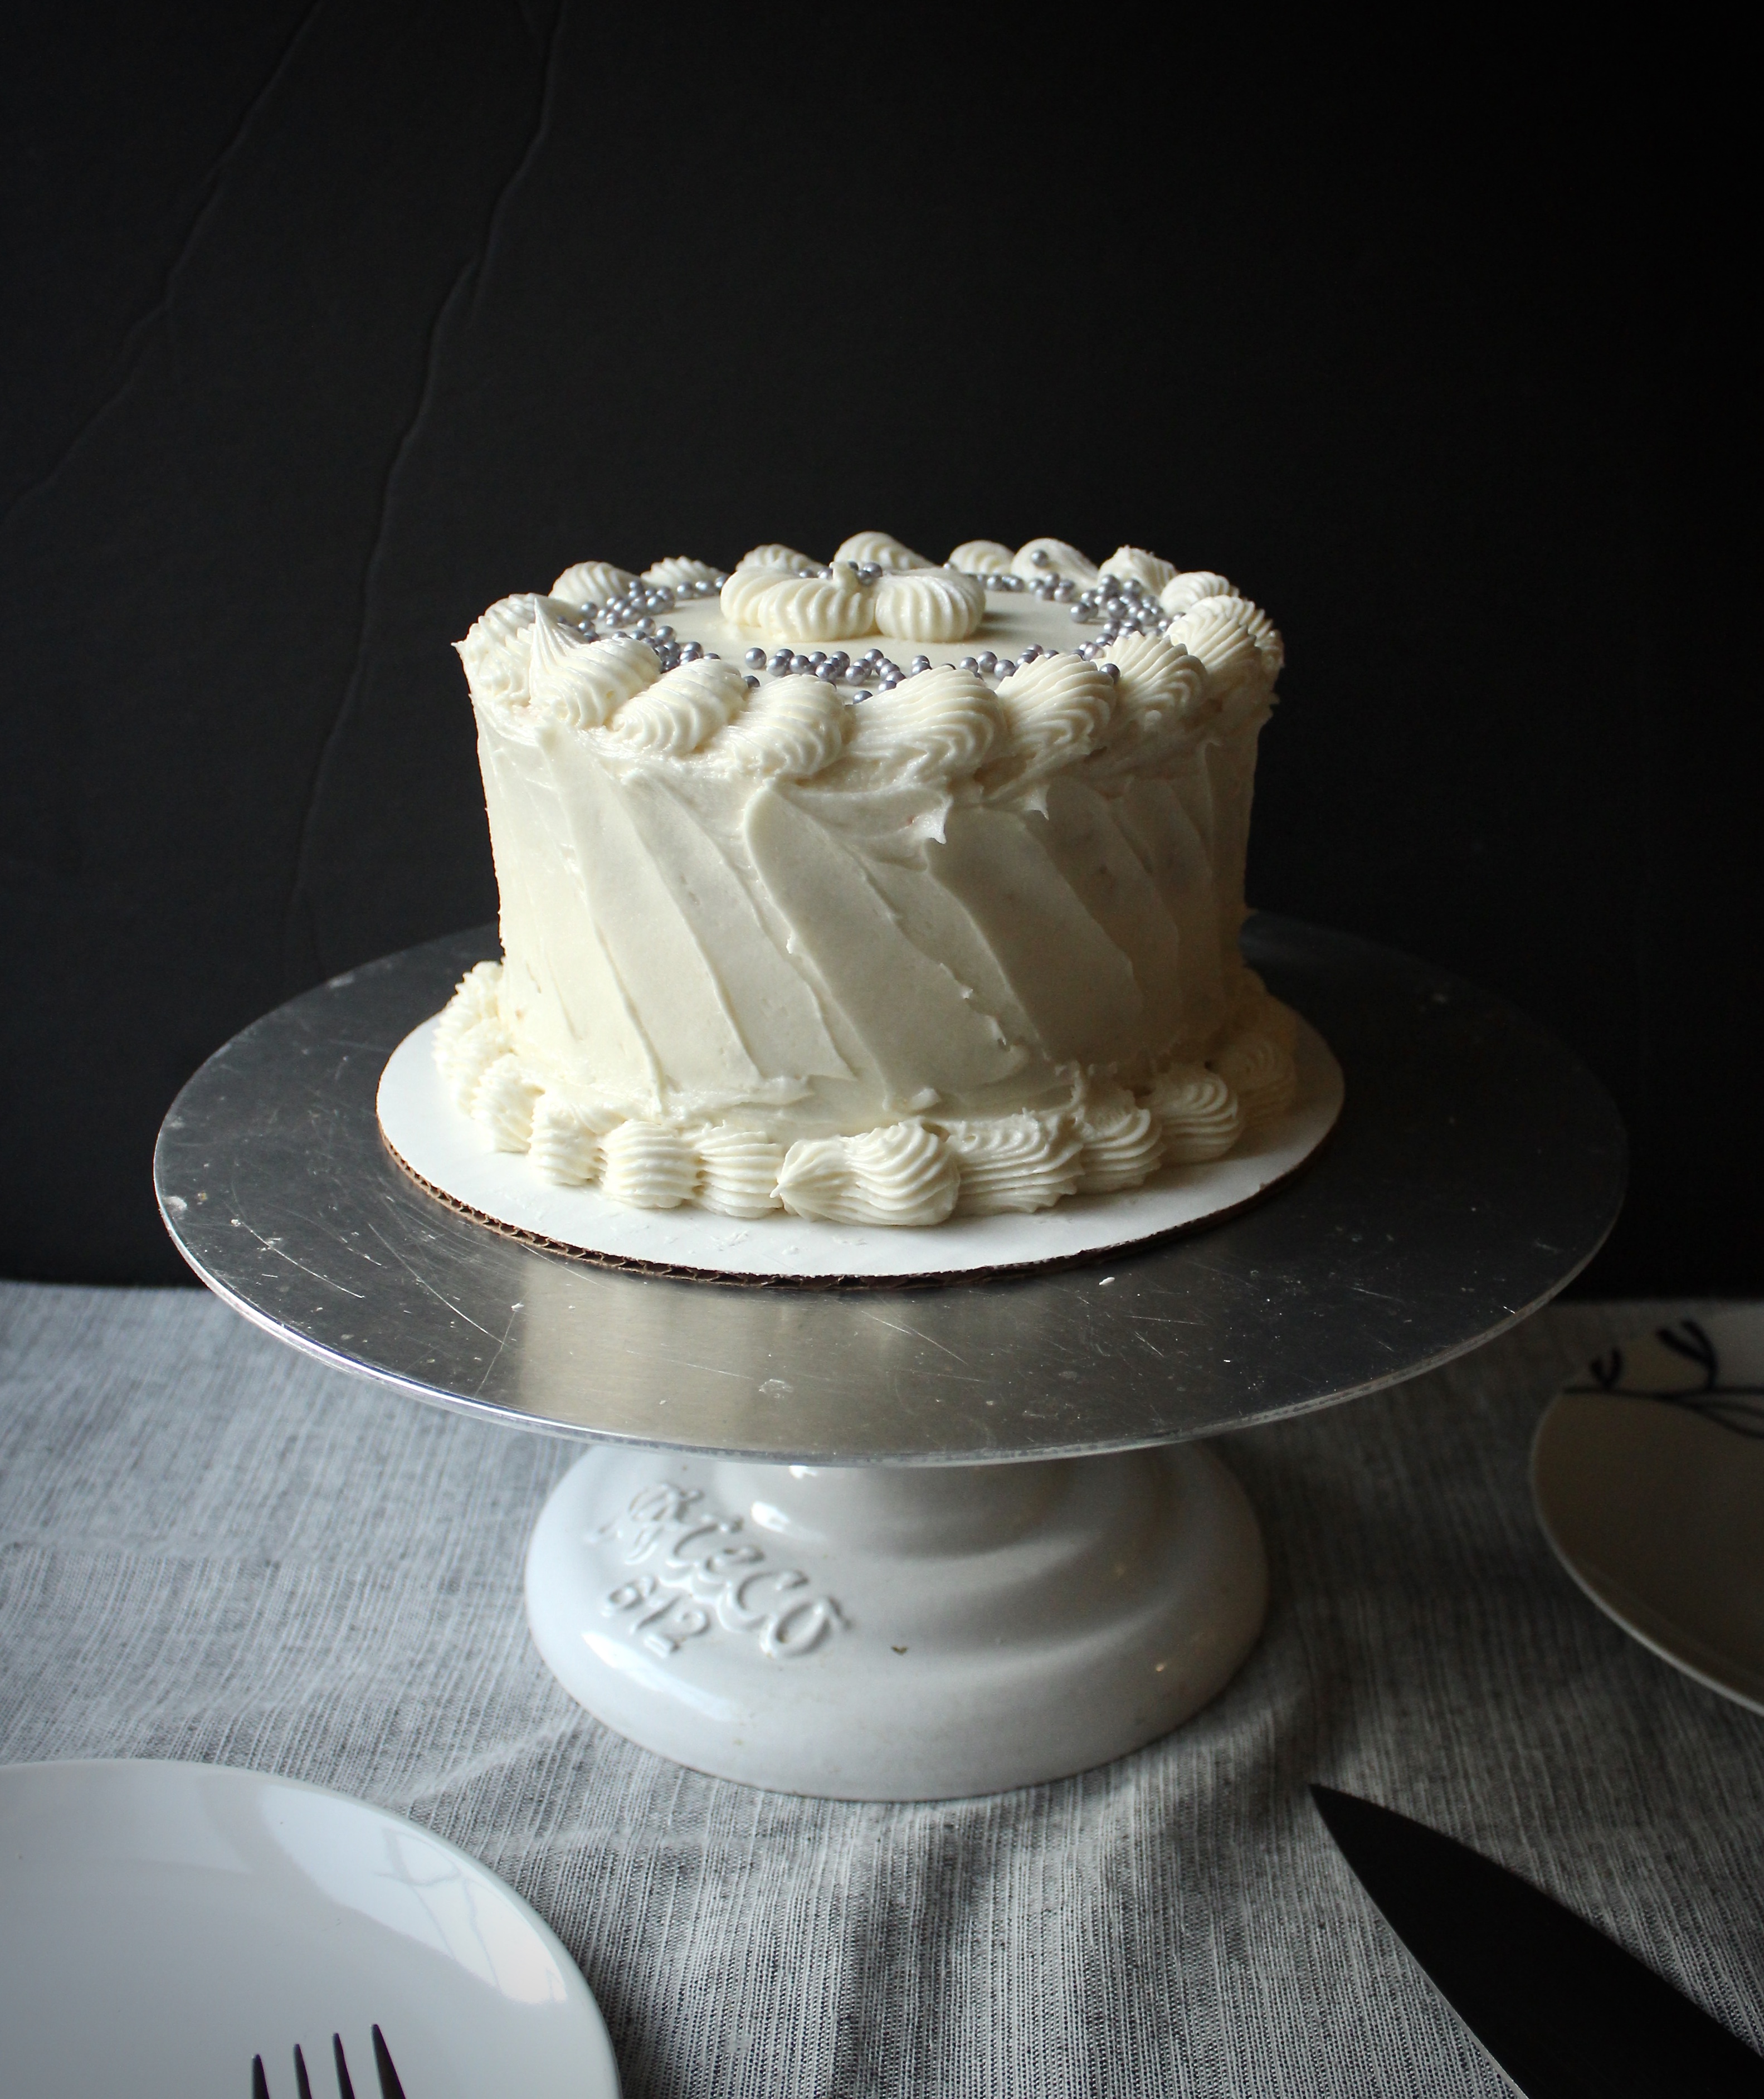
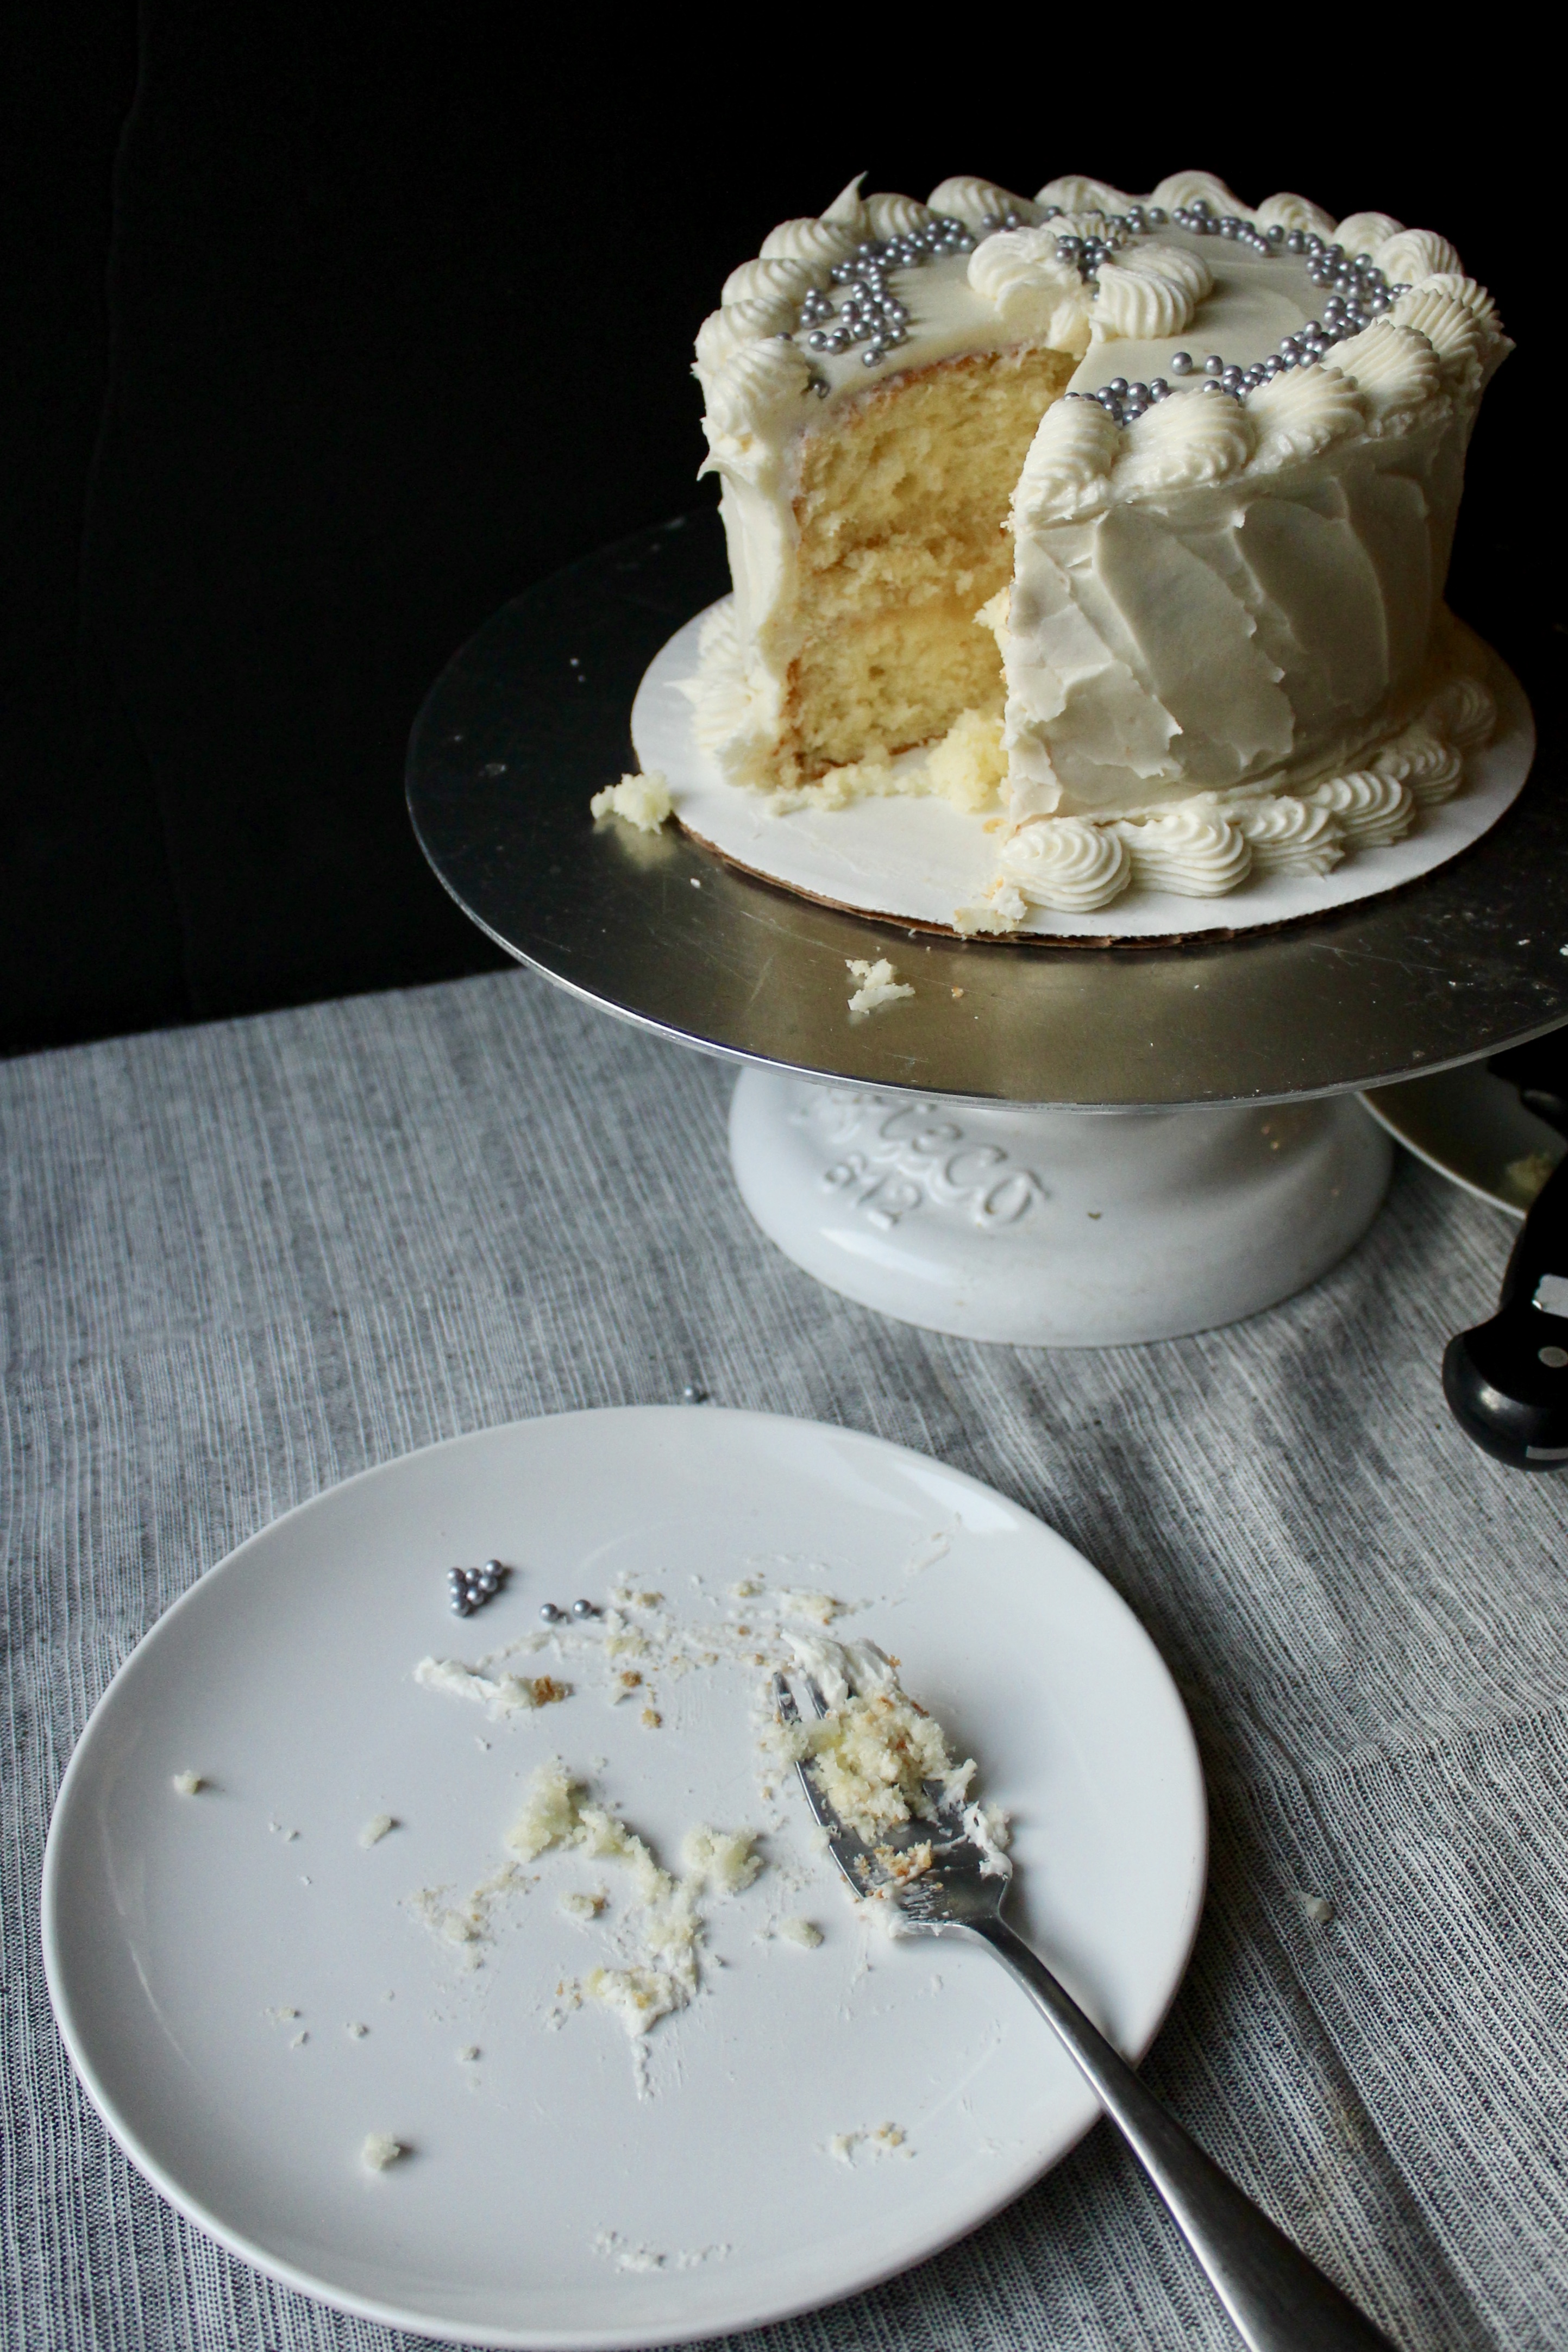
This cake was kind of born 2 and half years ago when I was tasked with feeding 100 people with a coconut cake. “Can it have pineapple filling?” my dear friend Jaf asked. YES, YES IT CAN!
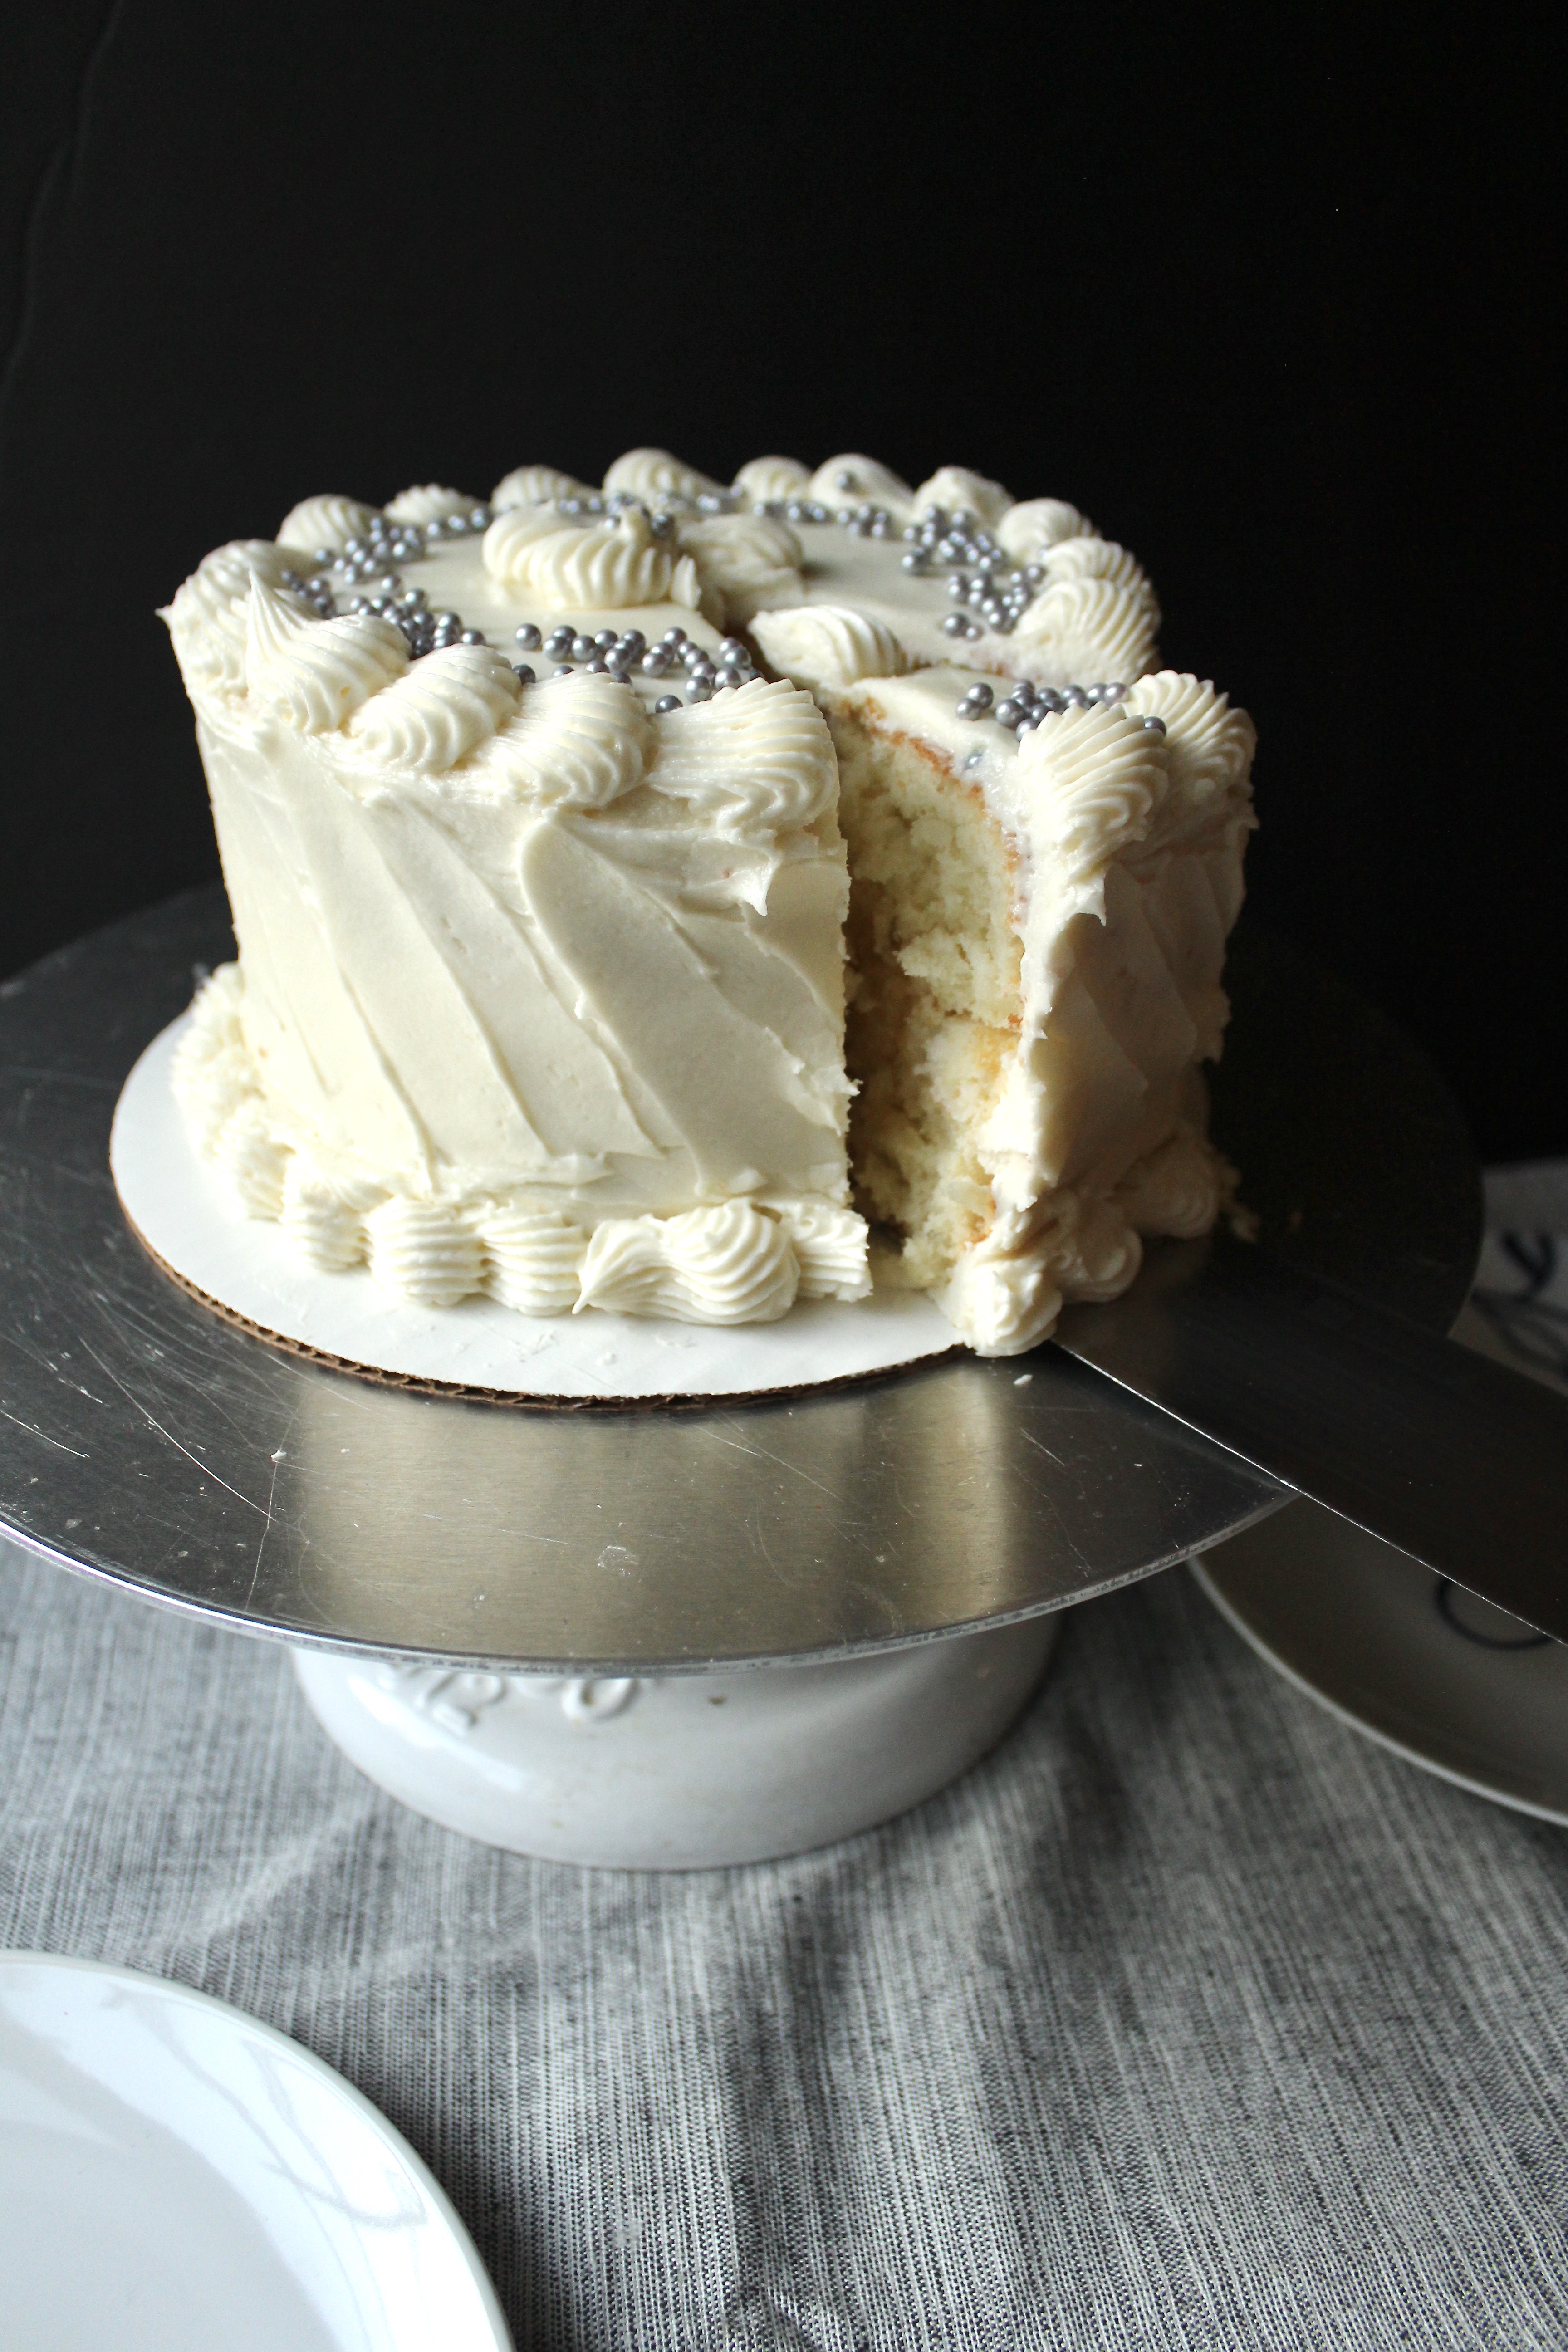
This cake is a delicious, crowd pleasing hit in its original version, but with this pineapple filling, it takes it over the edge. It’s kind of retro, but the fruitiness balances out the richness and creaminess from the buttercream.
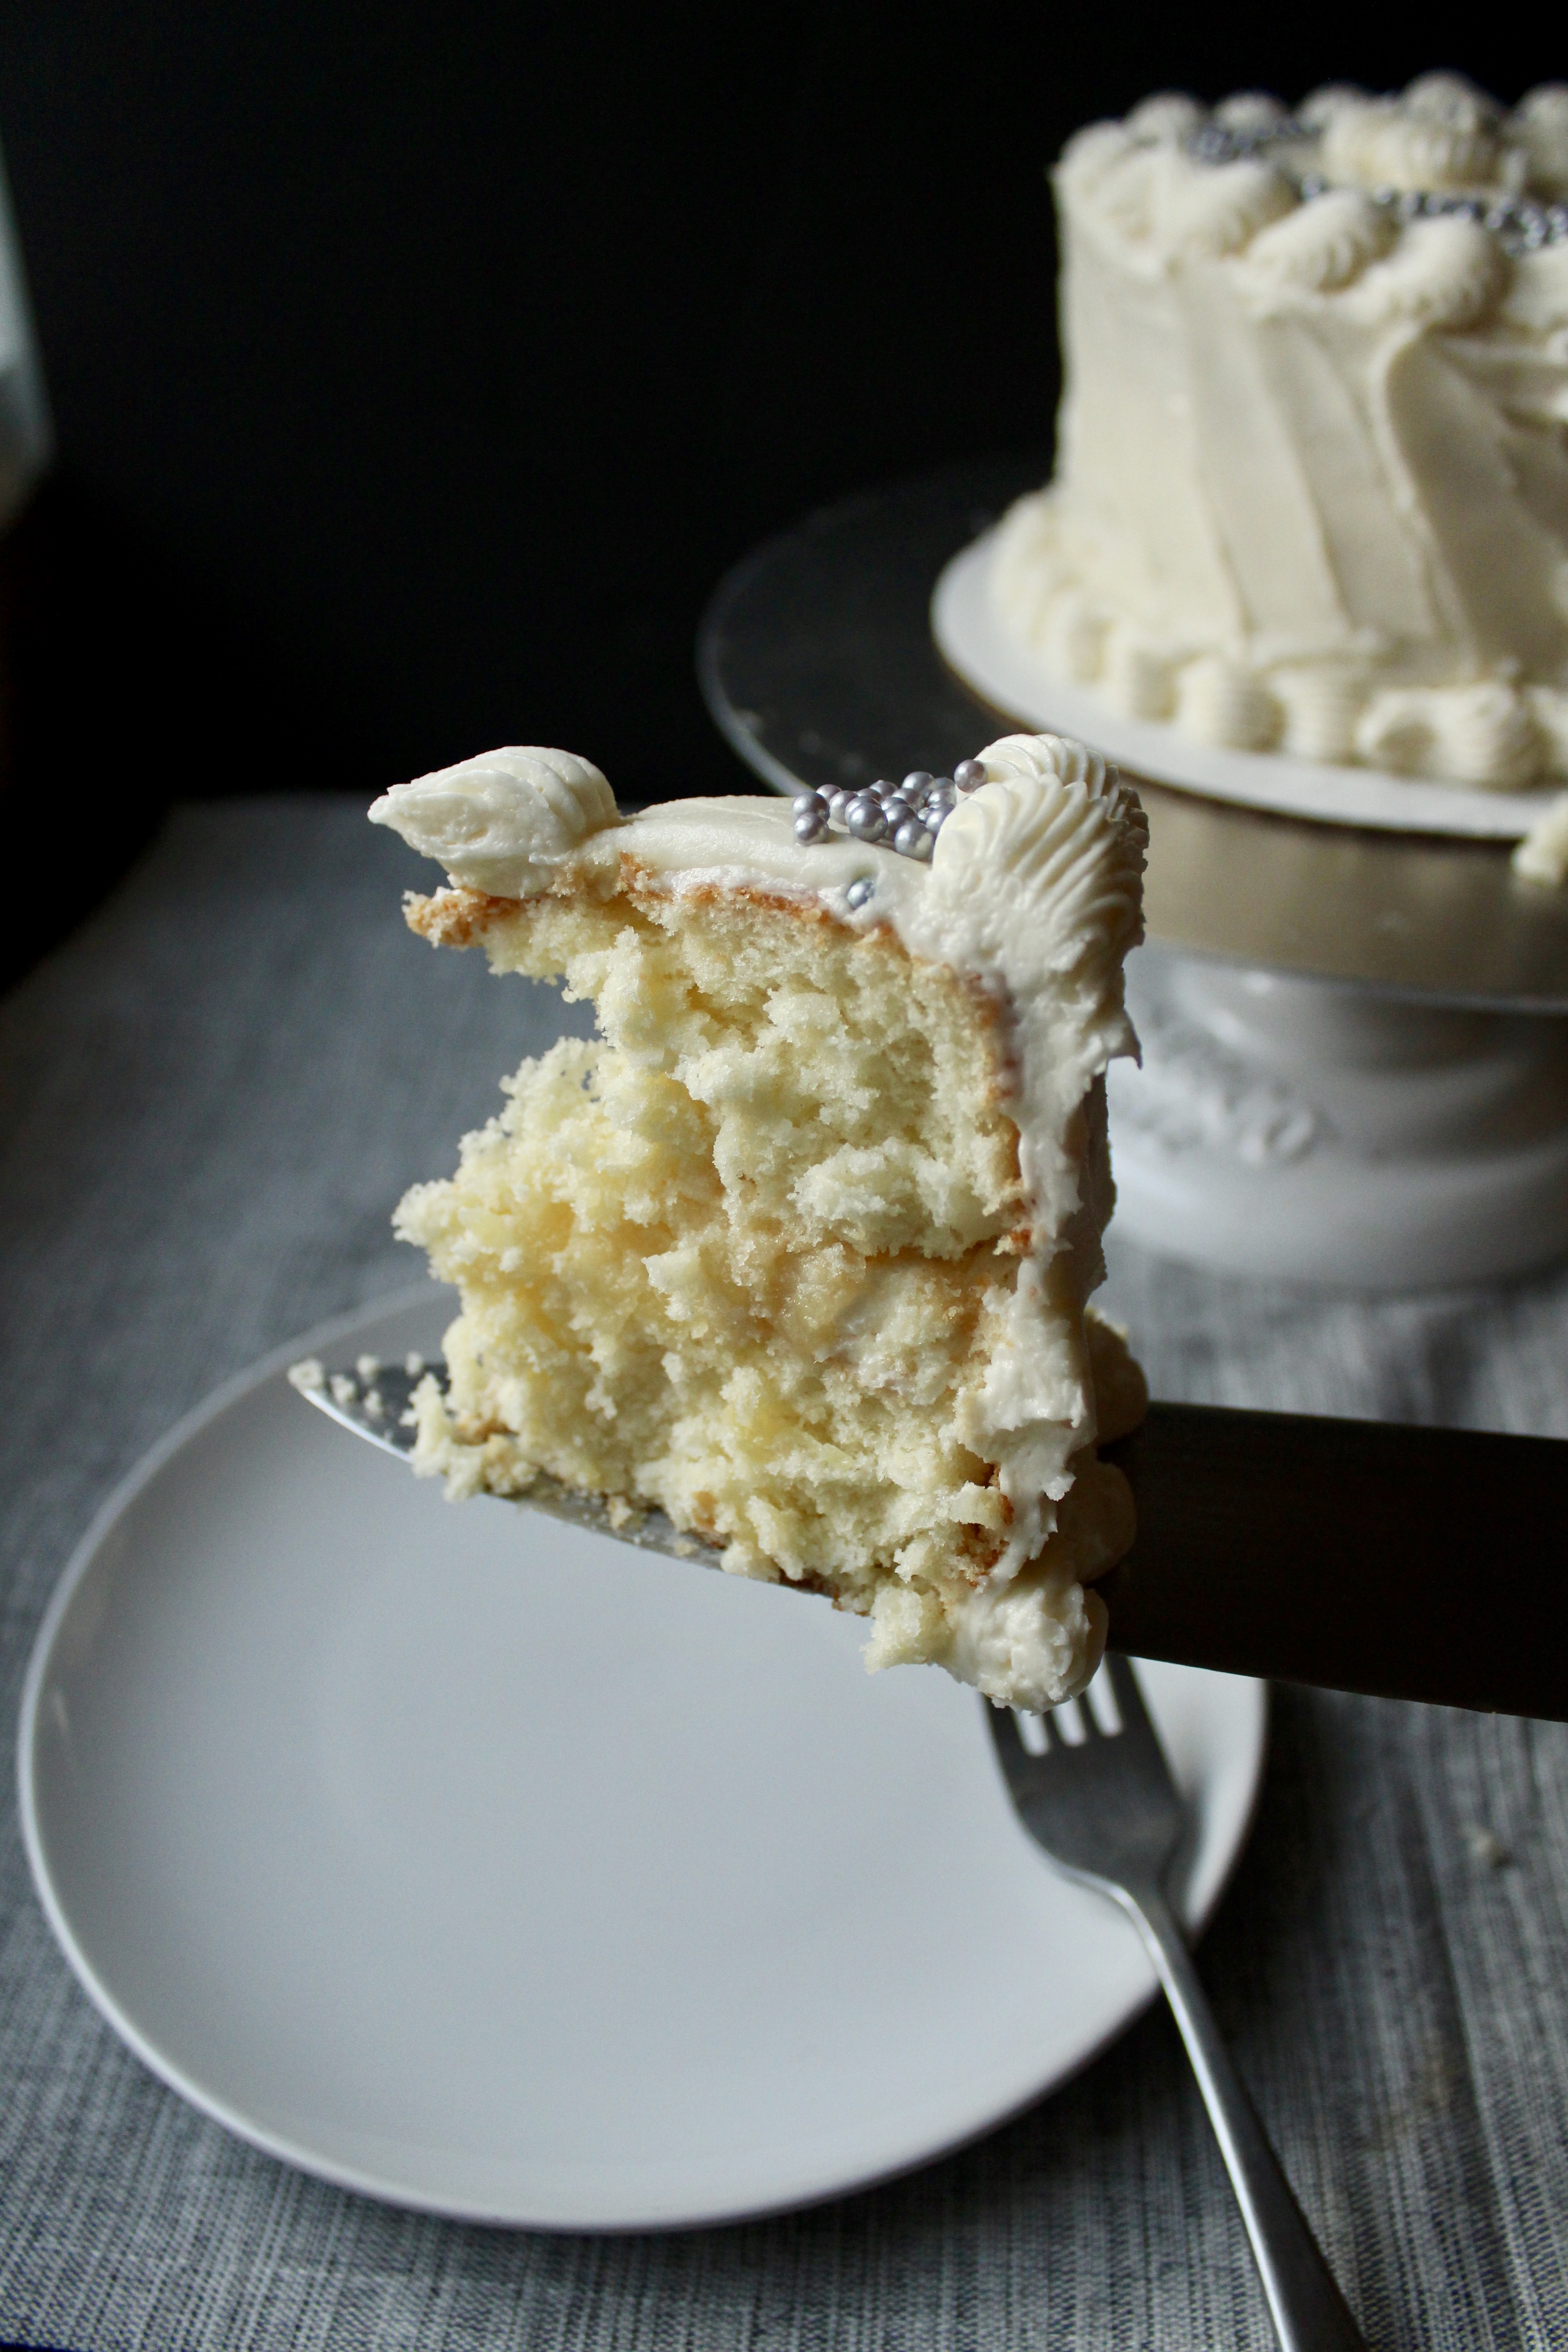
It’s a little fussy, yes, with the beating of egg whites and the careful folding in, but the payout is worth it. It’s the lightest, fluffiest, sweetest, nuttiest, flavorfullest cake you’ll ever have. Ever.
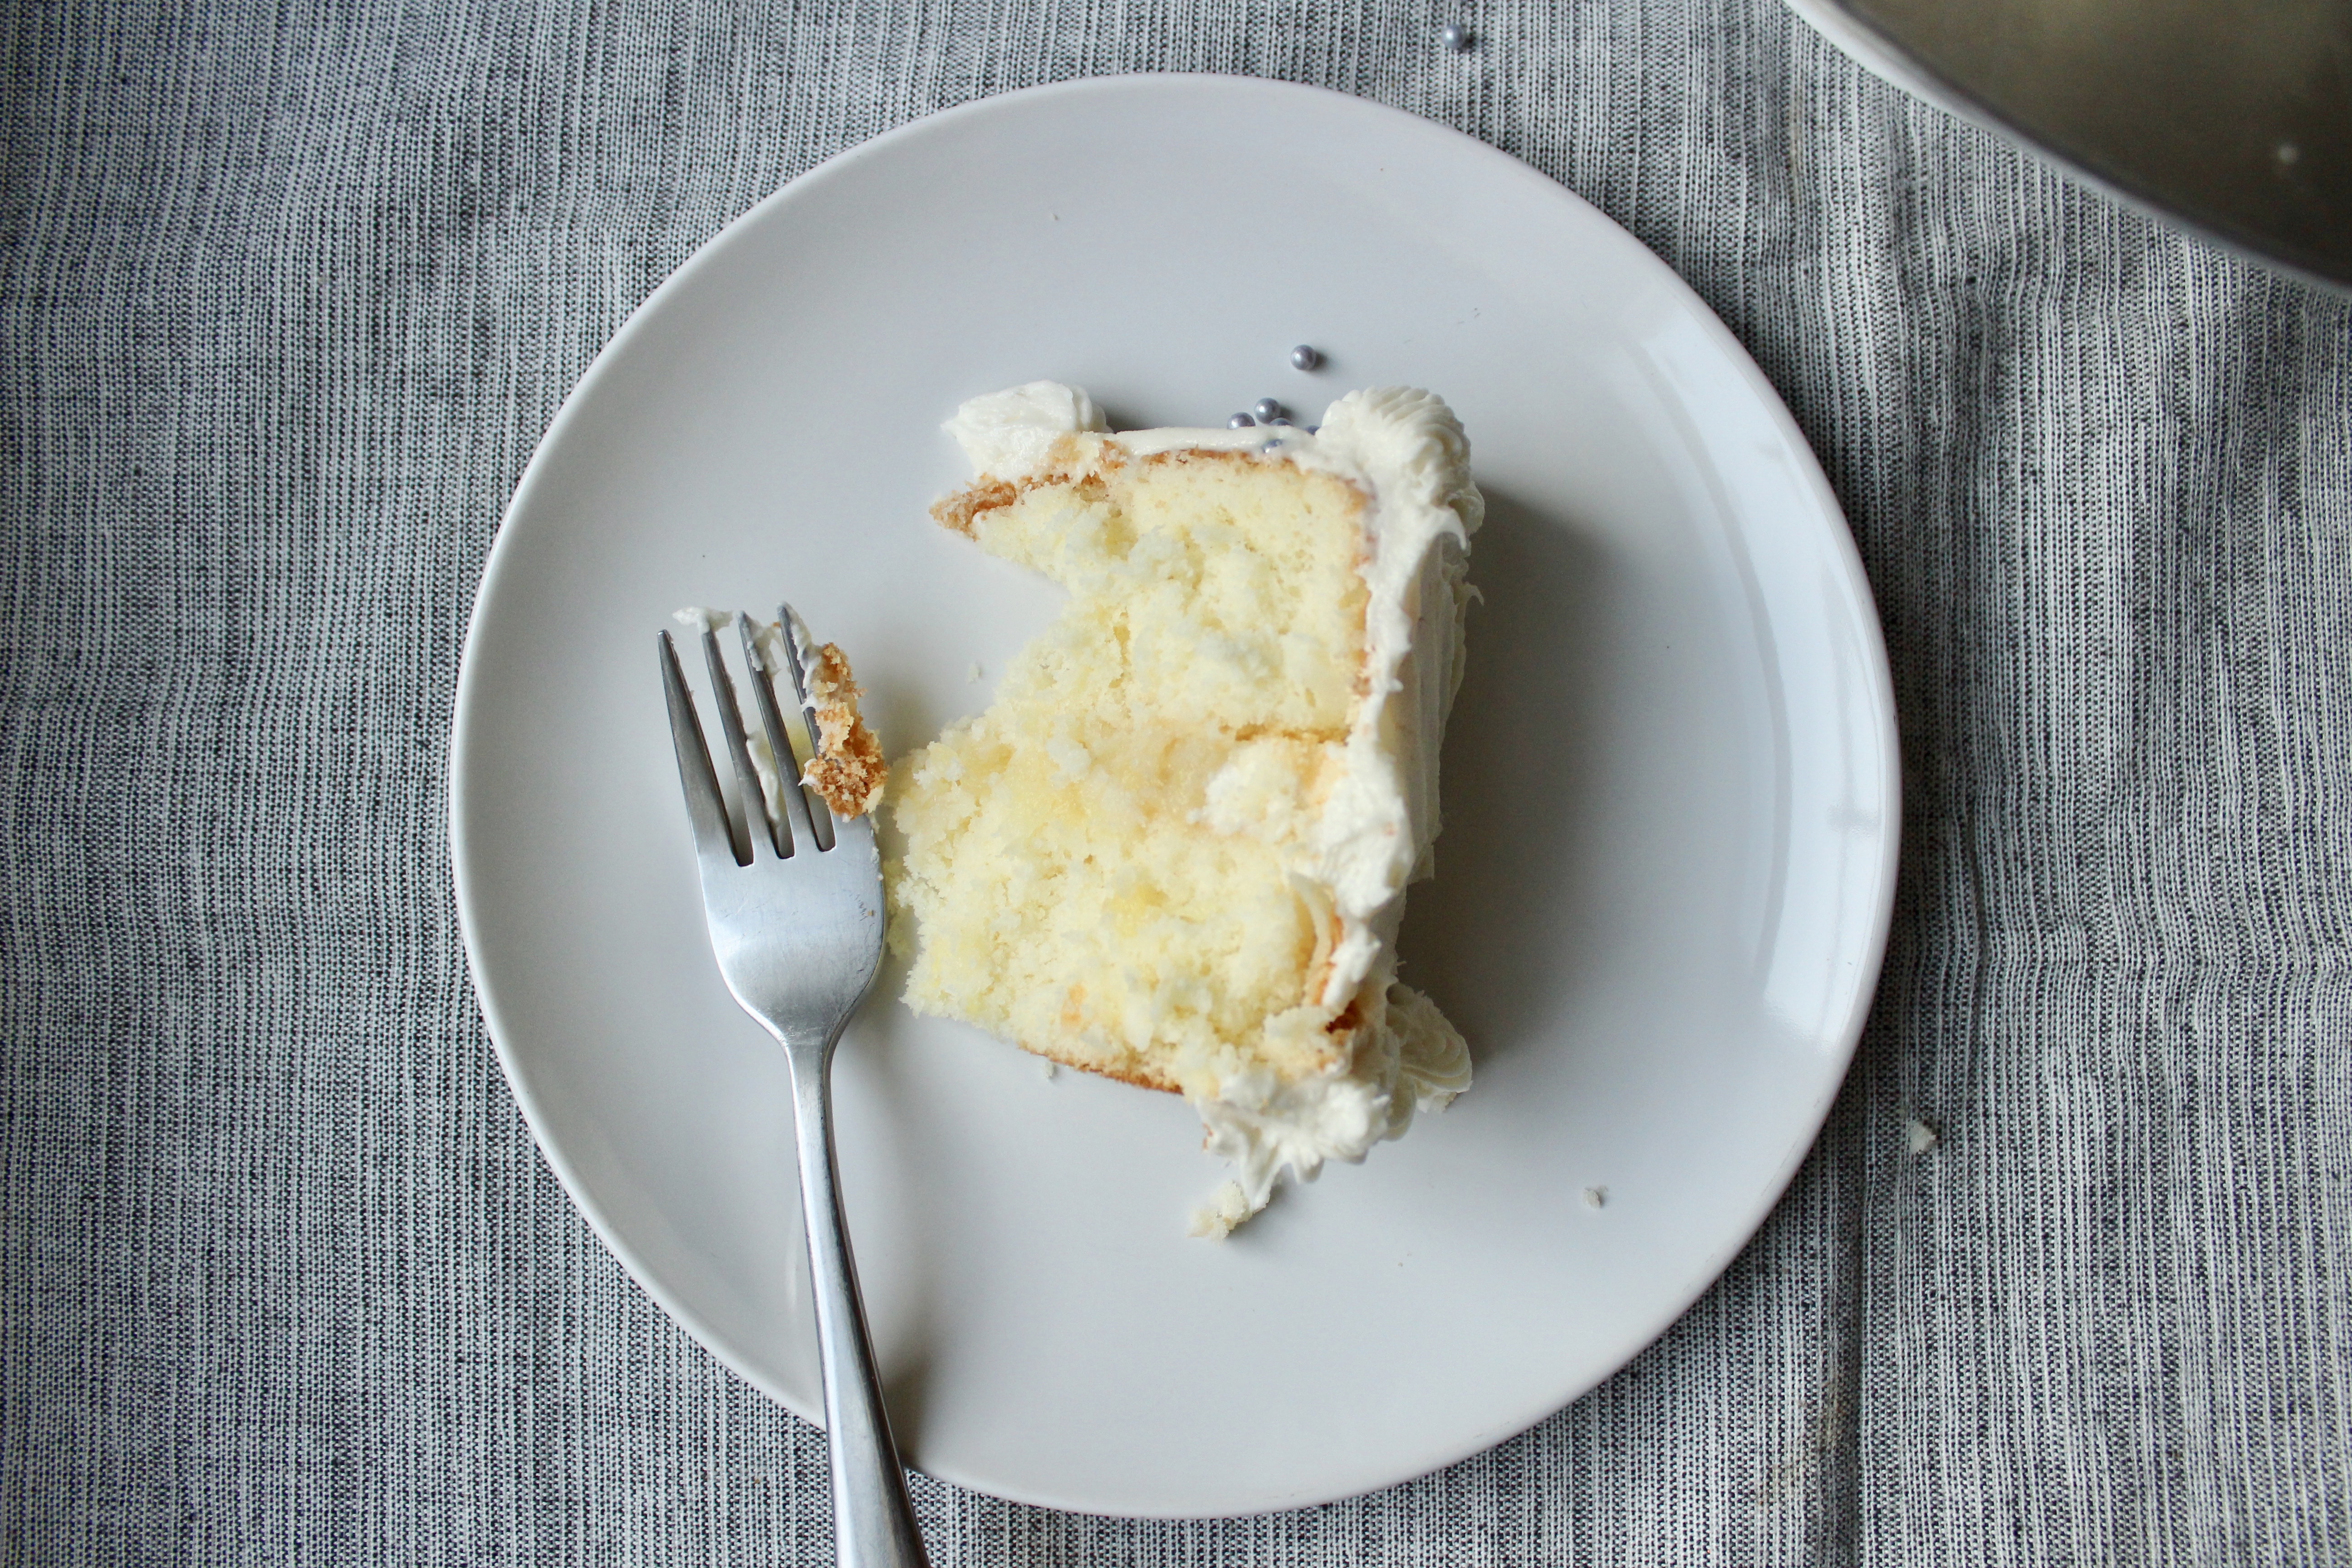
A retro cake deserves a retro look, so feel free to frost this simply, with swooshes of buttercream and toasted (and cooled) coconut flakes.

I’ve piped some old school borders here with Wilton’s open star tip and some silver dragee accents.

I haven’t tinkered with the original recipe at all, except that I bake them in 8in cake pans as opposed to 9in. I like the look of taller cakes, but if 9in is all you have, feel free to use those, just decrease the bake time by a few minutes.
Cake recipe adapted from Taste of Home. Pineapple filling recipe from Genius Kitchen.
Ingredients
For the cake:
- 5 eggs, yolks separated from whites
- 2 cups sugar
- 1/2 cup (1 stick) unsalted butter, room temperature
- 1/2 cup vegetable oil
- 1 tsp coconut extract
- 1/2 tsp vanilla extract
- 1/4 tsp almond extract
- 2 1/4 cups cake flour
- 1 tsp baking powder
- 1/2 tsp baking soda
- 1/4 tsp salt
- 1 cup buttermilk, room temperature
- 2 cups flaked coconut (I like Baker’s brand for this)
- 1/4 tsp cream of tartar
For the filling:
- 1/2 tsp kosher salt
- 1/2 cup plus 2 tbsp granulated sugar
- 3 tbsp corn starch
- 1 20oz can crushed pineapple in its juices
- 3 tbsp butter
For the buttercream
- 1 cup butter, room temperature
- 4 oz cream cheese, room temperature
- 4 to 5 cups confectioner’s sugar, to taste
- 1 tsp coconut extract
- 1 tsp vanilla extract
- 1-2tbsp whole milk
Directions
- Preheat oven to 325 degrees F. Grease 3 8in cake pans with non stick cooking spray. Place over a large sheet of parchment paper and draw circles around the circumference of each pan. Cut out each circle and place at the bottom of each pan. Spray parchment circles with non stick spray.
- In the bowl of stand mixer or in a large bowl with an electric hand mixer, beat butter with 1 cup of sugar on medium low. After about 2 minutes, when butter and sugar is pale and fluffy, add oil and remaining sugar. When well combined, add egg yolks, one at a time. Stop occasionally to scrape down the bowl. Add coconut, vanilla and almond extracts. Stop the mixer.
- For the dry ingredients: sift the flour, baking powder, and baking soda. Add salt and combine with a whisk. Add 1/3 of the dry ingredients to the batter, then 1/2 of the buttermilk. Add second third of dry ingredients then remaining buttermilk. Add remaining dry ingredients and flaked coconut. Mix on low until just combined.
- In a large bowl, combine egg whites and cream of tartar. Mix on low, increasing to high, for about 4-5 minutes until beaters come out of the egg whites with stiff peaks.
Add 1/3 of beaten egg whites to the batter to loosen it up. Add half of remaining egg whites to batter and fold in with spatula, cutting down the middle, then scraping against the bowl and folding up and over the batter. Rotate the bowl slightly and continue until you can no longer see egg white. Add remaining egg white and fold until just combined. - Divide equally between 3 cake pans and bake in preheated oven for 25-30 minutes or until a toothpick inserted comes out clean. Let cool.*
- For the filling: in a small to medium saucepan combine salt, sugar, cornstarch. Whisk with preferably a flat whisk until combined. Add crushed pineapple and stir to combine. Turn on the heat to medium high. Bring to a boil, stirring occasionally, for about 5 minutes until no longer milky white in appearance. When thickened, remove from heat and stir in butter. Turn out onto a plate to cool.
- For the frosting: beat butter with cream cheese with the paddle attachment of your stand mixer, or in a large bowl with handheld electric mixer. Sift 4 cups sugar into a bowl. Add a little bit of sugar into the butter and cream cheese until well combined. After adding 4 cups of sugar, beat until light and fluffy. Add vanilla and coconut extracts. Scrape down the bowl occasionally. Taste the frosting. If desired, add final cup of sugar, sifted. Add milk as needed to thin out frosting. Give a final beat until it looks like buttercream.
- Fill a large piping bag with buttercream and snip off 1/2in tip. Place a small amount of frosting onto a 10in round cake board. Place first cake layer onto cake board. Pipe a dam around the circumference of the cake layer. Spoon 2-3tbsp pineapple filling onto cake. Smooth it out. Place second layer, press down slightly. Repeat and decorate as desired.
*I usually invert onto 8in round cake boards lined with plastic wrap and freeze until reach to decorate. These cakes are super tender and work best for decorating when frozen solid.
Small Chocolate Cake
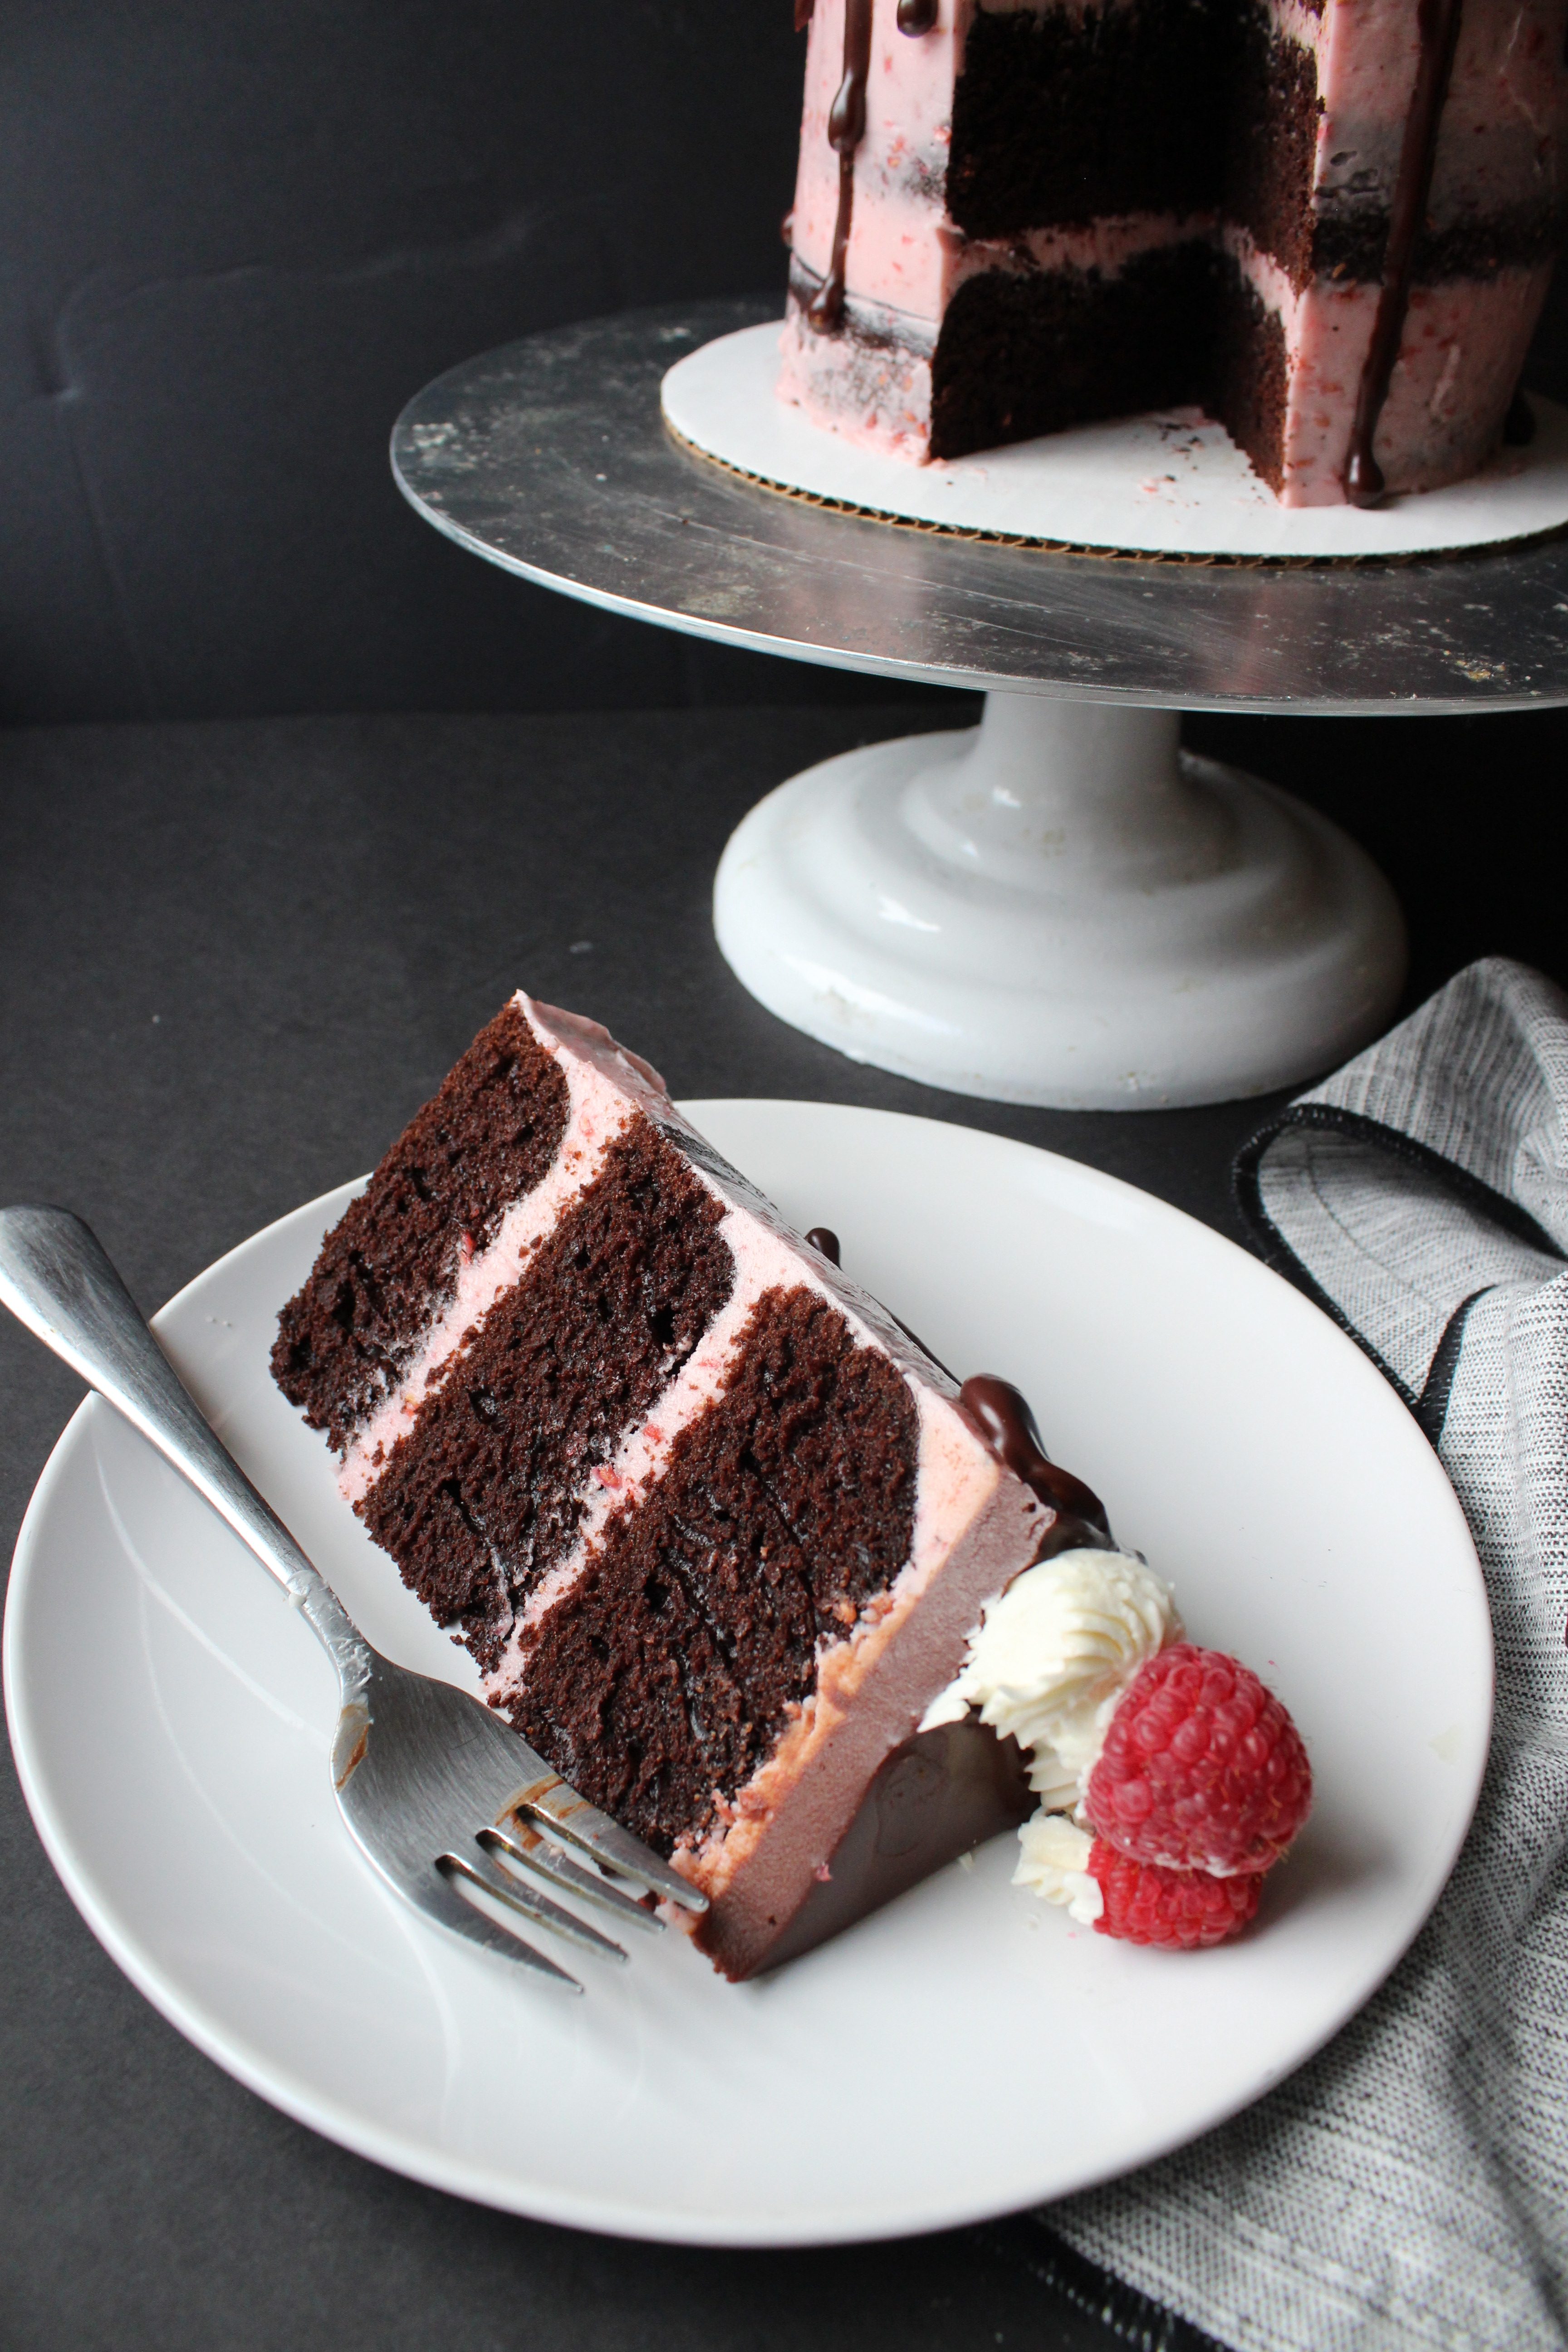
There are many a great chocolate cake recipes out there. Why, say you, post yet another? Take for example the great Beatty’s Chocolate cake recipe that I made for many years. All the elements of a great chocolate cake: good quality cocoa, buttermilk, coffee. The problem is, they’re quite big if you’re making something for an intimate gathering. I’ve learned an 8in cake feeds approximately 20 people, and 9 feeds about 25. So, if you’re looking for a small celebration cake for the family, this is the recipe for you. If you invest (~$20) in 3 6in round pans, you can have small, chic cakes any time. I always freeze my cake layers by inverting onto plastic wrap lined 6in cake board, then wrapping well with the plastic wrap. Small cakes can be kind of wobbly and difficult to decorate unless frozen solid. Then, let come to room temperature before serving.

I also recommend using a good quality cocoa powder for your chocolate cakes. You don’t have to break the bank. Rodelle from Amazon is really good quality for a reasonable price. You’ll get 6 to 12 servings, depending on how big you cut each slice.
I always find the best chocolate cakes are the ones with coffee in the batter. The batter will be quite thin – don’t let this worry you. It makes for a wonderfully aromatic and moist cake – doesn’t taste like coffee or mocha at all.
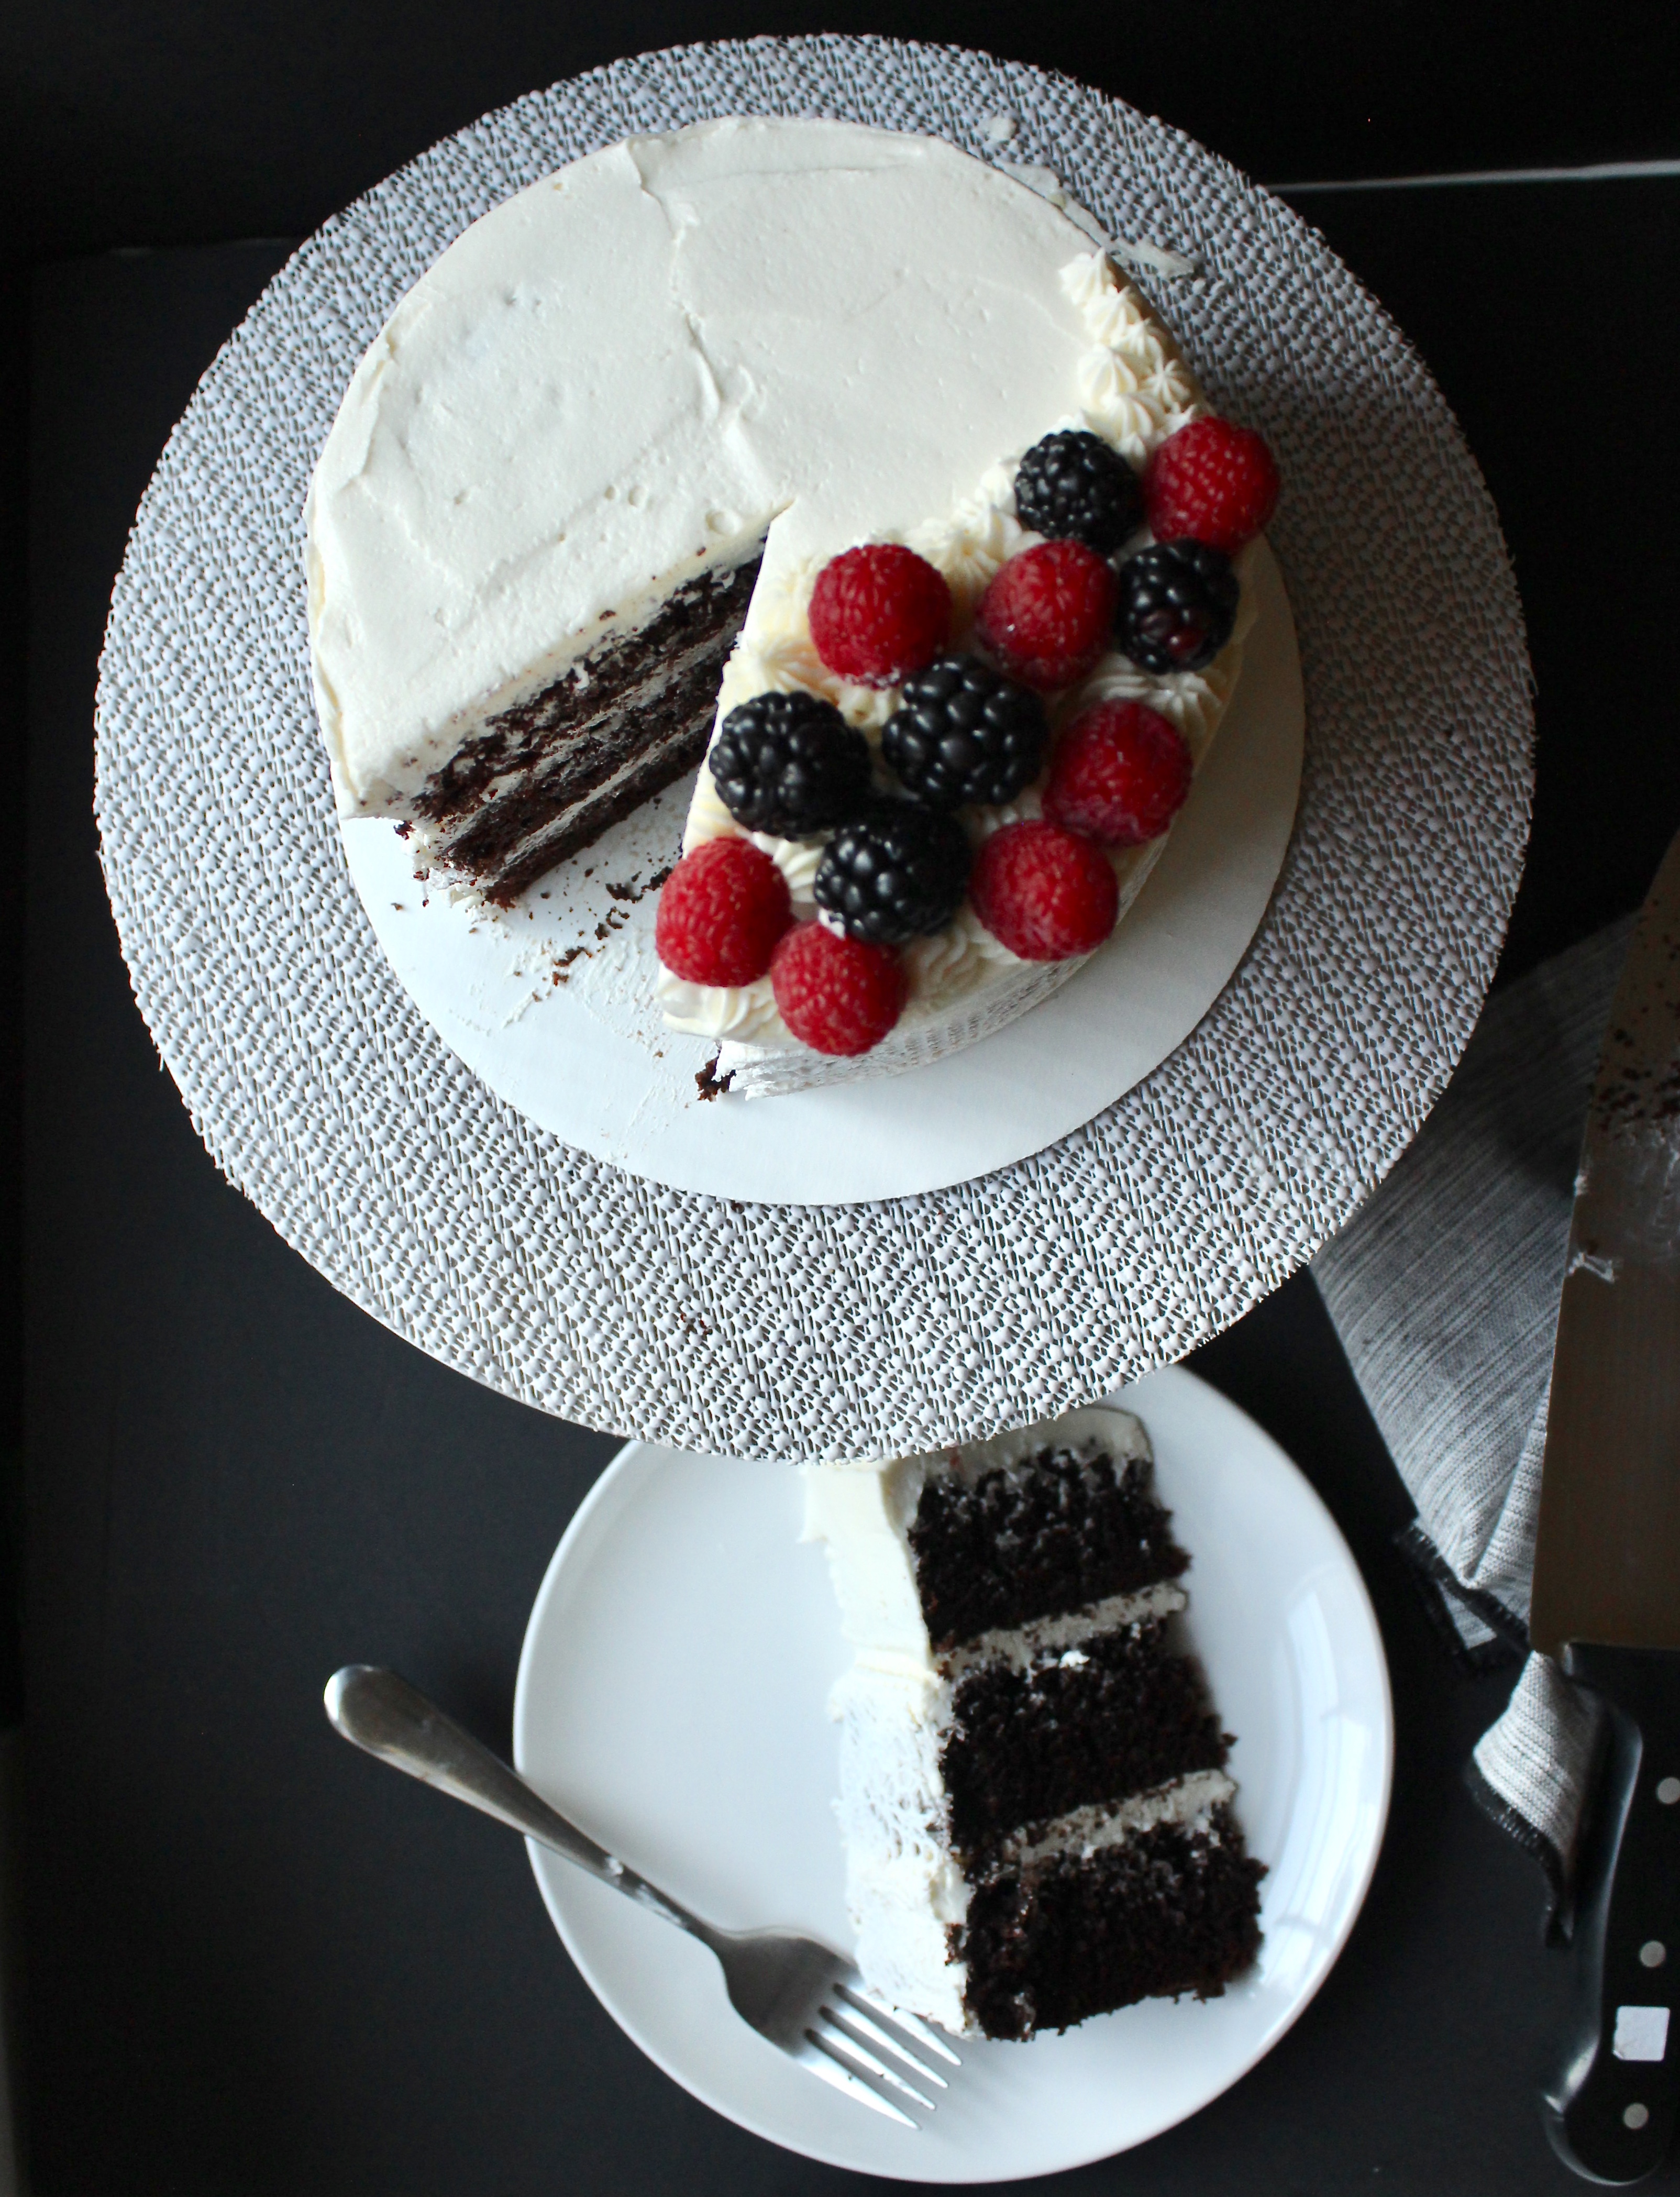
For the biggest chocolate fans, frost with a chocolate ganache, using a 1:1 weight ratio of chocolate to heavy cream. Otherwise this goes great with salted caramel, vanilla, chocolate or raspberry buttercream. Links to each below!
Ingredients
- 1 1/2 cups granulated sugar
- 1 3/4 cups plus 2 tbsp all purpose flour
- 3/4 cup unsweetened cocoa powder
- 1 1/2 tsp baking powder
- 1 tsp baking soda
- 3/4 tsp salt
- 1/2 cup vegetable oil
- 3/4 cup whole milk, room temperature
- 2 large eggs, room temperature
- 1 tsp vanilla extract
- 1 cup freshly brewed strong, hot coffee
Directions
1. Spray 3 6in cake pans with nonstick cooking spray. Place the pans on top of a big sheet of parchment paper and draw circles around the bottom of each pan. Cut out each circle and line the bottom of each pan with one. Spray the parchment lined bottoms of the pans with a bit more non stick spray.
2. Brew coffee. Preheat oven to 350 degrees Fahrenheit. Add sugar to the bottom of a large bowl or the mixing bowl of your stand mixer.* Place a sieve over the bowl and add the flour, cocoa, baking powder, baking soda. Sift into the bowl. Add salt. Whisk to combine.
3. In a large measuring cup or bowl, combine oil, milk, eggs and vanilla extract. With the mixer running on low, or by hand, slowly add wet ingredients to dry, stopping occasionally to scrape down the sides of the bowl. Finally, add the coffee, stirring slowly and carefully, until batter is combined.
4. Divide evenly between the three cake pans (I use a scale to determine this). Bake for 25-28 minutes in preheated oven or until a toothpick inserted comes out clean. Let cool, then remove from pan and slice off the domes before stacking and frosting. Frost with my raspberry swiss meringue buttercream, american buttercream, vanilla swiss meringue buttercream, chocolate swiss meringue buttercream, chocolate ganache or your choice of frosting.
*I do this step first because I’ve forgotten to add the sugar too many times.
Pistachio Layer Cake
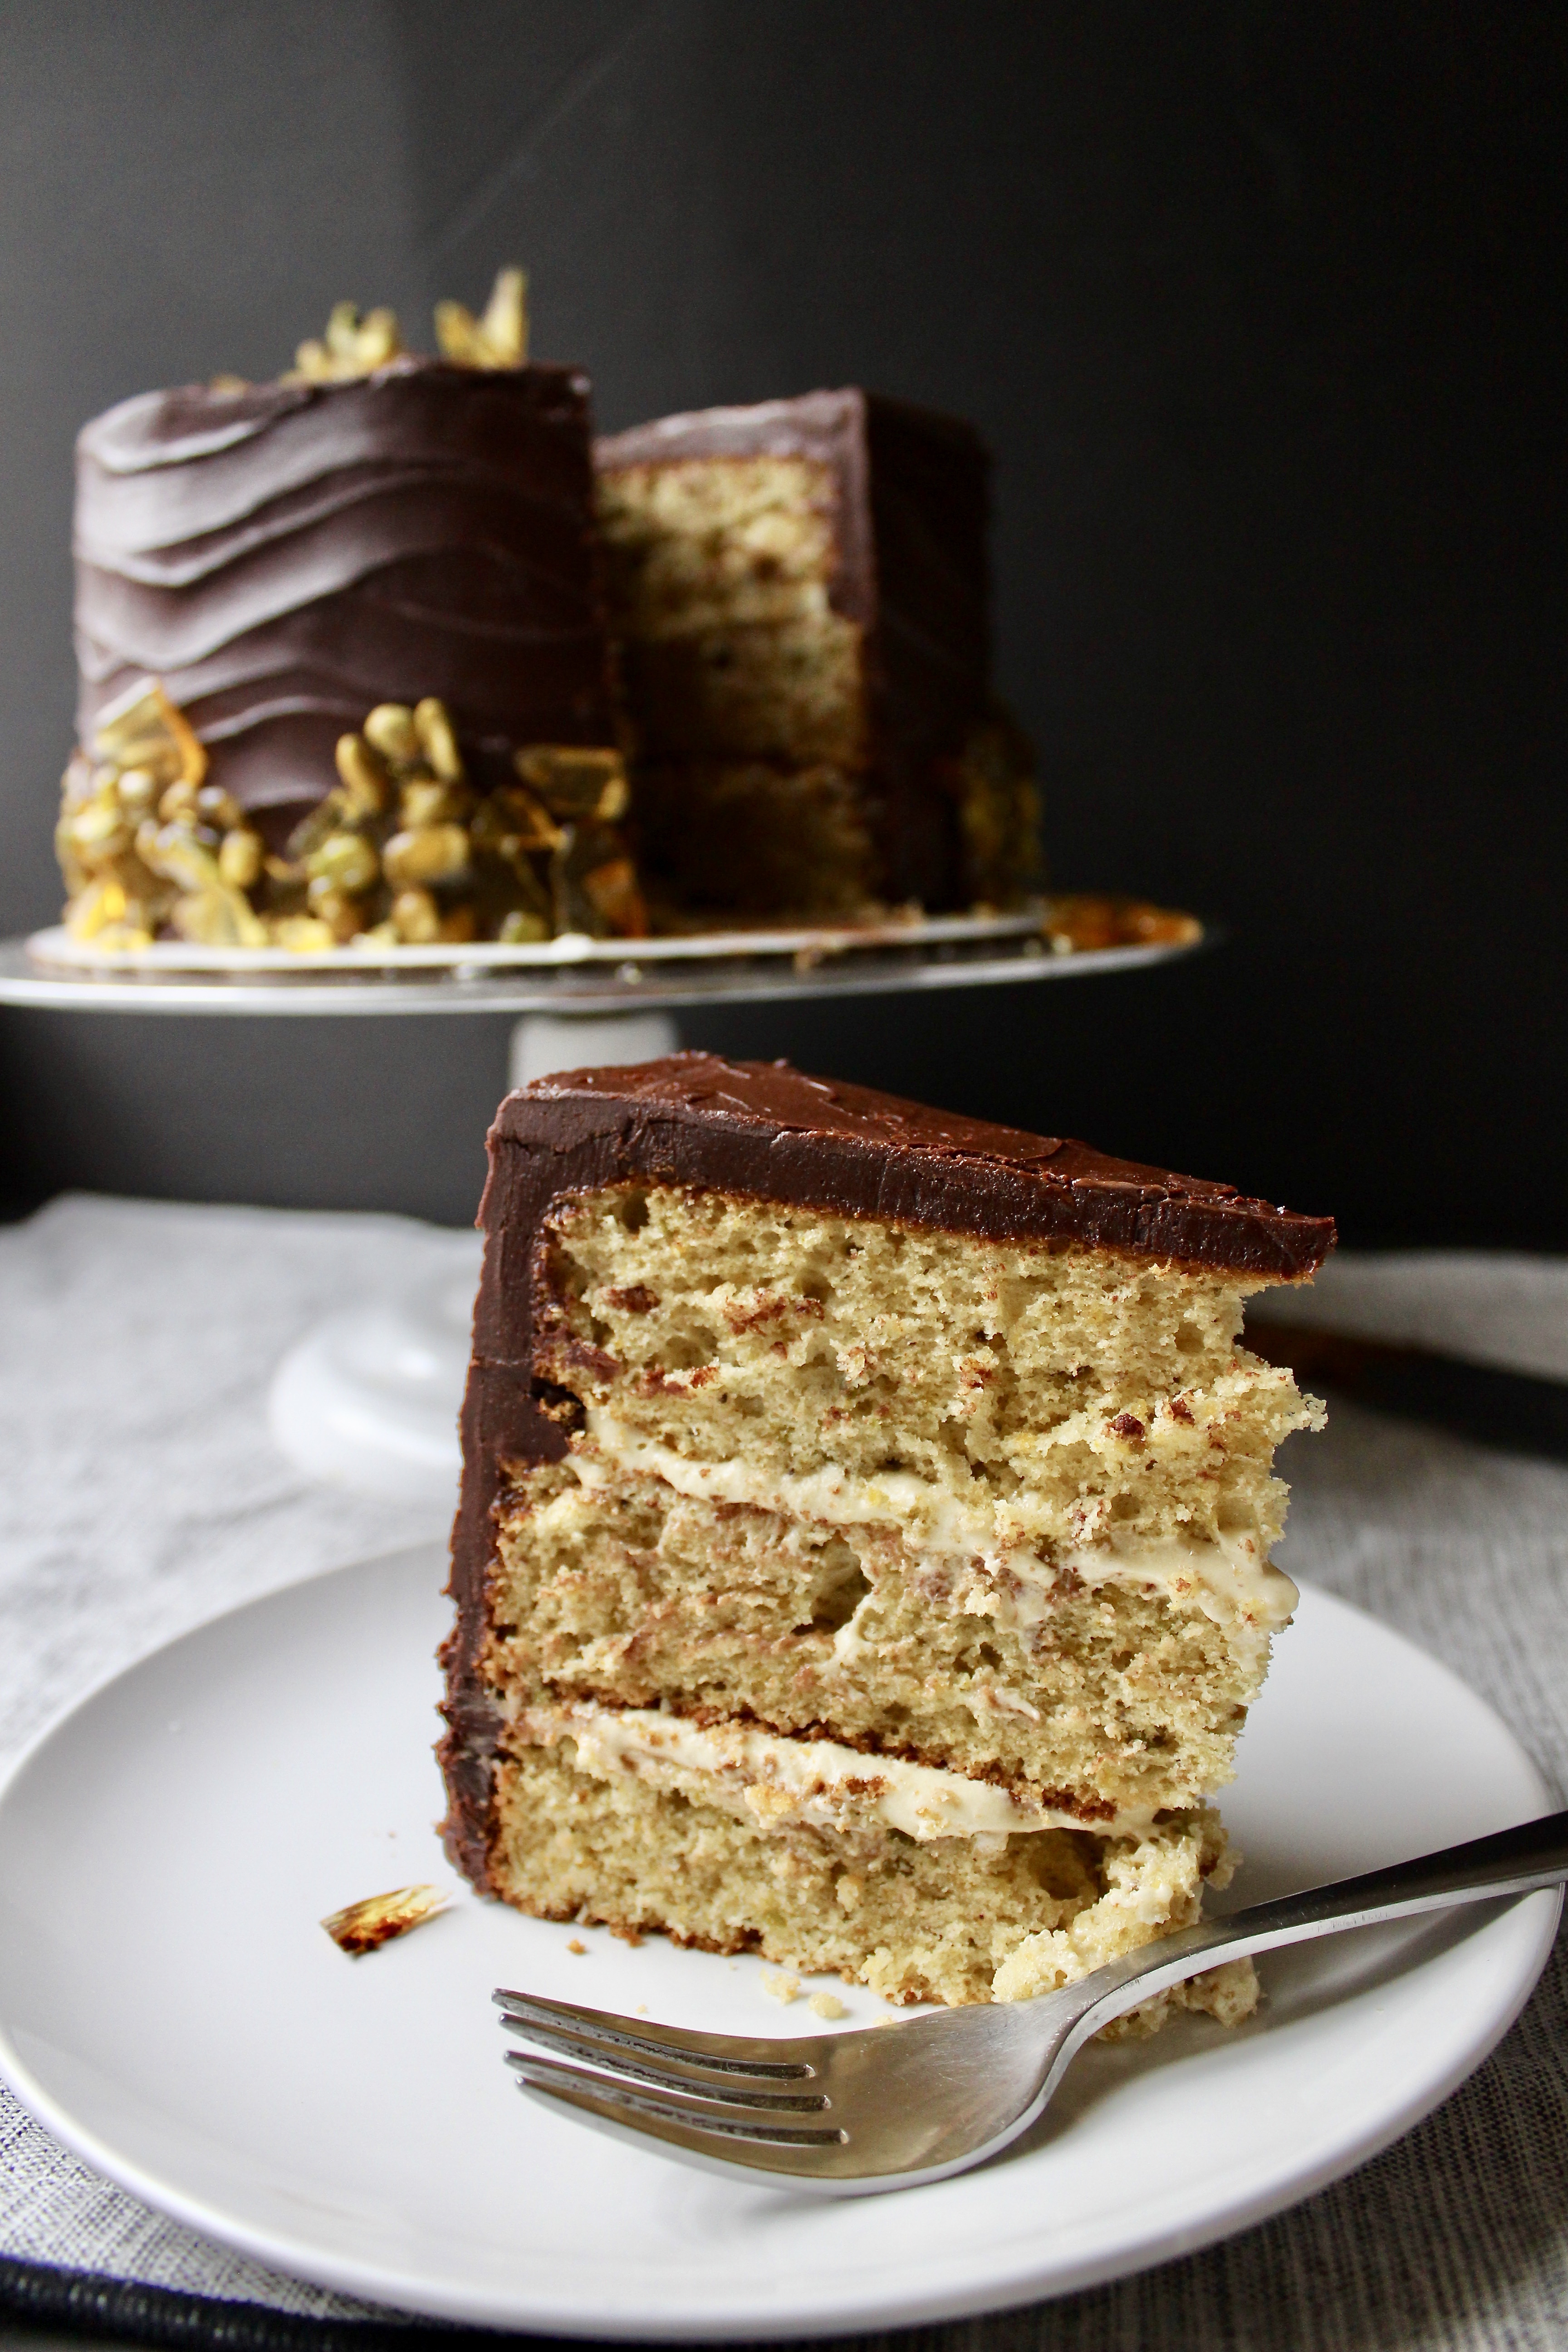
I’ve been making pistachio cakes in various forms since my friend asked me to make one for her wedding last year. The truth is, it’s very difficult to make a strongly pistachio flavored cake. It’s not like ice cream where the nuttiness easily comes through the cream and sugar. In cakes, in its attempt to compete with all the flour, eggs and dairy, it struggles to maintain its flavor while maintaining a light, tender crumb we expect in a cake.
I changed this recipe from the original, to include pistachio paste (which you can get online). I looked at peanut butter cake recipes and saw they utilized peanut butter in lieu or in combination with butter, so I thought I’d apply the same principal here. It provides a rich, creamy pistachio flavor. The cake is then lightened with beaten egg whites to add lightness. The result is a light, nutty cake.
I’m not sharing an accompany frosting recipe, because in all honesty, I haven’t got one. I tried making the boiled milk icing from the original recipe, but oh my God did it die on me. It was a runny mess (perhaps my boiled milk/flour/sugar combo was too thin?). I spent all morning trying to salvage it – first by adding some confectioners sugar, then some more cream cheese, then butter, then more confectioners sugar. After removing a small amount to mix with pistachio paste (my last ditch effort to salvage at least some of it), I was able to make a concoction that held up JUST enough to fill the cake. 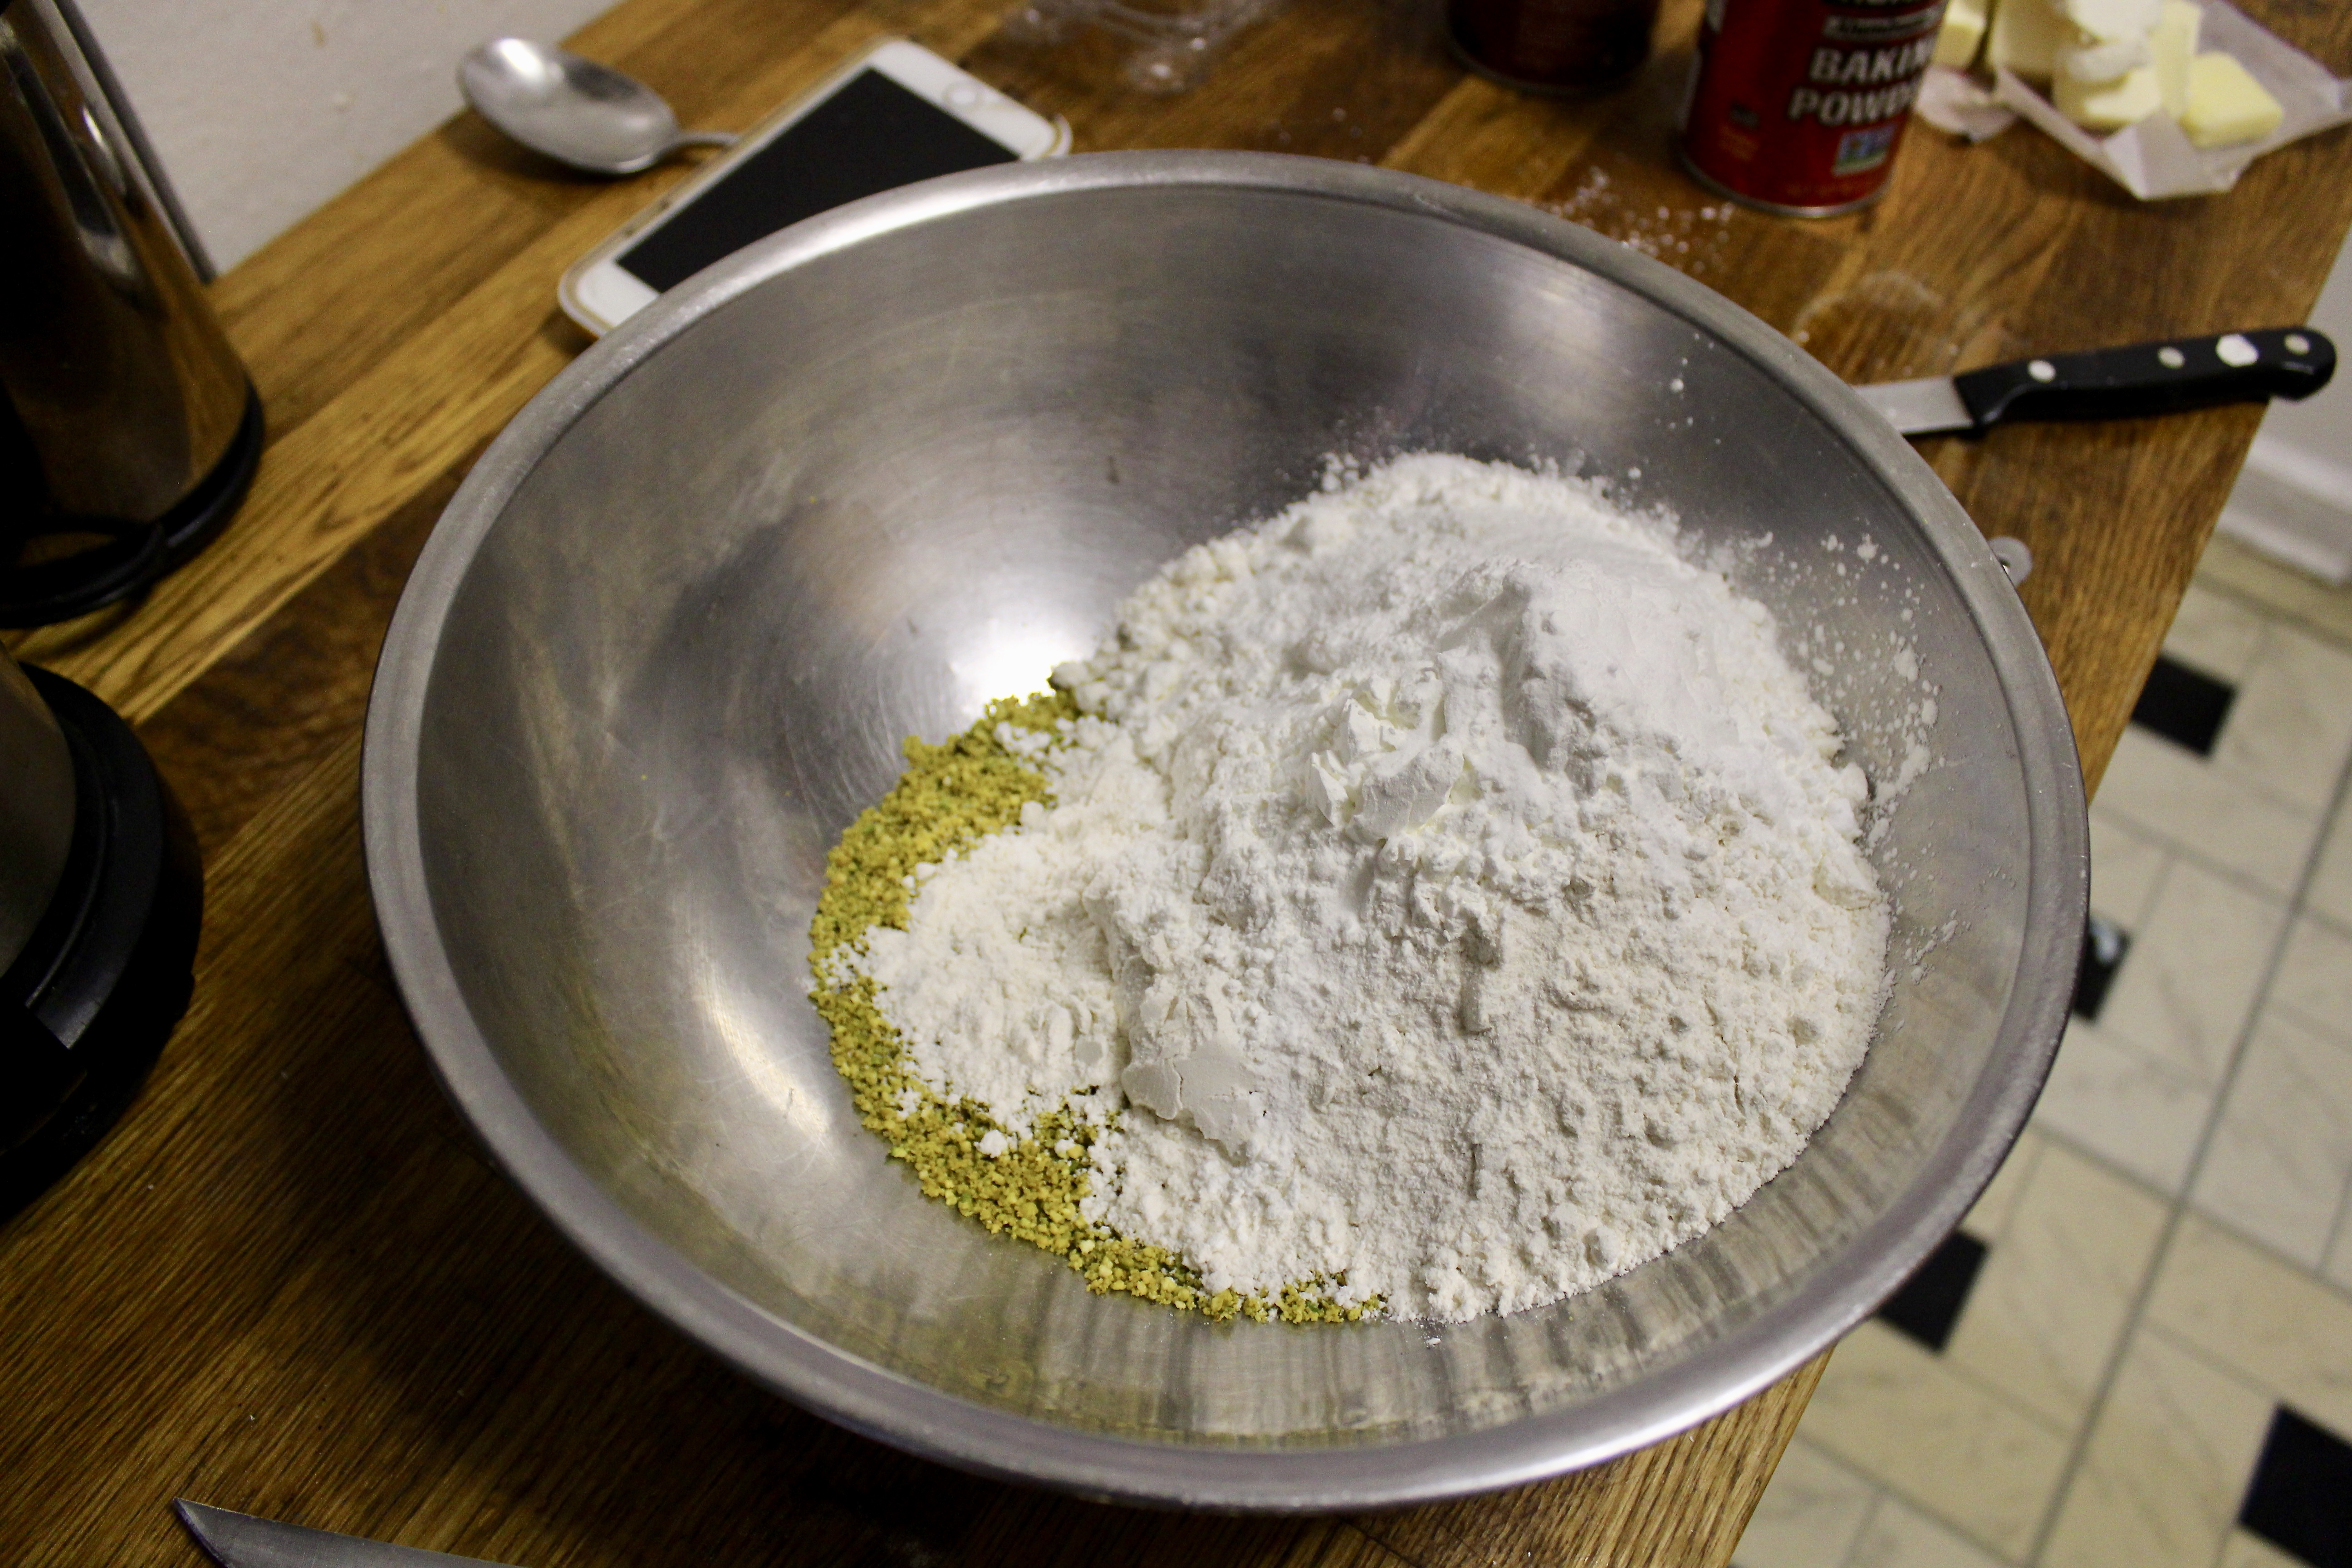
For the outside, I went with a tried and true (and quick) recipe: chocolate ganache. Which isn’t much of a recipe at all as it’s just some baking chocolate bars, broken up in chunks, then melted in the microwave at medium power with half its weight in heavy cream (so in this case, 24oz chocolate with 12oz heavy cream). Mixing every once in a while until completely melted and smooth. Not to say it’s straightforward to make ganache.
There are plenty of ways to muck it up. If you mix it before it is warm enough, it will start to get grainy. If you make it too hot, it will get grainy. Basically you need the Goldilocks temperature to get chocolate ganache just right (between 90 and 110 degrees). I recommend using an instant read thermometer to get your ganache just right, but if you don’t, just make sure it’s warm to the touch while you are stirring. 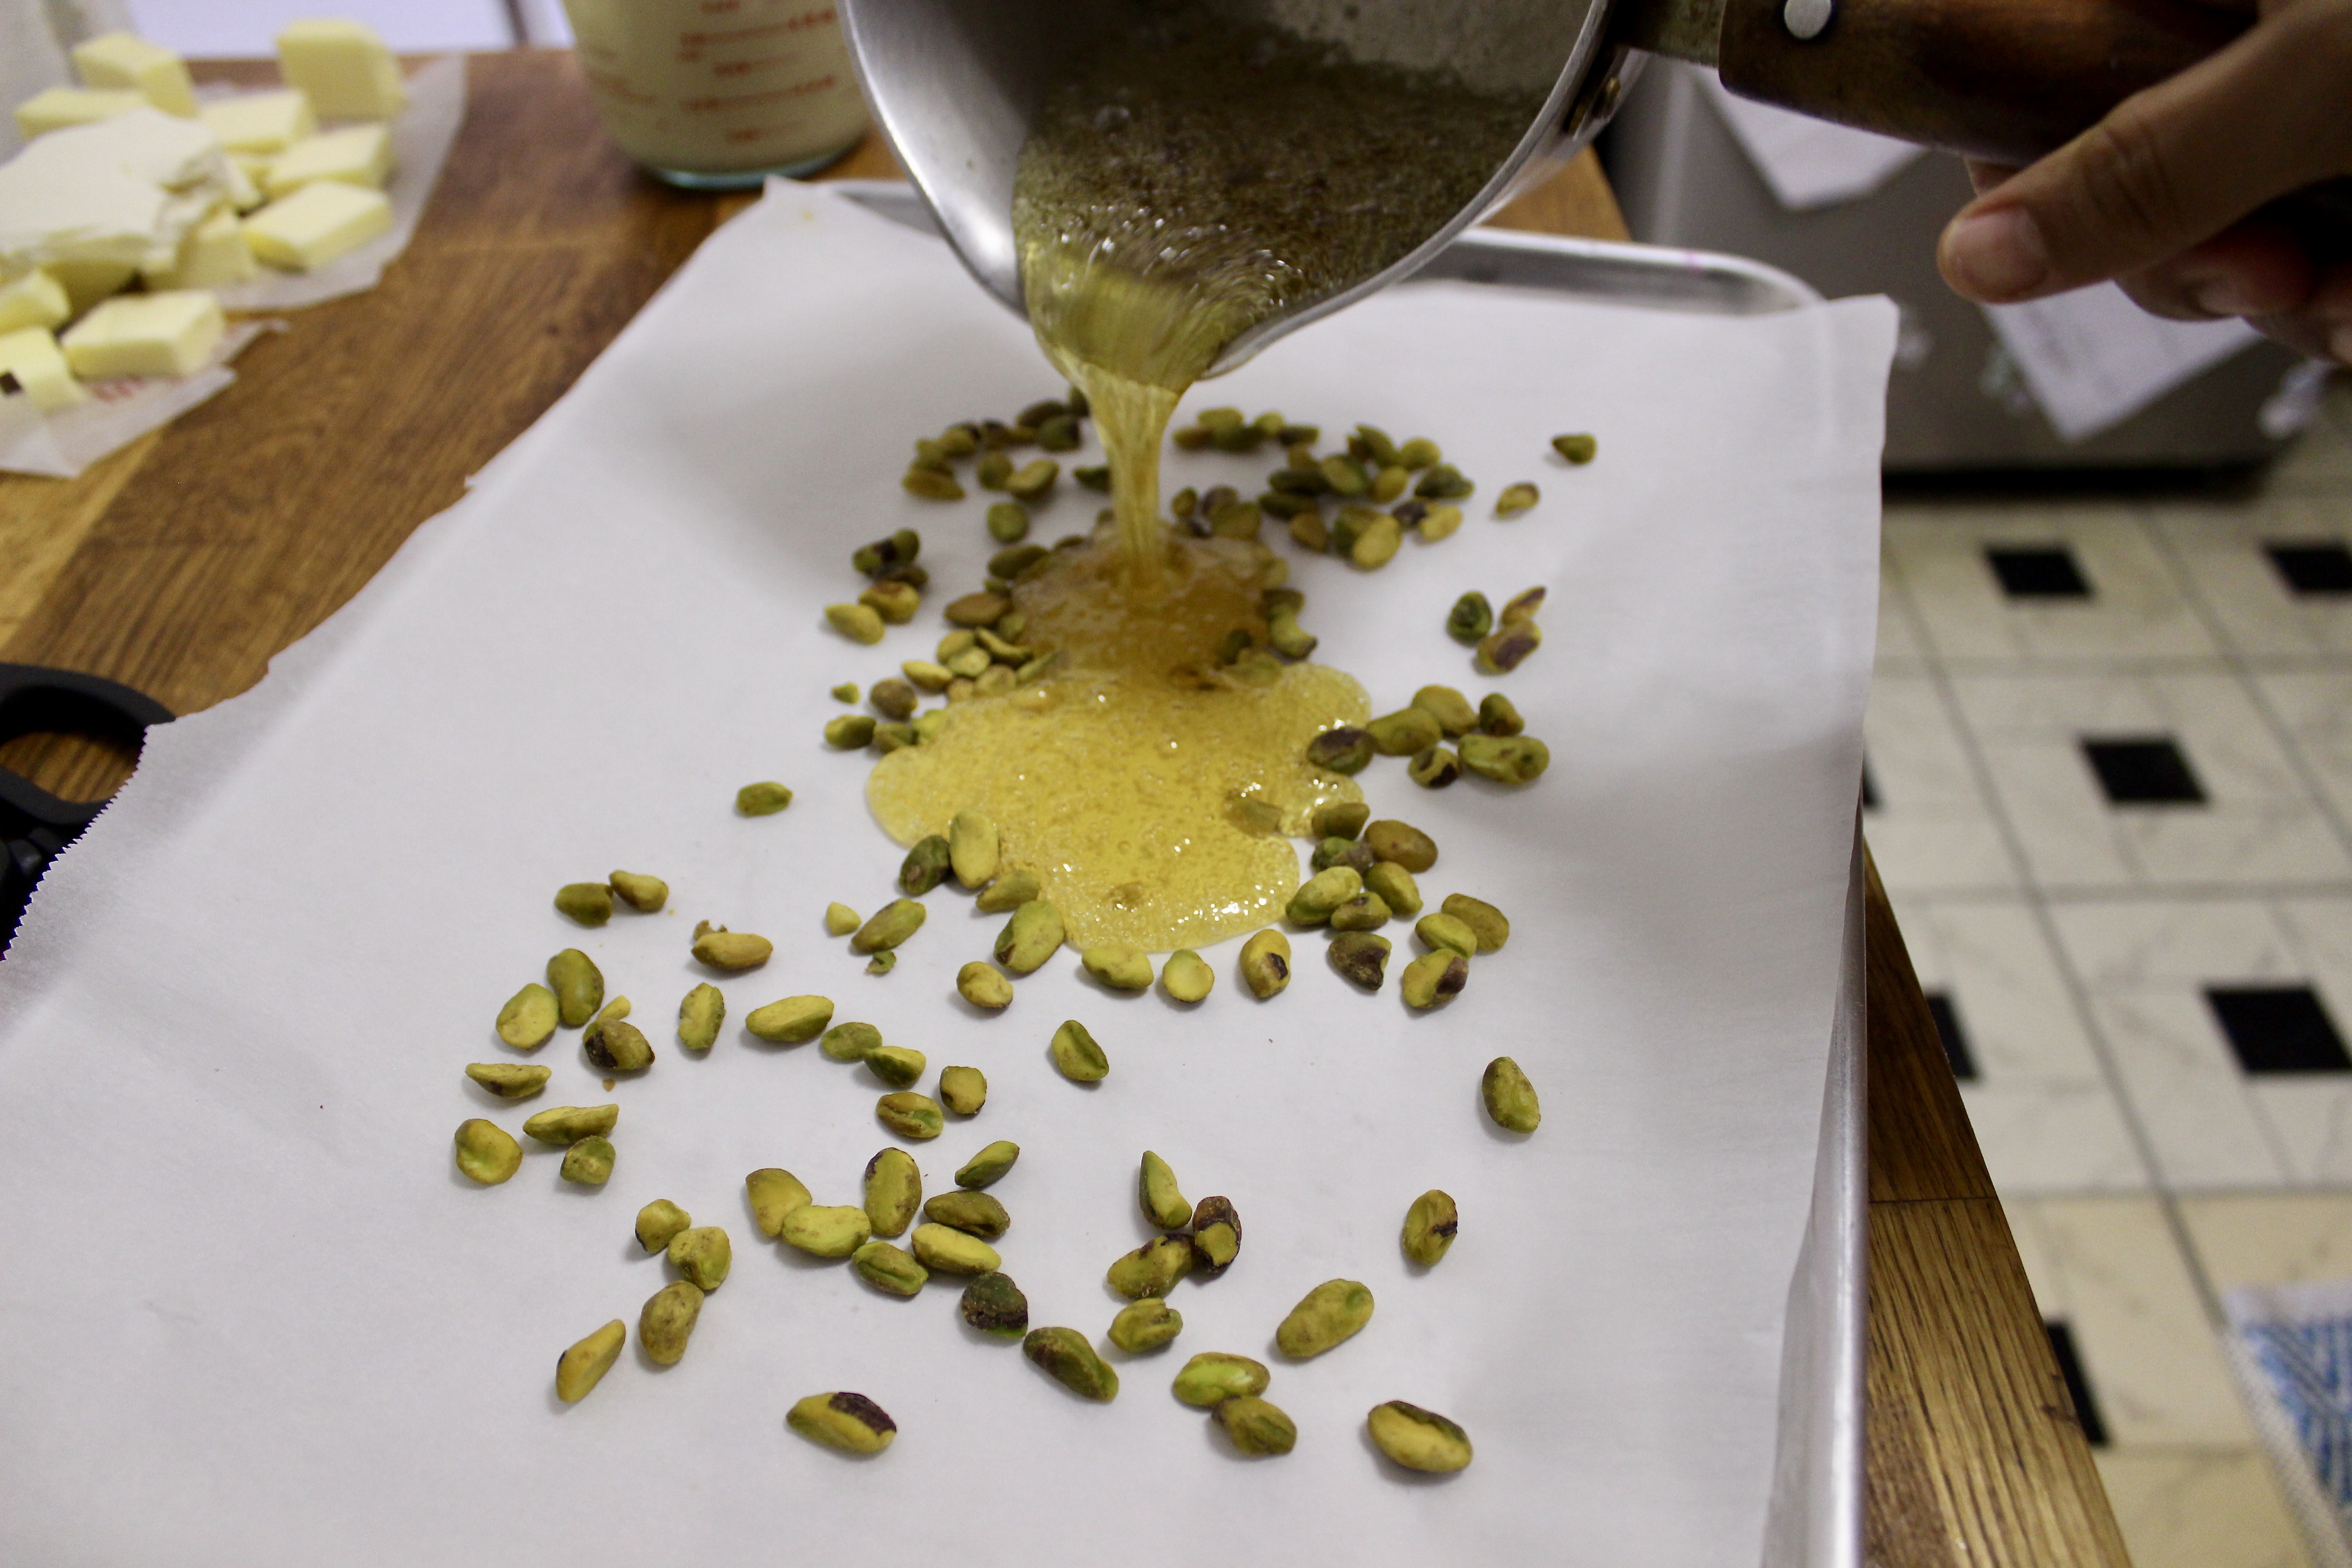
I then placed it over a bowl of ice water, whisking with an electric mixer until it was thick and glossy. 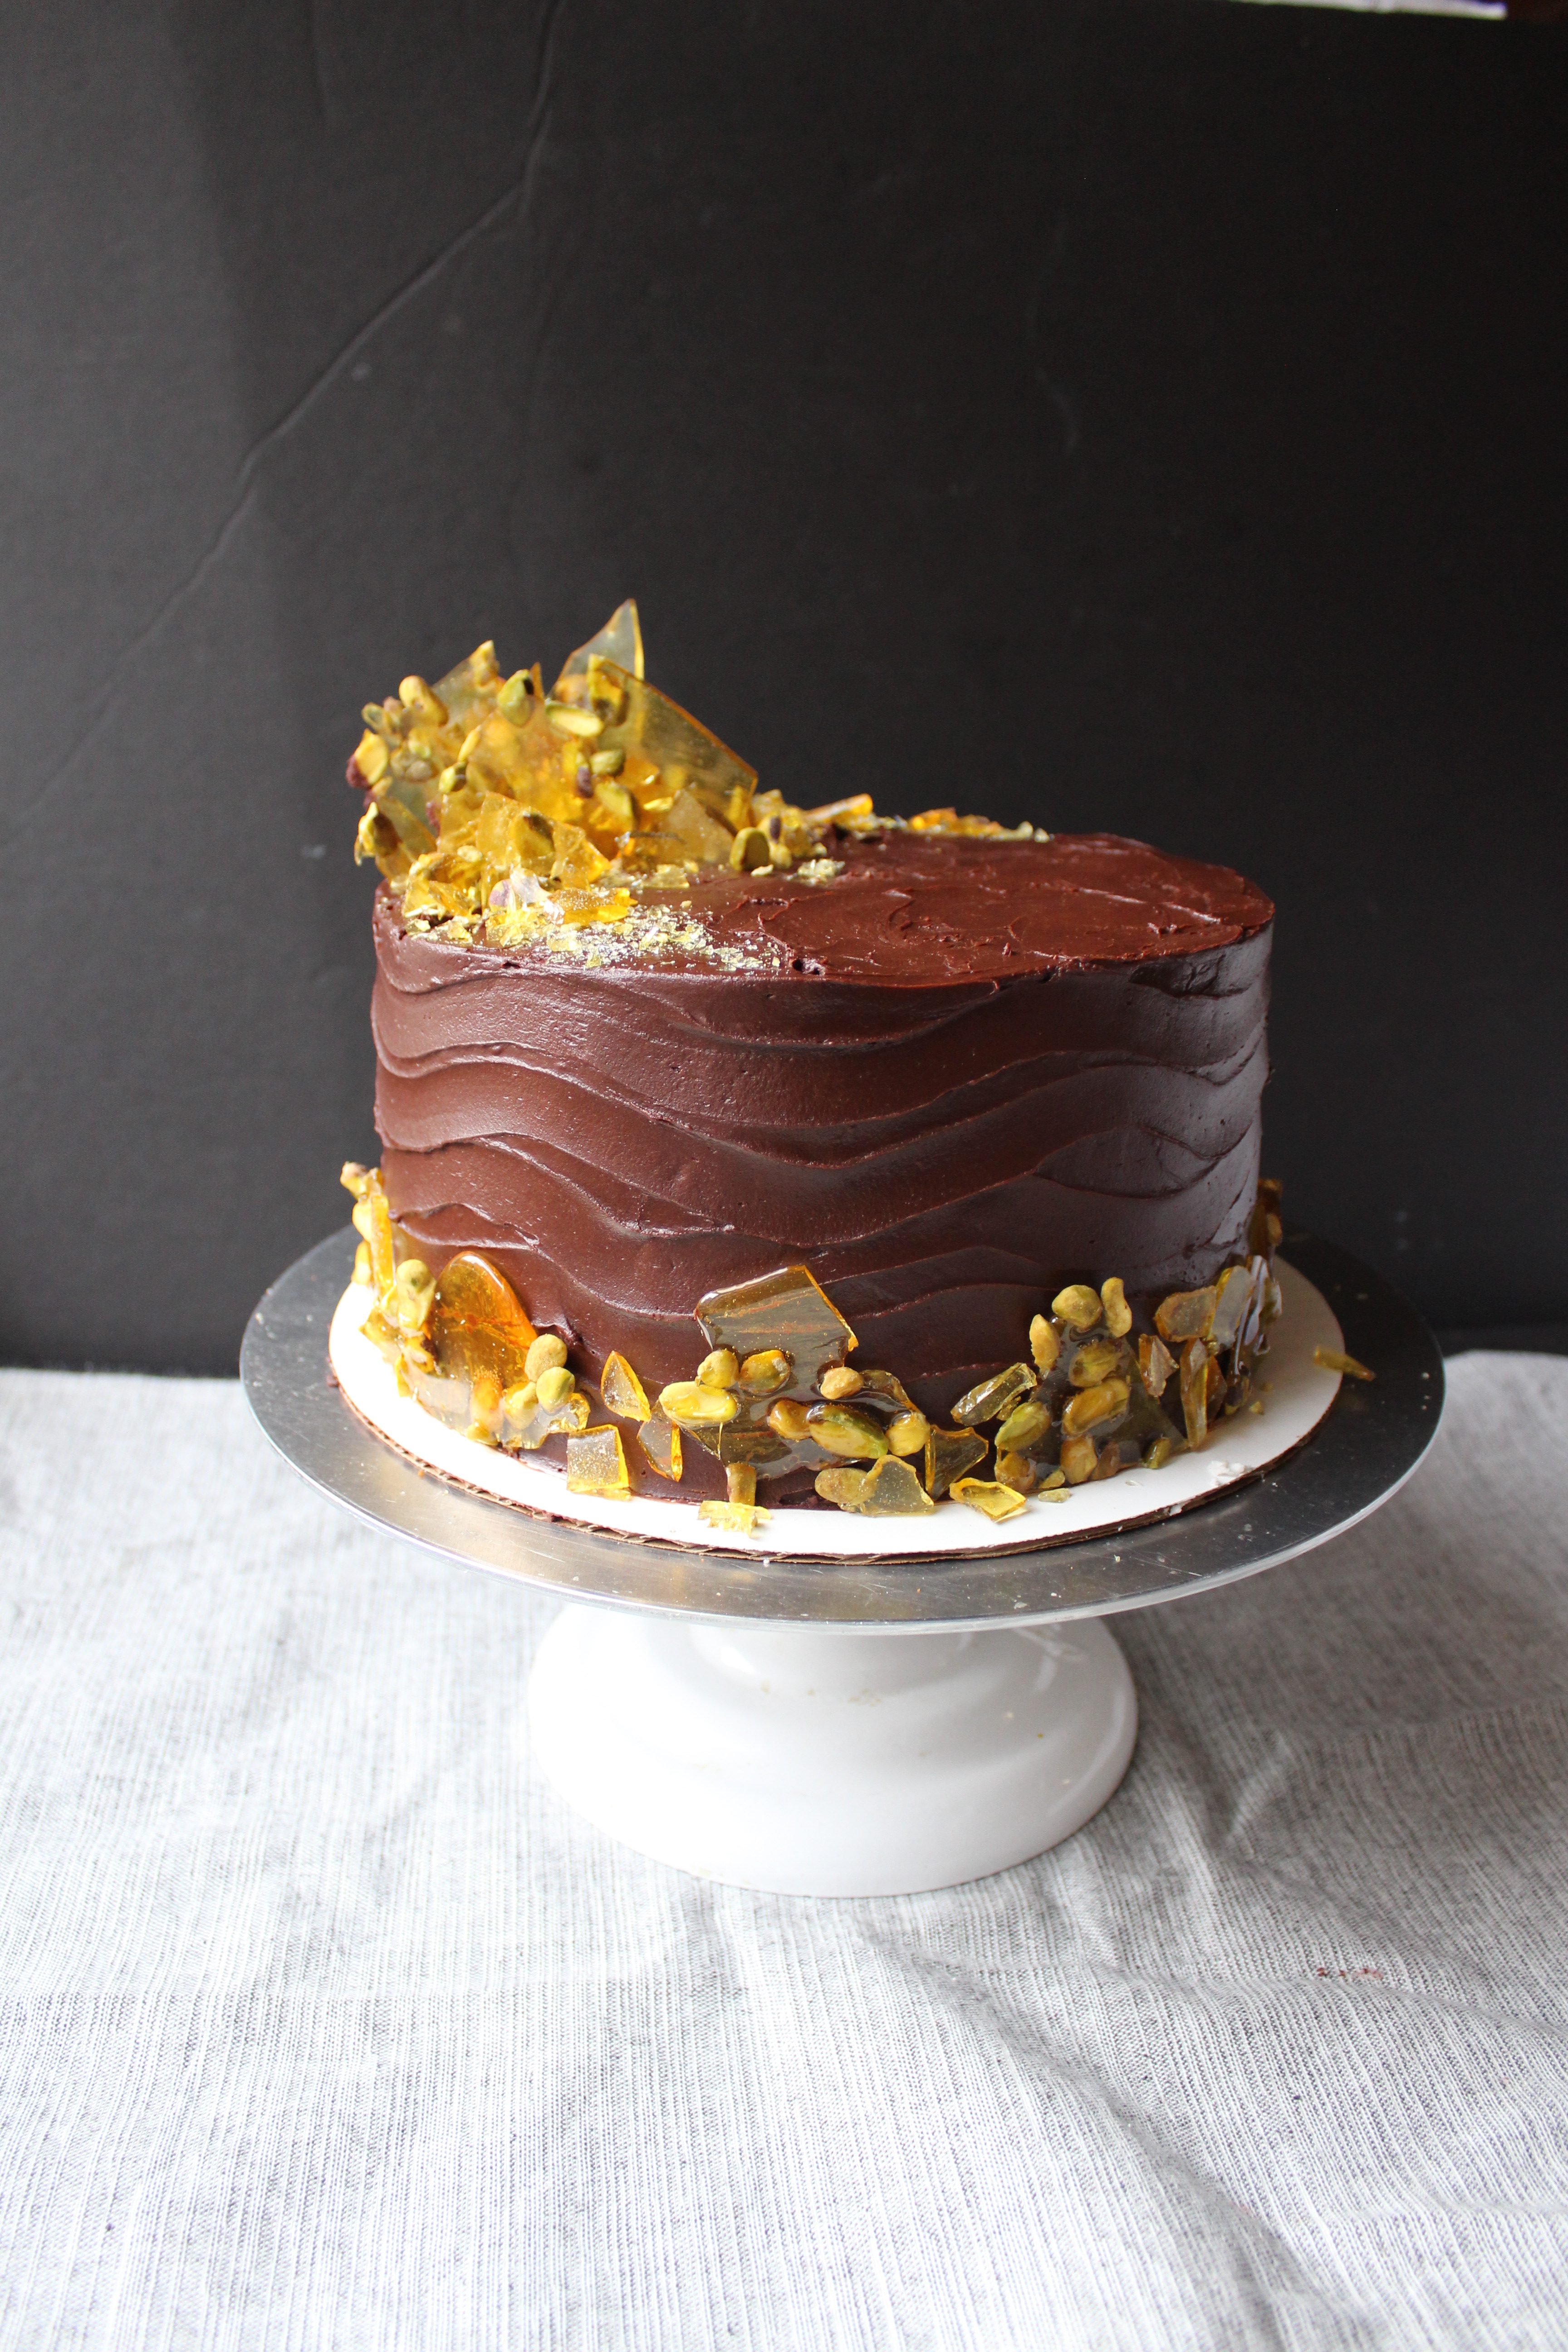
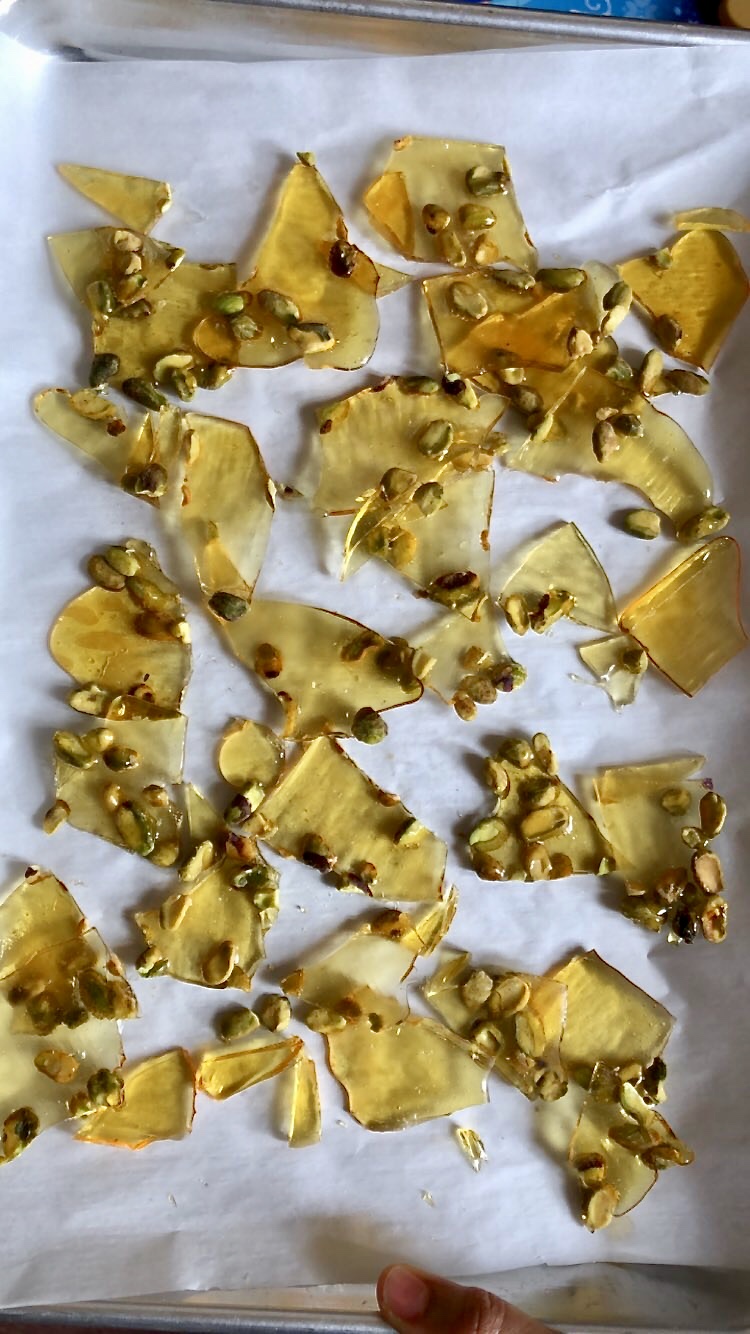
Finally, I decided to try decorating with pistachio sugar shards. I’m not sure if that’s what it’s called, but it’s not quite praline, not quite toffee, not quite caramel either. It’s just 1 cup sugar melted with 1/4 cup water until light golden in color. I then poured it over 1/4 cup shelled pistachios on a parchment paper lined baking sheet and let it cool. Once cool enough to handle, I broke it up into big chunks to decorate, then further crushed the remaining chunks with my rolling pin and a ziploc bag. 
It was surprisingly tasty. Next time, I will definitely add some salt to make them even better!
Recipe adapted from Handle the Heat
Ingredients
- 1/4 cup pistachio paste
- 12 tbsp unsalted butter (1 1/2 sticks)
- 1 3/4 cups granulated sugar
- 1 cup shelled, raw, unsalted pistachios
- 3 cups all purpose flour
- 1 tbsp baking powder
- 1 tsp baking soda
- 1/2 tsp salt
- 1/4 cup cornstarch
- 1 large egg
- 1 tsp vanilla extract
- 1 1/2 cups milk
- 3 egg whites
- 1/4 tsp cream of tartar
Directions
- Preheat oven to 350 degrees F. Grease 3 8in baking tins with non stick cooking spray and line the bottom with parchment paper (place the pans on top a large sheet of parchment, draw a circle around the circumference with a pencil, and cut out). Set aside.
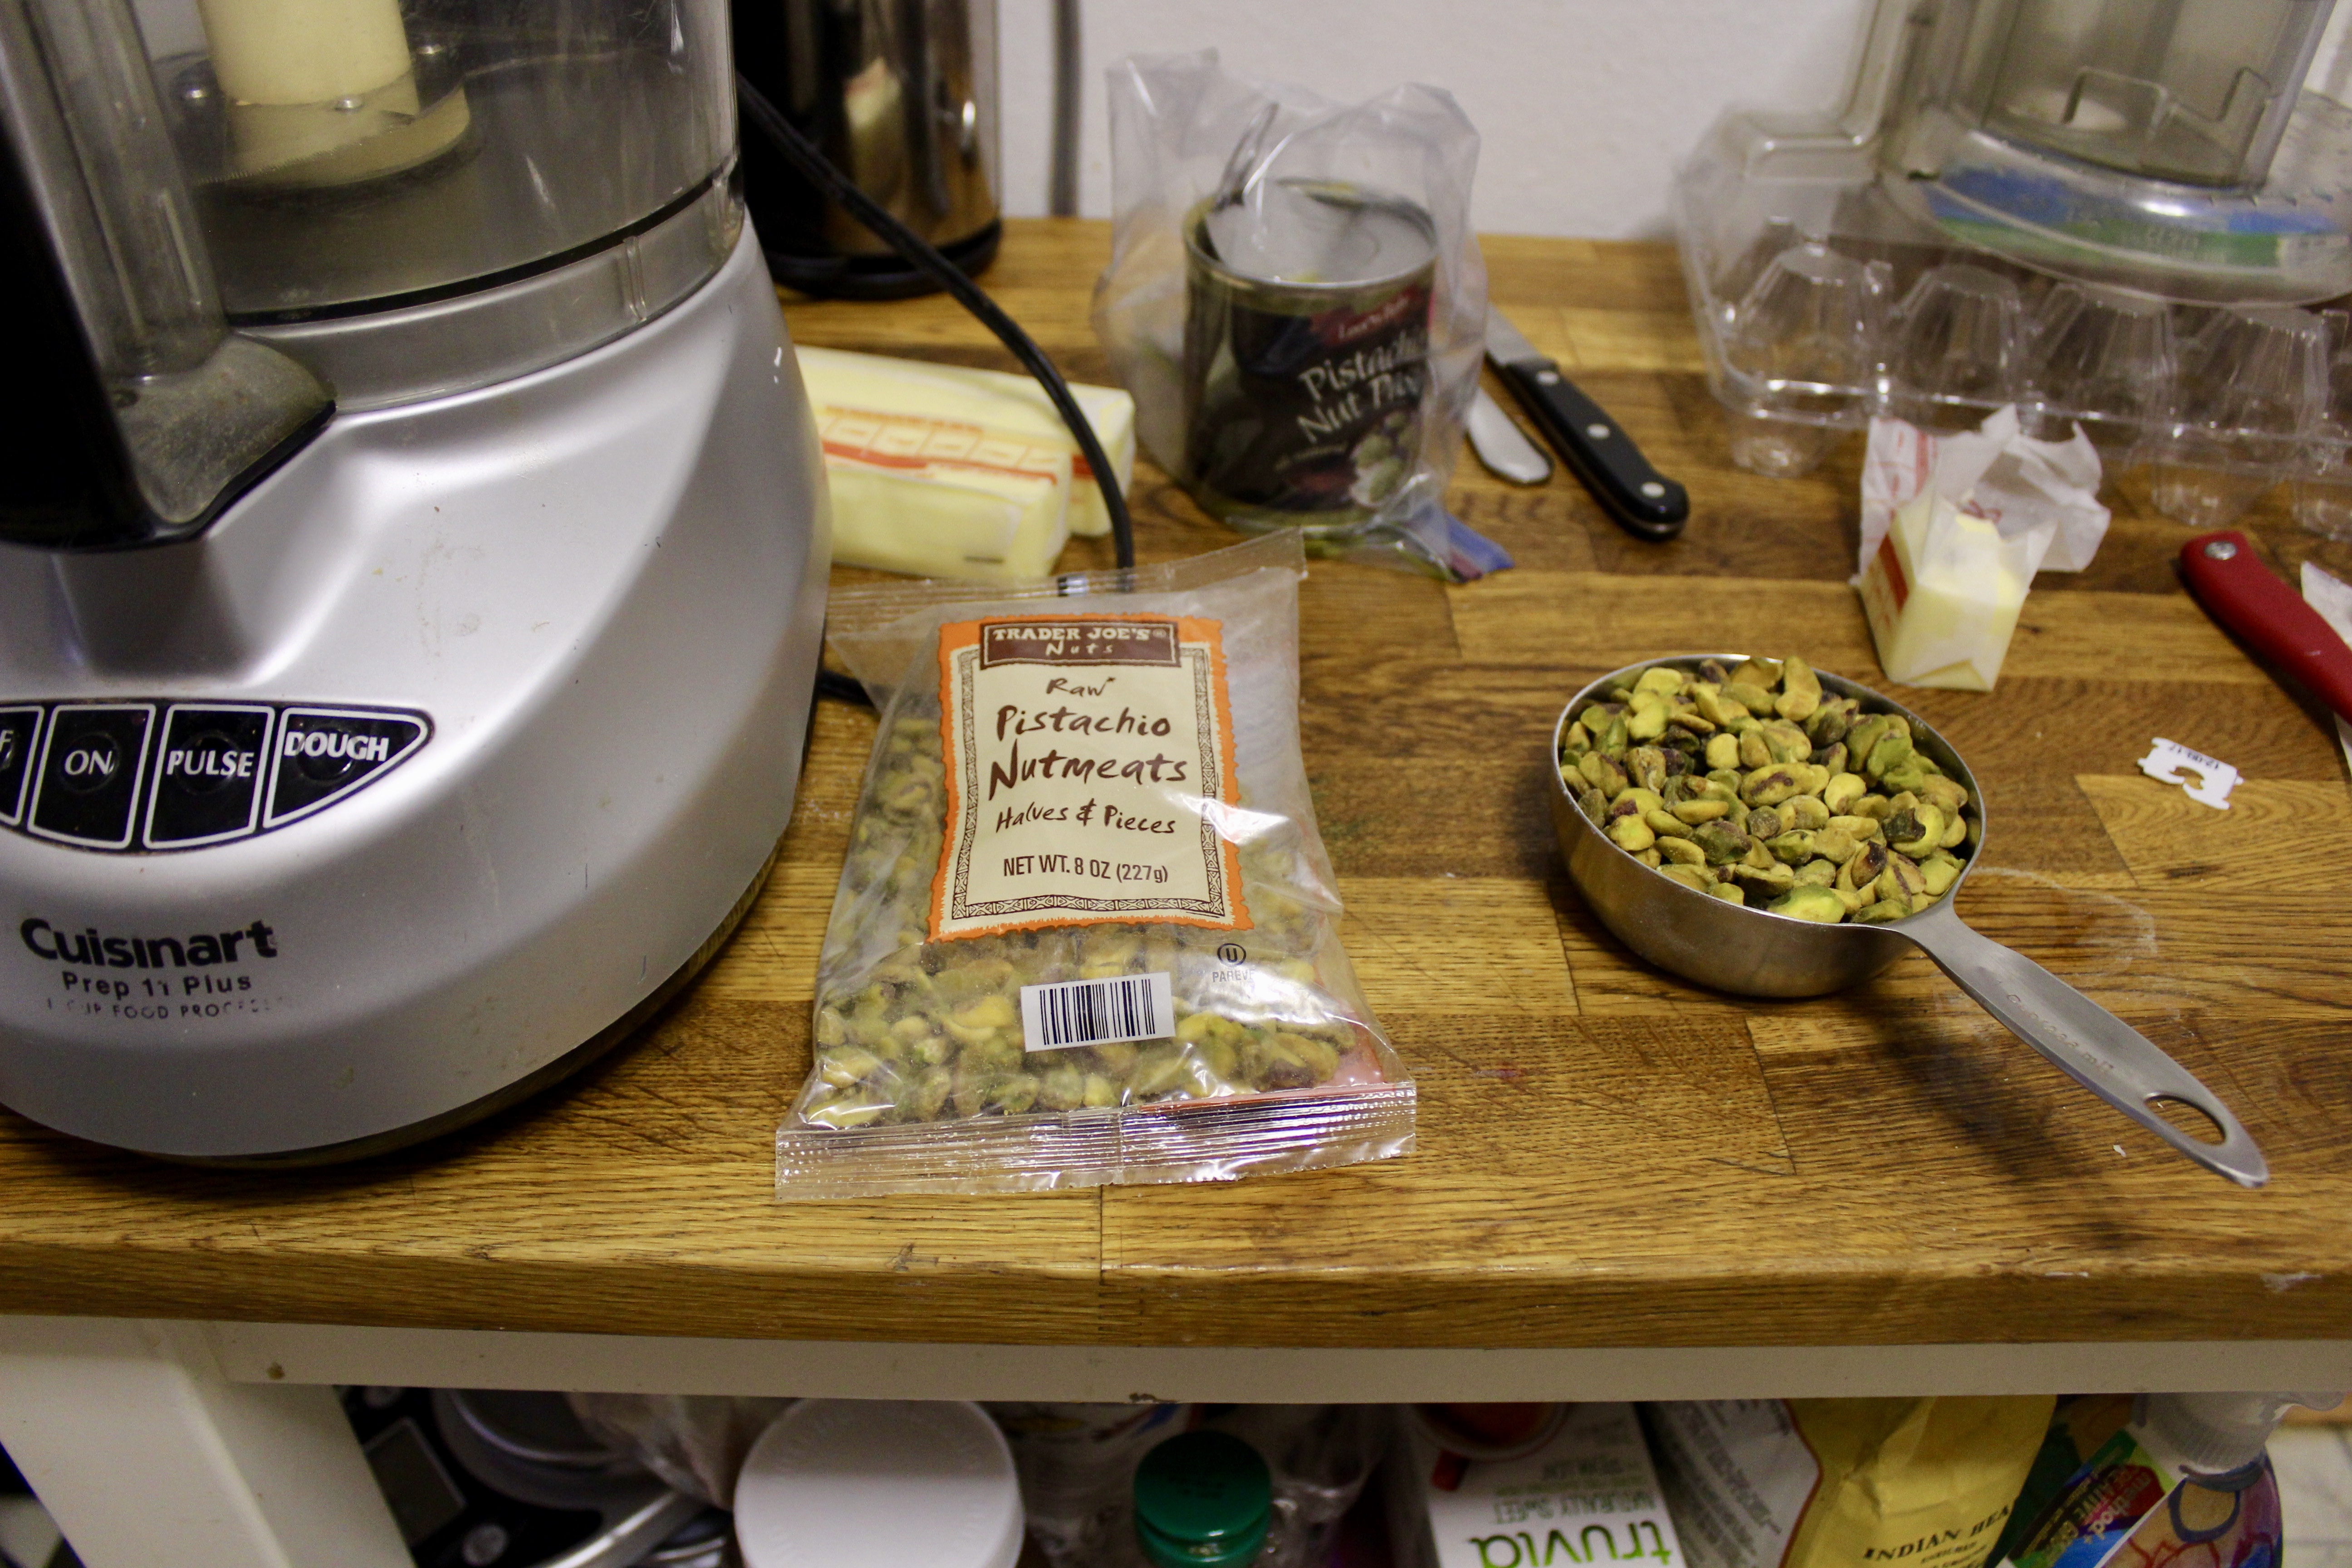
- Pulse the pistachios in a food processor until finely ground. Careful not to let it go for too long, since it will turn into a paste. Pour ground pistachios into a large mixing bowl.
- In the bowl of your stand mixer or in a large bowl using an electric hand mixer, cream pistachio paste, butter and sugar for 2 minutes at medium speed.
- While that goes, combine the ground pistachios with flour, baking powder, baking soda, salt and cornstarch. Whisk until combined.
- Stop the mixer, scrape down the sides and bottom of the bowl, turn mixer back on. Add egg, then vanilla. Then alternately add the dry ingredients with the milk – 1/3 dry ingredients, 1/2 milk, ending in the dry ingredients. Periodically scrape down the sides and bottom of bowl. Stop mixing when dry ingredients are just incorporated in the batter.
- In a medium bowl, combine egg whites with cream of tartar. Whisk with an electric mixer at medium speed until stiff peaks form when you pull the beaters up and out of the egg whites. Add a little beat of the beaten egg whites to the batter to thin out the batter. Then add half of the remaining egg white, folding in carefully so as not to deflate them. Add the second half and fold just until you no longer see white streaks.
- Divide equally between the three prepared pans and bake for 28-30 minutes until browned on top and a toothpick inserted comes out clean. Cool the cakes and level them before frosting.
Cherry Almond Cake
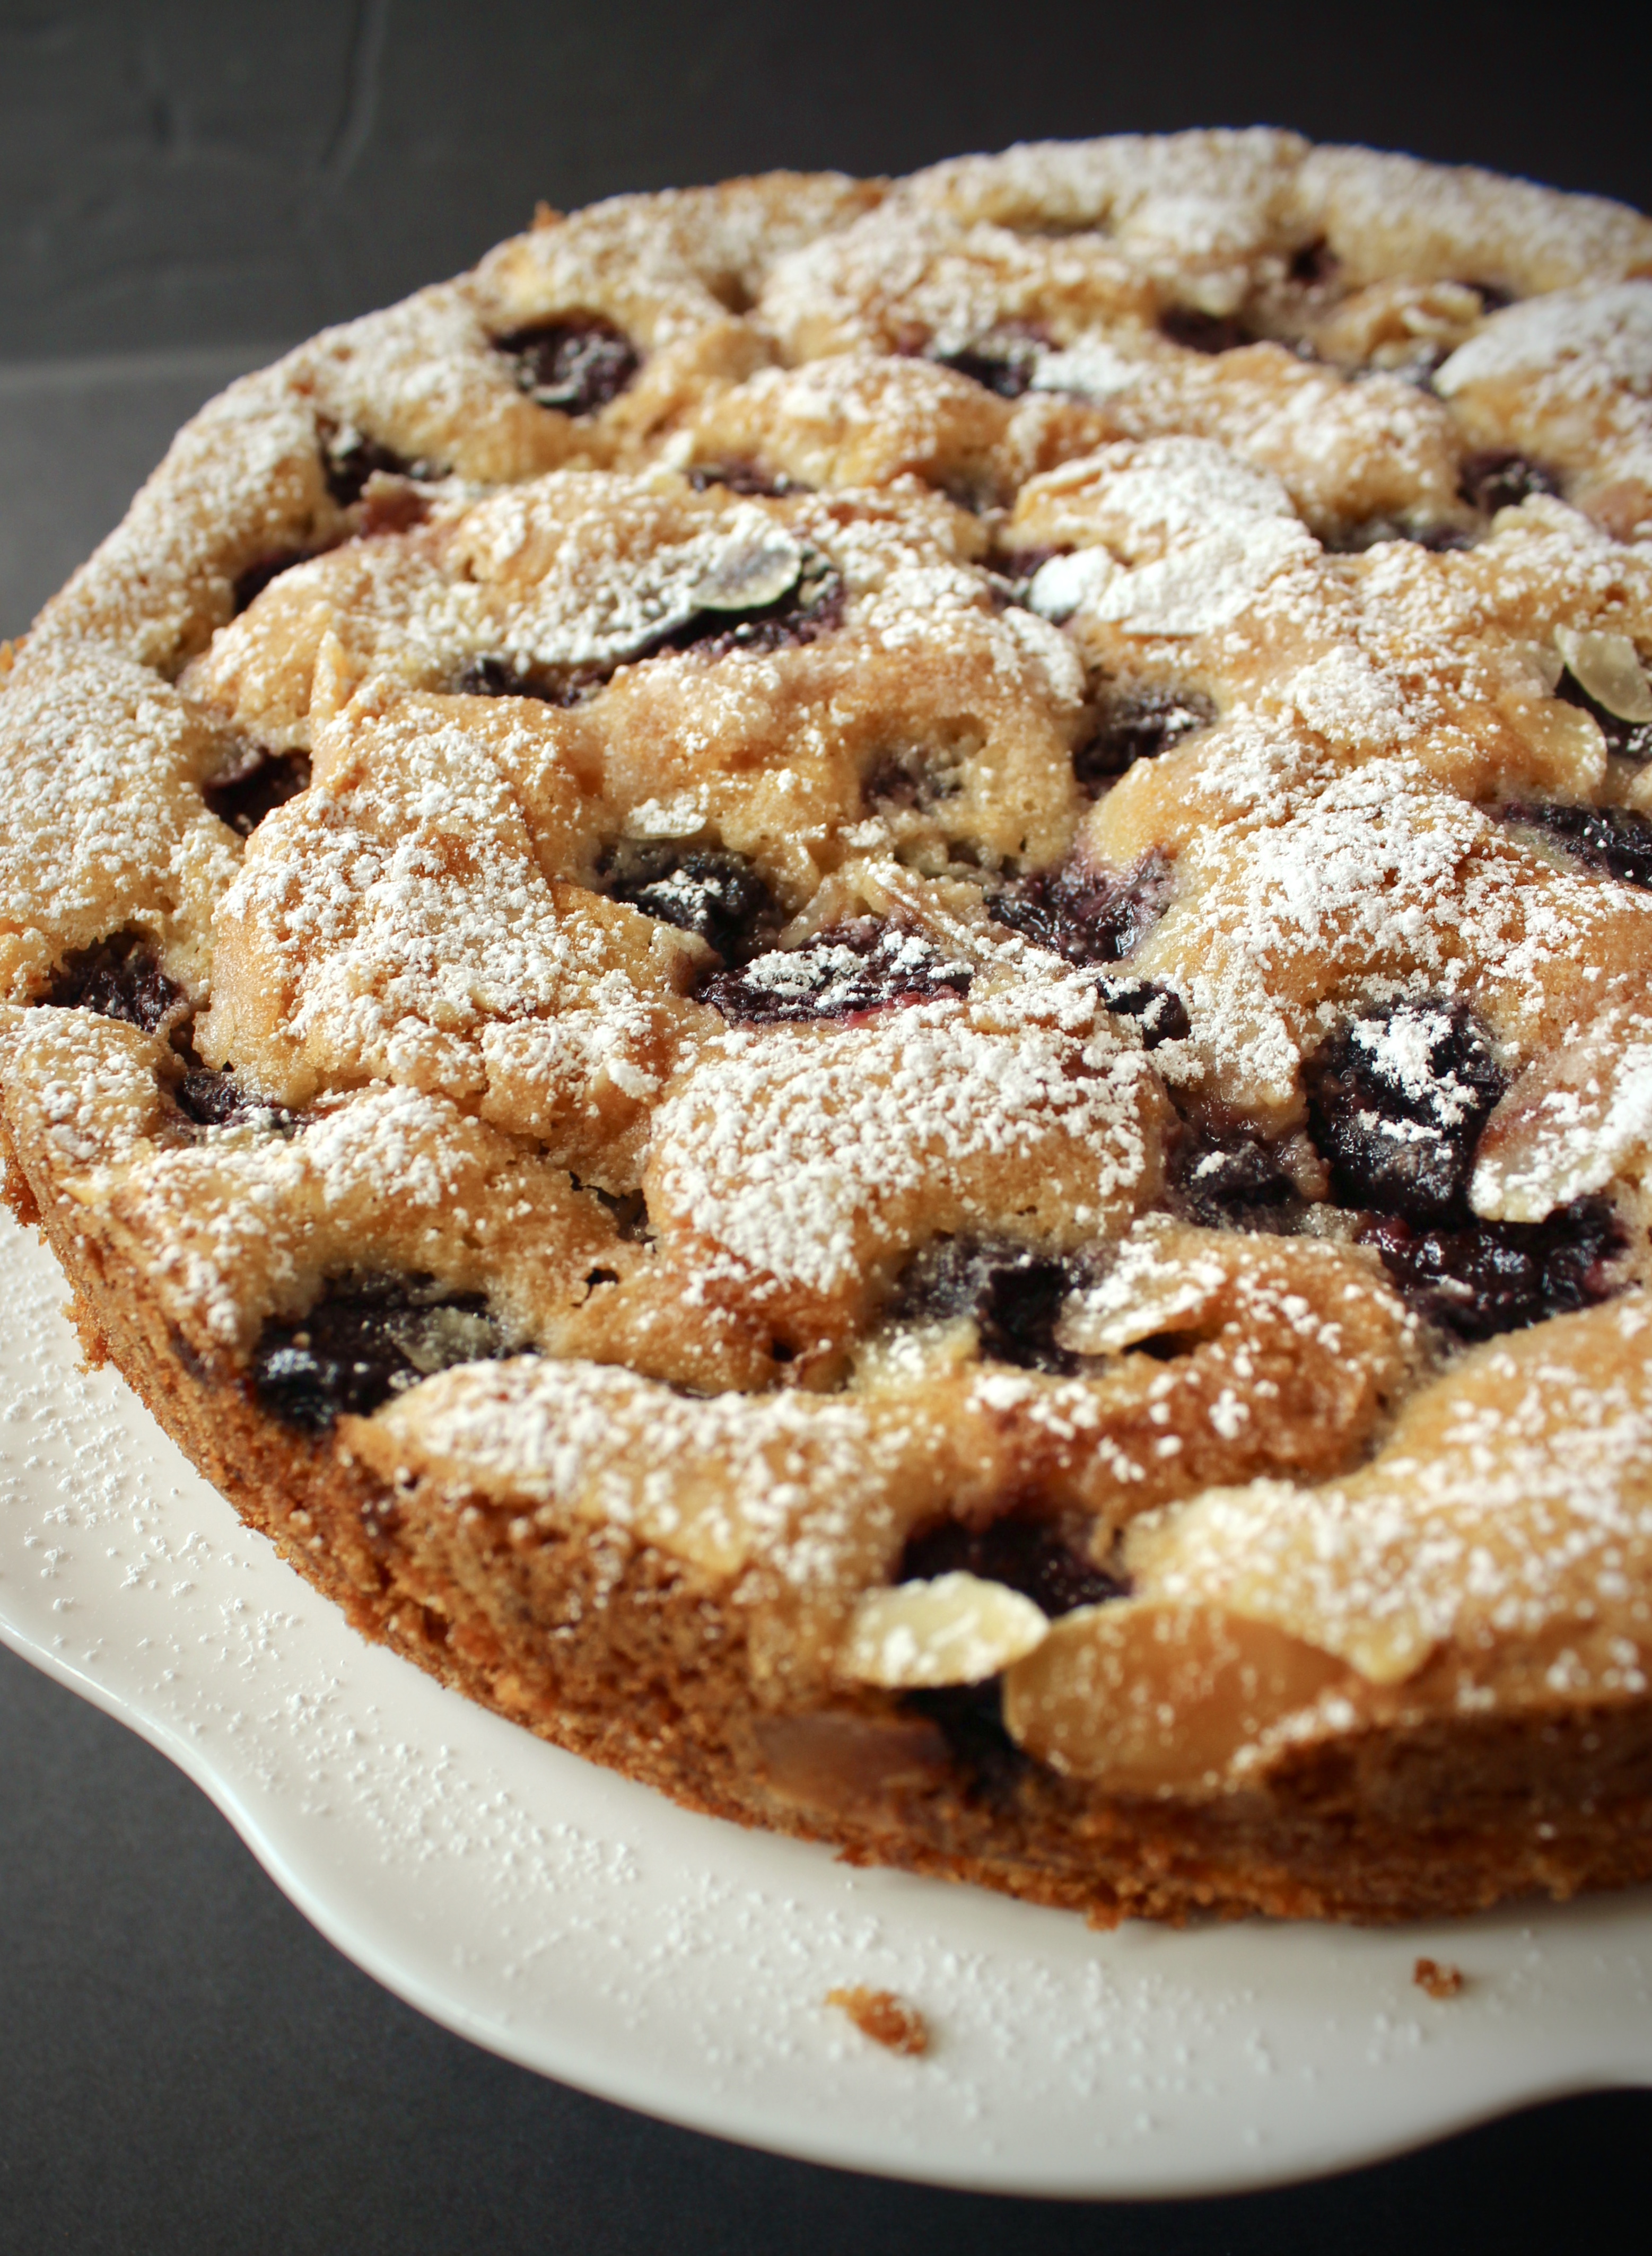
I know, I know. I’m actually posting a non-chocolate recipe. There are few things that I enjoy as much as I enjoy chocolate. Vacations. Lobster truffle mac and cheese (just discovered at cute Sunnyside spot Côté Soleil while out to dinner with the talented and endearing Moni Begum of Moni’s Kitchen). Moroccan almond cookies made by La Rose Kitchen. Actually, any almond dessert is fabulous. Rainbow cookies. Marzipan (yup, straight up). Stollen (German holiday sweet bread with marzipan filling).
So cherry almond cake was a no-brainer. Last week I had made a cherry frangipane (fancy word for almond filling) tart. Recipe from NYTimes. It was SO good, but since there’s already a perfectly good recipe out there, I wanted to share a less-fussy version of the dessert for those who may not have the time or desire to make pâte sucrée, chill it, roll it out, fit it, trim it, blind bake it, then fill and bake once more.
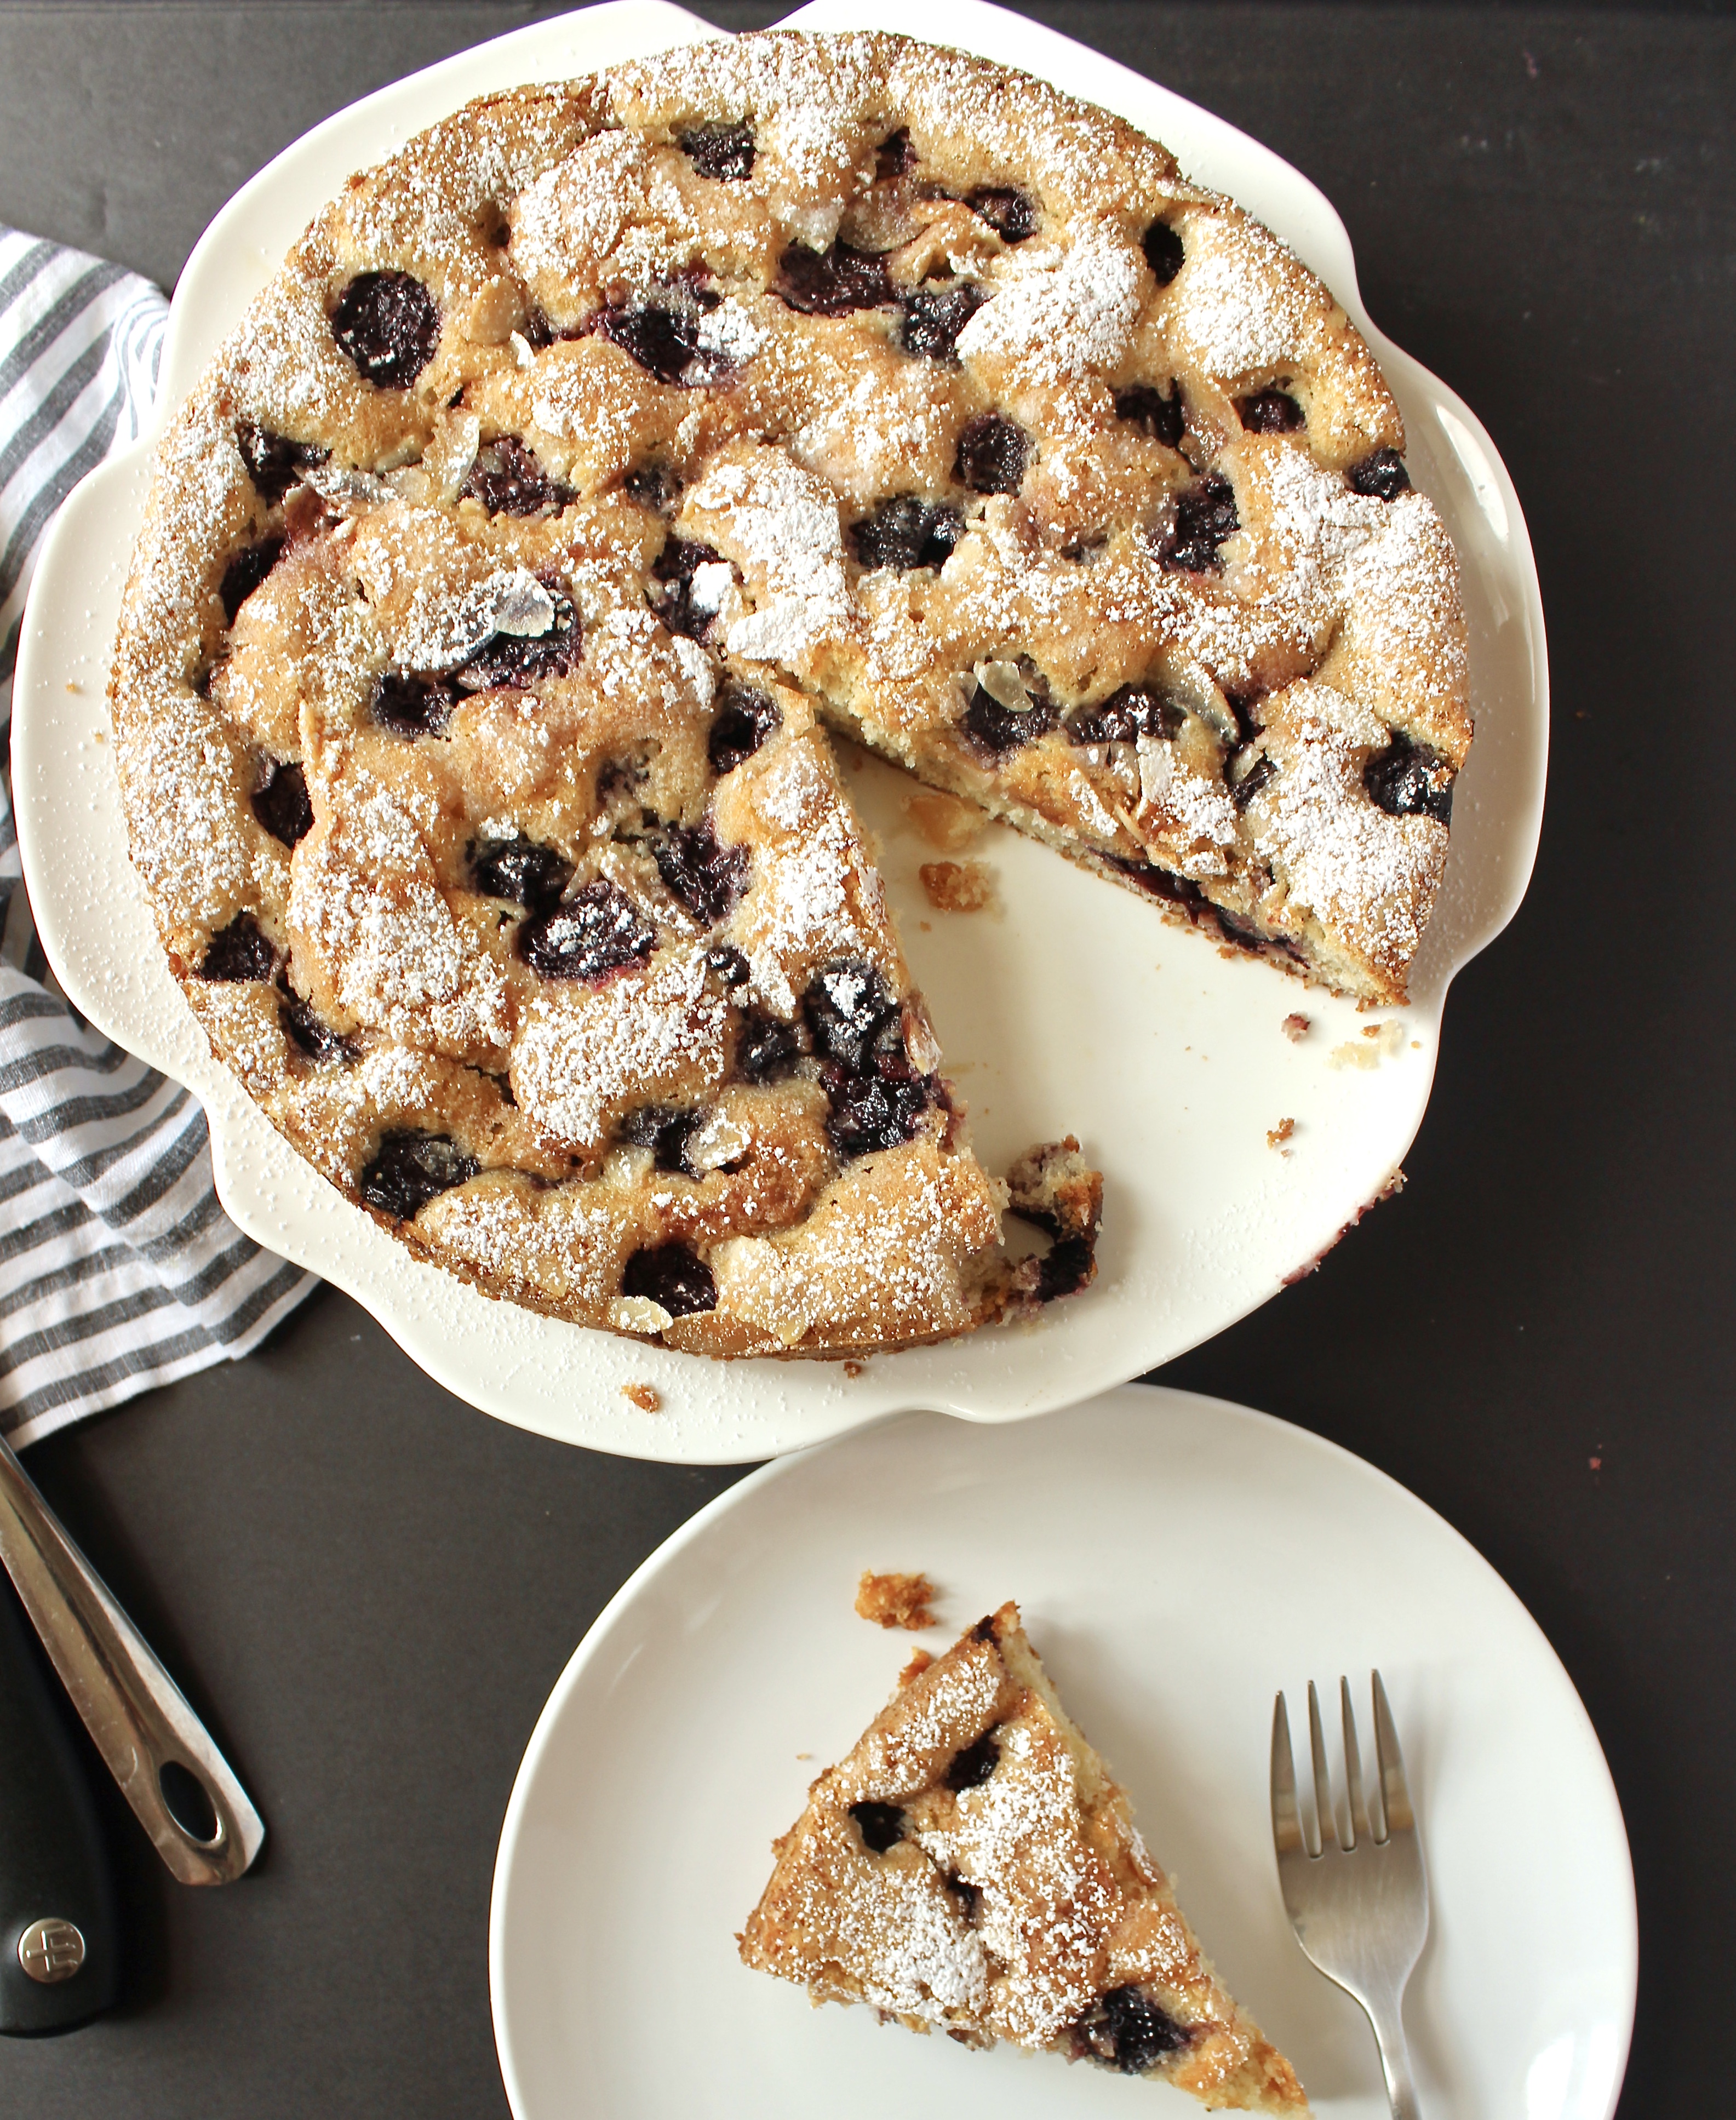
The answer is this single layer cherry almond cake. A standard beginning of creamed butter and sugar with the addition of 2 tbsp of almond paste that has been sitting in my cupboard FOREVER. Thickened with an egg, flavored with almond extract. Finally beefed up with a cup of flour, leavener and salt. I greased and lined a 9 in cake pan with parchment. Then I poured in the batter, smoothed out to the edges, dotted the cherries throughout for an even distribution, topped with slivered almonds and sugar, then baked for about 45 minutes.
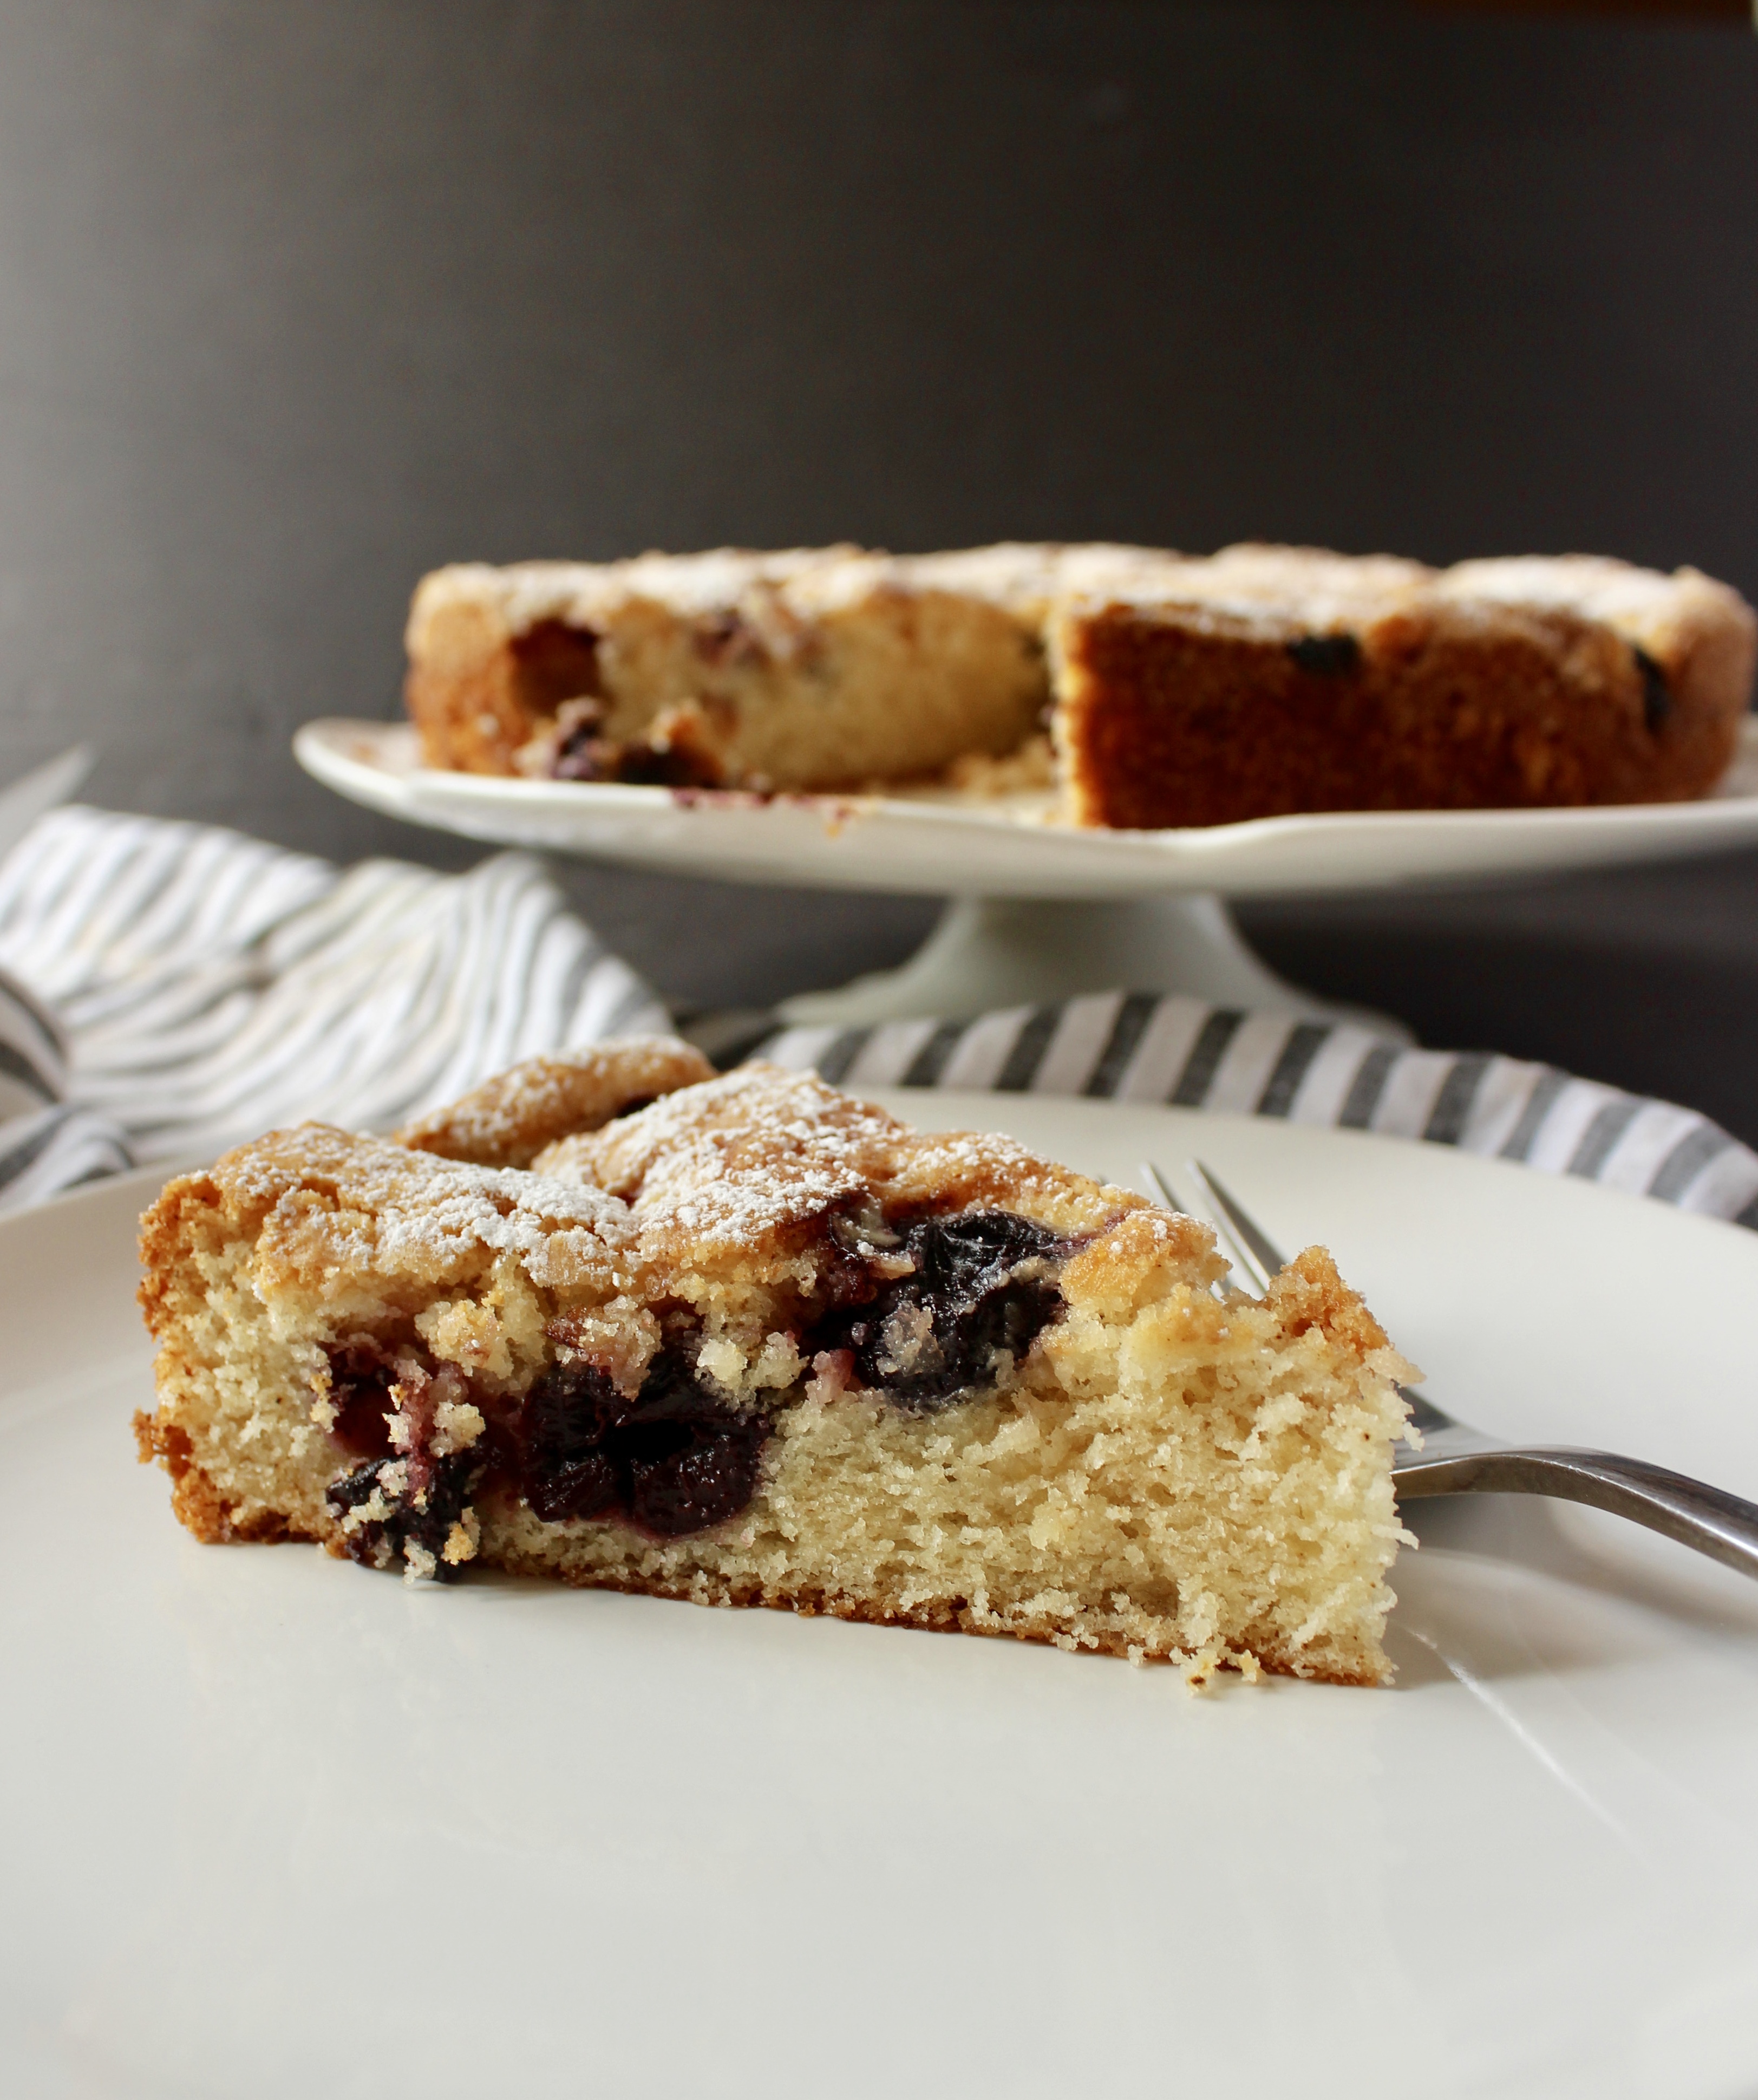
I used defrosted, drained frozen pitted cherries for this. Fresh cherries would have been out of this world, but I wasn’t about to try to pit 14oz of cherries! Fresh or frozen, it’s a delicious cake, but I would decrease the sweetness next time around. I adapted it from a Cooking Light recipe (I increased the fat content so could use a lower sugar content). Feel free to try it either way!
Ingredients
- 6 tbsp unsalted butter
- 2 tbsp almond paste
- 2/3 cup granulated sugar (would decrease to 1/2 cup next time)
- 1/4 tsp almond extract (might increase this to 1/2 tsp next time)
- 1 egg
- 1 cup flour
- 1 tsp baking powder
- 1/8 tsp salt
- 1/8 tsp cloves
- 1/3 cup milk
- 2 tbsp slivered almonds
- 2 tbsp granulated sugar
- 14 oz pitted cherries
- powdered sugar for sprinkling
Directions
- Preheat oven to 350 degrees F. Spray the bottom and sides of a 9in cake pan with cooking spray, Cut out a 9in round piece of parchment and line the bottom of the pan with it. Spray with more cooking spray.
- In a medium bowl, sift together the flour, baking powder and clove. Add salt and stir to combine.
- In the bowl of a stand mixer or in a medium bowl using an electric hand mixer, cream butter, sugar and almond paste until light and fluffy, about 2 minutes at medium low speed. Stop to scrape down the sides of the bowl. Add egg and almond extract, continue beating until the egg is incorporated, then scraped down the sides of the bowl again. Add half o the flour mixture, then the milk, then the remaining flour. Mix until incorporated, then pour into the prepared cake pan. Dot the top with cherries, almonds and an even sprinkling of the remaining granulated sugar.
- Bake in preheated oven for 45-50 minutes until top is golden brown.
- After cooling, sprinkle with powdered sugar to serve.
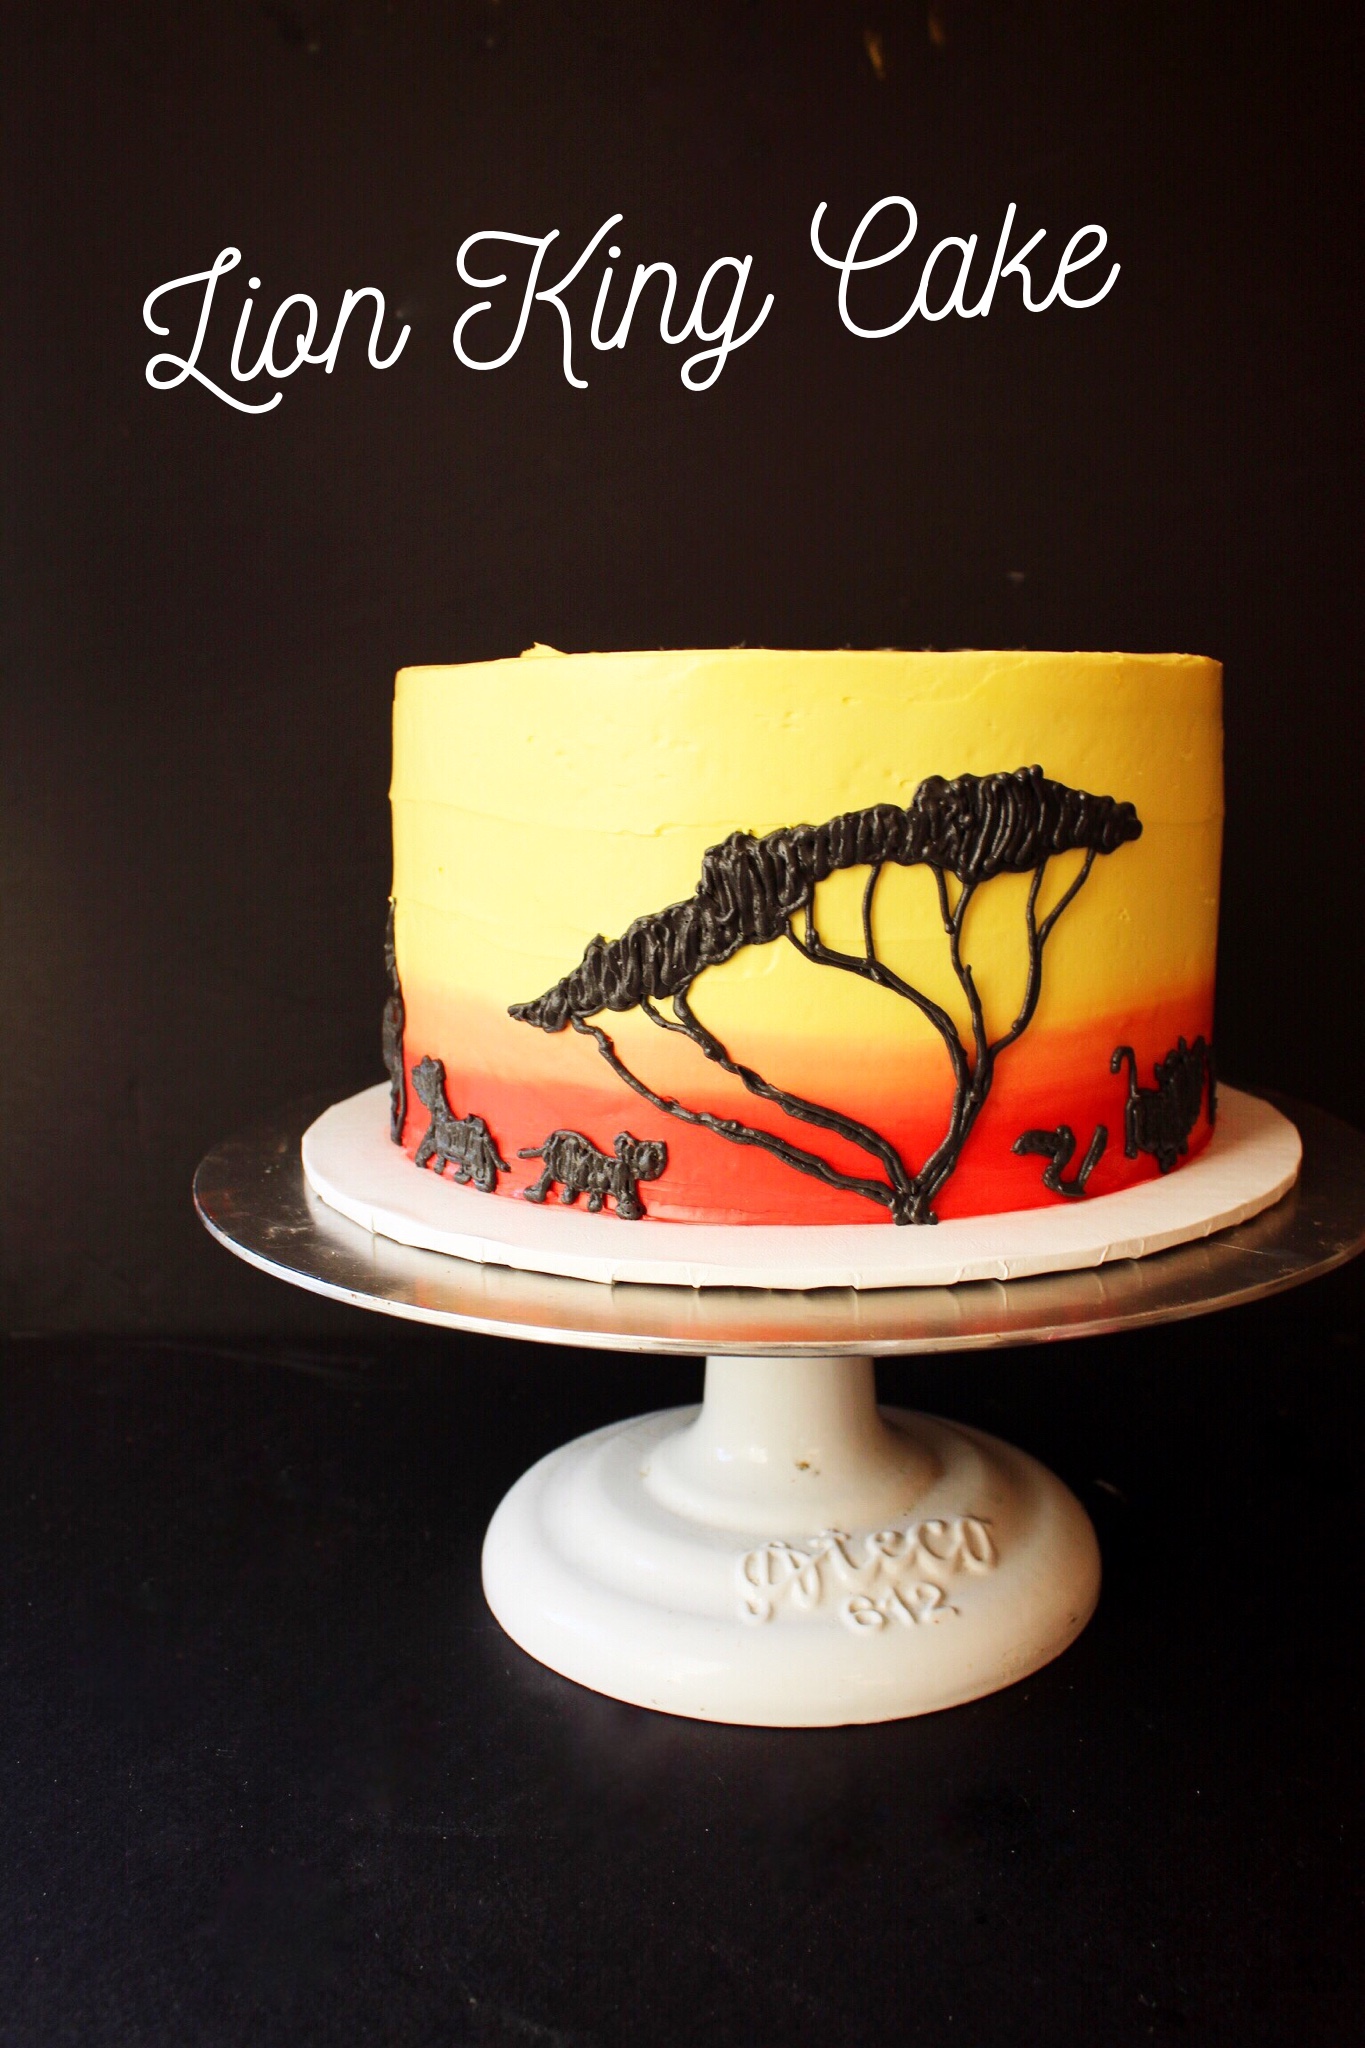
Lion King Cake
Hi Guys,
I haven’t been creating or sharing recipes with you guys recently. So I thought I would check in with some cake decorating how to’s. I’ve been learning a lot as I’ve been creating more and more custom cakes for folks. So I’ll share some of my insights in case it’s helpful for someone out there who may be tasked with a similar project.
My task was to create a Lion King themed cake, using buttercream. Most of the Lion King themed cake Pins and Google search results display fondant cakes with hand molded Lion King figurines. So I had to be creative. The sunset part, easy. Orange, yellow buttercreams, mix them together a little bit for a transition between colors. Smooth finish, done. The only trick I’d suggest is this: when you’re running your straight edge around the cake for the smooth finish, gradually pull the straight edge up a little bit. Otherwise you end up with strict bands of color, as opposed to nice gradation that you would see in a sunset.
But what about the tree silhoutte? And the remaining figures? Should I use a crusting buttercream and paint it on using food color? Should I tint some buttercream black and pipe it on? I went with the latter since I opted for a swiss meringue buttercream, which doesn’t develop a crust like an American buttercream would. I pulled up a picture on my phone and tried to imitate the image as best as I could. It wasn’t too bad – apparently trees are quite forgiving.
Hope you enjoy the video below. Please feel free to leave any questions in the comments below.
Coconut Sheet Cake
 I feel like I just completed a marathon. Not the running kind, though there was a lot of physical activity involved. Running to/from the store. Planning, baking, cleaning, putting away, assembling, decorating on top of the usual taking care of 2 small children and managing a household. Before this past weekend, my cake orders were usually 2-3 layer 9 in cakes. Now I had to prepare 2 full sheet cakes to feed 200 people over two consecutive days. Luckily the other cake was an icebox cake that required lots and lots of chocolate wafers that I was able to store in the fridge. I was pretty much at capacity when I baked the first layer of this cake and froze earlier in the week.
  I had previously made this as 3 layered cake. But the recipe needed tweaking in order to make it more sturdy and stand up to the demands of a sheet cake!
  The customer requested pineapple filling in lieu of the cream cheese frosting, so if you like pina coladas then this cake is for you! I made two batches using the recipe found here. It was just perfect.
  The groom to be, after taking a bite could only say “wow”. That’s right. I don’t strive to make the most over the top decorative cakes that look like your favorite handbags. I strive to make the best cake you have ever tasted, every time.
  I should probably mention this was for a Bengali pre-wedding party called a Gai Holud. The writing on the cake reads “Jamil’s Gai Holud”. It’s a tradition wherein the bride or groom is rubbed all over with turmeric paste and then bathed publicly (with the Bengali equivalent of a bathing suit on). Here in America, we do a more symbolic version. Bride/groom sits on some decorated platform with an array of sweets in front of him/her. There is a bowl of turmeric paste that is rubbed on a small portion of his or her face, then wiped off.

 This is how I prepped the board for my 16×22 in cake. Because apparently they make pans in that size, but not cake boards or cake boxes. Lame.

 I don’t usually do crumb coatings, but because I made the amount listed in the original recipe, it wasn’t enough to properly frost a cake of this size, so I used it just to cover the surface. This cake is very tender, very moist, so it needed the crumb coating.
  The real challenge was in getting the second layer onto the first. The first layer was just inverted by placing the cake board on top of the sheet pan and flipping. But the second layer was not as trivial. I stood over the first layer, second layer in hand for like 5 minutes taking deep breaths before going for it. And it didn’t align evenly! Although I held the cake in place by the bits of parchment sticking out of the edges, I couldn’t fully control how it flipped out of the cake pan so it came out slightly rotated down (by like 10 degrees). I sawed off the parts that stuck out on either side and sort of glued it onto the barren sides with frosting.
  It worked. The guests were none the wiser. Til now, of course.
 Traditional henna patterns as decoration and toasted coconut flakes all around for that extra oomph.
Coconut Sheet Cake
Recipe adapted from A Taste of Home. Please note I made two batches of the recipe below for my 2 layer sheet cake. I used the frosting from the link above (also 2 batches).
Ingredients
- 6 eggs, separated, at room temperature
- 2 1/4 cups sugar
- 3/4 cup butter, softened
- 3/4 cup vegetable oil
- 1 tsp coconut extract
- 1 tsp vanilla extract
- 1/2 tsp almond extract
- 3 cups cake flour
- 1 1/2 tsp baking powder
- 1 tsp baking soda
- 1/2 tsp salt
- 1 1/3 cup buttermilk at room temperature
- 2 heaping cups sweetened coconut flakes
- 1/4 tsp cream of tartar
Directions
- Preheat oven to 325 degrees F. Prepare 16x22in sheet pan by lining with parchment paper, spraying with non stick spray or butter, and sprinkling a bit of flour.
- Beat butter at low speed, gradually increasing to medium until light and aerated, 1 1/2 to 2 minutes. Gradually add 1 1/2 cups of sugar. Beat until light and fluffy – about another minute. Decrease speed to low and add oil. Gradually add the remaining sugar so as not to deflate the butter. Add the six egg yolks, one at a time, scraping down the bowl halfway through. Add the extracts and beat until combined. Stop mixer.
- Sift cake flour, baking powder and baking soda into a medium bowl. Add salt and give a gentle stir with a wooden spoon. Turn the mixer on low and add the dry ingredients in 3 batches, alternating with with buttermilk. Turn off mixer when dry ingredients are just incorporated.
- In a large bowl, beat egg whites with cream of tartar with a handheld electric mixer starting at low speed and increasing to high speed. Beat until peaks are stiff, 5 to 7 minutes. Add 1/4 of the egg whites to the batter to loosen it up. Add remaining egg whites by gently folding with a rubber spatula, cutting down the middle of the batter, then turning the bowl 1/4 of the way and bringing the spatula up and over. Repeat until you can just barely see the streaks of egg white.
- Pour batter evenly over sheet pan and bake in preheated oven for about 23 minutes. Start checking with a toothpick inserted in the center to make sure it’s done at about 21 min. There should be minimal crumbs on the toothpick.
A Red Velvet and A Double Chocolate Cake

 Marriage is a most beautiful thing. Take for example the marriage of a hot dog to its bun. Mustard to a knish. Or in this case, the best cake recipe with the most glorious frosting.
 Oh, you thought I was referring to the marriage between two people? No, no, no – that’s a completely different story. It’s tumultuous. A dichotomy of opposing egos – it’s as generous as it is demanding. Like a cake studded with ghost peppers. You can figure out ways to maneuver around them, develop techniques over the years to handle them, but you’re inevitably going to chomp down one and when you do, you might find yourself questioning the decision to go for that slice of cake.
 But you go on anyway, running around with your head ablaze because darn it you committed to this slice of cake! And the heat dies down and you’re left with a smear of frosting on your plate that you scoop up and wonder, “Gosh this is so delightful, whatever was all that fuss about?”. That’s married life for ya.
People go bananas for red velvet, and personally, I’ve never understood why. Always made with a smidge of chocolate – the base cake isn’t strongly flavored enough. I opted for a recipe that has more cocoa than the usual red velvet recipe (3 tbsp vs 1 tsp) but not so much that it’s more of a chocolate cake (one recipe called for 1/3 cup cocoa!). It’s often topped with a tangy/sweet cream cheese frosting, though delicious, is better served with a sweeter cake, like banana or carrot cake. I feel like it’s striking, contrasting colors that people fall for. Also, a very tender cake made by the addition of buttermilk AND vinegar.
I wanted to try the original cooked milk/flour frosting recipe that accompanies red velvet. But as my hectic week dwindled down, all I had the energy for was whipping up two bars of Philly with a healthy stick of butter and calling it a day. I also experimented with the food coloring – since I used a gel food coloring, which is typically more pigmented than the usual food coloring. I used a rounded teaspoon rather than the tablespoon of food coloring that the recipe called for. In hindsight, I probably could have used more to offset the cocoa. Taste-wise – no complaints. 
The second cake was for an acquaintance’s farewell party. I used my all time favorite chocolate cake recipe (Beatty’s) but with a no fuss frosting (Hershey’s perfectly chocolate frosting). I came upon this particular frosting recipe after looking for an alternative to the buttercream Ina Garten uses to accompany this cake (it has a raw egg yolk and I have two young’ns). What I love about this recipe is
- It uses cocoa powder rather than chocolate baking bars. Those can be so fussy. Semi-sweet vs bittersweet. Melt, then cool. Ugh.
- It’s made in a saucepan on a stovetop, with just a whisk. No fancy equipment necessary.
- It’s got a glossy sheen like that of a ganache.
That being said, it is a bit high maintenance in one respect: you’ve got to use it right away, and do not dilly dally with the application. It dries fairly quickly and as soon as it does, it becomes difficult to spread. Unlike buttercream which you can spread and tweak all the livelong day.


It’s also reminiscent of the Entenmann’s chocolate fudge cake I used to have as an afterschool snack – pretty much every day of my childhood. Yup. Silky texture, rich chocolate flavor. If you’re making dessert for chocoholics, there’s no going wrong with this combo.


For the decorations I stuck to my handy dandy ziploc bags with a hole cut at the end. Really fancy equipment over here at Kitchen3N!
Red Velvet Cake recipe barely adapted from NYT Cooking.
Ingredients
- 1/2 cup (1 stick) butter, softened
- 3 tbsp cocoa powder (I used natural cocoa powder since it’s more acidic and would react well with the buttermilk/vinegar)
- 1 1/2 cups sugar
- 2 eggs
- 2 tsp vanilla extract
- 1 1/2 tsp red food coloring (if using the gel, traditional food coloring use 2 tbsps)
- 1 tsp salt
- 1 tsp baking soda
- 2 1/2 cups flour
- 1 cup buttermilk
- 1 tbsp white vinegar
- 2 8 oz packages cream cheese at room temperature
- 1/2 cup (1 stick) softened butter
- 1 tsp vanilla extract
- 5 cups confectioners sugar
Directions
- Preheat oven to 350 degrees F. Butter and flour, or butter and apply parchment paper to two 9 in round cake pans. Set aside.
- Sift flour, cocoa, salt and baking soda into a bowl.
- Beat butter with the paddle attachment of your stand mixer for about 2 minutes on medium-low speed. Add sugar and beat for 1 minute more. Scrape down the sides of the bowl with a spatula. Reduce speed on mixer to low and add eggs, one at a time, then vanilla extract and food coloring. Next add 1/3 of the dry ingredients. Then add 1/2 cup buttermilk. Add another 1/3 of the dry ingredients. Then add vinegar to the buttermilk and add to the batter. Add final 1/3 of dry ingredients. Use a spatula to give it one final mix.
- Divide evenly between the two cake pans and cook until a toothpick inserted into the center comes out clean (20 to 25 min).
- After taking it out of the oven, let it cool until the pans are ready to handle. Loosen the sides with a spatula or knife, going under the cake a bit on all sides to loosen. Then place one hand on top of the cake, flip it out onto your hand, then set it down on the wire rack to cool completely (one of my first baking follies as a kid was to apply frosting to a cake I just pulled out of the oven…). Remove parchment paper.
- Make the frosting: whip cream cheese and butter on medium speed until light and fluffy (3 to 5 minutes). Add vanilla. Decrease speed to low and add confectioners sugar one at time. Taste for desired sweetness/flavor. Adjust as necessary.
Lemon Yogurt Cake
 Is your fridge forever cluttered? If so, you can empathize when I say I made this cake for the sole purpose of clearing out a container of yogurt. I’ve been using yogurt quite a bit in lieu of buttermilk for our morning pancakes. Just sub it in your favorite buttermilk pancake recipe, thin it out with some water or milk, and it is just as good!
 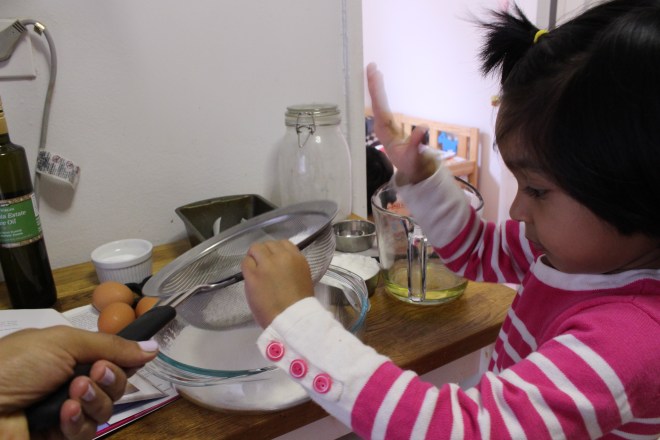 Inaya is my go to person for sifting dry ingredients together. She can almost mix wet batter, but needs a little help reining in her stirring excitement. Kudos to her since I am not easy to work with in the kitchen. Any one of my friends who have attempted to cook or bake with me only to run out screaming and flailing their arms can attest to that.
  Sorry for the sofa/printer pictured here. It’s hard to find good lighting in my apartment and it just so happens that smack in the middle of the living room is the best place.
  There’s no butter in this cake. And I can’t say that I don’t miss it. I do. Sincerely. But, luckily, I am taking this over to my in-laws tomorrow, where there is a sort of hex on butter (I know, I know how could we be so different, might as well be from another planet). But there is no denying that some of the best cakes are made with vegetable oil. Namely because veg oil is a liquid at room temperature, so cakes made with it tend to be more moist. Take Beatty’s Chocolate Cake from example. And make no mistake – this is yet another Ina recipe, adapted a bit, which she adapted a bit from Dorie Greenspan.
  This cake gets a few hits of lemon flavor. First, the lemon zest infuses the batter. Second, it gets drenched in a lemon/sugar syrup while still warm. Third, it gets a pretty little glaze from a powdered sugar/lemon juice concoction.
  I used large eggs instead of the extra large eggs she usually calls for. Didn’t miss a thing. I might try a mixture of baking powder/baking soda next time though, just to see how it affects the rise. Also, I omitted the vanilla extract, which I sincerely regret.
  I also used 1/3 cup powdered sugar for the icing rather than a full cup (we’re watching our waist lines around here LOL).
  So, if you know of any butter haters, this is the cake to make for them.
Adapted from Ina Garten.
Ingredients
- 1 1/2 cups all purpose flour
- 2 tsp baking powder
- 1/2 tsp kosher salt
- 1/2 cup vegetable oil
- 1 cup full fat plain yogurt
- 2 tsp lemon zest (from 2 big lemons or 3 small ones)
- 1/2 tsp vanilla extract
- 3 large eggs
- 1 cup sugar
- 1/3 cup lemon juice
- another 1/3 cup sugar
- additional 1 tbsp lemon juice
- 1/3 cup powdered sugar (more if that’s your thing)
Directions
- Preheat oven to 350 degrees Fahrenheit. Line the bottom of a loaf pan with parchment paper and spray with non stick spray.
- Sift together the flour, baking powder and salt into a medium bowl. Mix oil, yogurt, lemon zest and vanilla in a large measuring cup or mixing bowl. Add eggs, sugar and stir vigorously until incorporated. Add the wet ingredients to the dry. Don’t over mix – a few lumps are OK. Pour batter into greased pan and bake for 50 minutes.
- After the cake is done, let it sit 10 minutes before turning out onto a wire rack. Place the cake and rack over a sheet pan (to catch excess syrup/icing). Dissolve water and sugar in a sauce pan. Poke holes through the top of the cake with a toothpick and drizzle the lemon syrup.
- Combine lemon juice and powdered sugar until smooth. Drizzle over the top of the cake. Slice. Serve.
Chocolate Mousse Cake
 I have always usually been outnumbered in my family by people who aren’t enamored by chocolate. Same was true when I married my husband. Even more so. But then the kids came, and they loved chocolate, especially dark chocolate. It was then that I knew they were mine (that was the real testament, not the whole watching them come out of me thing). And so now I have little people to share my chocolate obsession with. Little people to make chocolate cake for on birthdays. Little hands to help stir the chocolate chips into cookie dough. And little fingers to steal chocolate chips from the counter before they even have a shot at meeting pancake batter.
 I’ve been planning on making this cake for months now. In March as I assembled my husband’s strawberry shortcake, I was actually thinking of this one. In January while I frosted my daughter’s rocket cake, I secretly fantasized about the light, airy and intensely chocolatey flavor this mousse would impart on a chocolate layer cake. But now it was my son’s birthday, and it was just the four of us. So I went the whole nine chocolate yards.
There are so many things that make this cake delicious. Chocolate, vanilla, and coffee all flavor the chocolate layers. The original recipe doesn’t call for espresso, but this girl learned from the school of Ina Garten, so there is going to be some coffee in my chocolate cake. The mousse is decadent with 2 cups of heavy cream, 13 oz of bittersweet chocolate, 7 egg whites. This is definitely not an everyday cake, but so worth the effort once you take a bite of the finished product.  It’s also not for the novice baker, unfortunately. There is egg white beating, folding, chocolate melting, cooling, uniform cake slicing, etc. So if you’ve done these a few times, then you won’t be daunted by this recipe.
The recipe for the mousse makes 8 cups and the directions imply an even divide of all 8 cups between and atop the 3 layers. I needed much less, even when applying the mousse around the sides like a frosting. I used 6 cups for the layers, 1 cup around the sides, and 1 cup for my midnight craving =)
The only thing to be aware of is if you use it around the sides, this cake will have to be refrigerated. At room temperature, the liquid will start to separate and you’ll have a chocolatey mess for the cake. So, keep it in the fridge until just ready to slice and serve.
 At this point I have to make a shout out to my friend Jenn Chowdhury, who gifted me this lovely antique cake stand! You might remember the vanilla cake with chocolate buttercream frosting I made for her birthday a few months back. I’ve been in the market for a while now, since my previous one broke, and this came in the mail like a gift from above. So, thank you Jenn!!
Recipe adapted from Fine Cooking.
Ingredients
For the cake
- Butter or vegetable oil for greasing the pan
- 1 1/2 cups cake flour
- 6 tbsps unsweetened natural cocoa powder
- 2 tsp baking pwder
- 1/4 tsp baking soda
- 1/4 tsp kosher salt
- 1 cup white sugar
- 1/4 cup vegetable oil
- 1 large egg
- 1 tsp vanilla extract
- 1 cup hottest tap water
- 1 tsp instant espresso
For the mousse
- 2 cups heavy cream
- 1/4 cup unsweetened natural cocoa
- 4 oz (1/2 cup) unsalted butter at room temp, cut into cubes
- 13 oz bittersweet chocolate (I used Ghirardelli)
- 2 tsp vanilla extract
- 7 large egg whites at room temperature
- 1/2 cup white sugar
Directions
For the cake
- Position a rack in the center of the oven and preheat to 325 degrees Fahrenheit.
- Grease a 9×2 circular cake pan. Line the bottom with parchment paper and flour the sides of the pan.
- Sift the cake flour, cocoa, baking powder, baking soda, and salt into a large bowl. Add the sugar and whisk until all the ingredients are well blended. Measure the oil into a liquid measuring cup. Add the egg and vanilla and mix with a fork. Add to the dry ingredients.
- Fill the liquid measuring cup with 1 cup hottest tap water. Dissolve the espresso in it and add to the dry ingredients. Mix until the dry ingredients are just moist, scraping down the sides of the bowl. Pour batter into prepared pan and bake for 32 to 34 minutes (I baked for 34 min because we’re not dealing with cupcakes here; I’m not too worried about it drying out.) Test it with a toothpick, ensuring that it comes out clean.
- Let it cool in the pan for a bit, until you can handle it with your bare hands. Invert it onto a wire rack to cool completely. I like to loosen the sides with a metal spatula or butterknife. Then I place on hand on top, turn the cake out onto my hand, and delicately place over the wire rack. Remove the parchment paper. Let cool to room temperature. Refrigerate or freeze until ready to apply the mousse.
- The original recipe suggests assembling it in a springform pan, but I just did so on the cake stand. Slice the cake into three even layers. I like to cut an inch or two deep going around the circumference, before cutting all the way through (otherwise I usually end up with slanted layers). Set the top two layers aside. Scoop about 2 cups of the mousse onto the layer. Spread delicately with a spatula. Add the second cake layer on top. Scoop an additional 2 cups of mousse and spread evenly. Add the top layer and an additional 2 cups mousse. Before applying to the sides, add strips of parchment paper on the cake stand, tucking into the bottom layer (just to keep the surface clean). Starting from the top, add a dollop of mousse and carefully push down the sides. Rotate the stand and continue until the sides are fully covered.
- Garnish with chocolate curls, if desired. Refrigerate until ready to be eaten.
For the mousse
- Set up an ice bath in a large bowl. Bring the cream and cocoa to a boil in a large saucepan over medium heat, whisking to incorporate all the cocoa. Remove from heat and add the chopped chocolate and butter. Whisk until well combined. Pour the chocolate mixture into a medium bowl and place over ice bath. Keep stirring while the mixture comes to room temperature. Remove bowl from ice bath.
- Beat the egg whites in a large bowl with a hand held electric mixture on low speed until frothy. Increase speed to medium and beat until soft peaks form. Add the sugar gradually and beat until peaks are almost stiff.
- Add the beaten egg whites to the chocolate mixture in about four batches. Fold the egg whites into the mixture carefully with each addition. Here is a great video demonstrating folding.
- The mousse is ready when all the egg whites are incorporated and there are no lumps.


